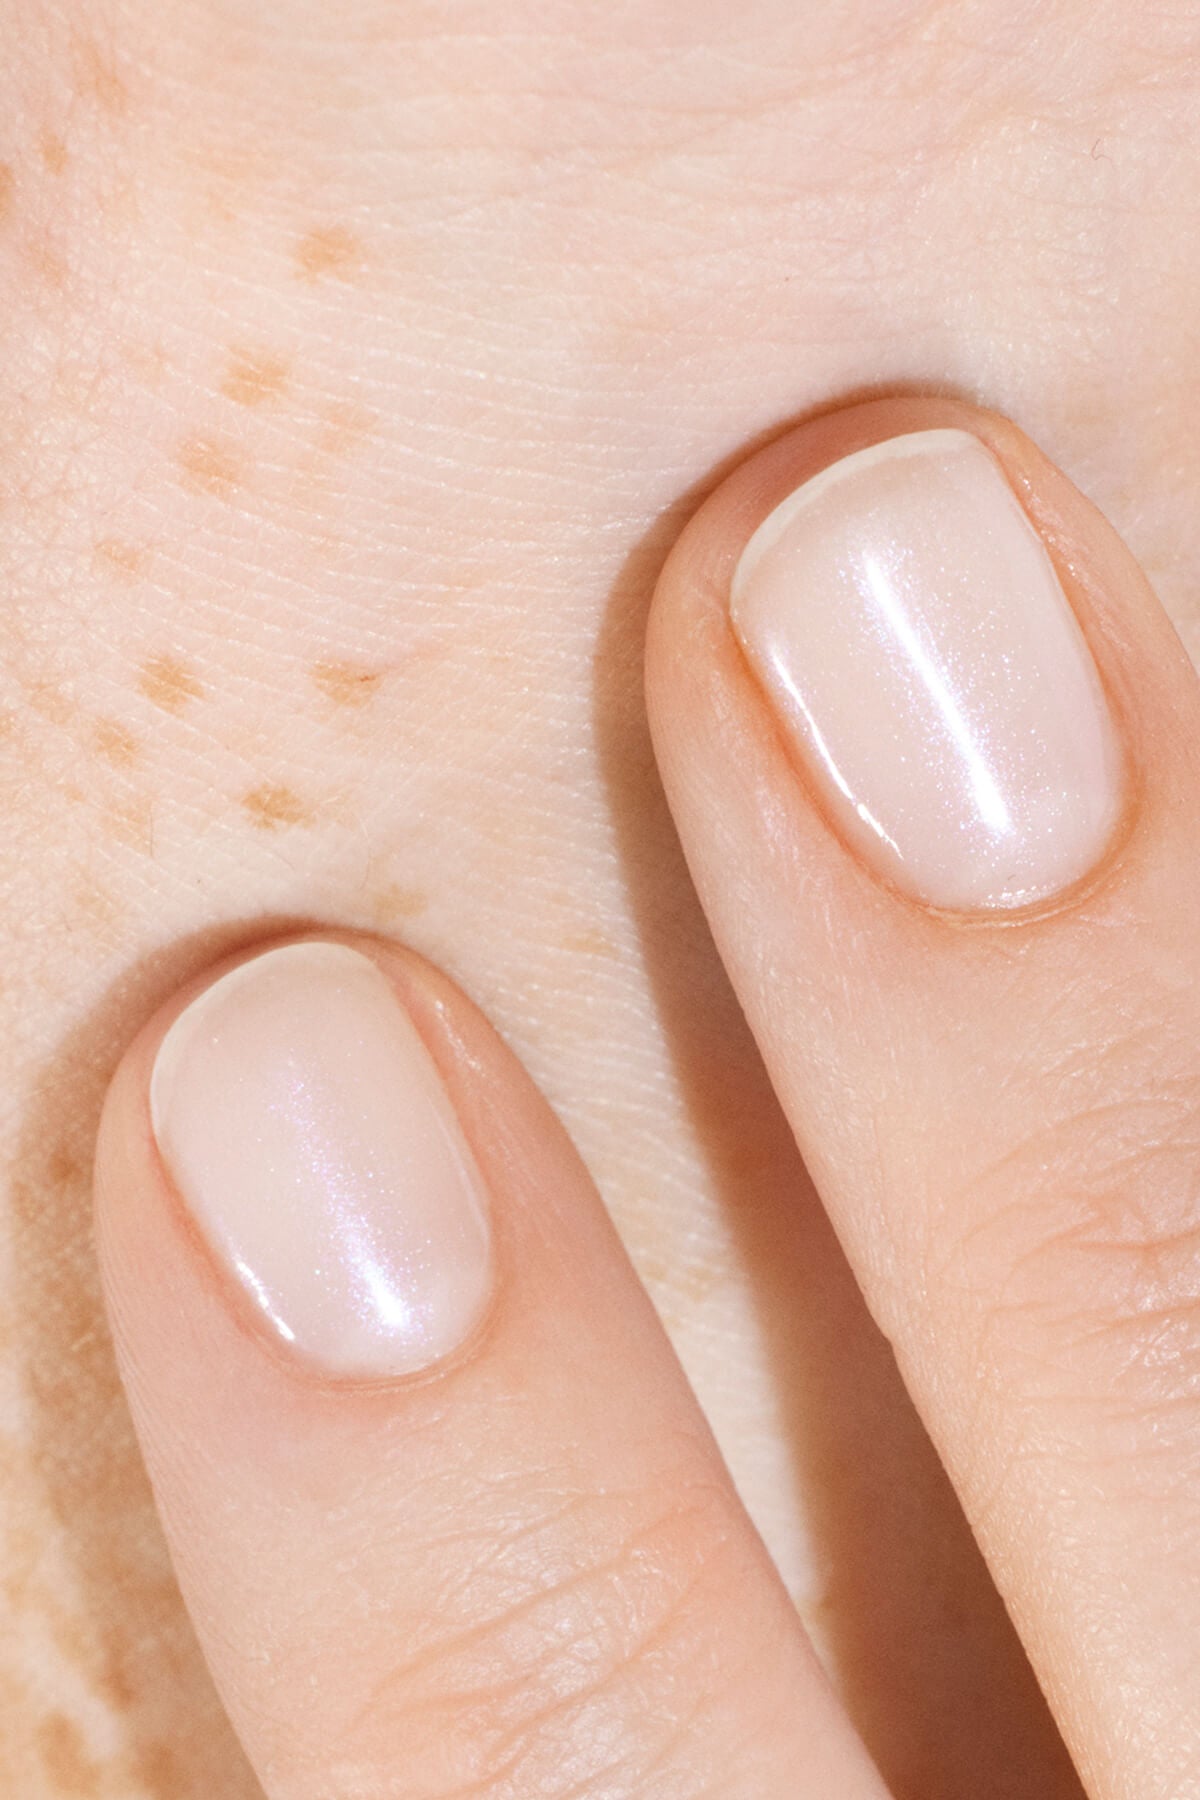
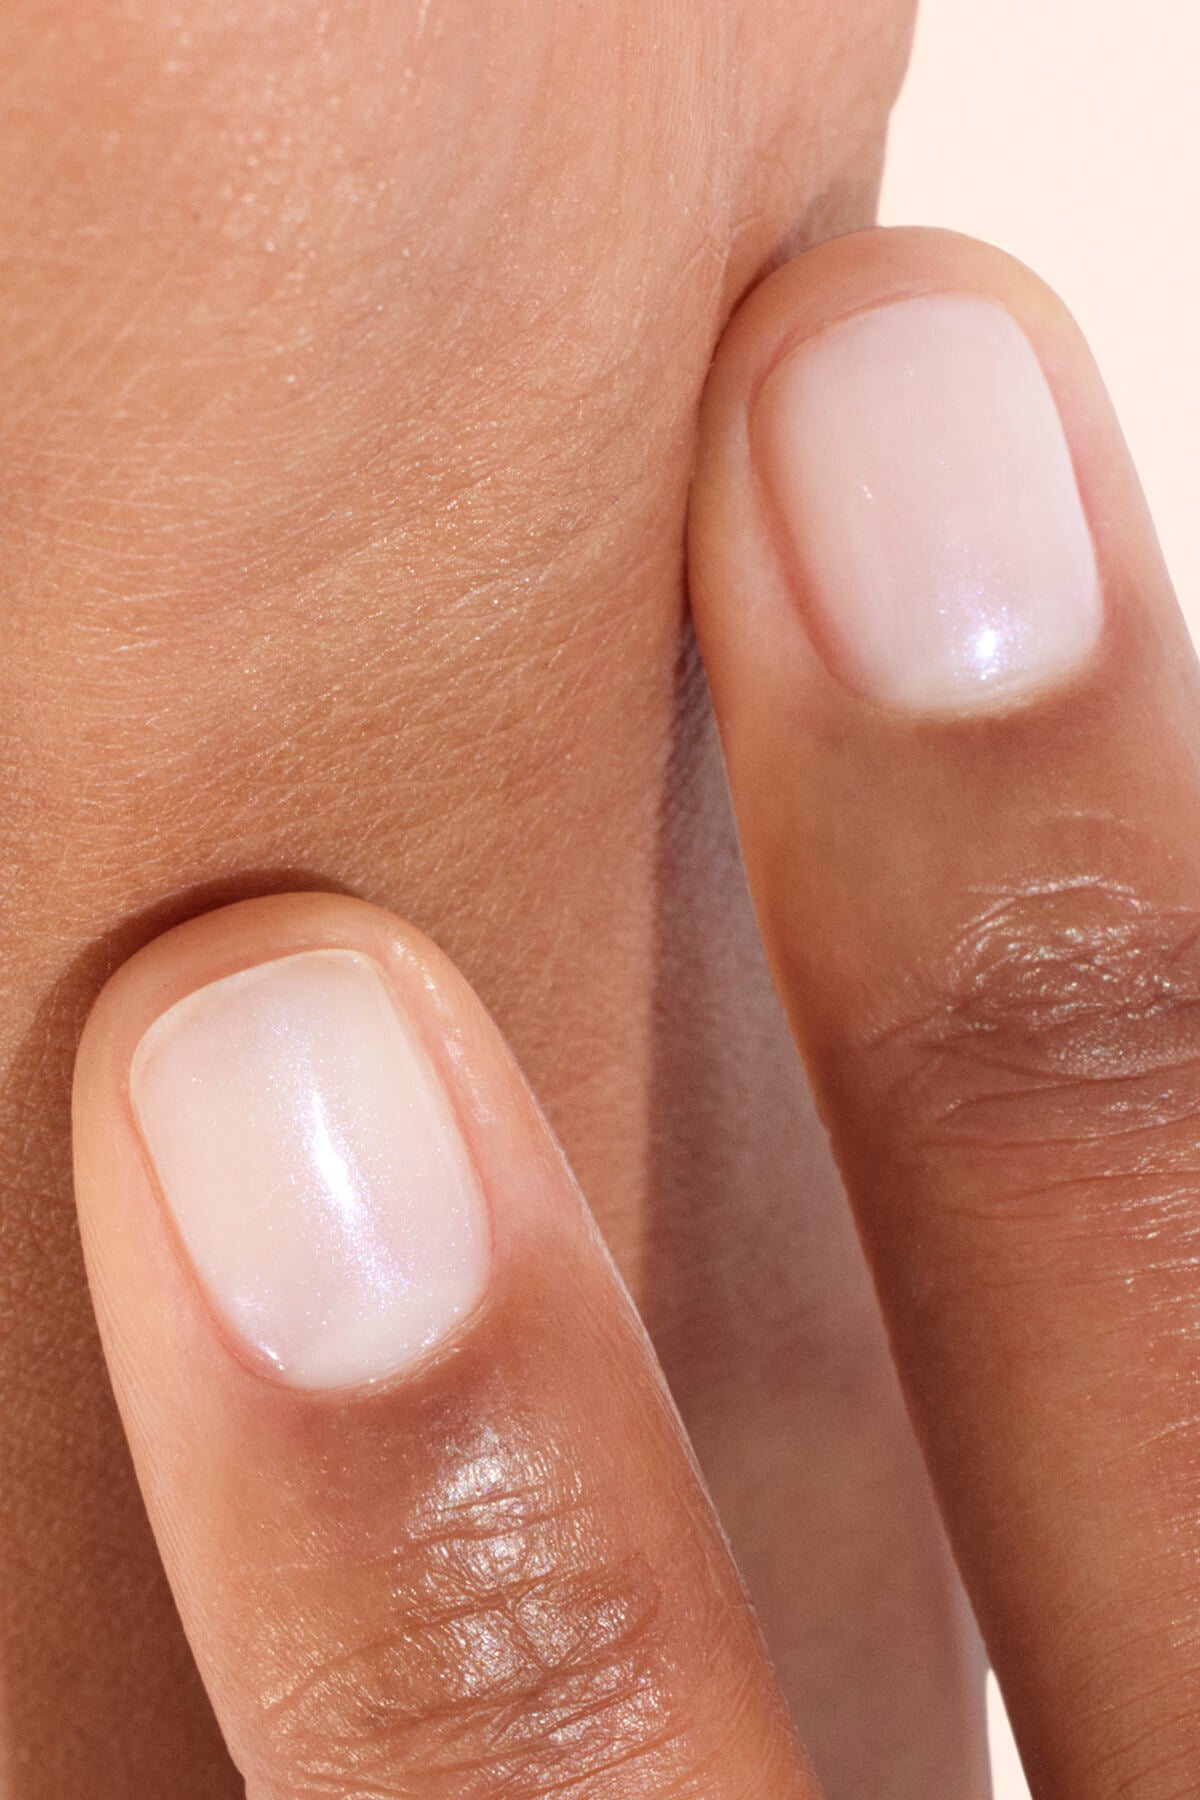
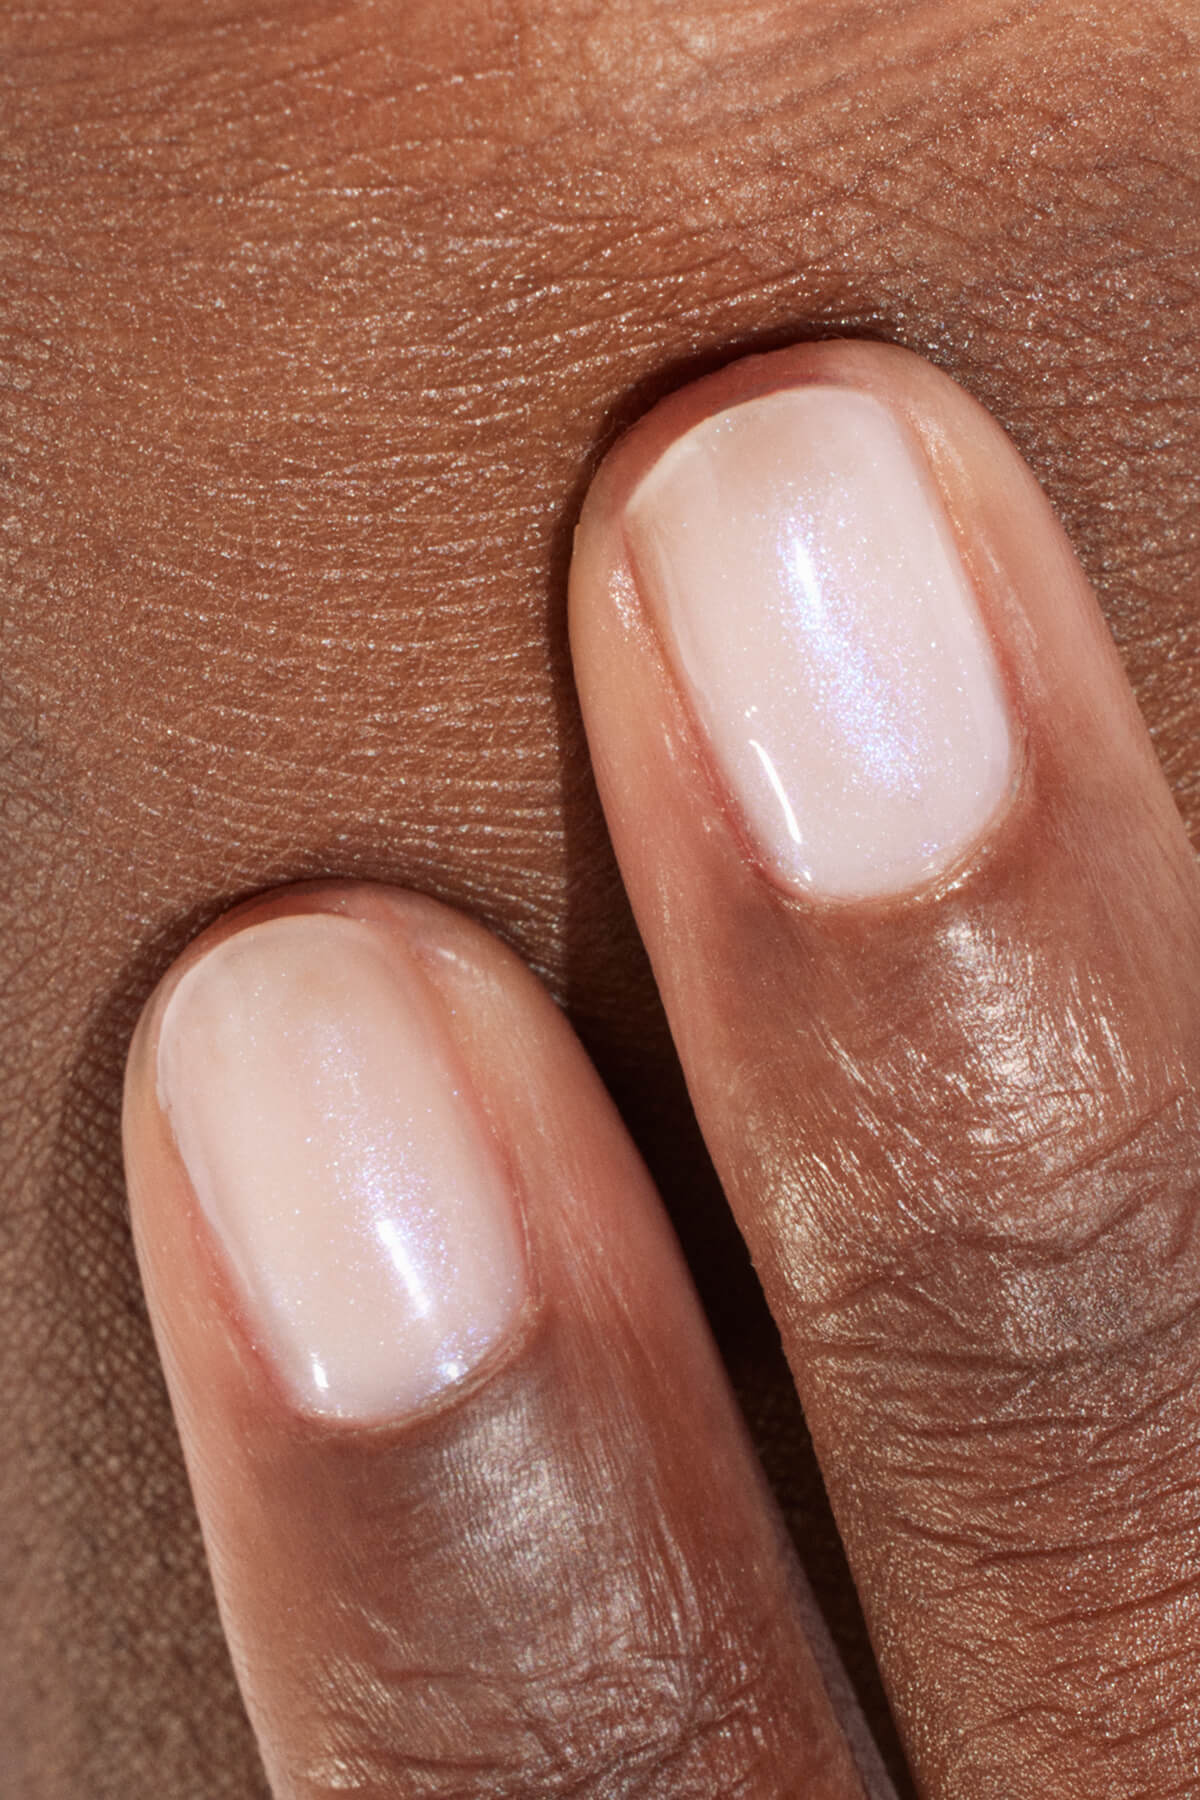
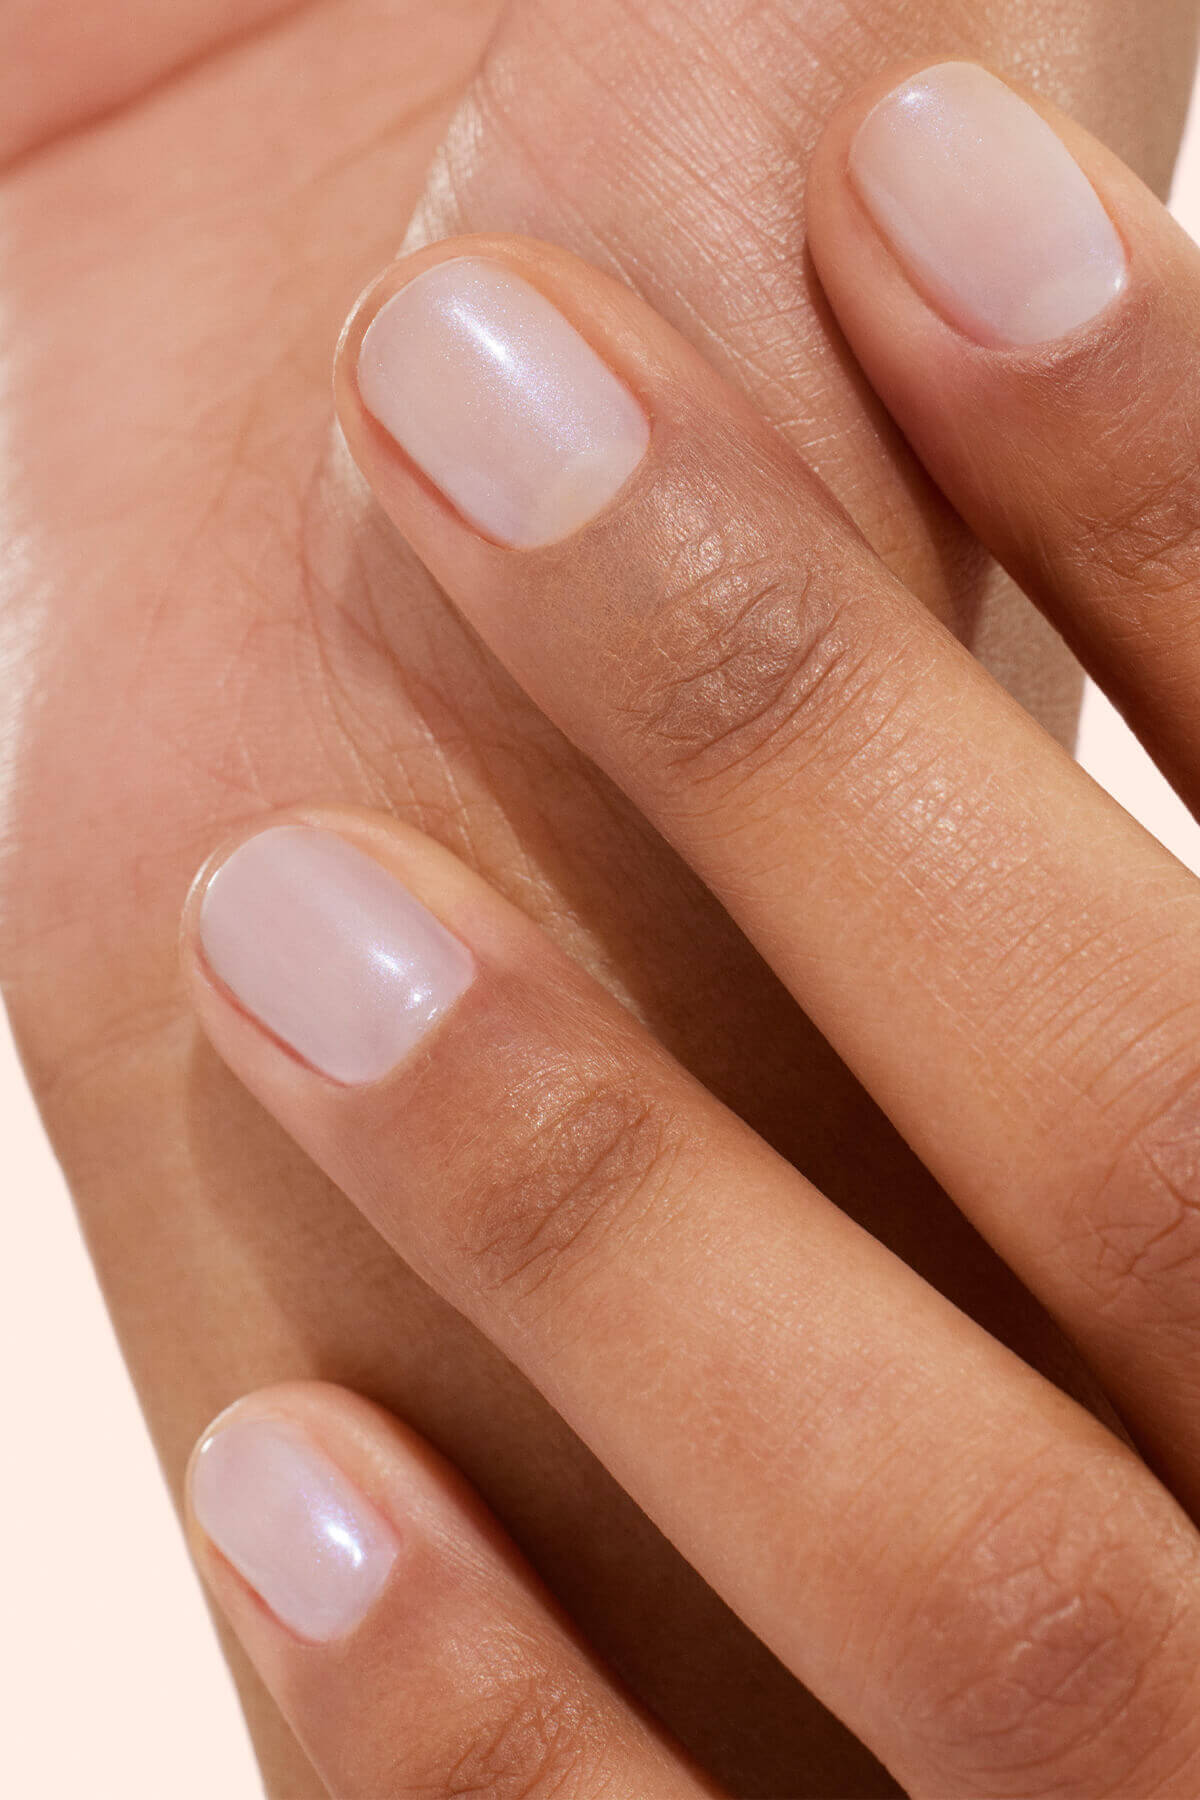
The Manucurist team reveals its tips for gel polish that lasts 10 days!
There's an art to putting on nail polish. But that doesn't mean you have to be an artist to apply your Green Flash!
Just to remind you, Green Flash is THE clean gel nail polish solution with no “bad ingredients” (endocrine disruptors, CMR molecules, sensitising monomers or hydroquinone). It contains natural ingredients from biomass sources like wheat, corn, cassava and cotton.
With up to 84% bio-sourced ingredients, Green Flash respects your health AND the environment!

Since our launch, we've been posting all our hottest tips on our Instagram account, our YouTube channel and even popping our procedure in your packages! Despite this, some of you have voiced concerns about the staying power of your Green Flash. No need to panic—we're here to help! This blog post is packed with tips on making your Green Flash last as long as possible.
Before applying your polish, you need to prepare your nails
Staying power is all about well-prepped nails. Here are a few tips to help you get it right:
-
Don't forget to push back your cuticles: this will stop water and dust from getting between your nails and your polish.
To make nail prep even easier, keep a nail care kit on hand. A good kit includes a fine-grain foam file, a cuticle pusher, nourishing oils, and a gentle, acetone-free remover, everything you need to create the perfect base for a long-lasting manicure.
-
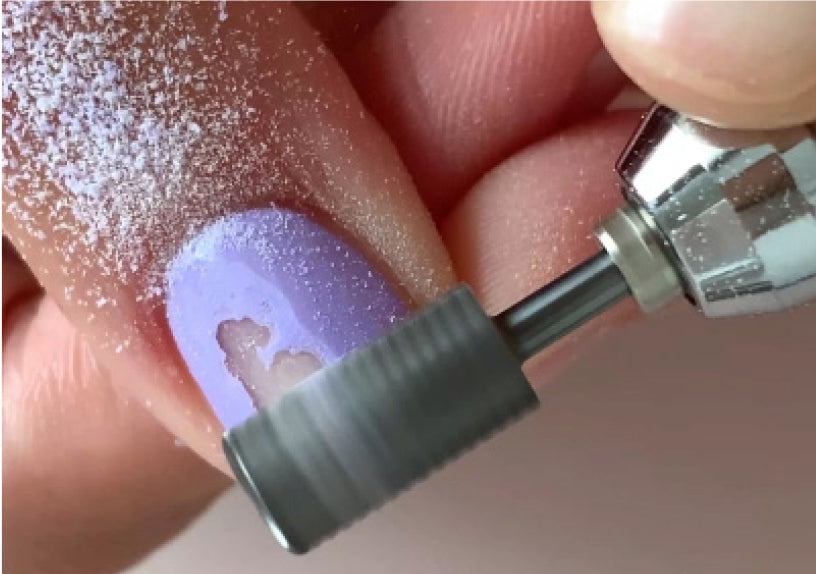
For maximum staying power, you can buff your nails with a very fine-grain “foam nail file”. This will gently smooth the surface of the nail without being abrasive and help the base coat to adhere better.
-
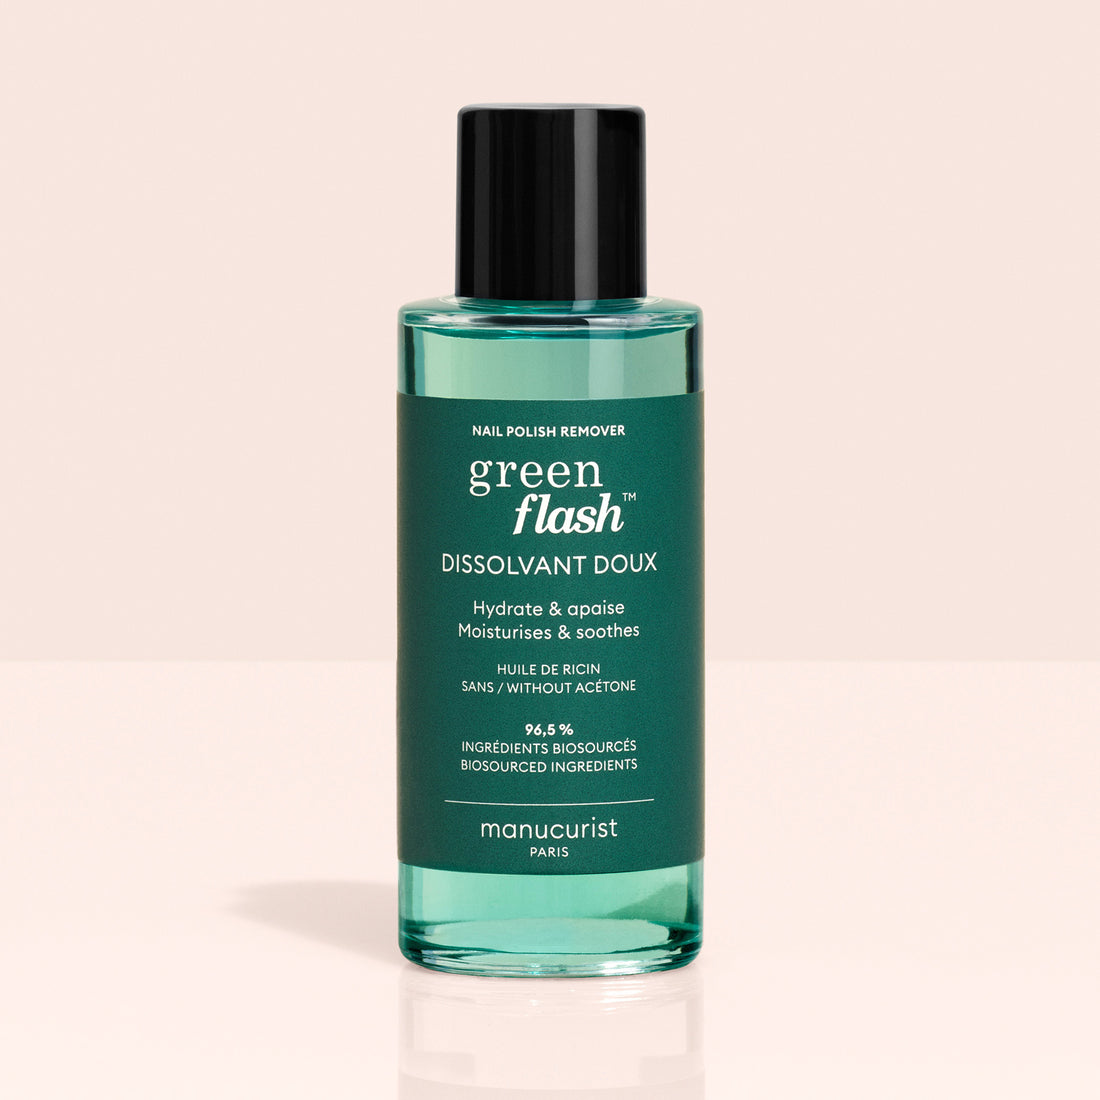
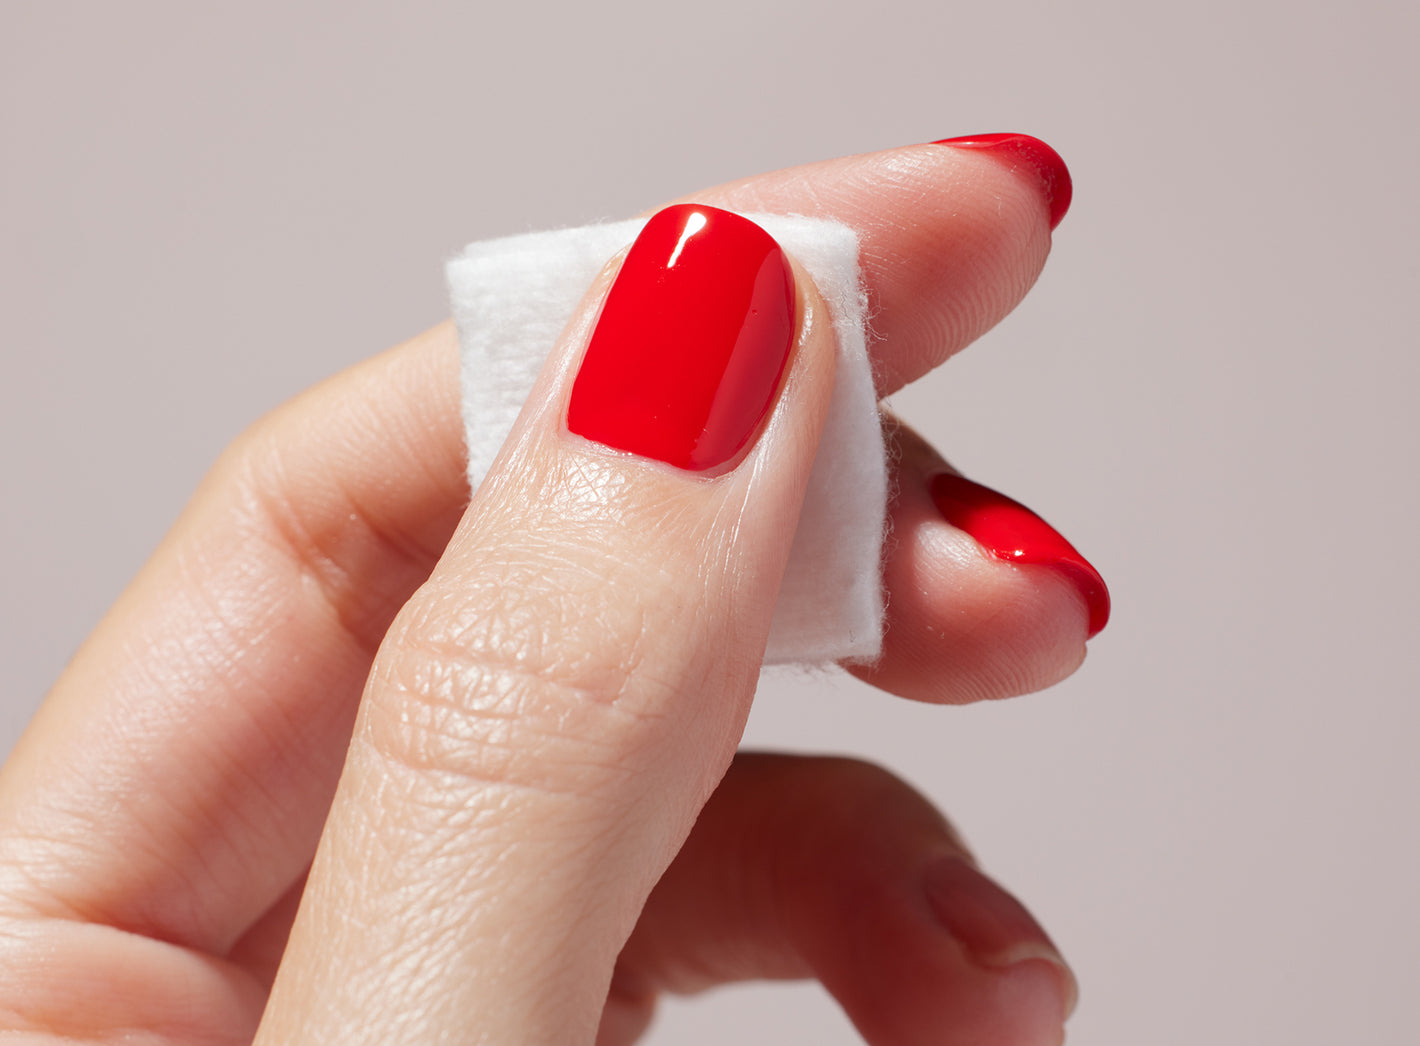
It's important to remove oil from your nails before applying your polish. Getting rid of sebum, cream and dust residue helps the base coat to "grip" the surface of the nail. Do this with an acetone-free, oil-free nail polish remover like Green Flash Nail Polish Remover.

When you apply your polish, you need to focus
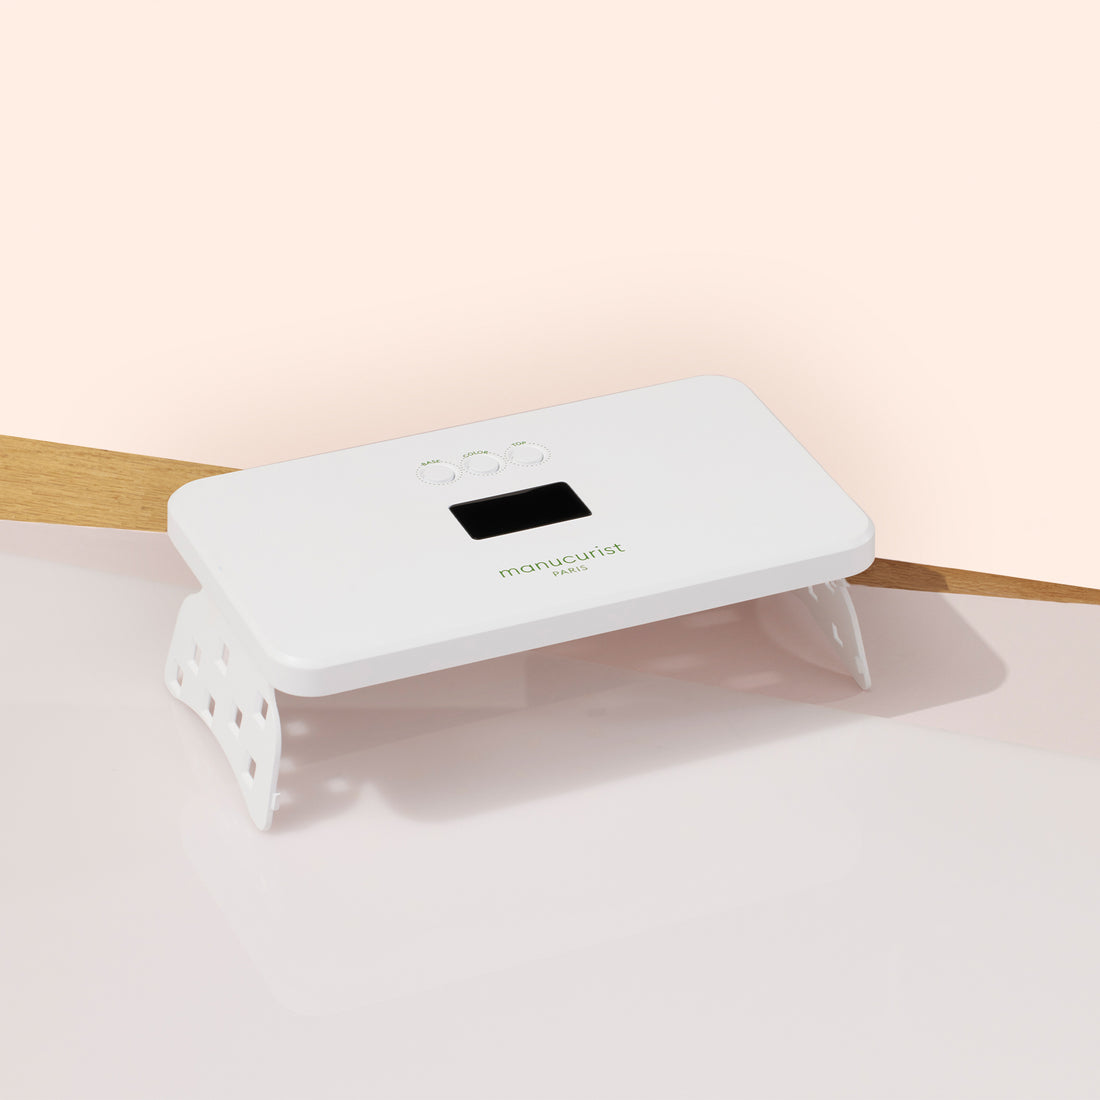
Quick reminder: always use the base coat, color and top coat from the Green Flash range. These three products have been formulated to work together. Unlike our regular Green nail polish colors, Green Flash colors need a lamp to cure, like gel nail polish.
-
Follow the steps carefully: start with the Base Coat, then 2 coats of color, and finish with 1 layer of Top Coat.
-
For optimal curing, apply each product in thin coats: this will stop your polish from shrinking and "wrinkling".
- Don't forget to cap each coat by applying a small amount of polish to the tip of your nail.
-
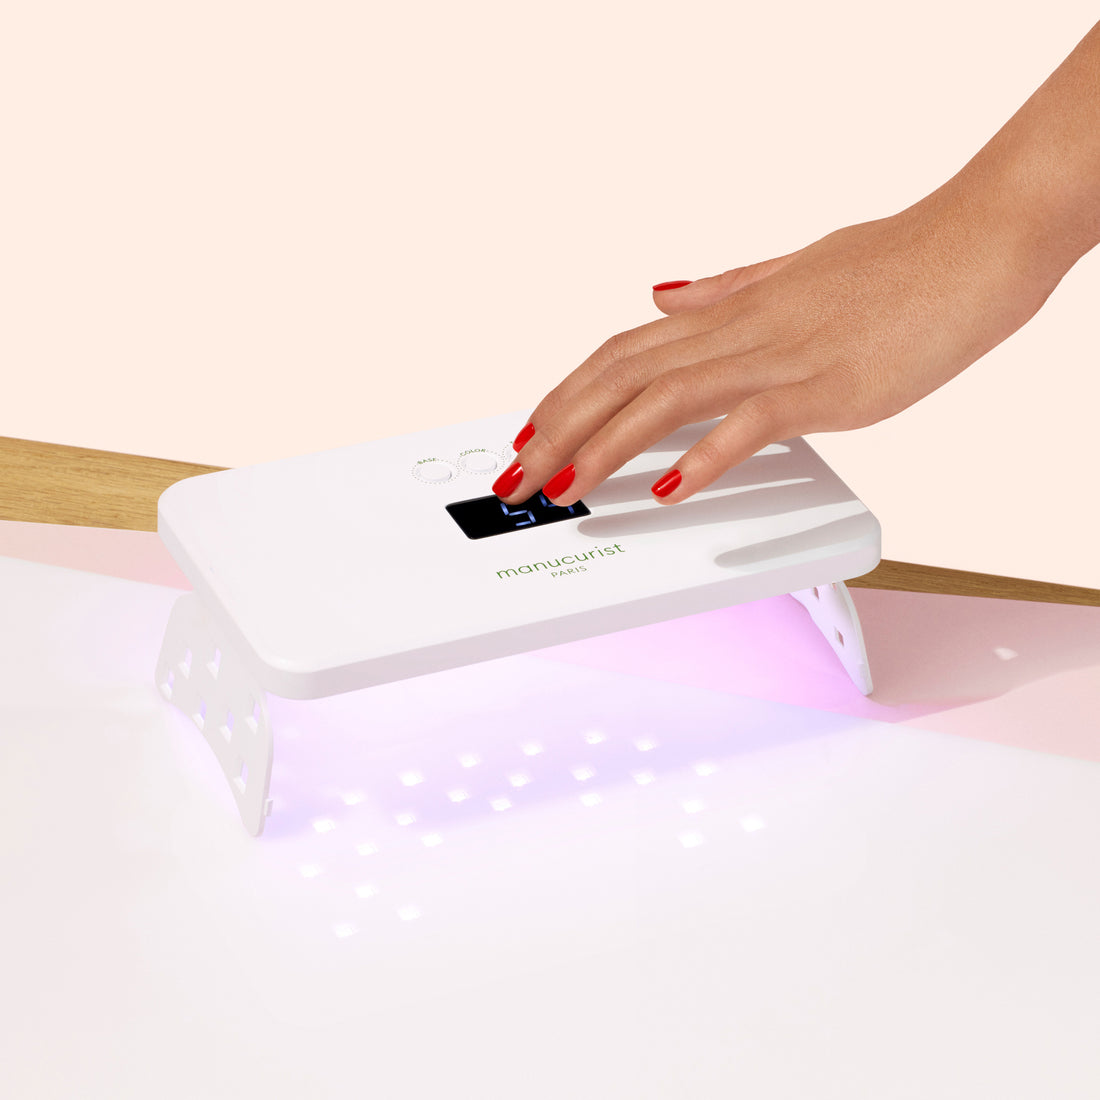
Follow the curing instructions: place your hand under the lamp between each coat and stick to the time shown in the procedure inside your Green Flash lamp box.
With the 18W LED lamp: 2 min for the Base Coat, 2 min for each coat of color and 3 min for the Top Coat.
With the 36W LED lamp: 1 min for the Base Coat, 1 min for each coat of color and 2 min for the Top Coat.
Once you have applied the polish, take good care of your nails
-
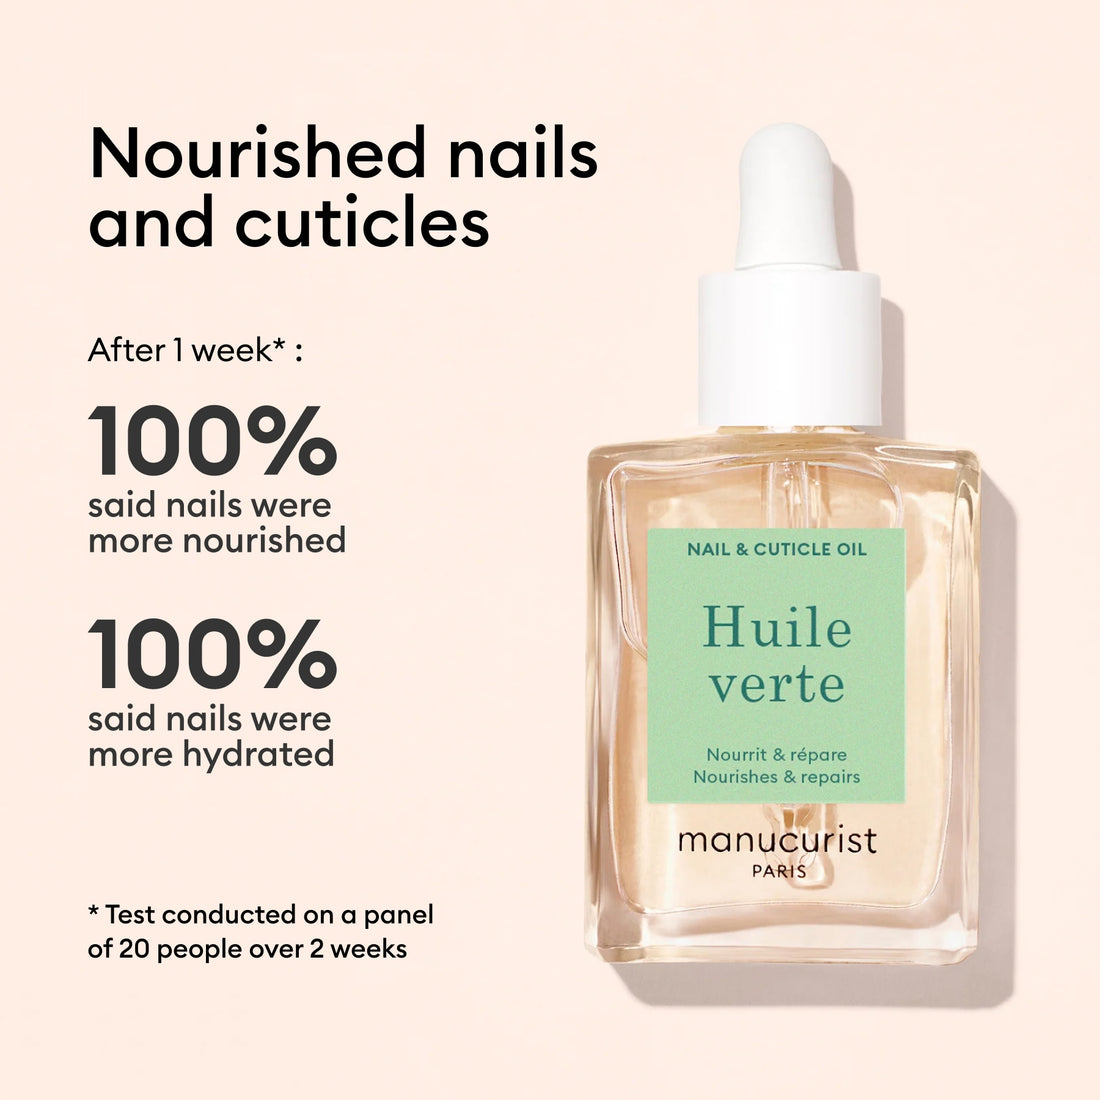
Once the Top Coat is dry, apply a drop of Green Oil around each nail to rehydrate the cuticles at the end of the manicure. Repeat regularly after application for a cleaner nail contour. For more tips on keeping your nails healthy and strong, check out our nail care guide.
-
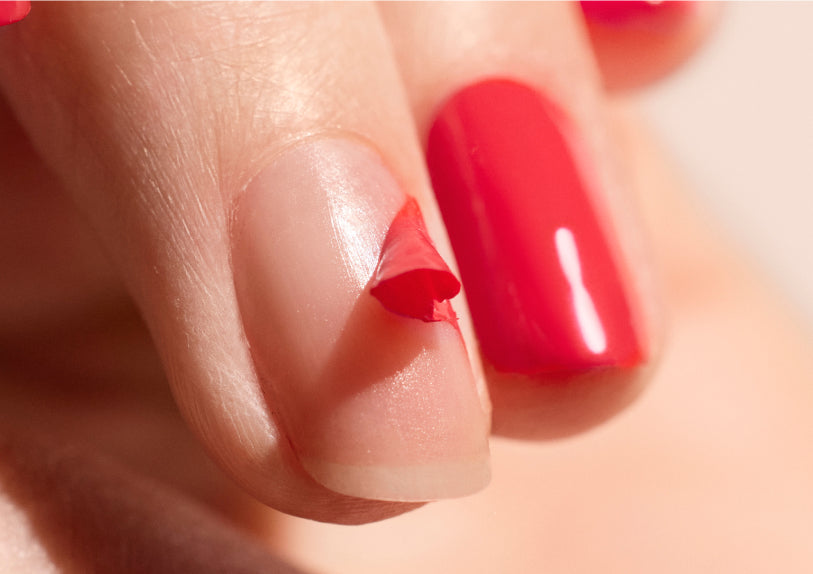
It's important not to knock them: don't use your nails as a lever to open your can of iced tea, for example. This is a good general rule to follow if you want to keep your natural nails or manicure in good condition.
-
Be careful with water as it softens your nails, so avoid immersing your hands for too long. It's a good reason to ask your other half to do the washing up! ;) You can still go swimming, but be careful getting out of the water: soft nails break more easily and that would damage your Green Flash.
If you take all these tips on board, there's no reason for your manicure not to be on top for the full 10 days!
Post your own Green Flash tips as a comment and mention us on Instagram (@manucurist), it always makes us happy!
Check out our other blog posts for more Green tips!


