
Green Flash: our 10 tips for maximum staying power
The Manucurist team reveals its tips and best practice for Green Flash gel polish that lasts 10 days or more!
Green Flash™, the first LED nail polish that dries instantly, is ultra long-lasting and can be removed in a flash.
It's the ultimate clean alternative to regular polish and gel polish.
HOW TO
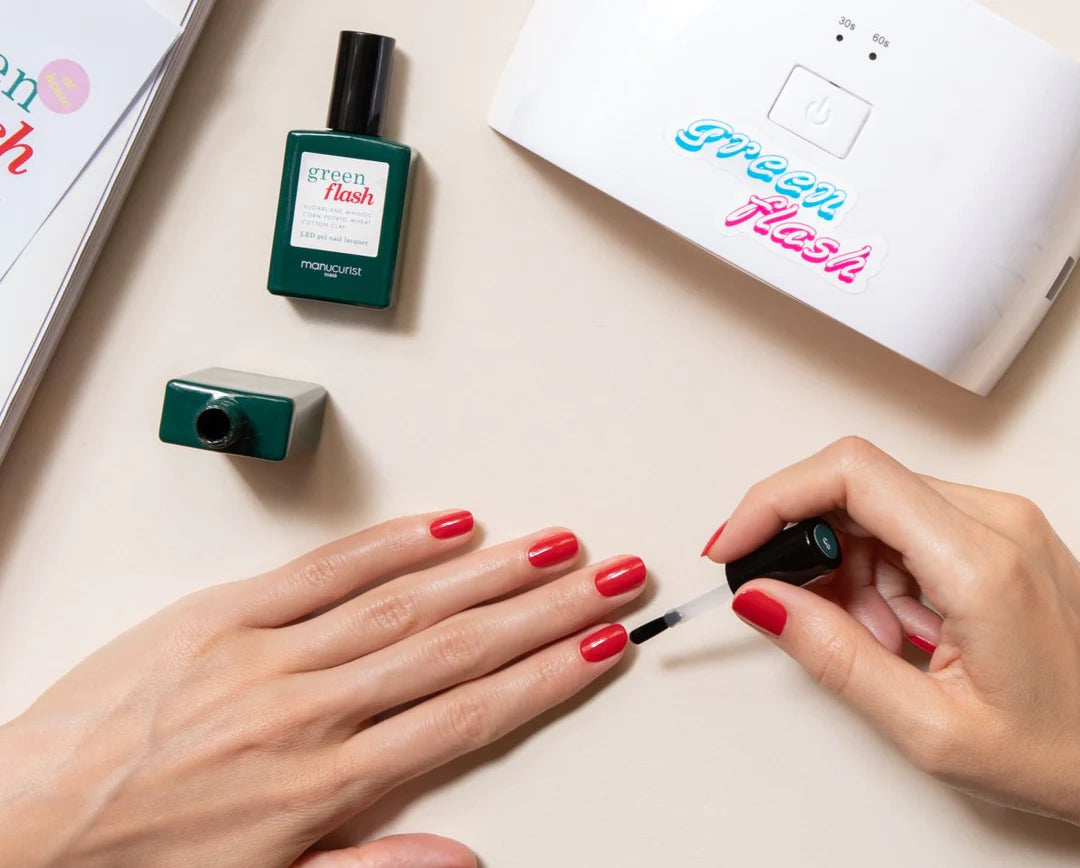
Follow our 3-step routine for easy application: base coat, colour and top coat with the LED lamp.
See all the steps
Step 1 - Prepare the nail
Use Green Flash™ Nail Polish Remover to remove any oil from your nails.
Step 2 - Base Coat
Apply a thin layer of Green Flash™ Base Coat. You don't need a lot.
This step is very important. It stops the polish from lifting and helps the color to adhere.
Once you've applied the base coat, cure under the Green Flash™ Premium 36W Lamp for 1 minute or the Green Flash™ 24W Lamp for 2 minutes.
Step 3 - Color
Now you can apply your favorite Green Flash™ color in 2 or 3 brush strokes. Start in the middle and then paint each side of the nail.
Once again, it's important to use as little product as possible. Cure under the Green Flash™ Premium 36W Lamp for 1 minute or the Green Flash™ 24W Lamp for 2 minutes.
Repeat this step so you end up with 2 thin coats of color.
Step 4 - Top coat
Apply the Green Flash™ Top Coat, cure under the Green Flash™ Premium 36W Lamp for 2 minutes or the Green Flash™ 24W Lamp for 3 minutes.
TIP 1 - Apply Green Oil
Once you have completed your Green Flash™ manicure, use our Green Oil to enhance and moisturize your skin.
Apply a few drops to your cuticles and massage in to moisturize. You can also rub it into your fingers.
Et voilà—your Green Flash™ manicure is complete and you'll have beautiful, glossy nails for up to 12 days!
How to
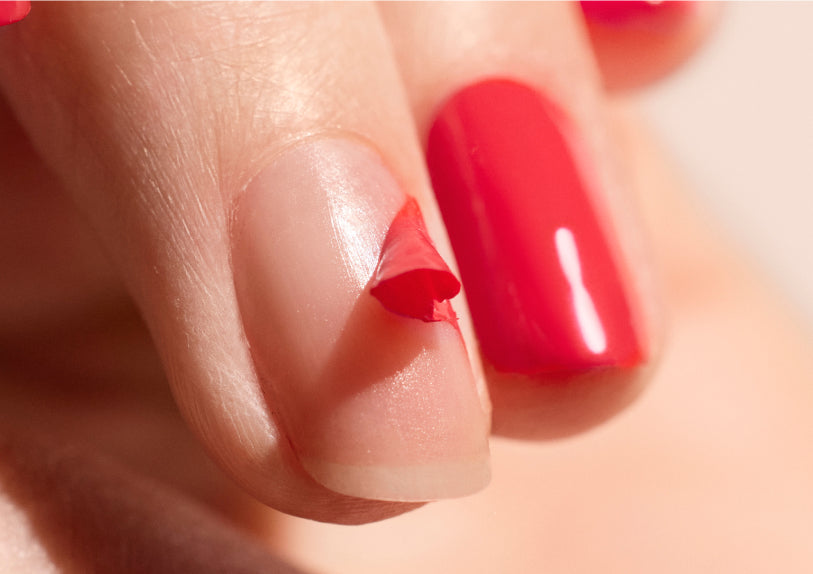
Removal is child's play if you follow our best practice guide. Changing color has never been easier ⚡️
application is easy or very easy!
according to 80% of users surveyed*
you'll be a pro from your third application!
according to 80% of users surveyed*
*survey carried out on 2,575 Green Flash users

Become a pro!
Follow these steps to prepare your nails properly and boost the staying power of your Green Flash™.
See all the steps
Step 1 - File Nails
Apply on prepped nails. File the nails to create the perfect shape using a 100/180 File.
Step 2 - Prepare the nail outline
Apply a drop of Cuticle Softener to the nails and leave it for a
moment, then gently push back cuticles using small circular motions left and right with the Cuticle Pusher. Finish with Cuticle Nippers to achieve a clean nail contour
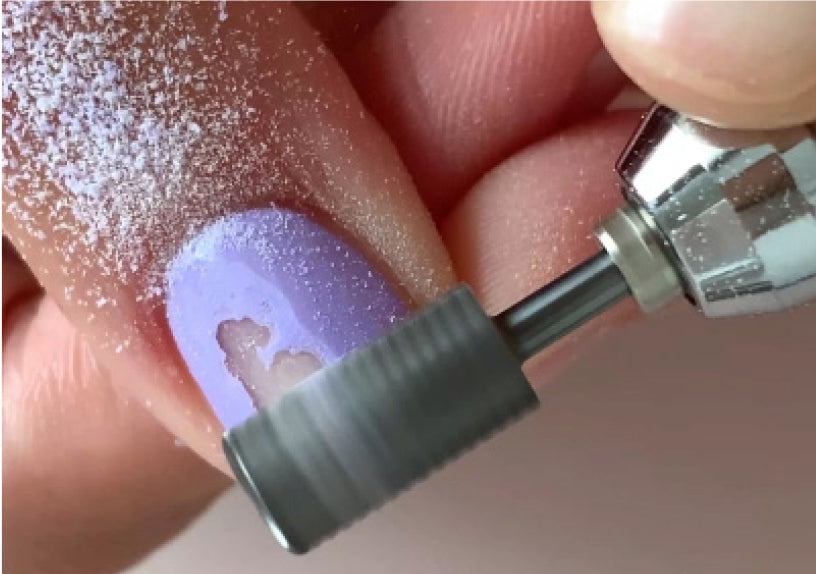
Step 3 - Roughen Nails
Lightly buff the nail surface using the Nail Buffer Sponge.
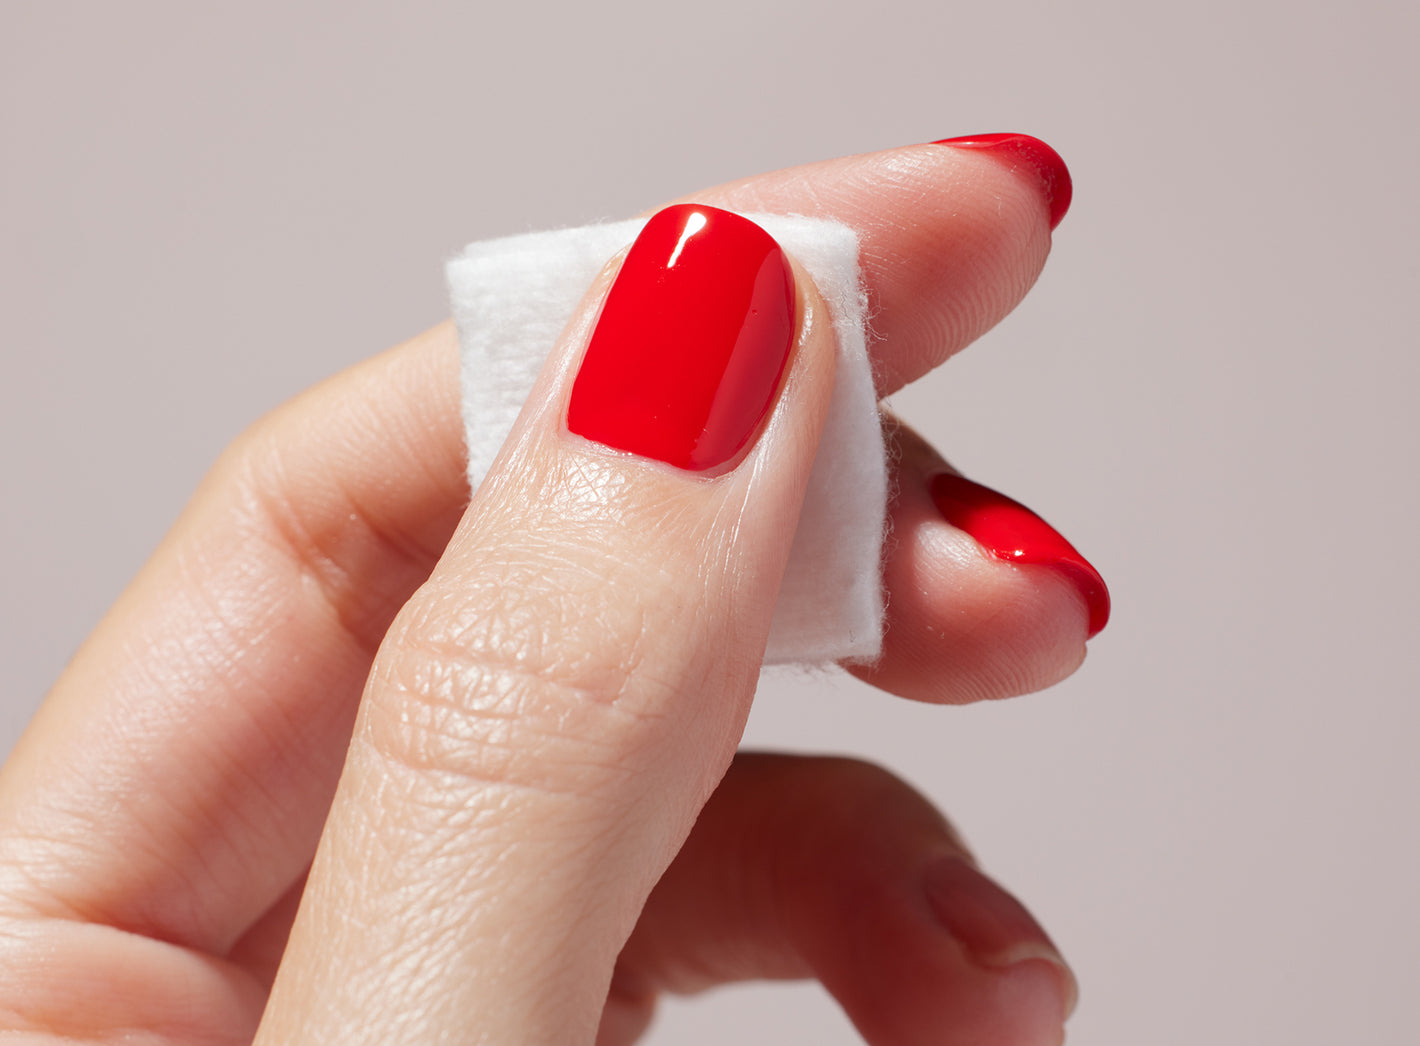
Step 4 - Degrease the nails
Degrease the nail using a lint-free pad or tissue soaked
with the Gentle Polish Remover Green Flash™

Use as little product as possible
Wipe one side of the brush and just leave a small drop of product on the tip of the other side.

Remove any traces of polish from the fingers
For optimal staying power, remove any excess polish from the skin before curing under the lamp. To do this, soak a brush or cotton bud in Green Flash Nail Polish Remover and rub gently.

Apply Green Oil
Finish off your Green Flash manicure by applying Green Oil. Apply a few drops to the nail contour and massage in gently to help it penetrate.
Personalised video advice
Do you want advice on perfecting your Green Flash™ manicure? Choosing the right nail care routine? Getting started with nail art?
Our manicure experts have put together a video packed with useful tips. It comes in two formats:
✨ regular group masterclasses on a particular topic ✨
✨ one-on-one virtual consultations providing advice on a specific topic ✨
Sign up below! 👇
(Re)play previous coaching sessions to learn all our expert tips 💫
Follow us on Instagram so you don't miss anything.
The Manucurist team reveals its tips and best practice for Green Flash gel polish that lasts 10 days or more!

What's the difference between an LED lamp and a UV lamp for a perfect manicure? We explain how they work and how to choose the right one.

Filing, pushing back your cuticles, buffing your nails... Here's everything you need to prep your nails like a pro and ensure a flawless, long-lasting manicure.
Led Gel Polish
Green Flash™
Can be removed at home, without acetone and without rubbing

Dries immediately under an LED lamp

Ingredients: plant-based & vegan

Fortified nails with the patented Base Coat for 21 days long-lasting*
*With Xtrem Flash™ Top Coat
Regular Gel Polish
Other brands
Removed in a salon with acetone, using a nail drill
Dries immediately under a UV lamp
Ingredients: potentially harmful and non-vegan
Lasts 3 weeks with risk of damaged nails
Nail Polish
Green™
Can be removed at home, without acetone, by rubbing
Air dries in a few minutes
Ingredients: plant-based & vegan

Fortified nails with the Base Coat for a 7 days long-lasting
Nail Polish
Green™
Can be removed at home, without acetone, by rubbing
Air dries in a few minutes
Ingredients: plant-based & vegan
Fortified nails with the Base Coat for 7 days long-lasting
Led Gel Polish
Green Flash™
Can be removed at home, without acetone and without rubbing
Dries immediately under an LED lamp
Ingredients: plant-based & vegan
Fortified nails with the patented Base Coat for 21 days long-lasting*
*With Xtrem Flash™ Top Coat
Regular Gel Polish
Other brands
Removed in a salon with acetone, using a nail drill
Dries immediately under a UV lamp
Ingredients: potentially harmful and non-vegan
Lasts 3 weeks with risk of damaged nails
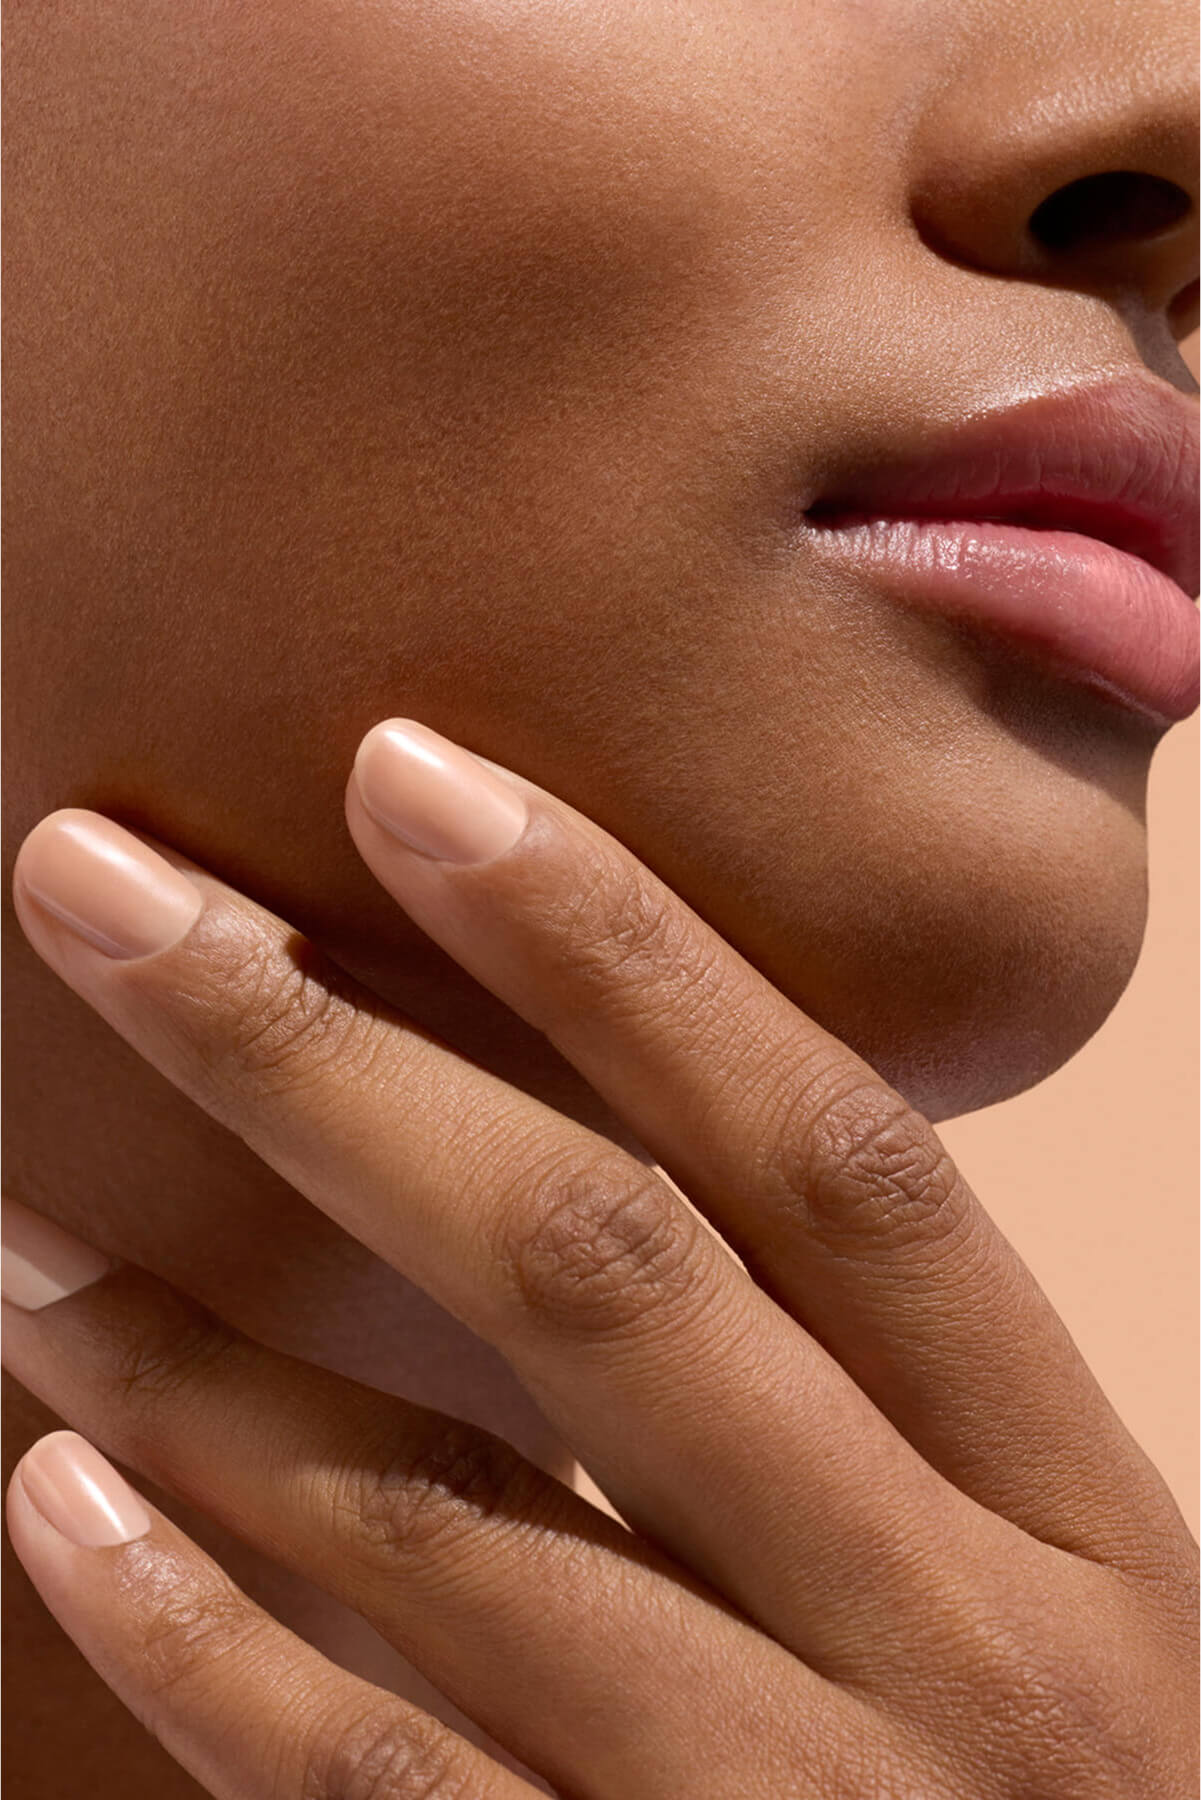
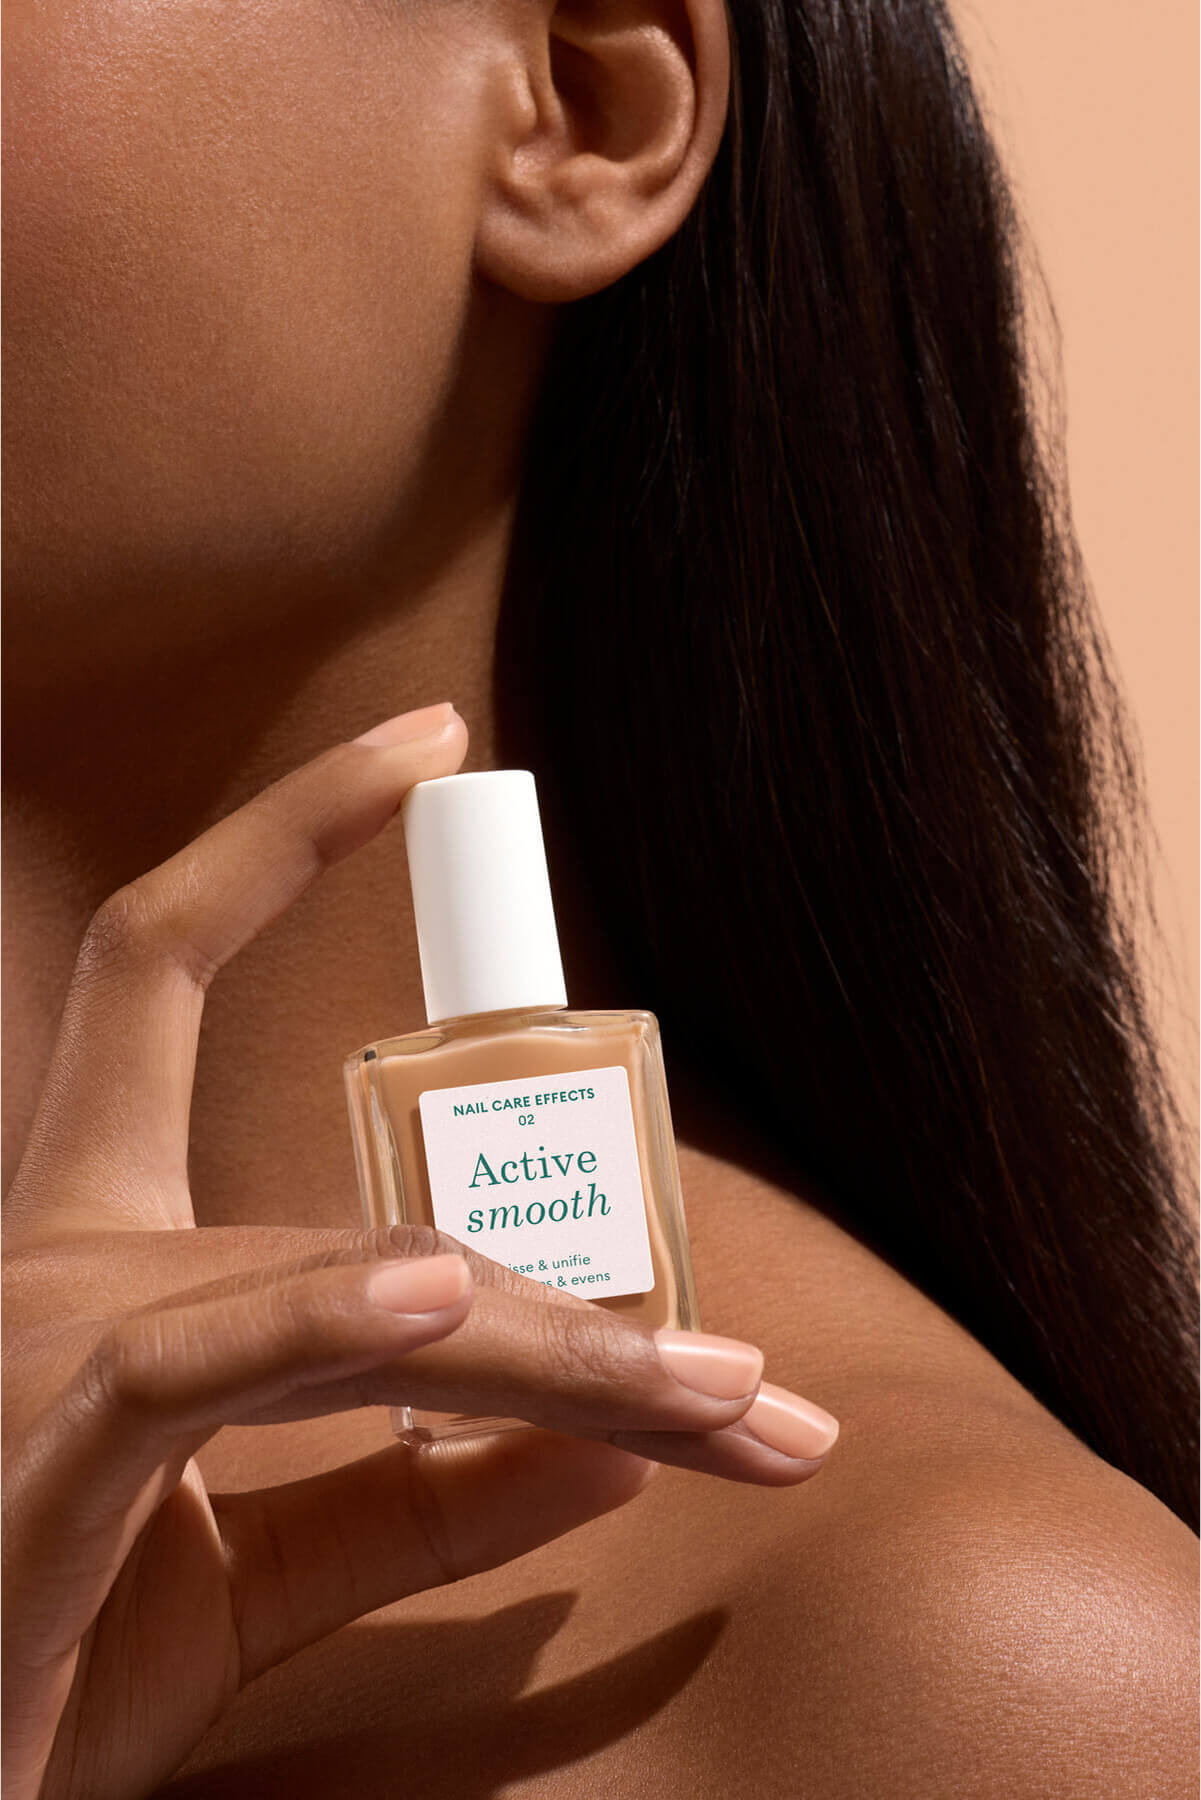
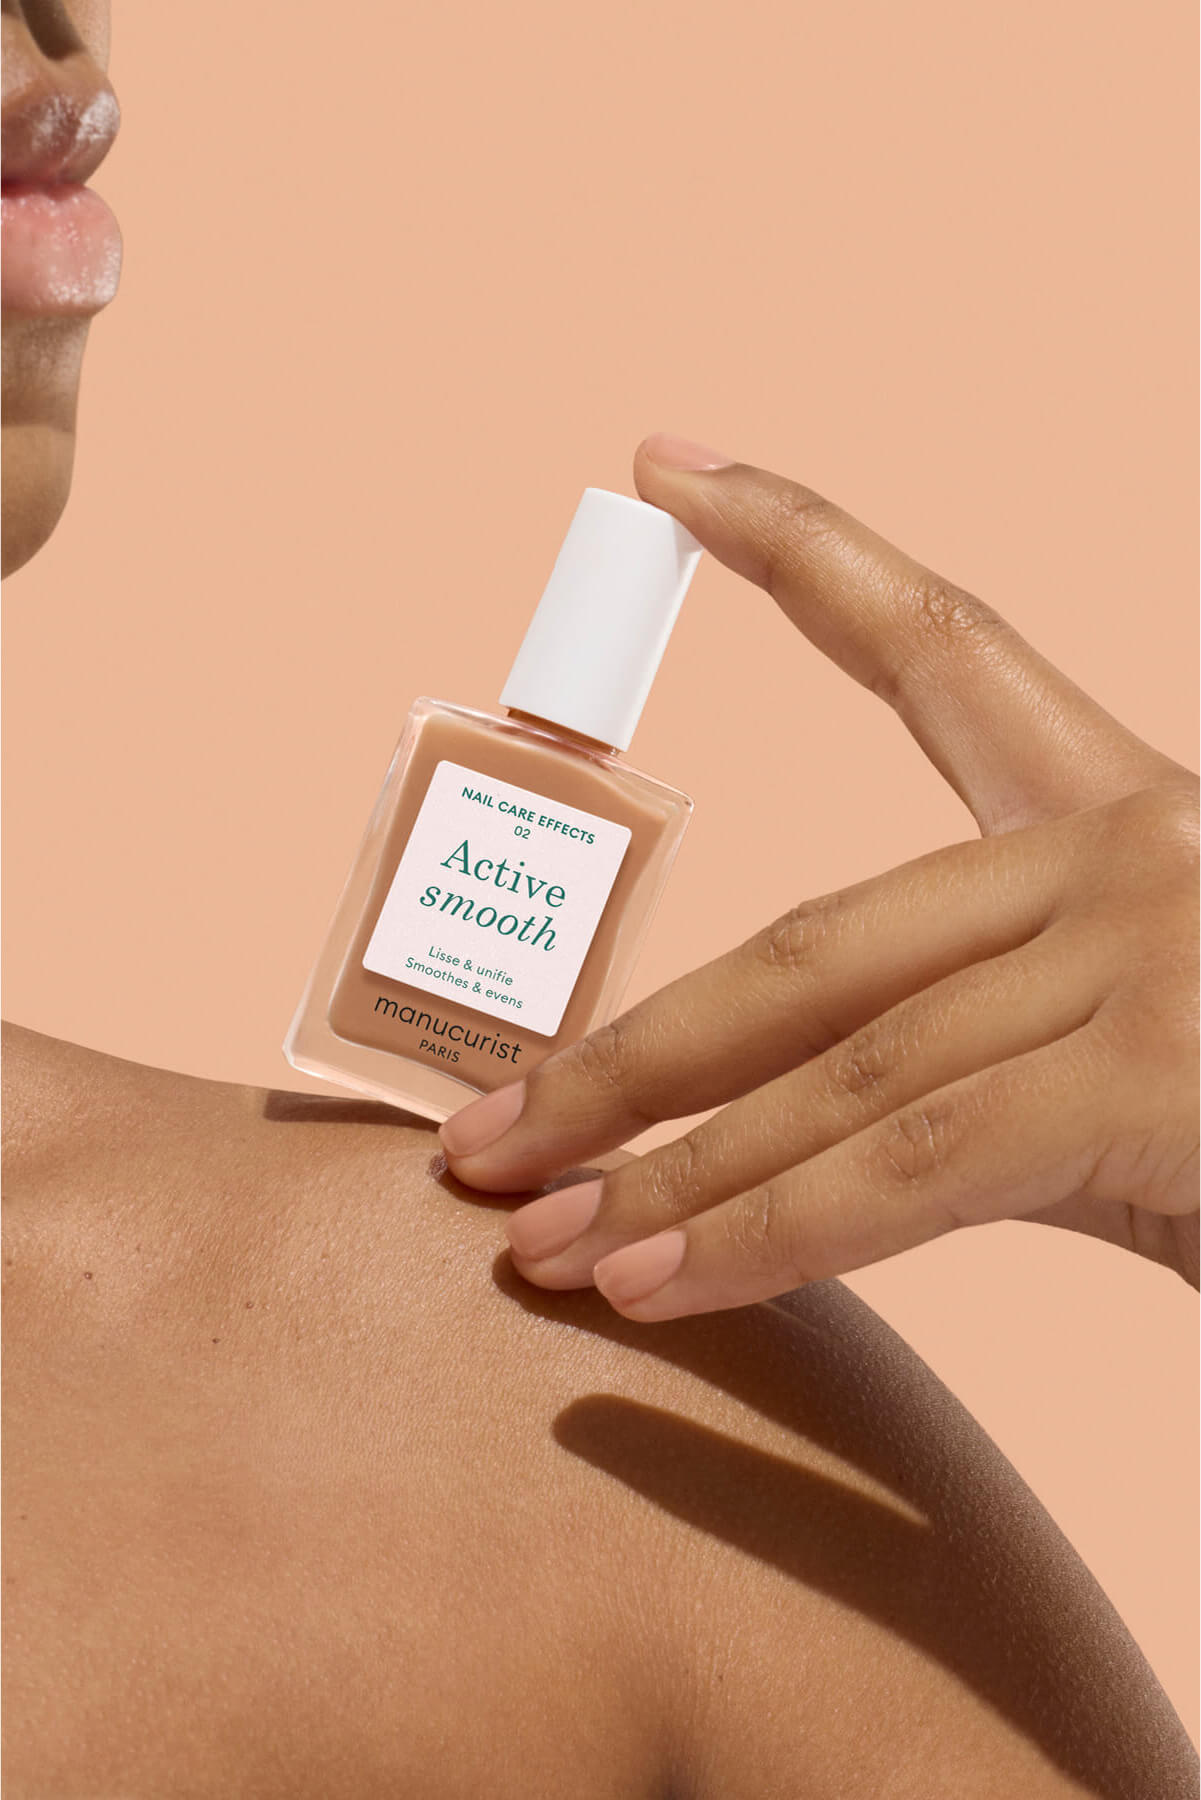
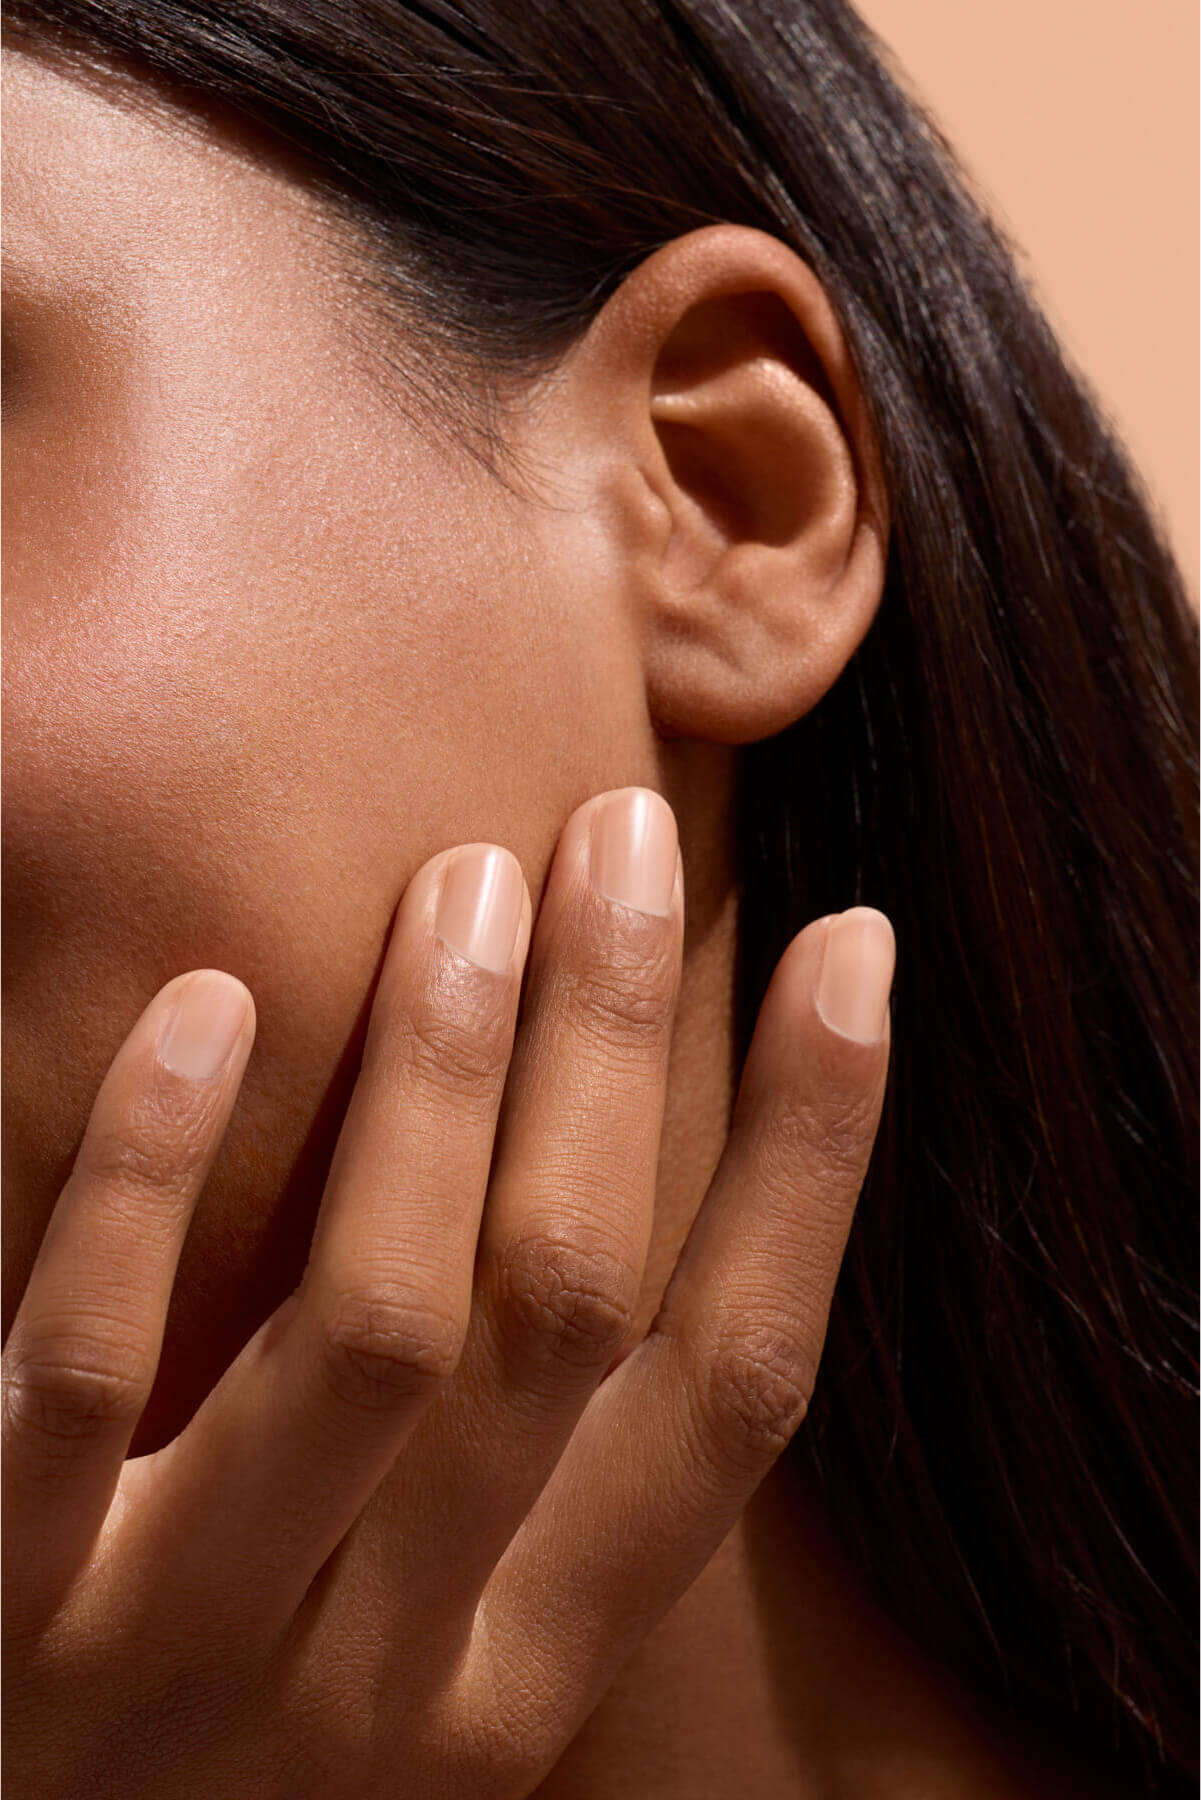
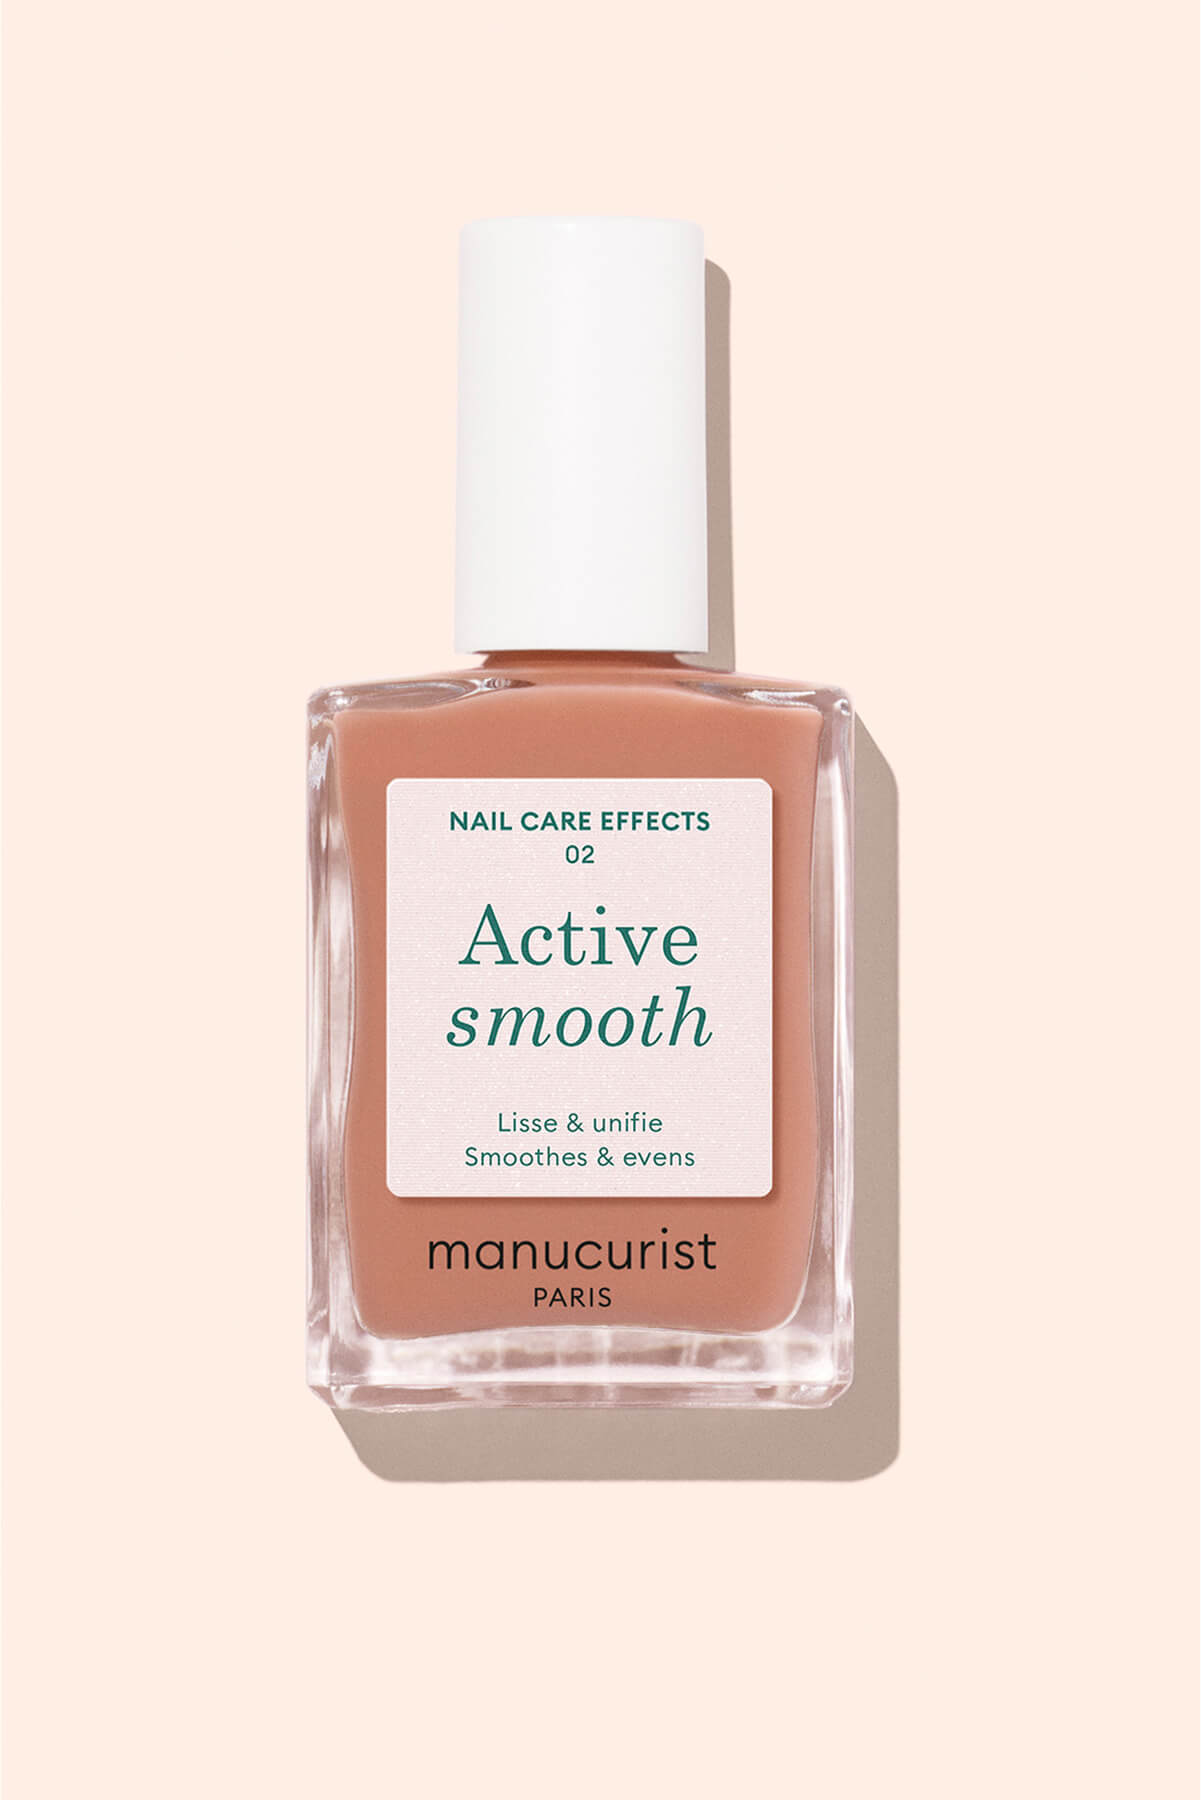
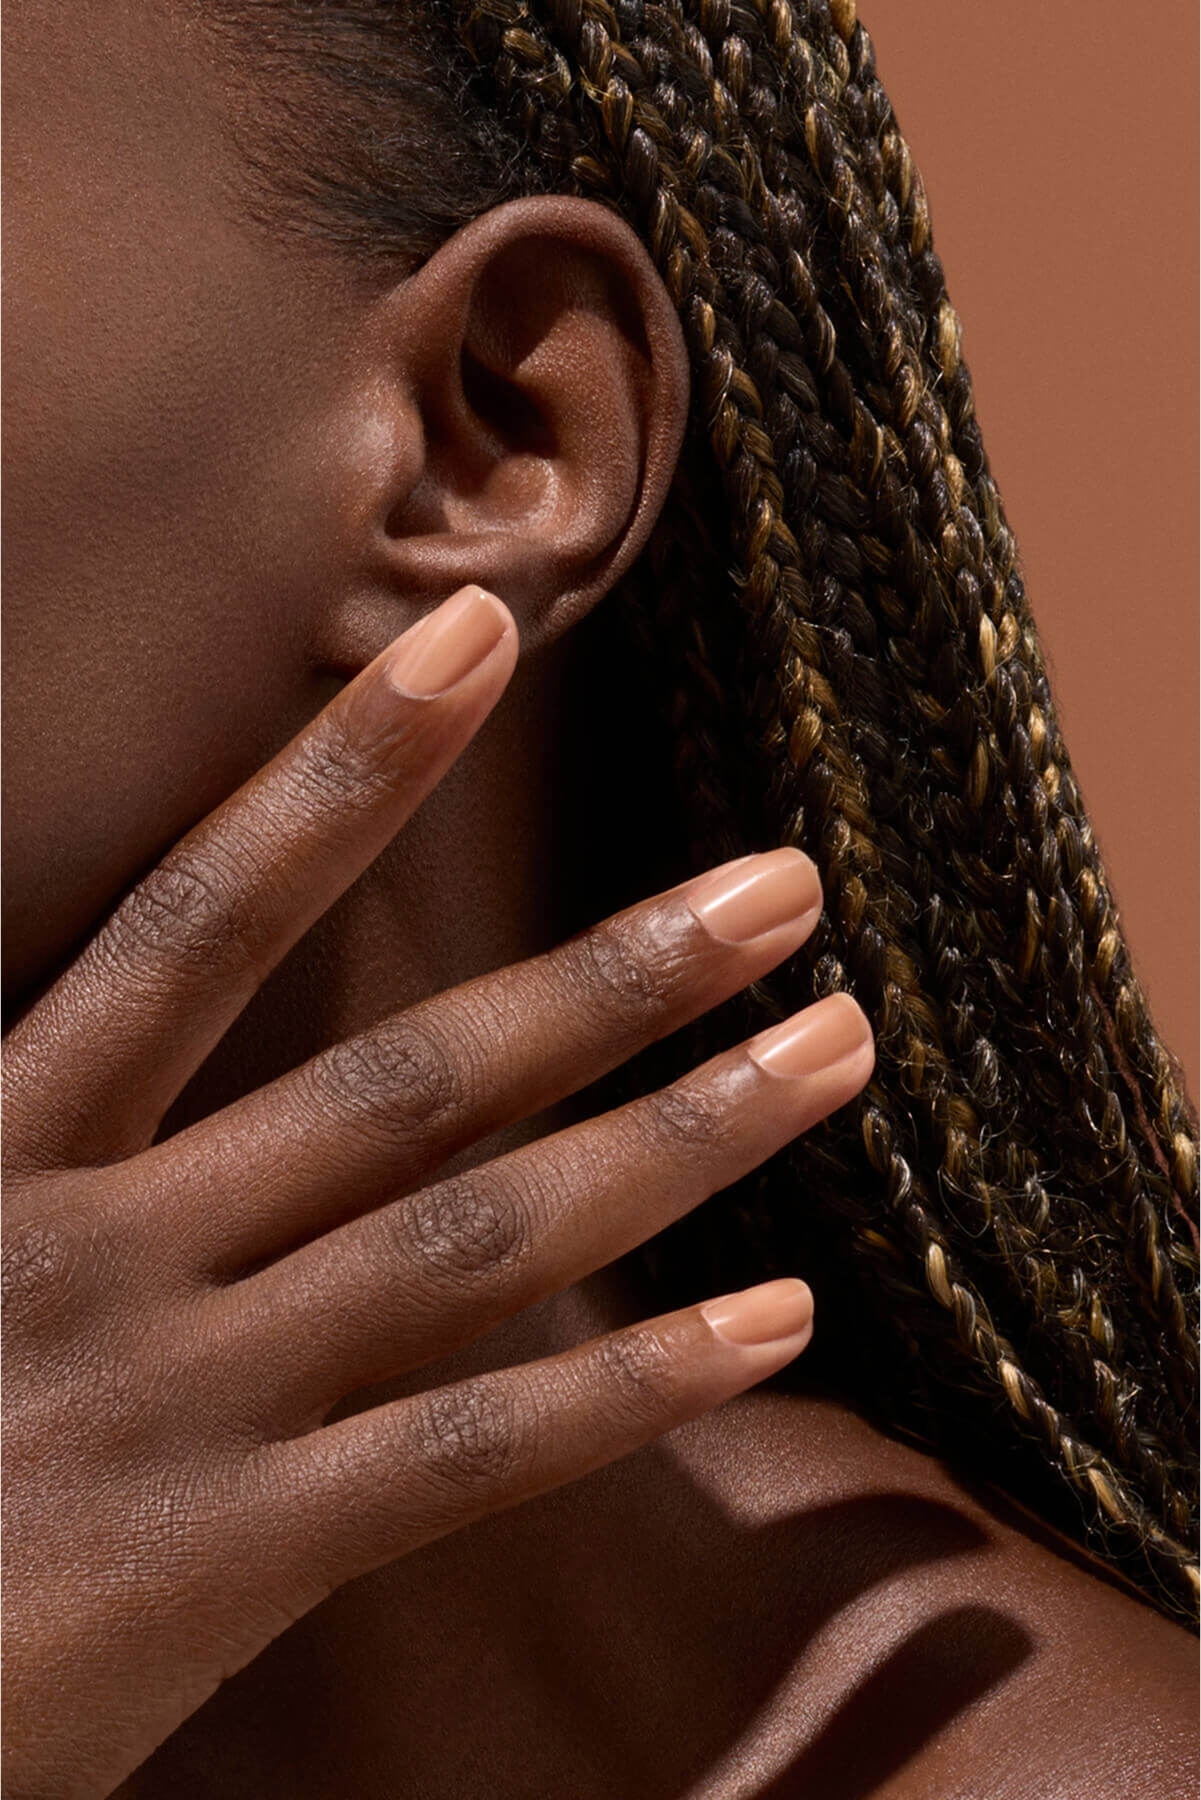
Active™ Smooth
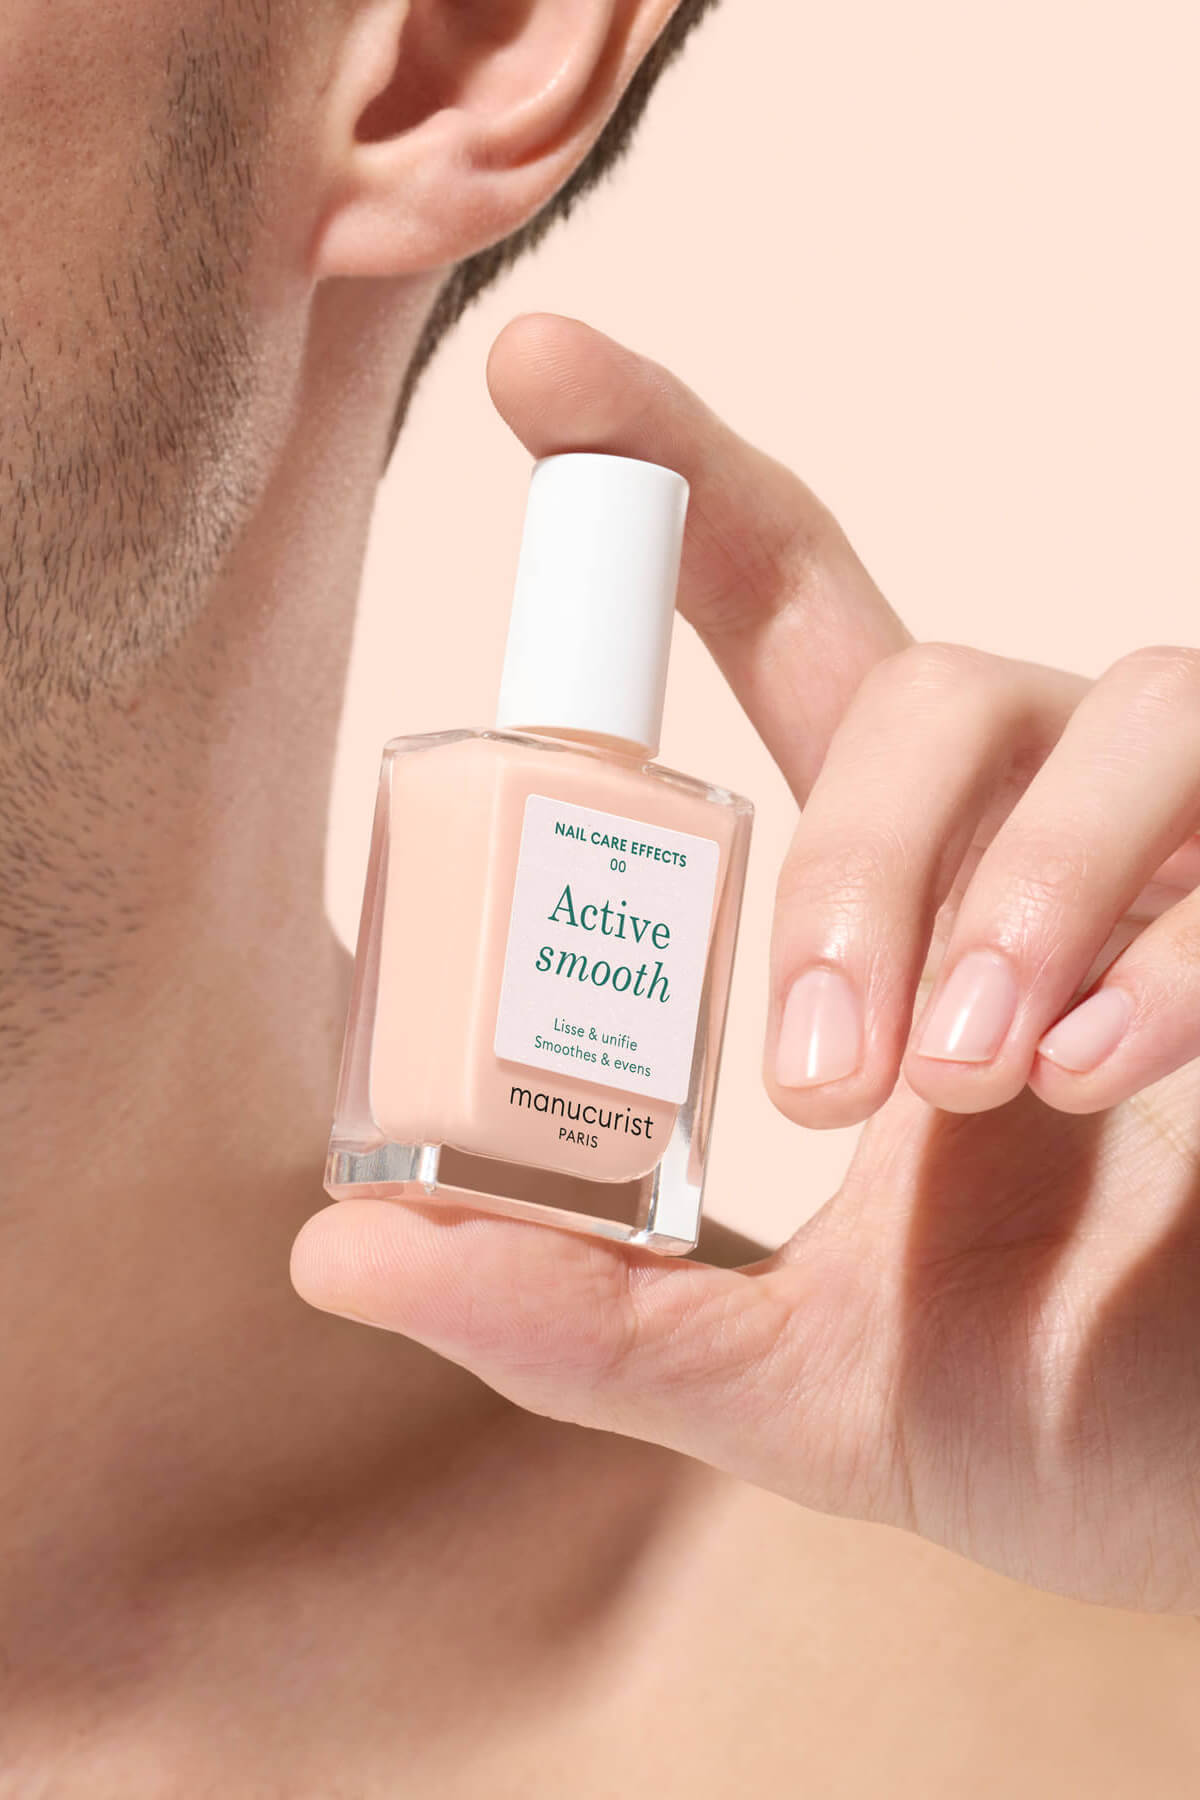
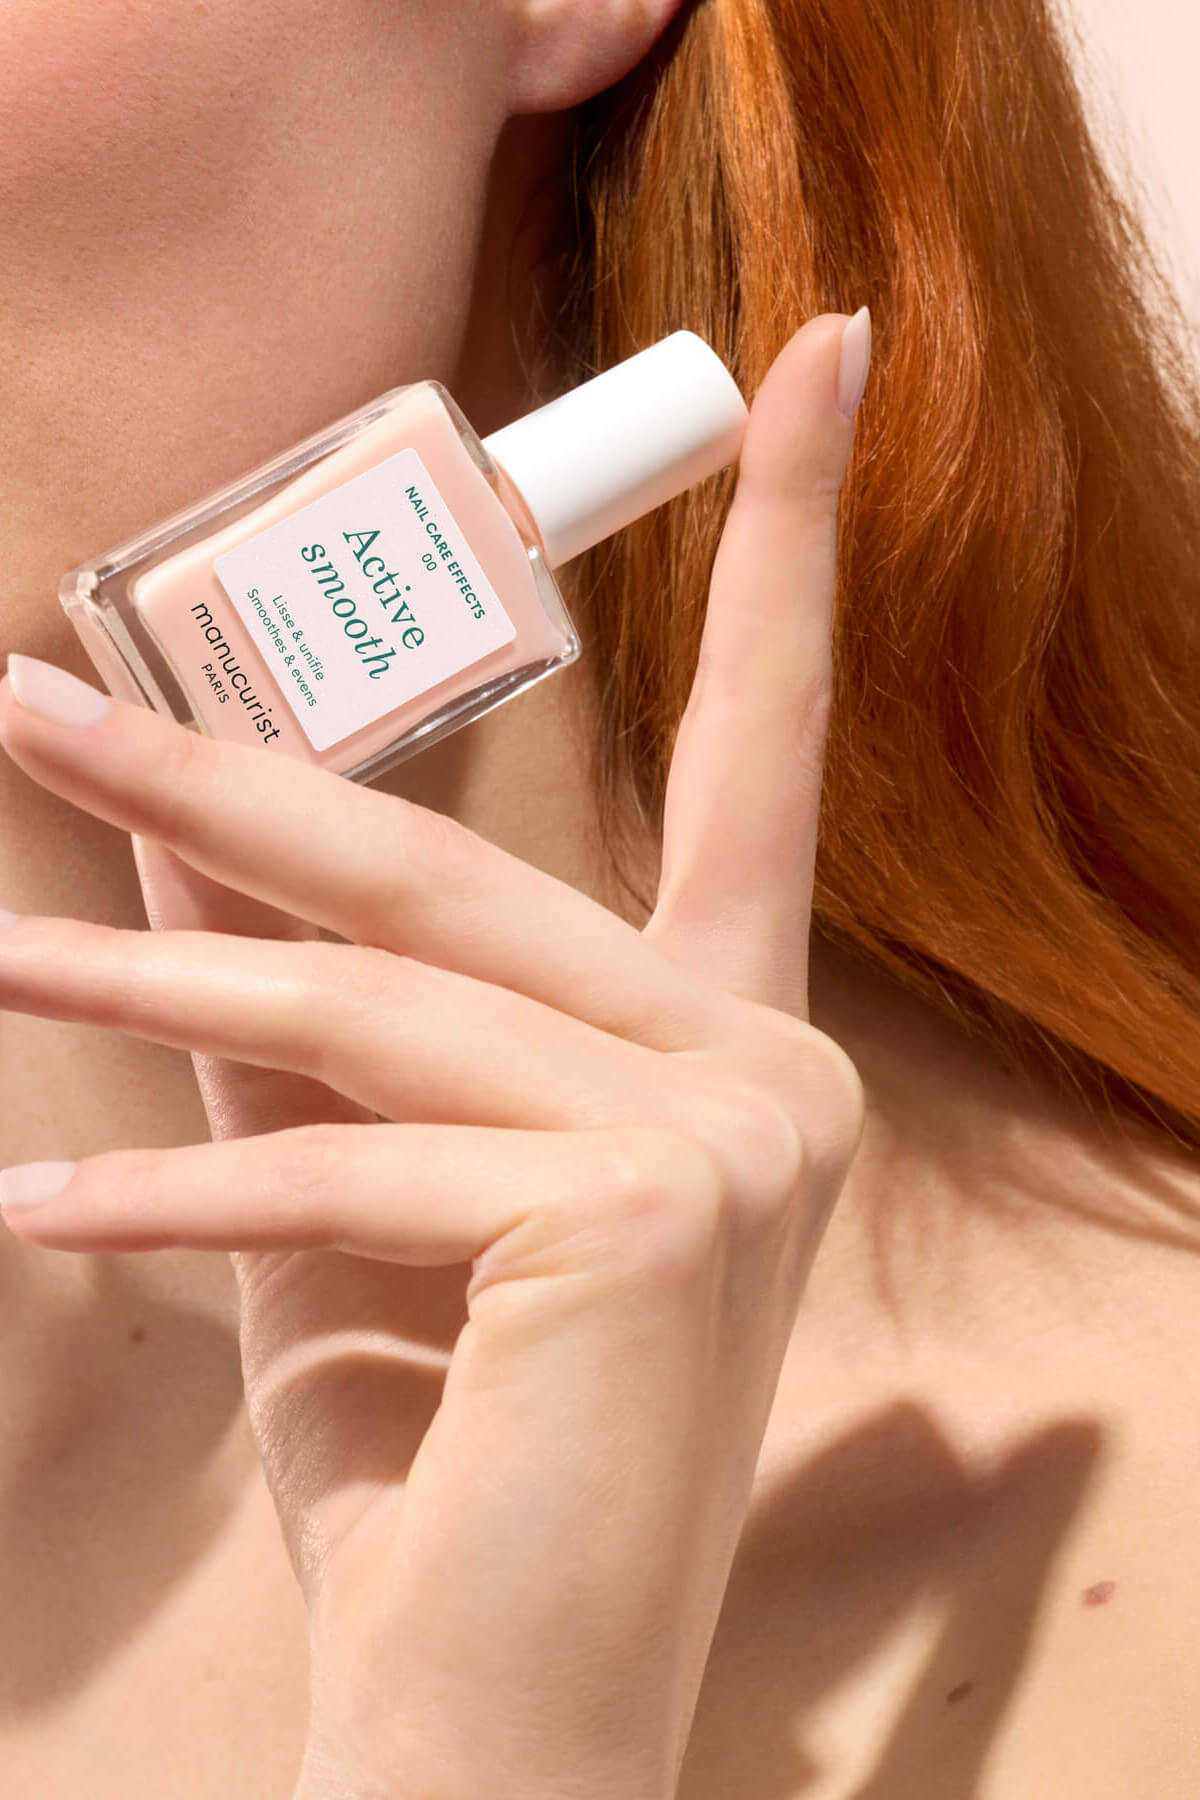
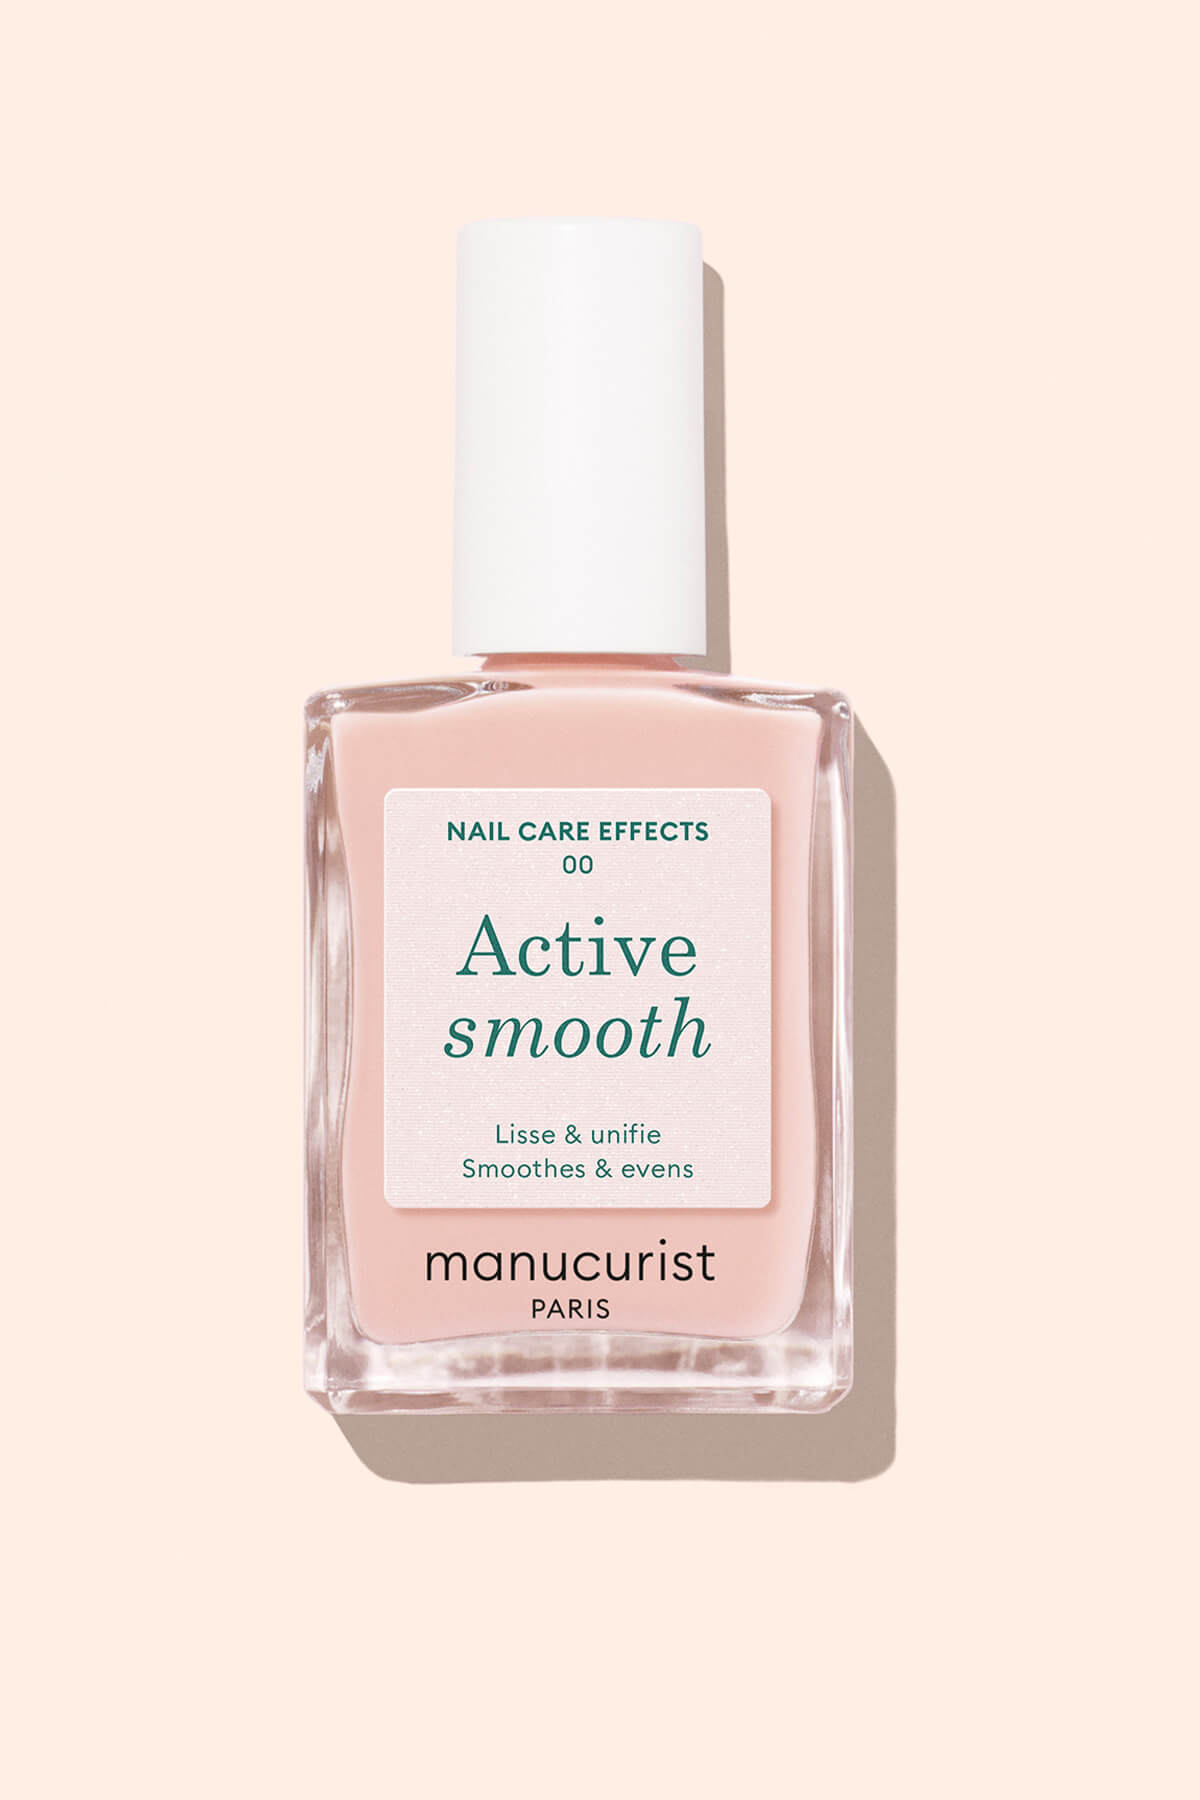

For a sheer rosy veil

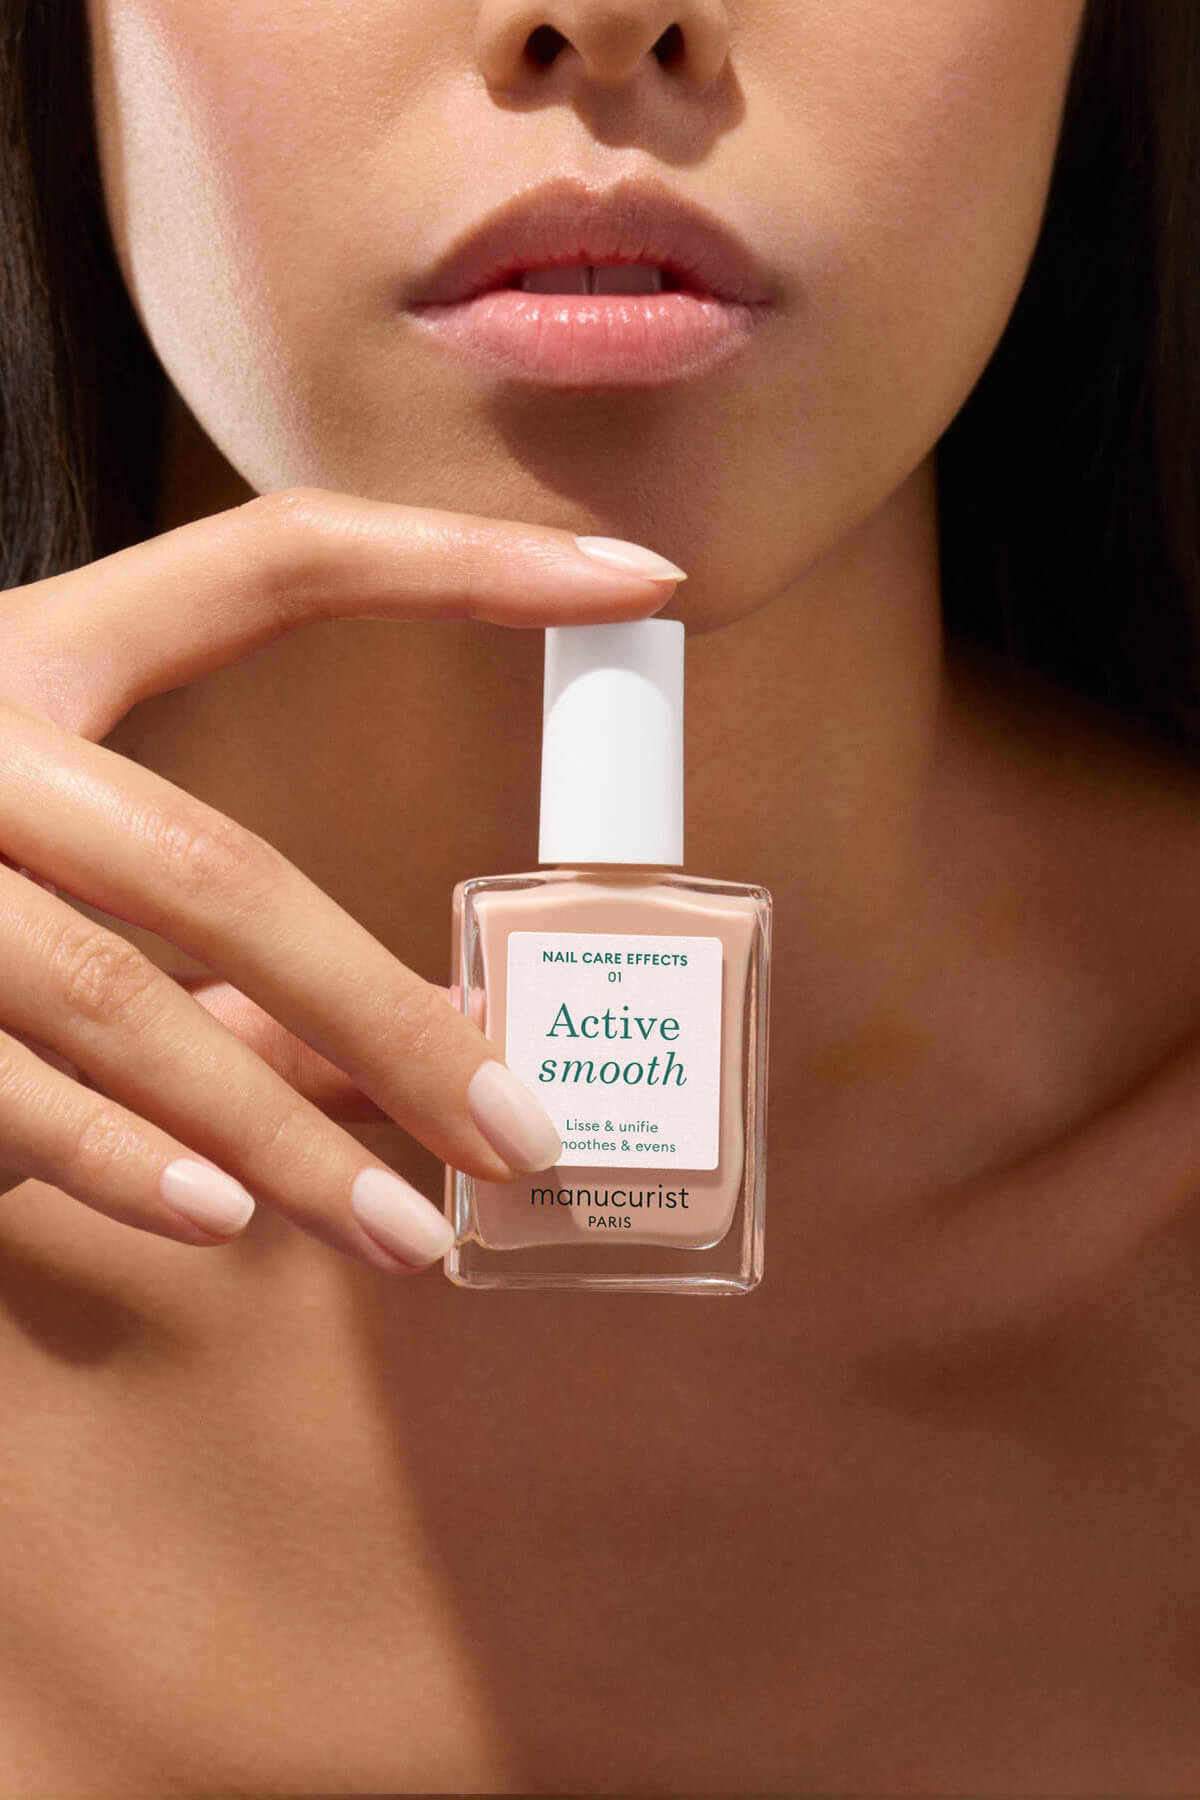


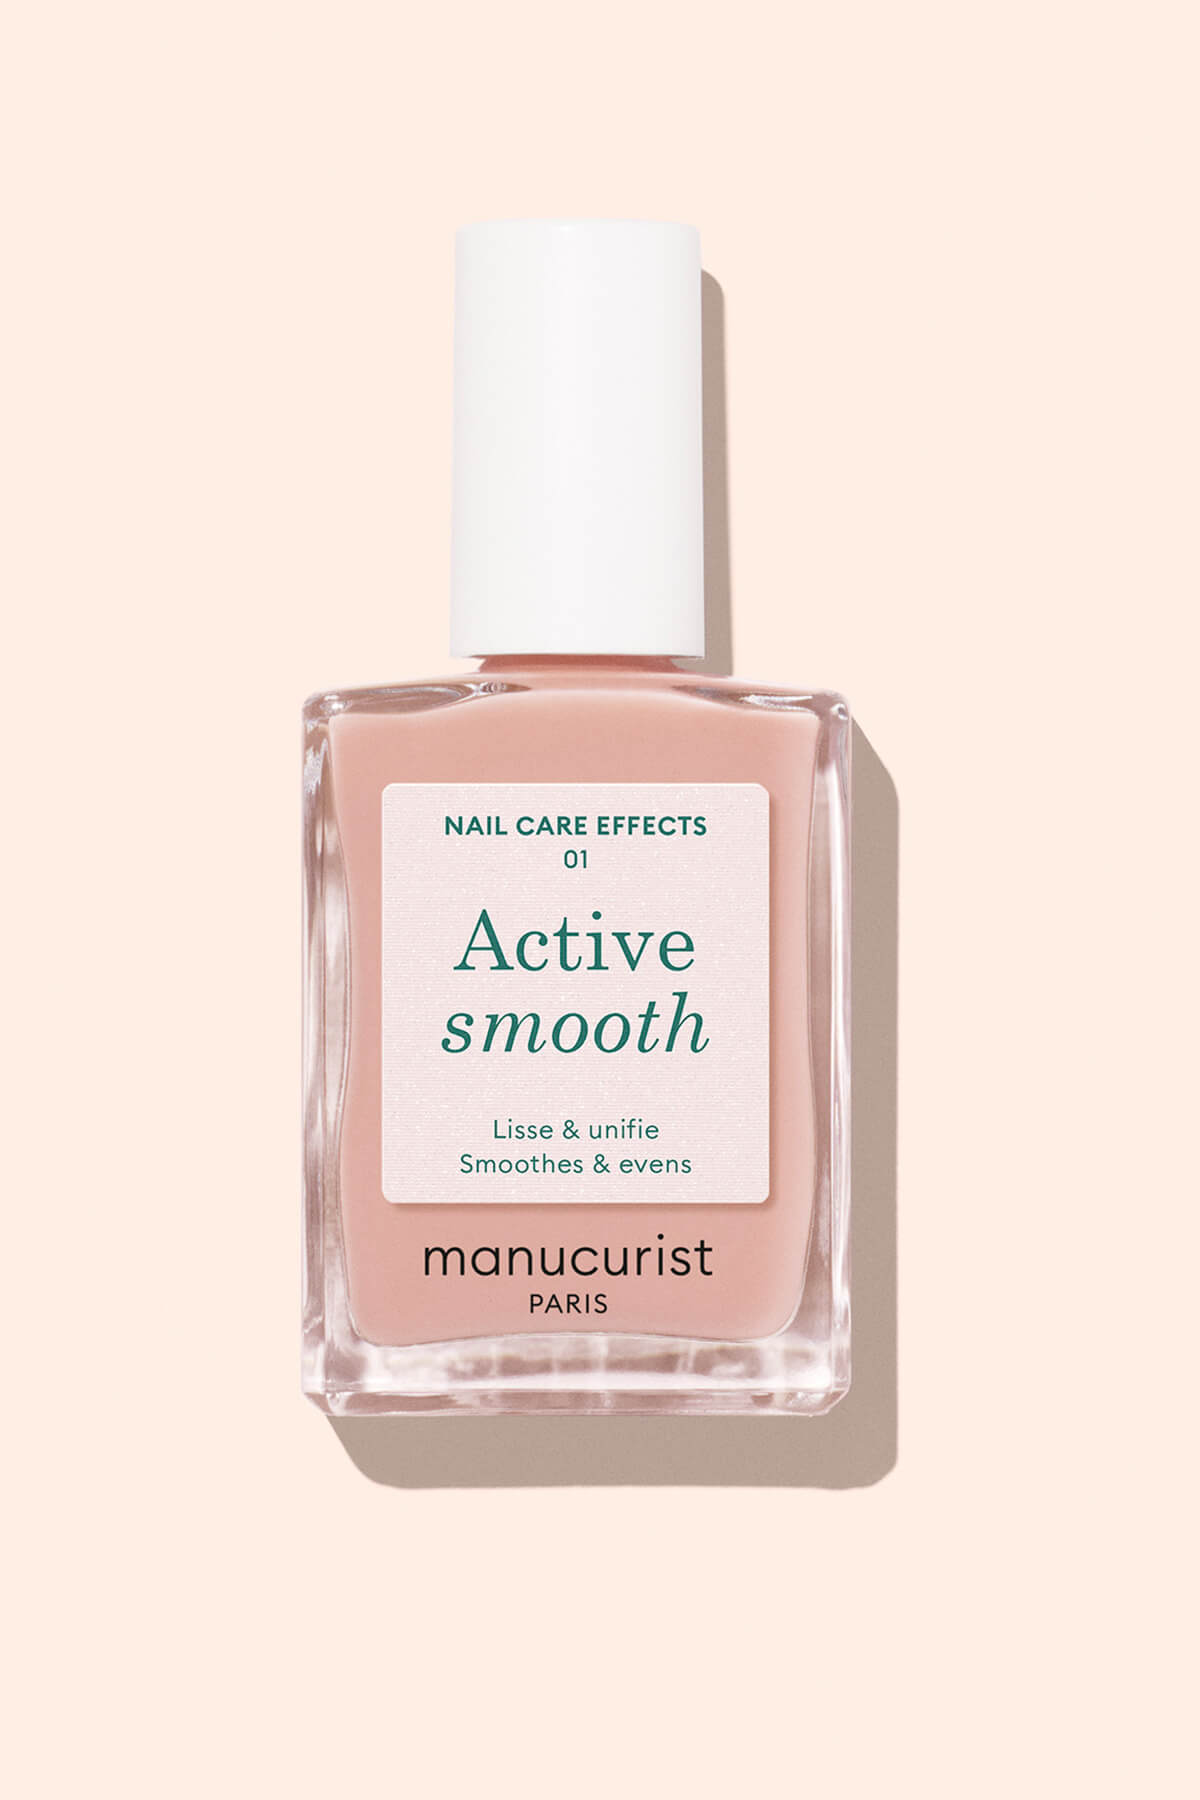
For a sheer beige veil

For a golden finish


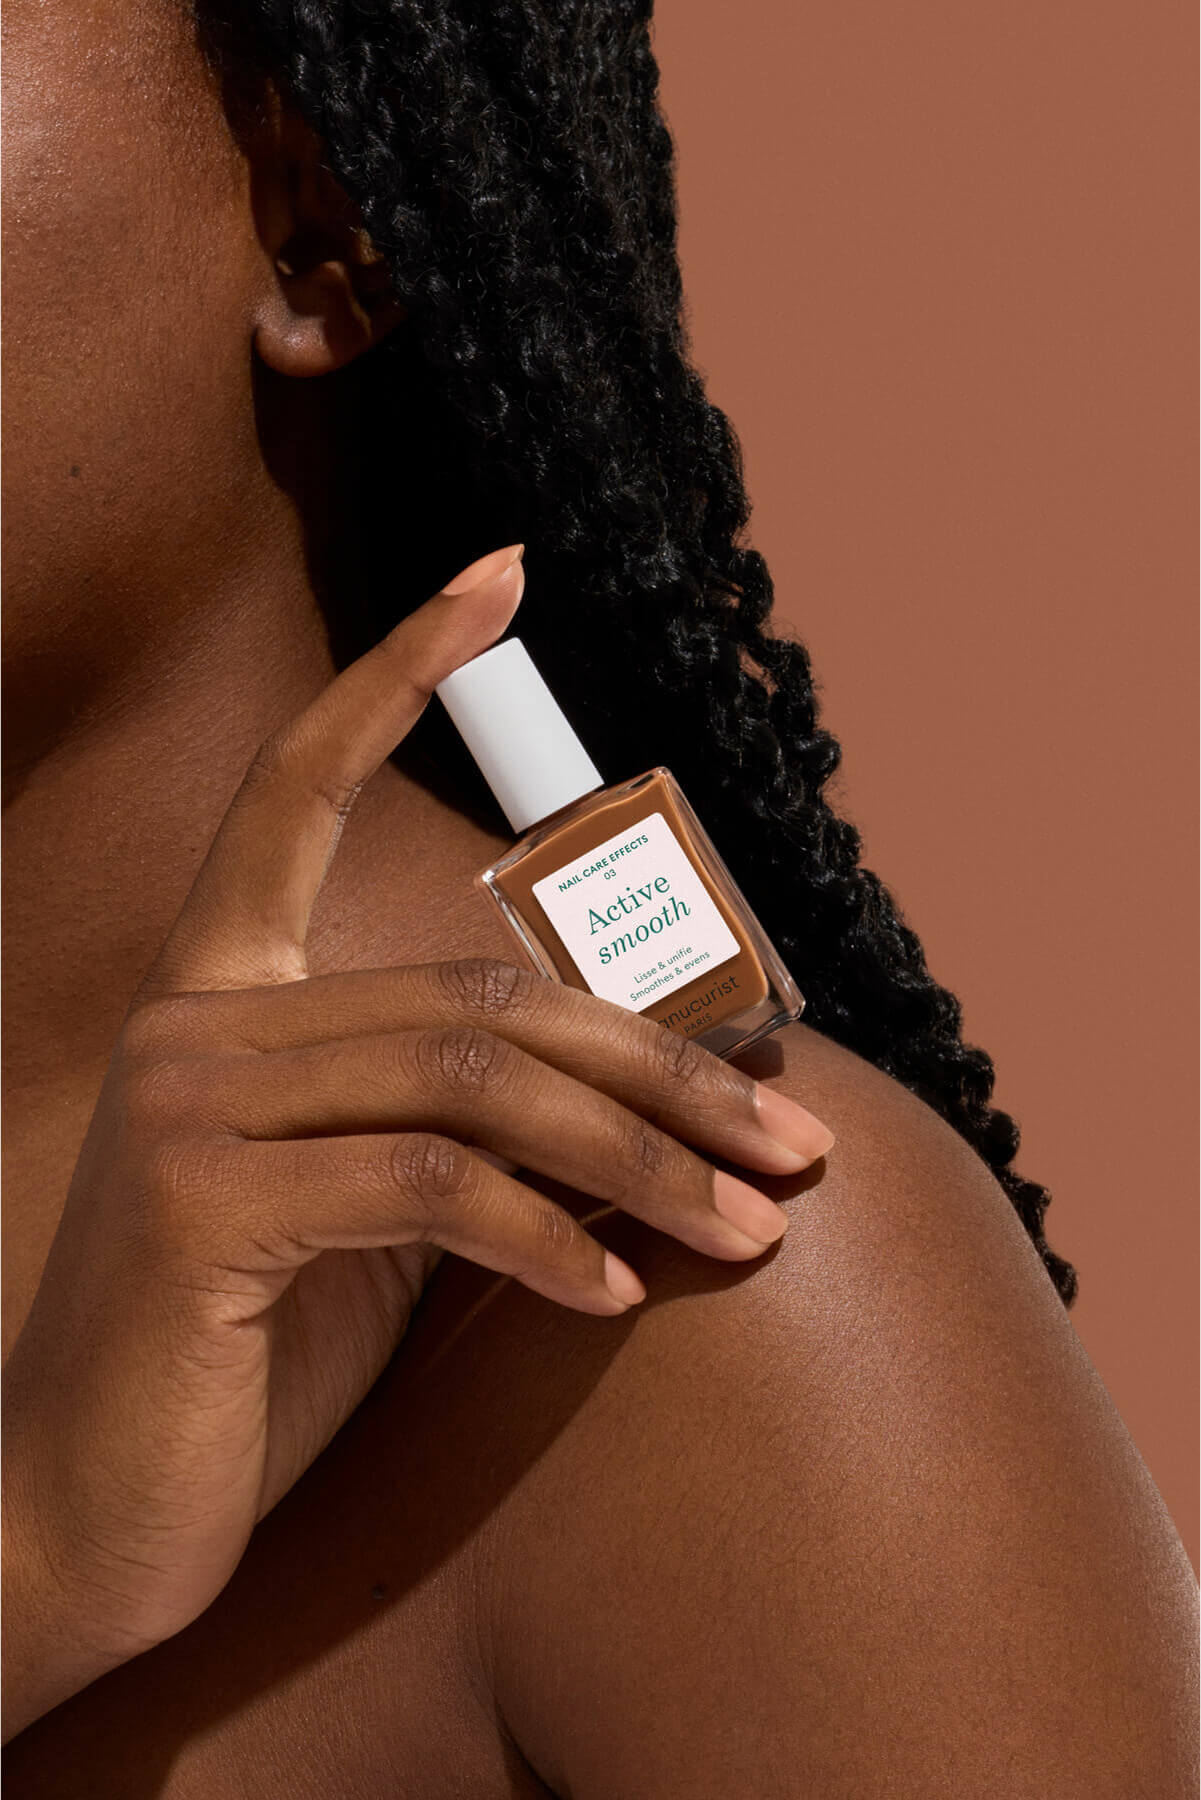
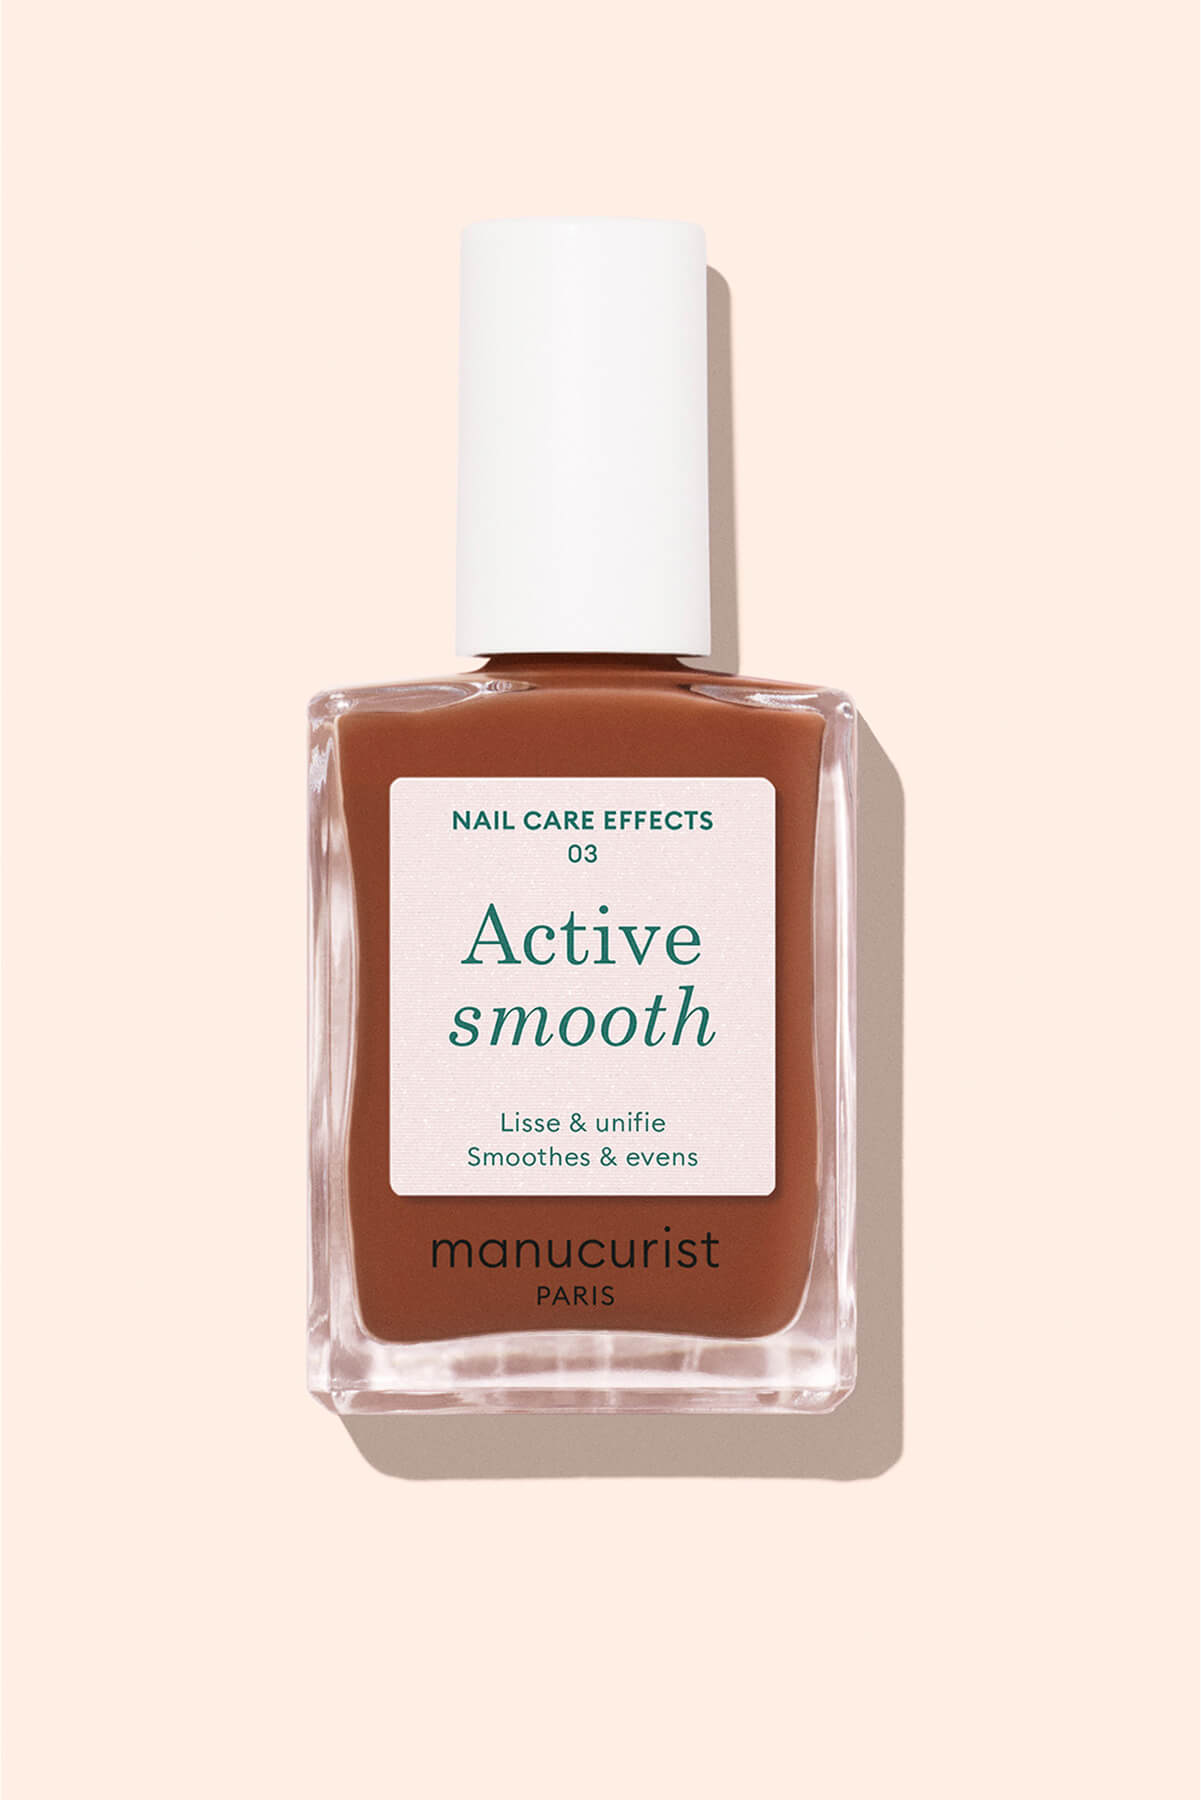

For a bronze finish
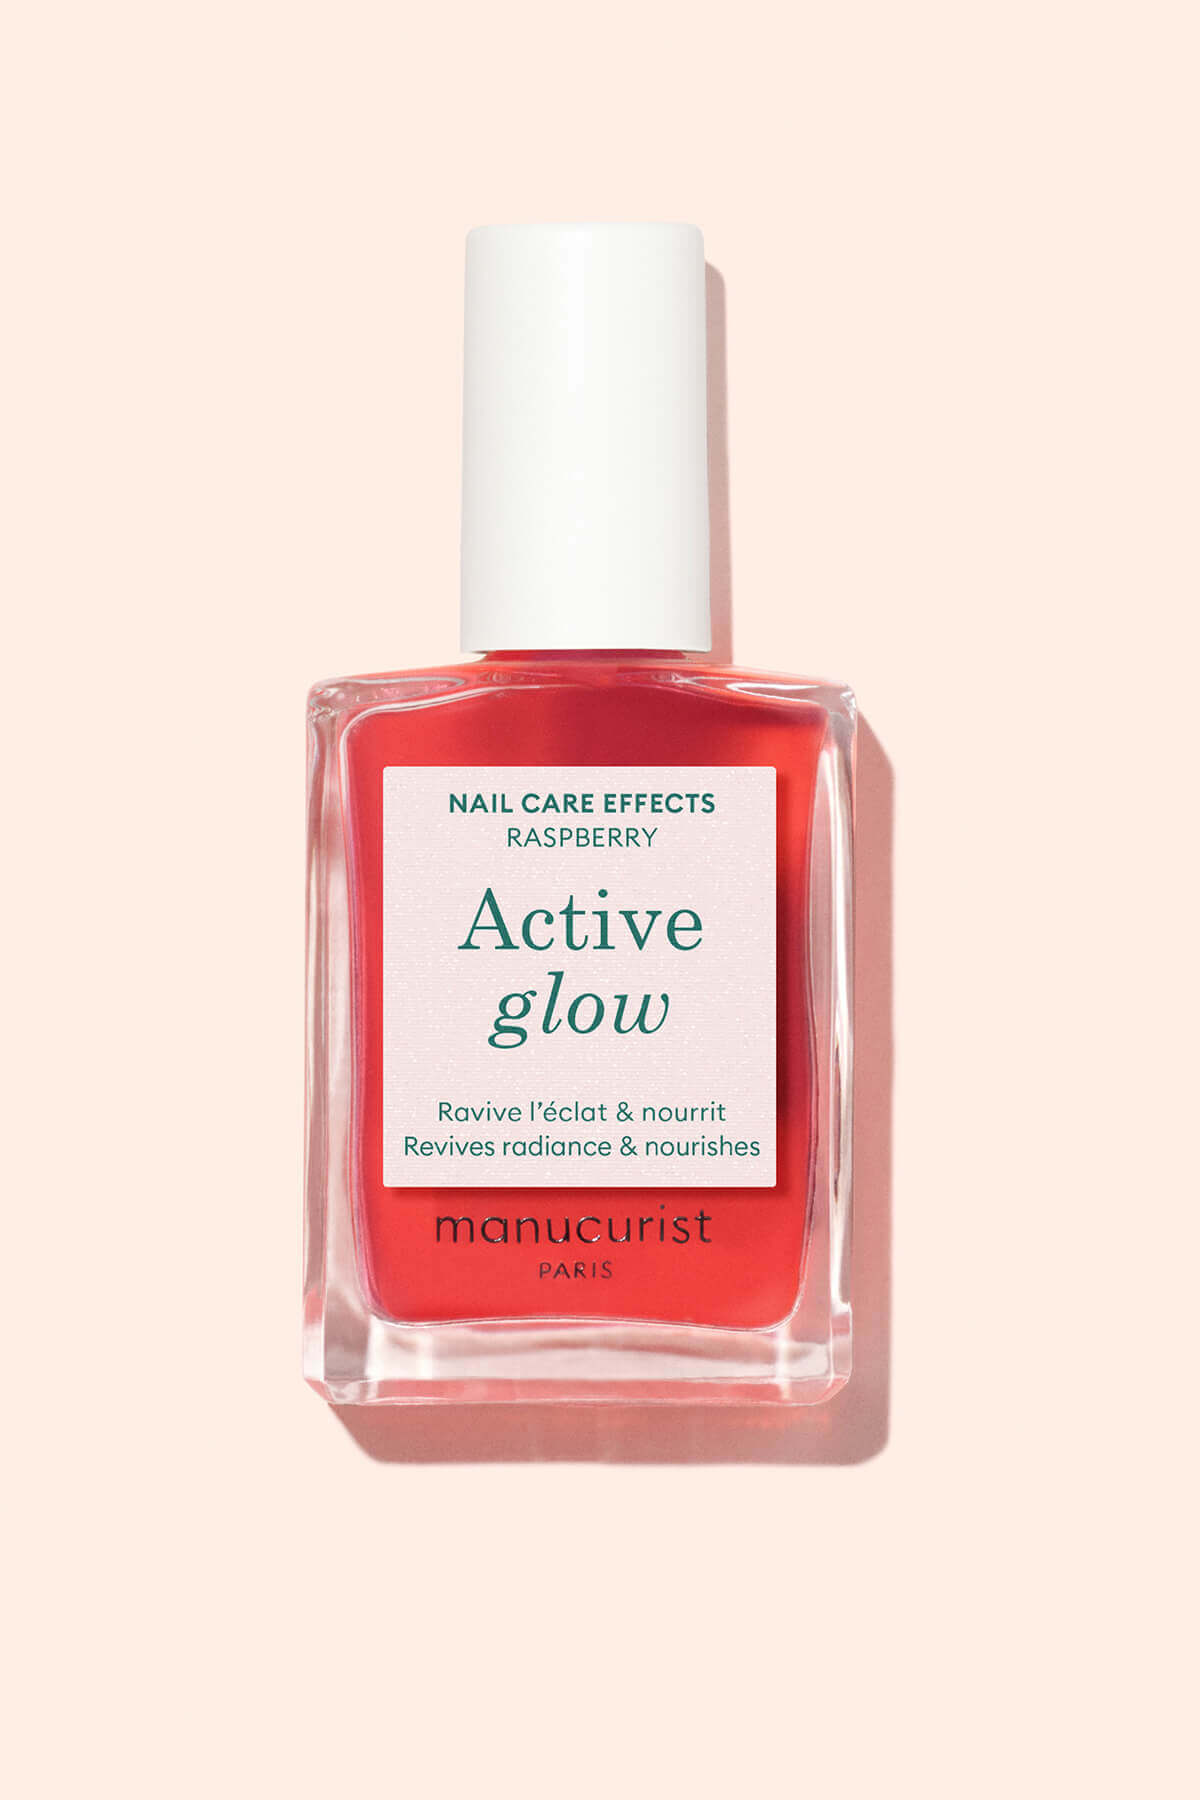
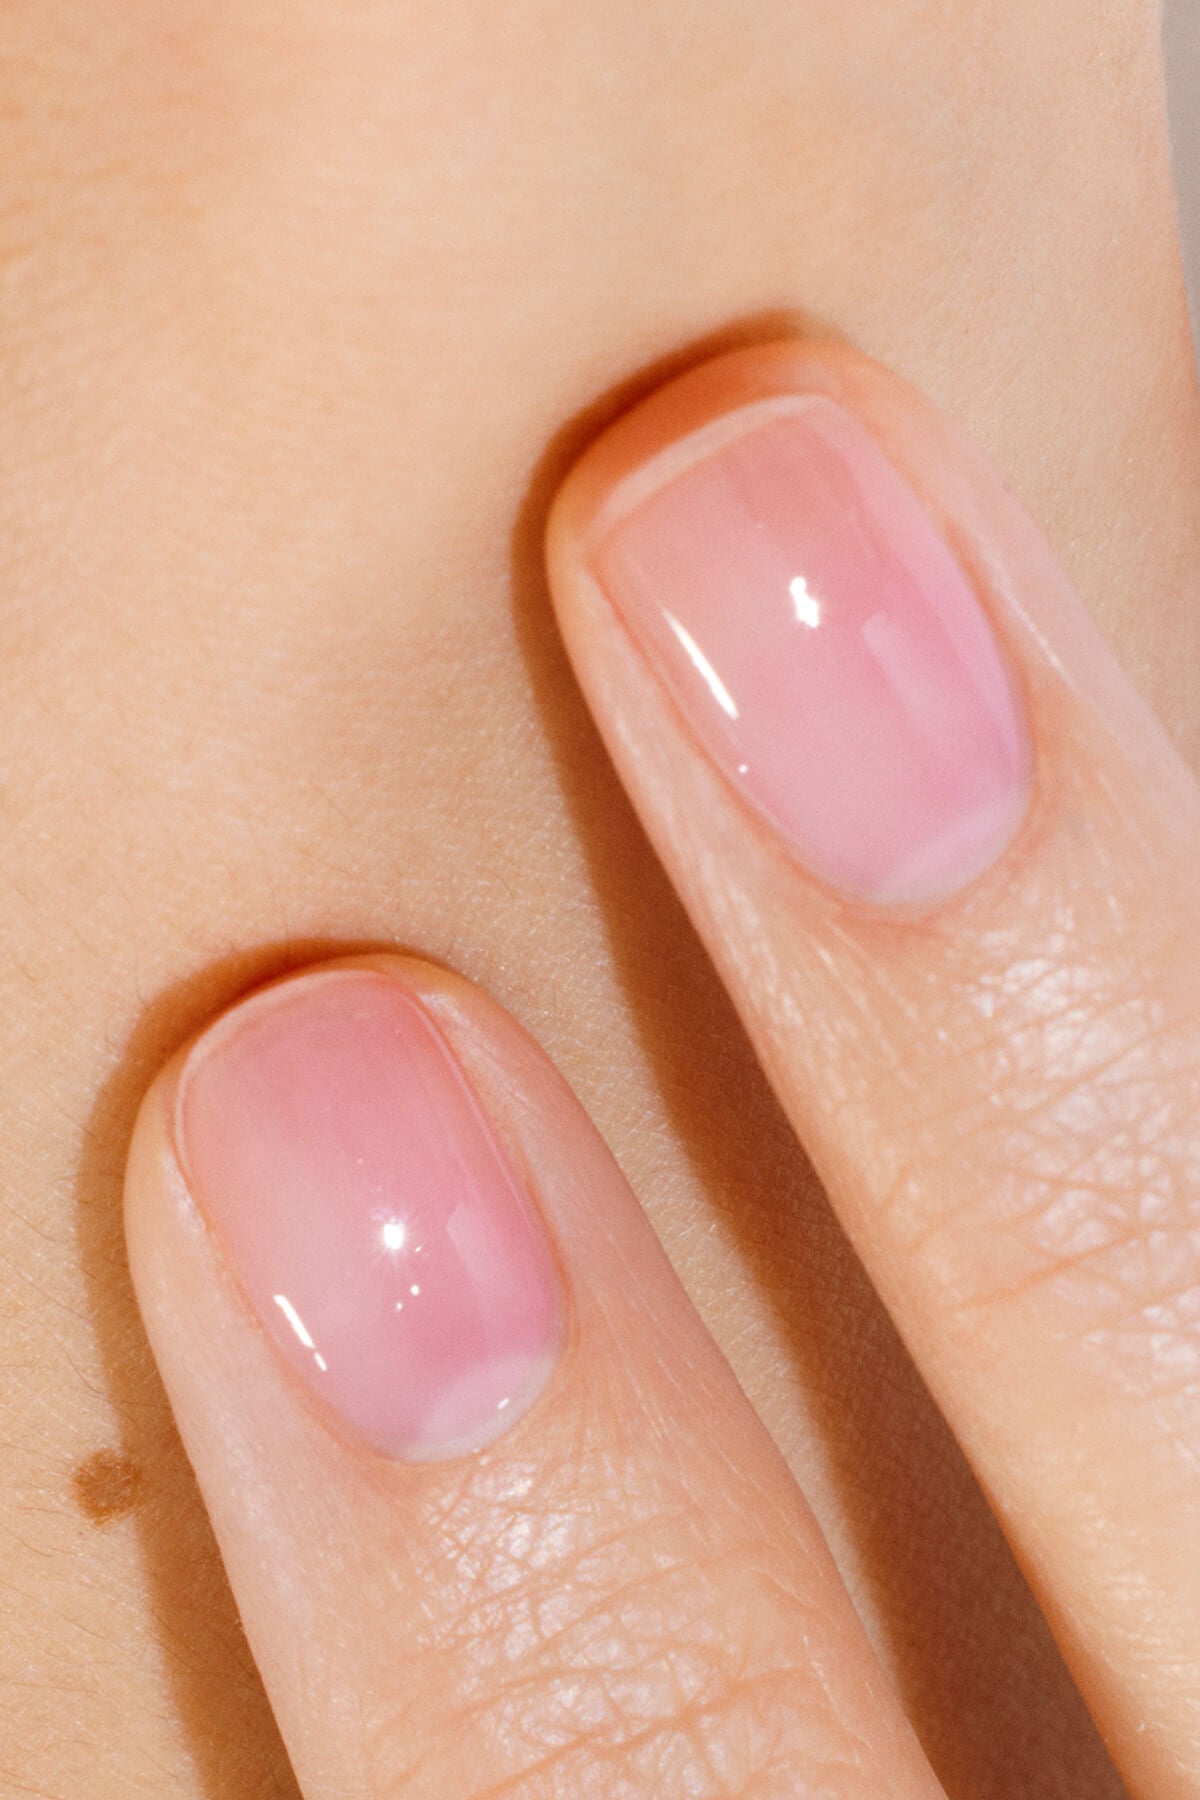
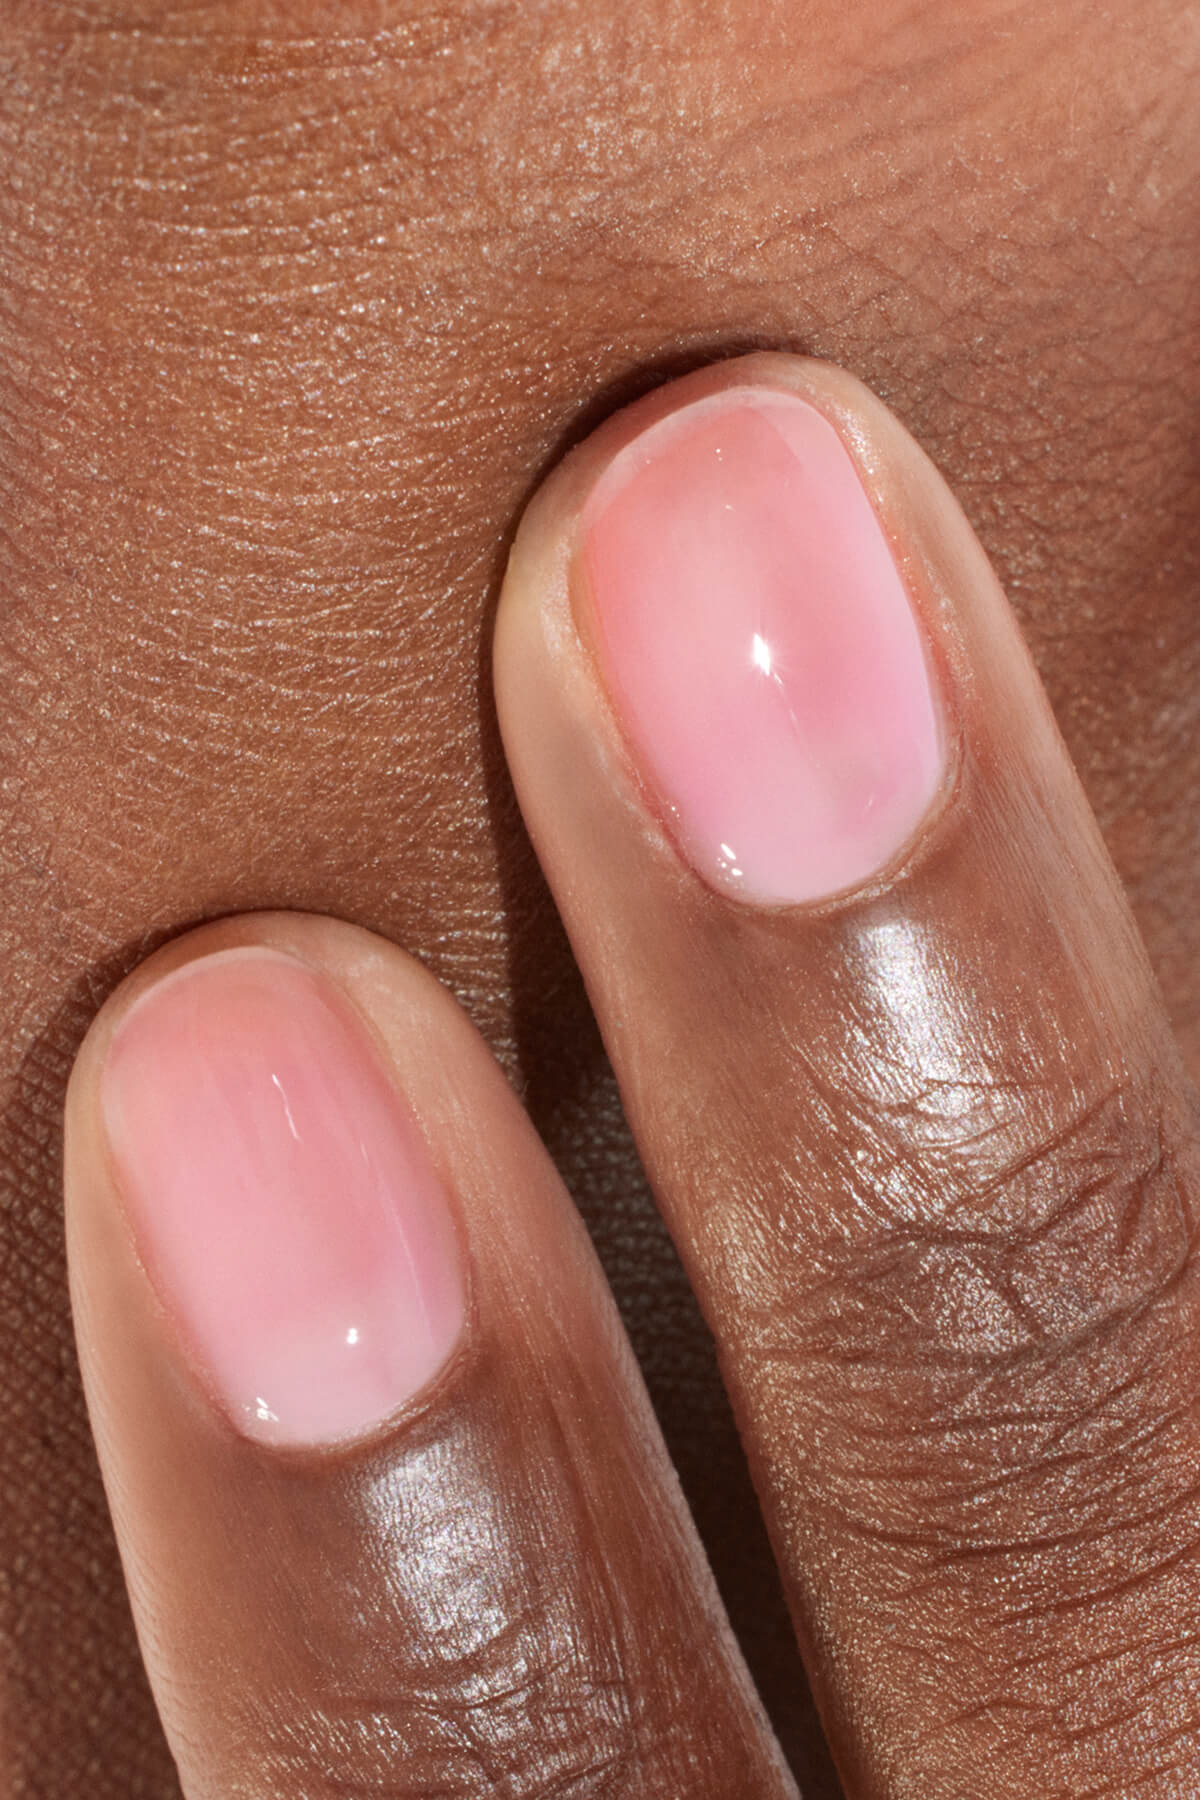
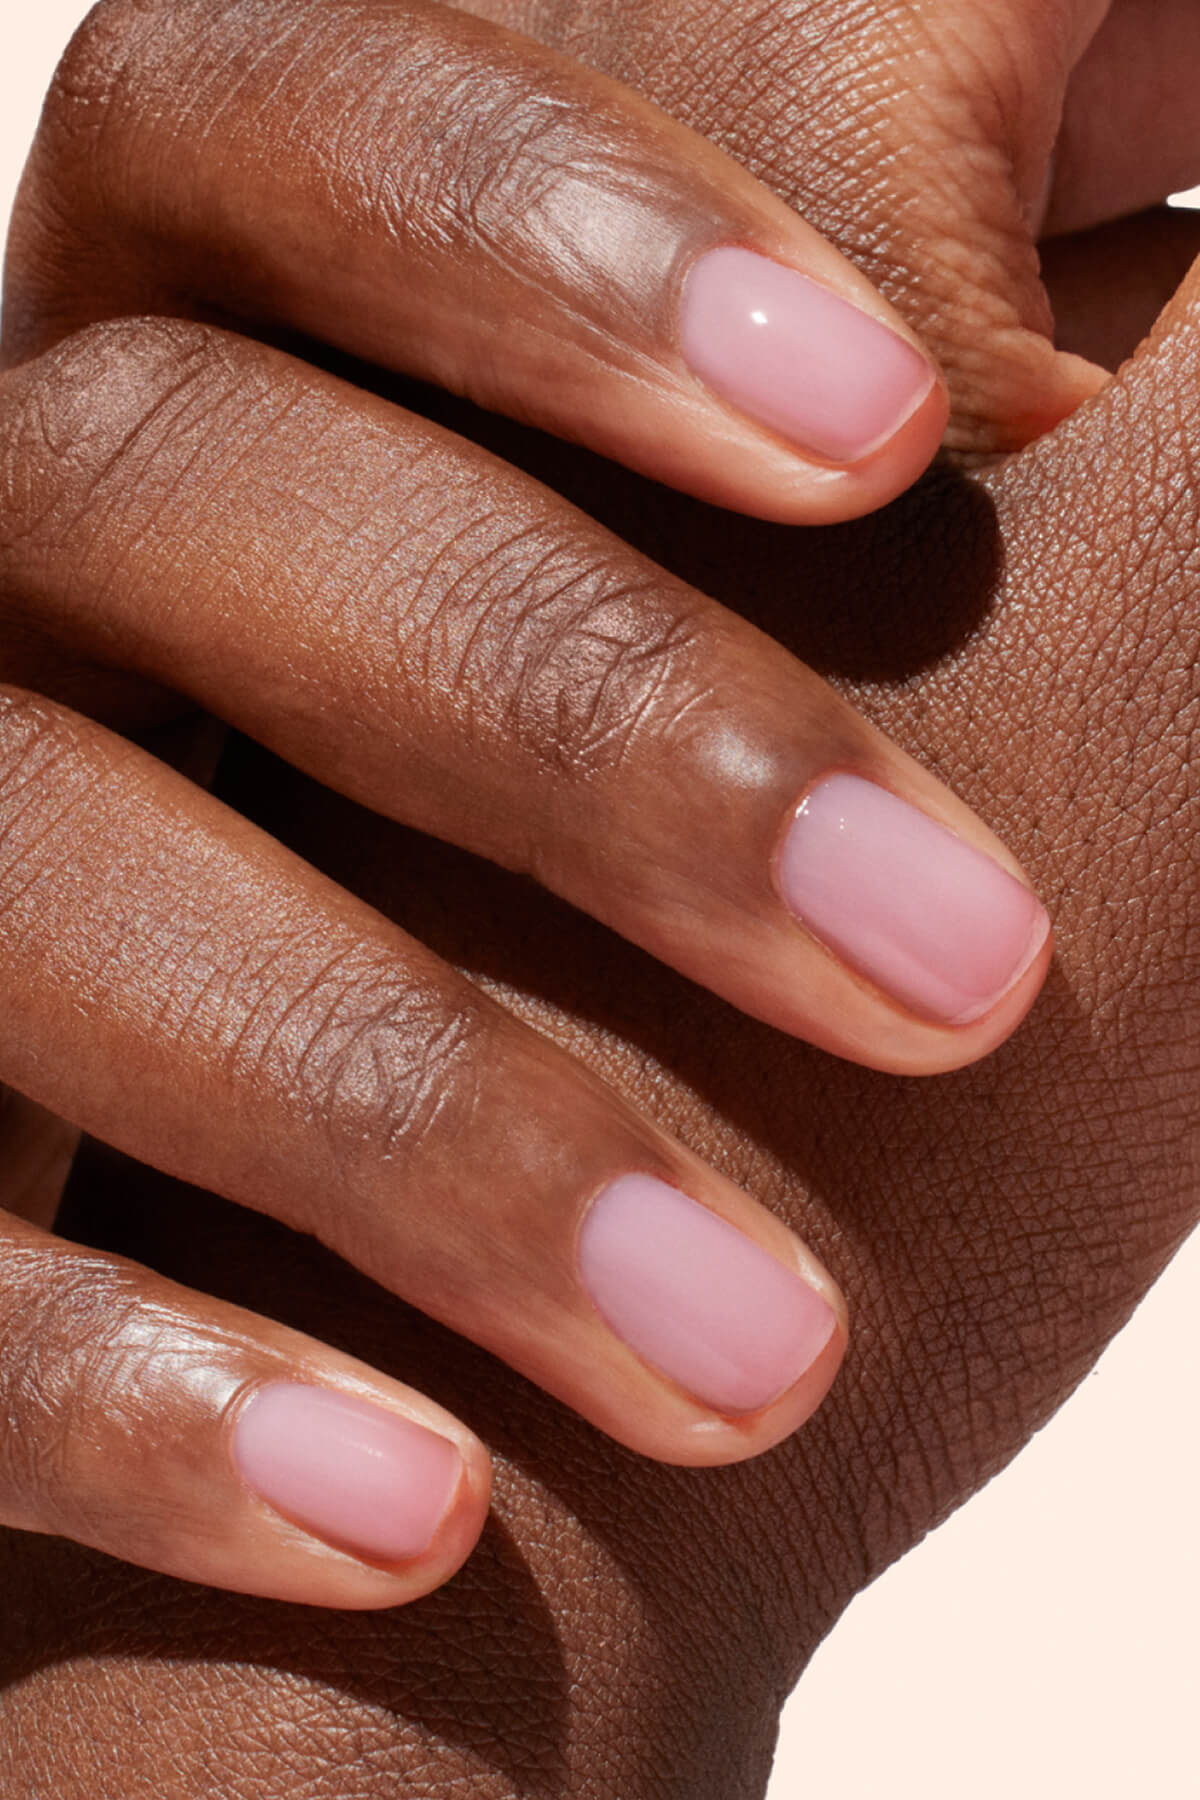
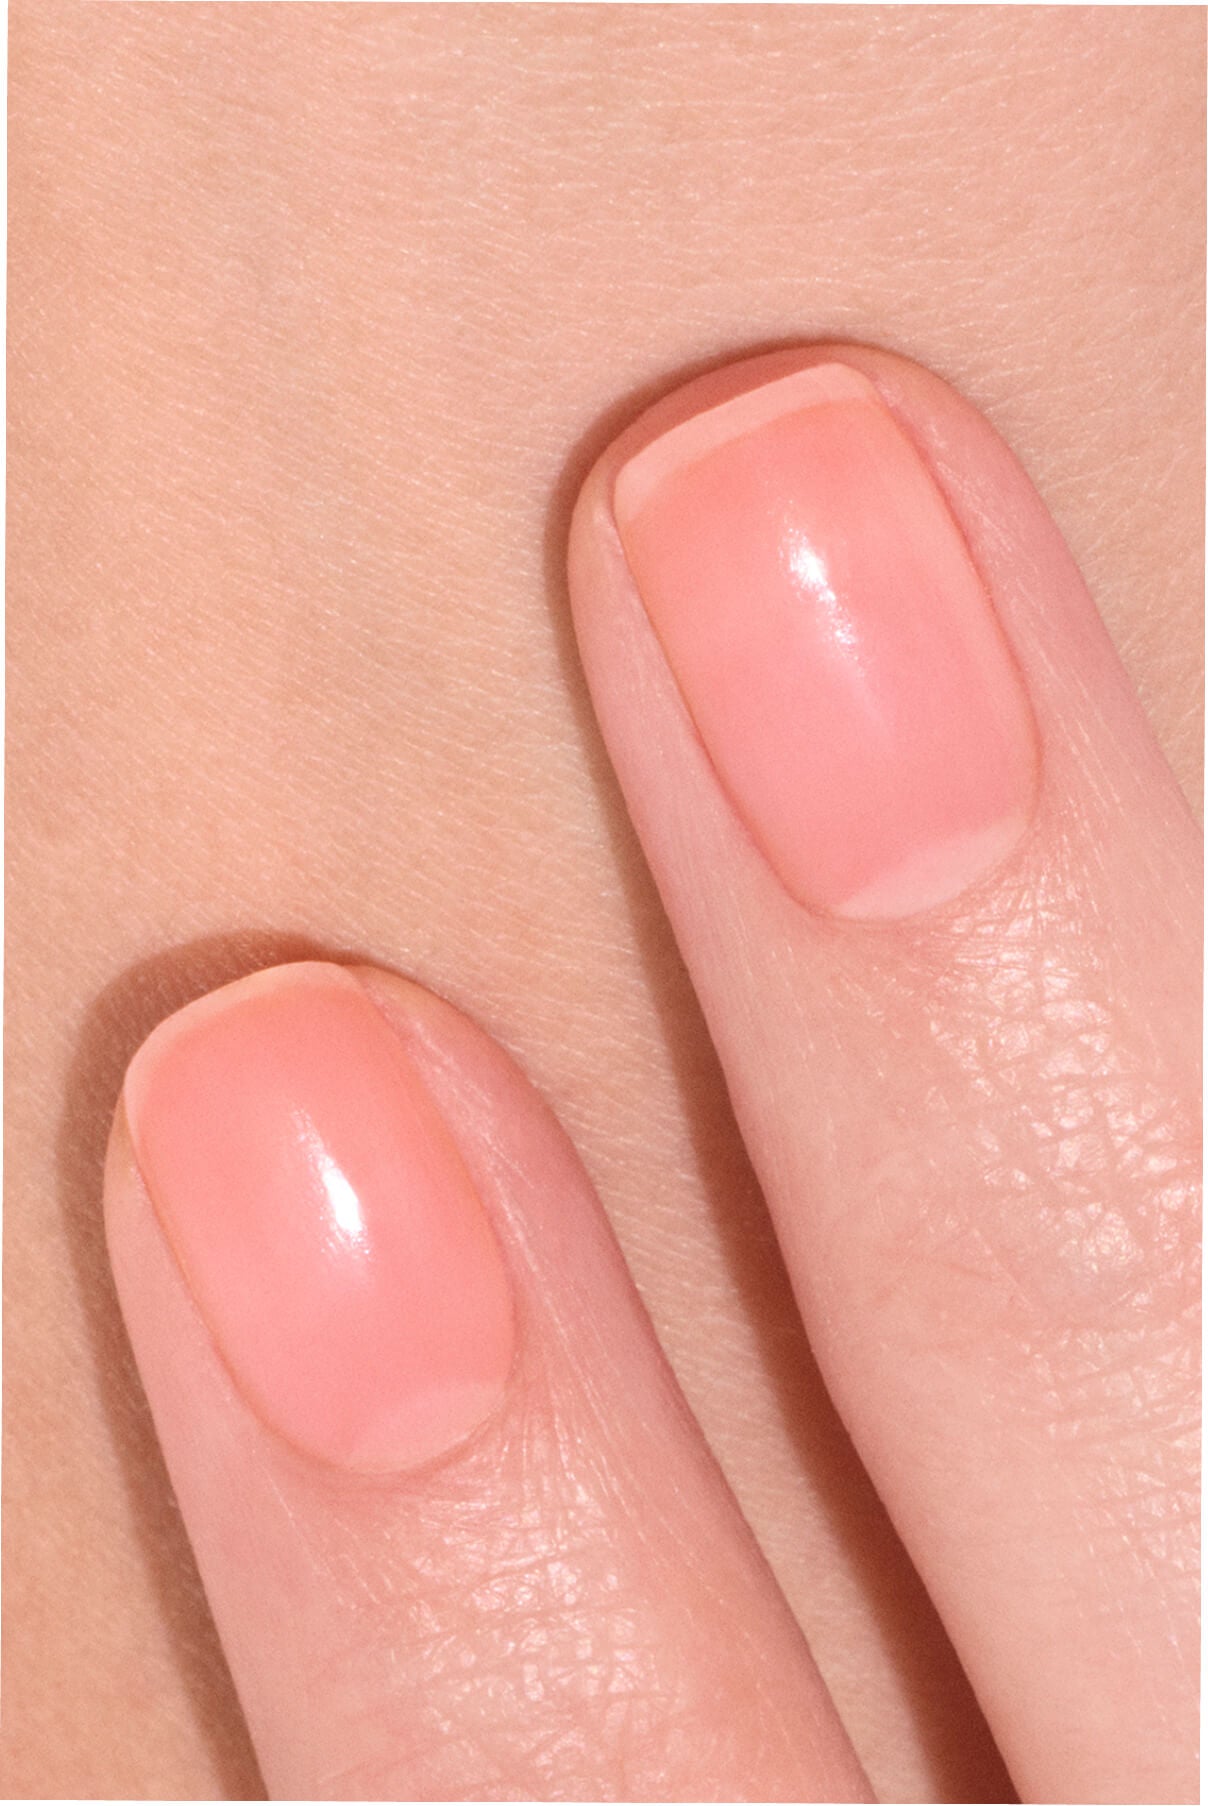
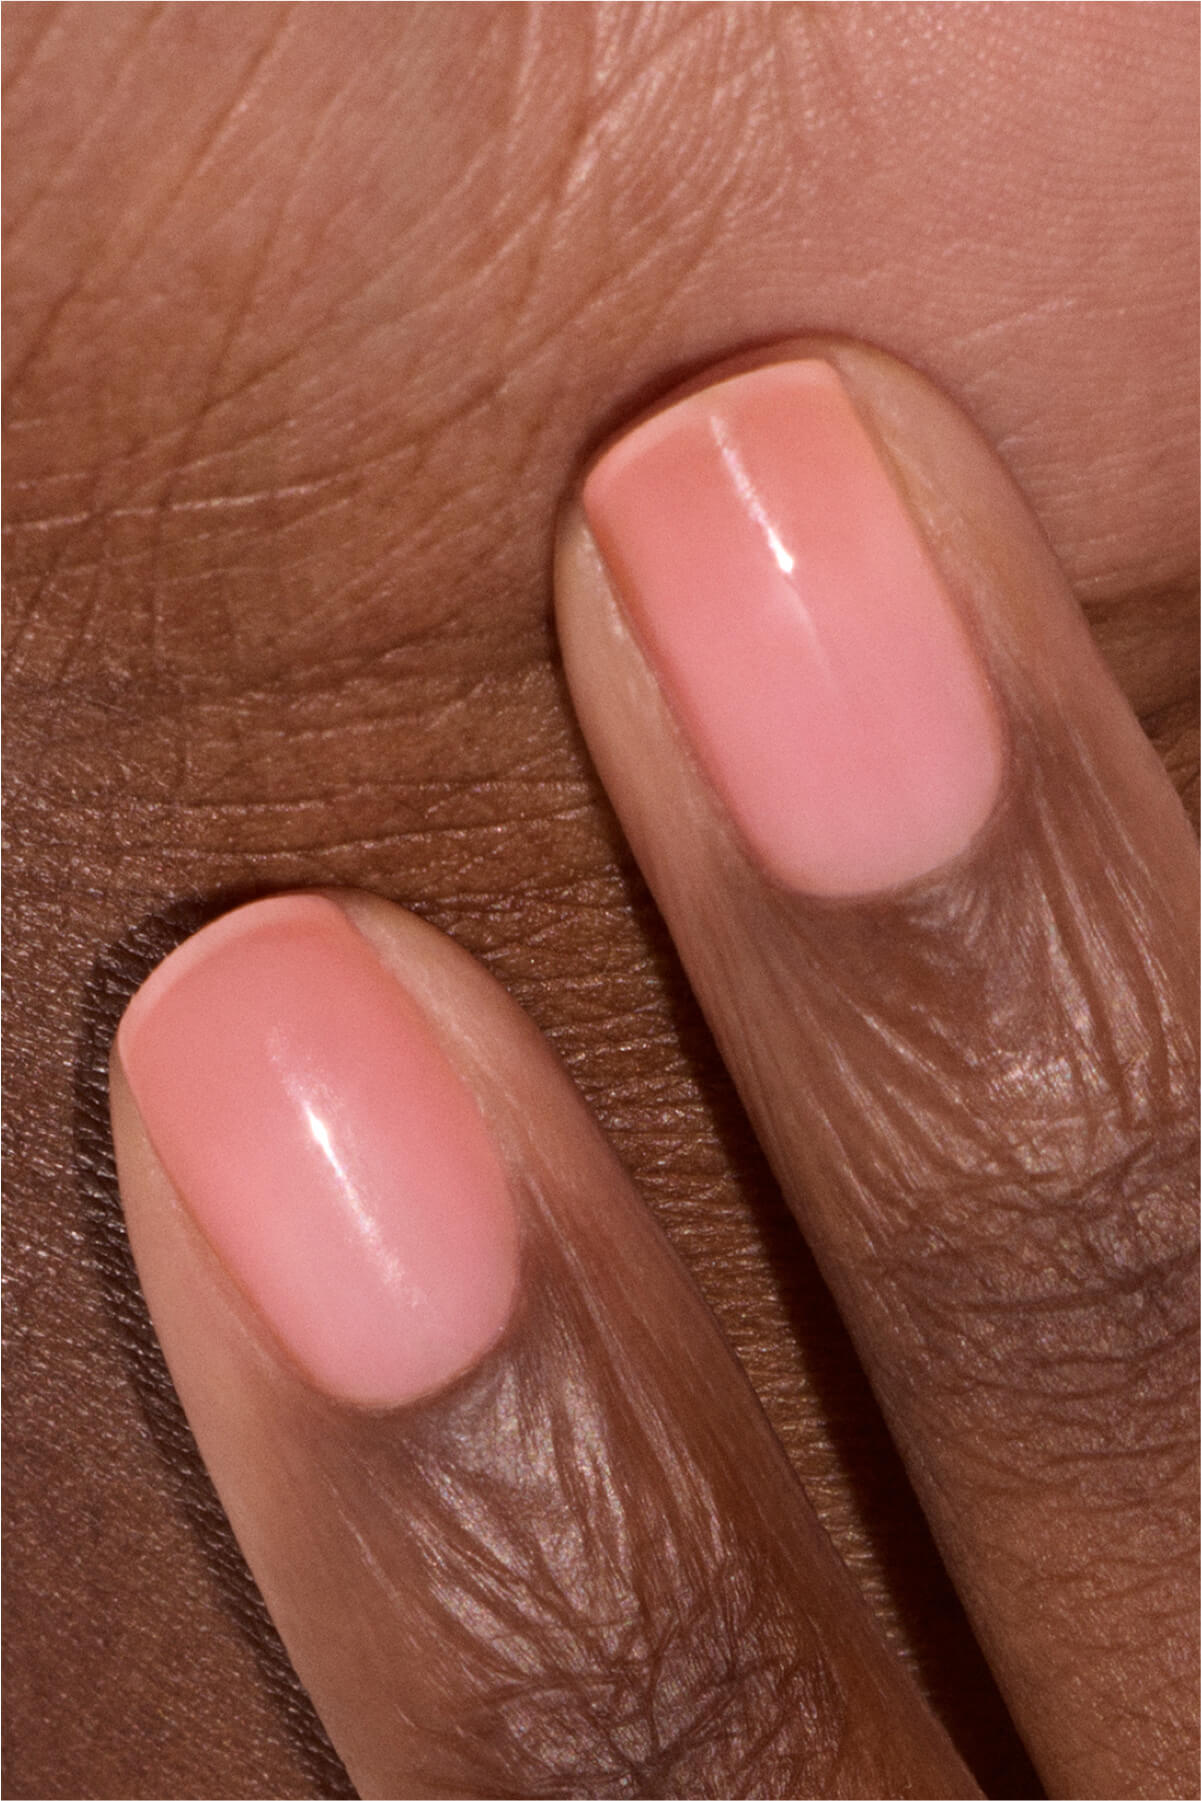
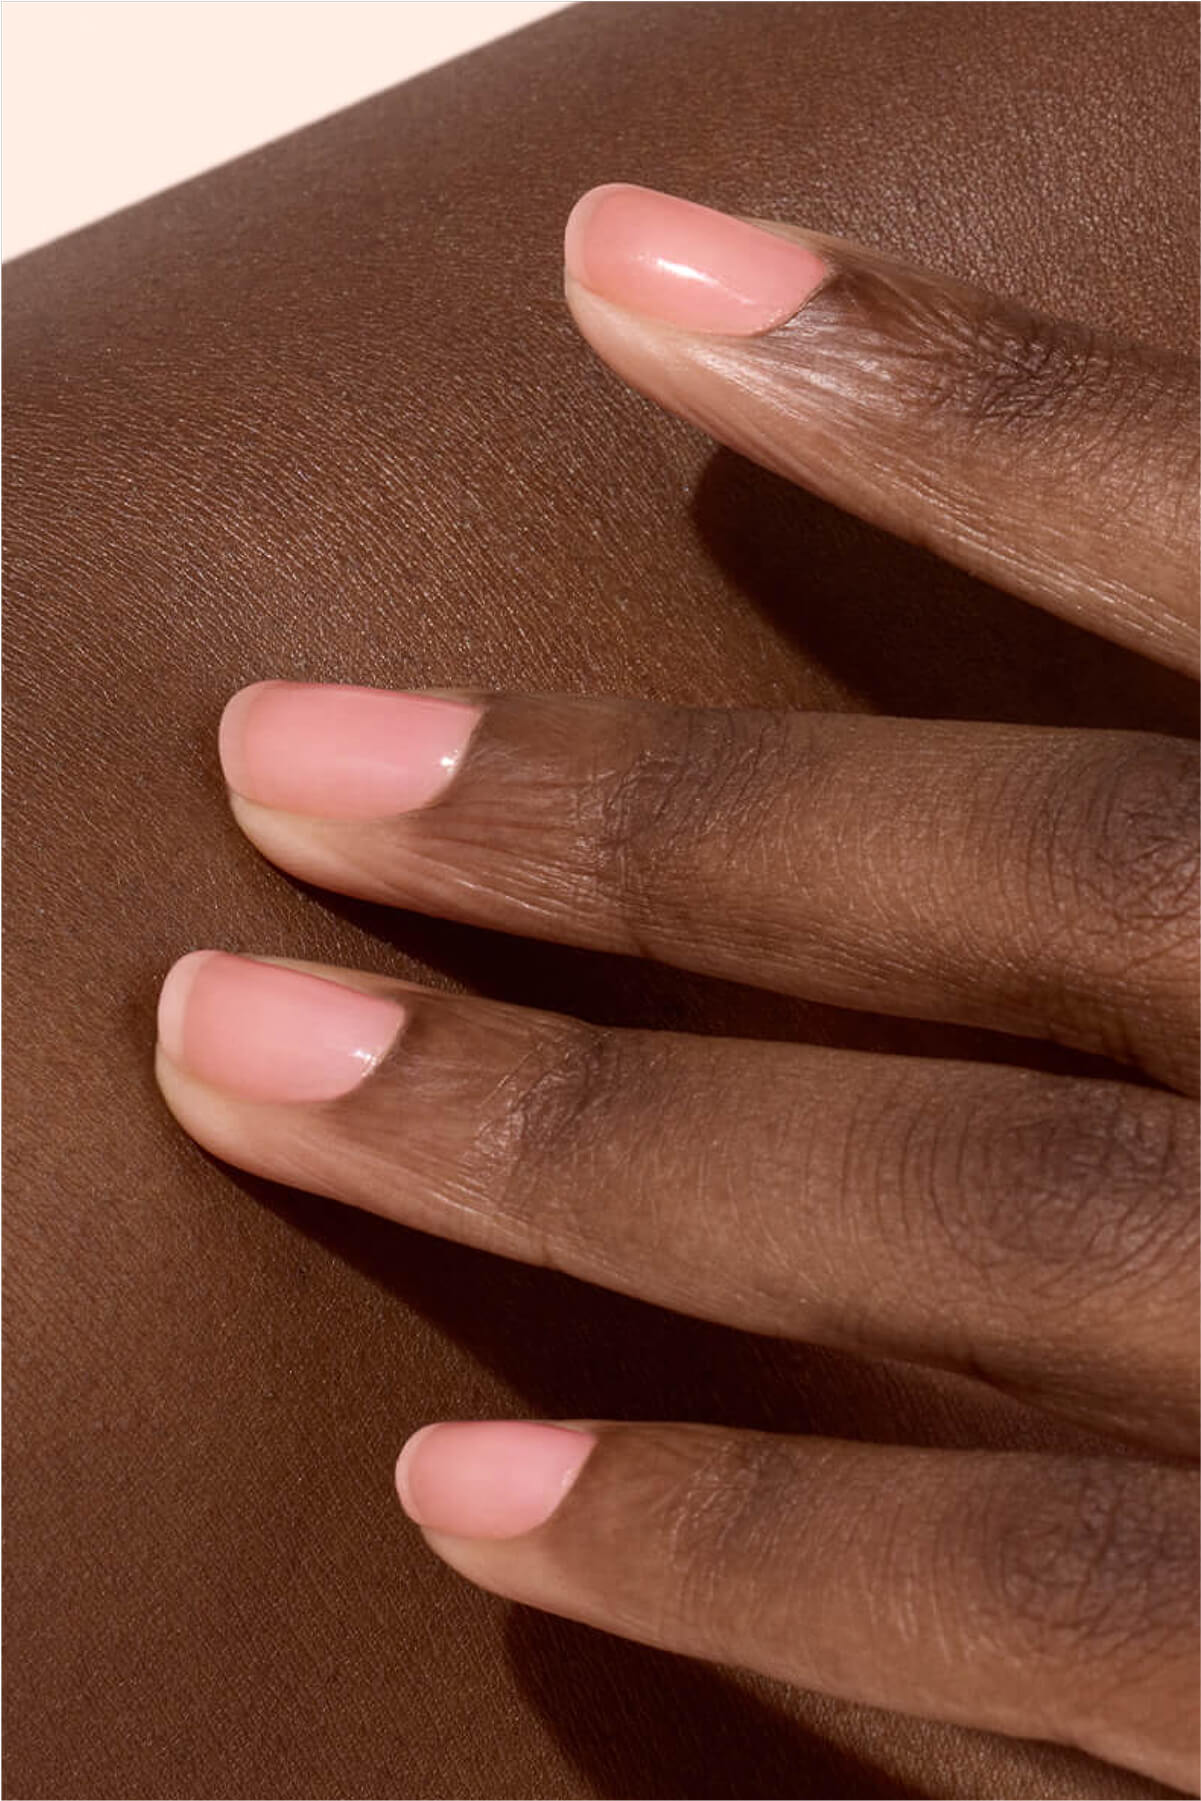
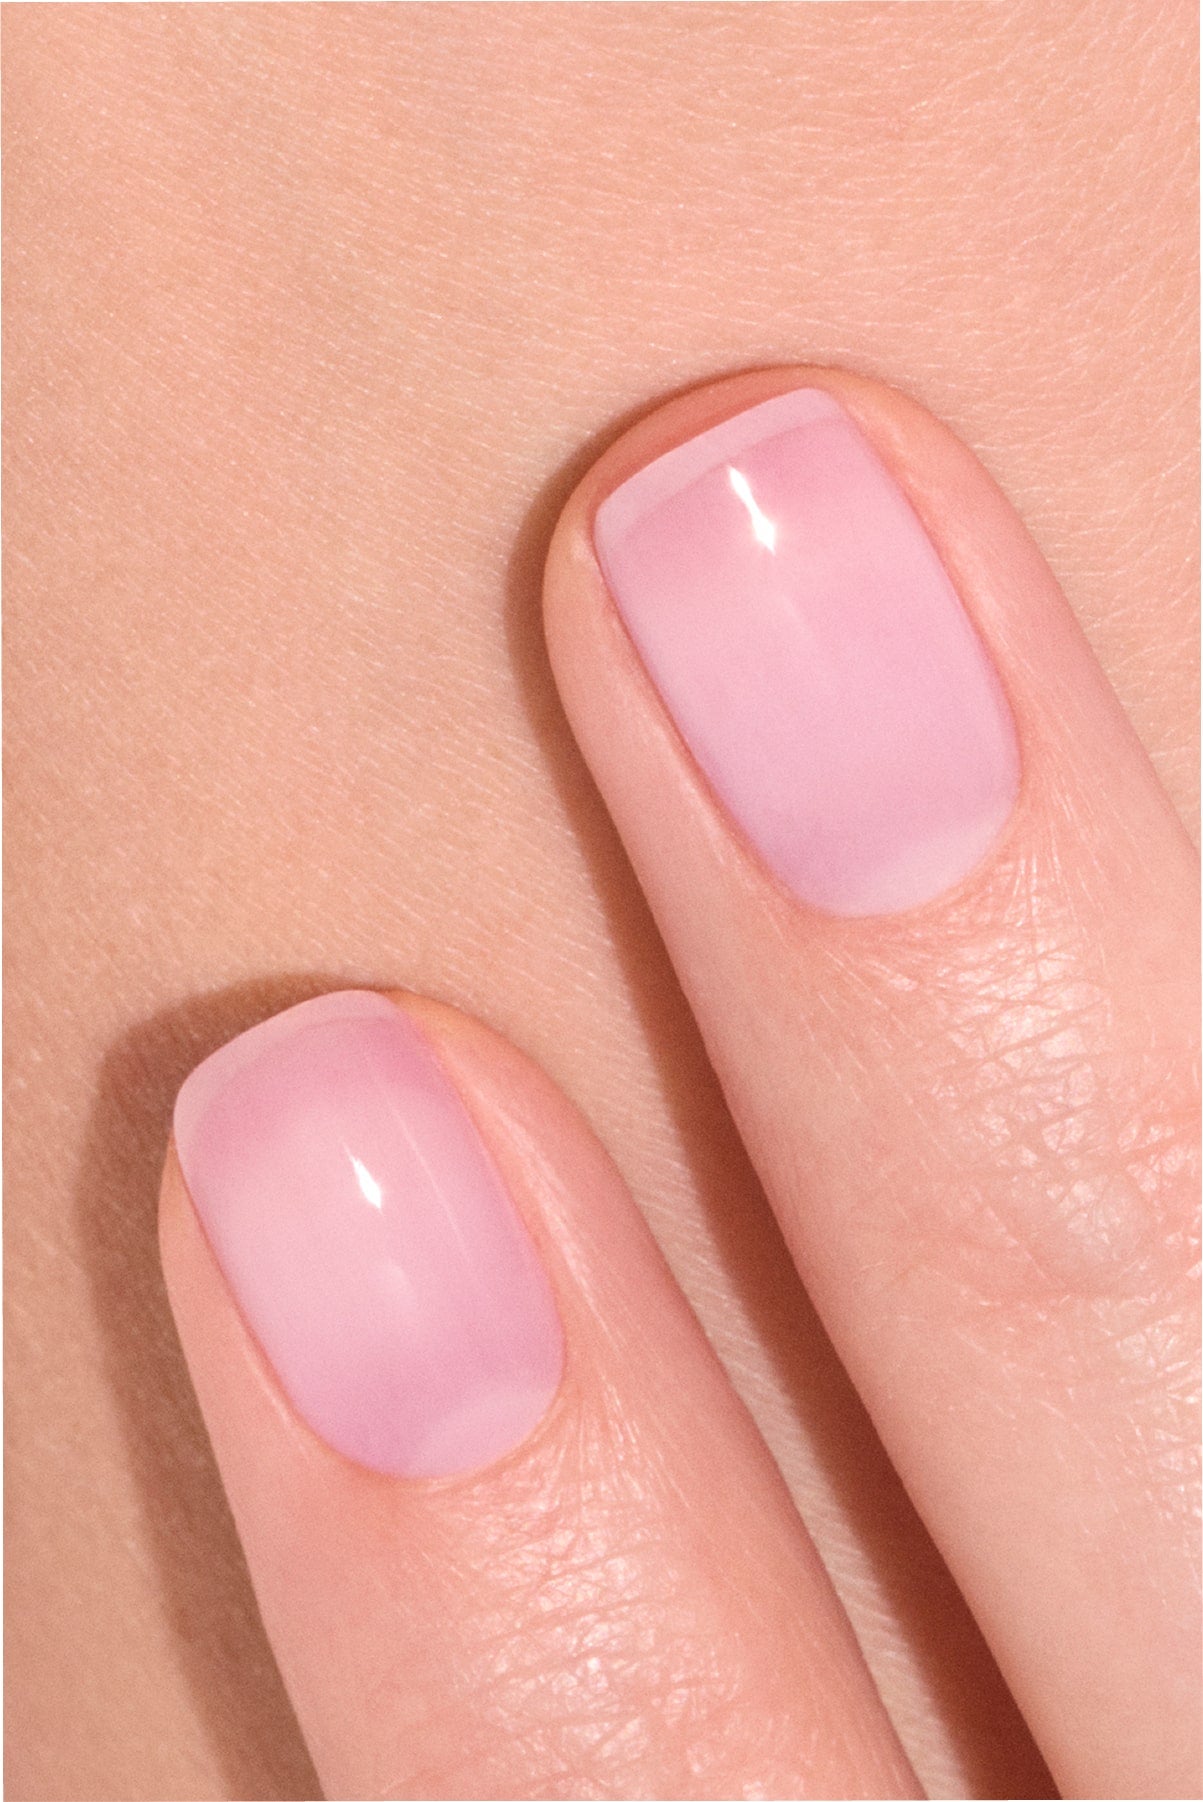
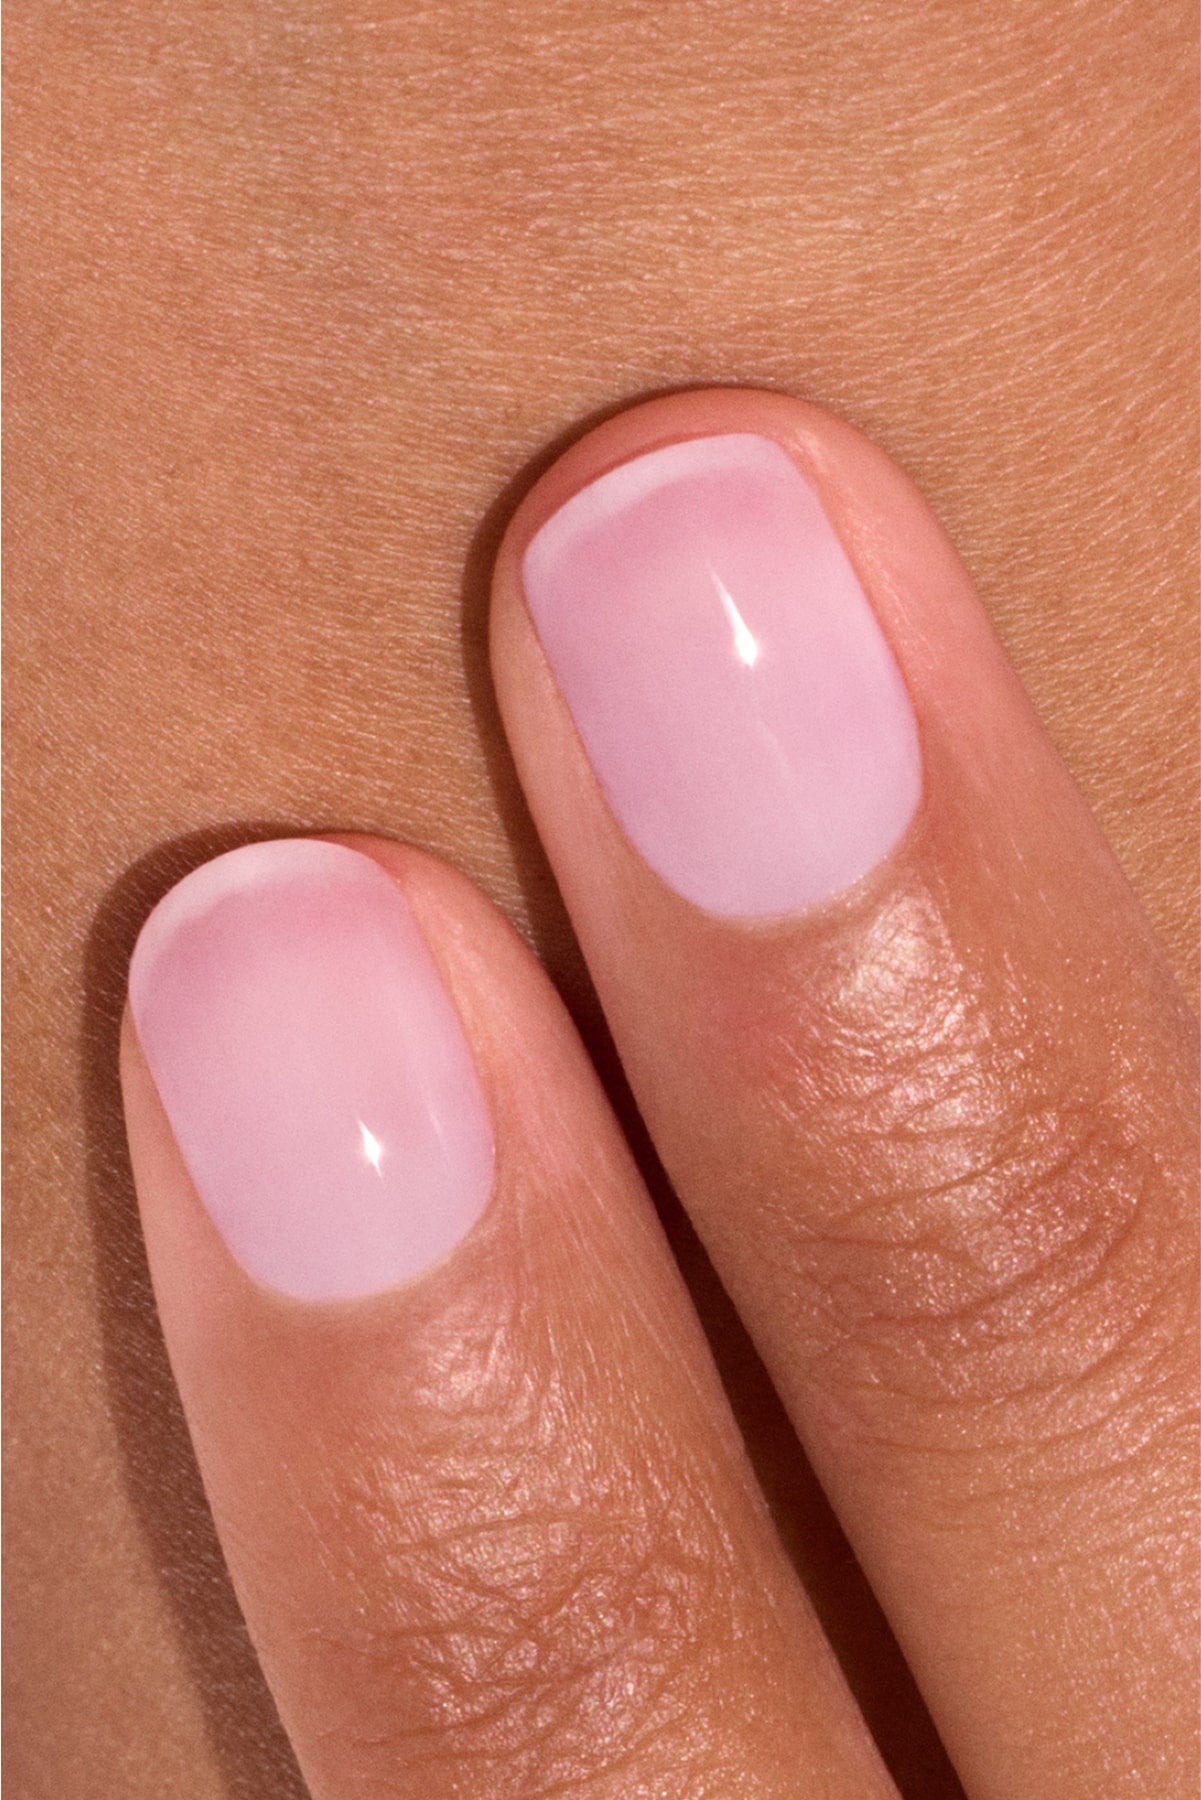
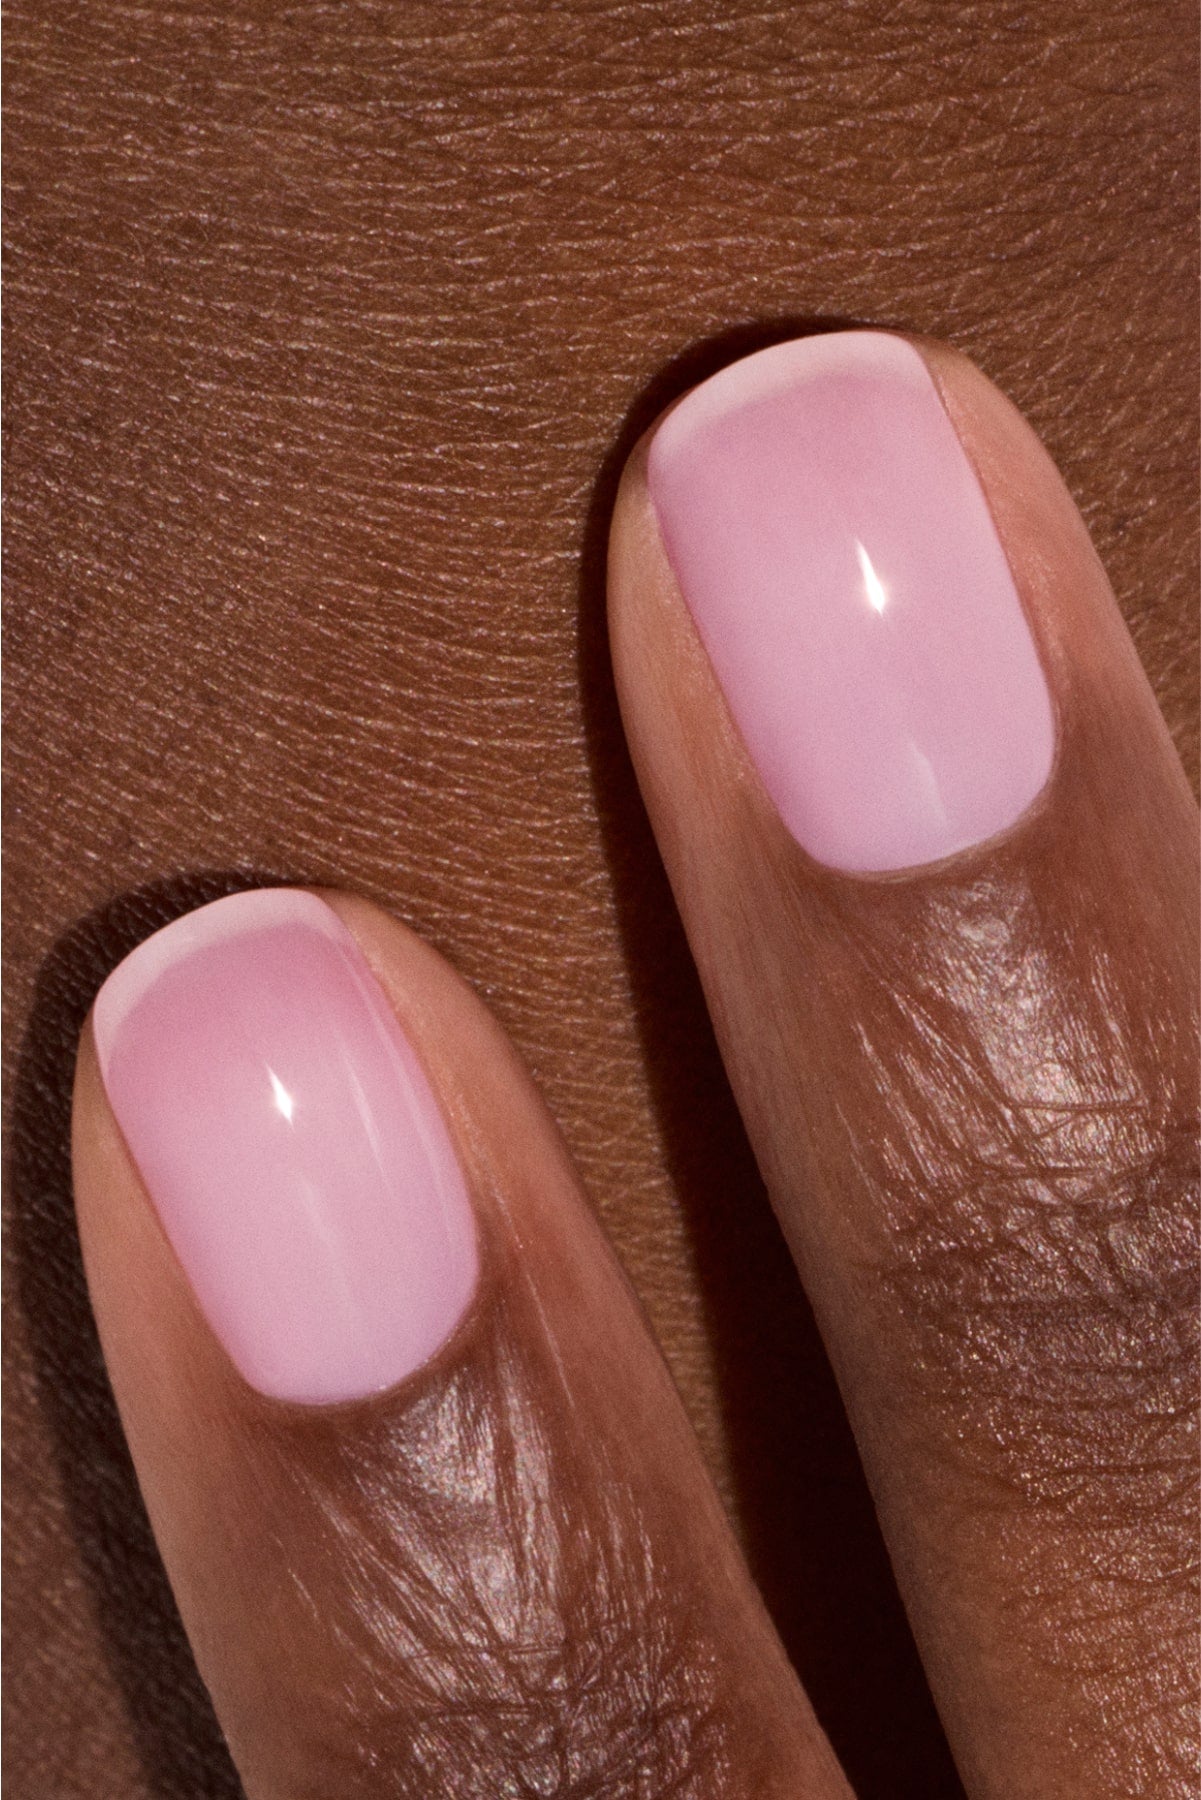
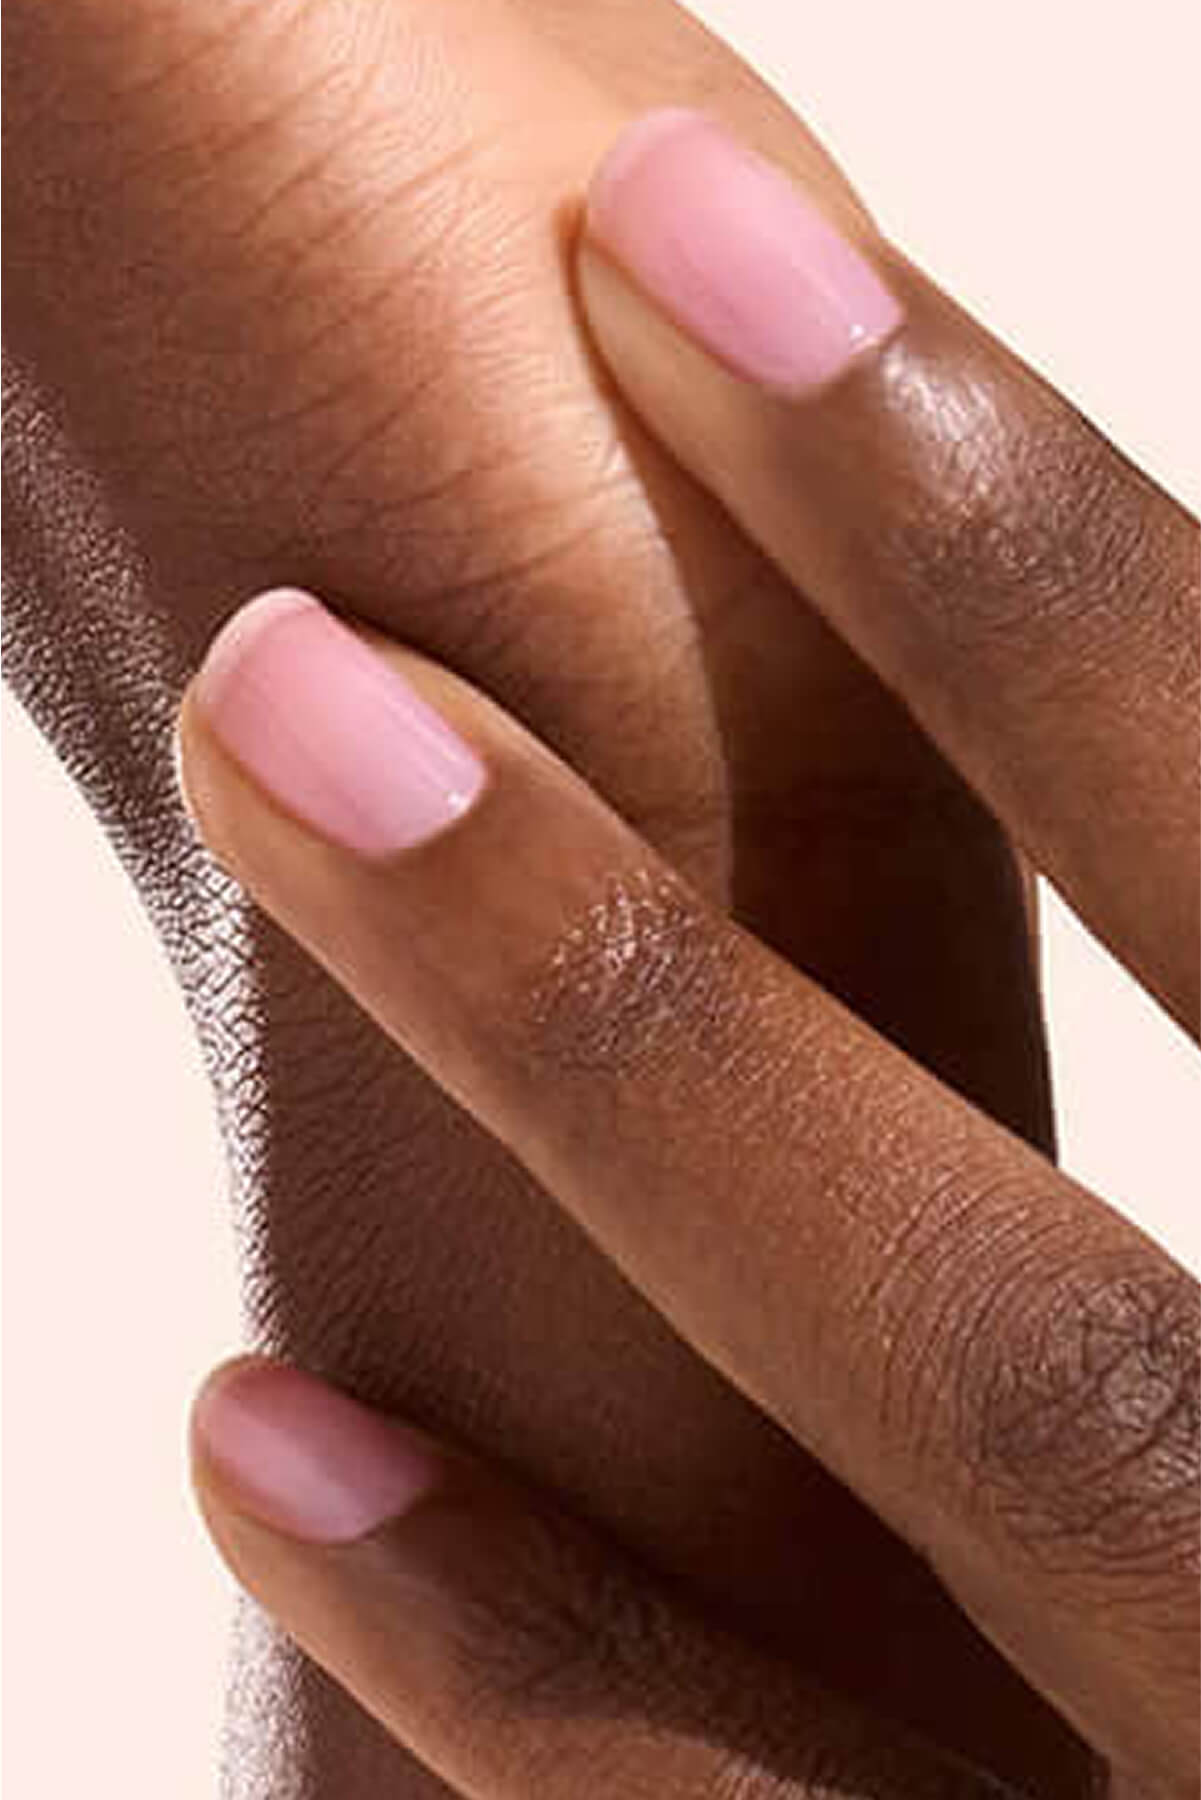
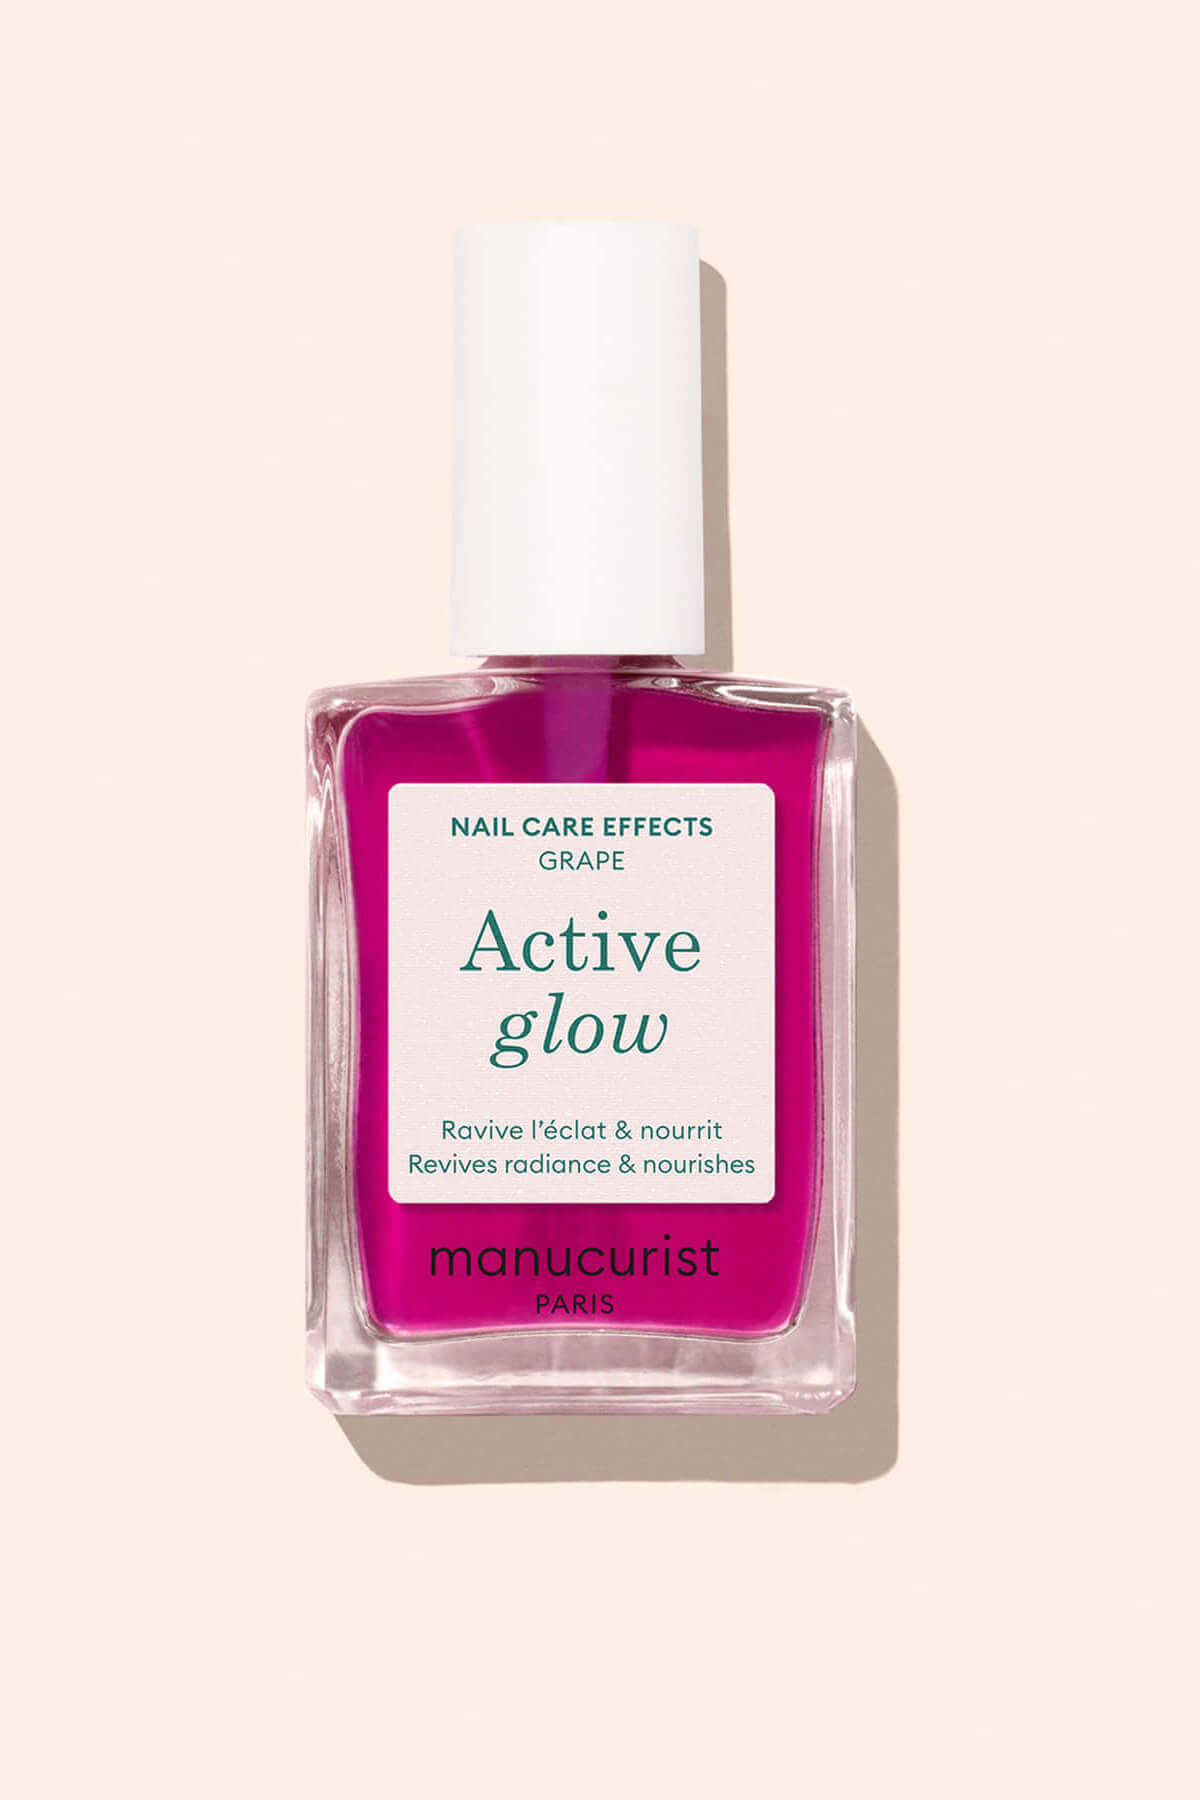
Active™ Glow
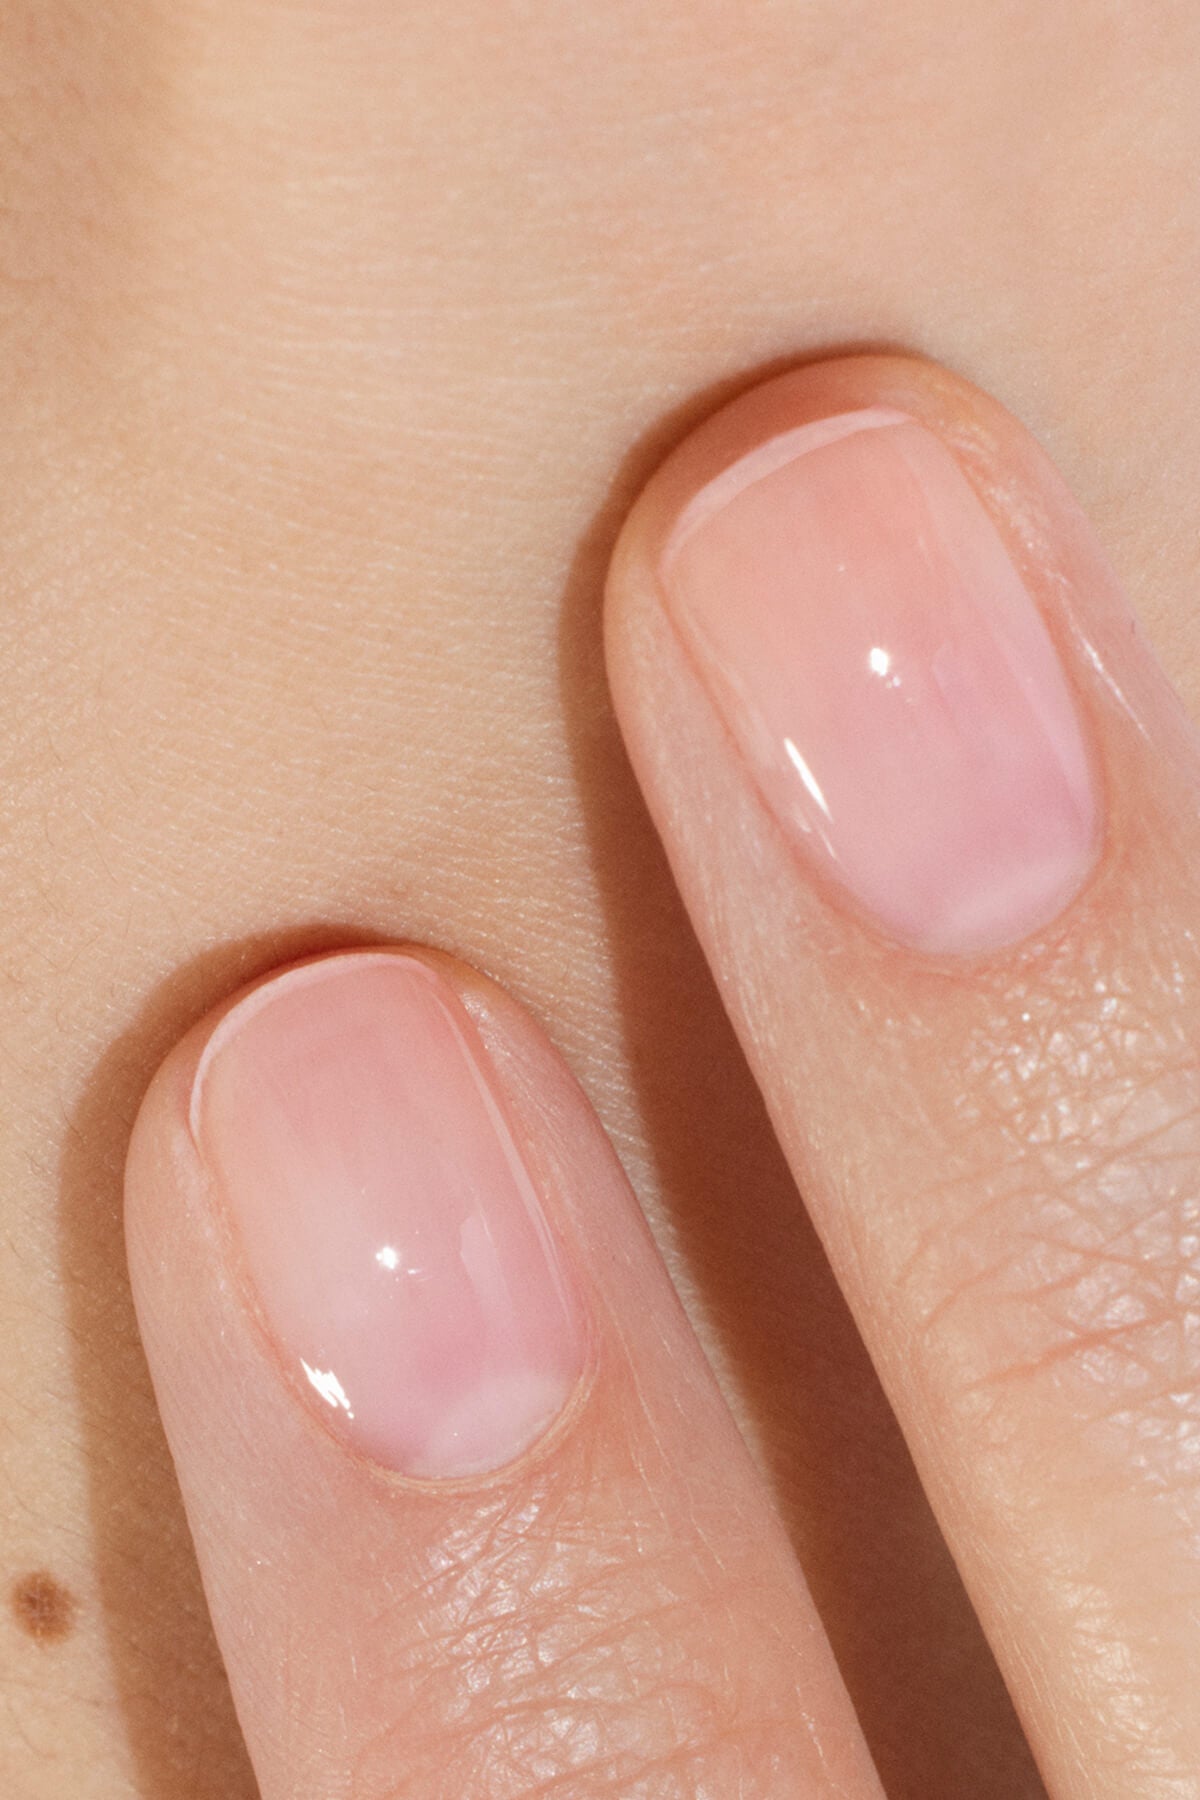
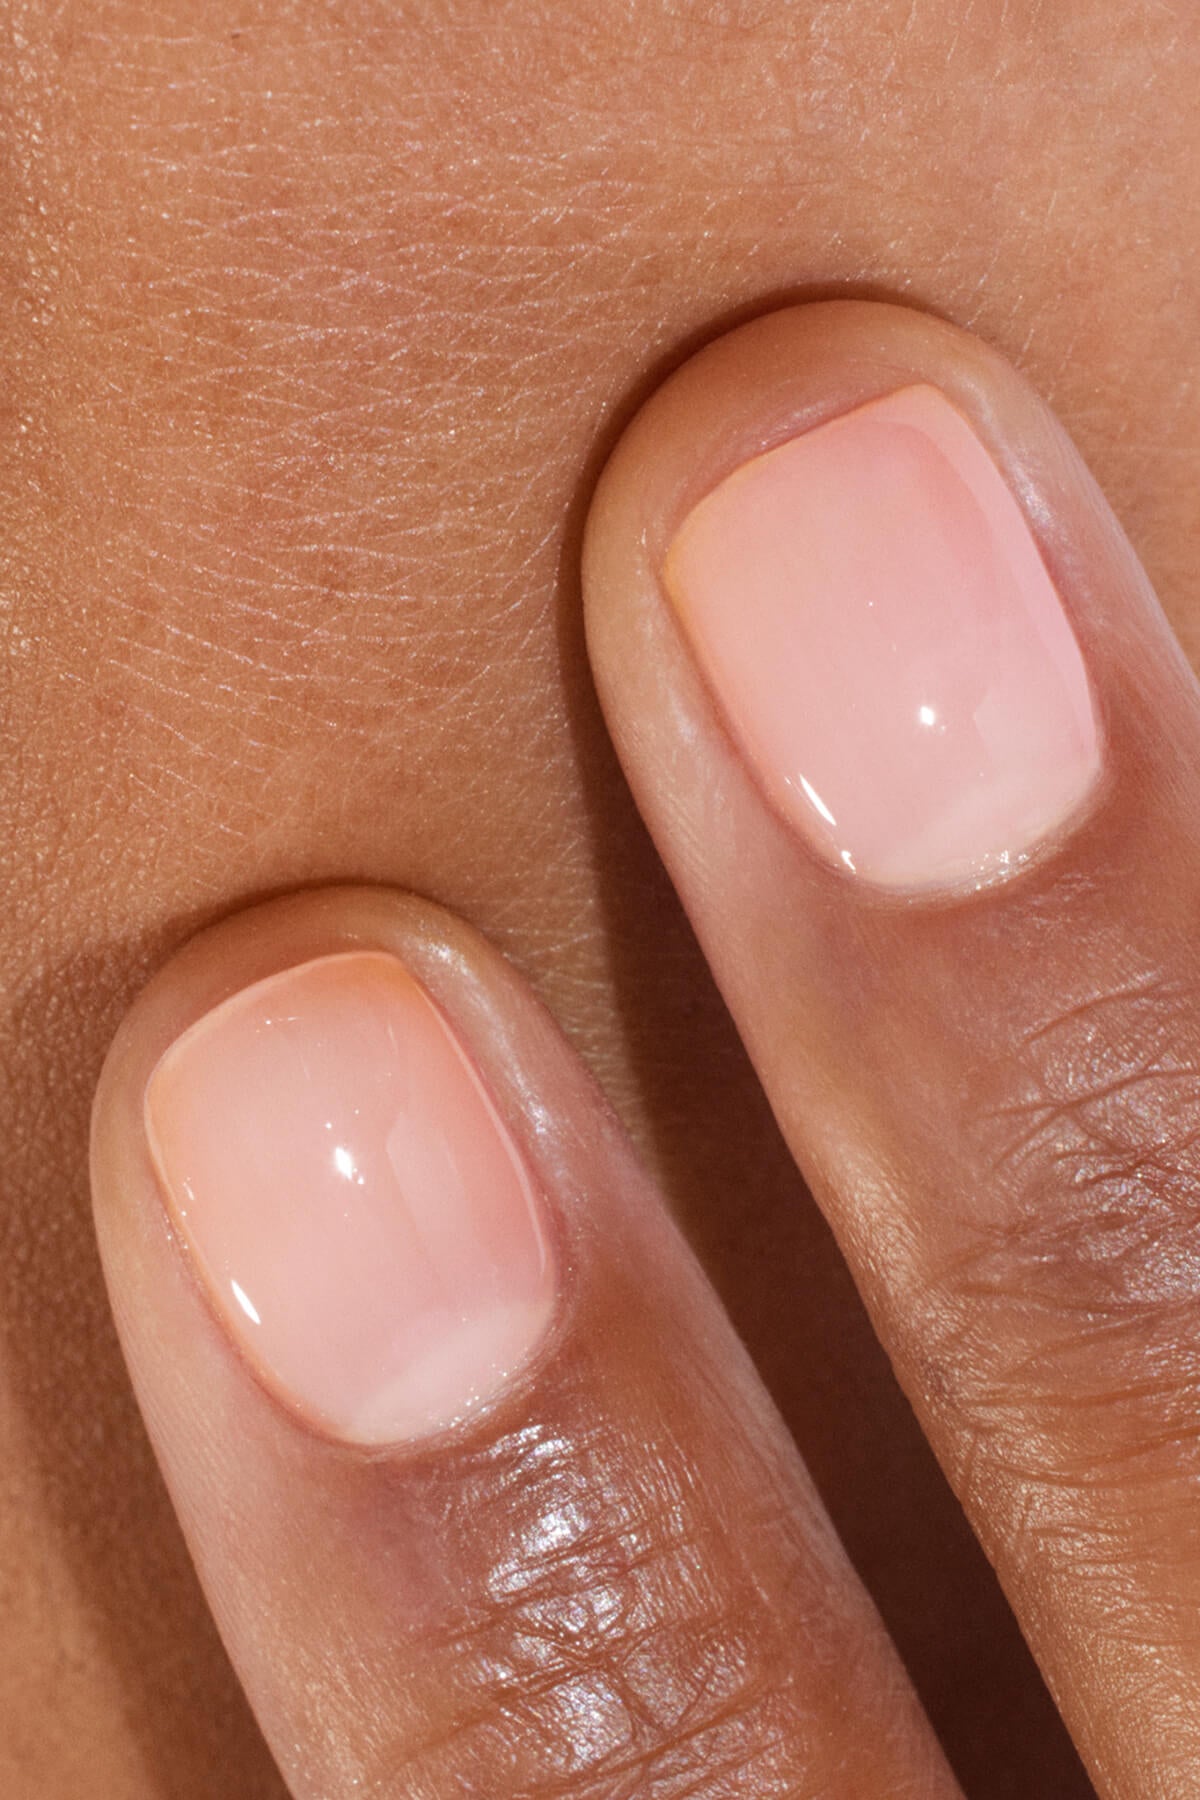
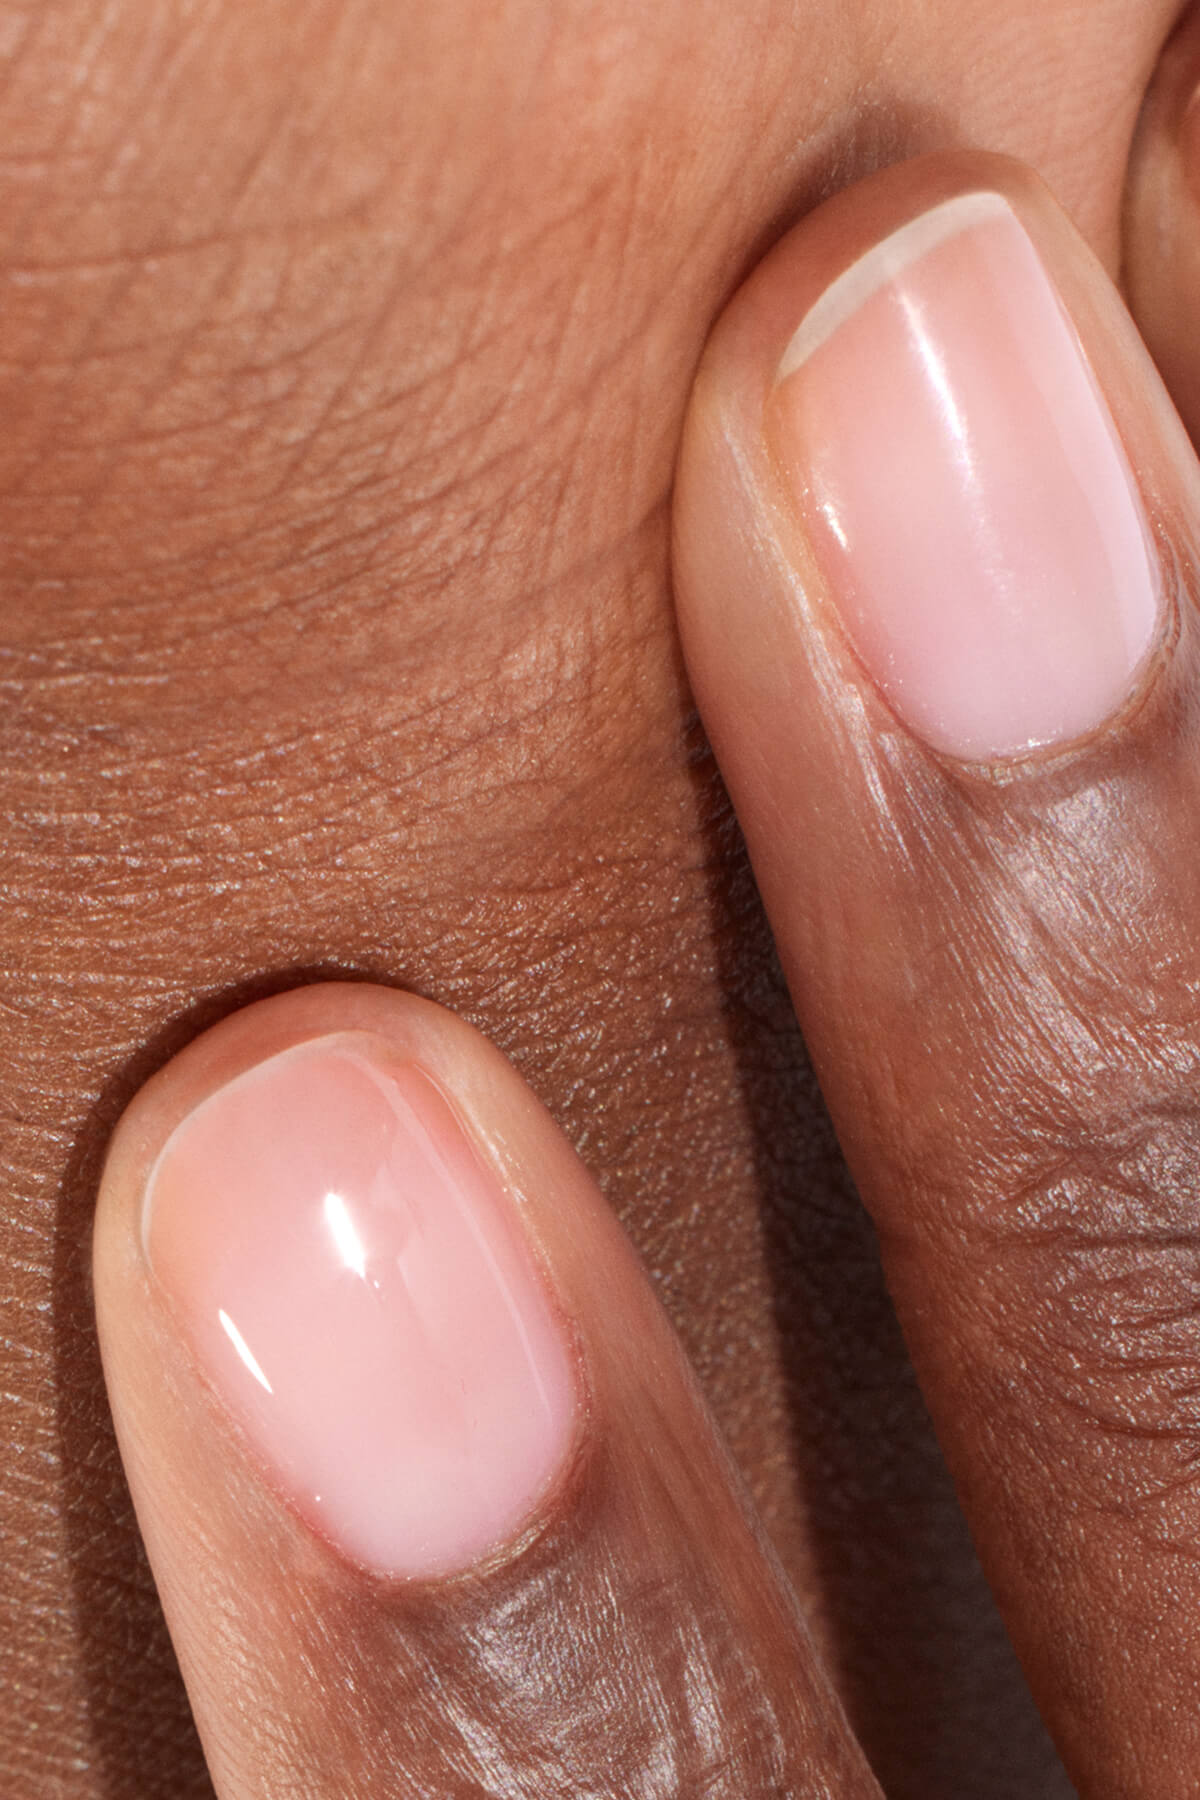
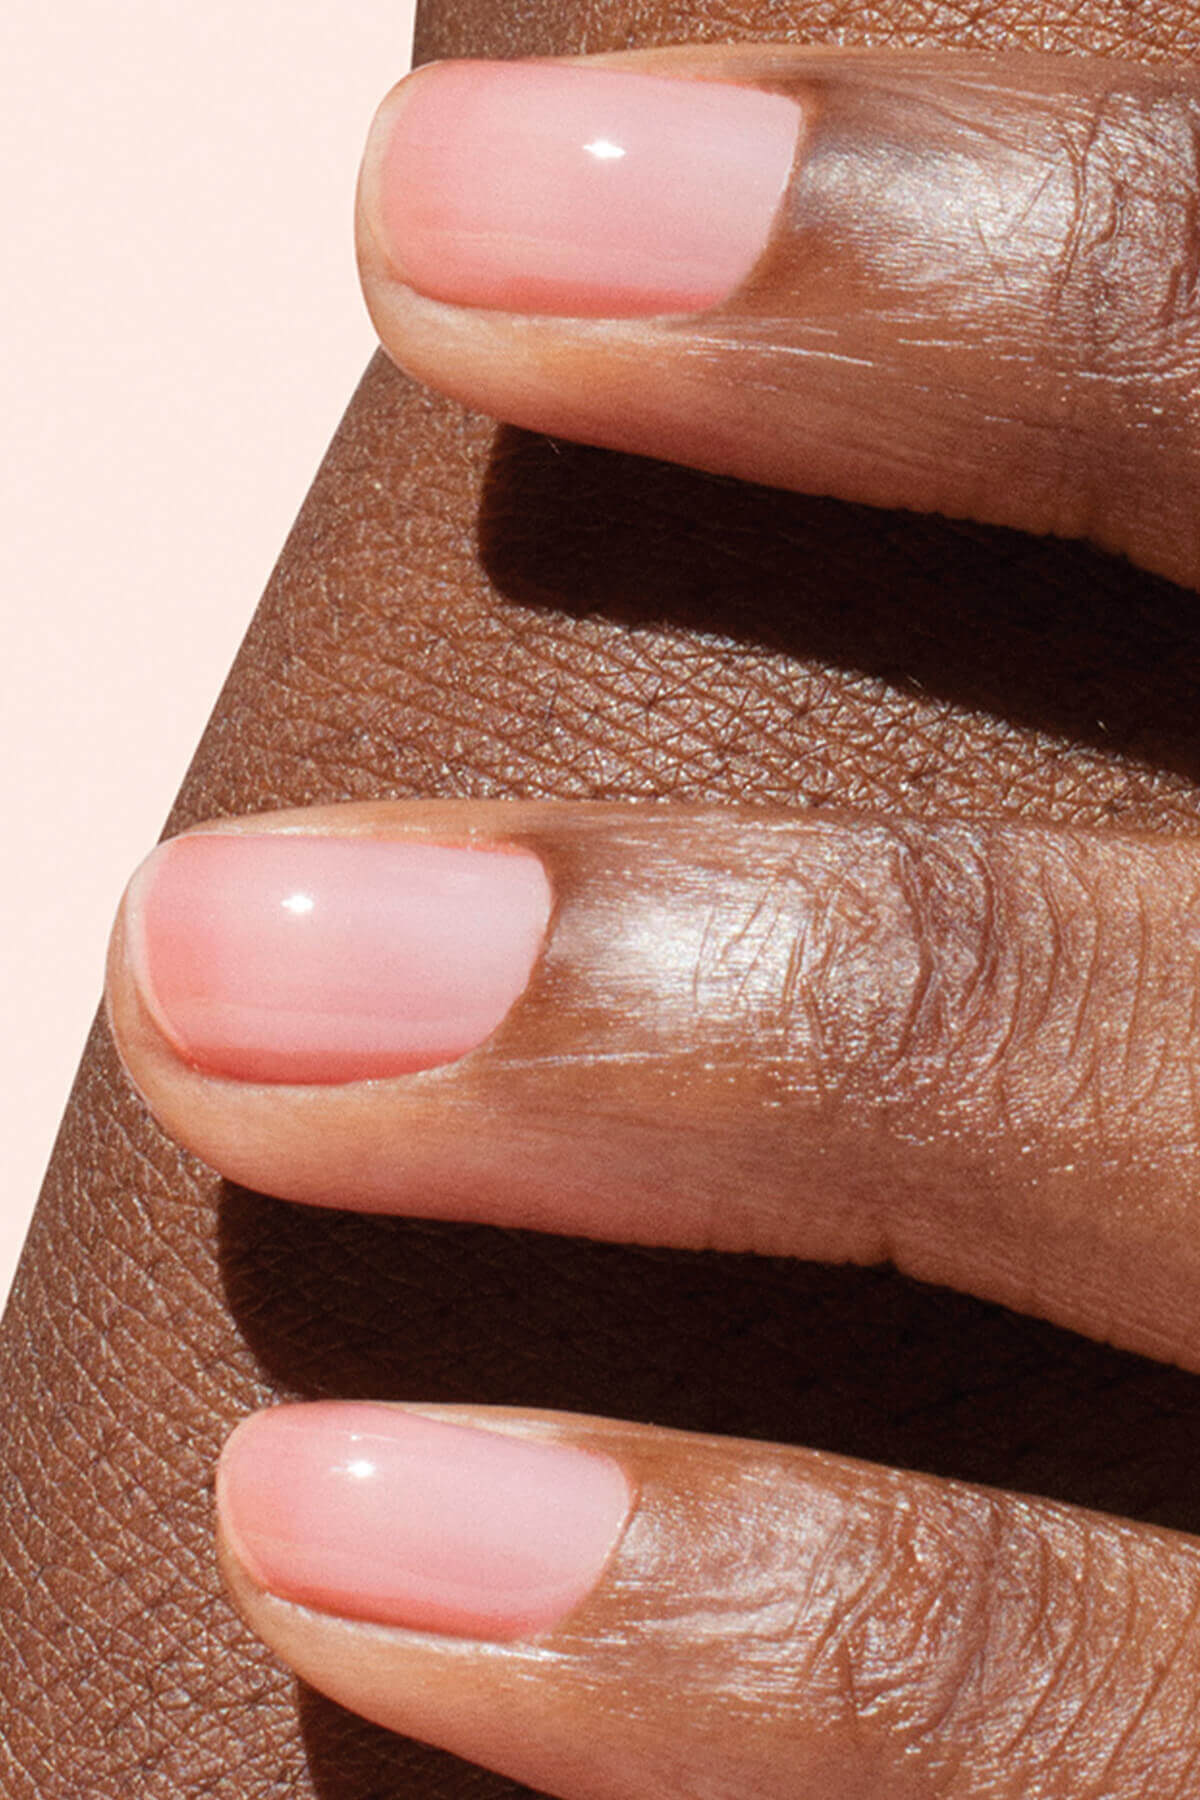

For a peachy pink gloss effect
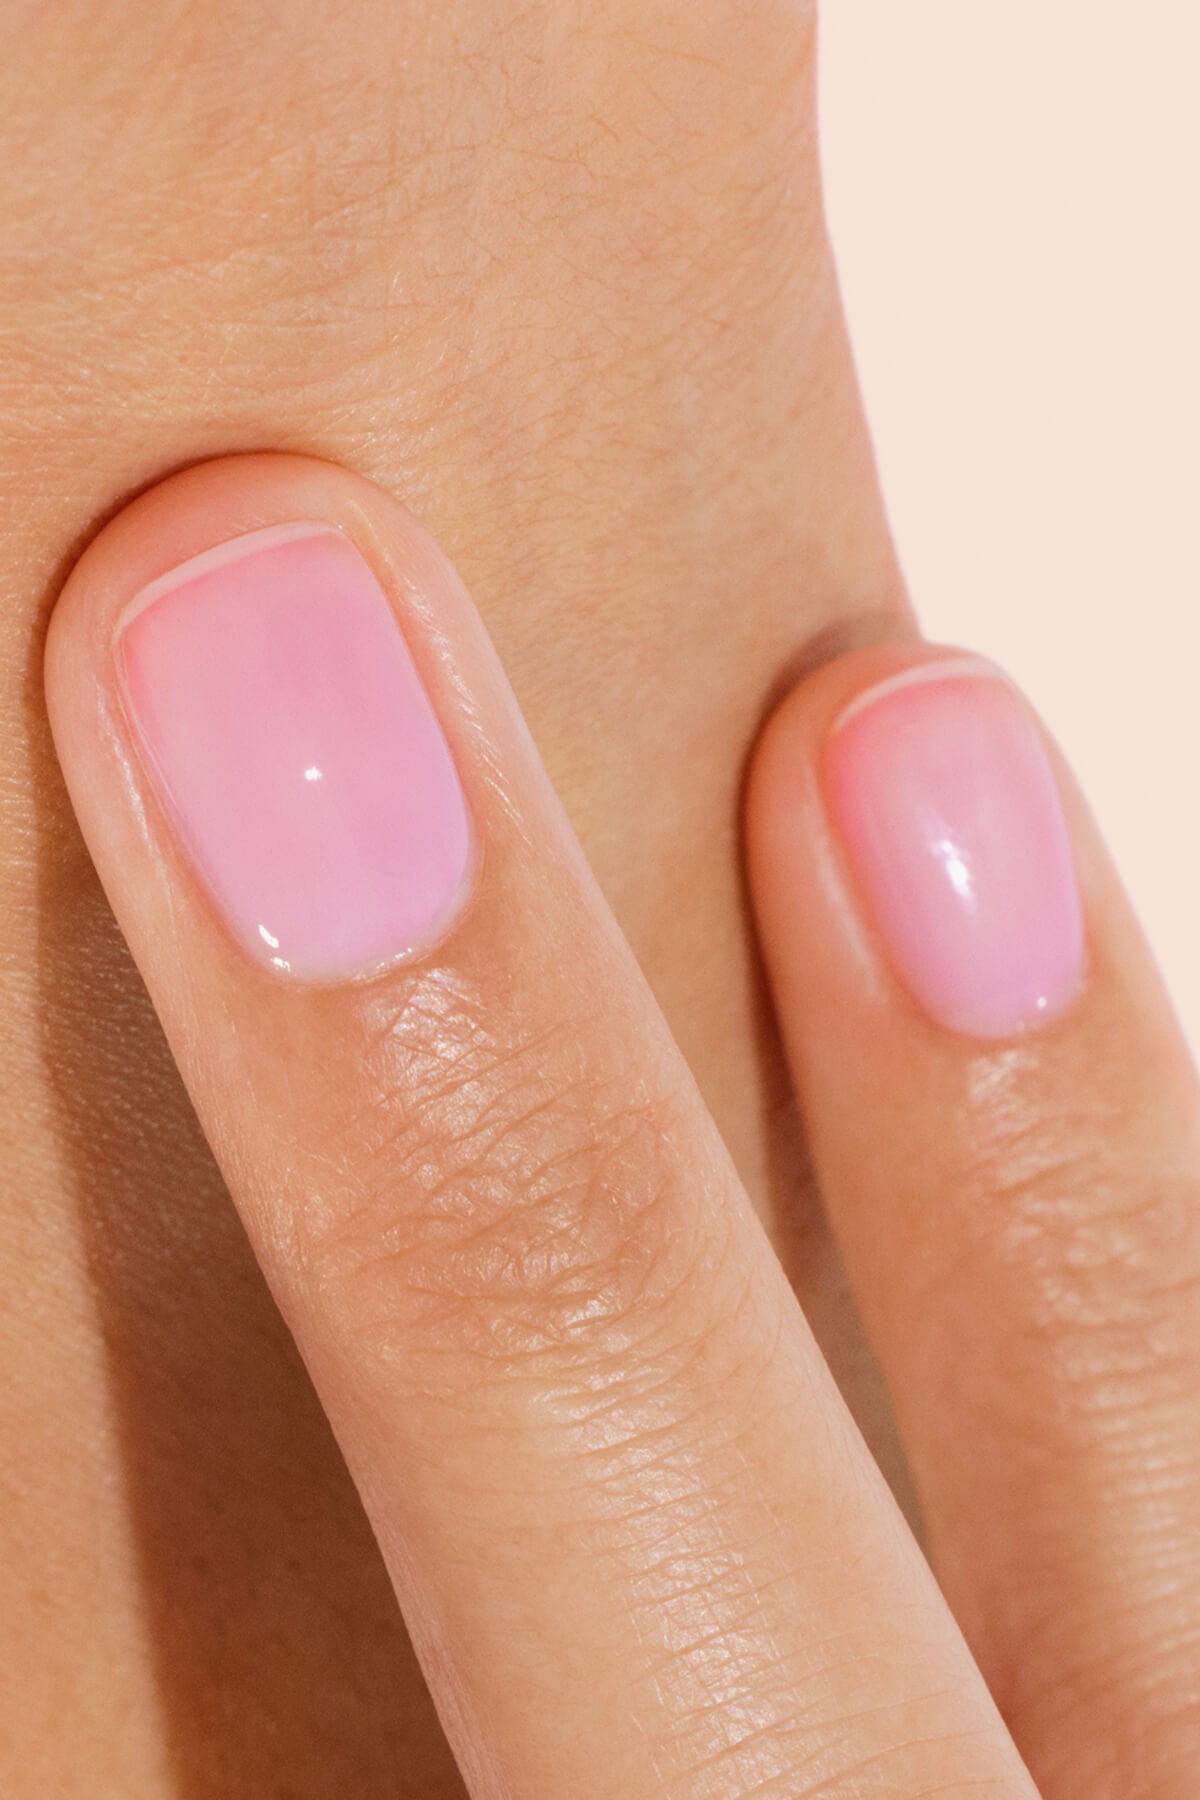
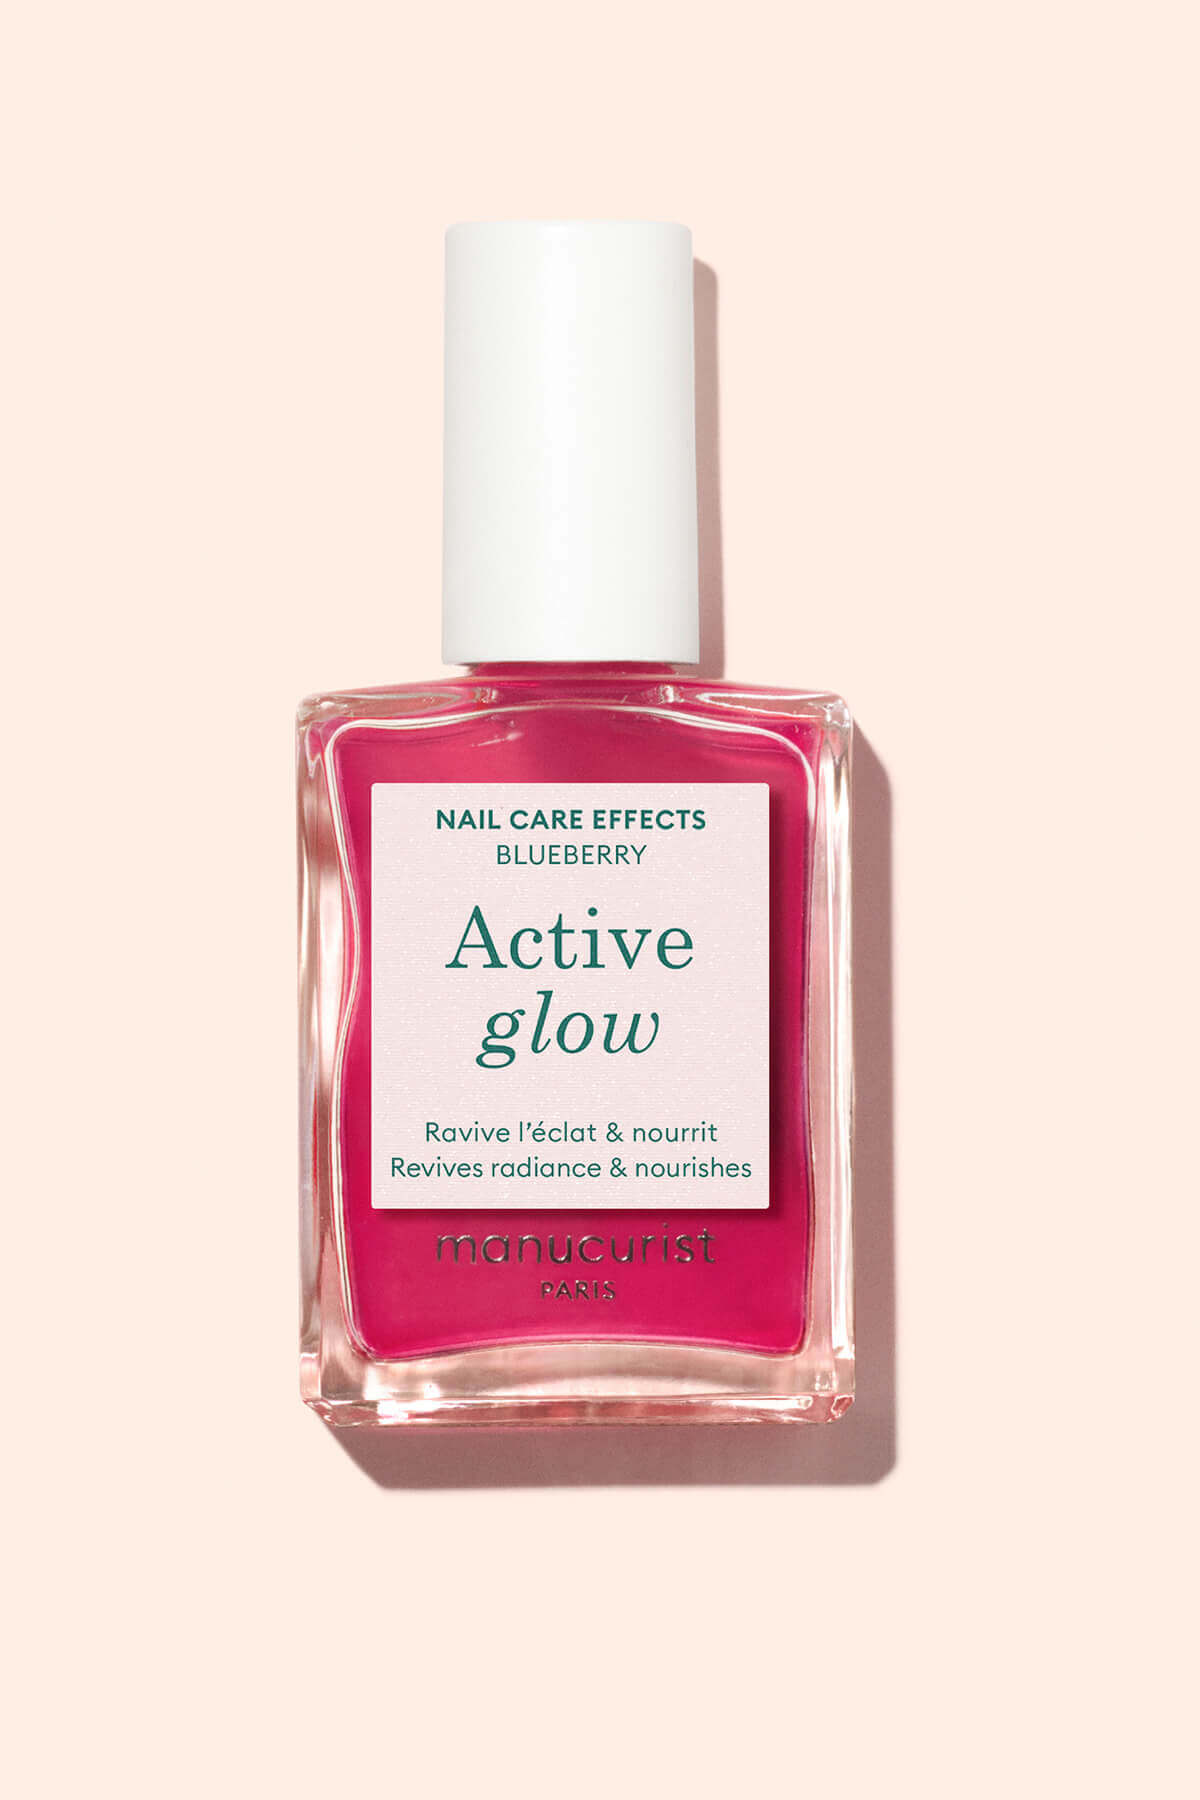

For an intense pink gloss effect
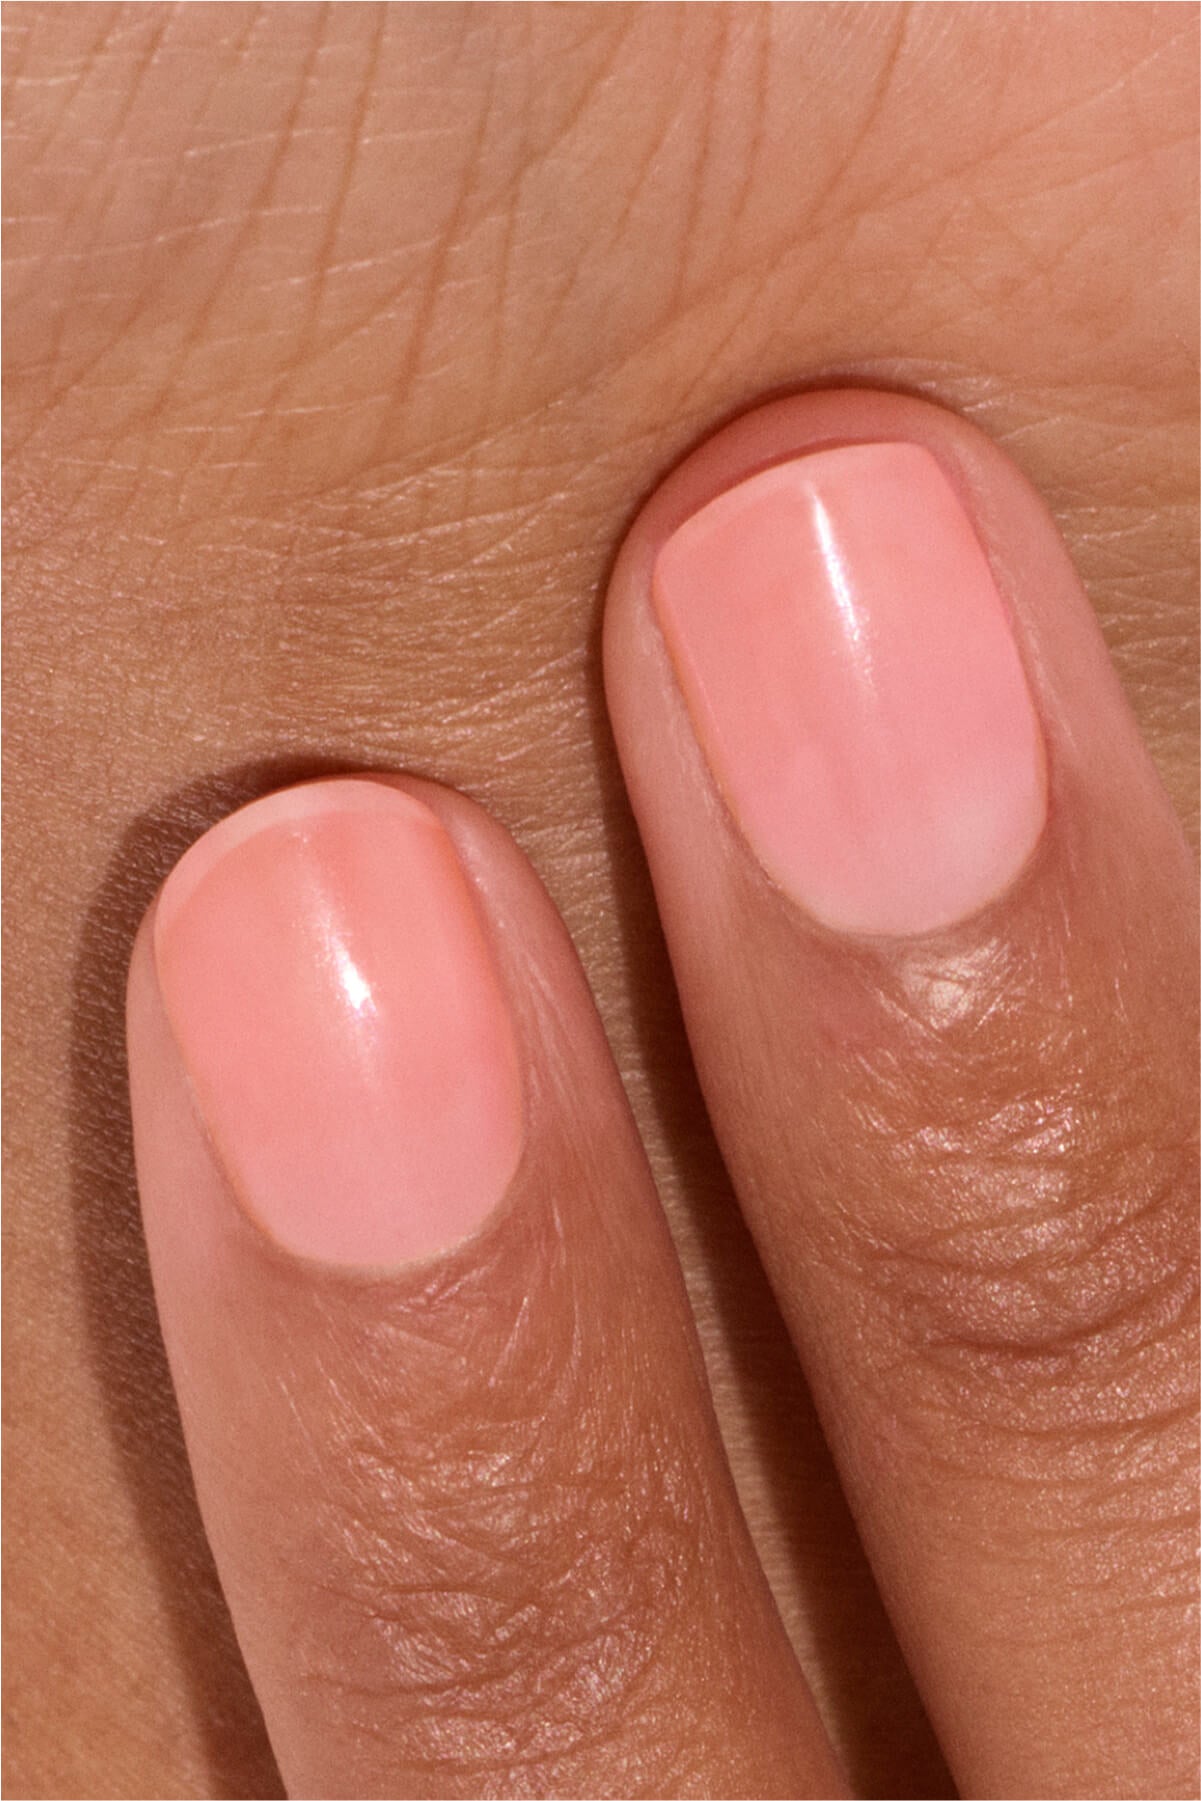
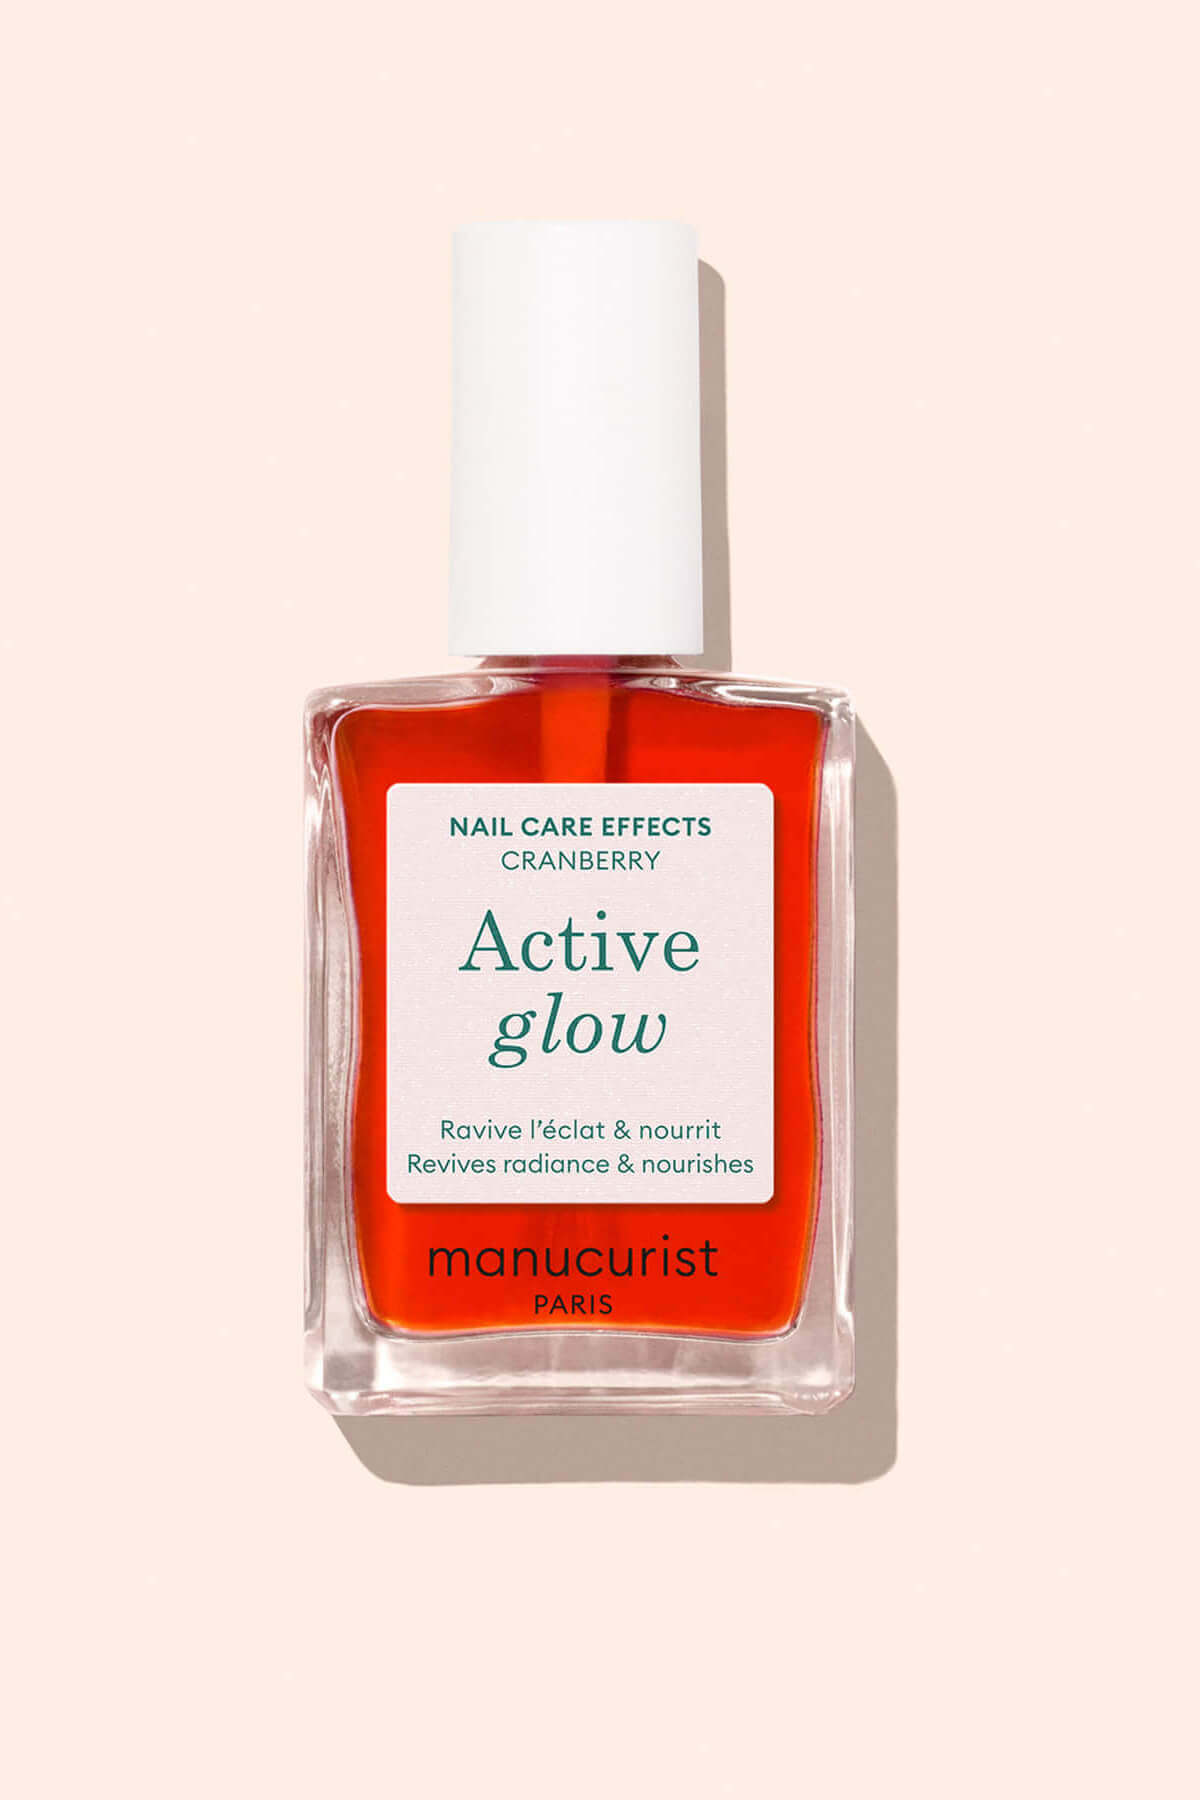

For a coral gloss effect

For a lilac gloss effect
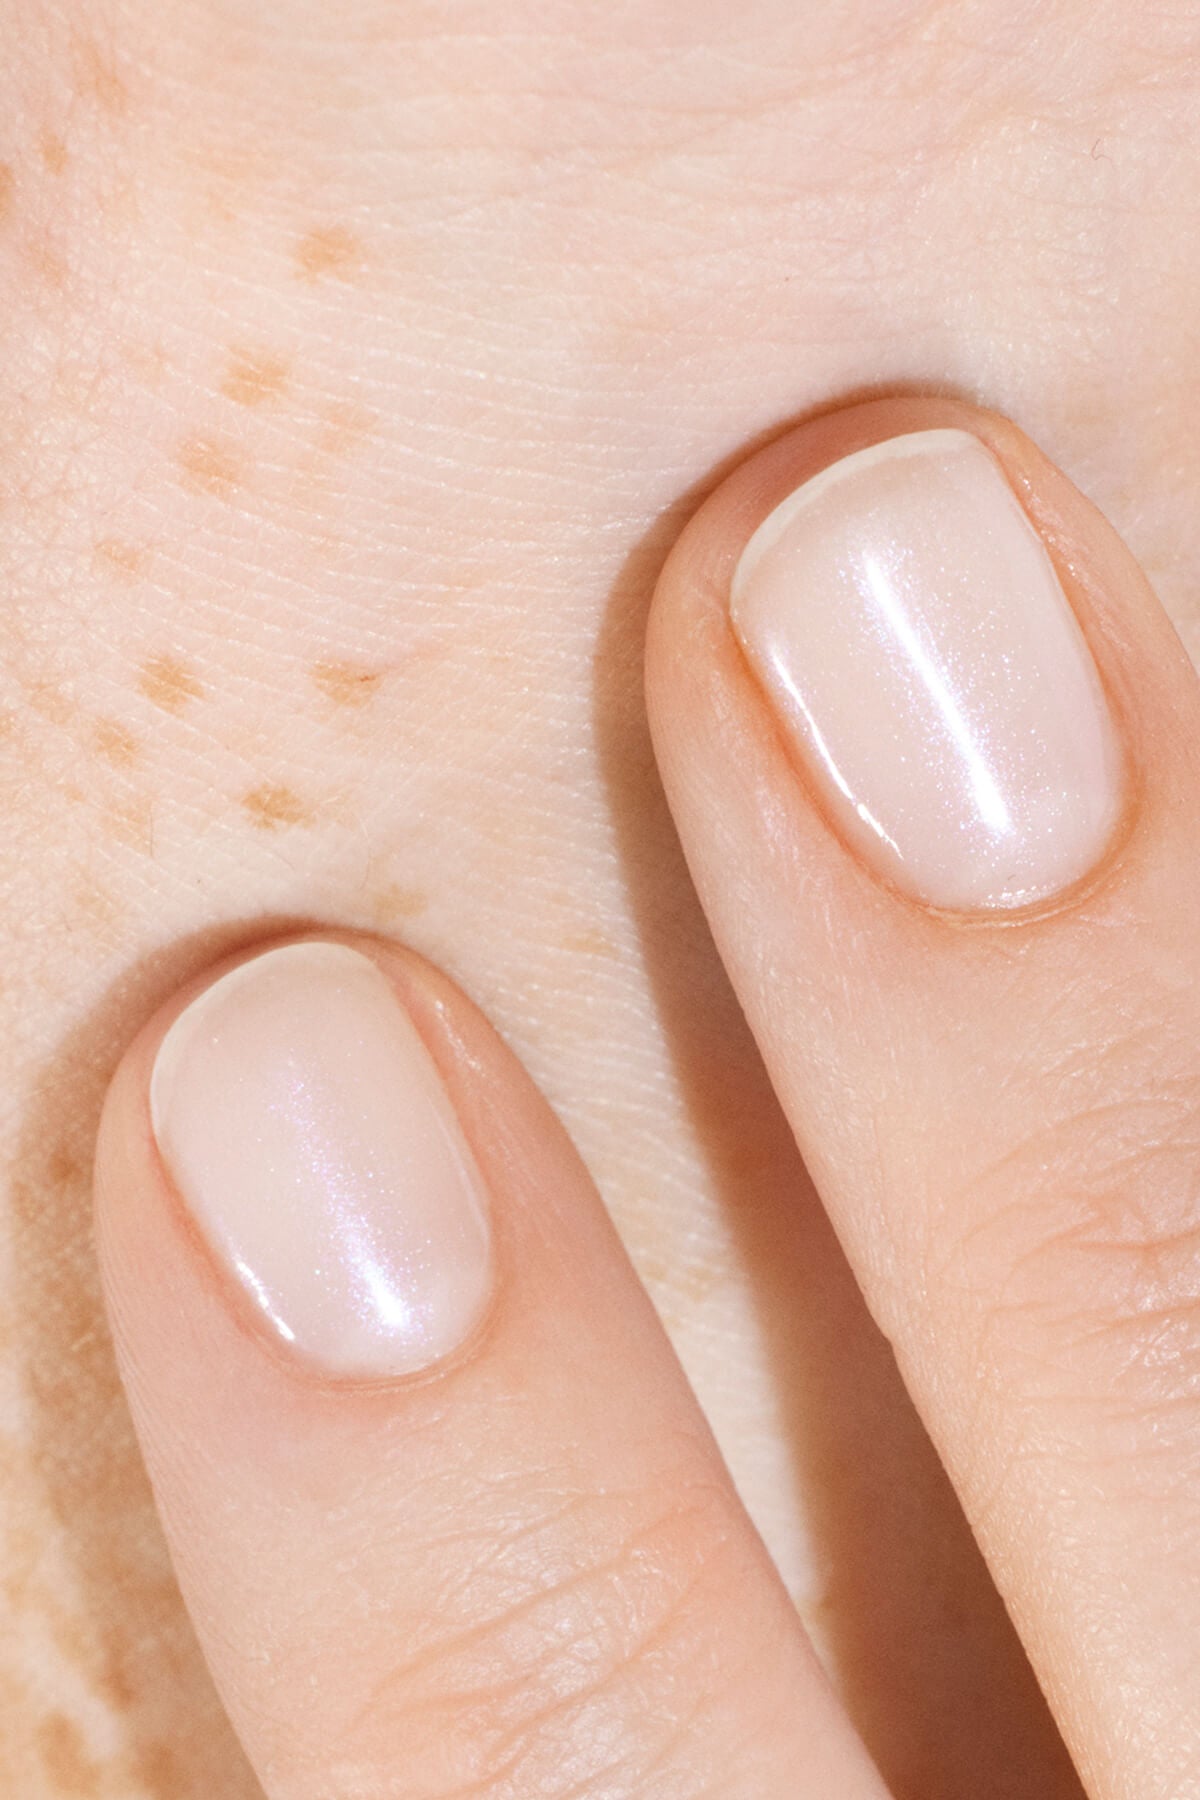
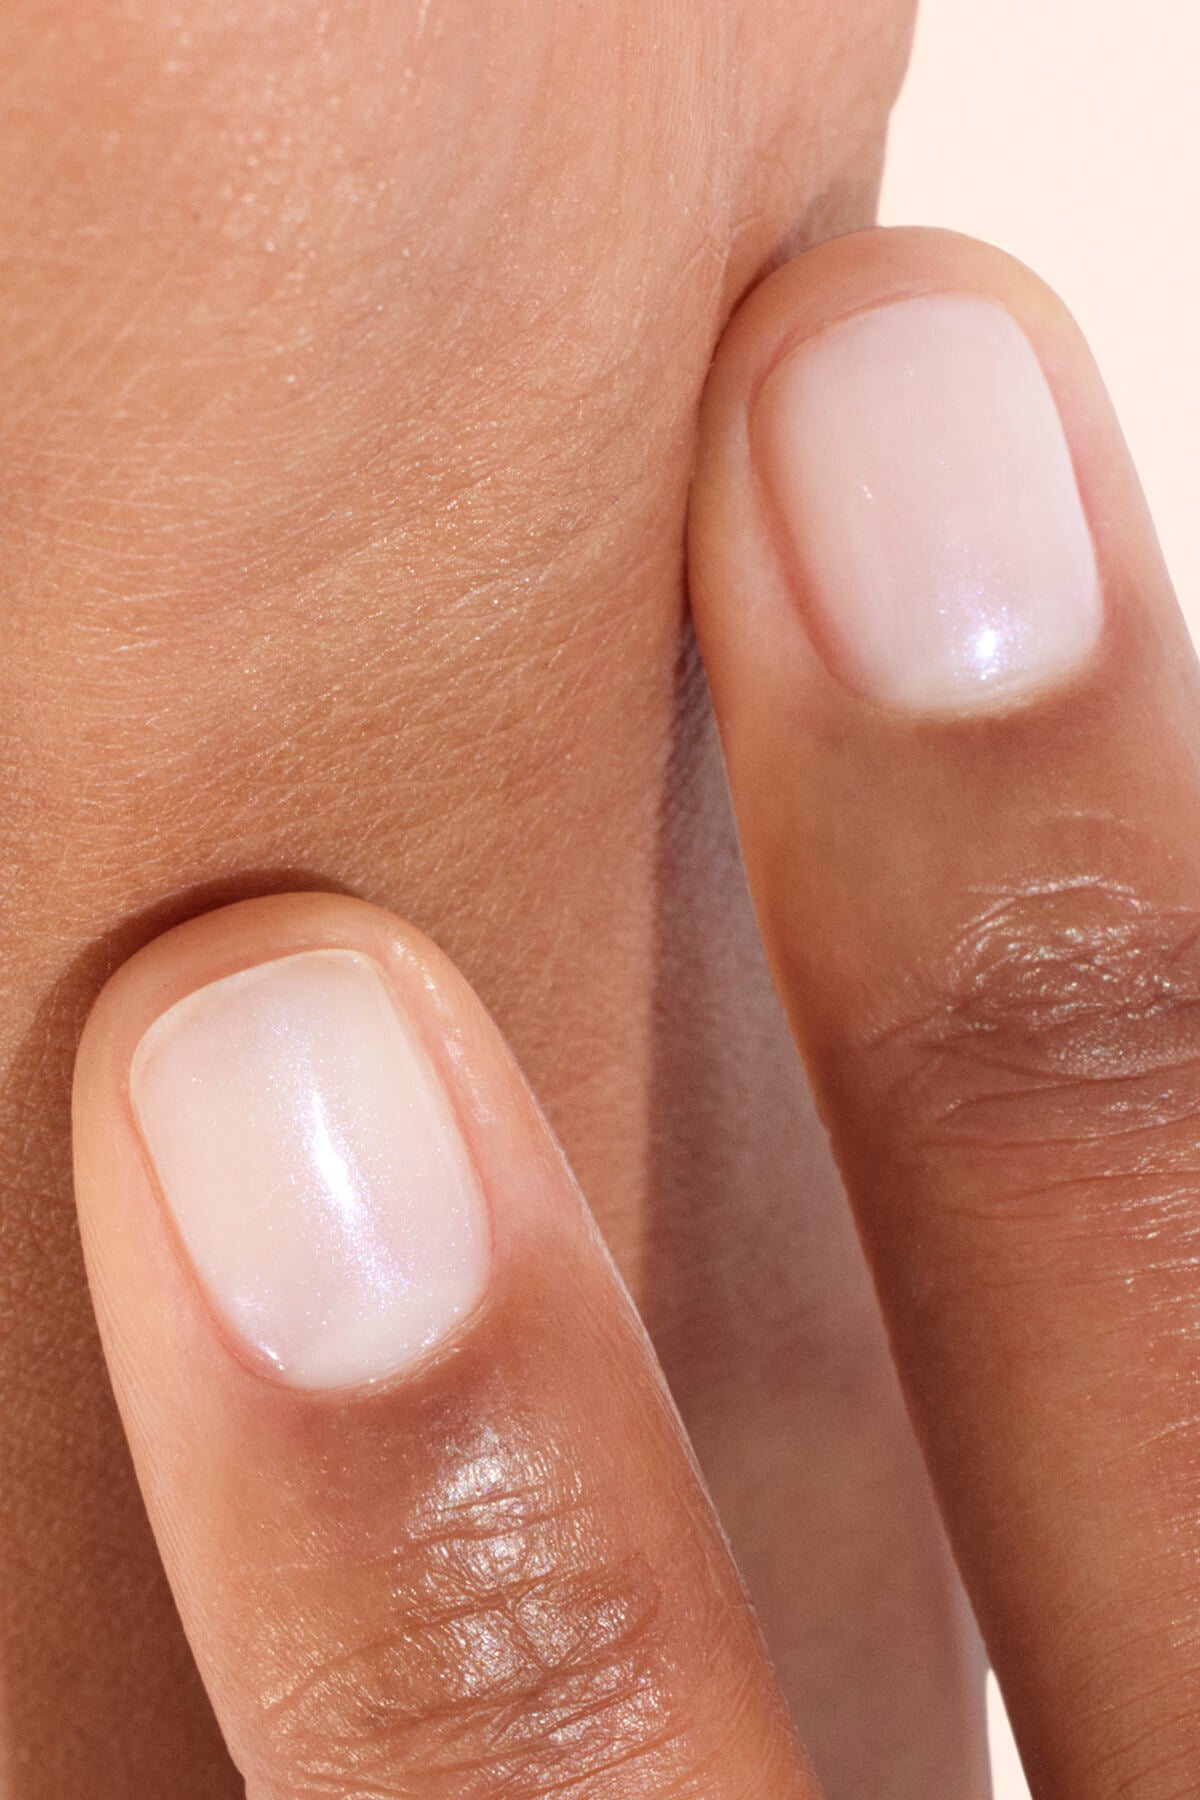
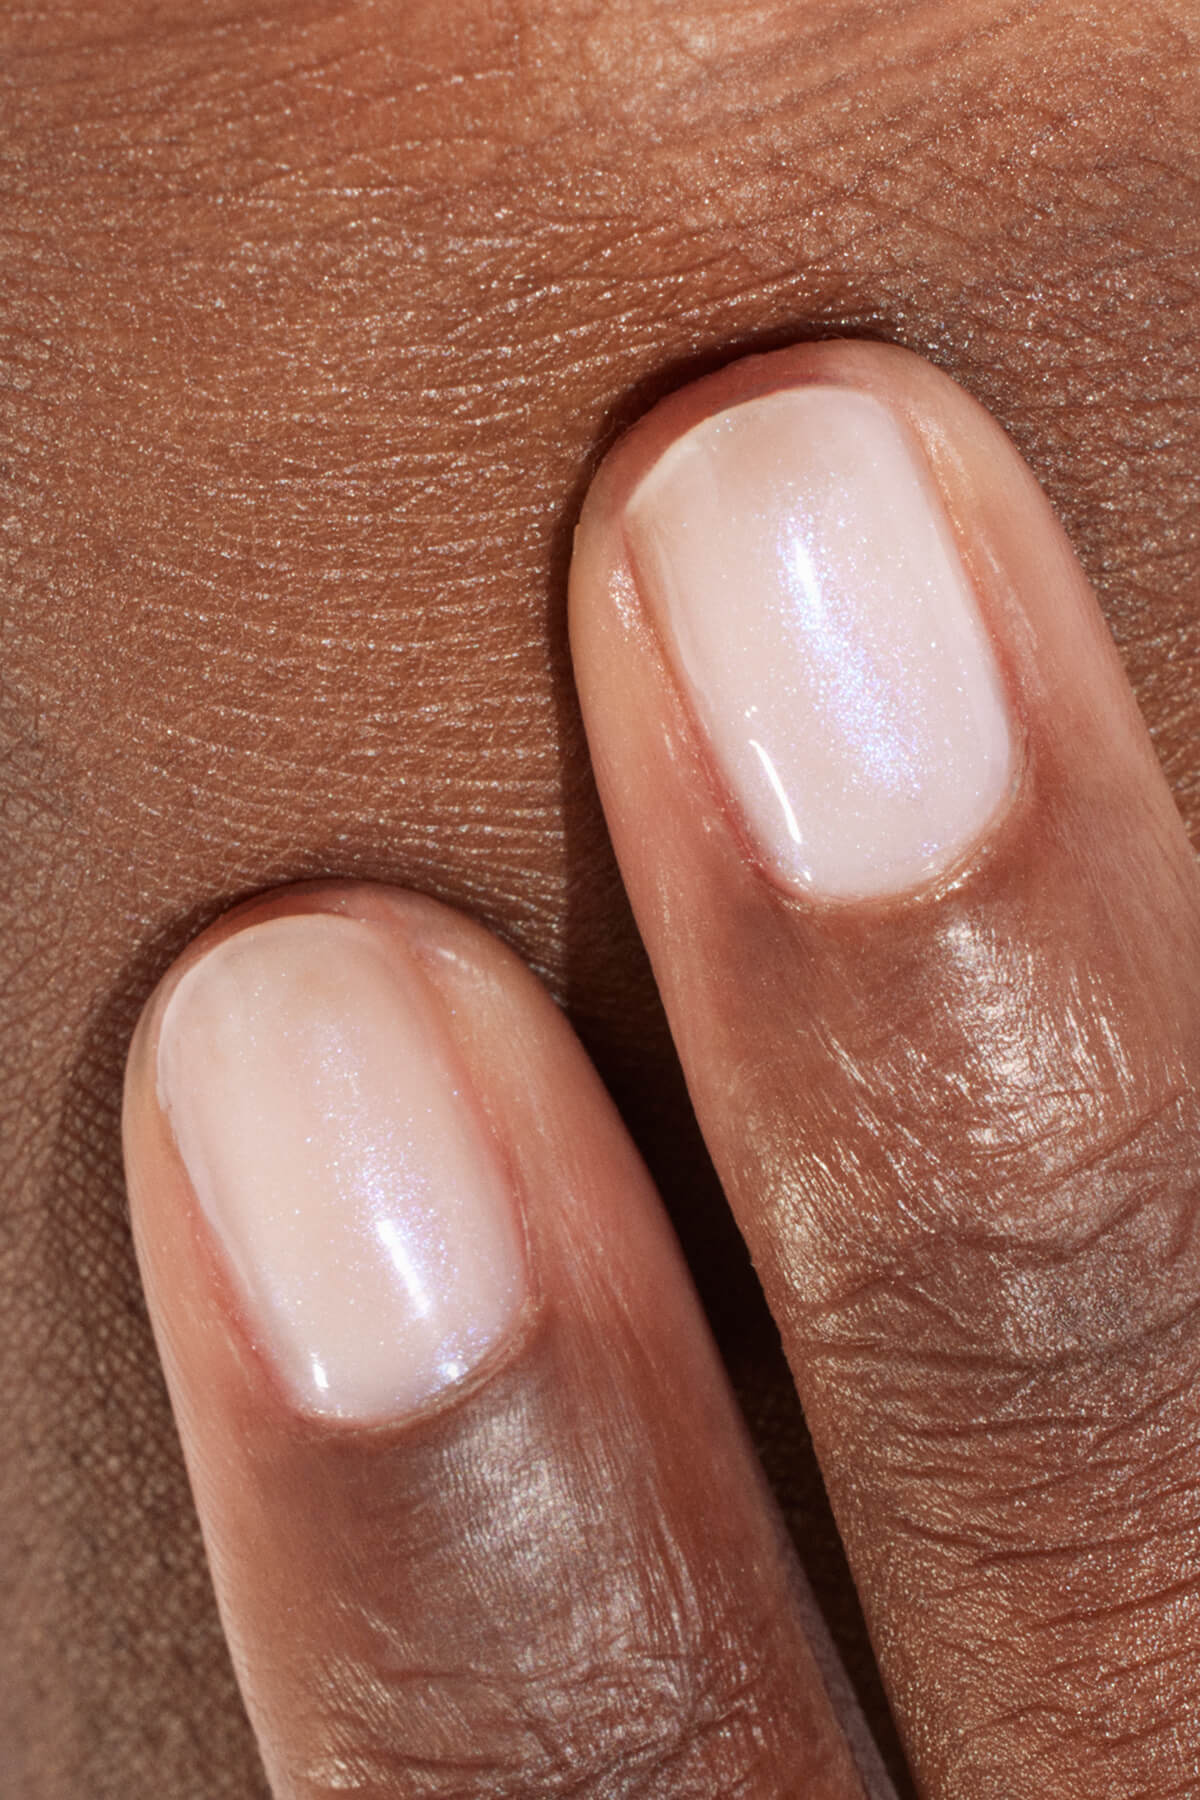
Active™ Blur, Plump, Shine & Bright


For a blurring care polish with a velvety matte pink finish


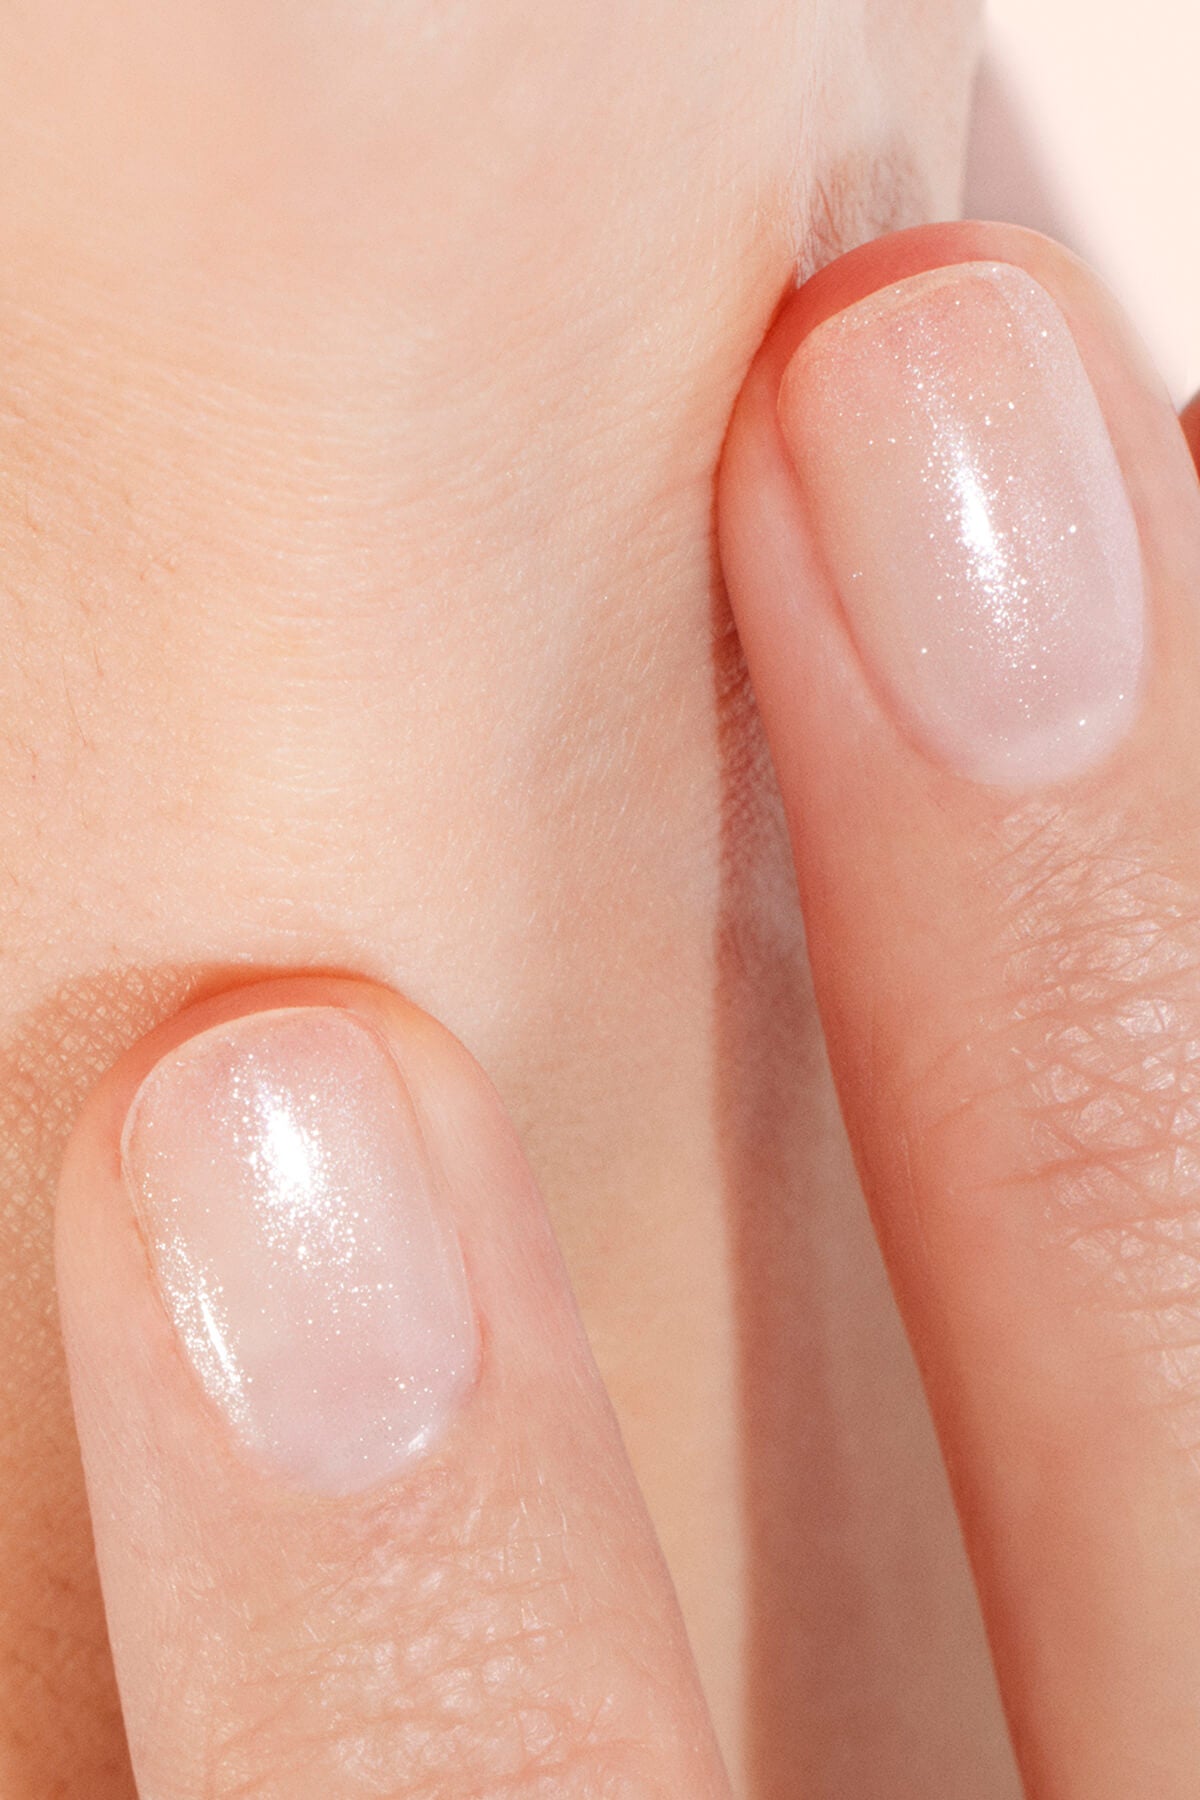
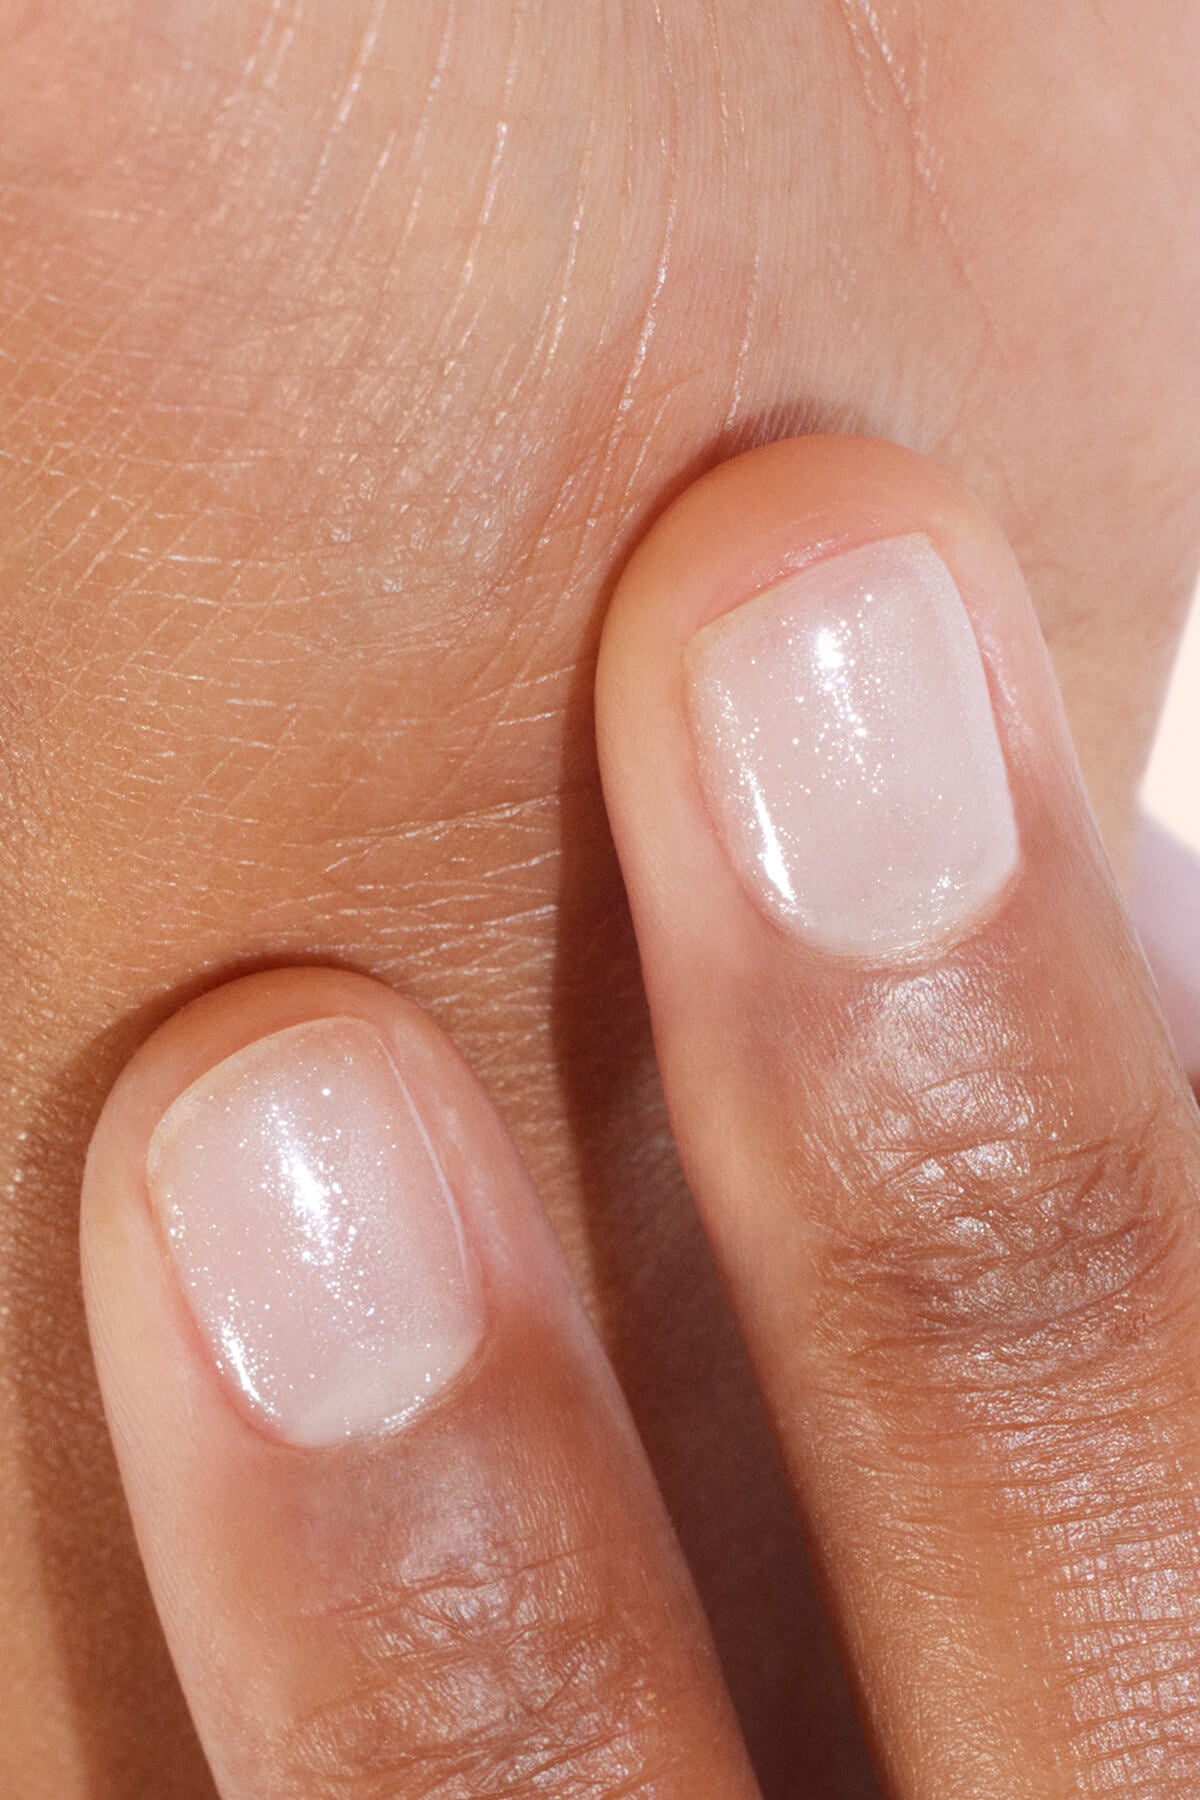
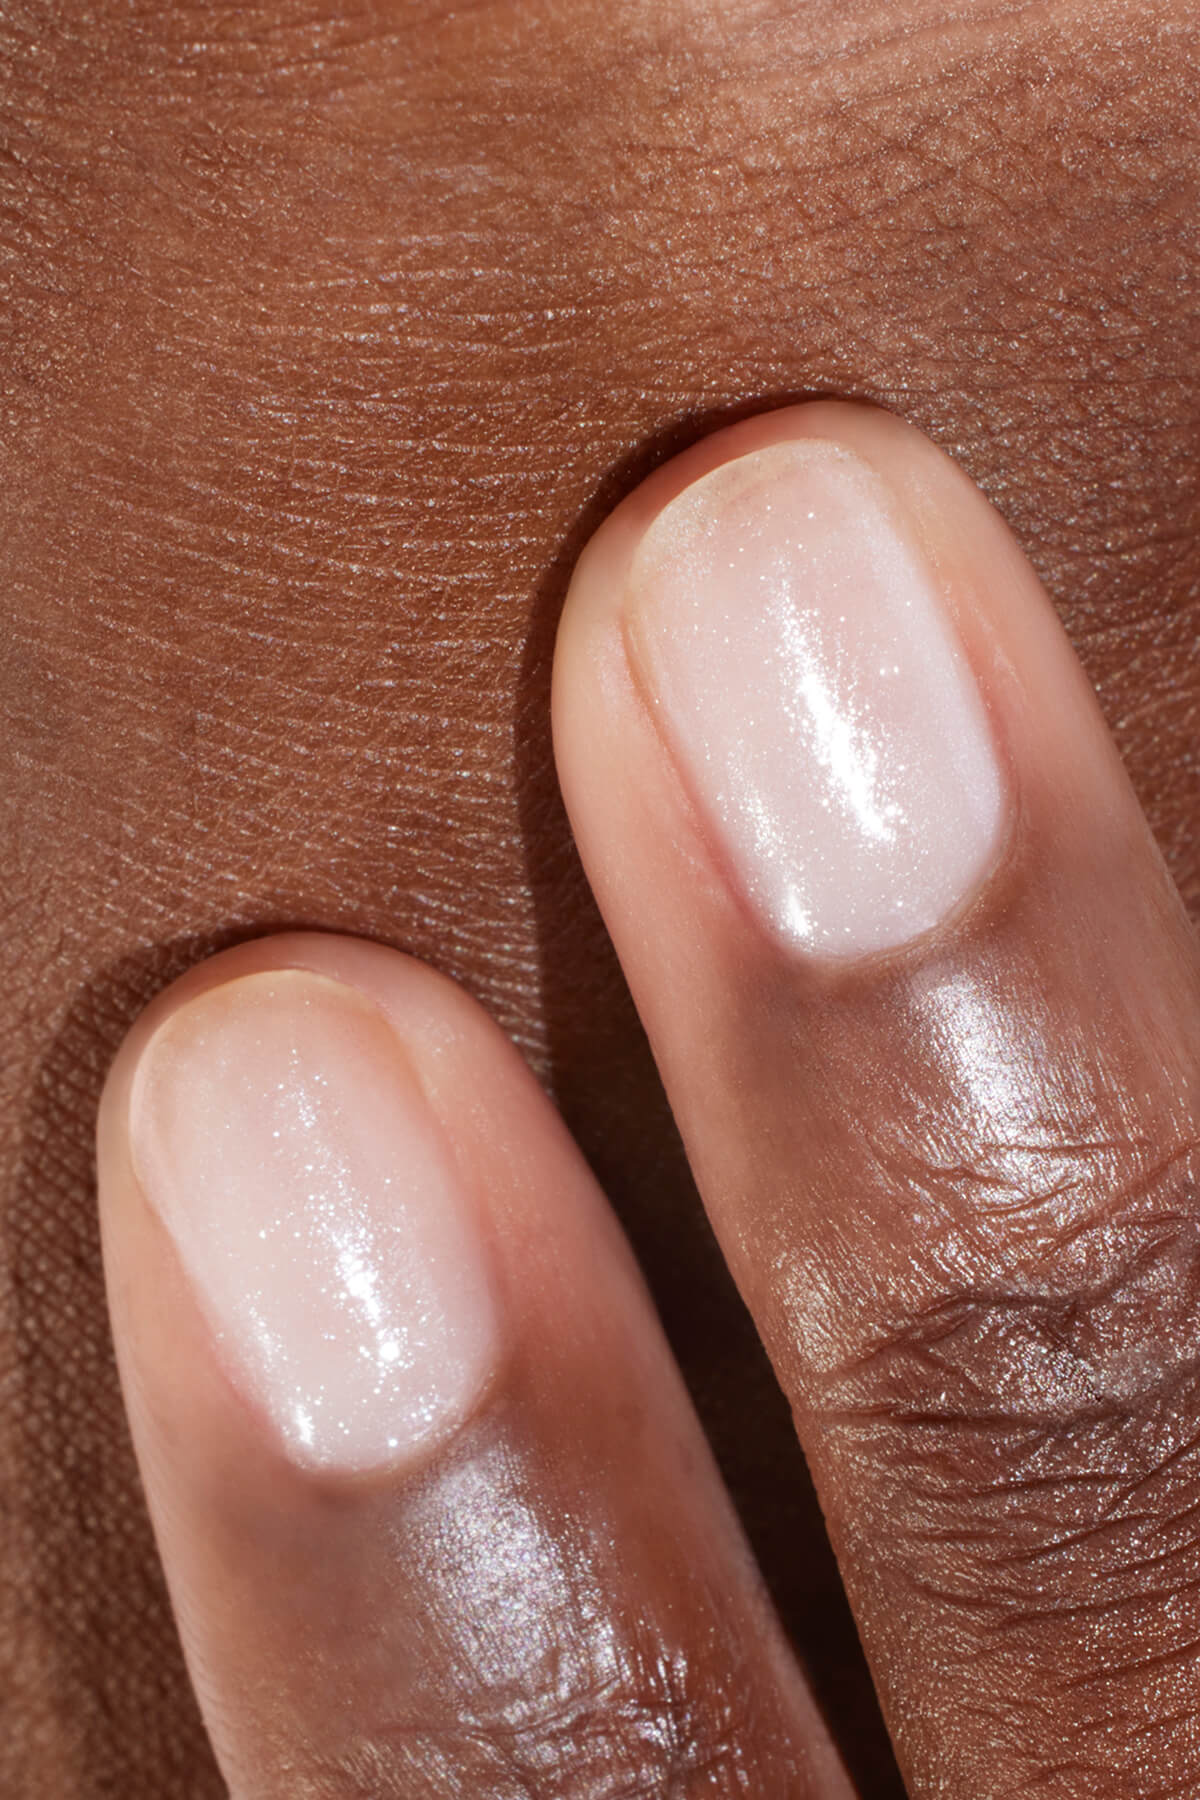
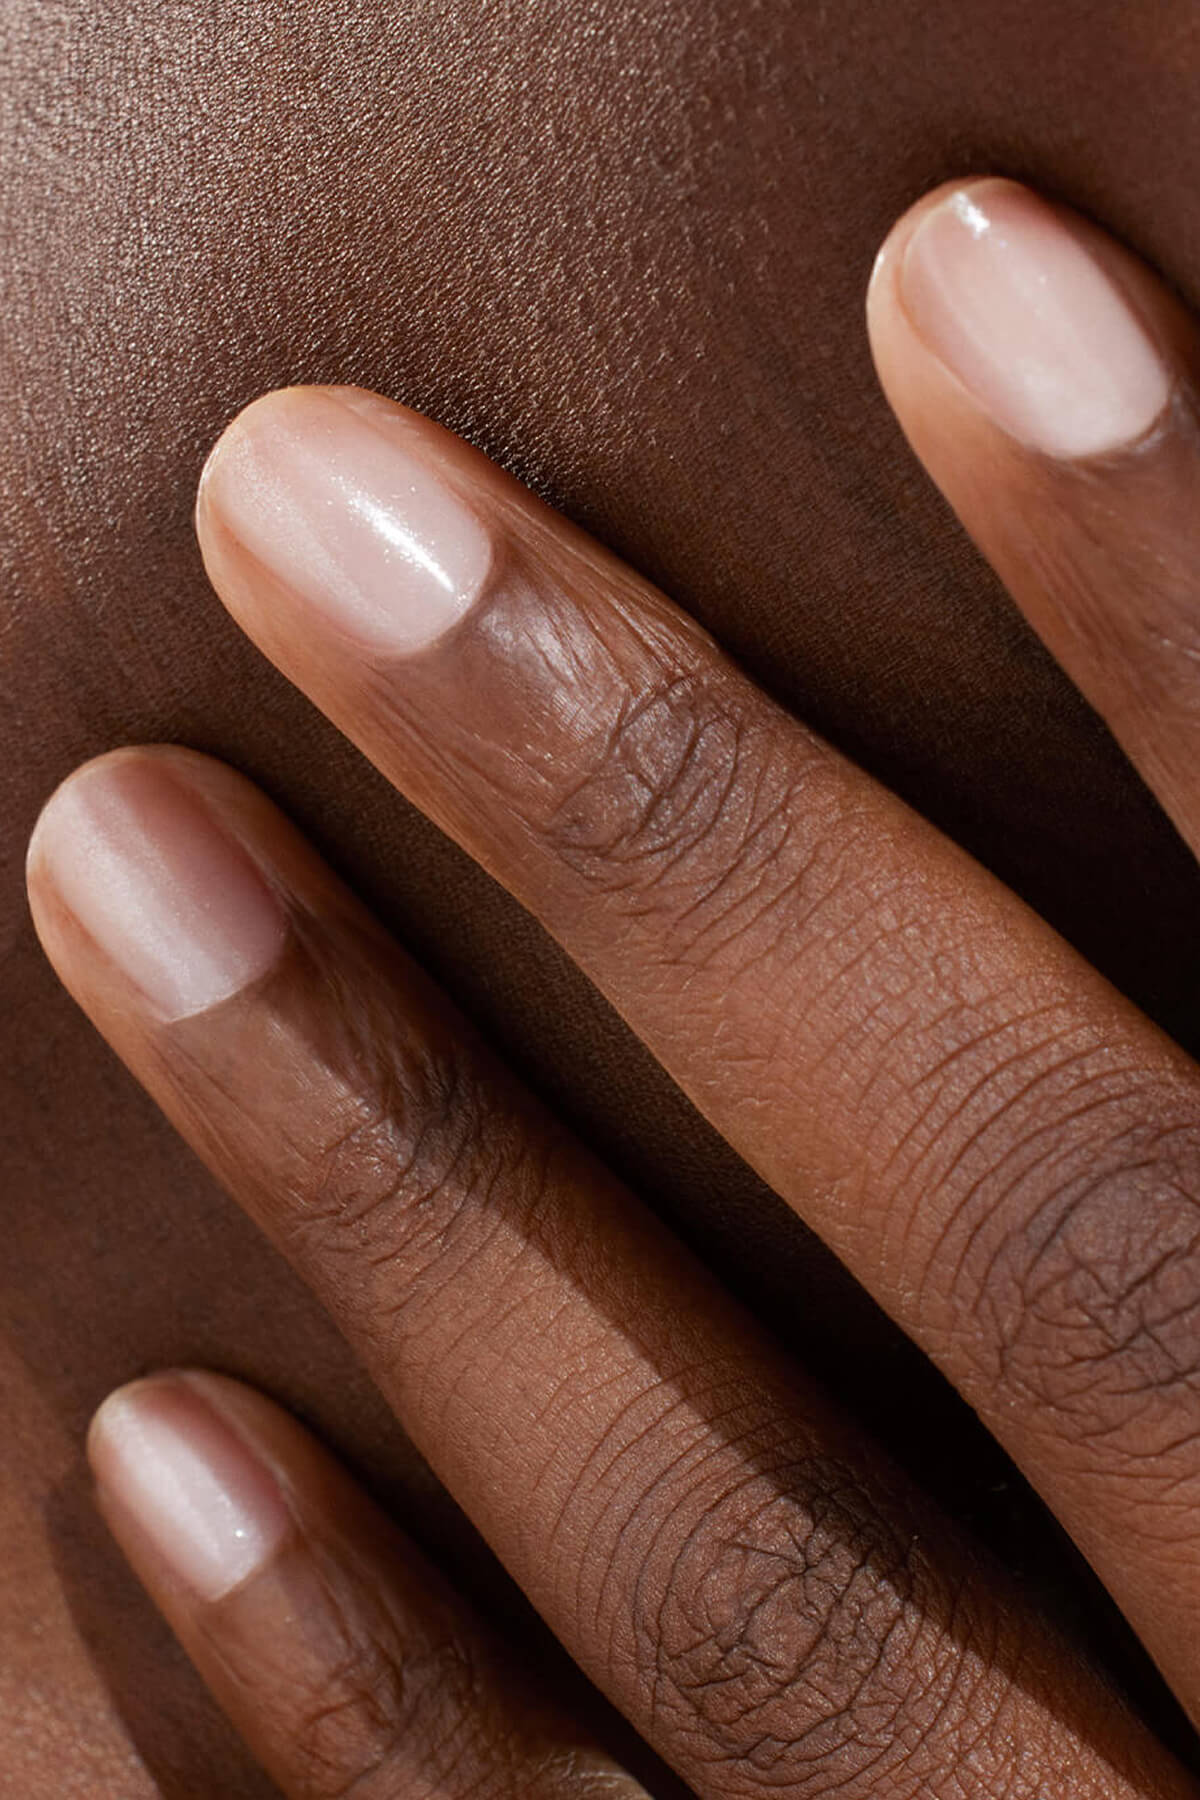
For a plumping effect and a pearly milky tint with ocean-inspired shimmer
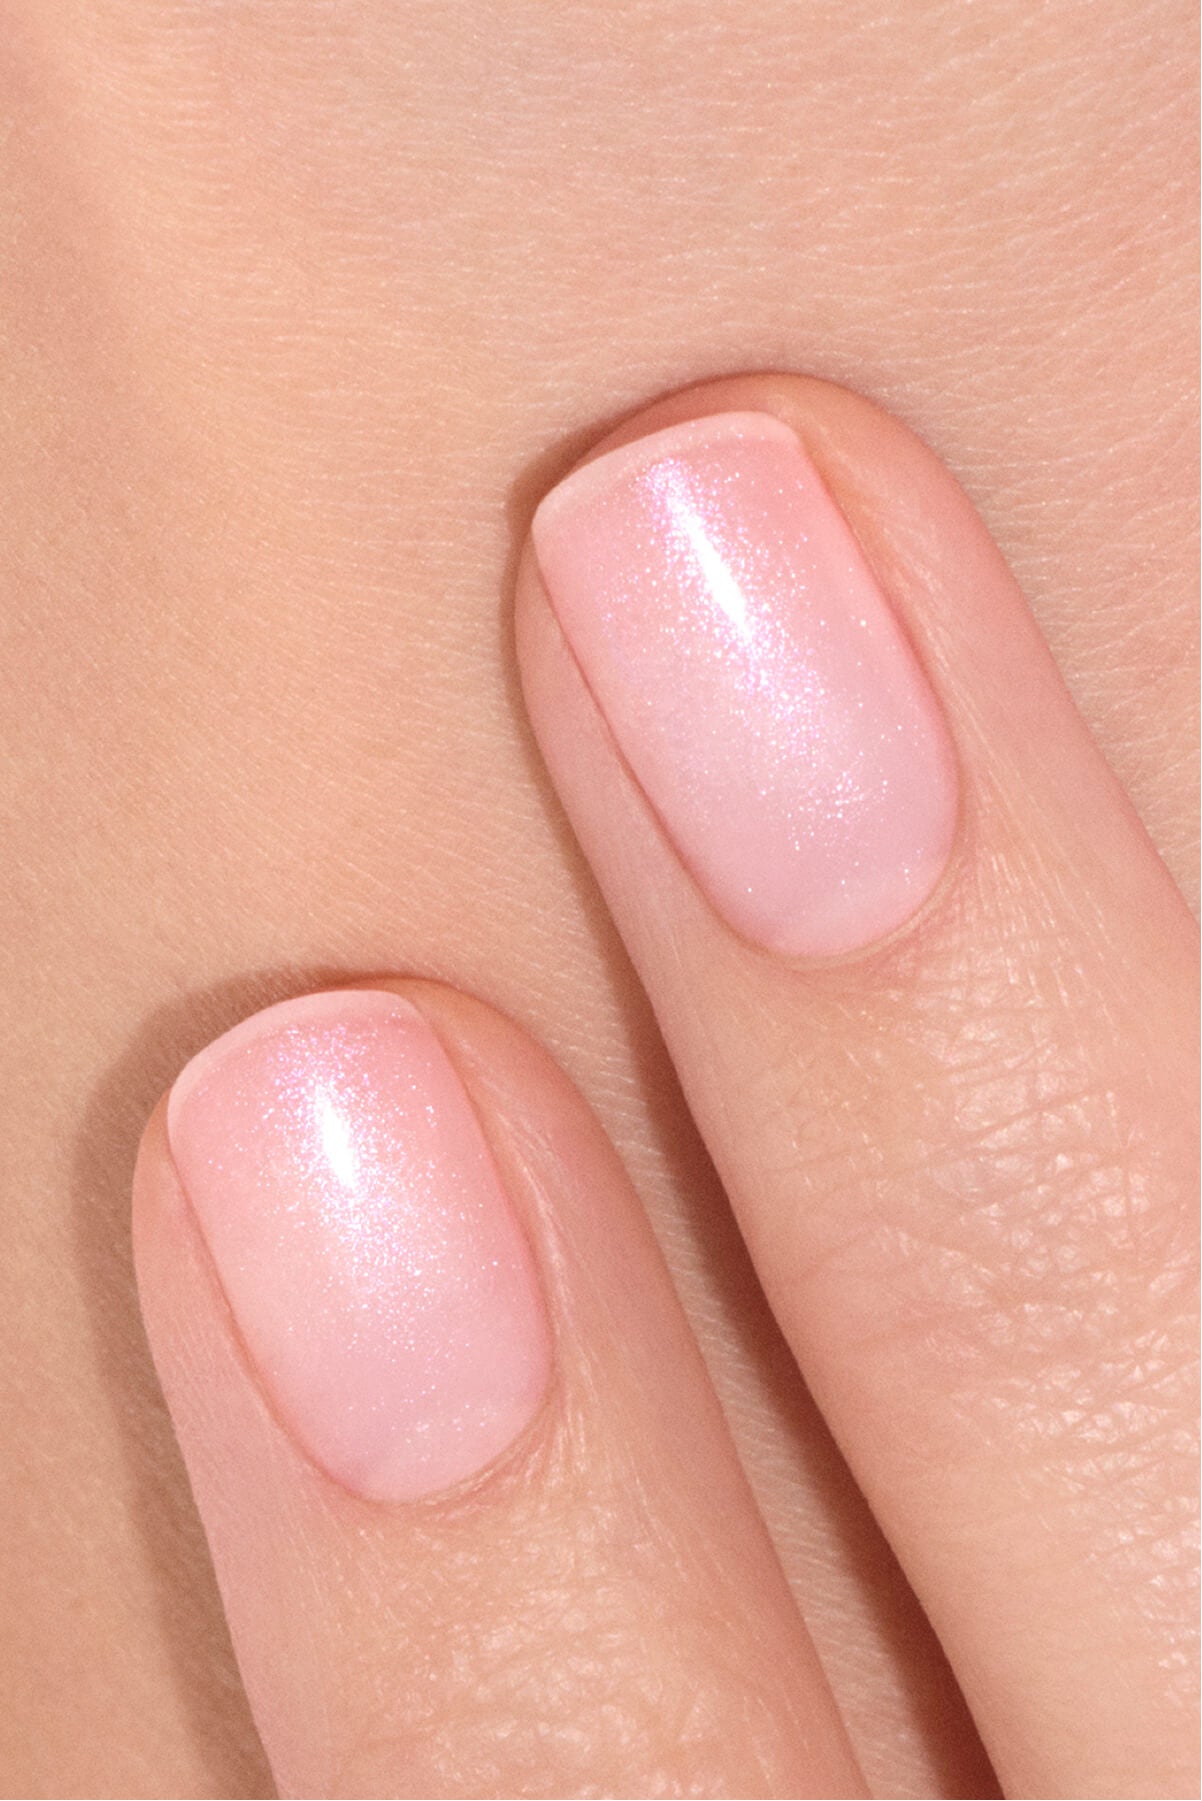
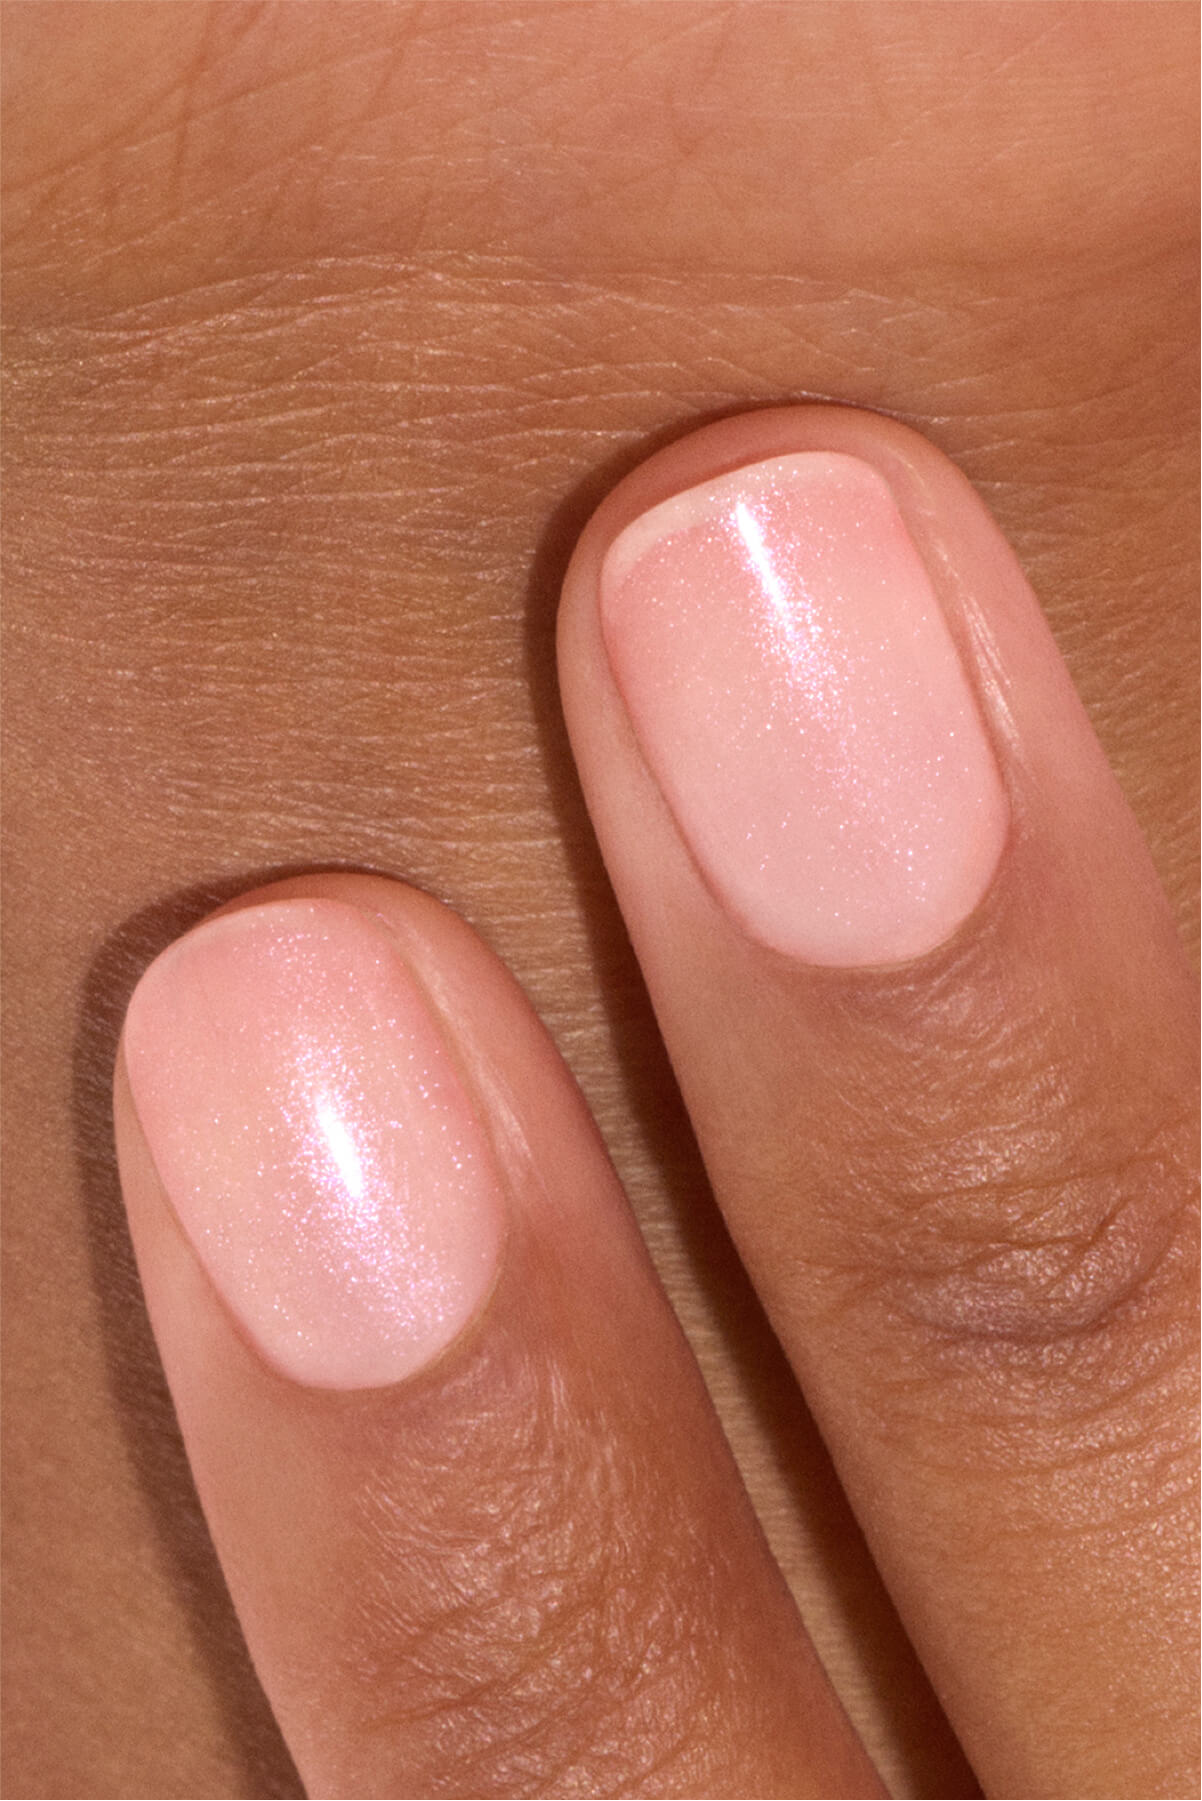

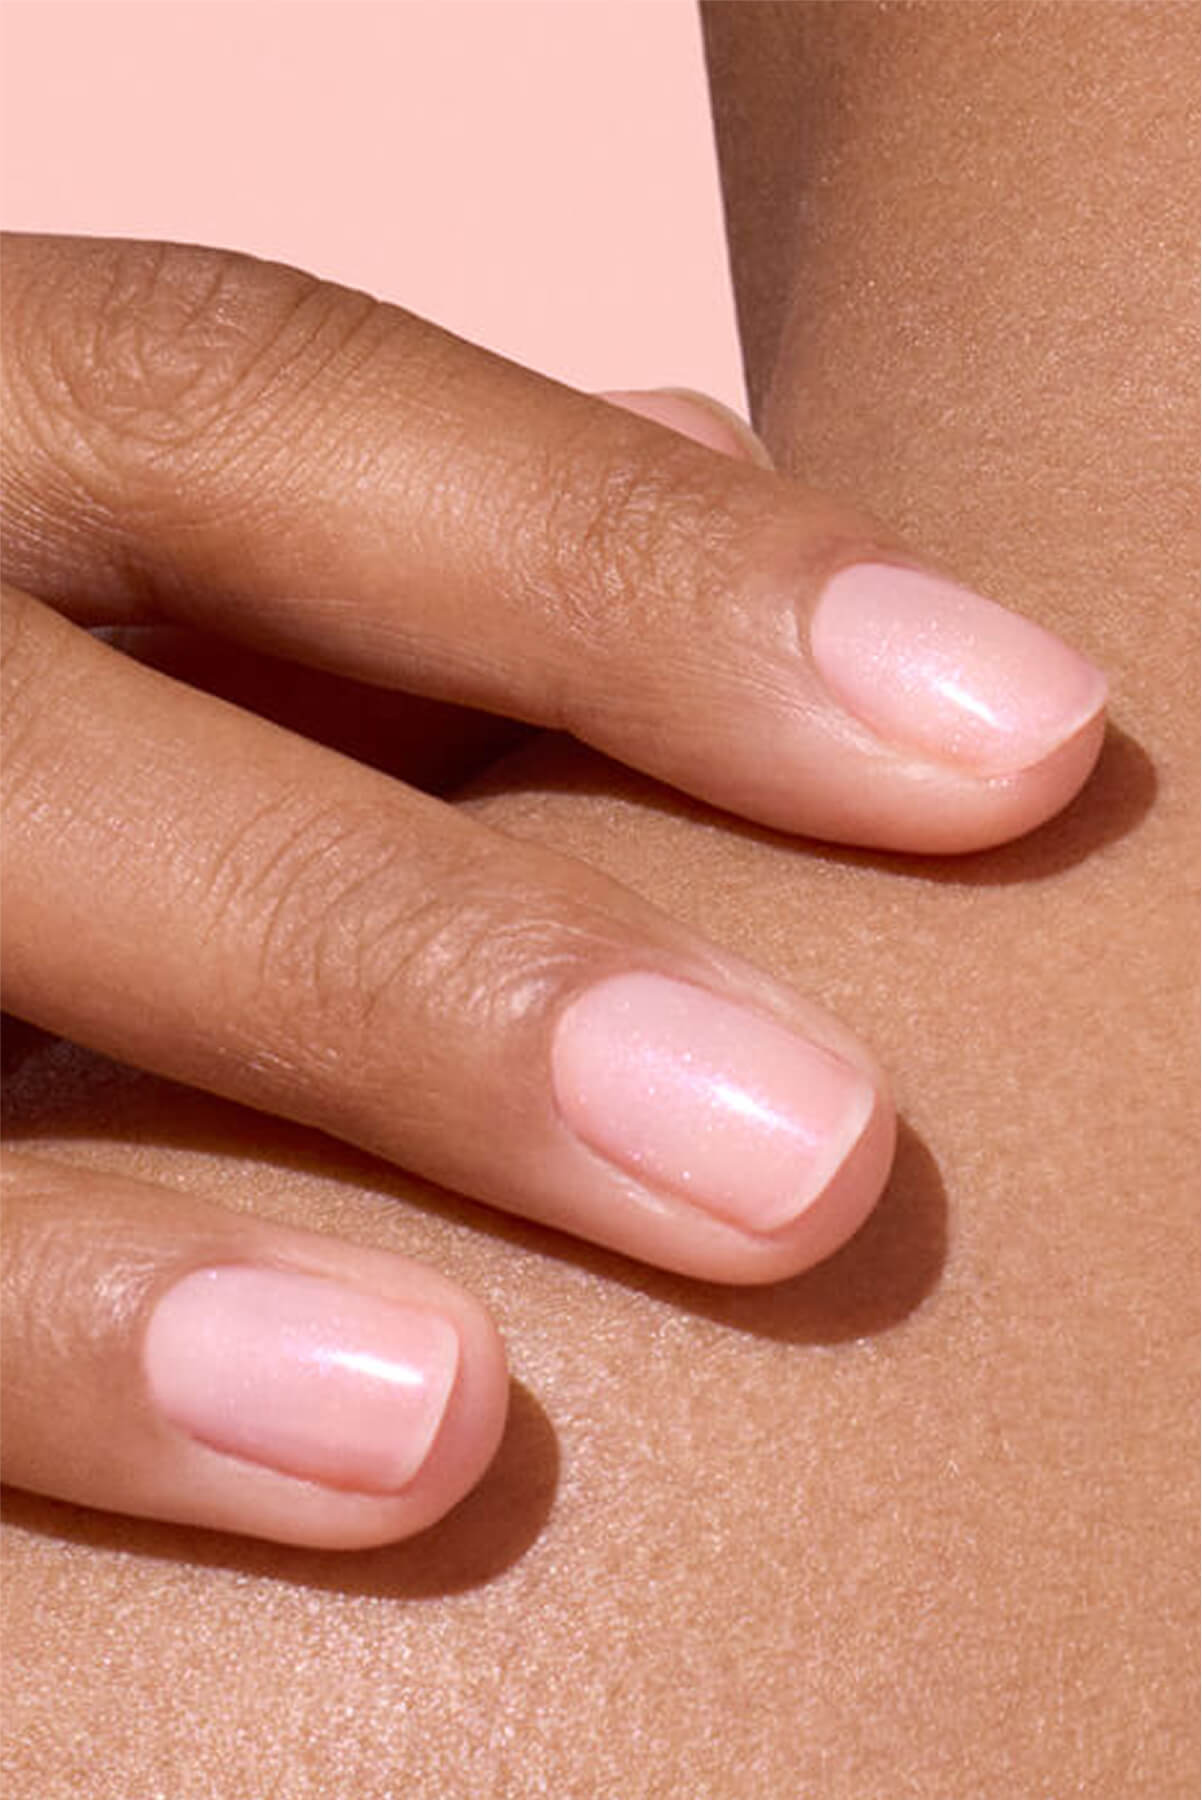
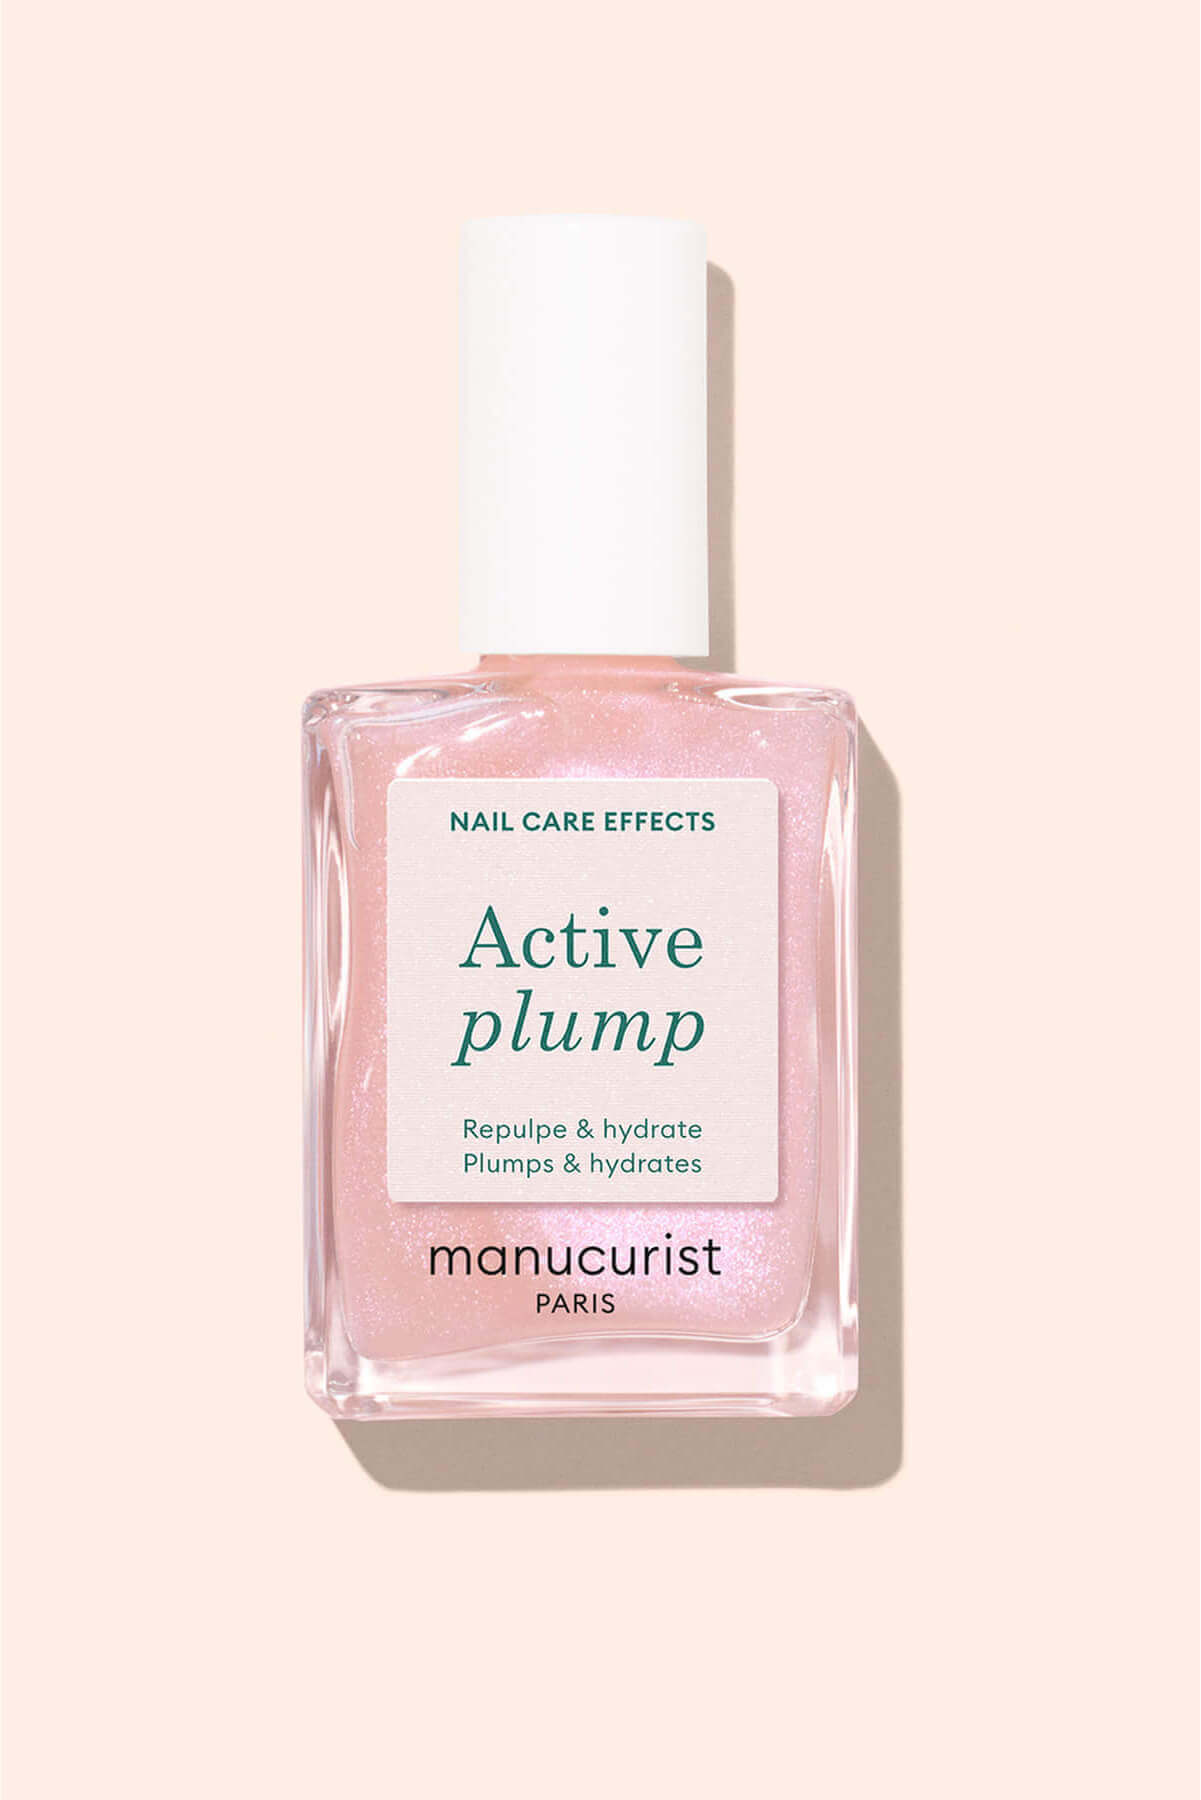

For a plumping effect and a baby pink tint
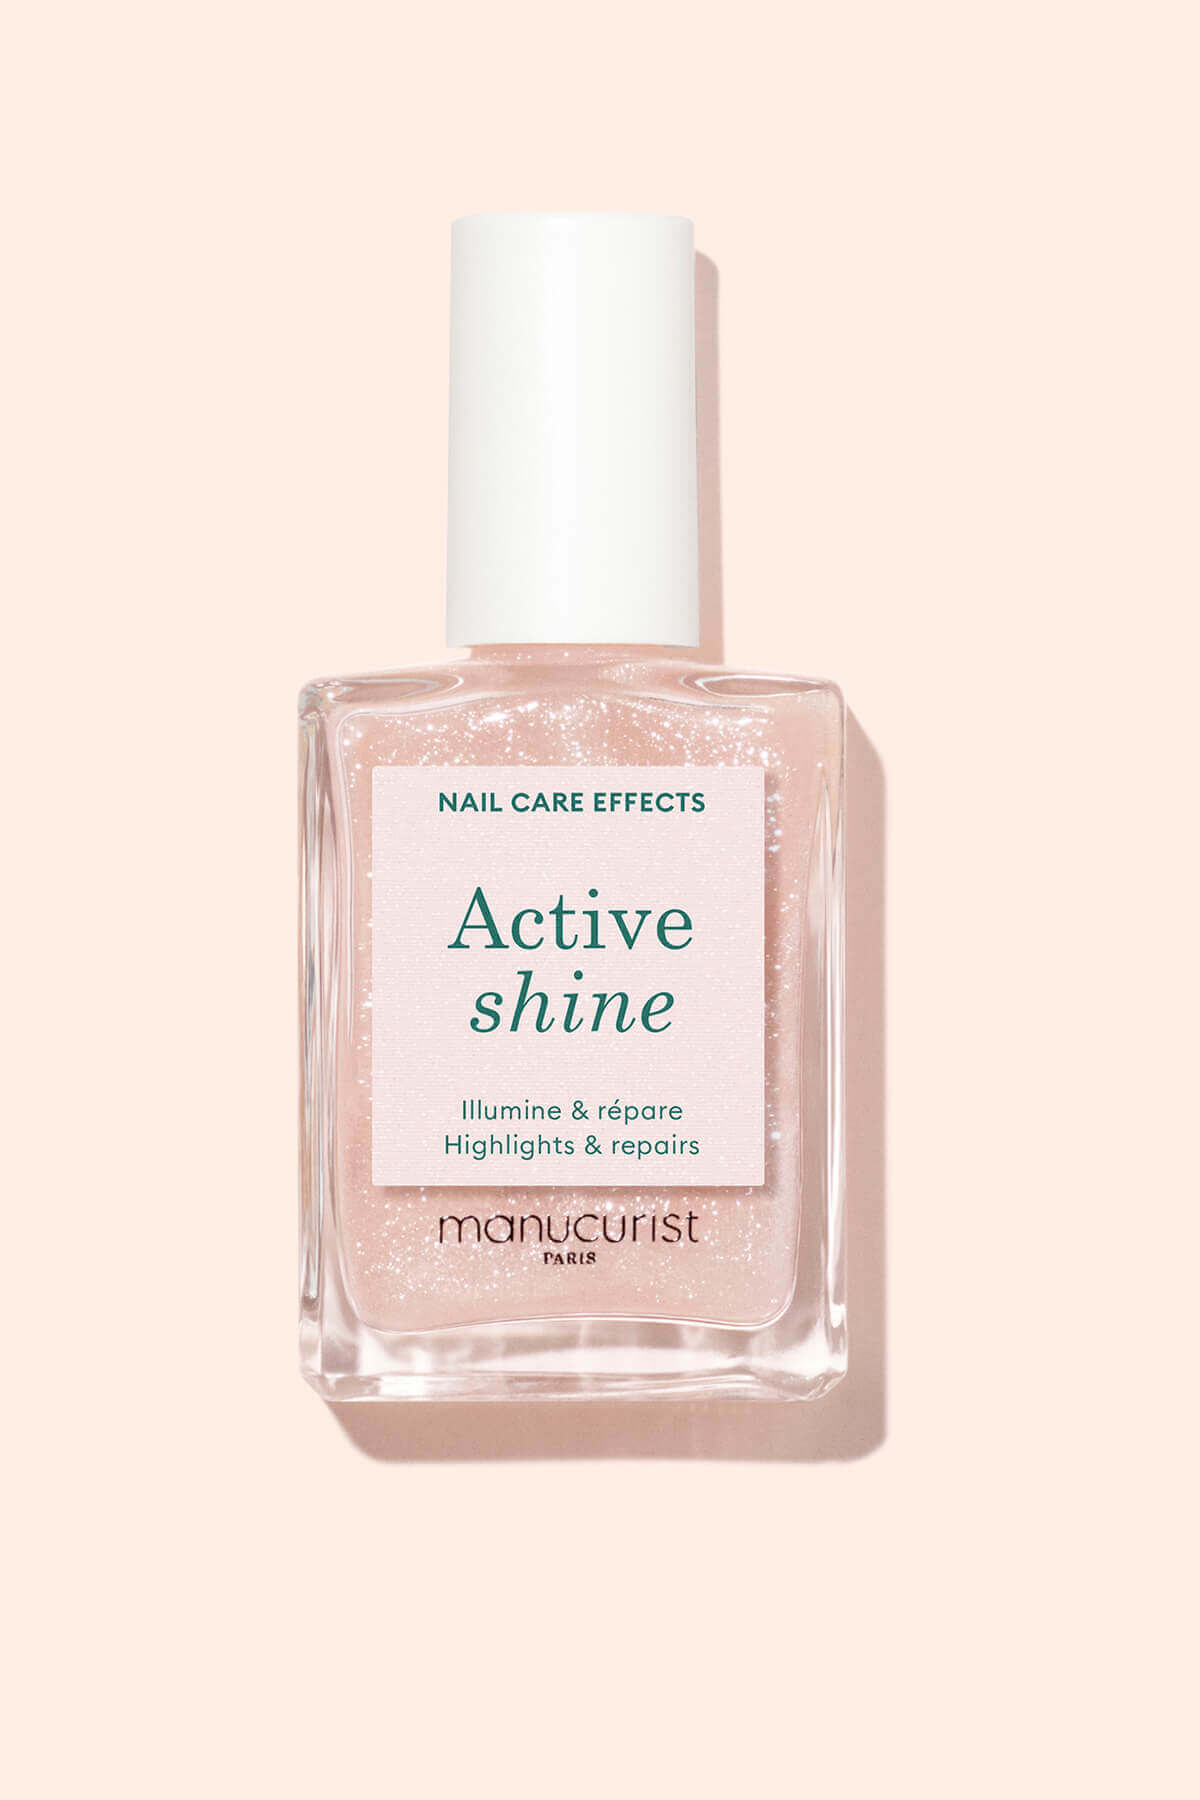

For a highlighter effect and a sheer beige veil
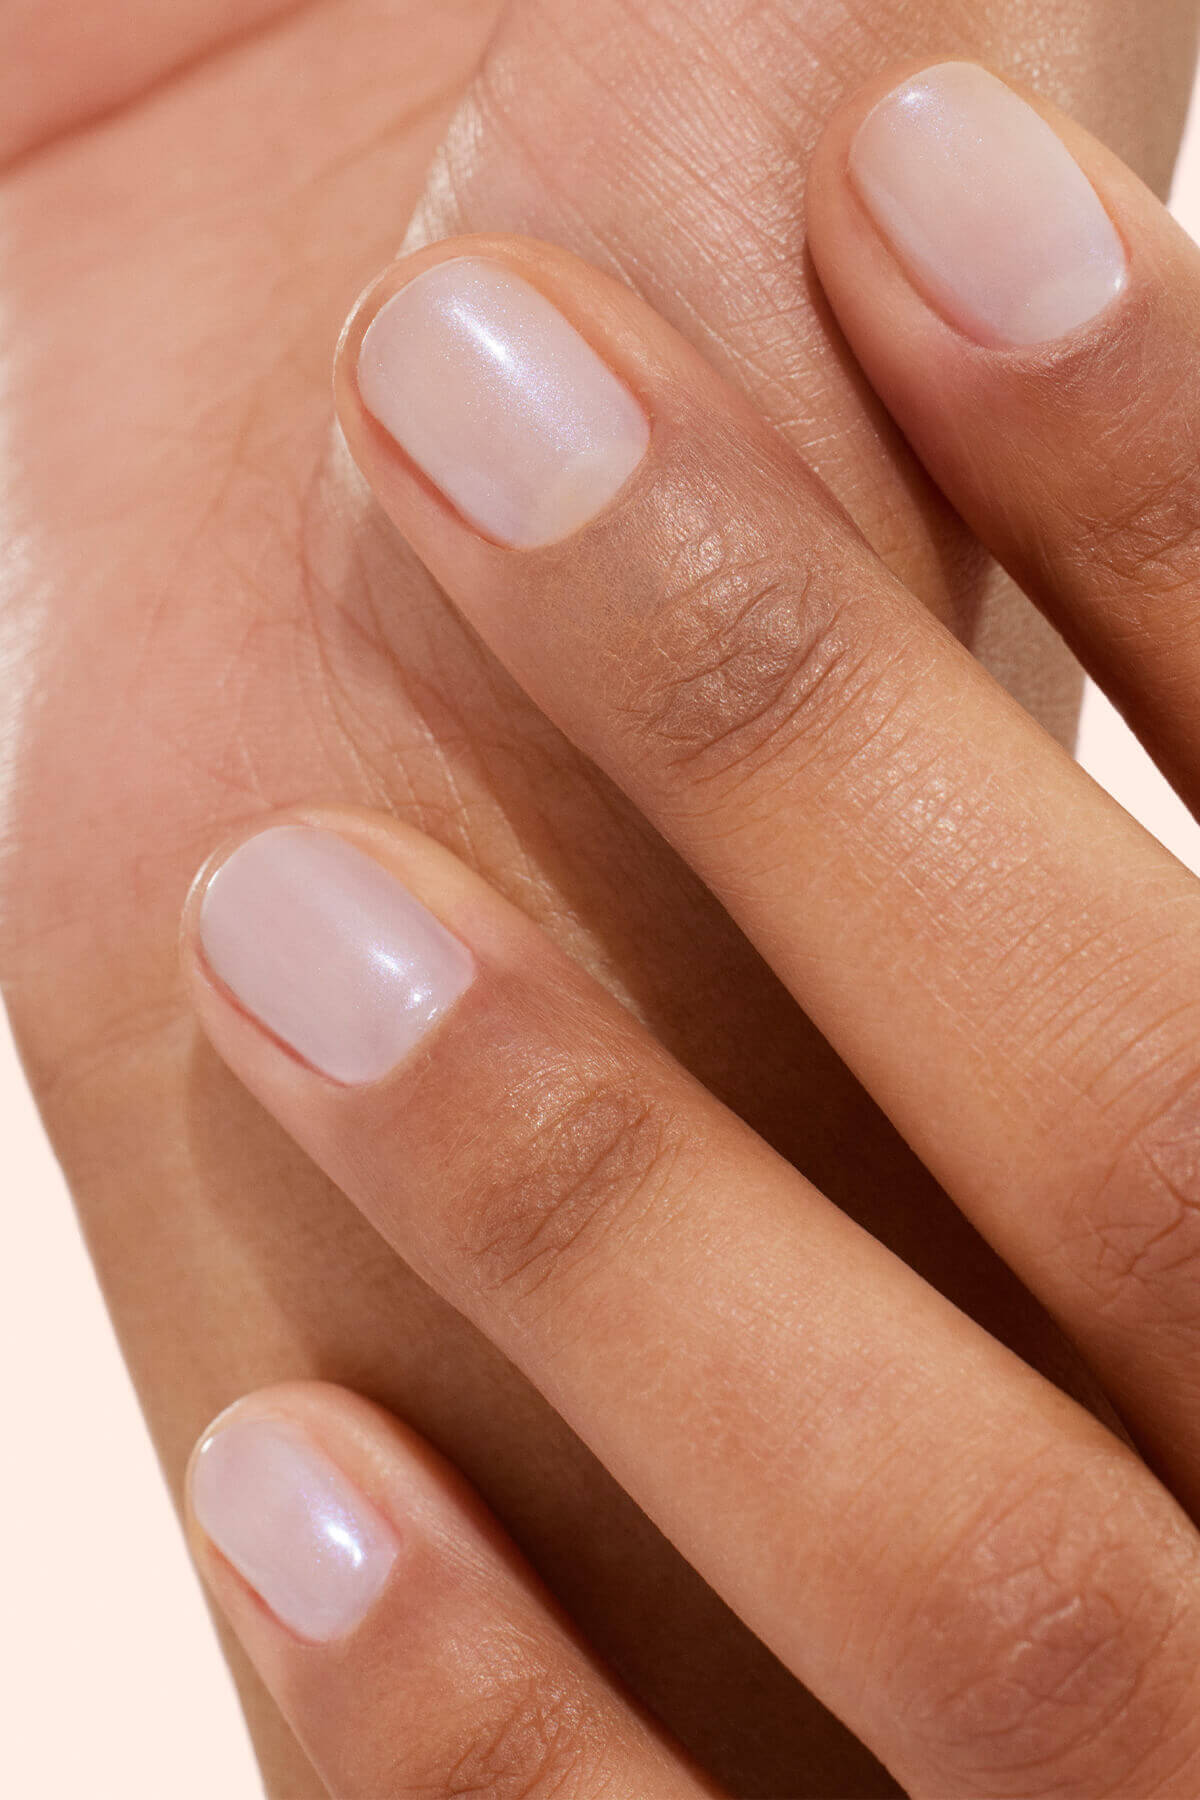
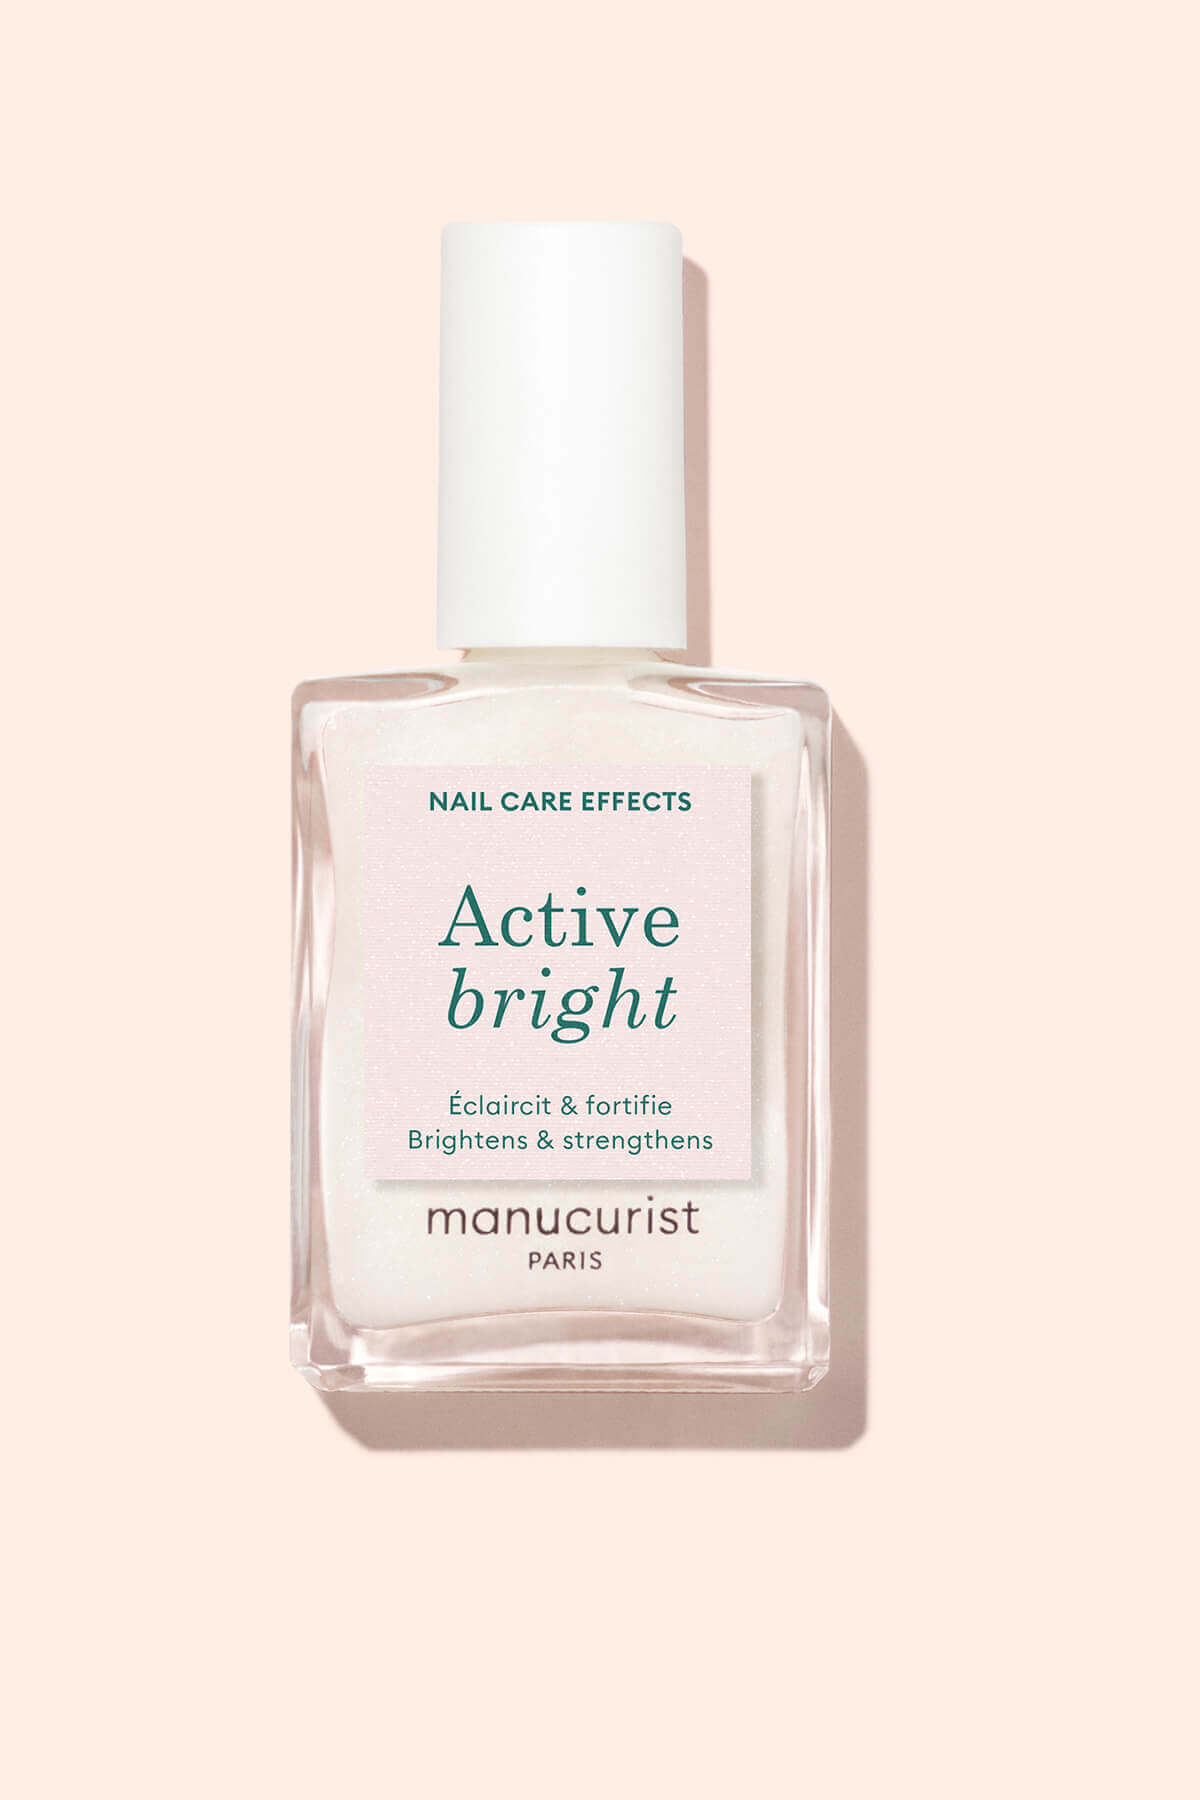
For a brightening effect and a soft white veil