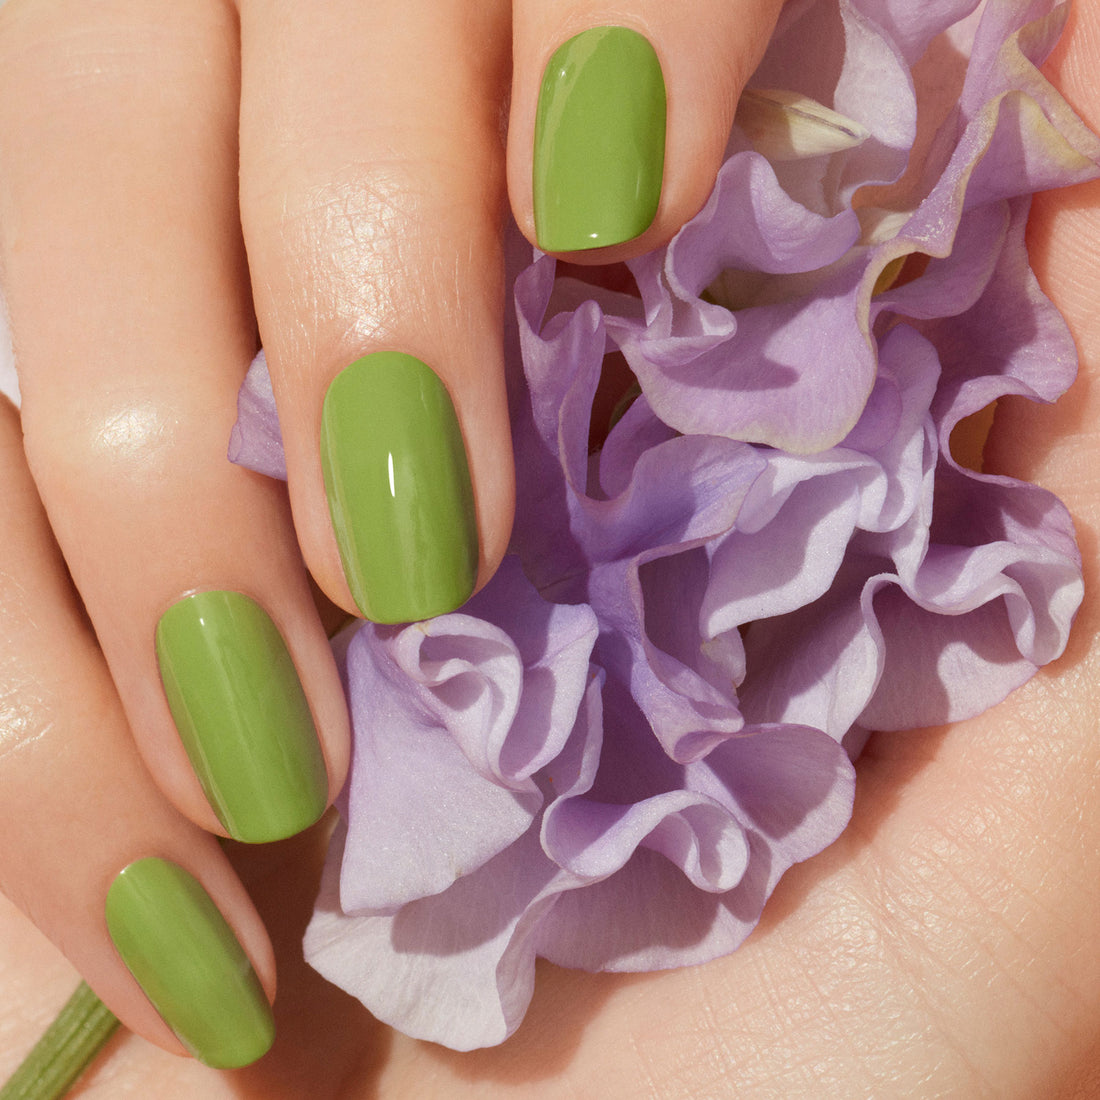
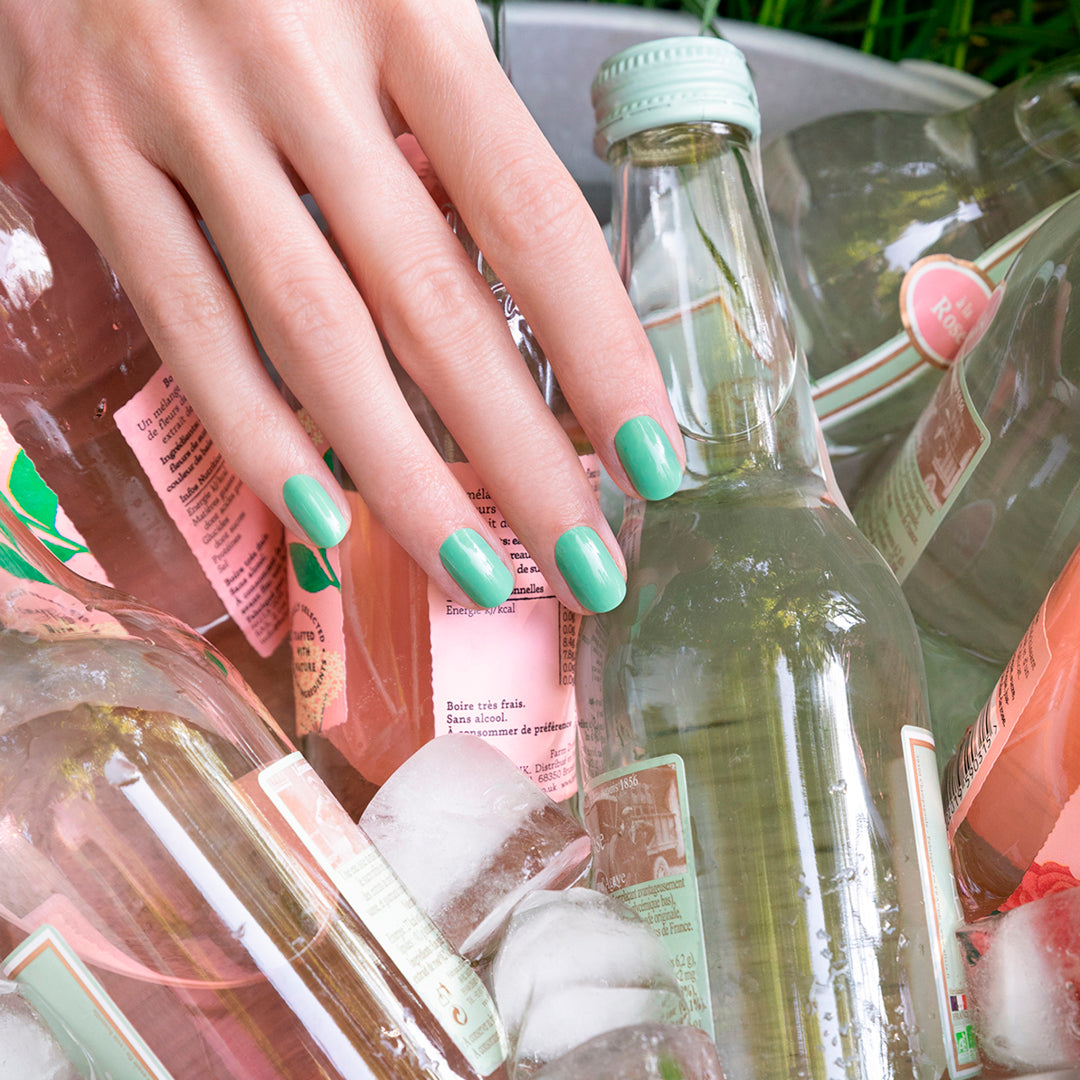
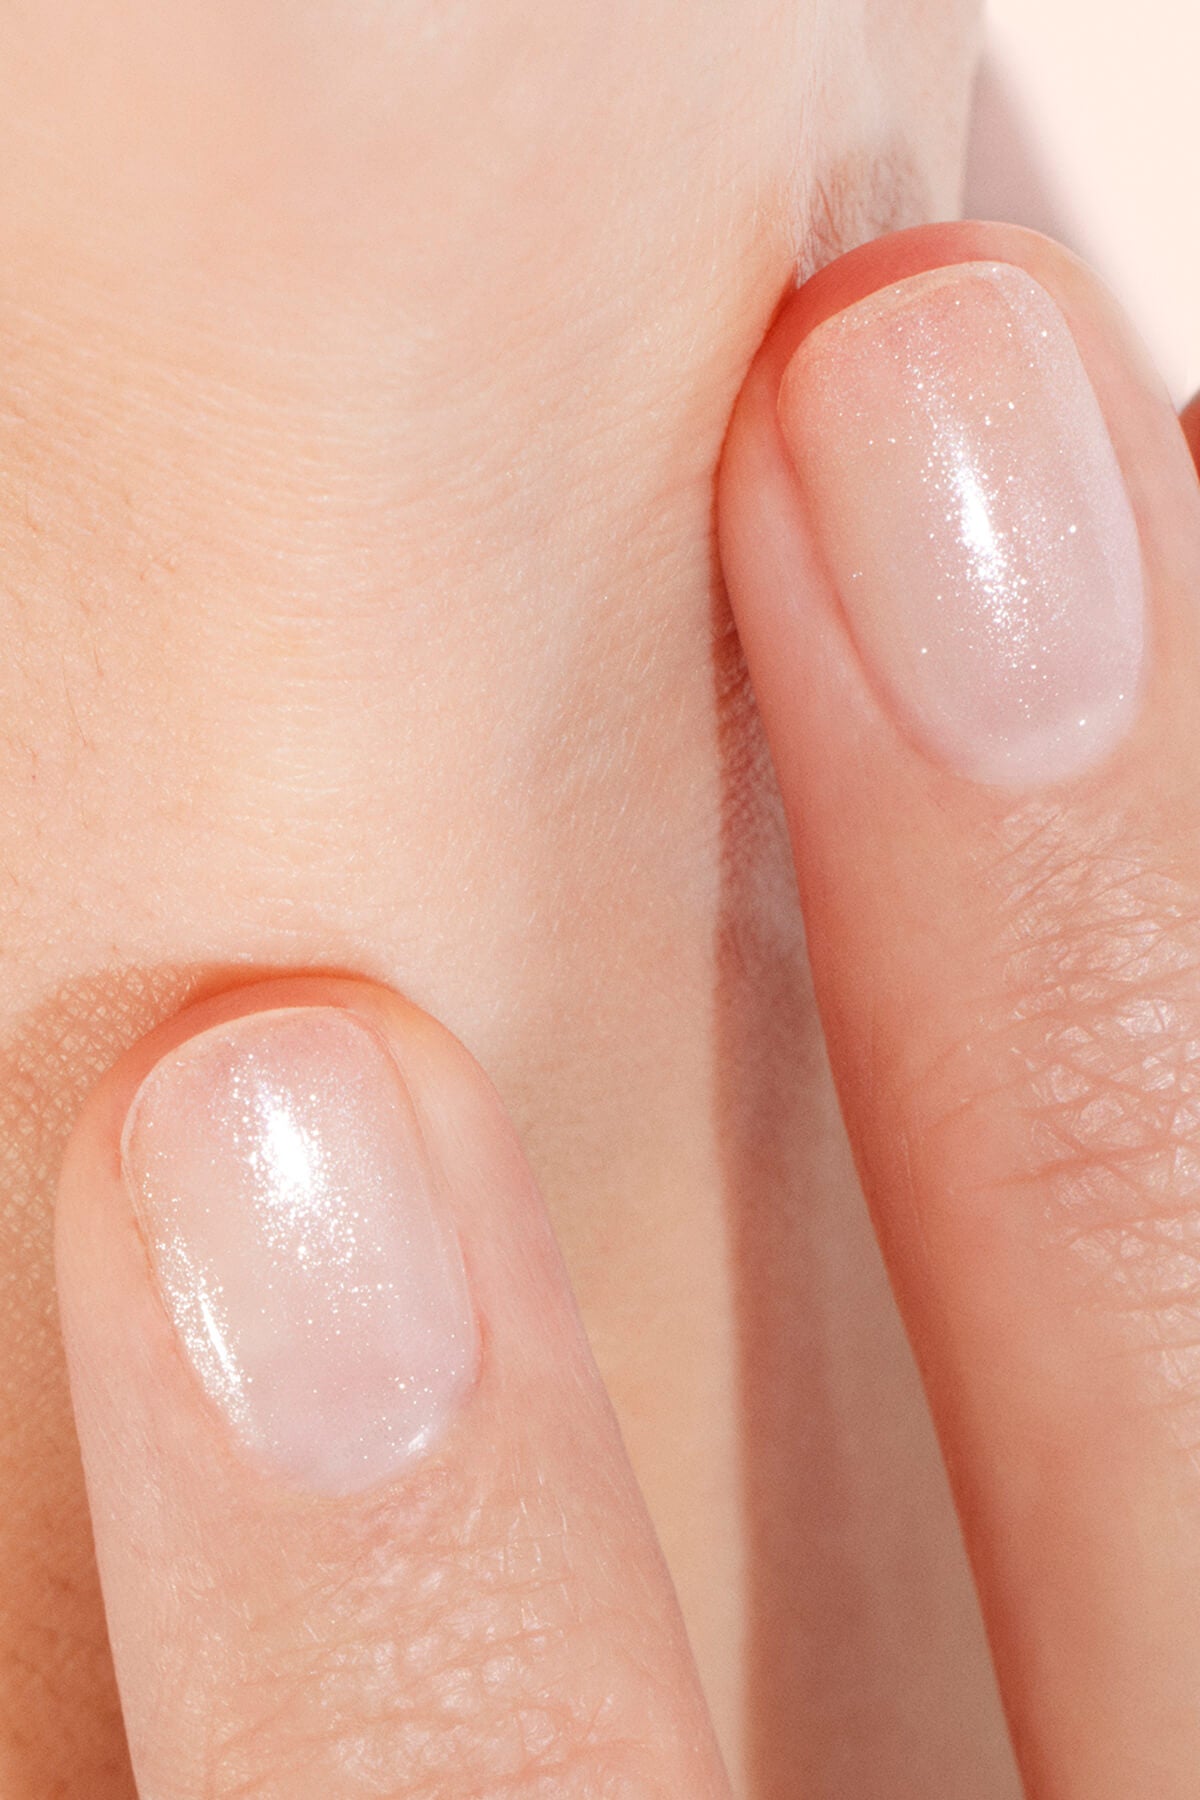
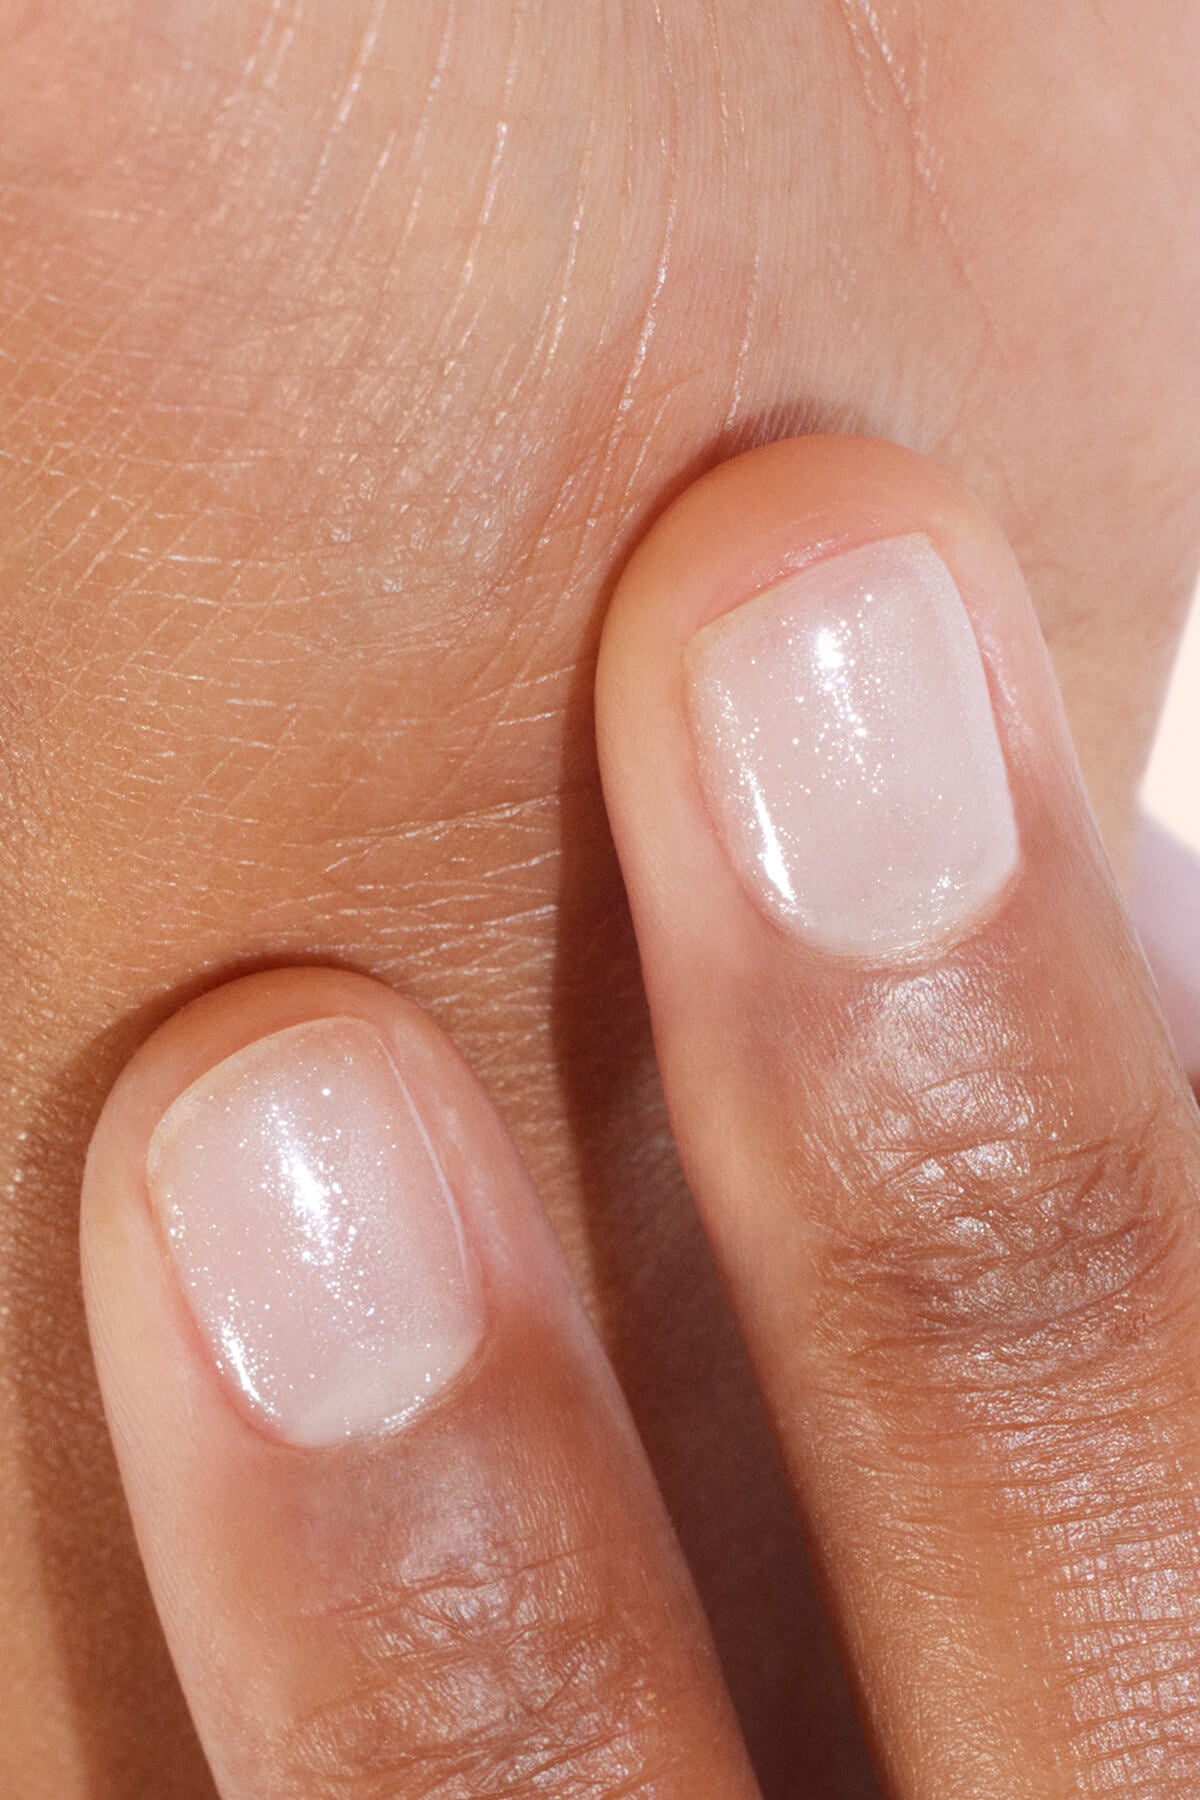
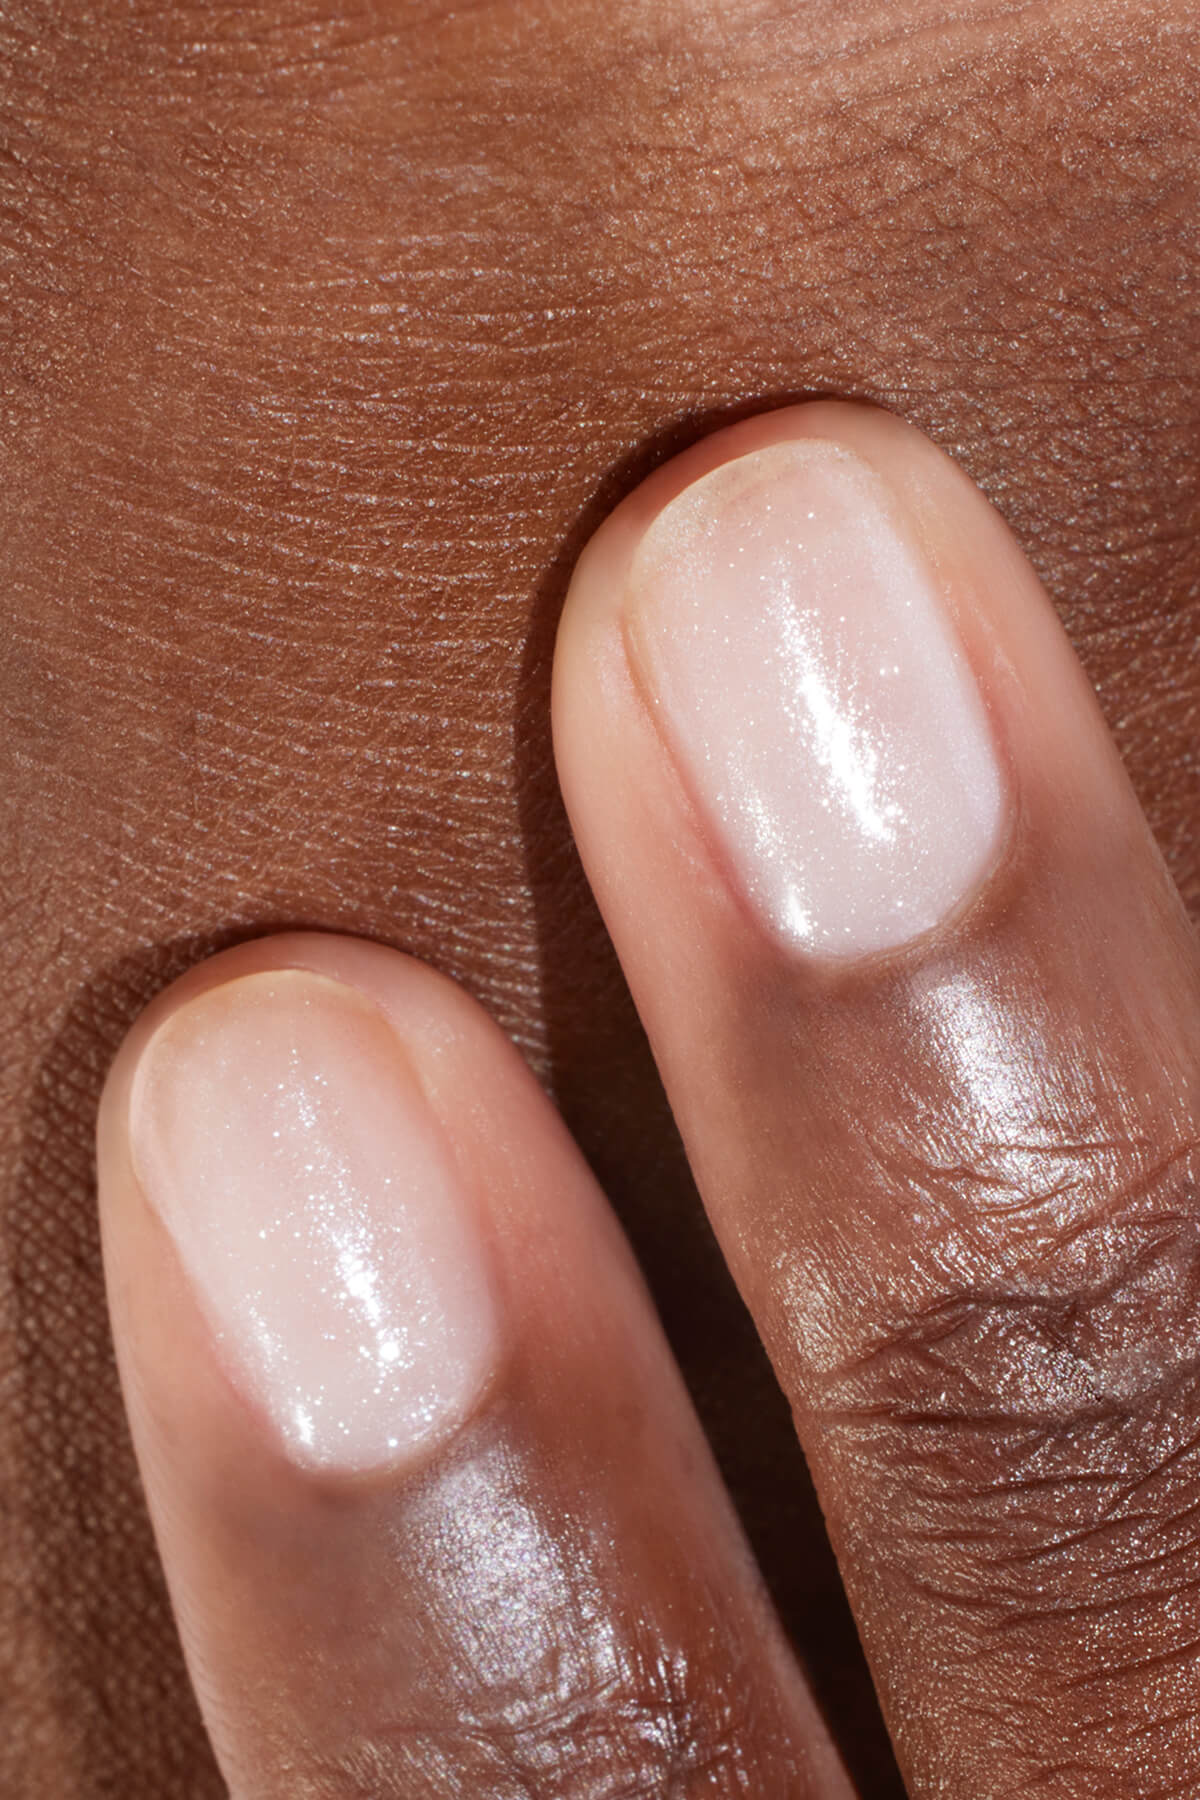
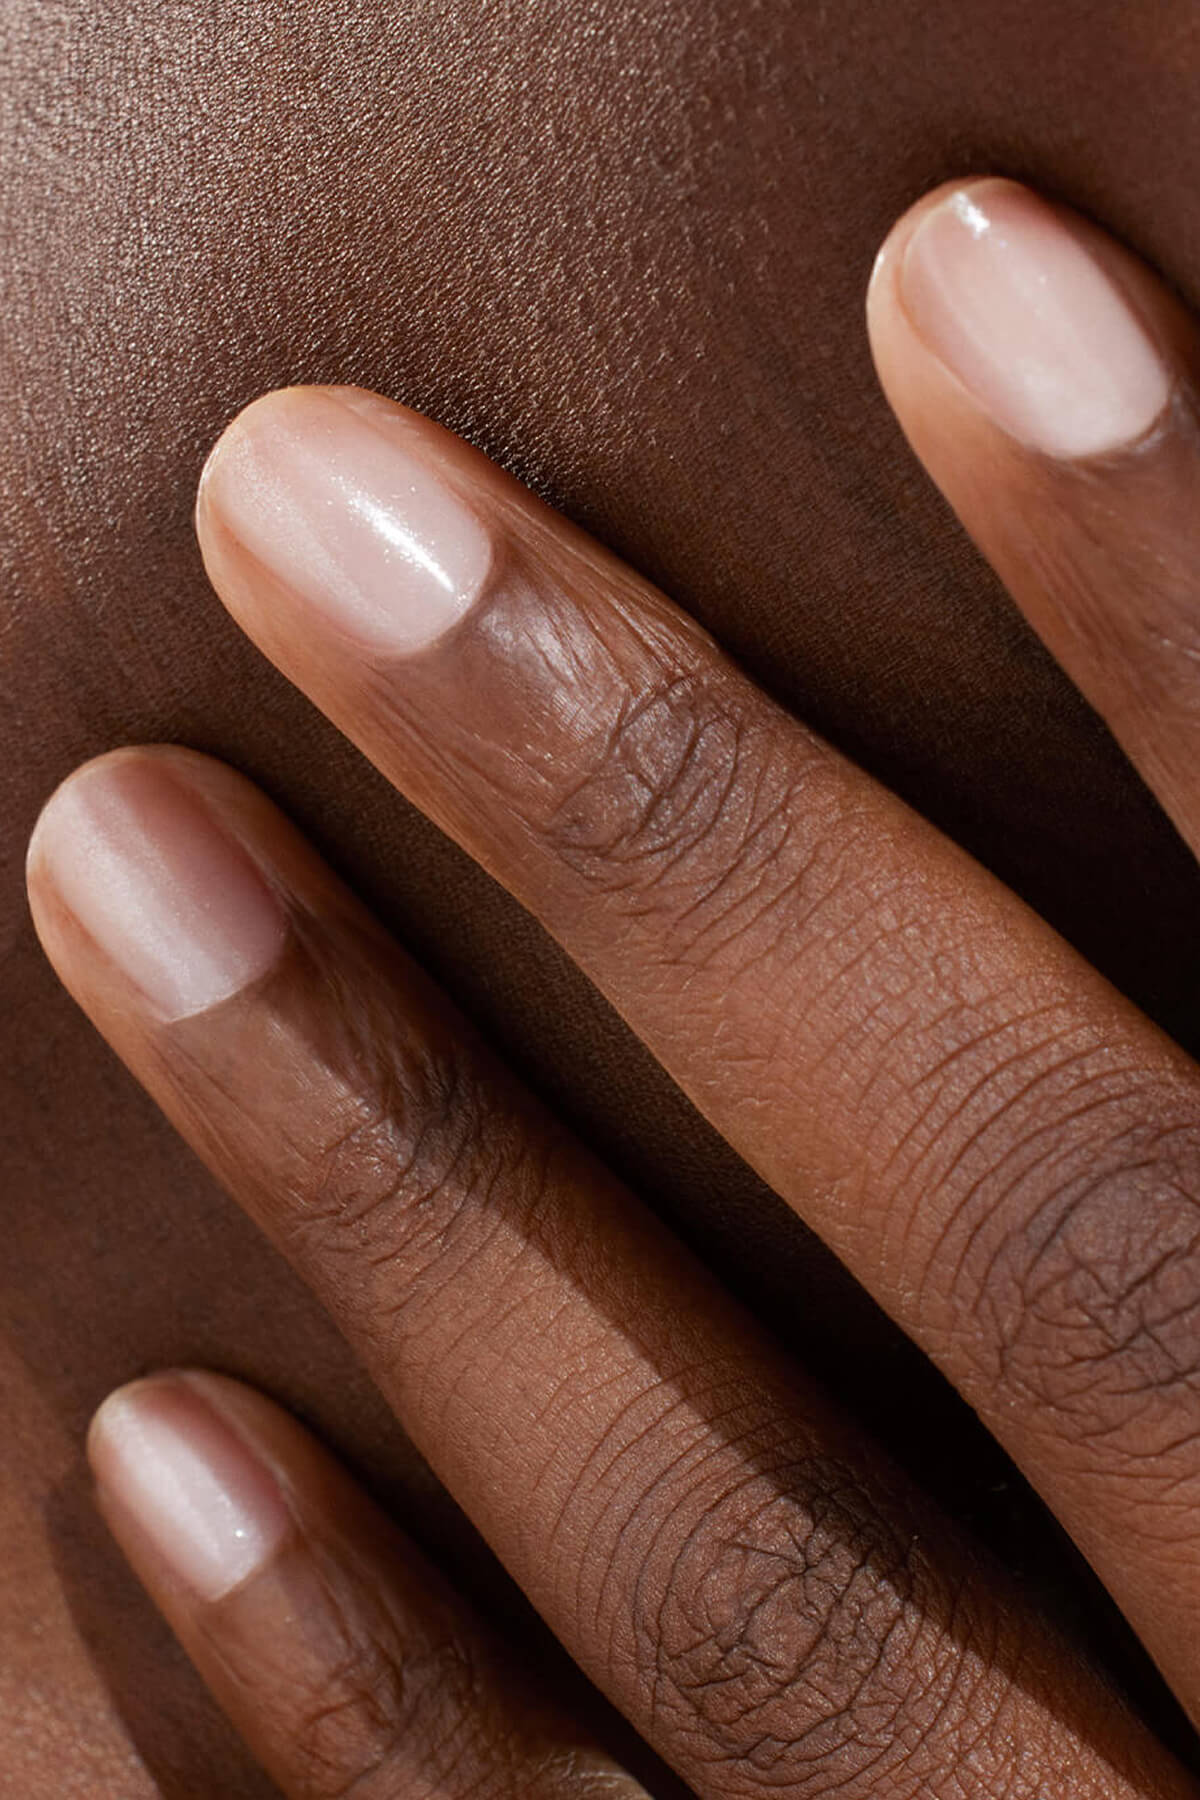
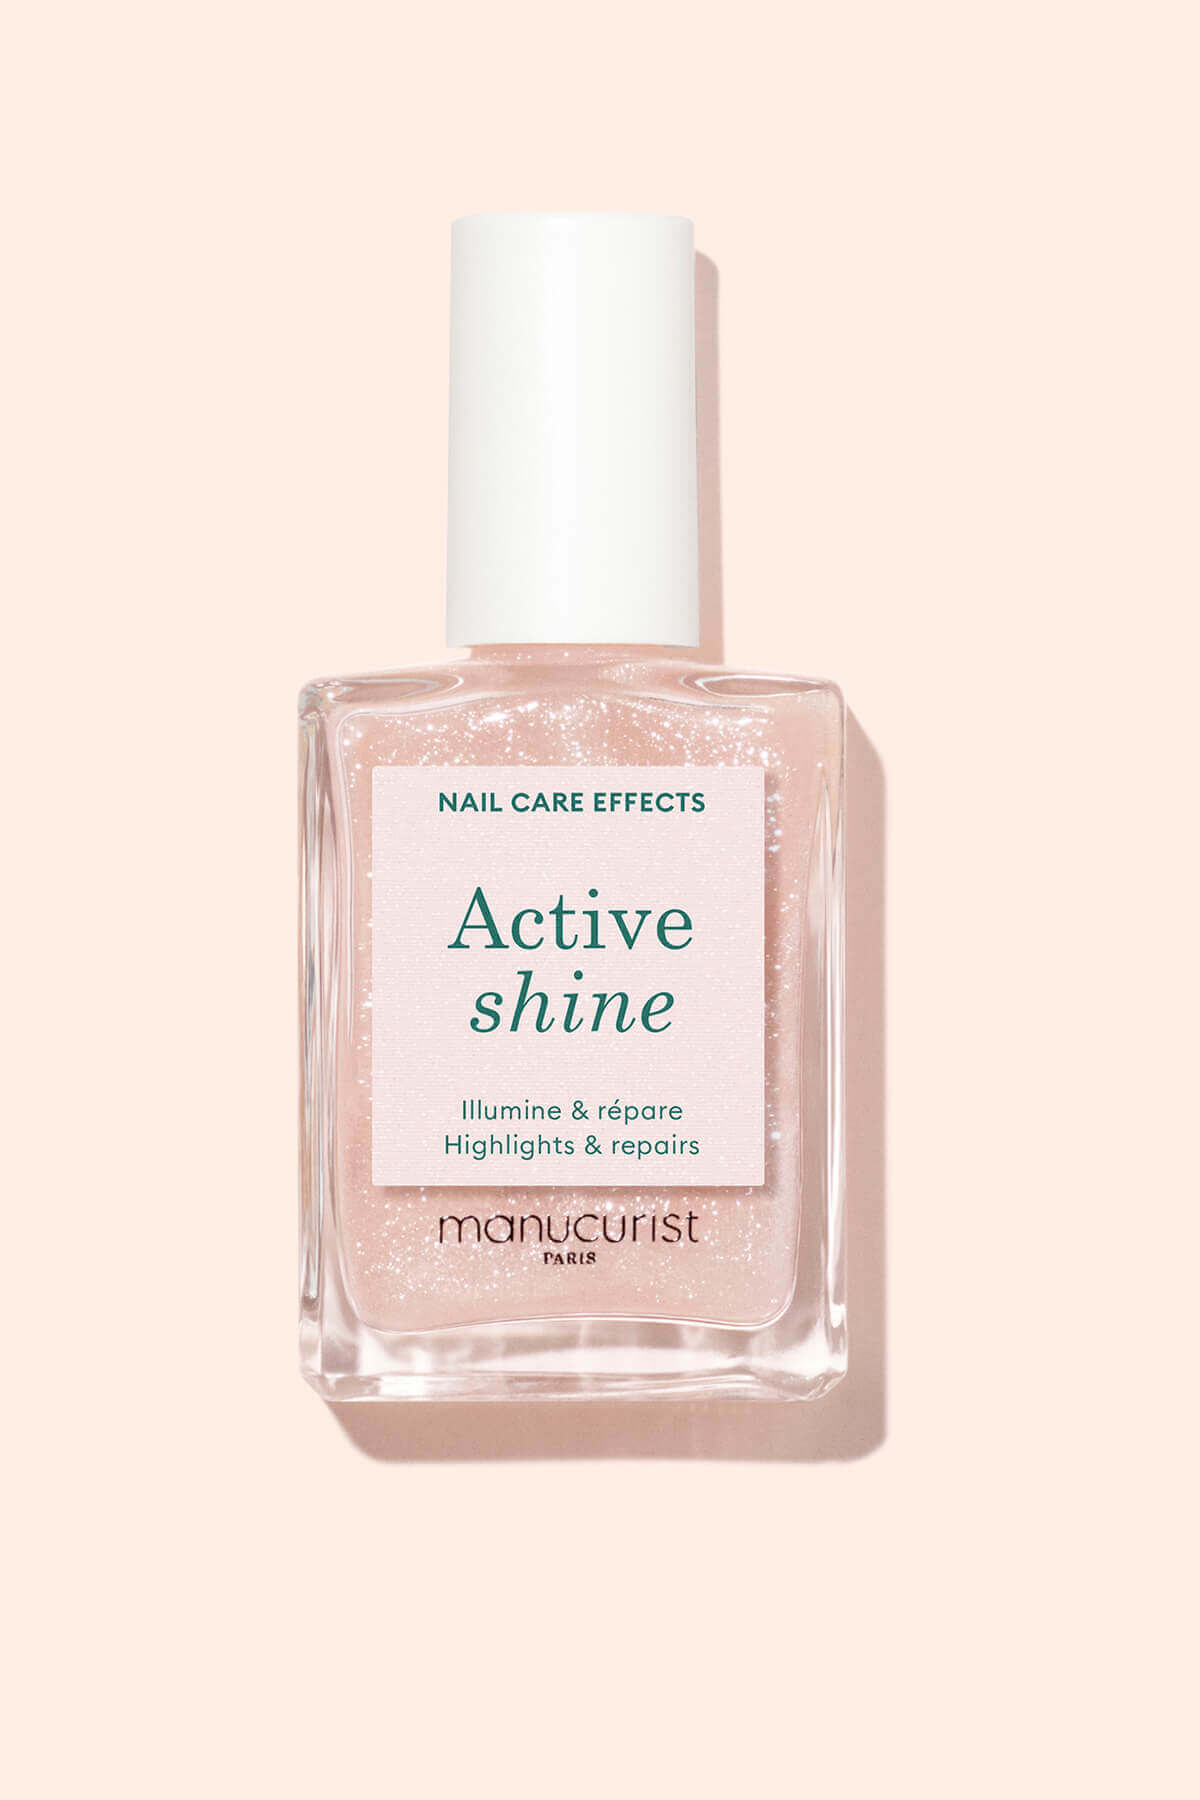
Contrary to popular beliefs, creating nail art doesn't have to mean spending hours on tedious, nearly-impossible designs that most pros take years to master. At Manucurist, we strongly believe in making art and creativity accessible to all nail lovers! Play with bold color, striking shades, planet-friendly glitters and effect powders and feel free to change without damaging nails!
This is why we offer a line of easy to use tools, specially designed for nail-art amateurs and experts alike to create masterpieces without the need to go to the salon.
Precise Nail Art Pencil, Dotting Tools, Effect Powders and Glitters… All that you need to create trendy, chic and breathtaking designs to dress your nails. Explore with different textures, play with finishes and details that add drama, excitement, and sparkle to your looks. Create something unique!
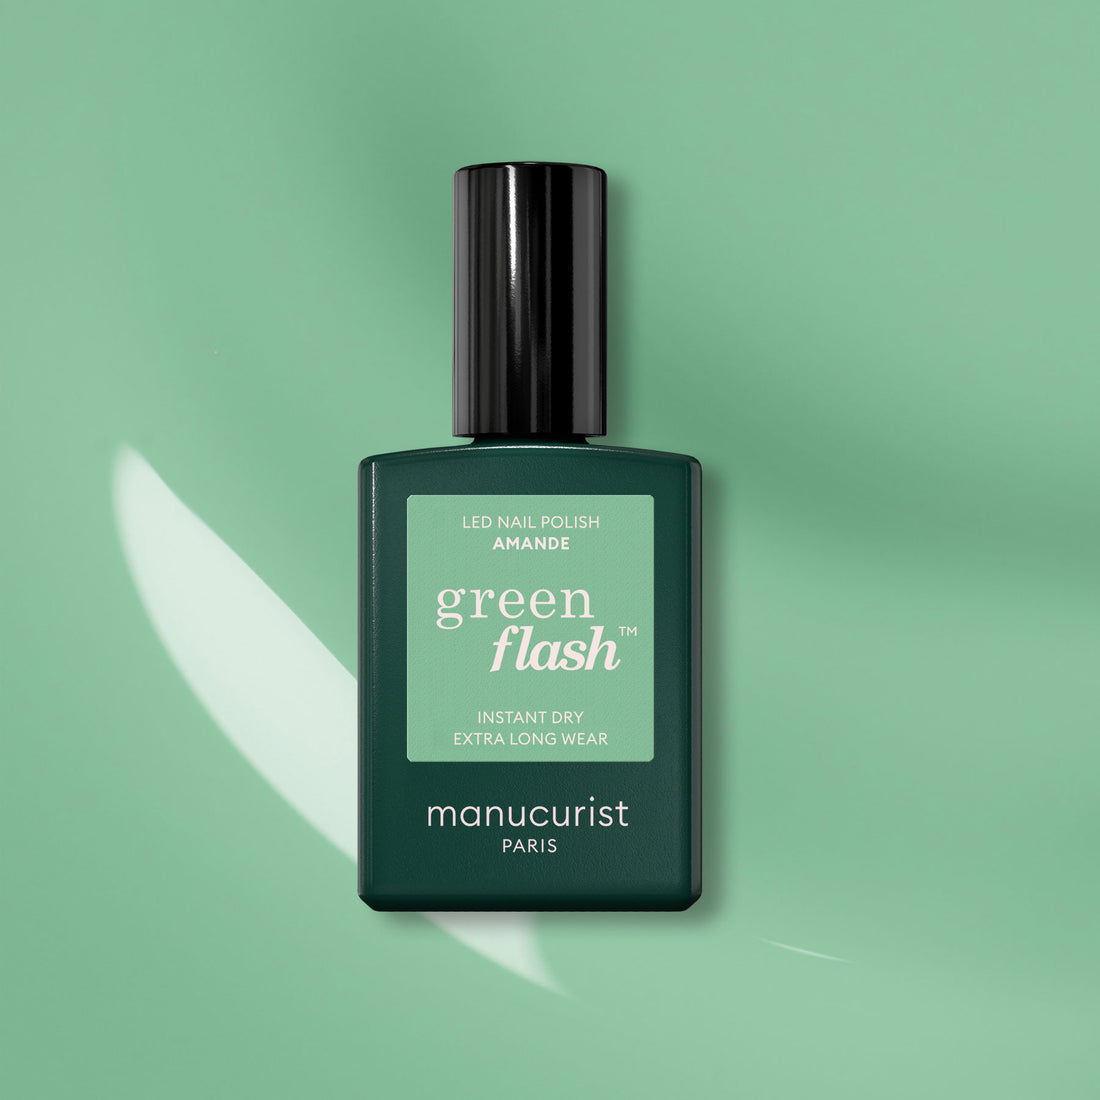
Whether you opt for Green, our take on a traditional polish that replaces petrochemicals with plant-based ingredients, or Green Flash LED gel alternative polish, let your creative side free and follow our ultra-simple tutorials for some inspiration along the way.
From the basics of French style nails to ultra-graphic, springtime designs… always remember to have fun and explore the infinite palette of colors and possibilities!
Your Collection of Nail Art Tools
Before starting, it will be necessary to equip yourself!
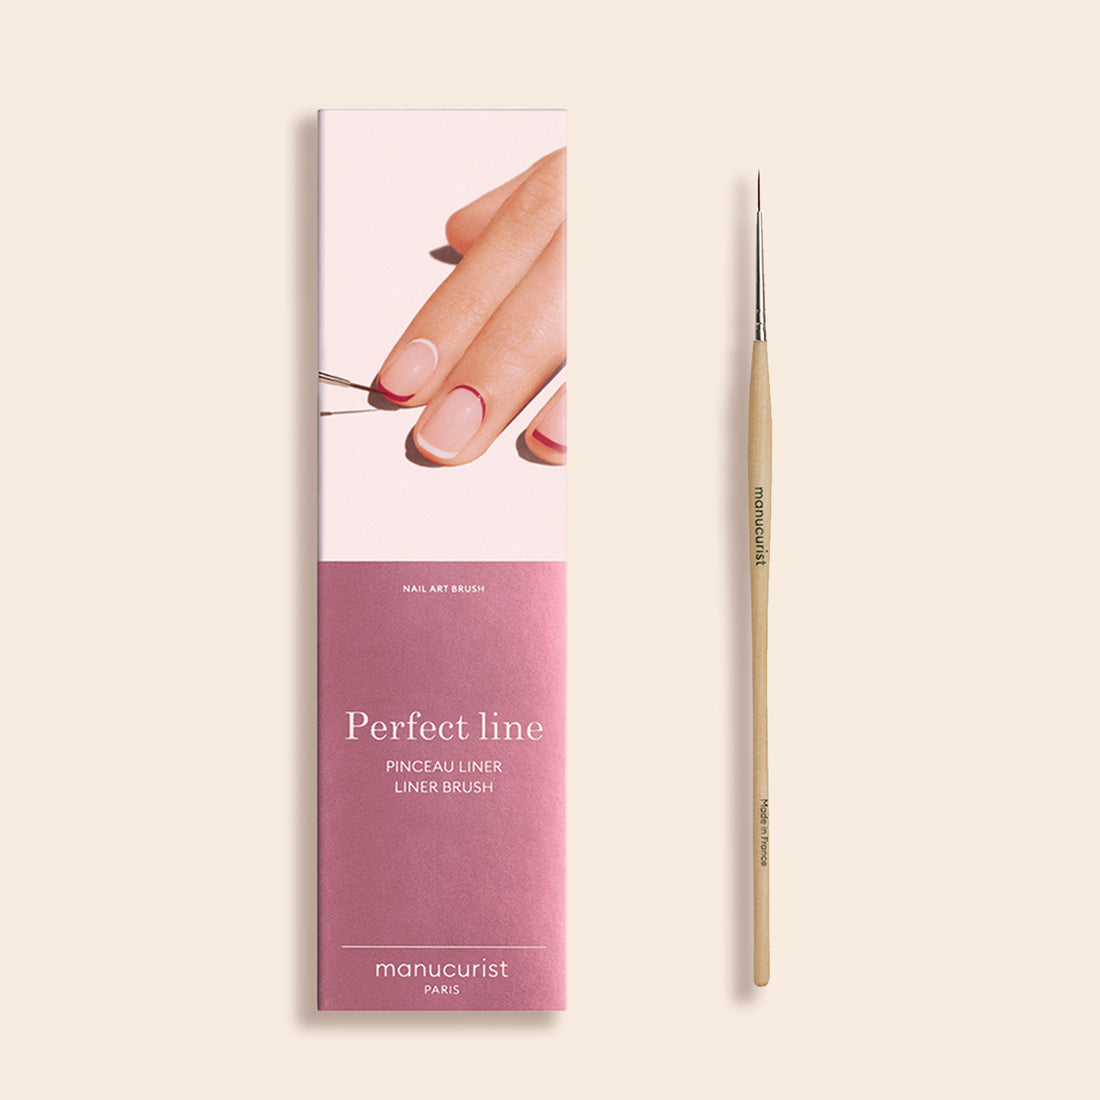
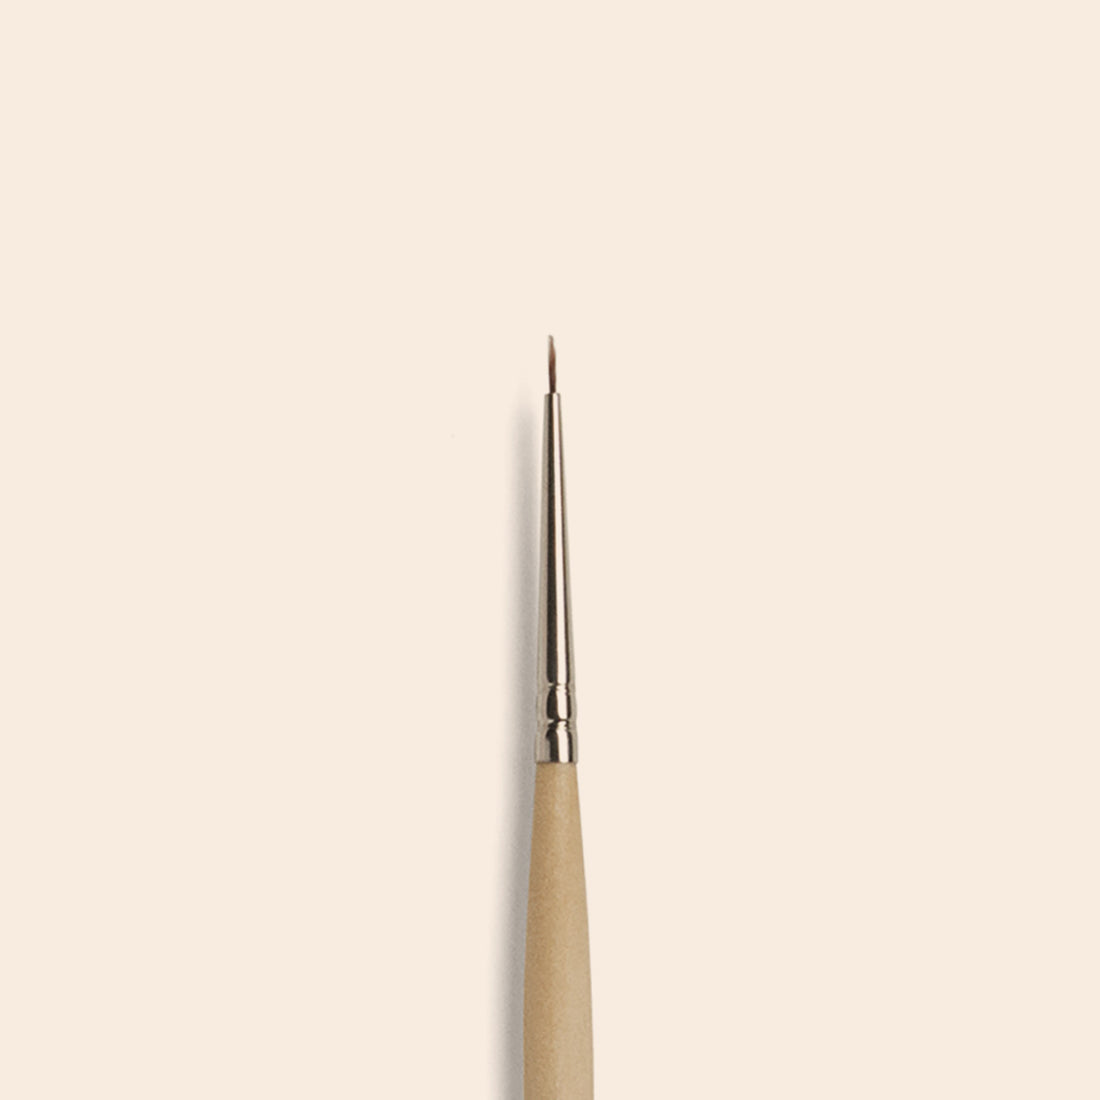
Among the essentials to slip into your bag of tools there is of course the Liner Brush- essential for creating precise, fine lines and designing detailed patterns and delicate strokes.
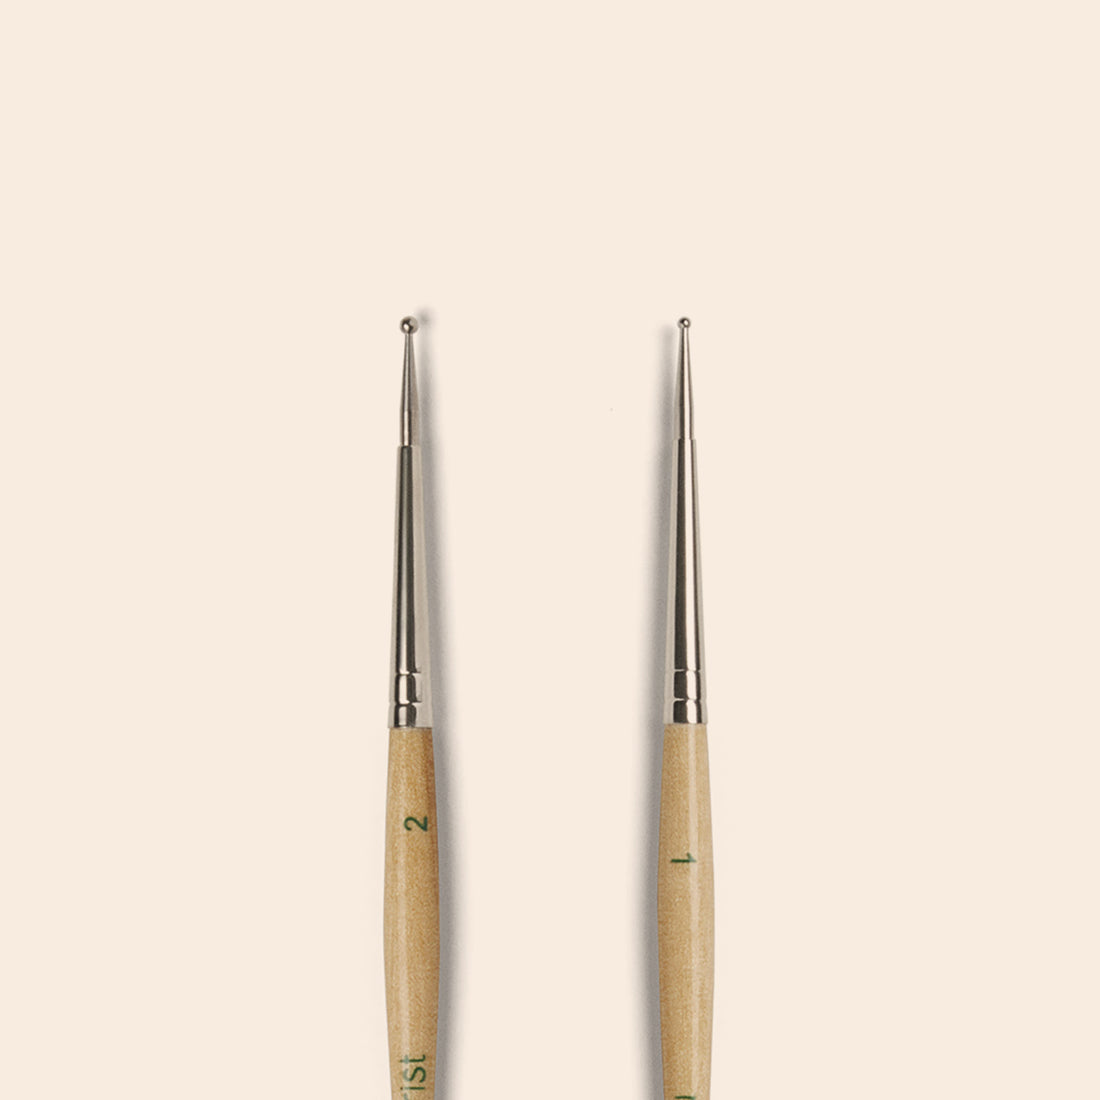
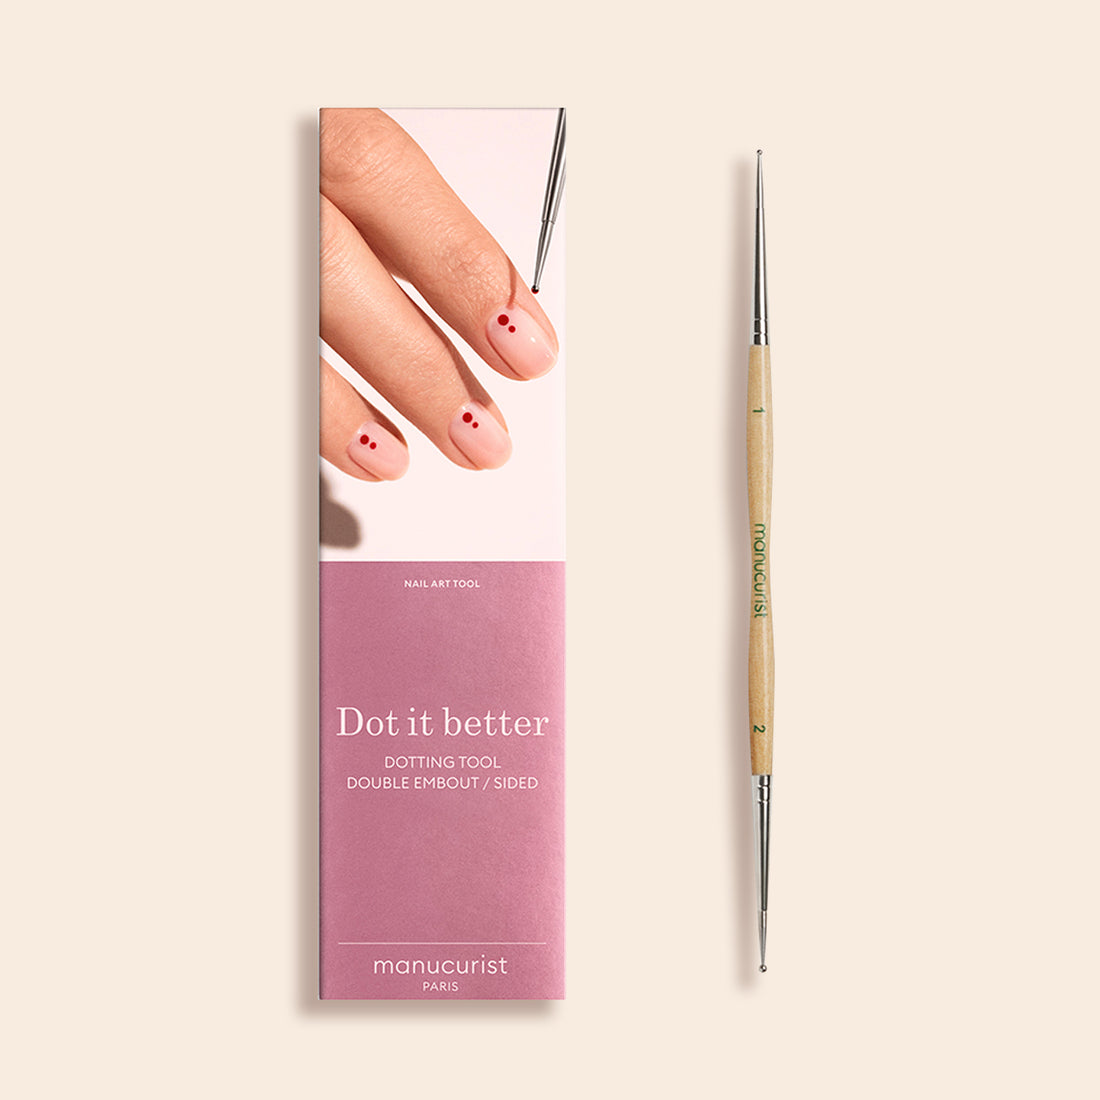
Think also about the dotting tool !
This small instrument is perfect for adding points and dots of all different sizes to your creations. Use this method to realize unique textures, or add animated forms like flowers.
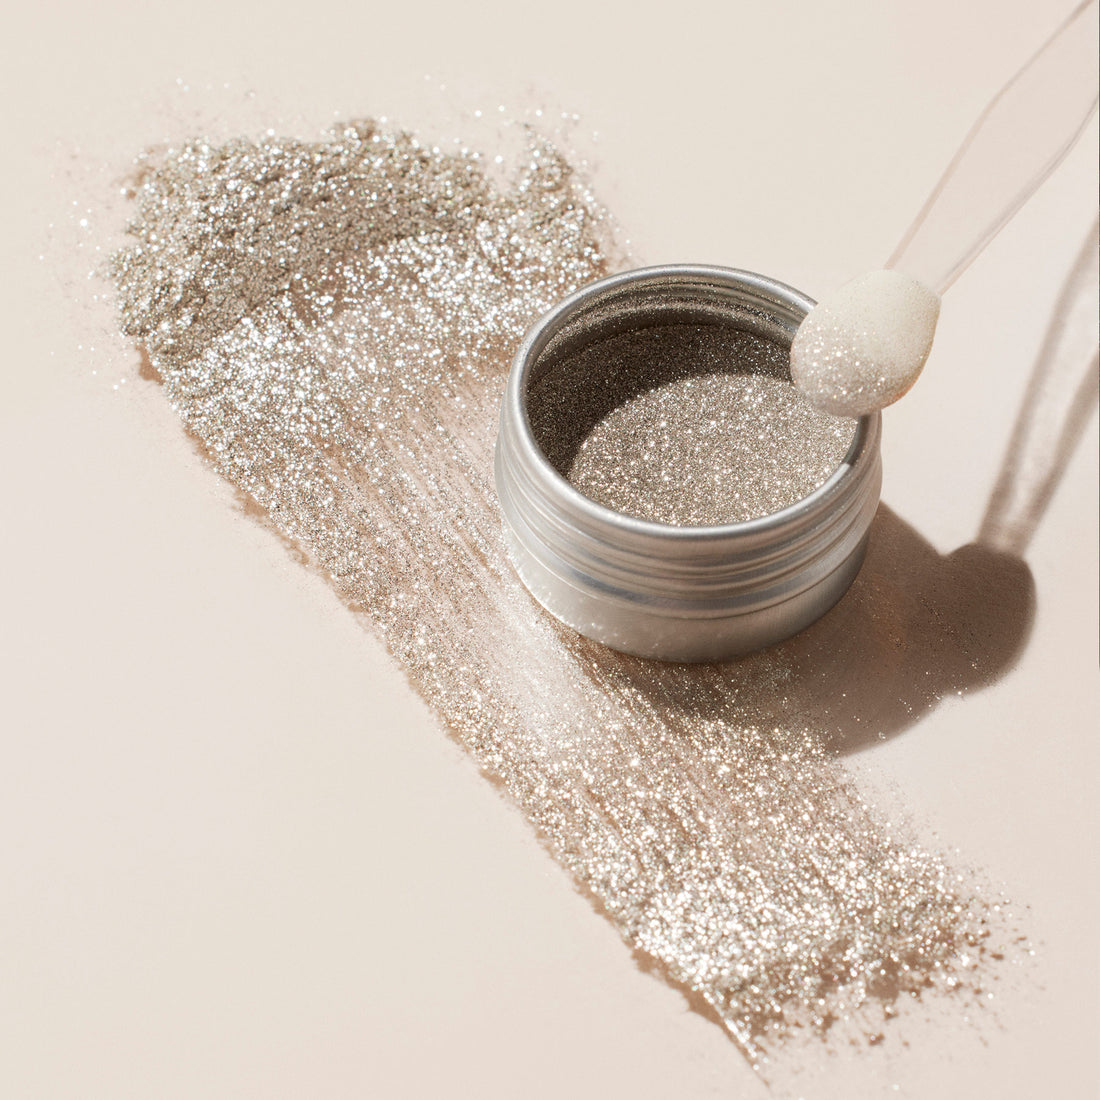
Add a touch of luminescent magic to your nails with our Effect Powders that offer metallic, holographic or shimmering finishes.
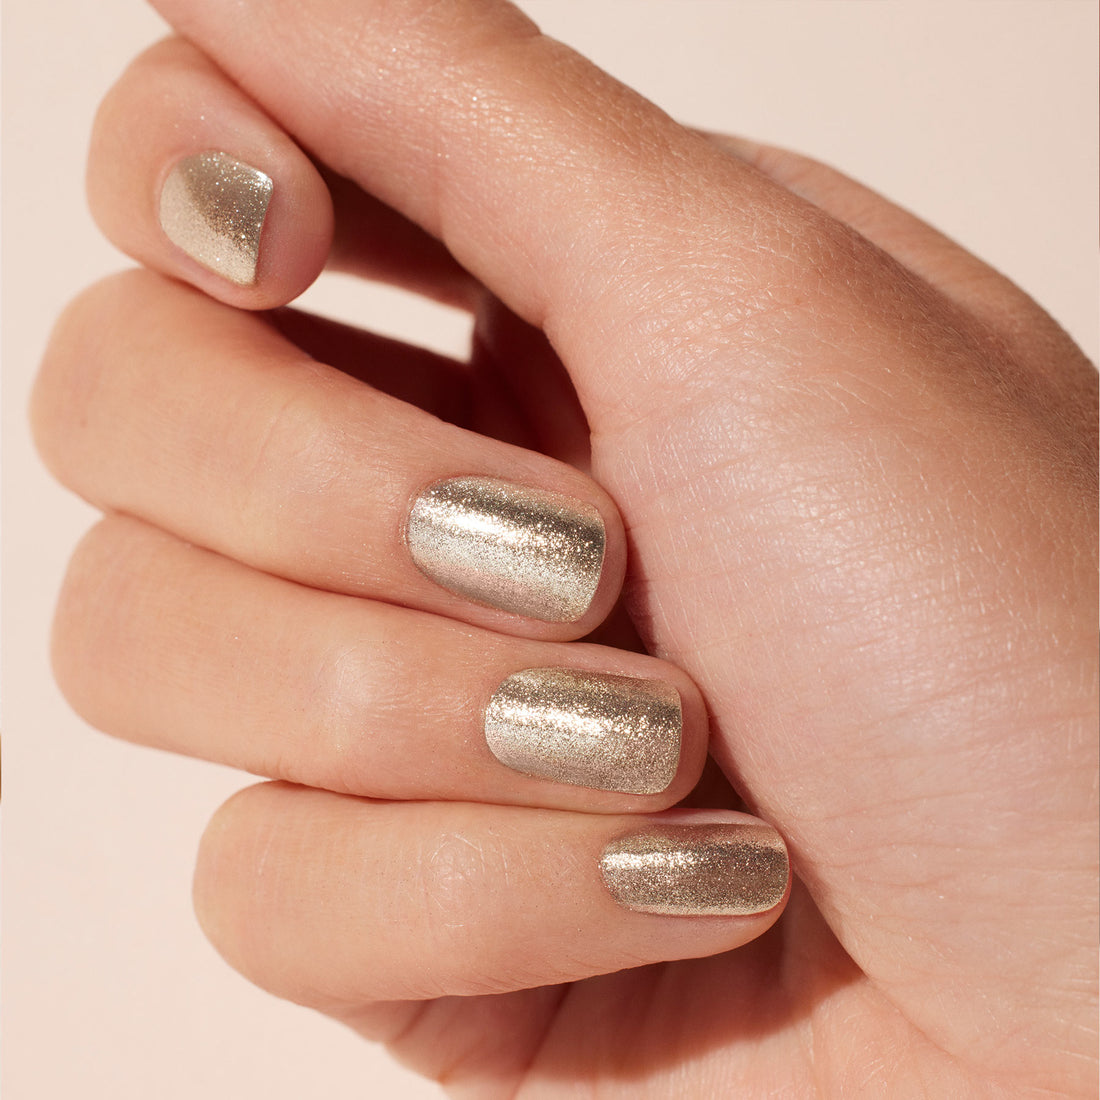
Nails covered in bold bling? like glittering crystals… dare to try our Bio-degradable glitters that add an intense sparkle to your looks. Whether you add only a small detailed highlight or cover nails entirely, a dose of glitter is always what you need!
With this collection of tools, you will be prepared with everything you need to create magnificent, original designs!
Easy French Manicure
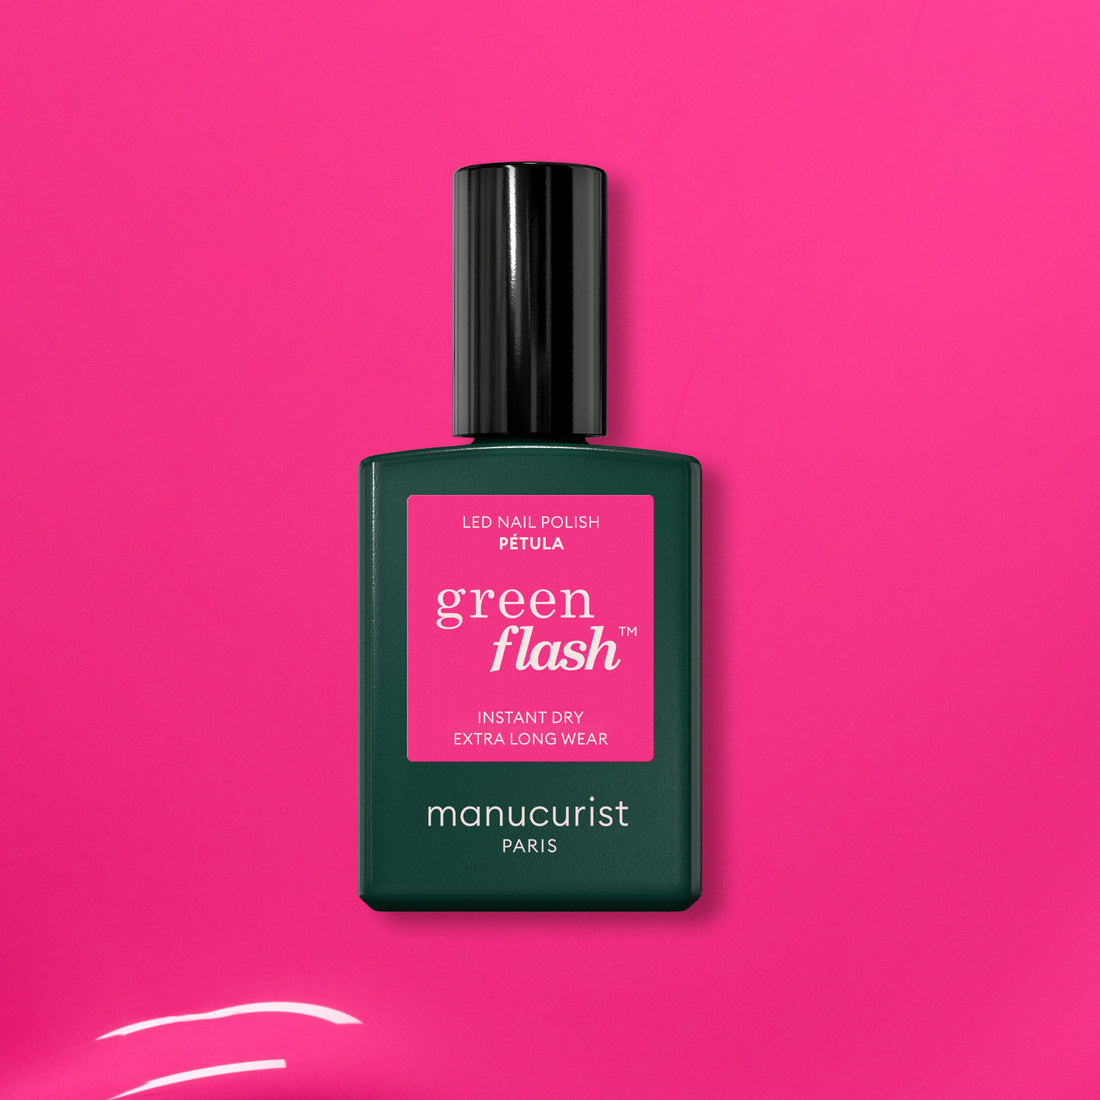
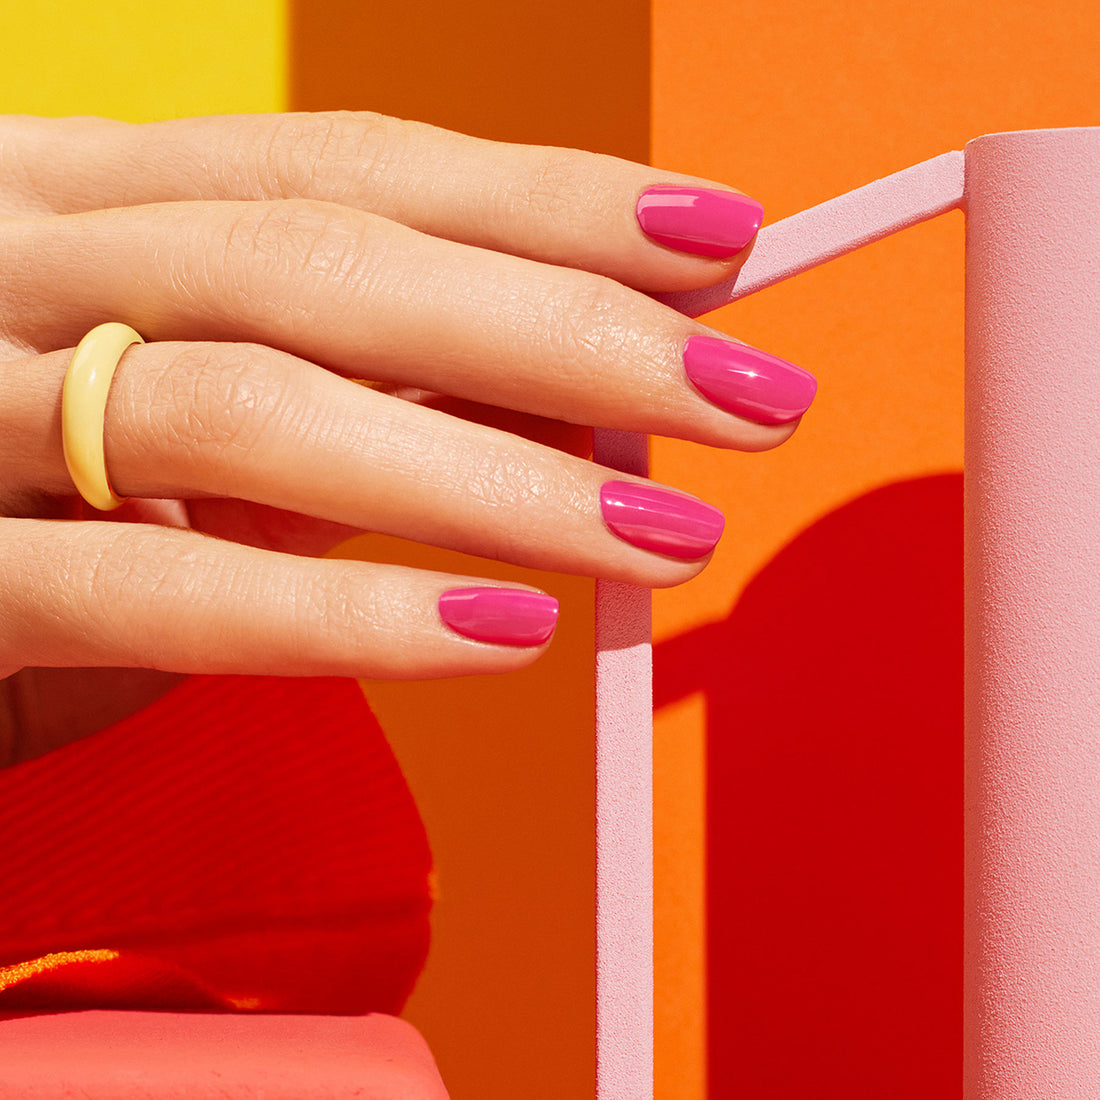
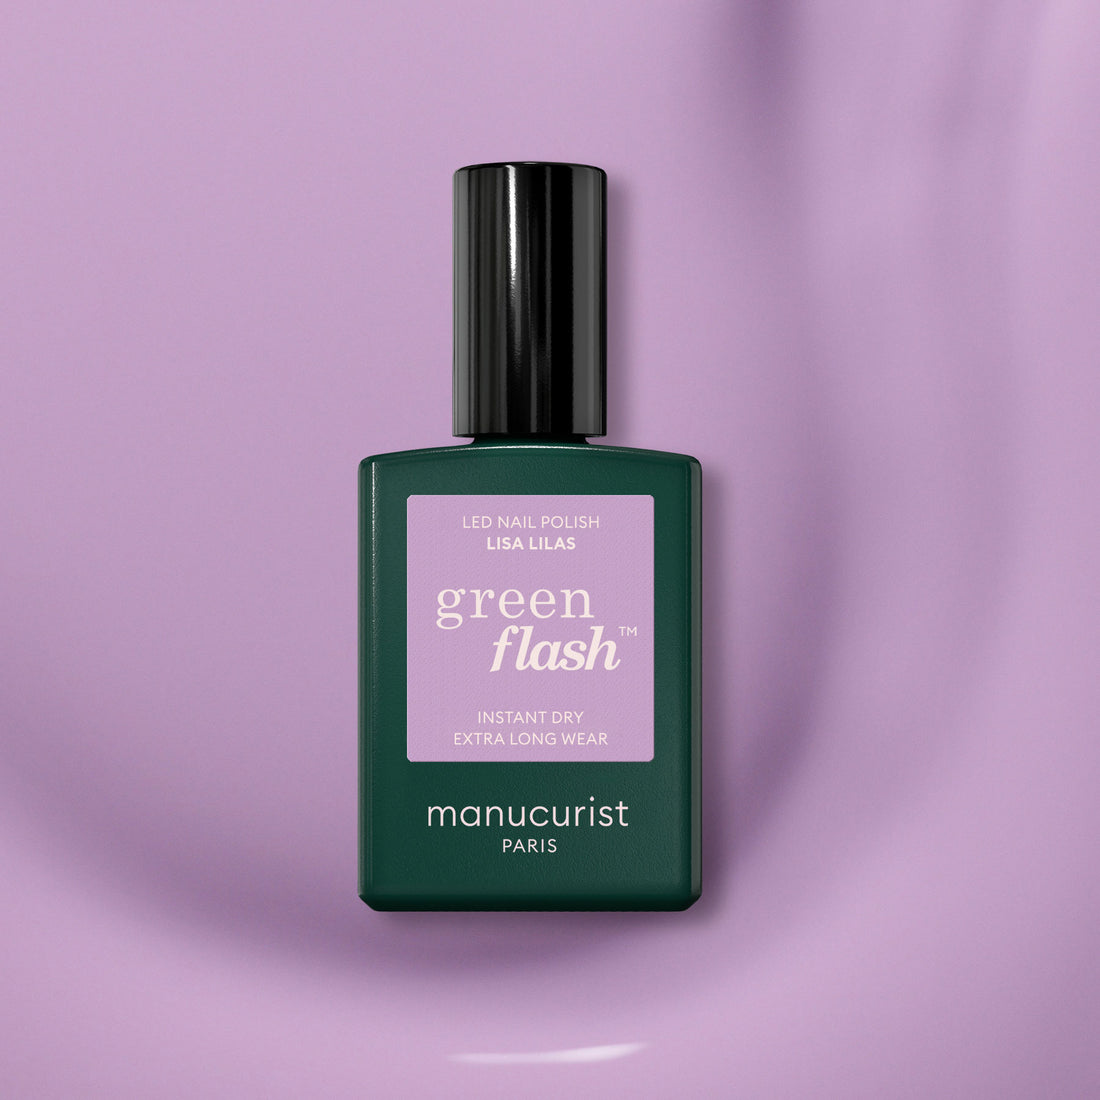
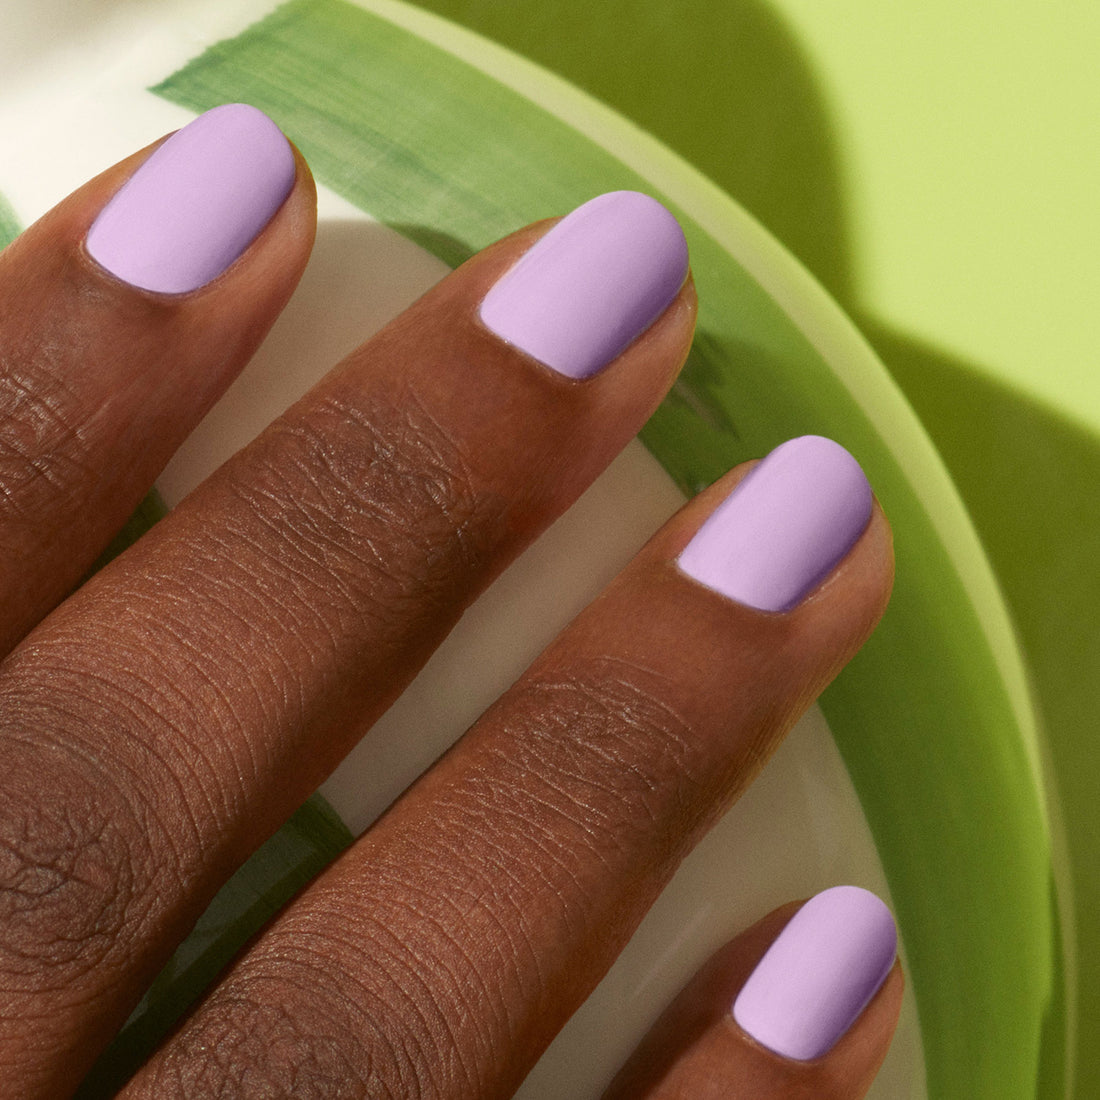
The French Manicure is forever timeless! This time, take inspiration from this always chic design but with a twist. This updated version can be created using an infinite number of color choices! Springtime vibes call for colors that exude bright, boldness so try a shade like Petula instead of the usual white. Want something a little softer? You can also try a pastel shade like Lisa Lilas. Feeling funky? Mix two shades and create the same timeless design, but using any two colors of your choice!
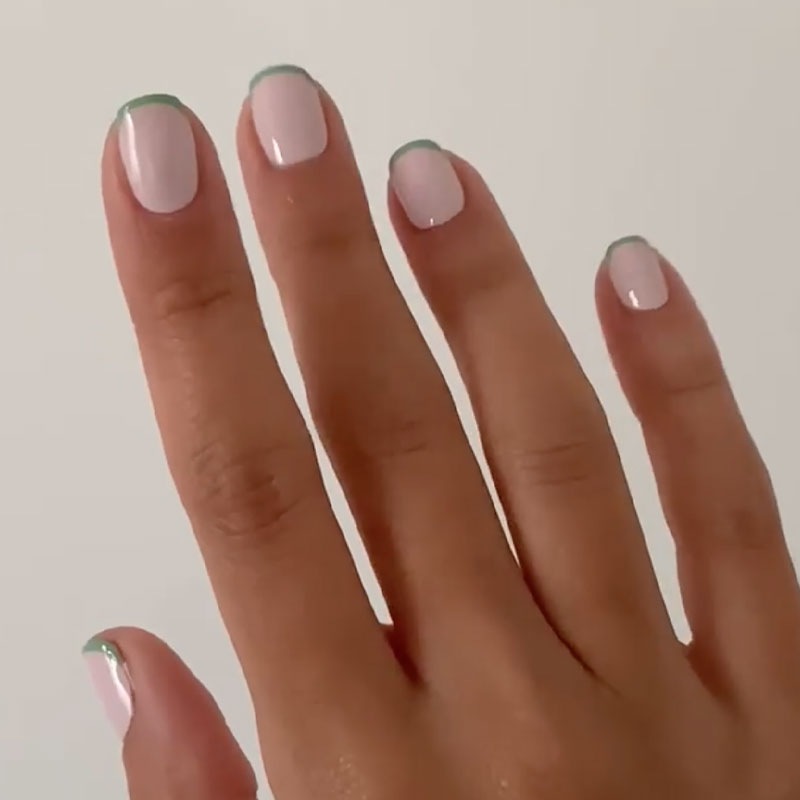
If you want to know more about how to create this super easy nail art, find our video tutorial and become an expert in minutes!
French Amande - Step By Step
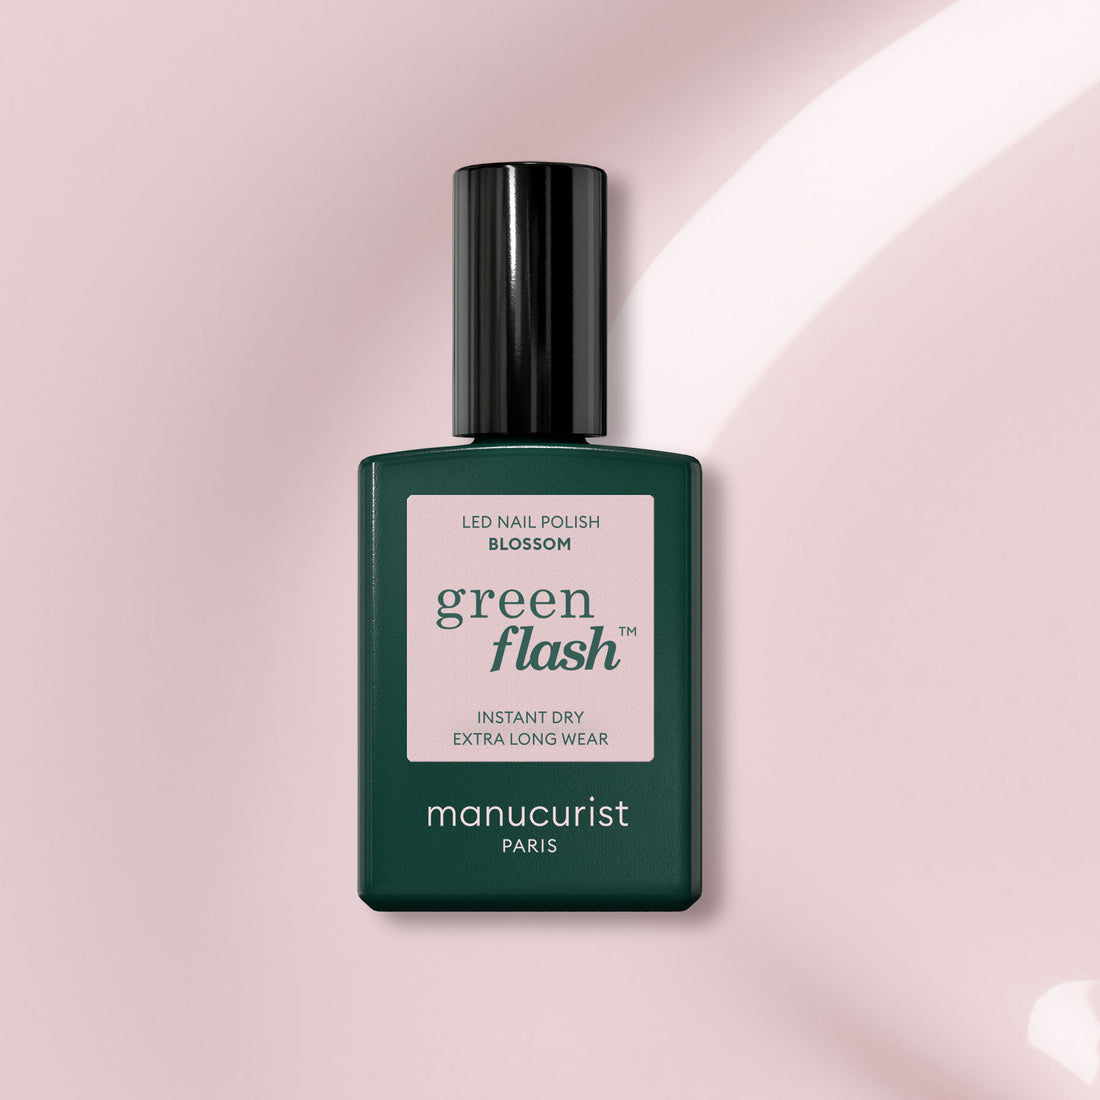
1- Apply your base coat, followed by 2 thin coats of the color Blossom.
2- Use the Nail Art Liner Brush, take a small amount of the color Amande and apply it to the tip of the nail to create that iconic French look. For short nails, pull the edge of the nail away from the skin for easier application.
3 - Apply a layer of top coat to finish the look.
⚡Flash under the LED lamp after each step for a Green Flash manicure
💅🏼 If using Green polish, simply wait for each layer to air dry before moving to the next
Flower Power Nails
With the dotting tool, designing flawless floral nail art has never been easier! Try-out vivid hues for vibrant spring bouquets.

Happy Bouquet - Step By Step
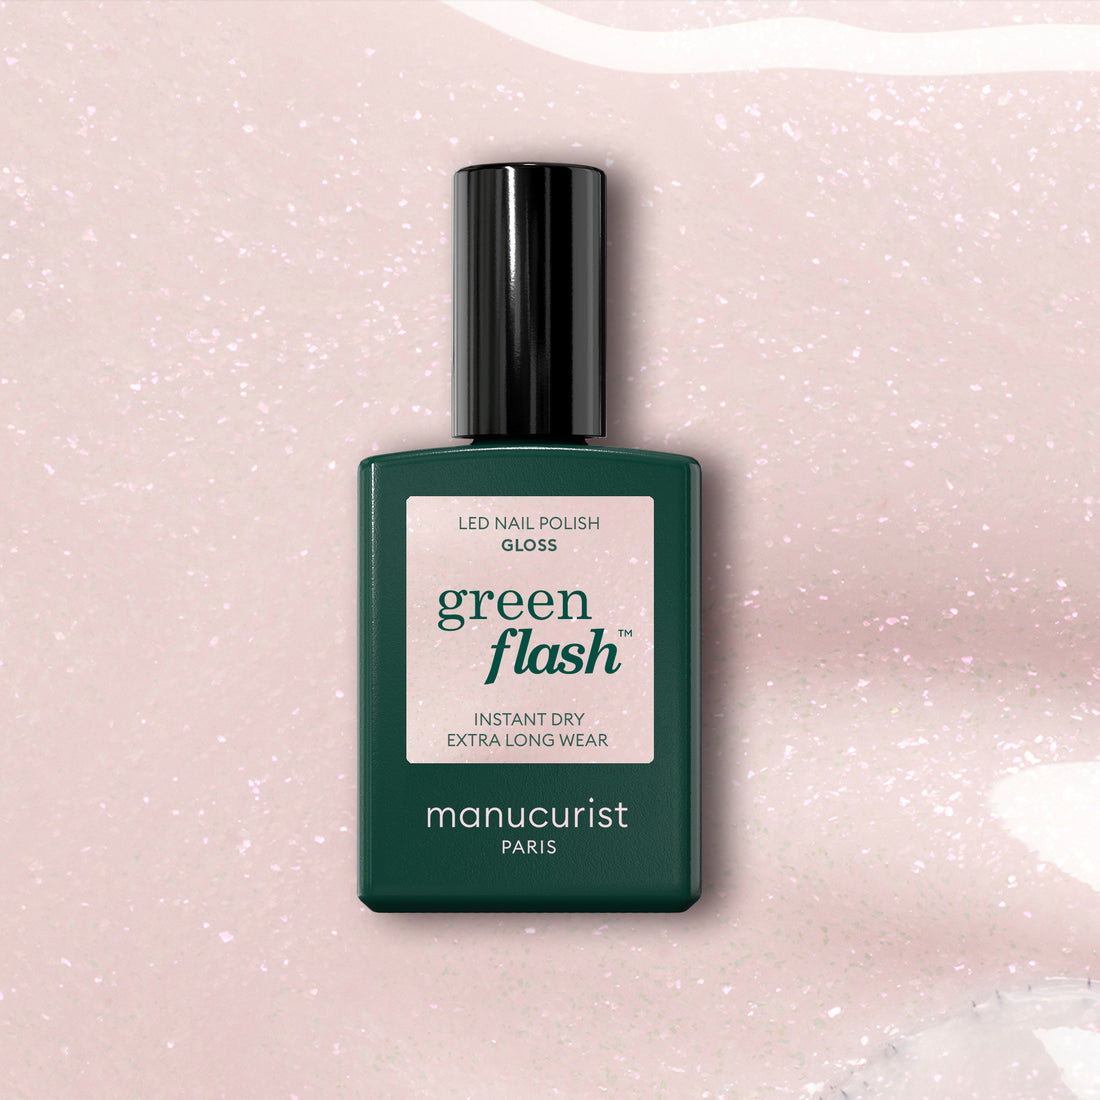
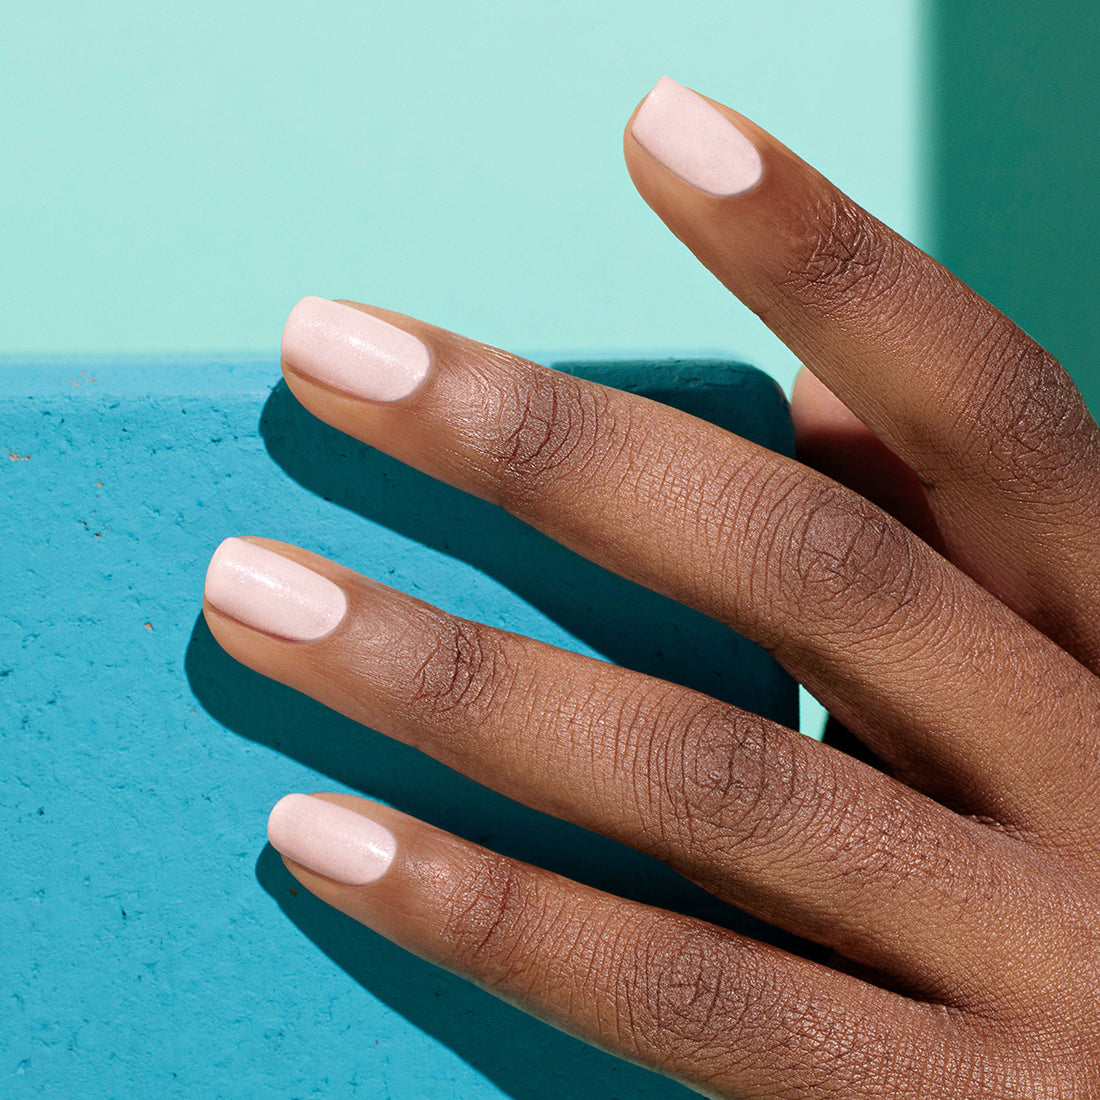
1 - Apply a base coat followed by 2 thin coats of Gloss.
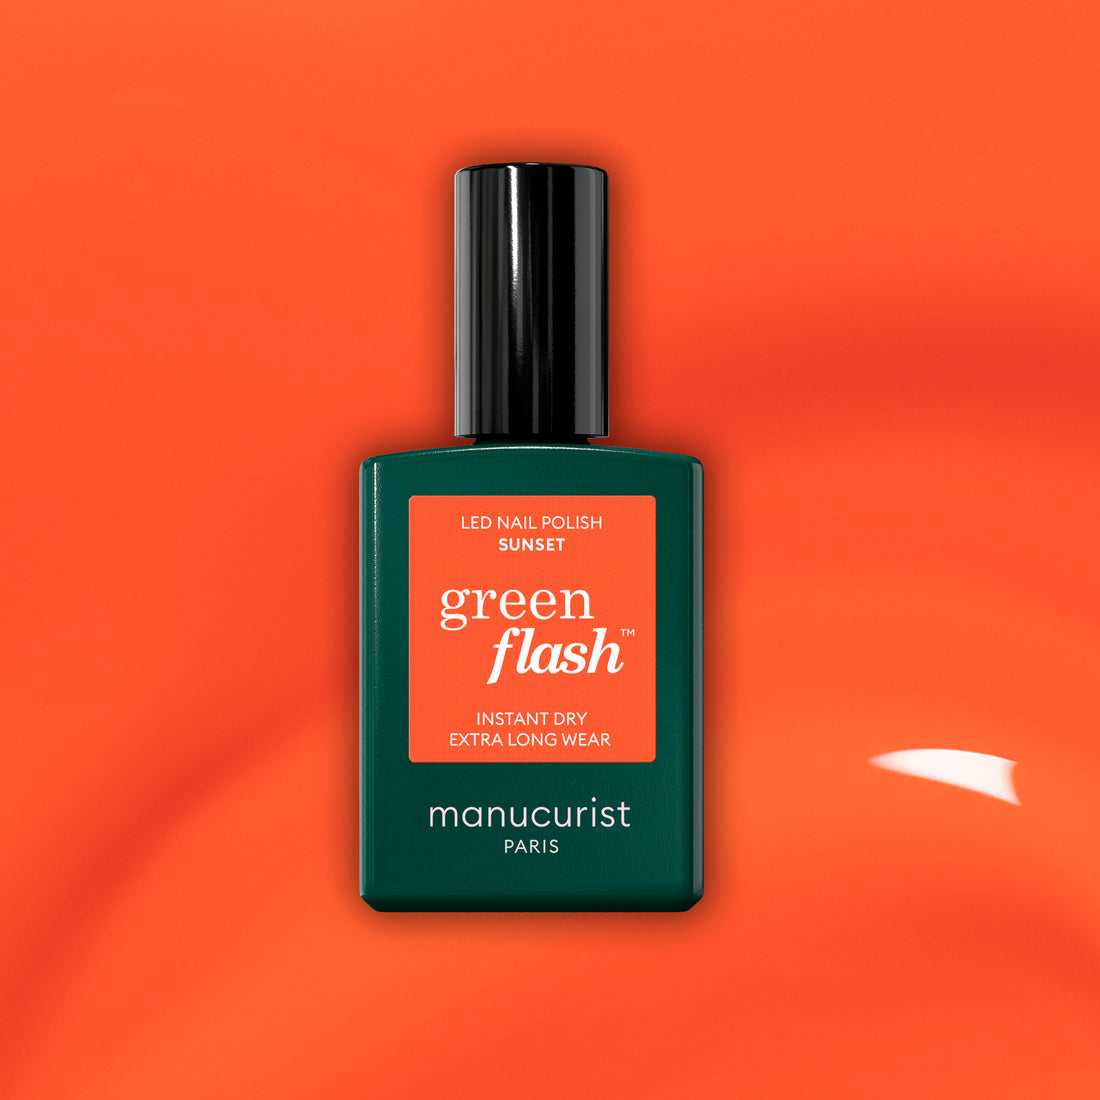
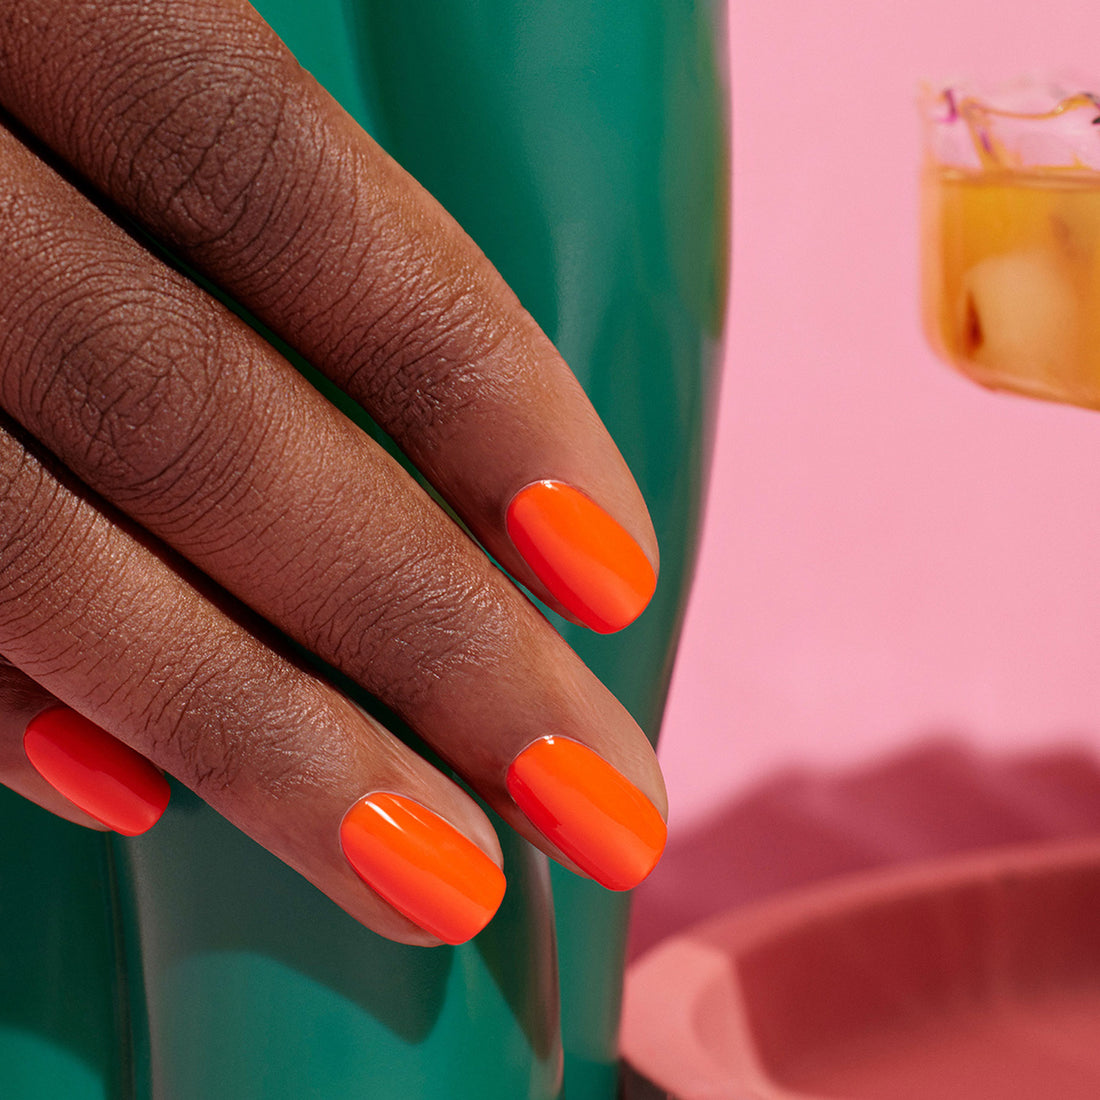
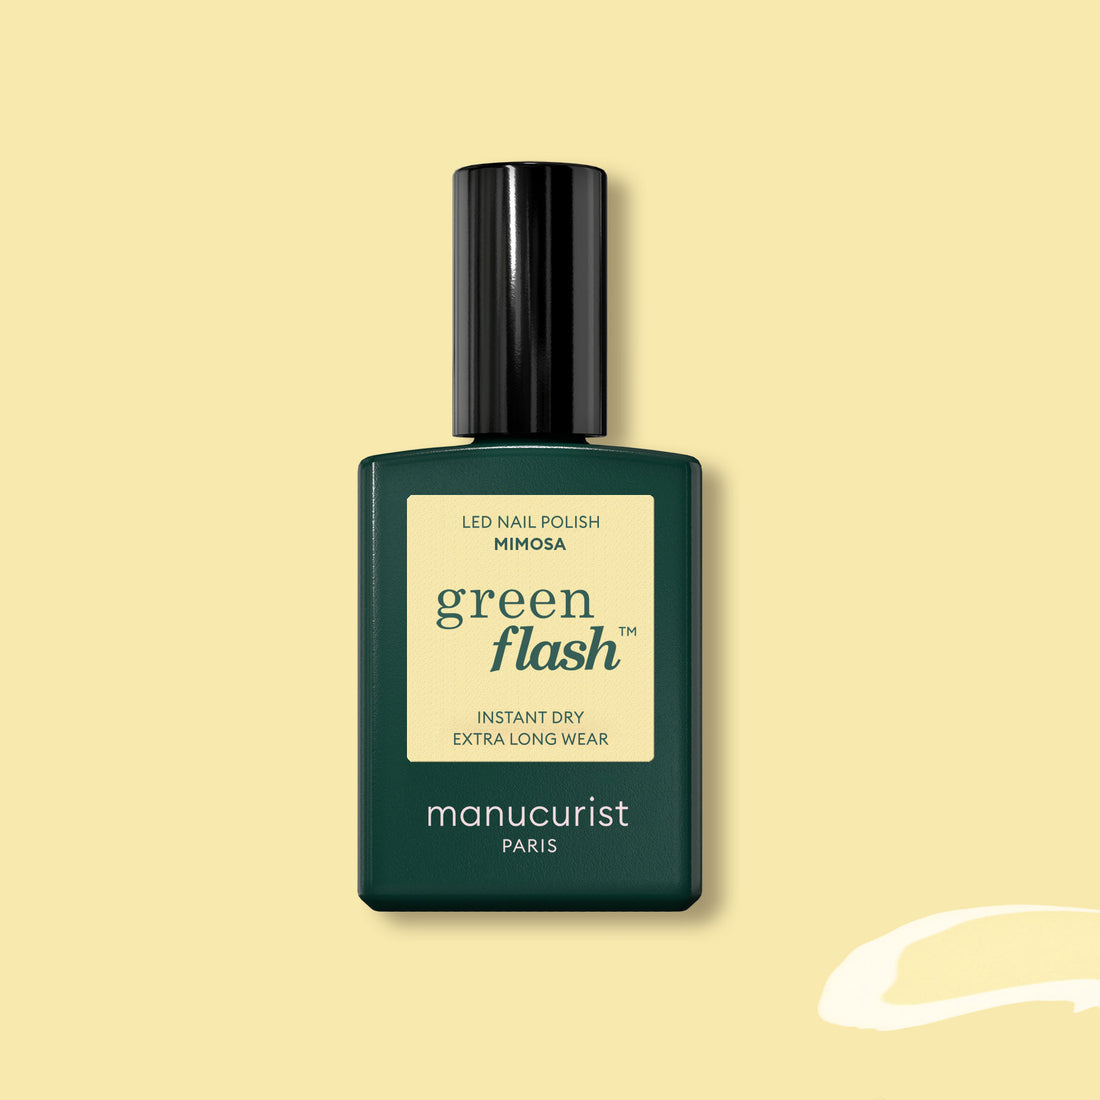
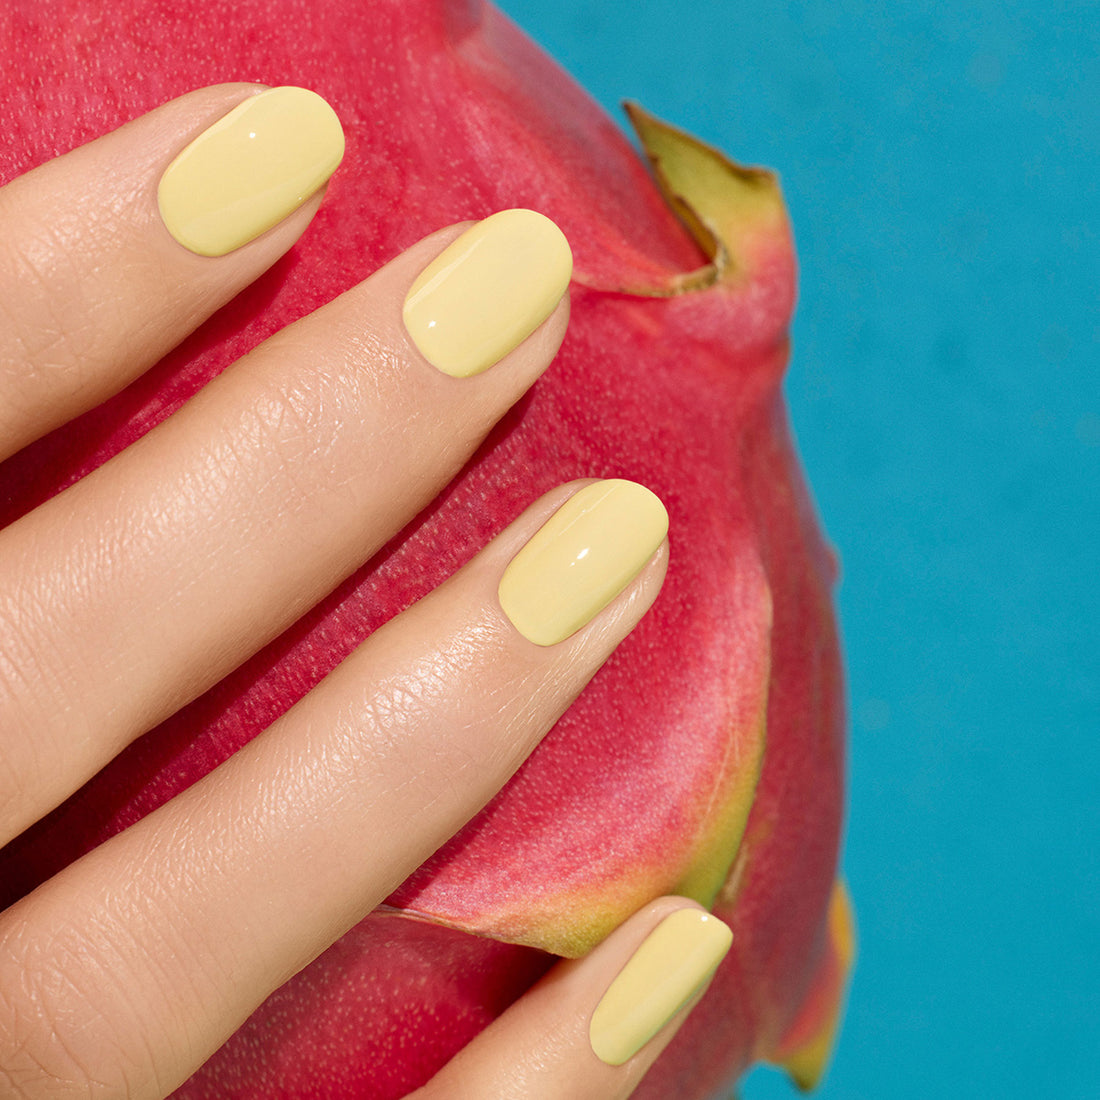
2 - Grab your dotting tool and use the large point to create 6 large dots for the petals on each finger. Use different colors, for example try Pétula, Sunset, Mimosa…
3 - Next, use the smaller point to add the hearts to the flowers in different colors.
4 - Apply a top coat to finish the manicure.
⚡Flash under the LED lamp after each step for a Green Flash manicure
💅🏼 If using Green polish, simply wait for each layer to air dry before moving to the next

Sunday Dazeys - Step By Step
1 - Apply your base coat.
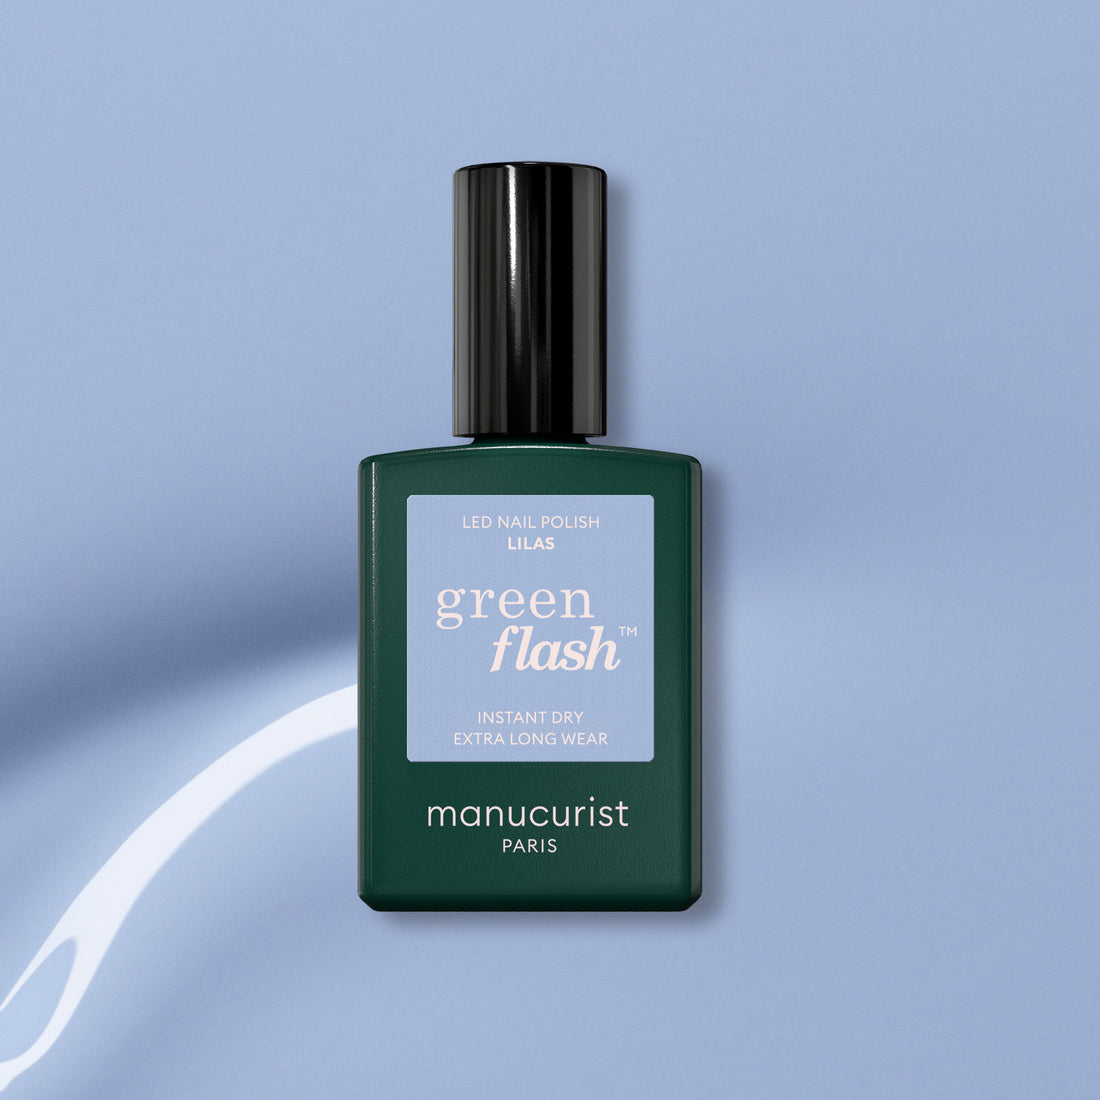
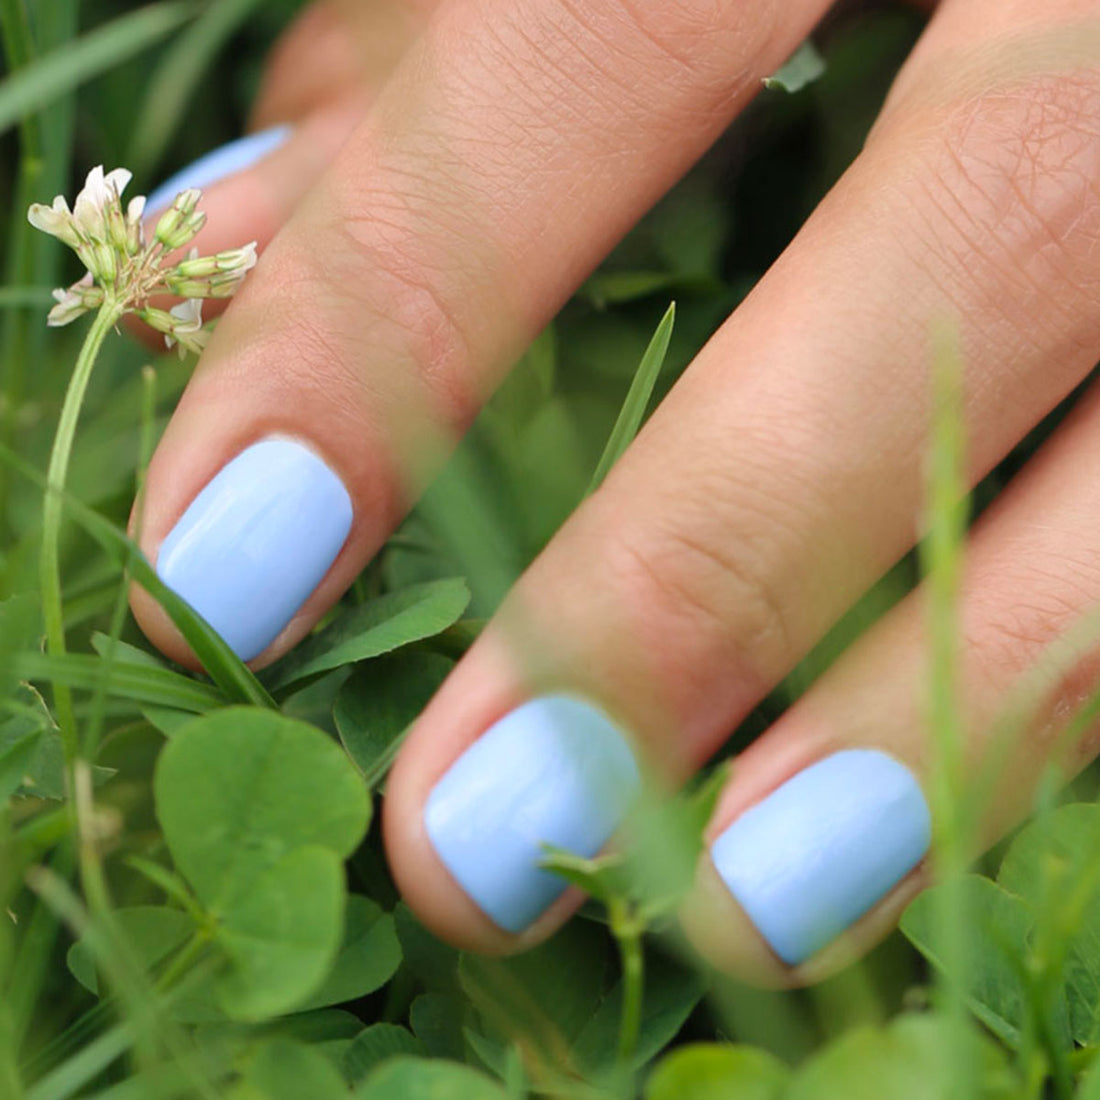
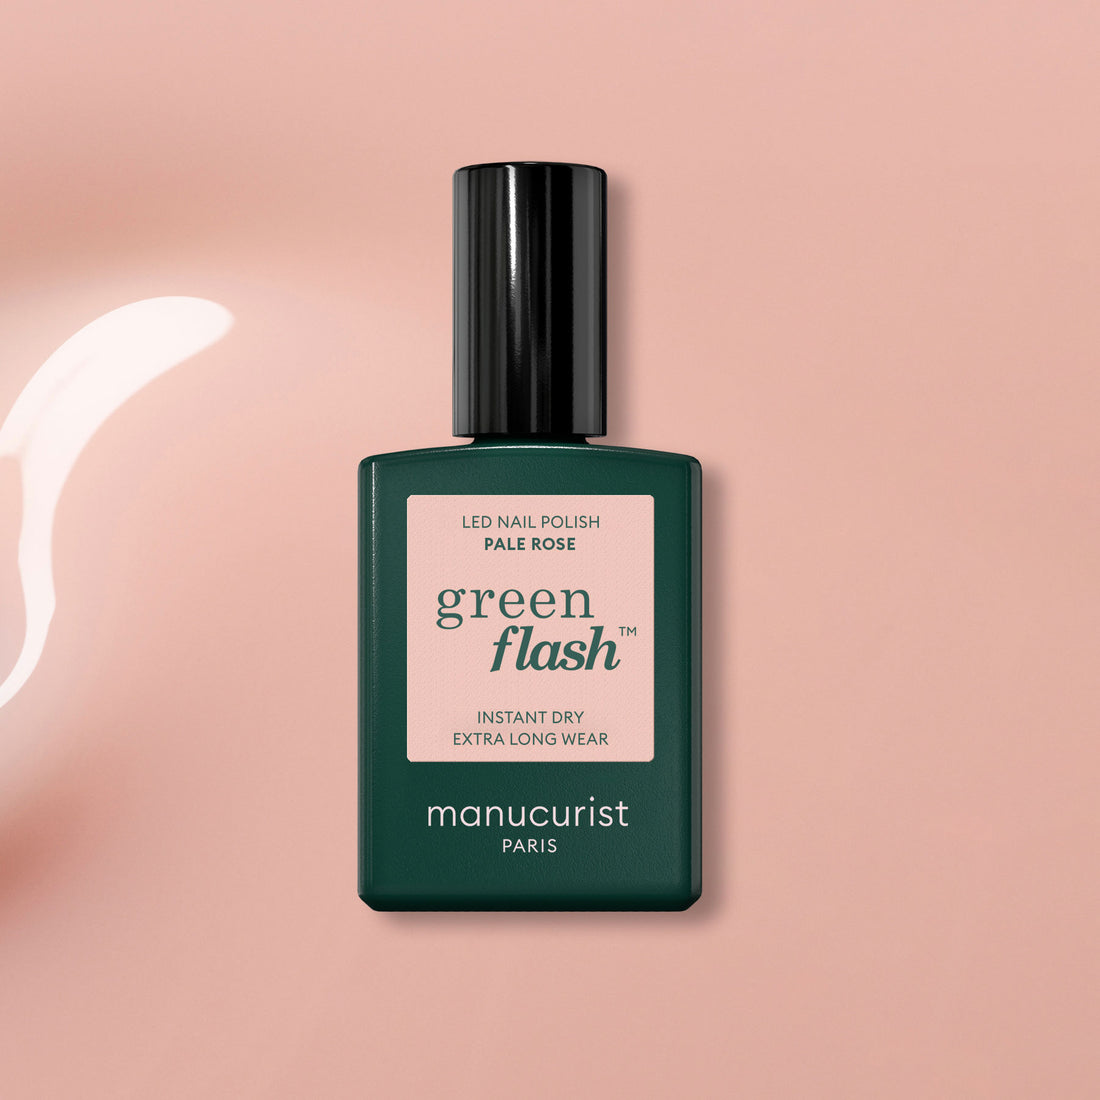
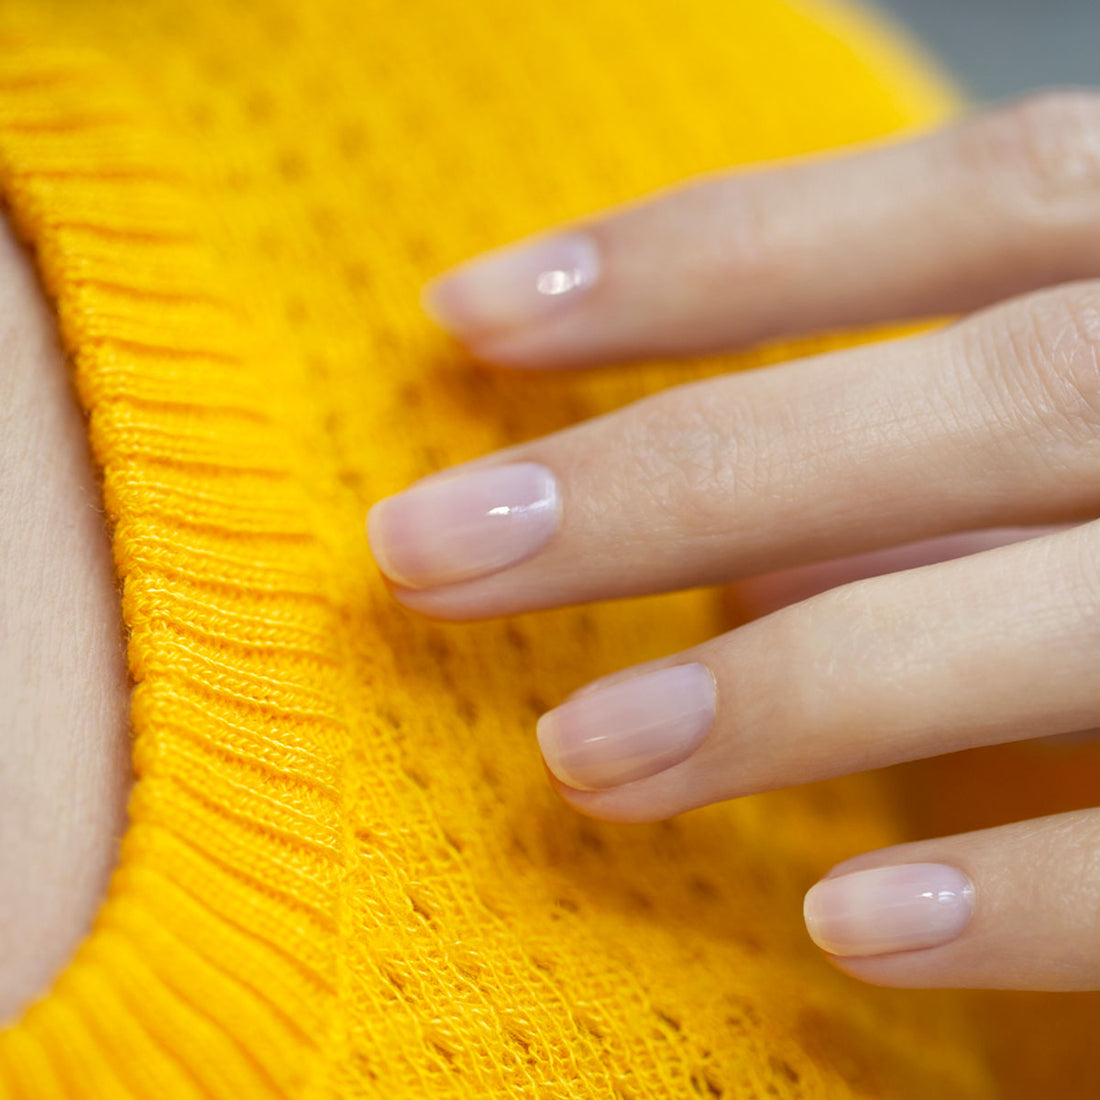
2 - Add 2 thin layers of the color Pale Rose to the thumb and 2 thin layers of Lilas to the rest of the nails.
3 - Use the large point of the dotting tool to create a flower using the color Snow, by arranging 6 dots in a circle for the petals. To enlarge the petals, add a small amount of Snow and go over the already existing dots.
4- Using the small side of the dotting tool, use the Rose Gold Biodegradable Glitter to create the heart of the flower.
5- Add a top coat to every finger to lock in the masterpiece!
⚡Flash under the LED lamp after each step for a Green Flash manicure
💅🏼 If using Green polish, simply wait for each layer to air dry before moving to the next

Tulip Nails🌷- Step By Step
1 - Apply your base coat followed by 2 thin coats of the color Crème.
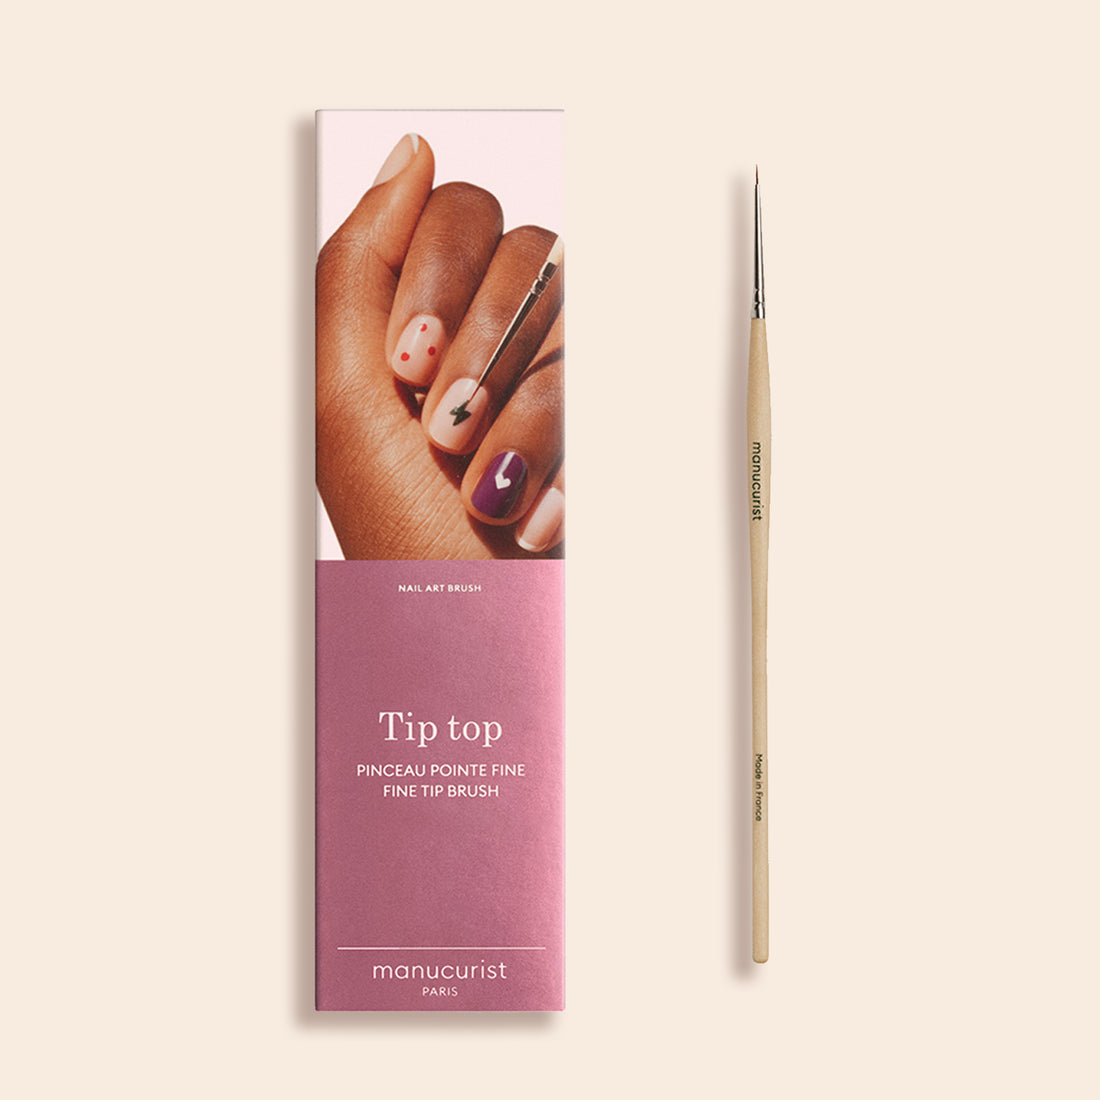
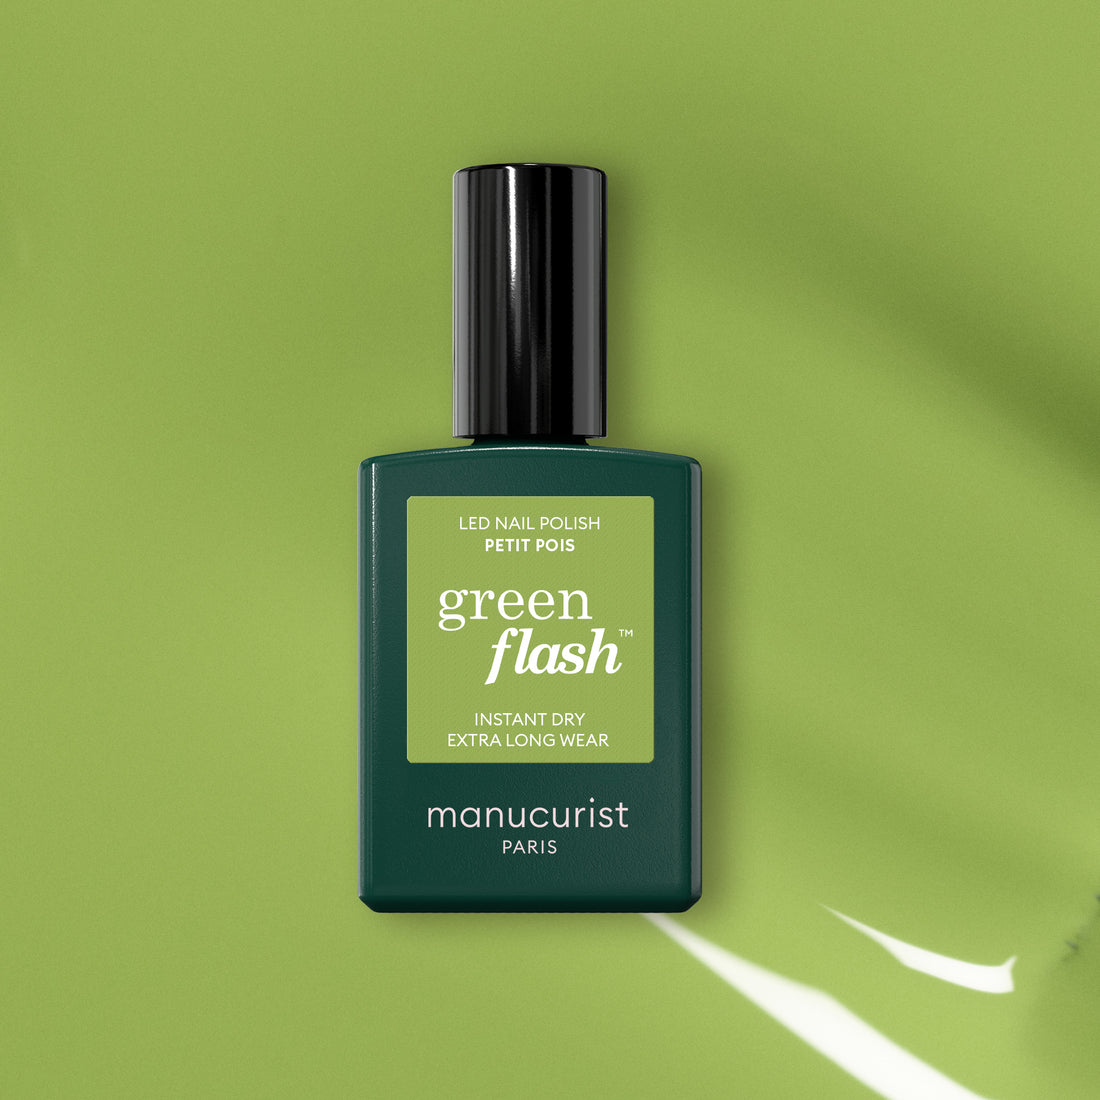
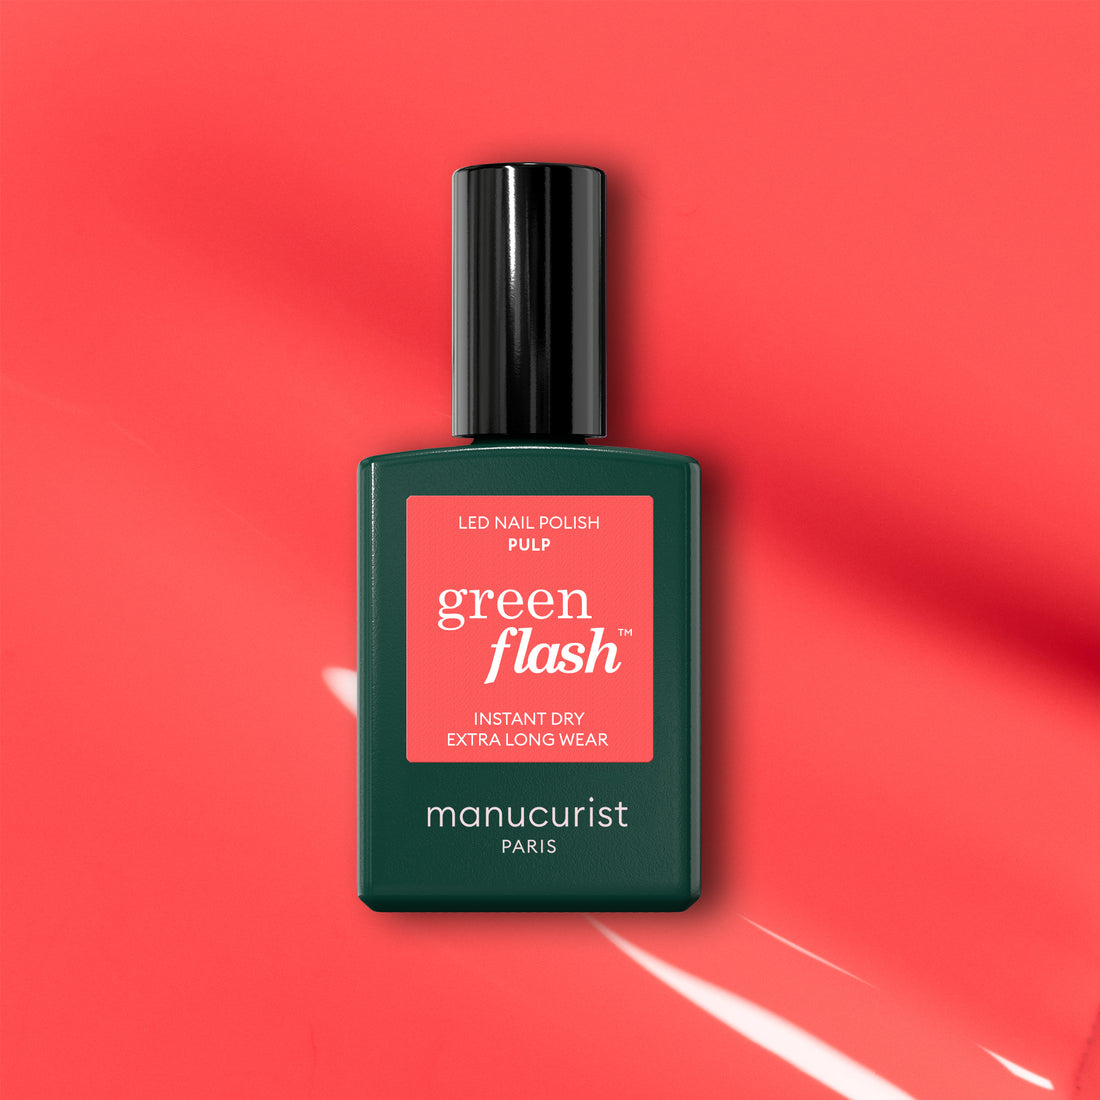
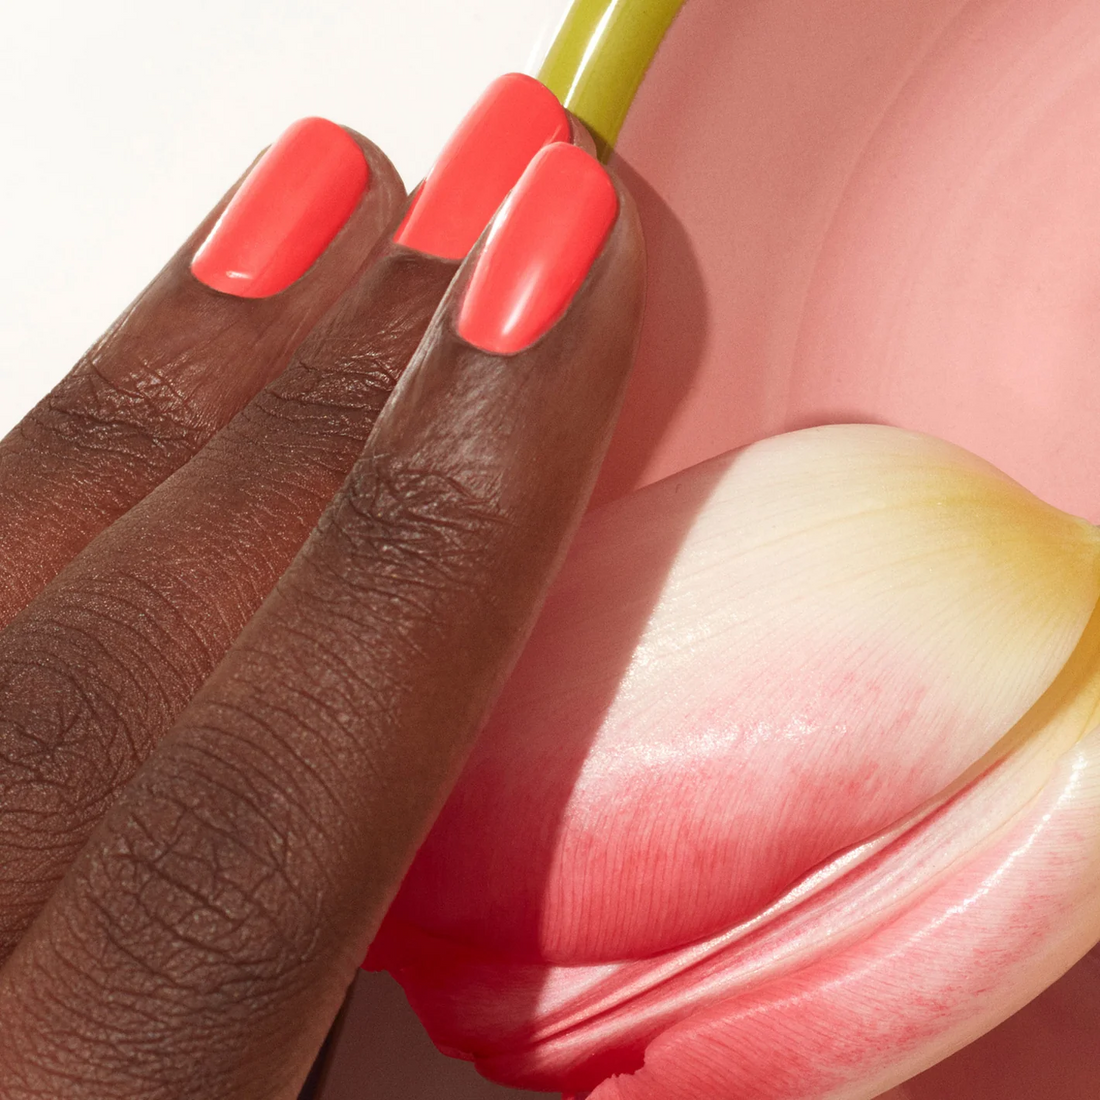
2- Use the Nail Art Brush to design the petals of your tulips in the color Pulp, and then carefully place the stems and leaves in the color Petit pois.
3- Finish with a top coat.
⚡Flash under the LED lamp after each step for a Green Flash manicure
💅🏼 If using Green polish, simply wait for each layer to air dry before moving to the next
Graphic nails
Geographic colors, minimalist designs, curved lines and color-blocking… Graphic manicures are all the rage this season. Here are a few ideas to get you started!

Pastel Dots - Step By Step
1 - Apply your base coat followed by 2 thin layers of the neutral/nude color of your choice.
2 - Using the dotting tool, create a vertical line of 6 circles in different colors Lisa Lilas, Mimosa, Sunset, Lilas, Amande.
3- Use the Nail Art Brush, and drag the dots slightly in a line to create a connecting effect.
4- Finish with a top coat.
⚡Flash under the LED lamp after each step for a Green Flash manicure
💅🏼 If using Green polish, simply wait for each layer to air dry before moving to the next

OH my Dots ! - Step By Step
1 - Apply your base coat.
2 - Paint on 2 thin layers of Pétula on the thumb and index fingers, and Gloss on the rest of the nails.
3- Using the smaller point of your dotting tool, create small points using Pétula on the Gloss nails.
4- Finish with a top coat.
⚡Flash under the LED lamp after each step for a Green Flash manicure
💅🏼 If using Green polish, simply wait for each layer to air dry before moving to the next

Colorful Half Moon - Step By Step
1 - Apply your base coat followed by 2 coats of the color Gloss.
2 - Using the Nail Art Brush, create a smooth curve along the top edge of your nails. If you have short nails, separate the edge of your nail from your skin to avoid applying polish to the skin. Alternate between colors of our choice (We used : Pétula, Snow, Mimosa, Sunset.) Discover more about how to take care of short nails and find the perfect color that better suits you here.
3- Use the same method to create small half-circles toward the bottom of your nails. We suggest creating one half of the circle, starting from the middle and then dragging toward the bottom in a curved shape, and then doing the other half to create the full shape.
4- Finish with a top coat.
⚡Flash under the LED lamp after each step for a Green Flash manicure
💅🏼 If using Green polish, simply wait for each layer to air dry before moving to the next

Artistic Nail Look - Step By Step
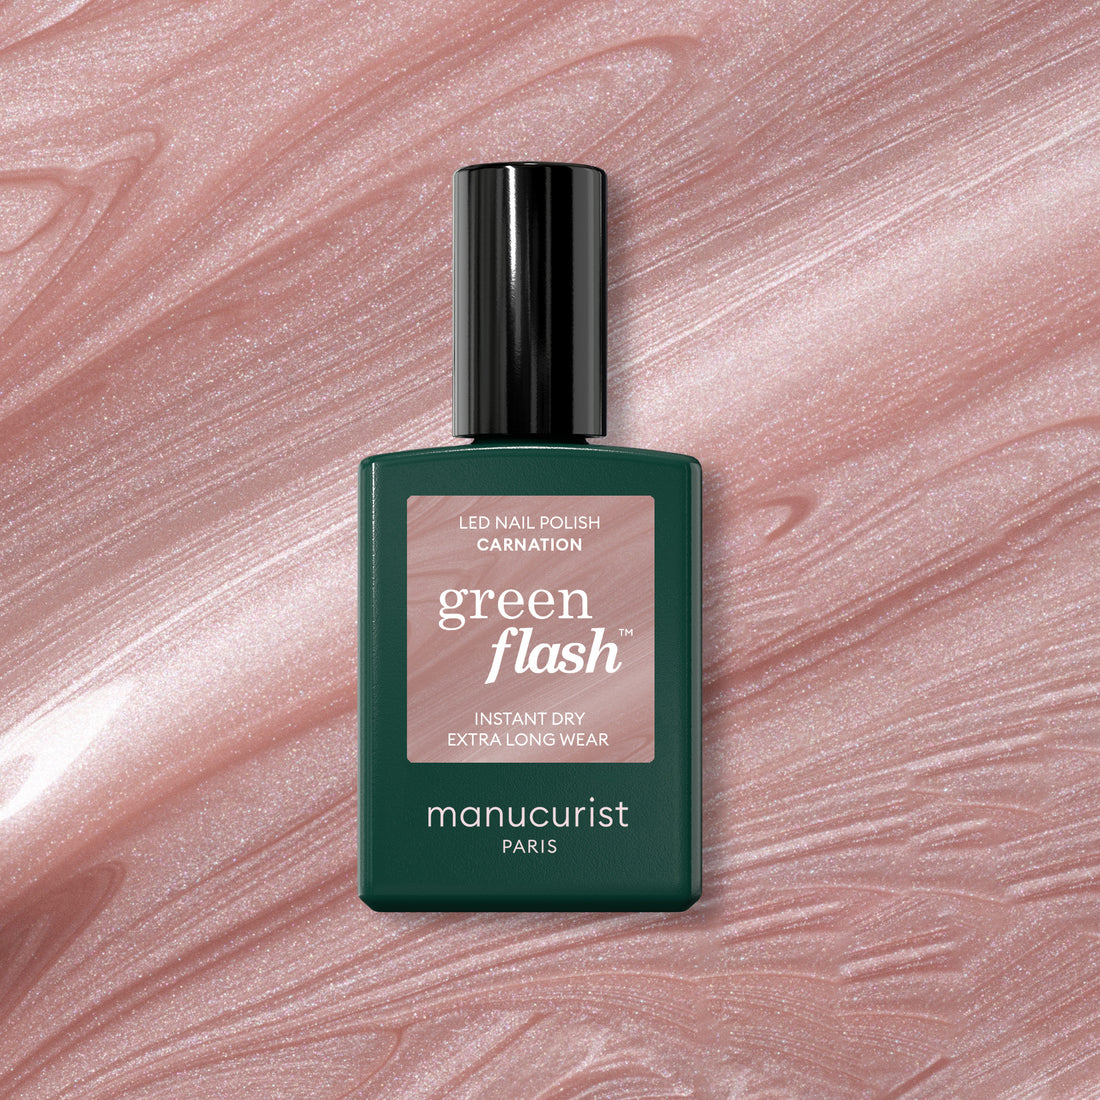
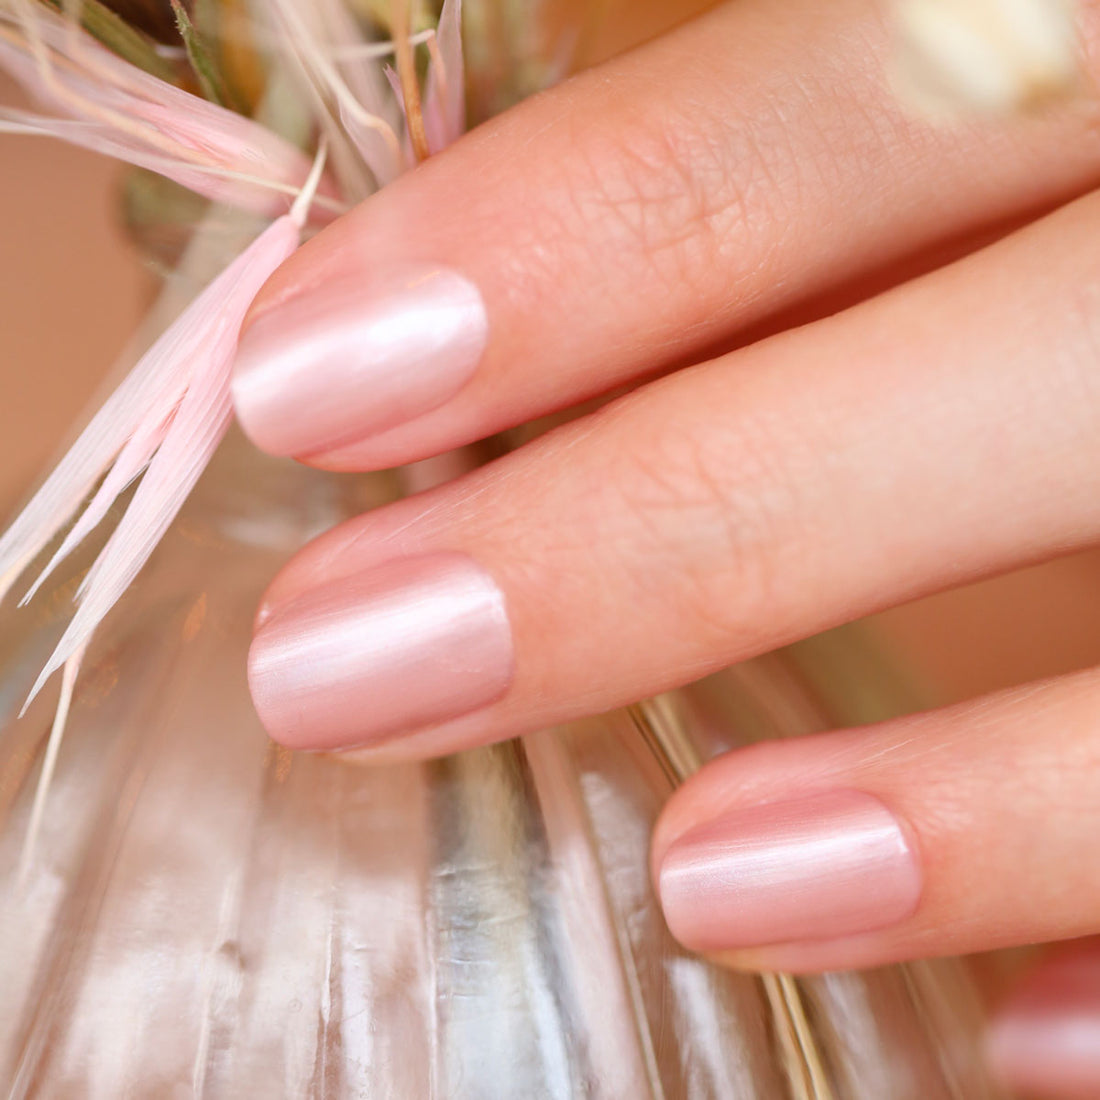
1 - Apply your base followed by 2 thin coats of the color Carnation.
2 - Using the Nail Art Brush create small curved wave shapes in different colors (We used: Pulp, Crème, Lisa-Lilas et Petit pois)
3- Finish with a top coat.
⚡Flash under the LED lamp after each step for a Green Flash manicure
💅🏼 If using Green polish, simply wait for each layer to air dry before moving to the next
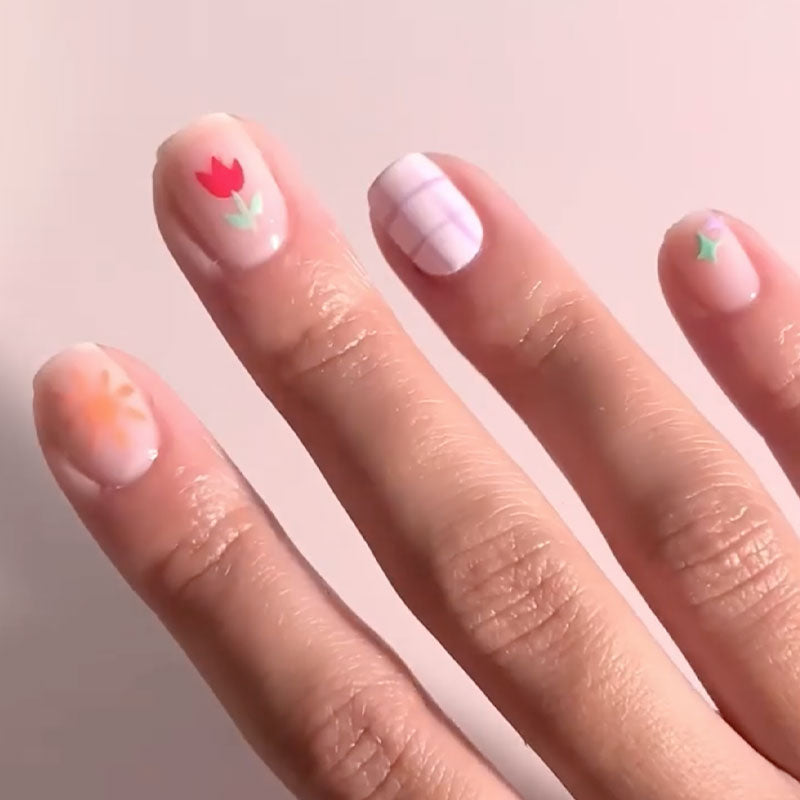
Et voilà … now you have mastered how to create nail art using 2 of our tools! Now you can use your skills to get creative… mix ideas, shapes and colors to match your manicures and style to your personality
Enjoy 💅


