Spring nail art: fresh and fun!
The first rays of sunshine, the soft breeze, trees in bloom… they inspire playful designs, pastel shades, and delicate graphic effects. Here are some bright and fresh nail art ideas, whether you have short nails or long ones—time to get creative!
Dots & Confetti Magic
Polka dots are the ultimate easy nail art—perfect for everyone! Not only do they let you play with colors, but they also create the illusion of an intricate and trendy manicure in no time.
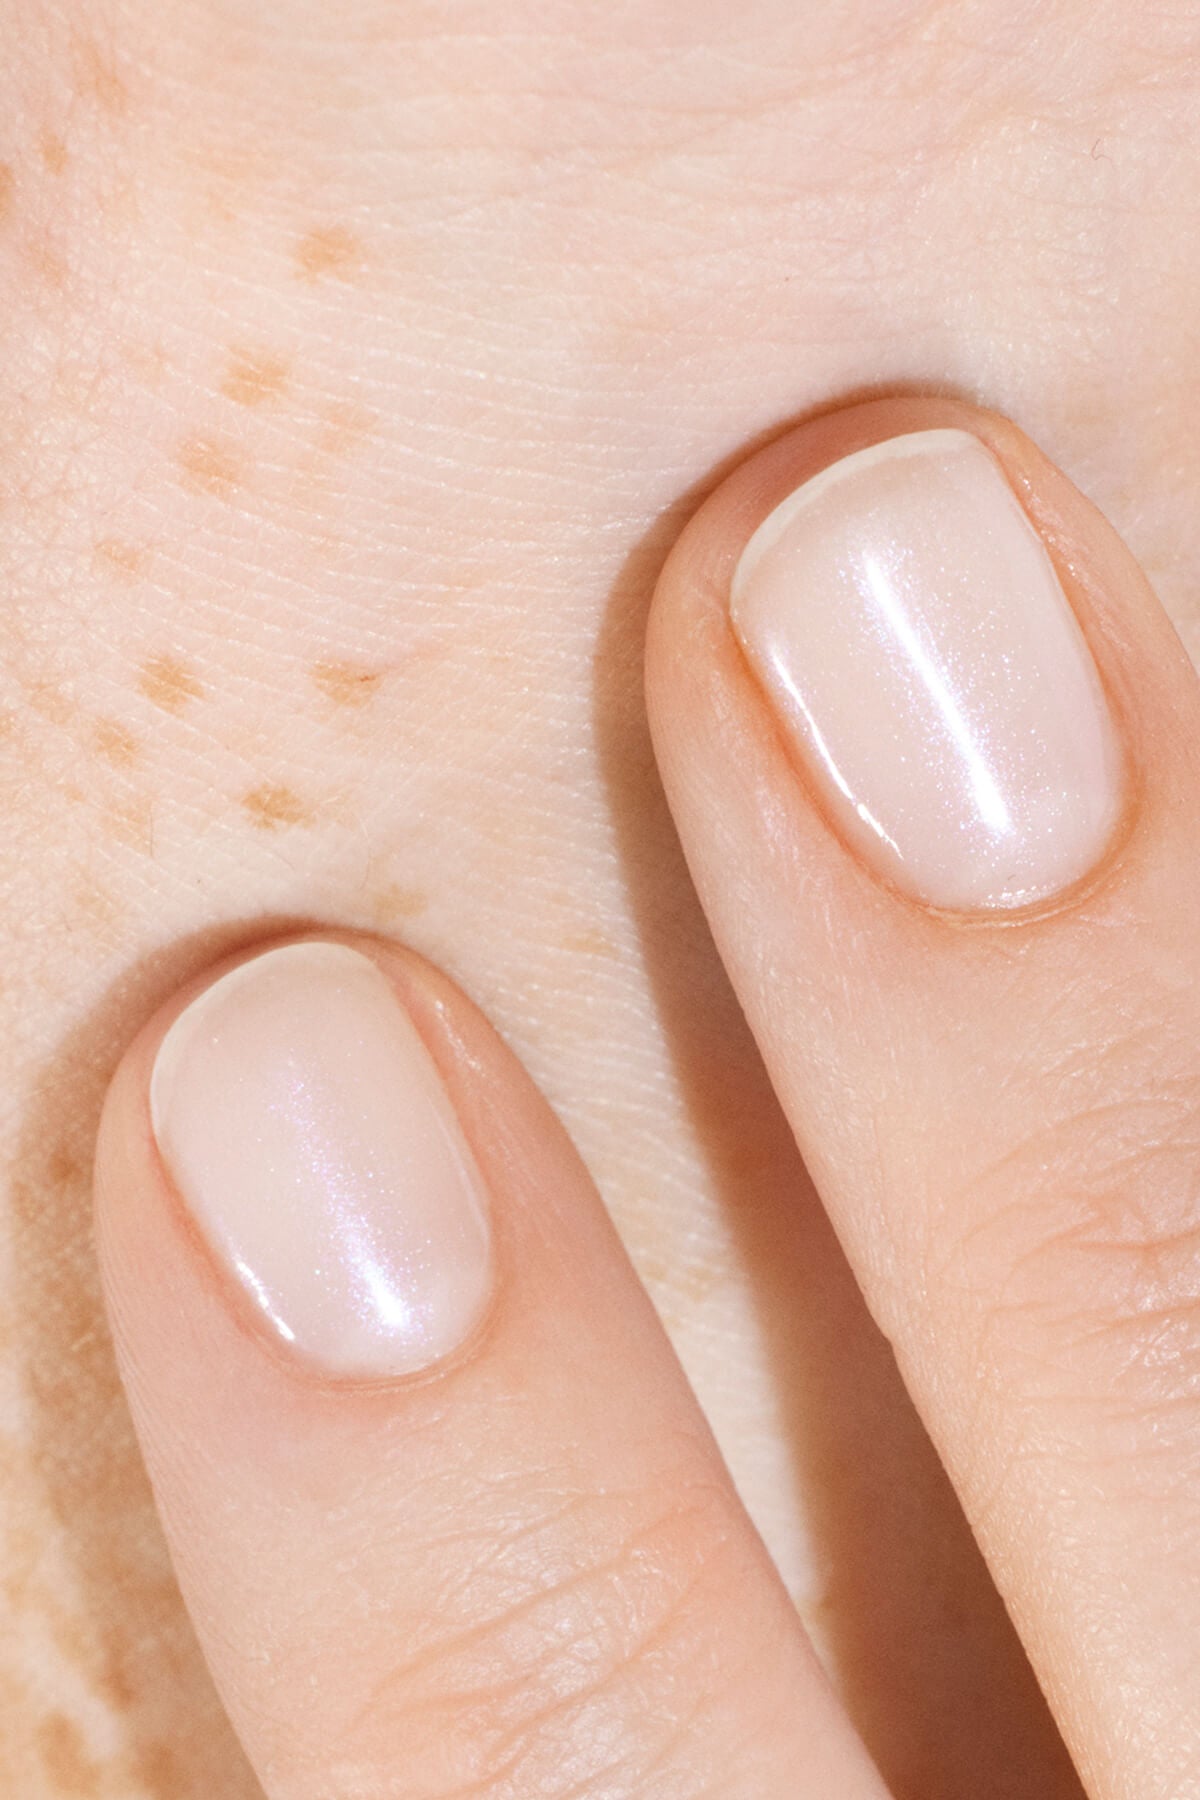
Bring a joyful spring vibe to your nails with this playful Pétula dots nail art. Start with a soft, rosy-white base using Gloss. Then, use a dotting tool to create polka dots with the pink shade Pétula. Repeat on all your nails or alternate between full Pétula nails and polka dot designs.
For Easter-inspired nails with simple yet playful designs, go for multicolored polka dots—a fun nod to decorated eggs hidden in the garden. To create this easy nail art, start with a light or nude base and layer on colorful dots. Pop, Bubble, Pistachio—have fun experimenting with vibrant shades. Using a dotting tool, you can create perfectly even dots in just a few strokes.

For an extra festive touch, turn your nails into a confetti explosion. The idea is similar to multicolored dots, but instead of round shapes, draw tiny colorful strokes over a white or nude base. For best results, use a liner brush for precise, delicate details.

French mani fever!
When it comes to French manicures, the possibilities are endless—Mini French, Reverse French, Double French, Gradient French… For a spring-ready twist, opt for a subtle and refined pastel color play.
If you’re looking for a fresh, cheerful vibe, a mini pastel French manicure is the perfect choice. This timeless yet delicate nail art takes the classic French mani and swaps out the white tip for a soft pastel hue. You can stick to one shade or mix multiple colors for a playful touch. The best part? This adorable design looks stunning on short nails.
For an extra fun twist, try a bold version with vibrant, punchy shades applied along the edges of your nails and even on the lunula. Don’t hesitate to mix and match colors on a single nail for a playful effect.
Flower power
Bring blooming bouquets right to your fingertips to welcome the season in style! One of the hottest nail art trends right now, floral designs are a must-try. Play with colors and shapes, have fun, and embrace floral nail art for a manicure bursting with springtime hues.
Like a pointillist painter, grab a dotting tool and create endless tiny petals for a trendy floral nail art. Layer delicate dots of Porcelaine, Candy, and Brazil along the edges and across the nails to create the illusion of a tiny floral field.
Meet the cutest daisies with their crisp white petals in Snow and a sparkling Rose Gold center. This luminous duo pairs beautifully with the soft sky blue shade of Lilas for a delicate, joyful spring vibe. A floral nail art look that’s as stylish as it is easy to wear!
Graphic Pastels
Spring is the perfect season for pastel colors to shine. Soft yet radiant, they gain extra charm and elegance when paired with graphic designs.
Bringing sunshine into your life has never been easier with this Spring Waves manicure. Start with a bright yellow base using Mimosa and add delicate pink Candy waves with a fine brush—the perfect way to achieve effortlessly chic nails.
For a subtle aquatic vibe, apply a Lilas blue base and use a liner brush to draw thin vertical white lines with Snow.
If you prefer abstract designs, go for a Bubble nail art. On a nude base, apply pastel-colored blobs to create the effect of delicate and dreamy soap bubbles.

Ready for the Easter Egg Hunt?
Celebrate Easter with Petite Manucurist
Kids deserve fun nails for the Easter egg hunt too! Luckily, there’s Petite Manucurist, a collection of kid-friendly polishes made with water-based and biosourced ingredients. These clean & safe polishes let little ones have fun with color, just like grown-ups! Designed with small hands in mind, the pocket-sized bottles and brushes are perfect for kids aged 3 and up. Best of all, the polish washes off easily with soap and water. Glittery or iridescent, pastel or bold, the Petite Manucurist palette offers over 20 shades, sparking endless ideas for colorful nails and adorable designs.

Easy Nail Art Ideas for Kids
With Petite Manucurist’s colorful polishes and a fine brush, you can create simple yet fun designs that little ones will love.
-
Adorable chick nail art: Apply a layer of glittery yellow Pia l'Abeille. Use a fine brush to add two tiny eyes with silver Barbouille and a small orange dot for the beak with Barbotine.
-
A cute bunny nail art with long ears: Start with a base of violet Lily la Licorne. Then, using sky blue Pomme la Poissonne, draw a semi-circle topped with two long ears. Add a soft pink line inside each ear using Barbapapa for an adorable finishing touch.
-
An Easter egg nail art: Get the whole Barbapapa polish collection involved and use a dotting tool to create a cascade of colorful polka dots—just like a decorated Easter egg!
Tips for a Perfect Nail Art Look
A flawless nail art design starts with proper preparation and the right techniques. Here are some key nail art tips:
Nail Preparation
-
File your nails with a natural nail file to achieve your desired shape.
-
Take care of your cuticles by softening them with a few drops of Effective Emollient. Then, gently push them back using a cuticle pusher or a wooden baton.
-
Lightly buff the nail surface with a prepping buffer for better polish adhesion. Remove any dust or oils using a degreaser or a Gel Polish Remover.

Must-Have Nail Art Tools
Certain tools are essential for bringing your best nail art ideas to life:
-
The dotting tool, with its dual-ended tips, is perfect for creating polka dots, hearts, or floral patterns.
-
The liner brush allows for precise detailing, whether for thin lines or intricate patterns.
-
The nail art brush is ideal for creating detailed and artistic designs.
Used together or separately, these tools help you achieve professional-looking results effortlessly.

The Right Techniques
A methodical application ensures long-lasting nail art and flawless nails. To achieve this, follow these three essential steps:
#1 Apply a base coat to protect the nail.
#2 Add a layer of Green™ or Green Flash™ polish, and once dry, create your nail art.
#3 Seal everything with a top coat for a long-lasting manicure. If you're using Green™ polish, quick-dry drops can help speed up drying.
⚠️ The most important step is to let each layer dry completely to avoid smudging. If using Green Flash™ polish, be sure to cure each step under an LED lamp.
Hydration & Post-Manicure Care
Taking care of your nails before and after your manicure is essential for healthy nails, whether polished or bare.
-
Cuticle Oil is perfect for soothing the nail contour and nourishing dry cuticles.
-
Enriched with castor oil, vitamin E, and pistachio extracts, our Nourishing Nail Pen deeply nourishes and strengthens nails and cuticles. Its handy format makes it easy to carry in your bag for on-the-go nail care!

Now you're all set for stunning nails this spring! We can't wait to see your next manicure to celebrate the arrival of sunny days 😎


