A step-by-step guide to a salon-worthy manicure at home.
If applying gel nail polish seems like a long and tedious process, and you think the only way to get a beautiful, long-lasting manicure is to go to a salon, there's another option!
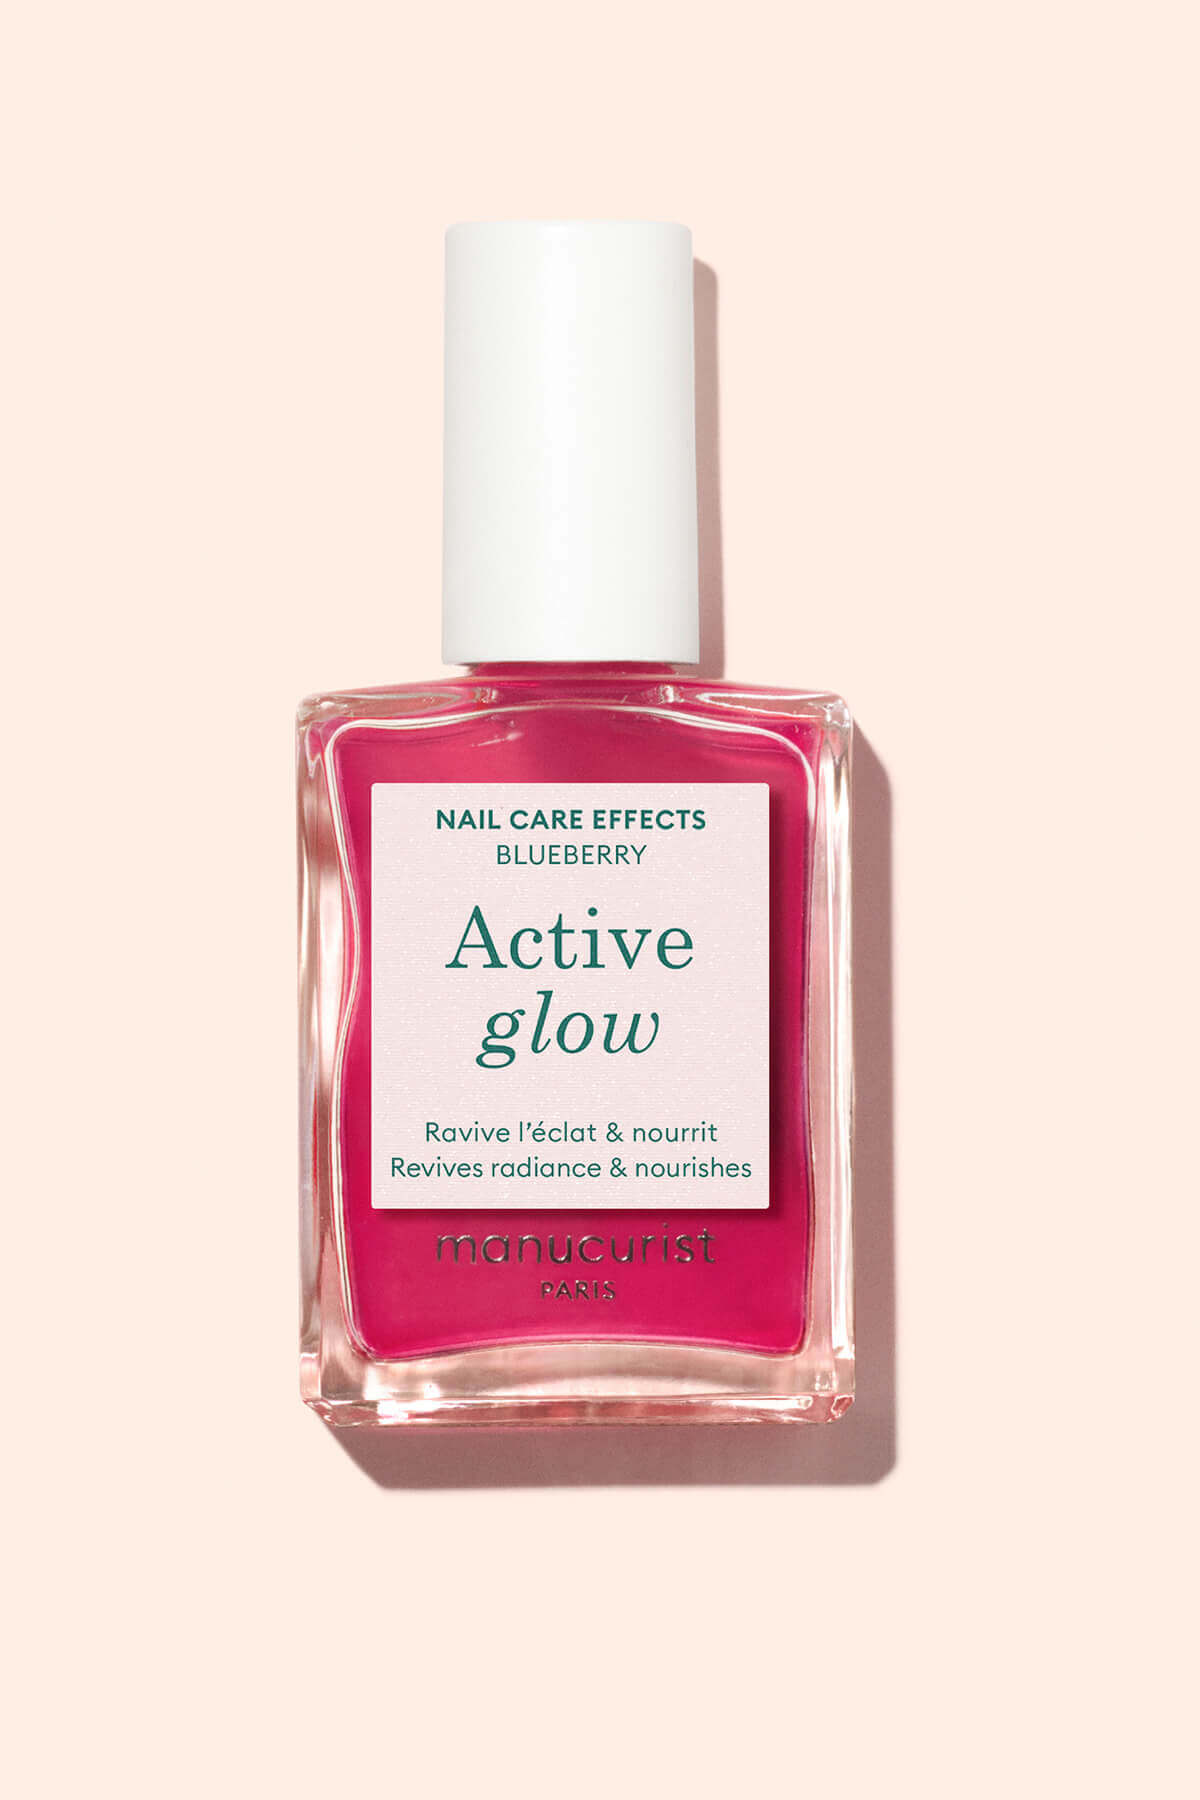
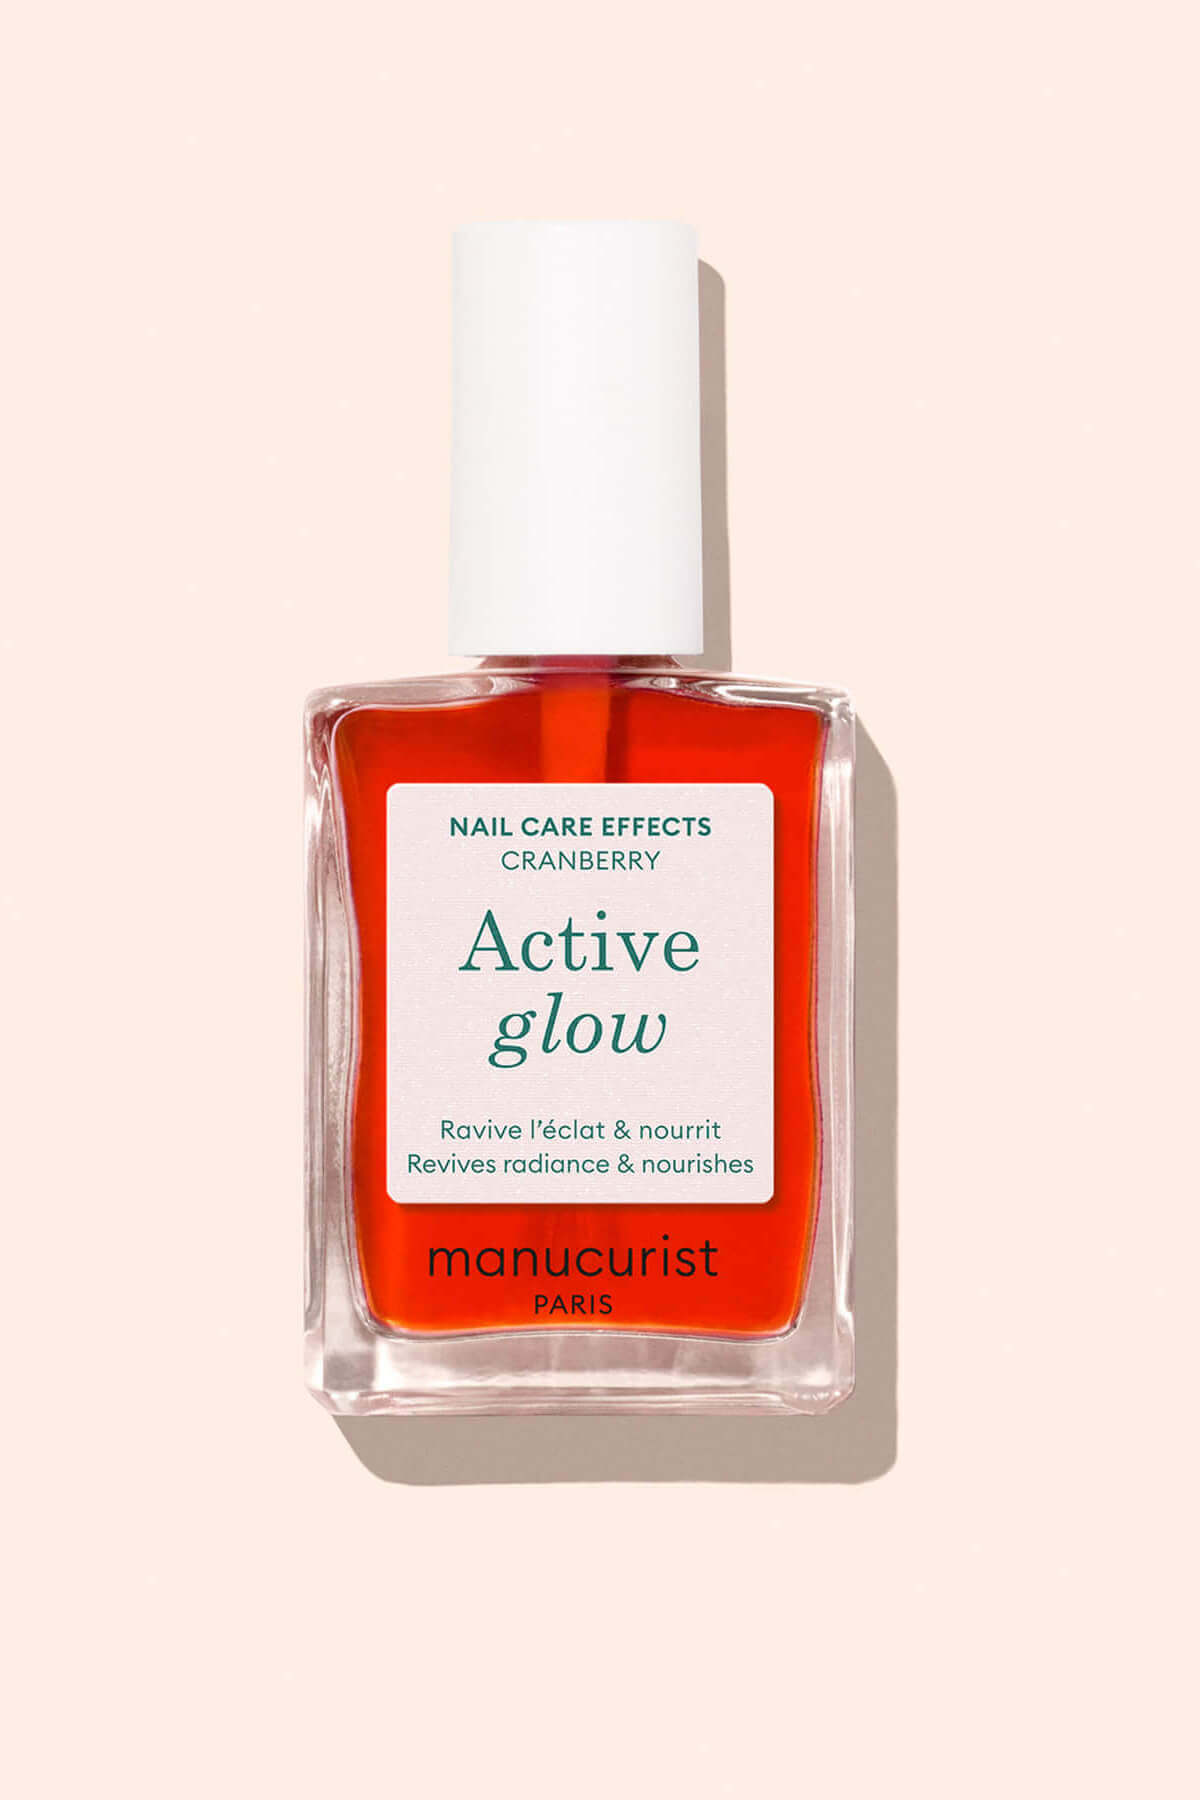
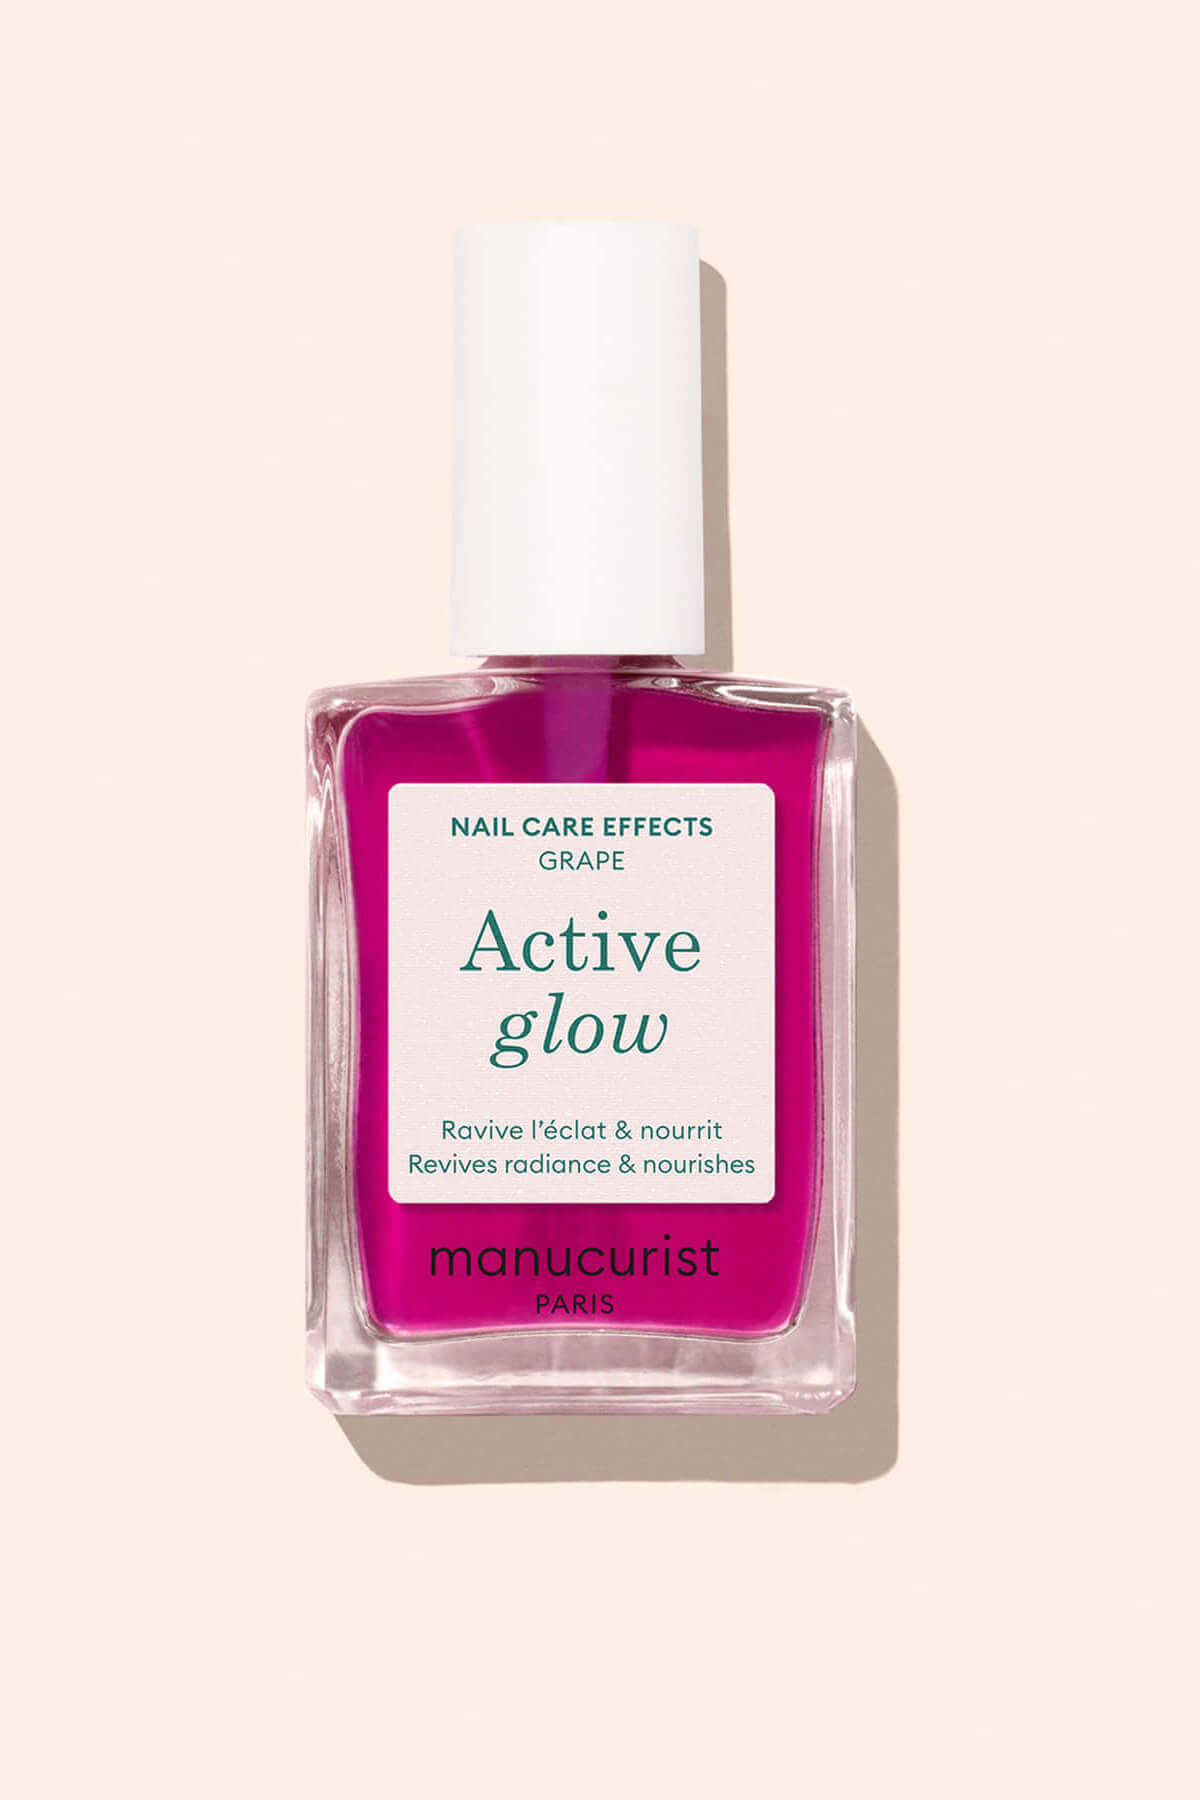
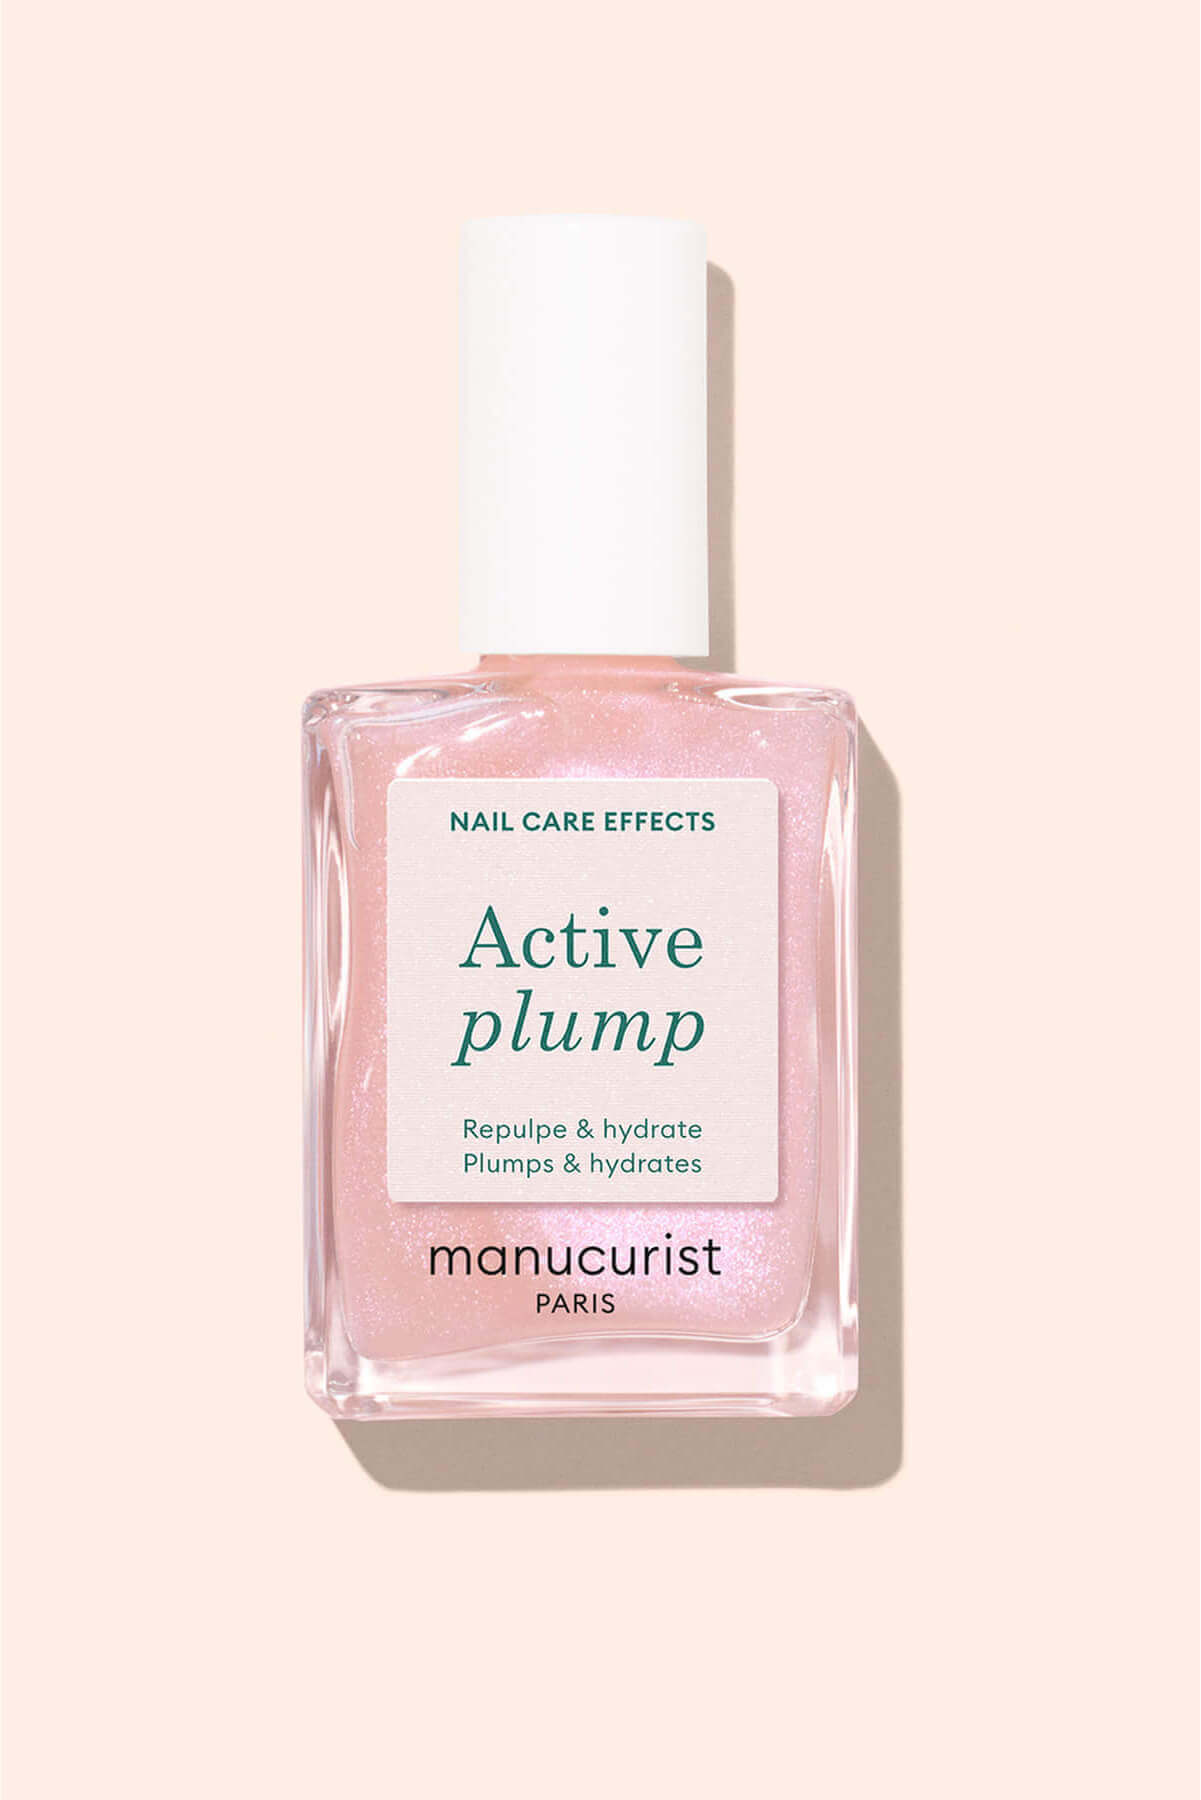
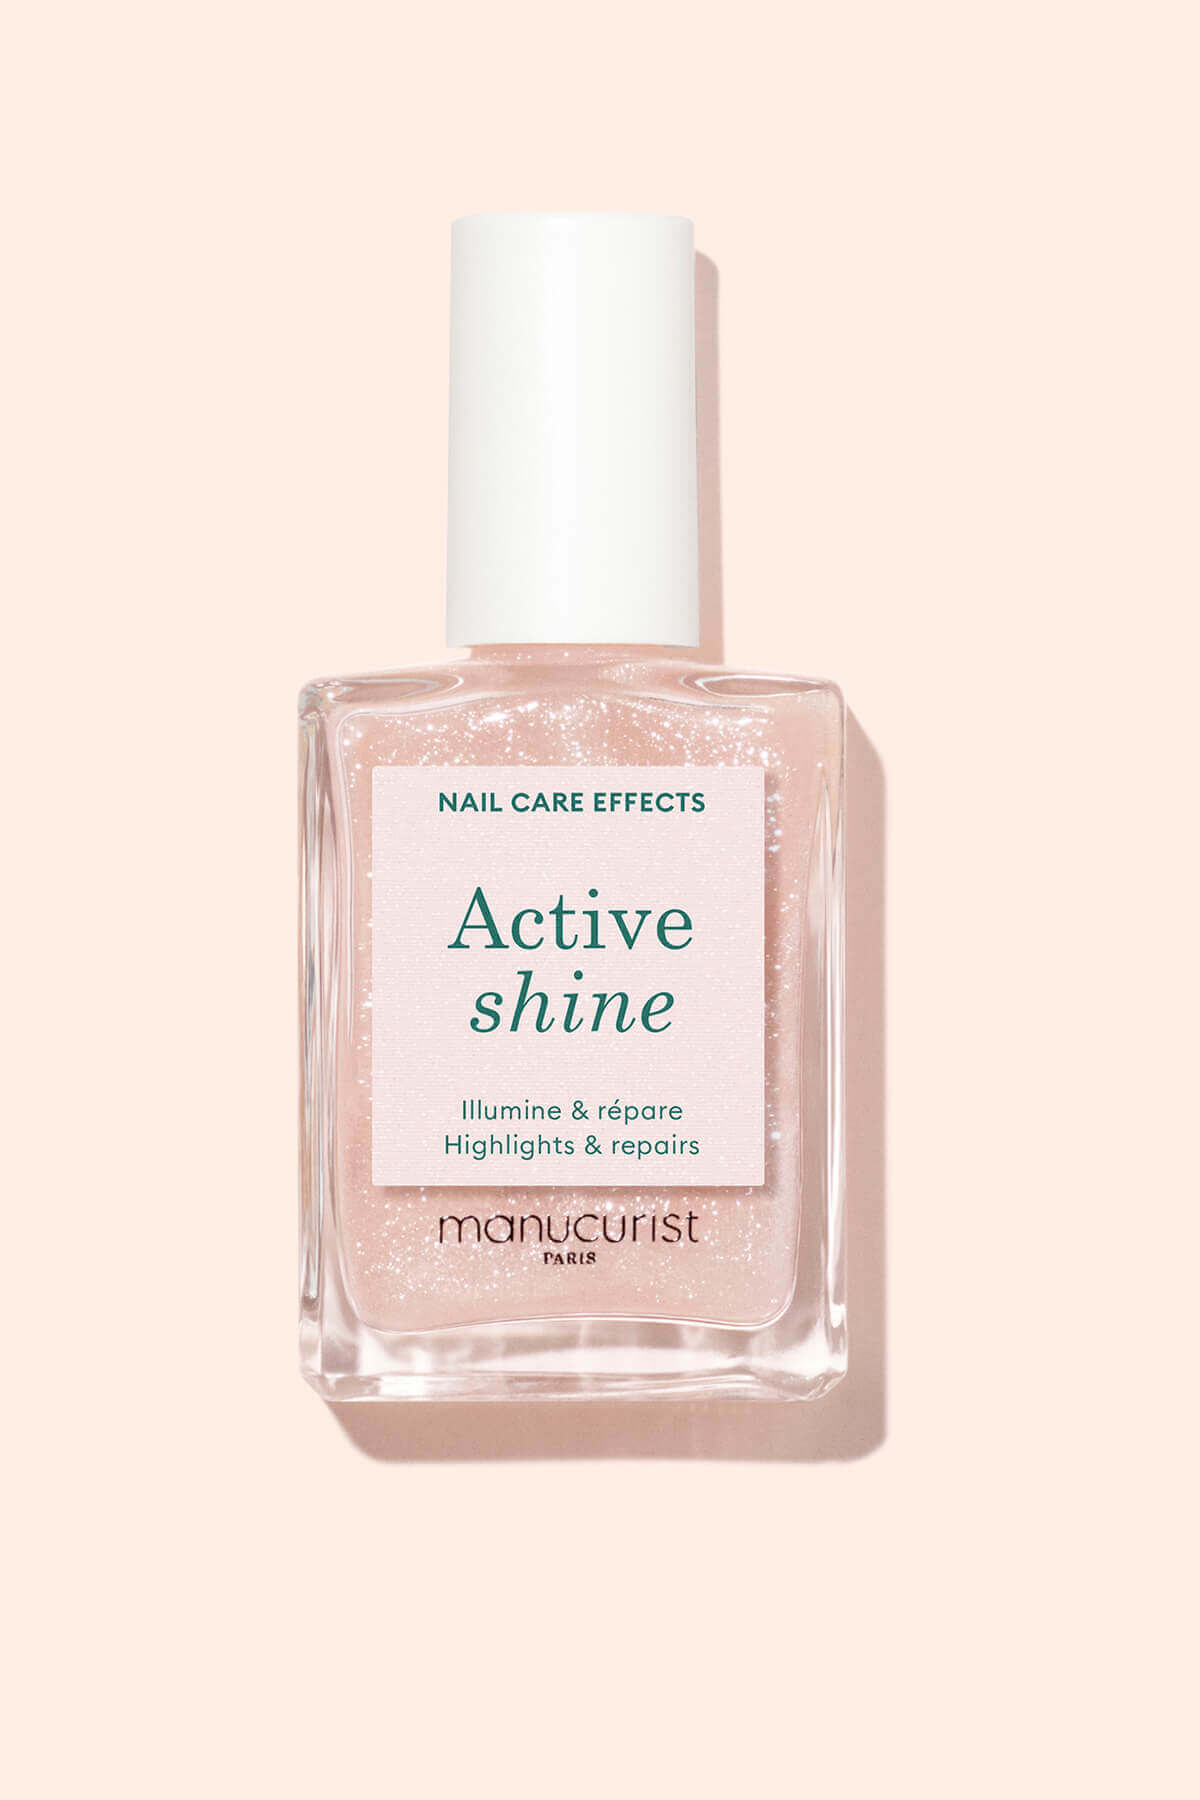
At Manucurist we make polish differently, and we can offer you a new clean, green solution that makes DIY manicures easy: our Green Flash gel nail polish.
To help you use this innovation, which has already changed the lives of thousands of women, we have created a super easy 3-step routine. All the products you need are available in our Green Flash gel nail polish kits—or nail care kit—an essential part of your journey to pro status!

We believe that applying nail polish—whether it's regular or gel polish—should be a fun experience that gives you a pro result. The most difficult part is taking the first step... and choosing your color!
Getting ready
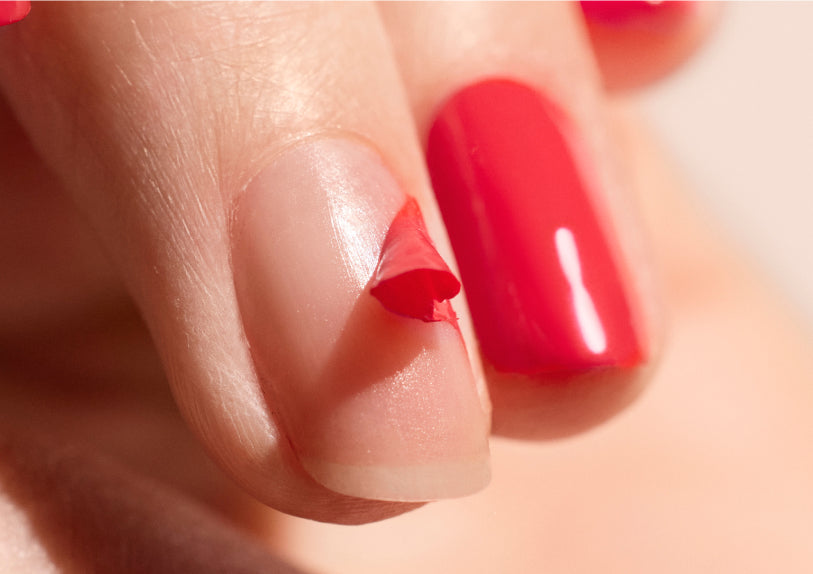
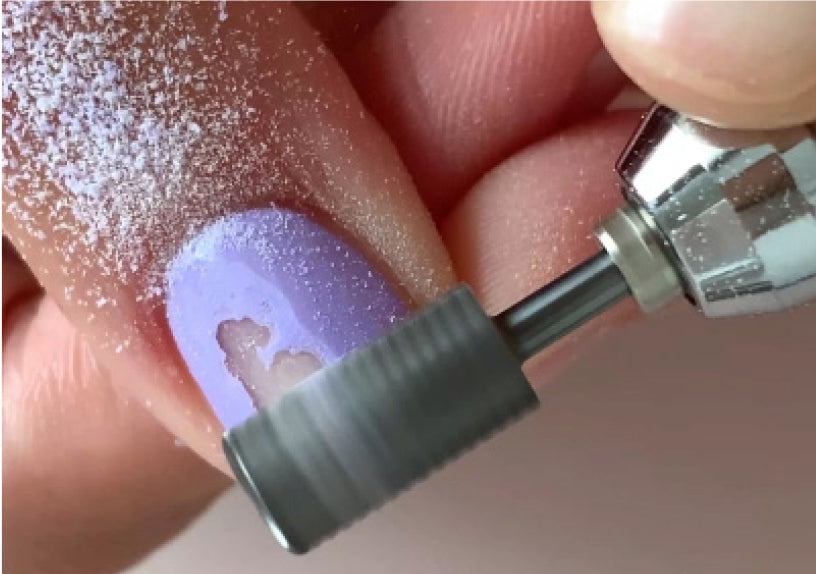
Before you start your Green Flash manicure, we strongly recommend you prep your nails. If you haven't yet read the article about this, you can find it here.
To apply your Green Flash like a pro, you'll need:
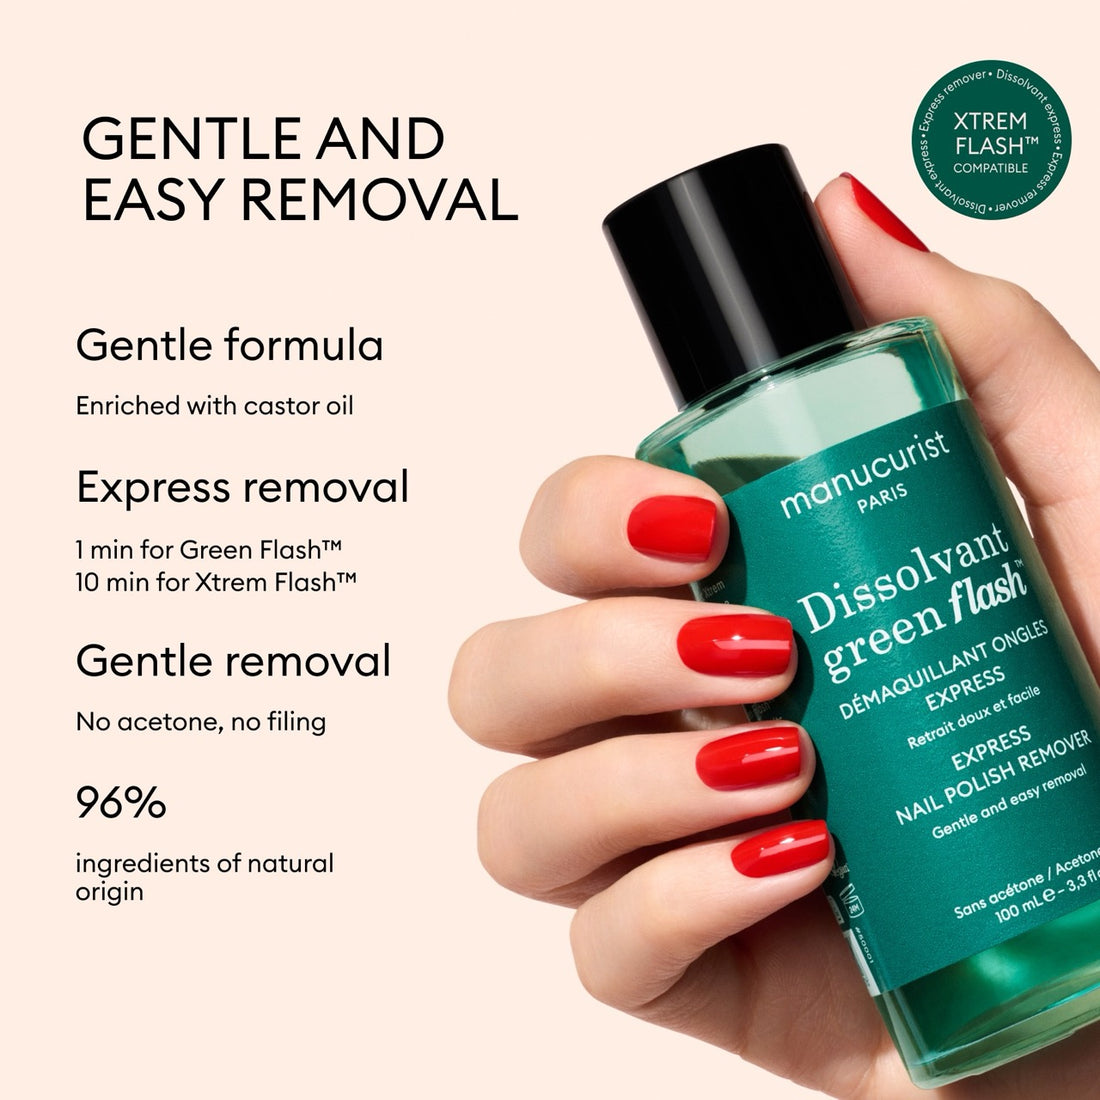
- Green Flash Nail Polish Remover
- Green Flash Base Coat
- A Green Flash color (or more than one!)
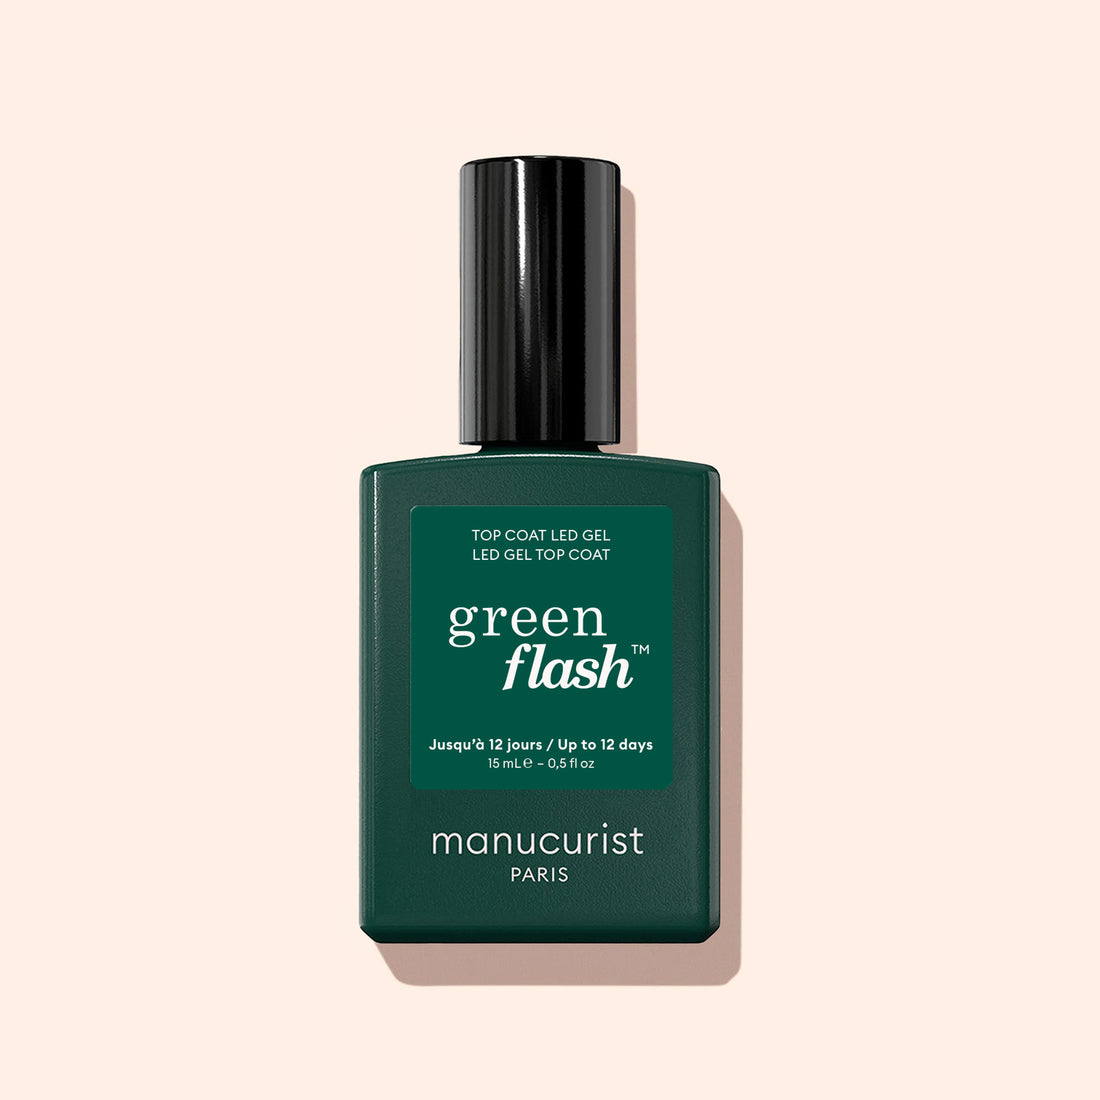
- Green Flash Top Coat
- A Green Flash lamp (pro or travel)
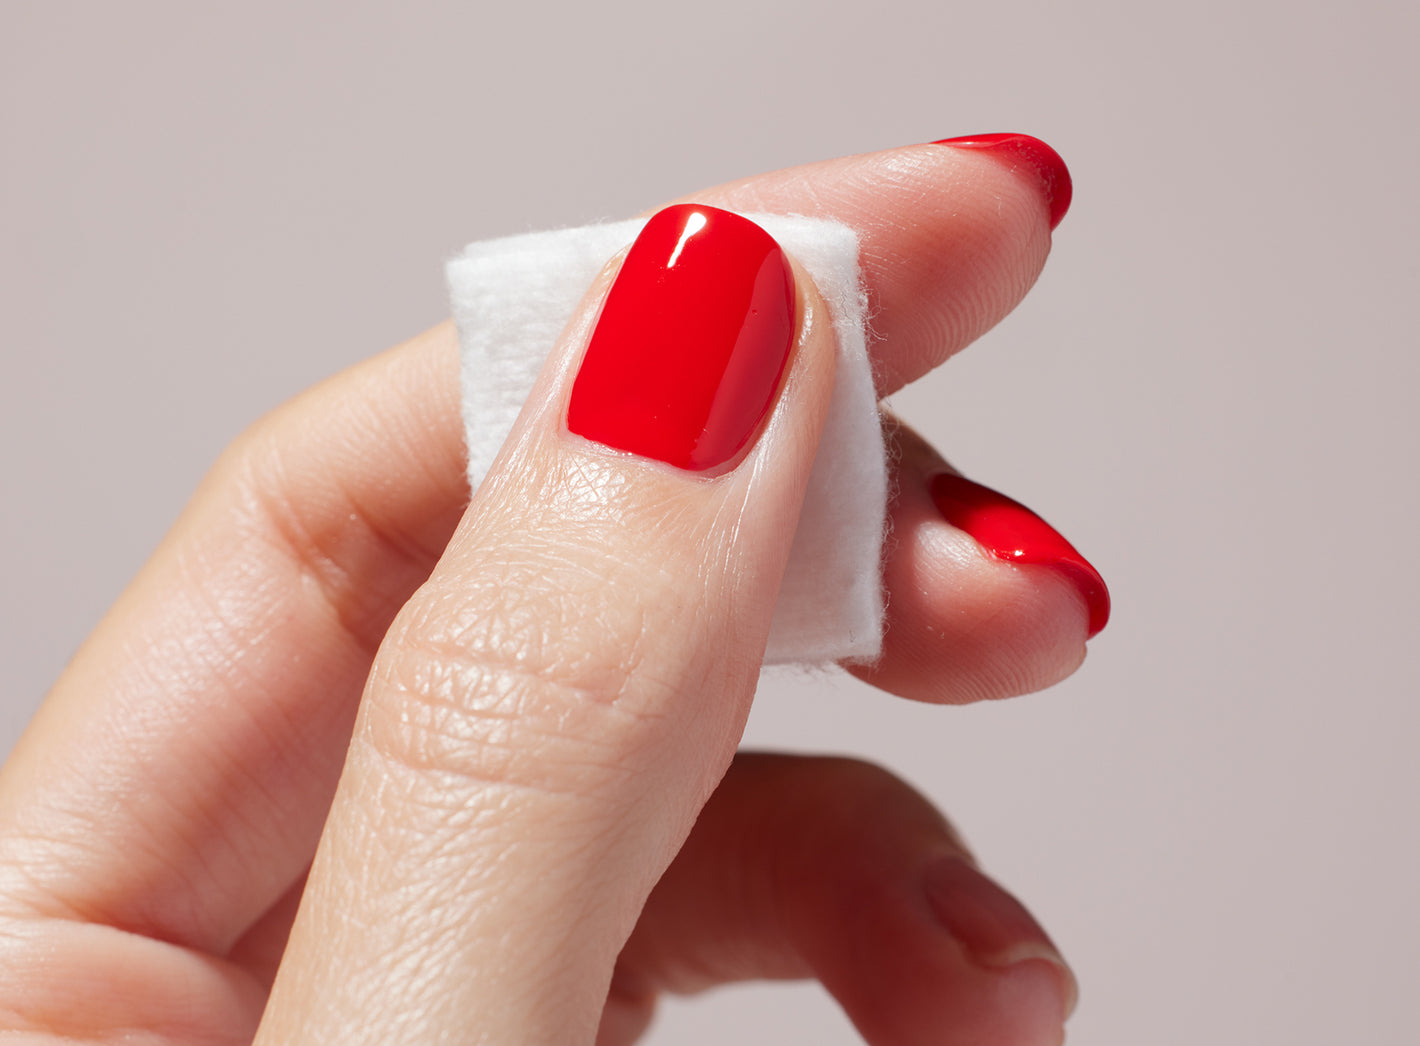
Once you've prepped your nails, remove any oil using our acetone-free gel nail polish remover. Removing the oil from your nails helps the base coat (and therefore the color) to adhere better.
Your 3-step at-home manicure
Step 1: Green Flash Base Coat
When you're applying gel nail polish, the watchword is p-r-o-t-e-c-t-i-o-n. In the same way you apply a moisturising cream under your foundation, you must protect your nails before applying your polish.
To do this, apply Green Flash Base Coat , making sure you cap the edge properly, and cure under the Green Flash LED lamp for the amount of time shown in the instructions. The Green Flash Base Coat will protect and strengthen your nails. Its natural resin formula adheres brilliantly and guarantees long-lasting color.
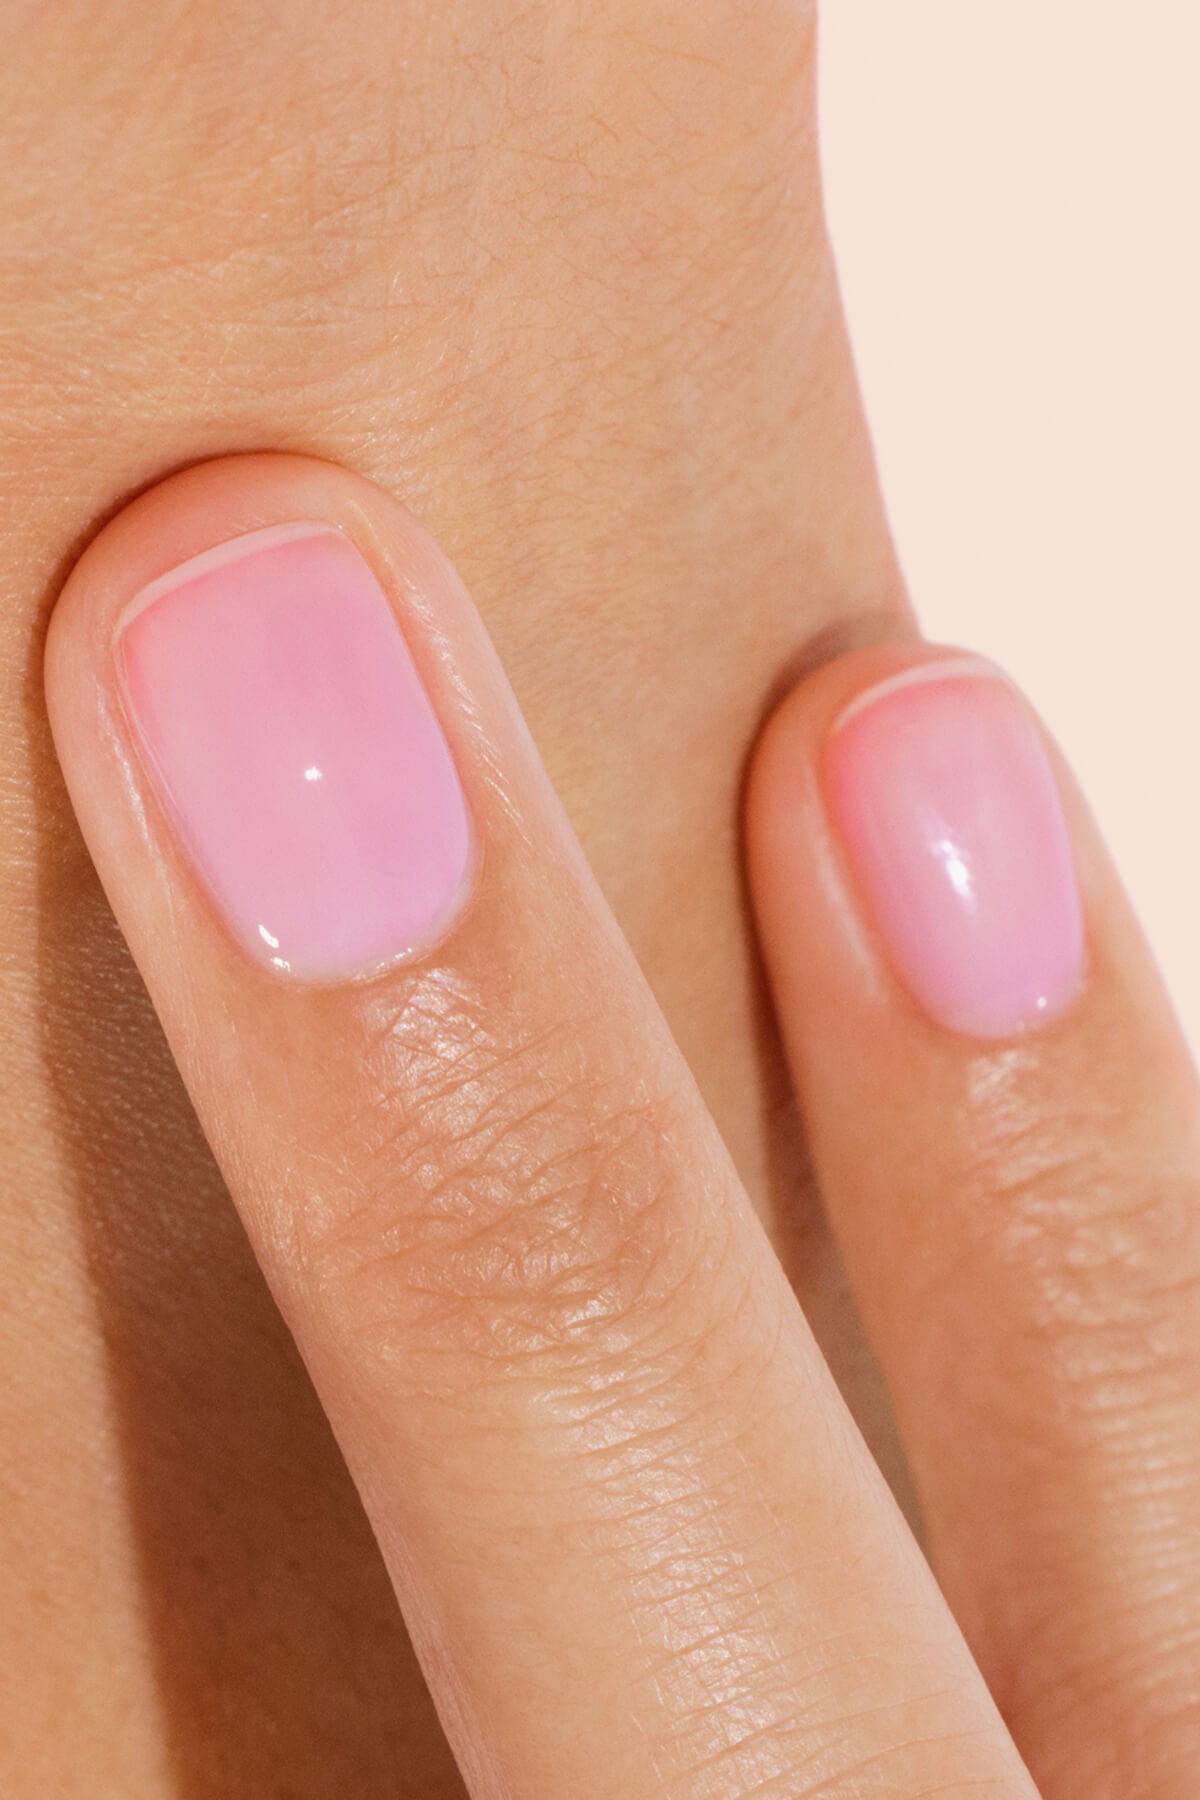
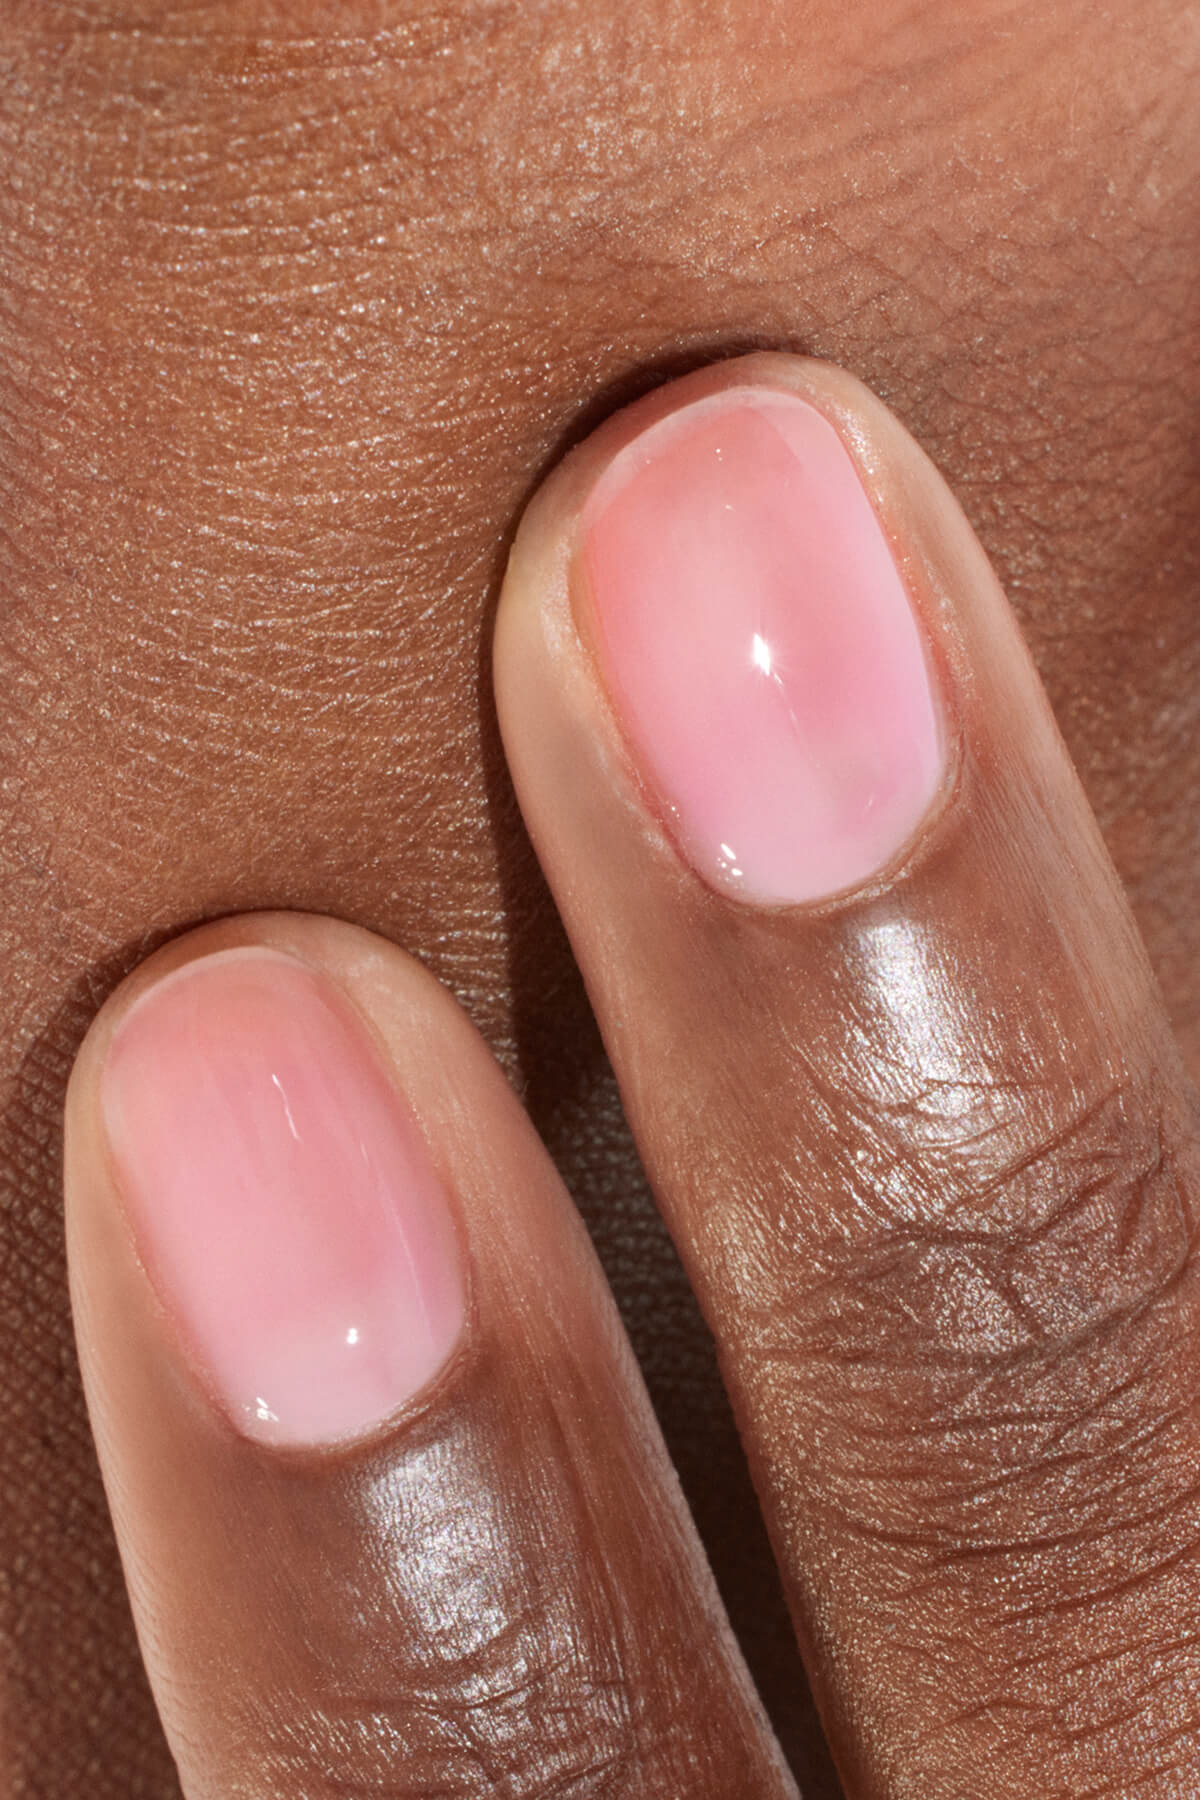
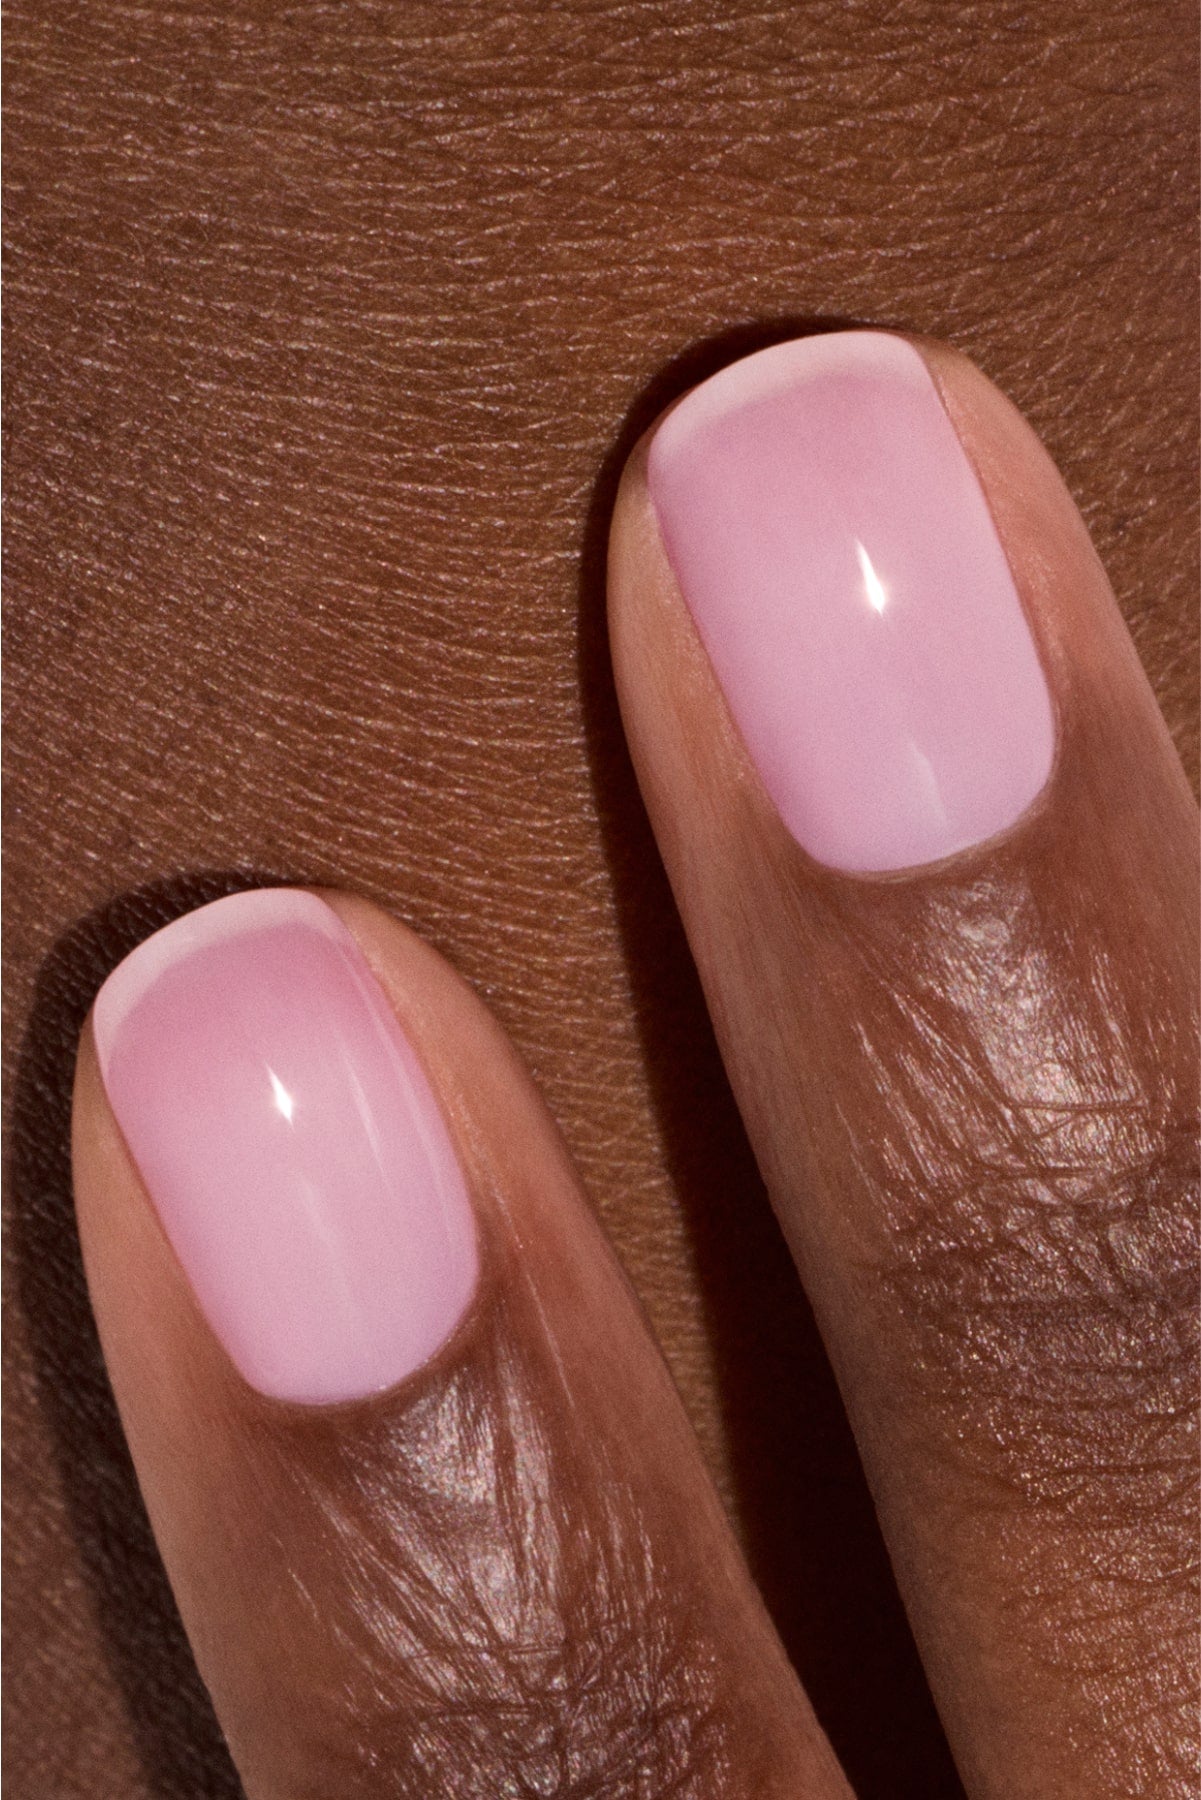
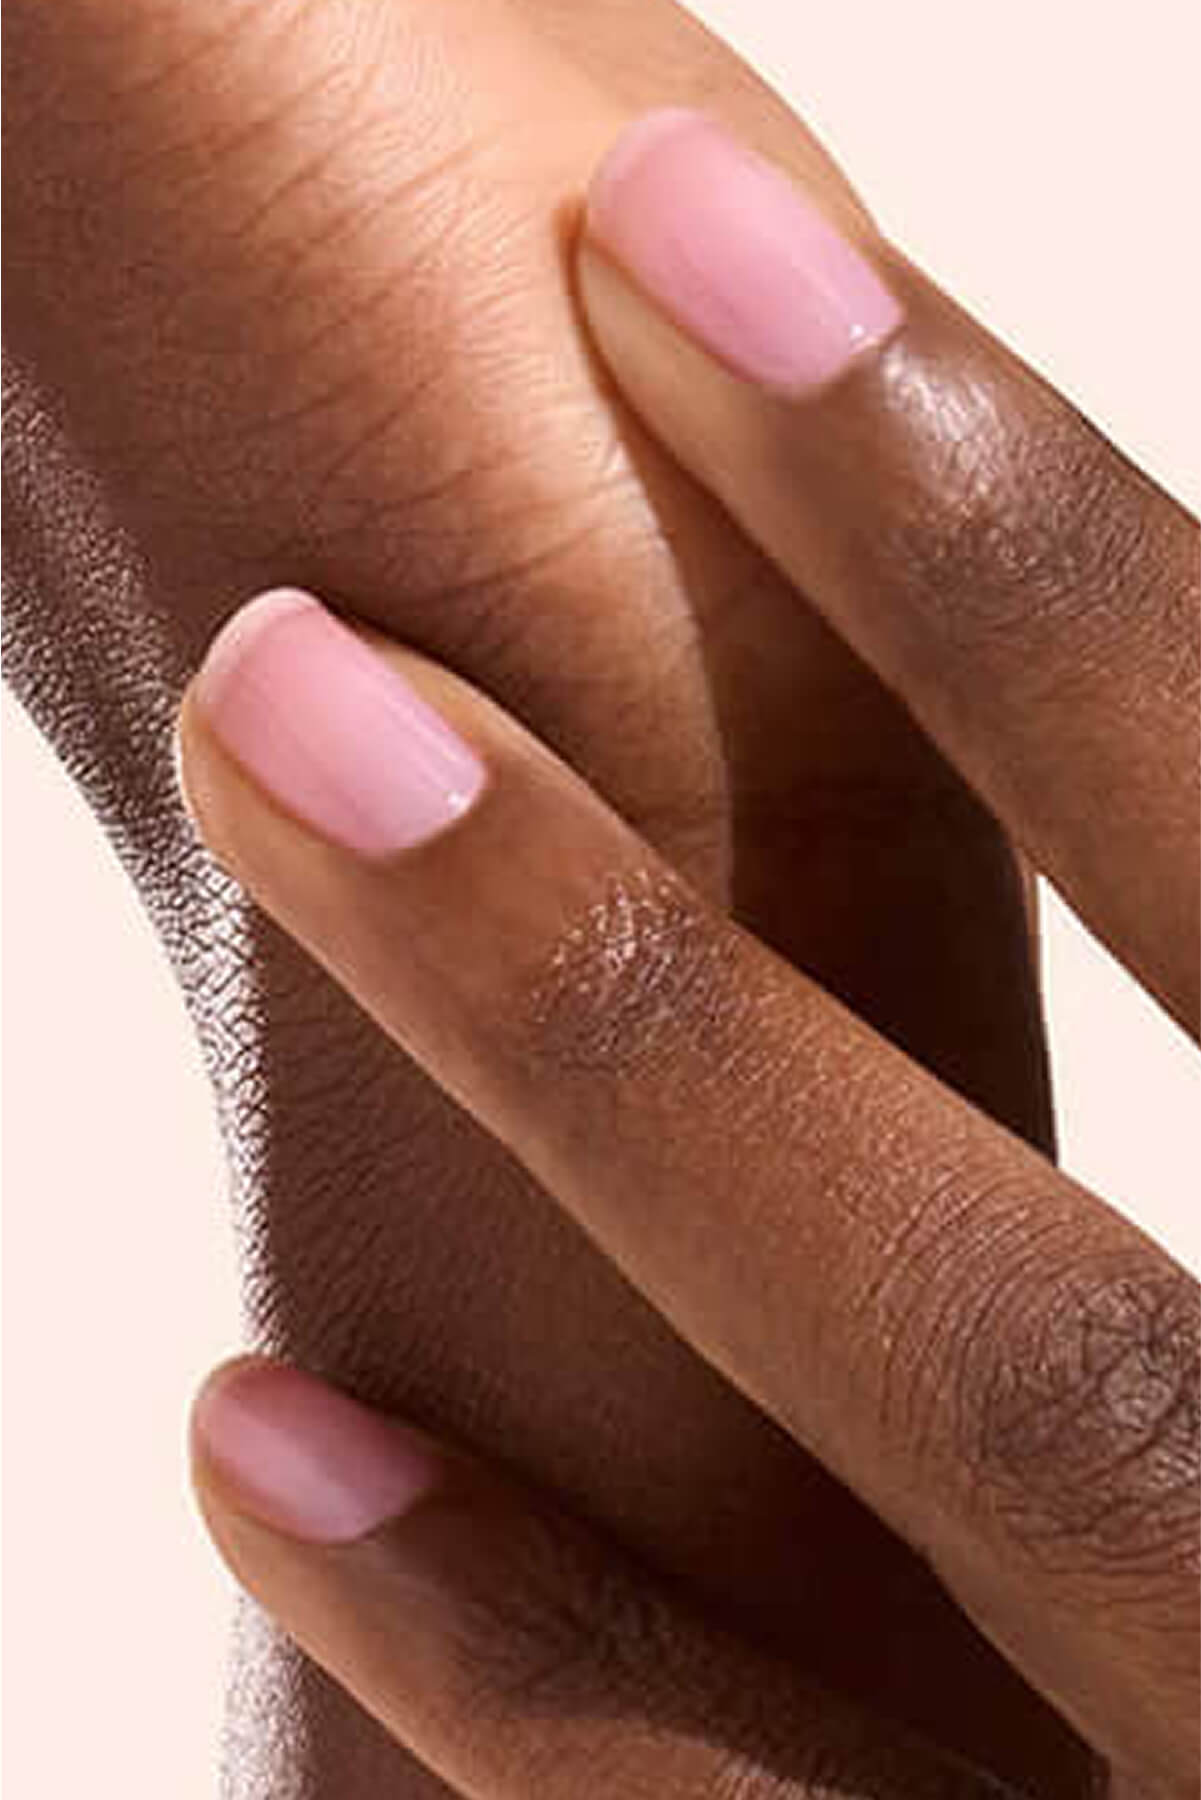
Step 2: Color
Apply your favorite Green Flash color, making sure you cap the edge, and cure under the lamp for the amount of time shown in the instructions. Repeat this step so you end up with 2 thin coats of color.
Tip from the teaM: the first coat doesn't have to be "perfect". Its job is to help the second coat adhere, and that one will be visible! The thinner the coats, the better the result. To do this, wipe one side of the brush and just leave a small drop of product on the tip of the other side. Then apply each coat in 2 or 3 brush strokes.


If any polish gets onto your skin, remove it before curing under the lamp. To do this, soak a brush or cotton bud in Green Flash Nail Polish Remover and rub gently.
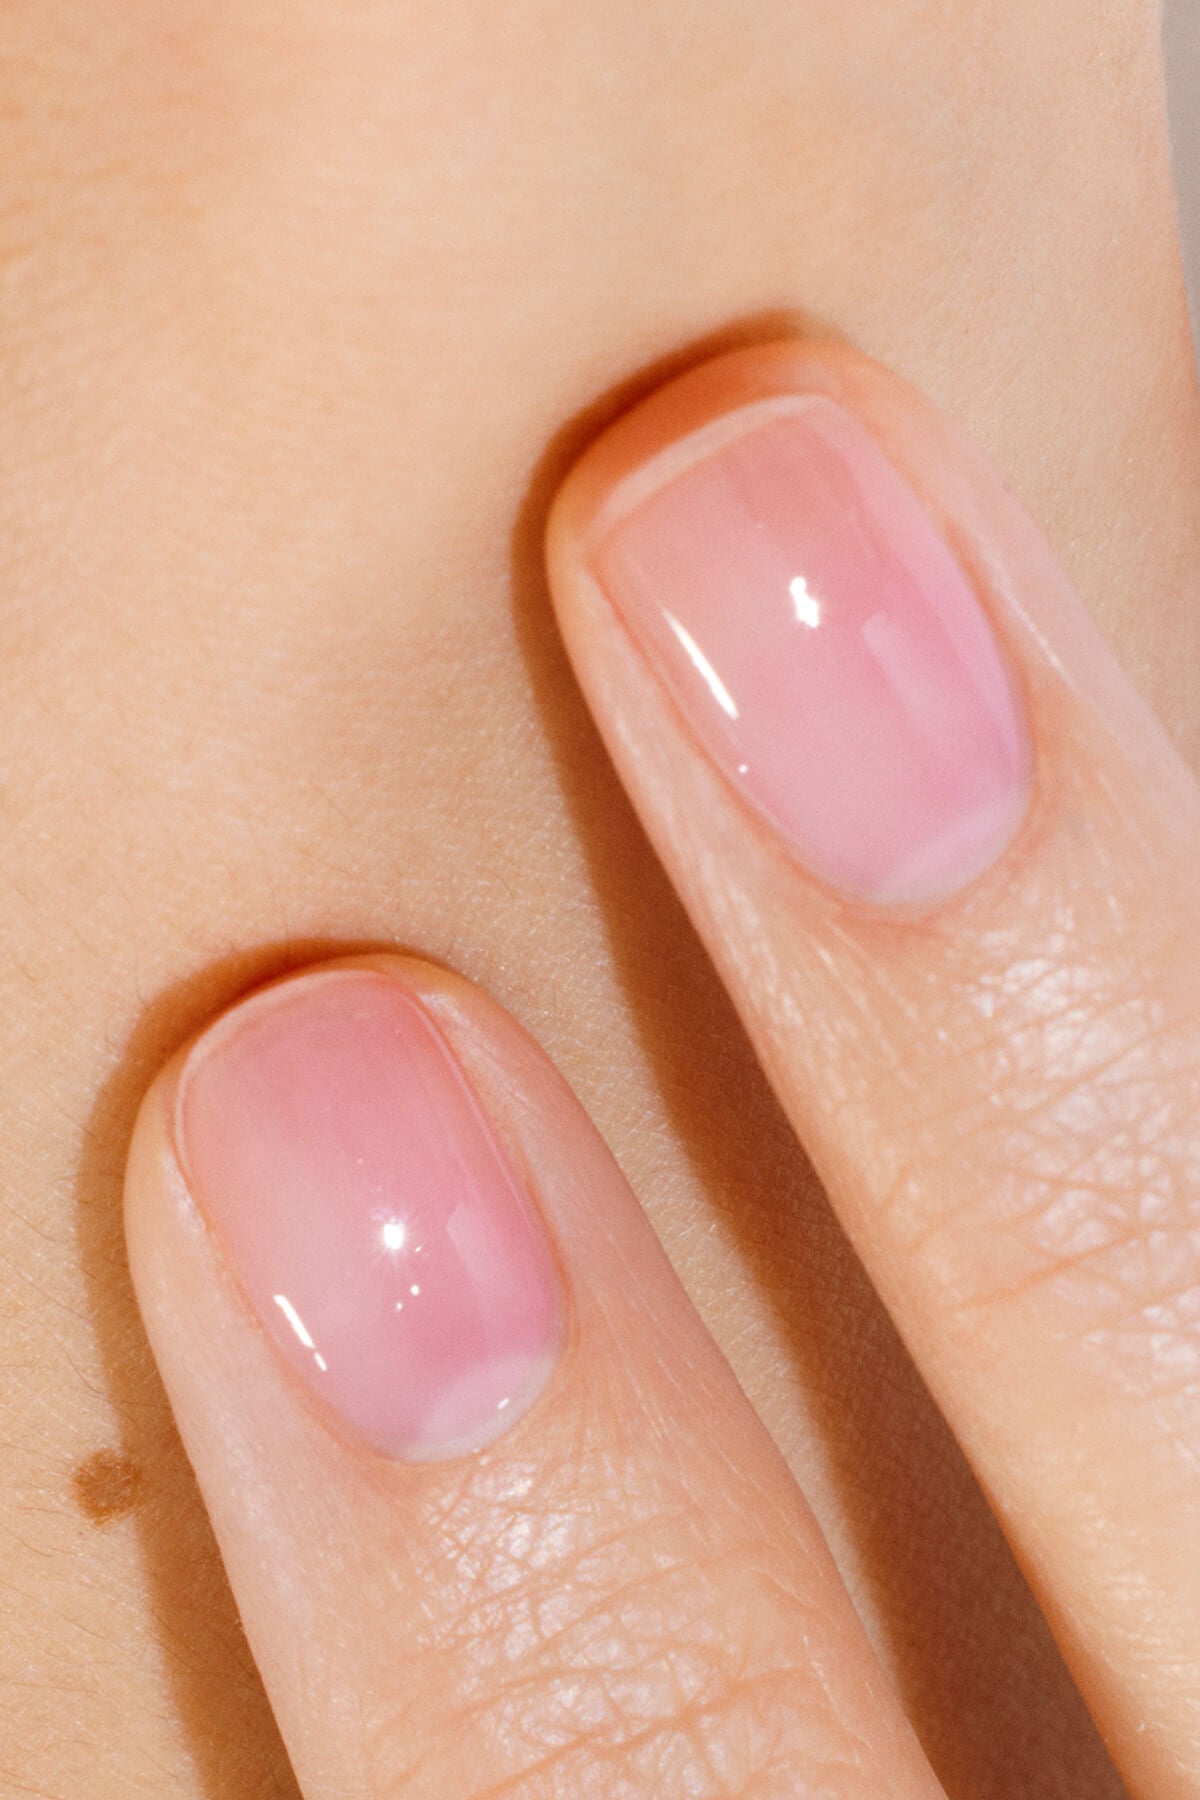
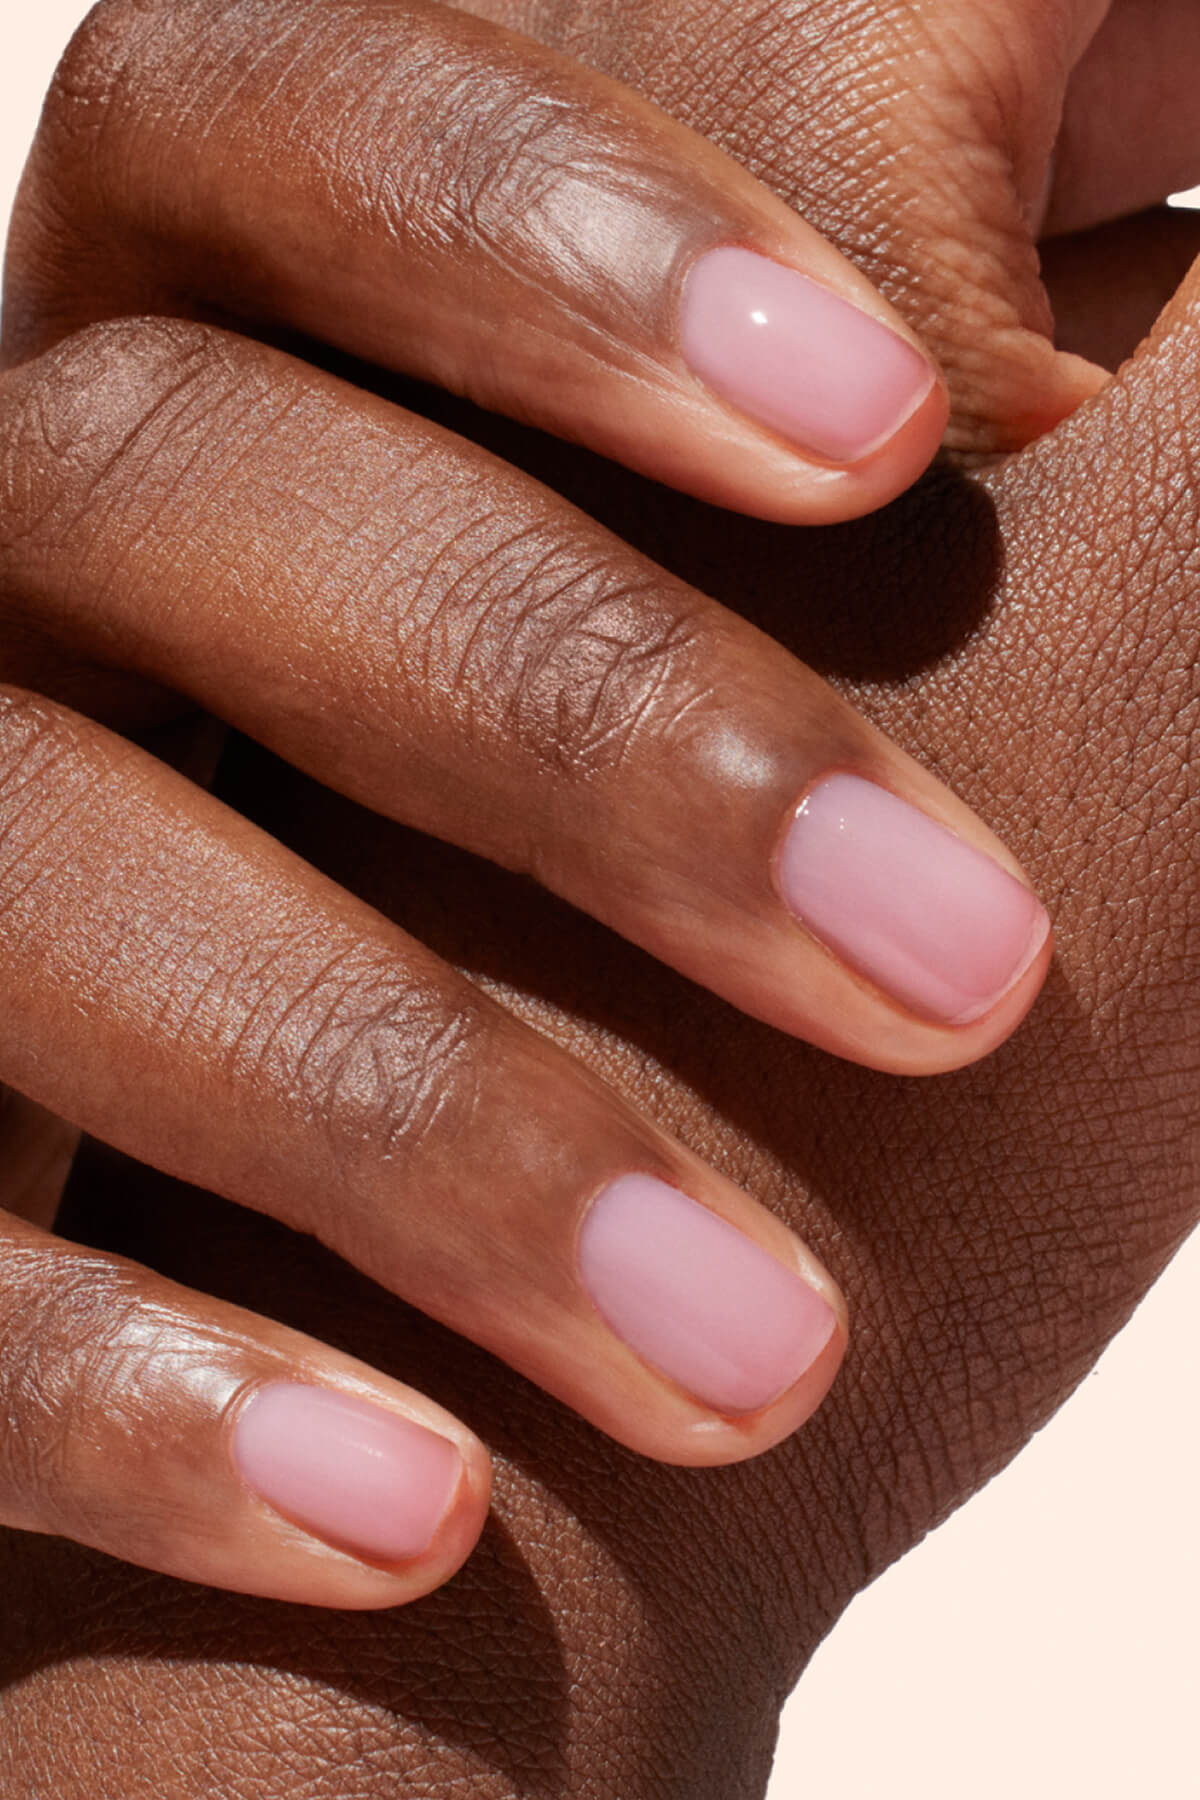
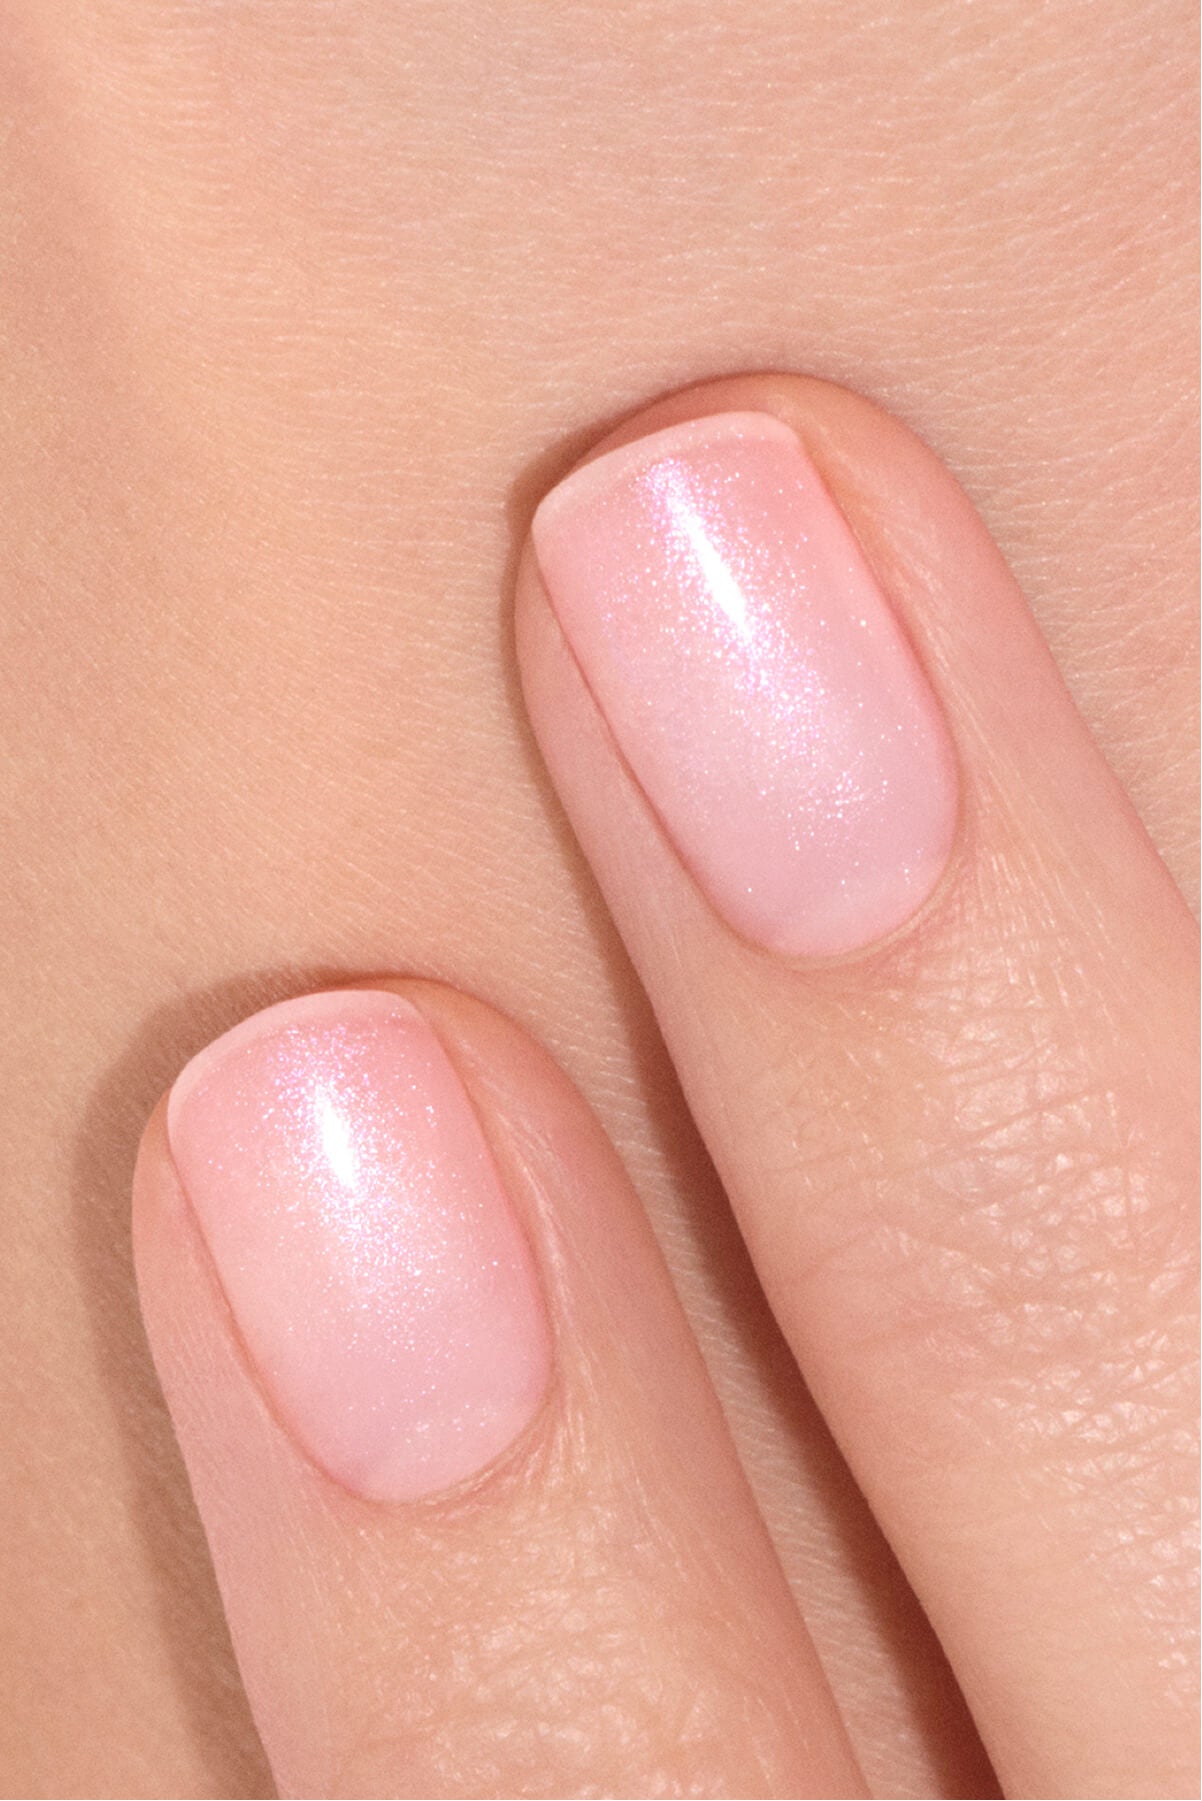
Step 3: Green Flash Top Coat
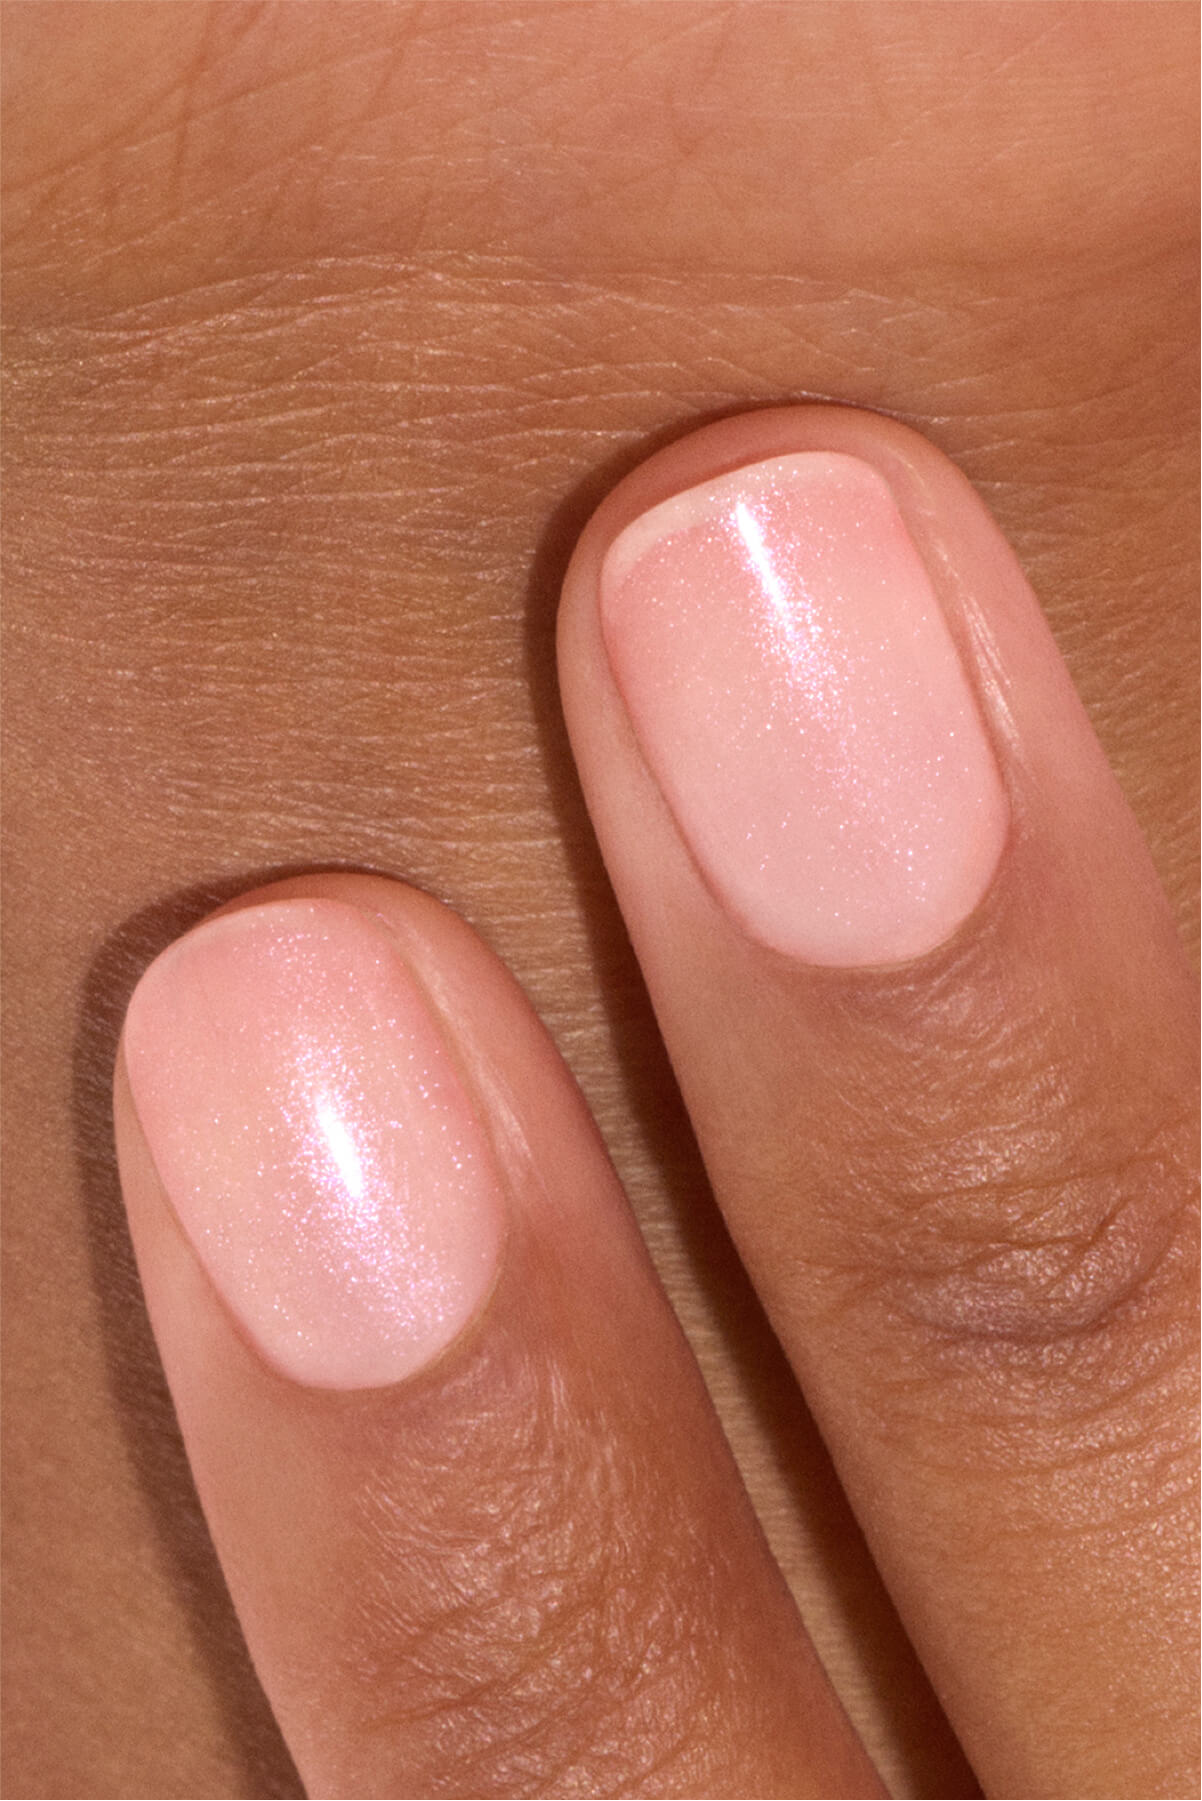
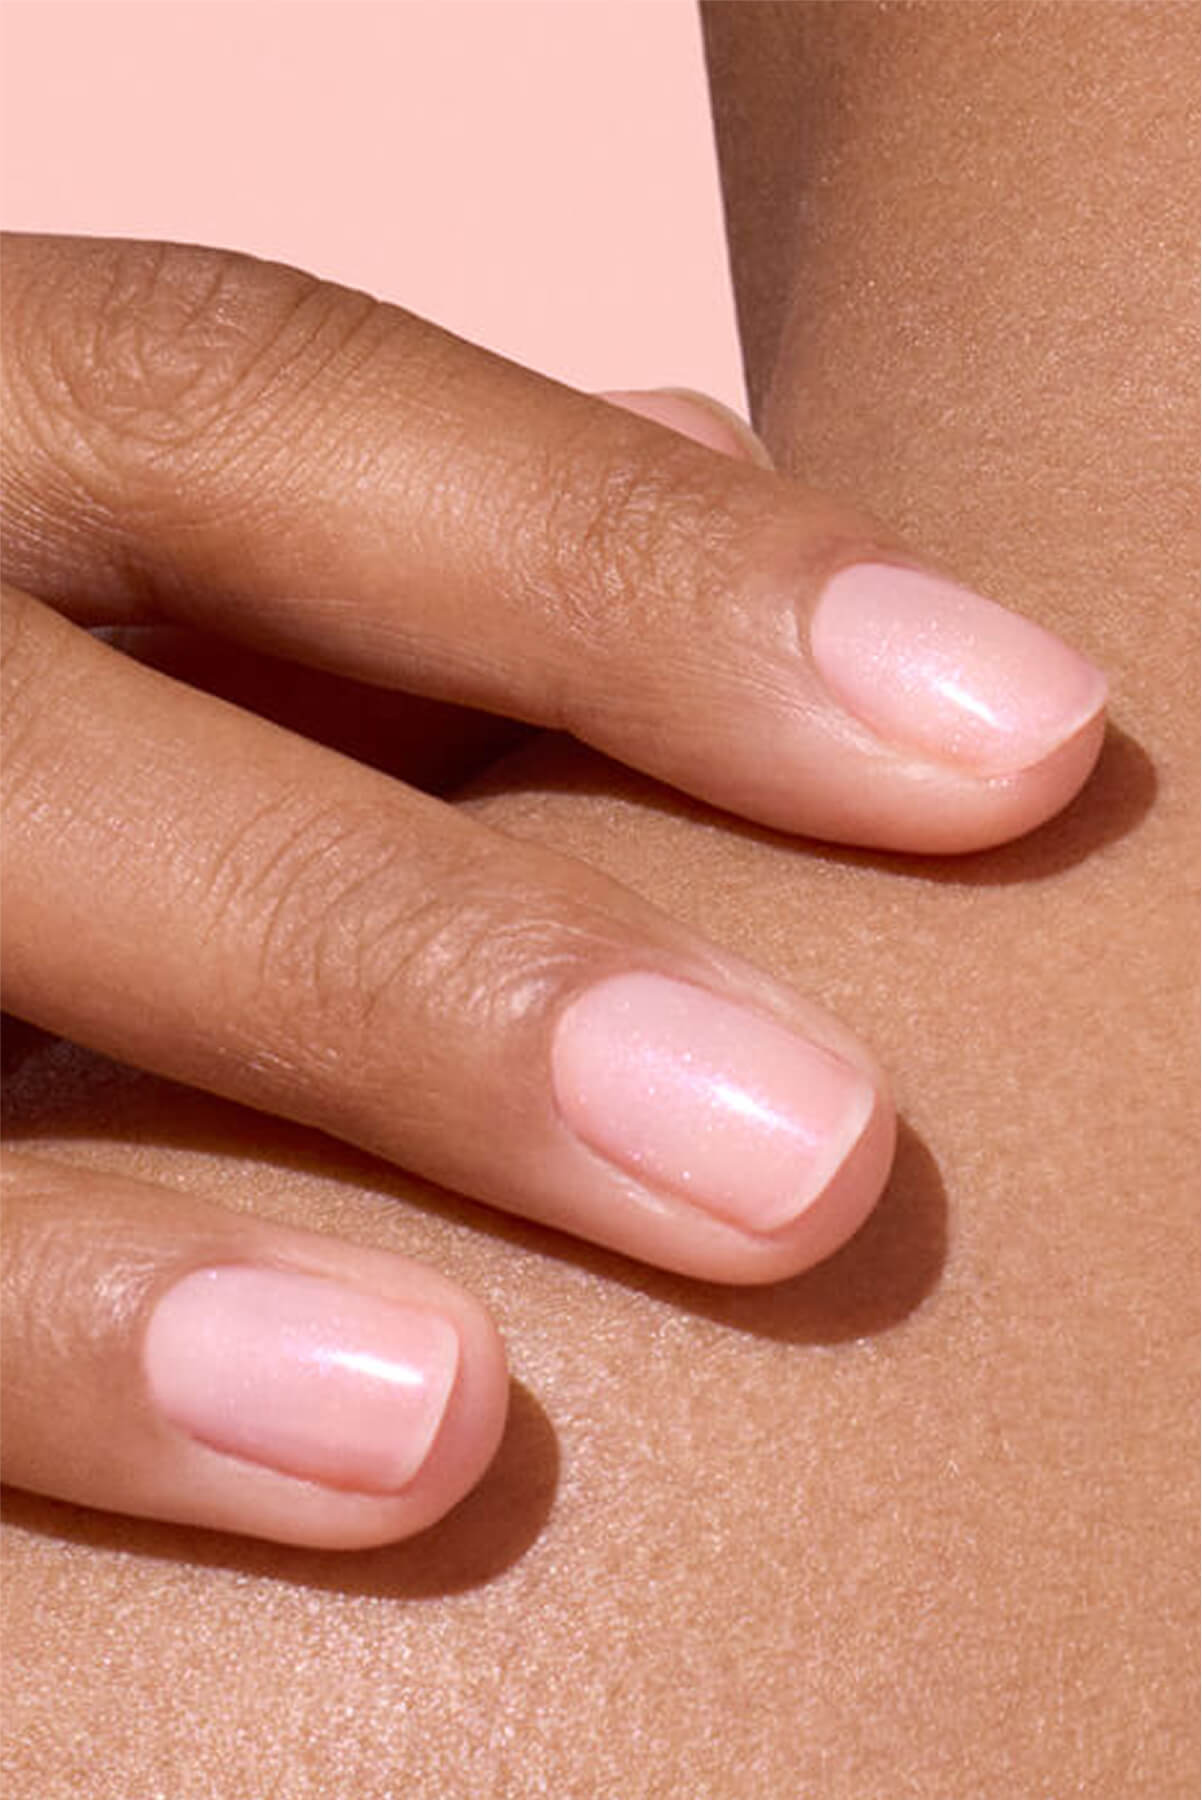
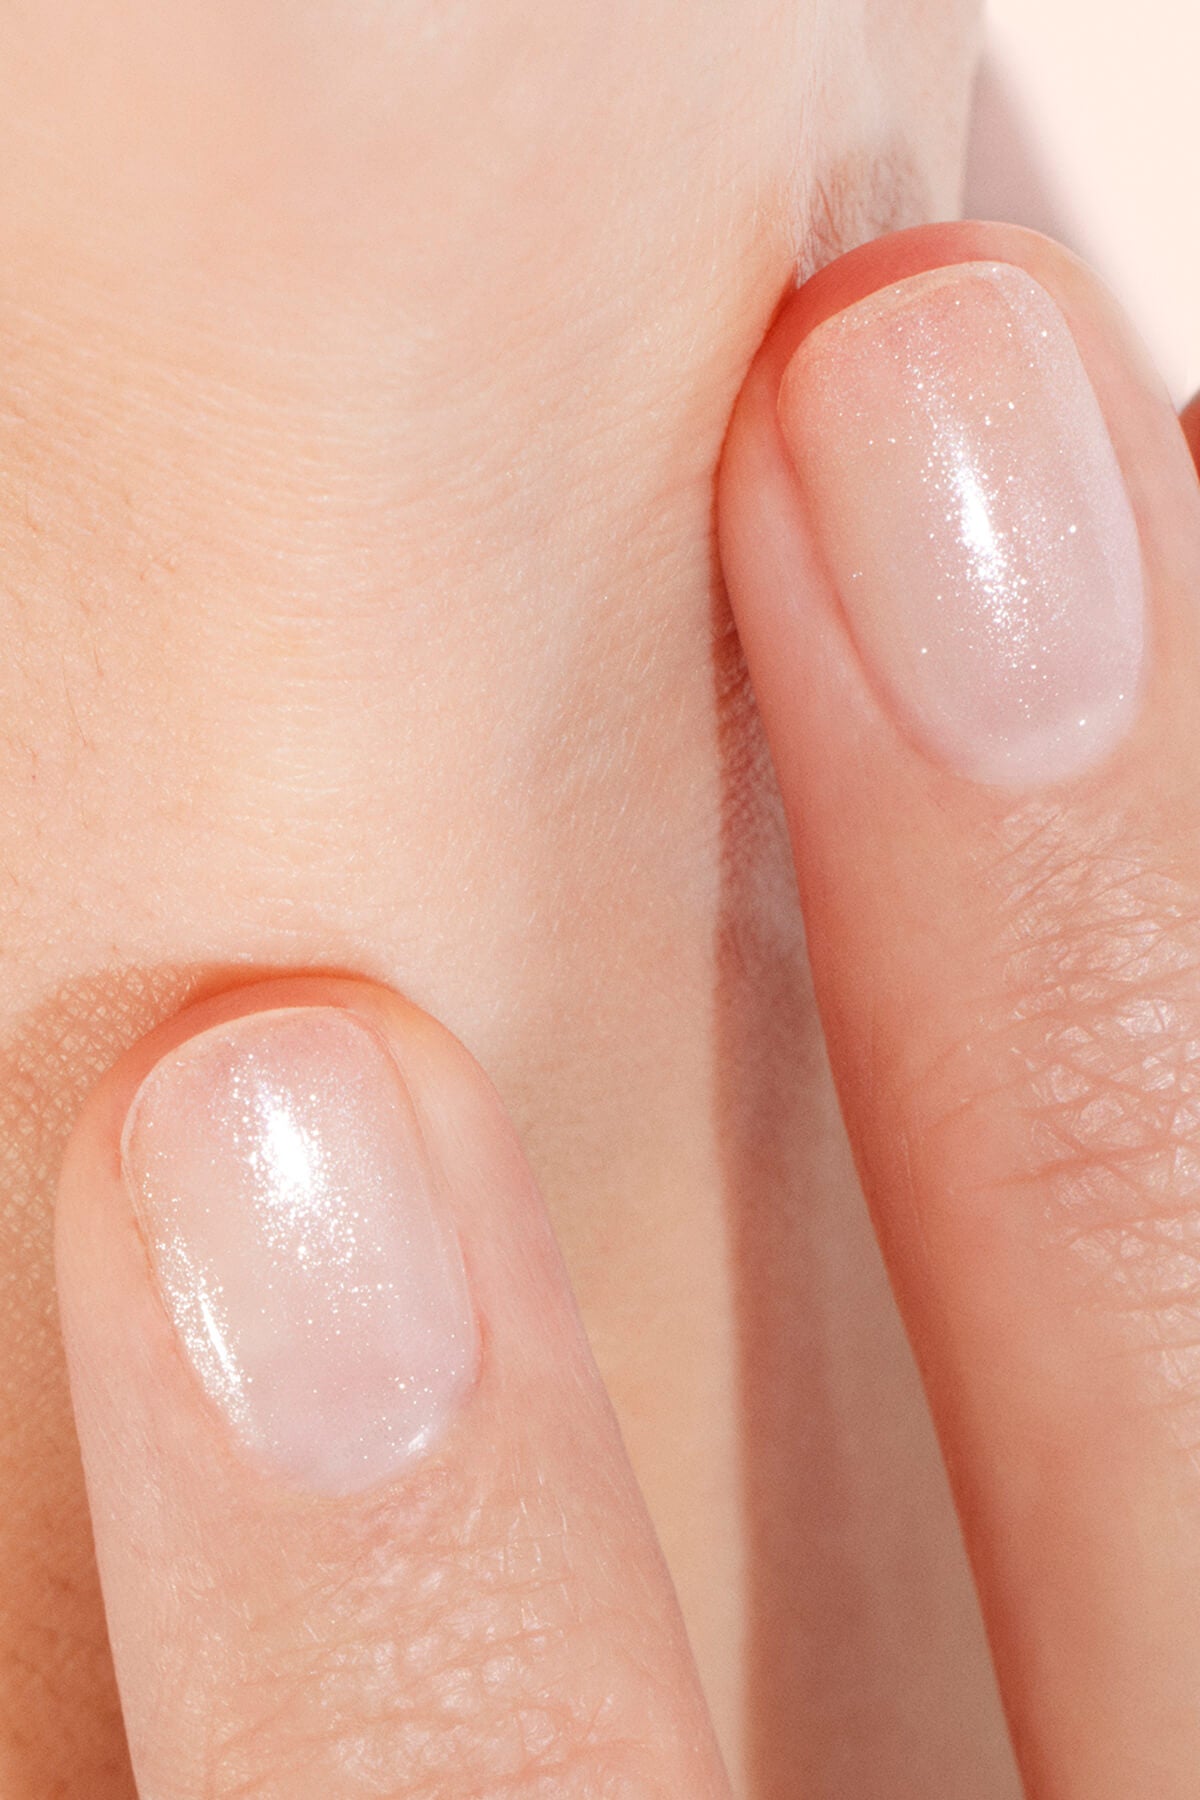
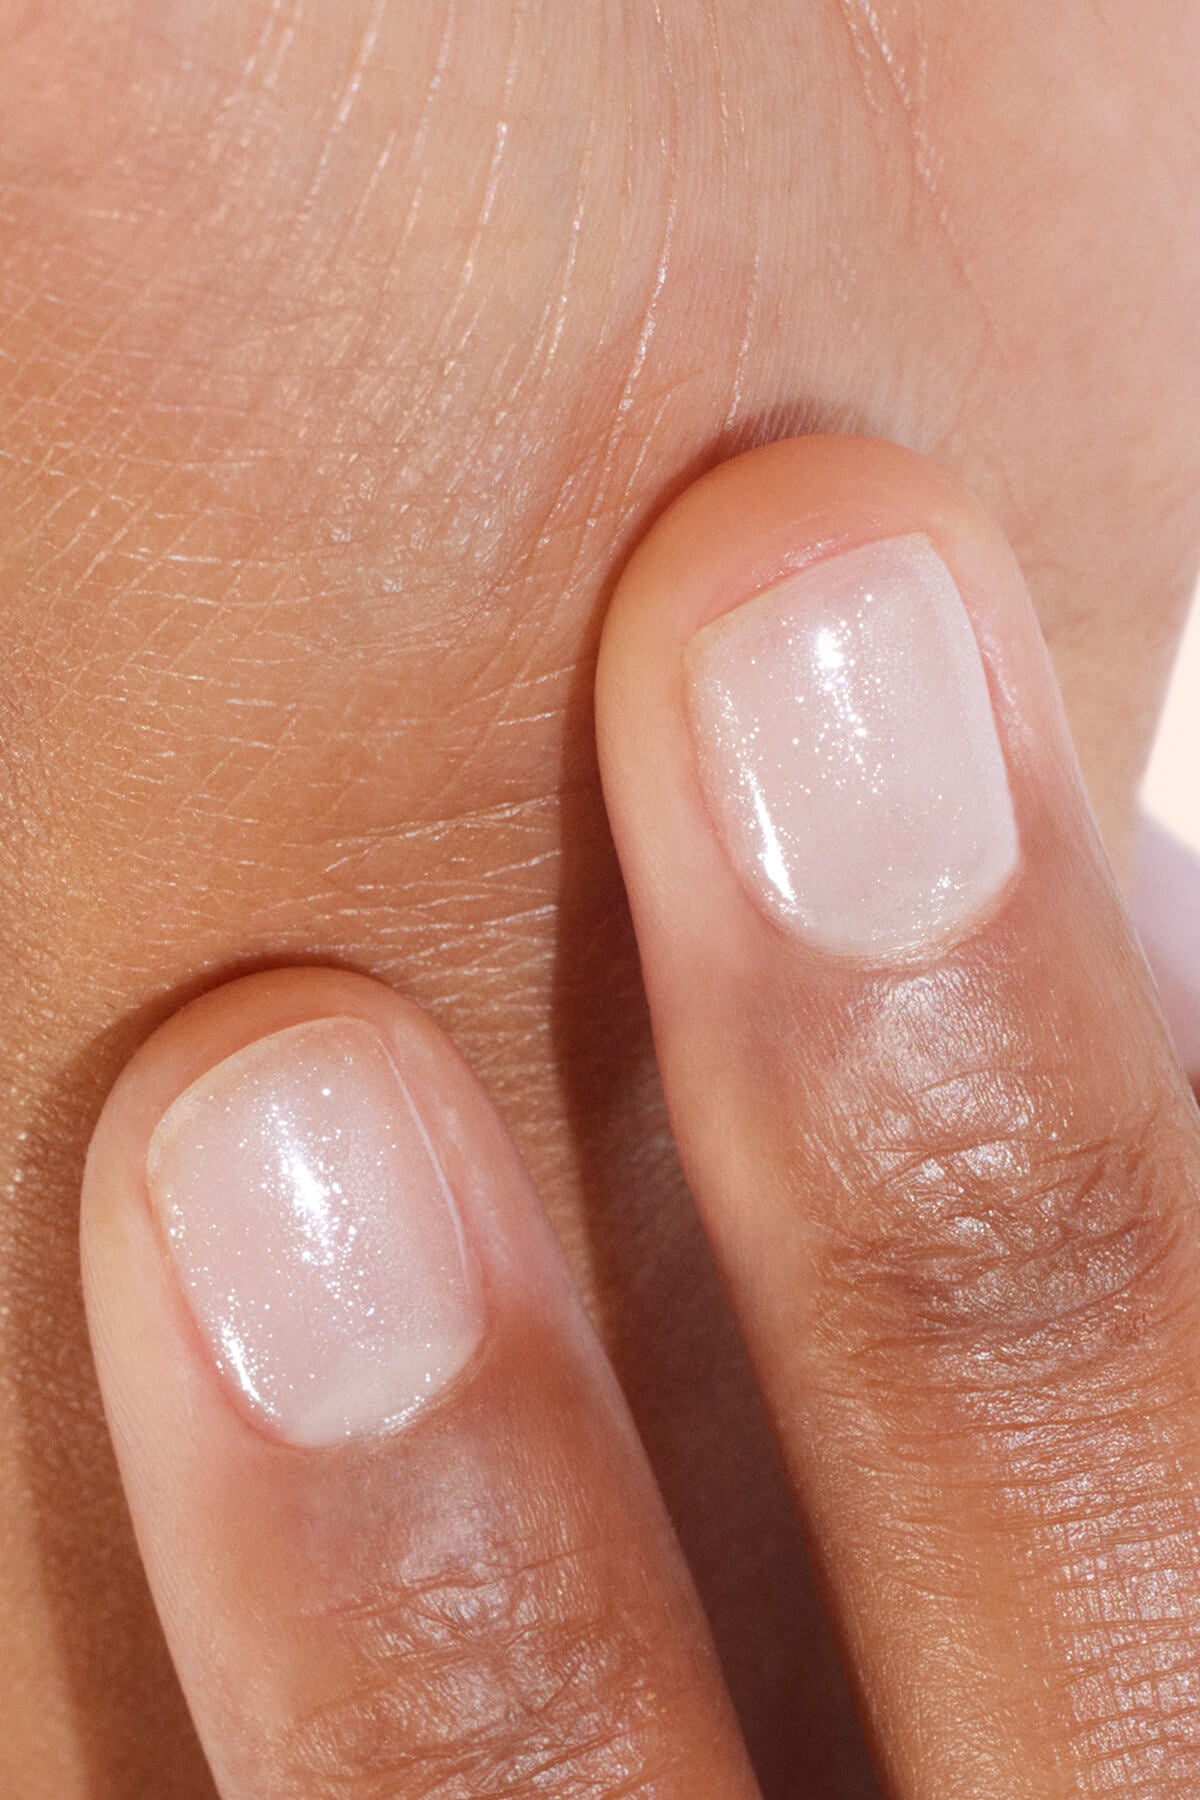
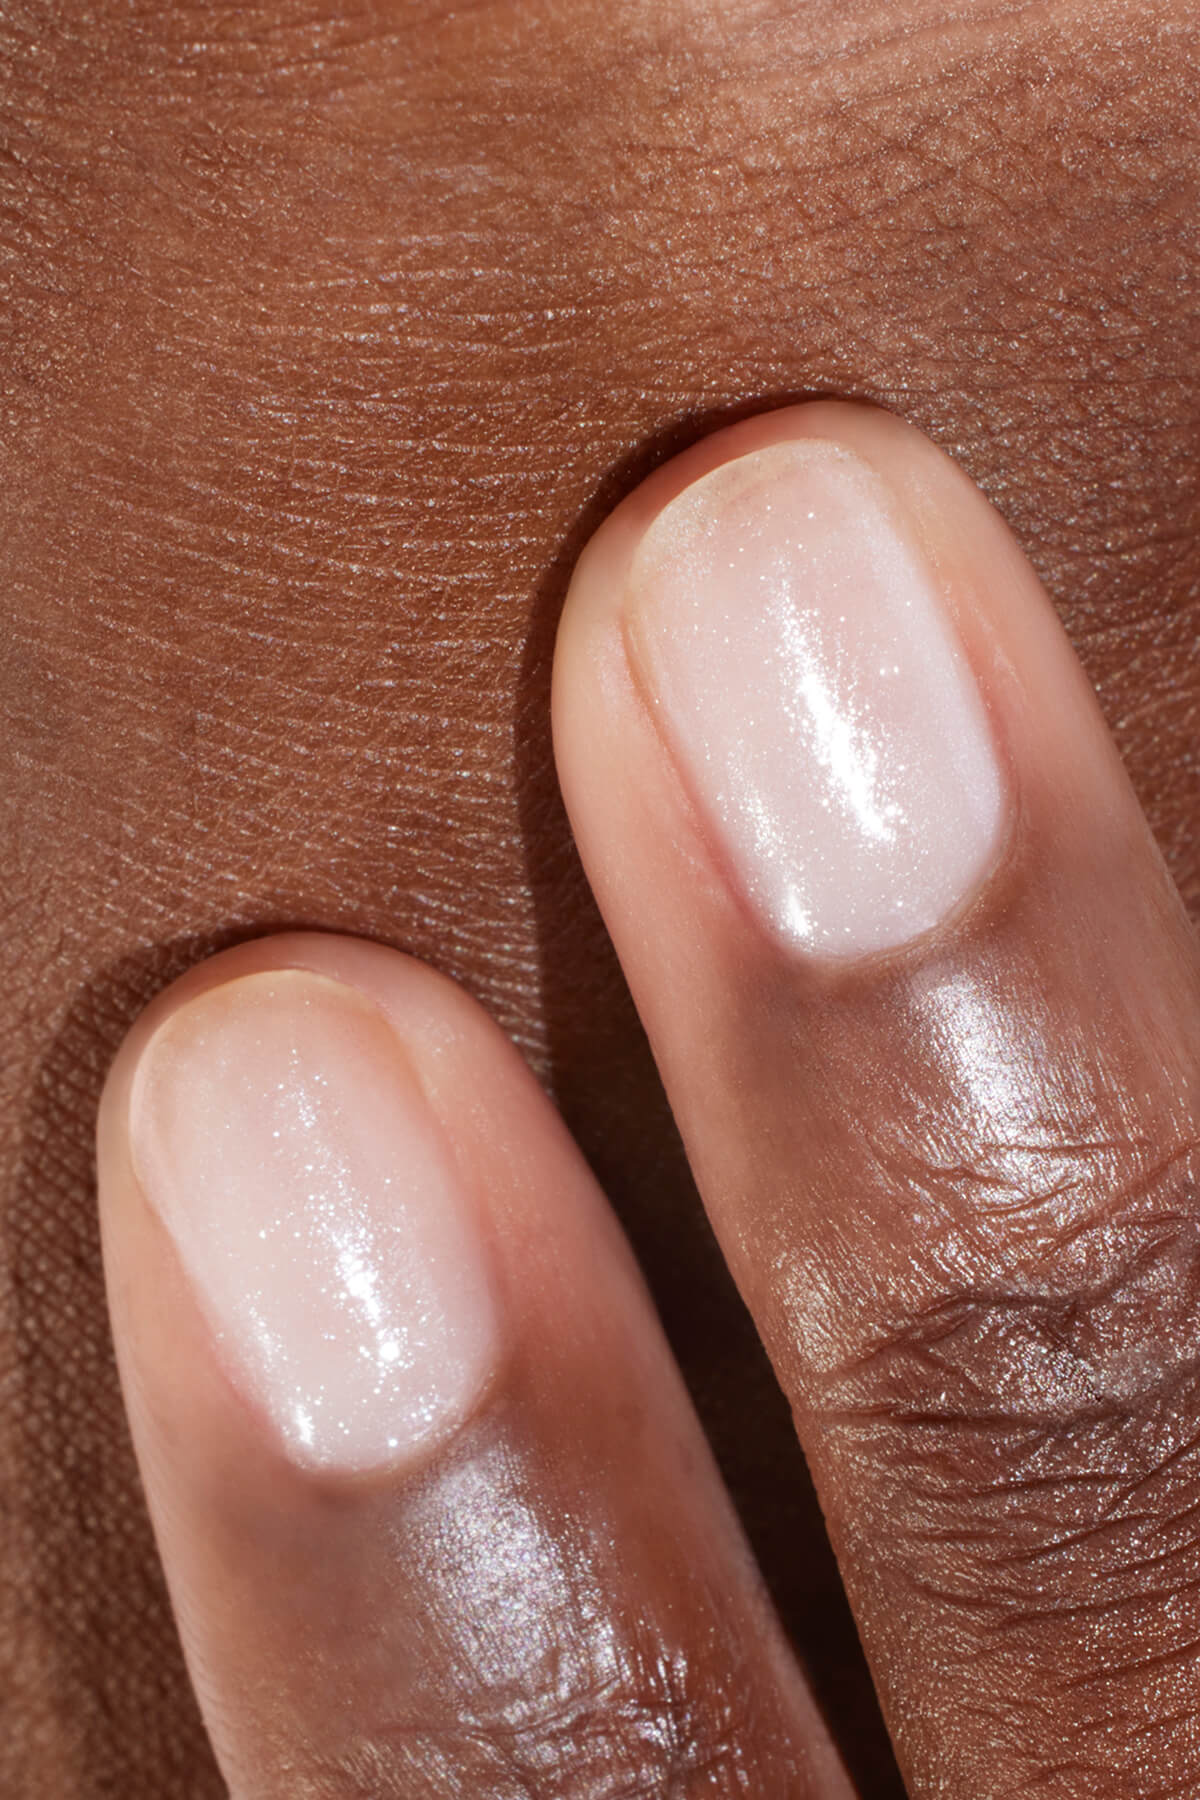
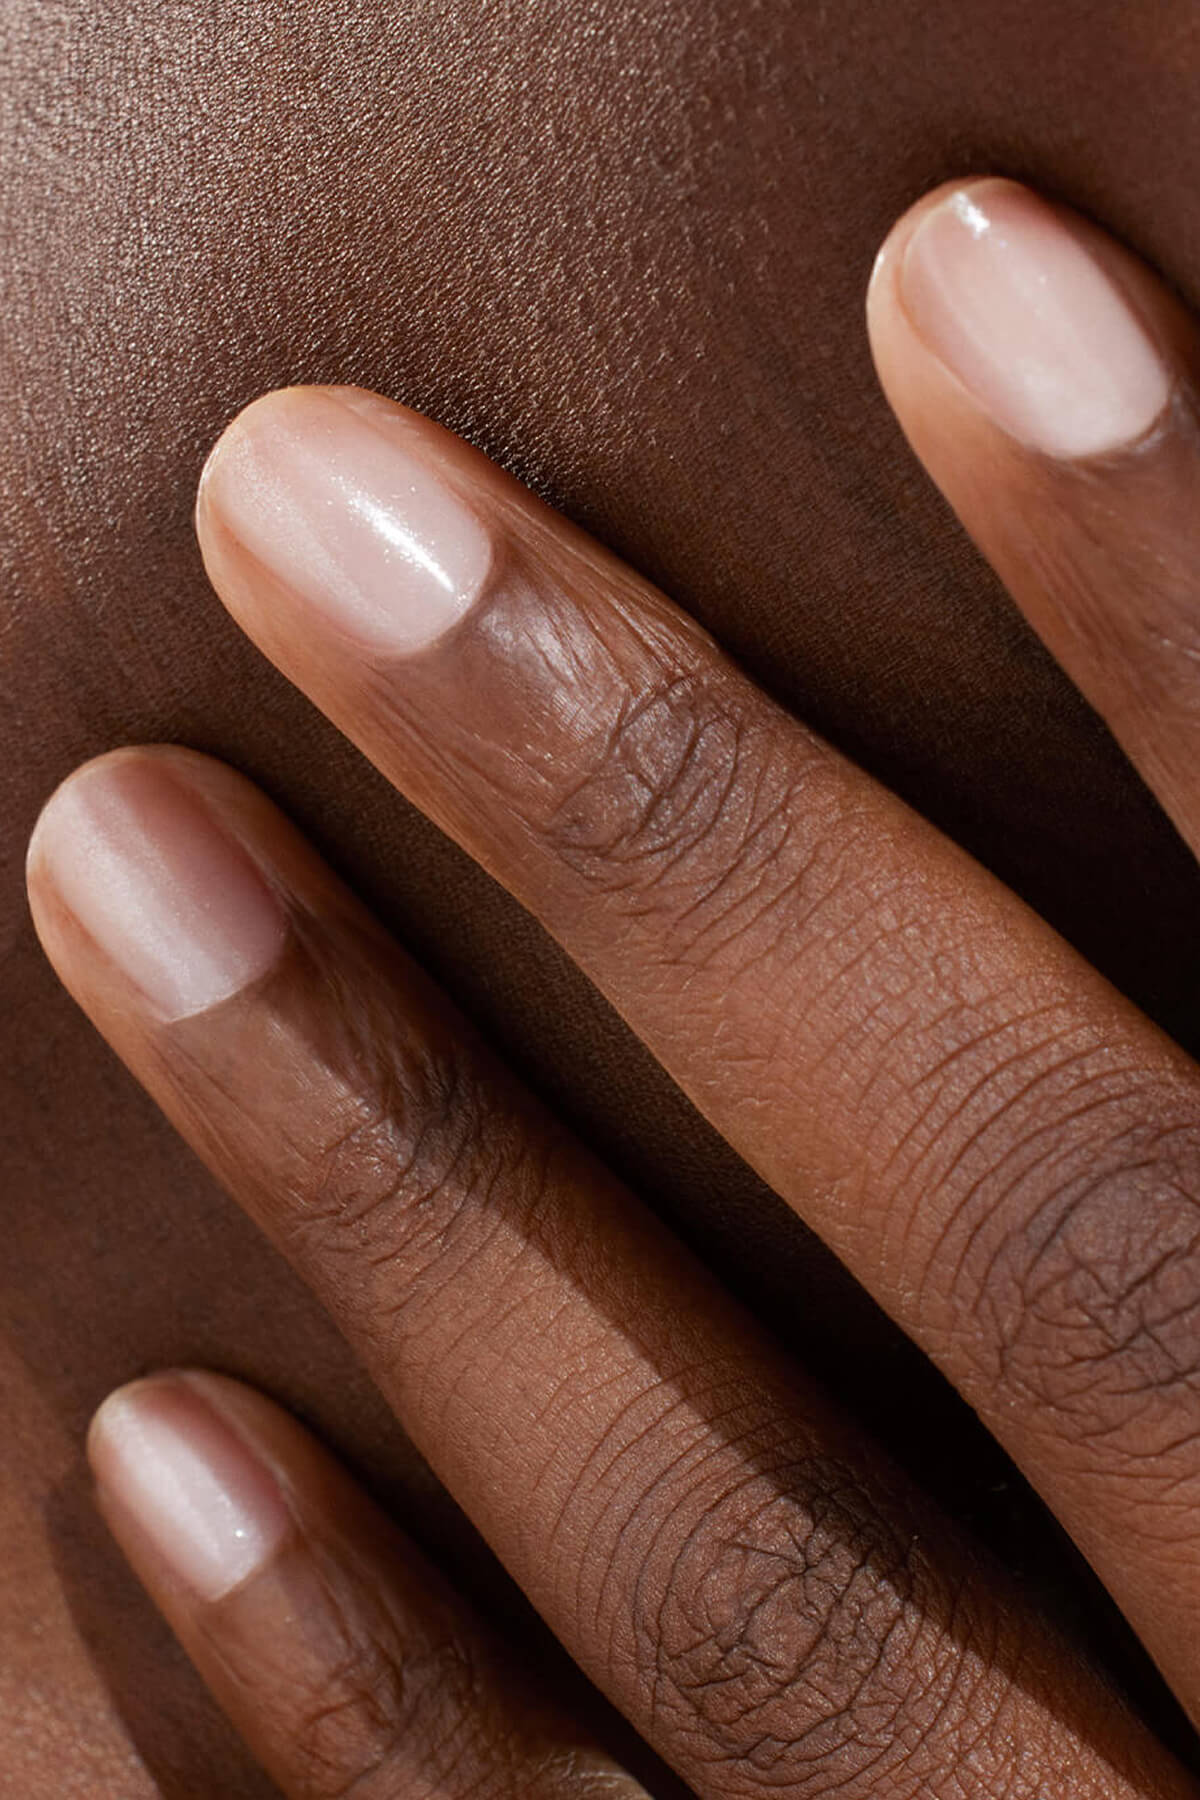
Our clear Green Flash Top Coat gives you a high-gloss finish and protects your color. It guarantees a gel-effect manicure, a finish that's as thin as regular polish and a brilliant shine for up to 10 days!
When you apply it, make sure you cap the edge properly and cure under the Green Flash lamp for the amount of time shown in the instructions.
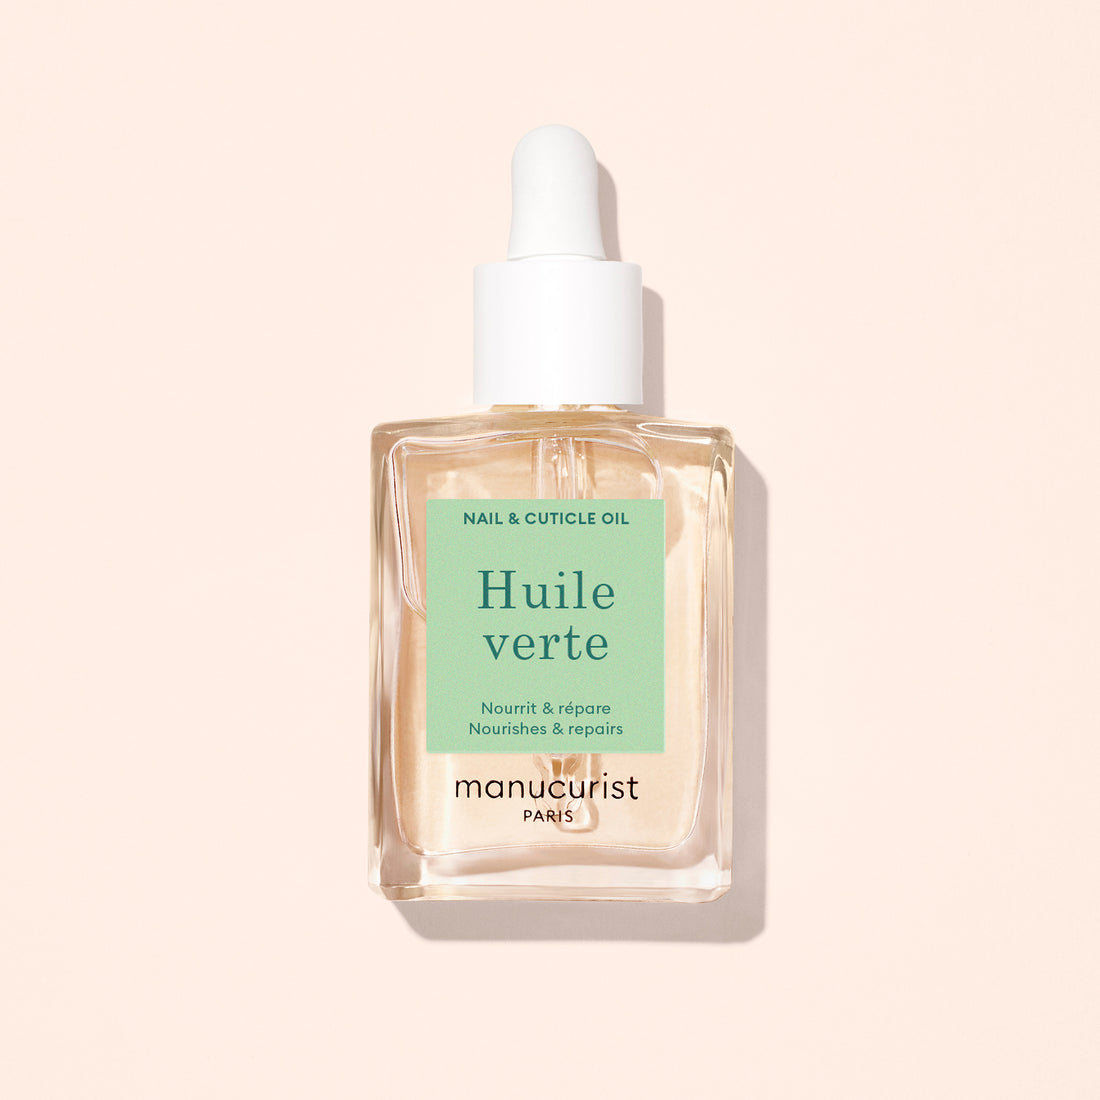
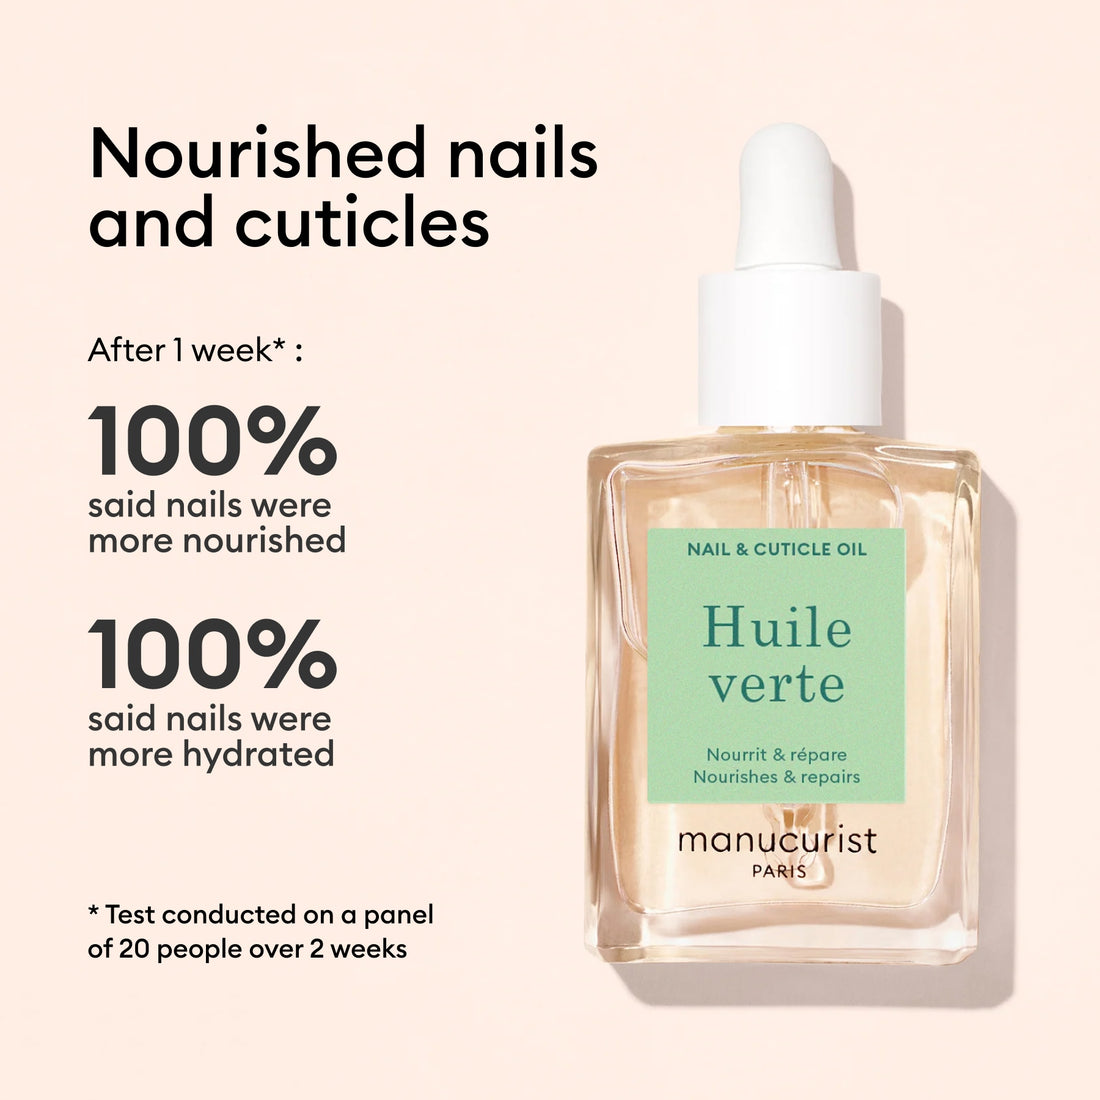
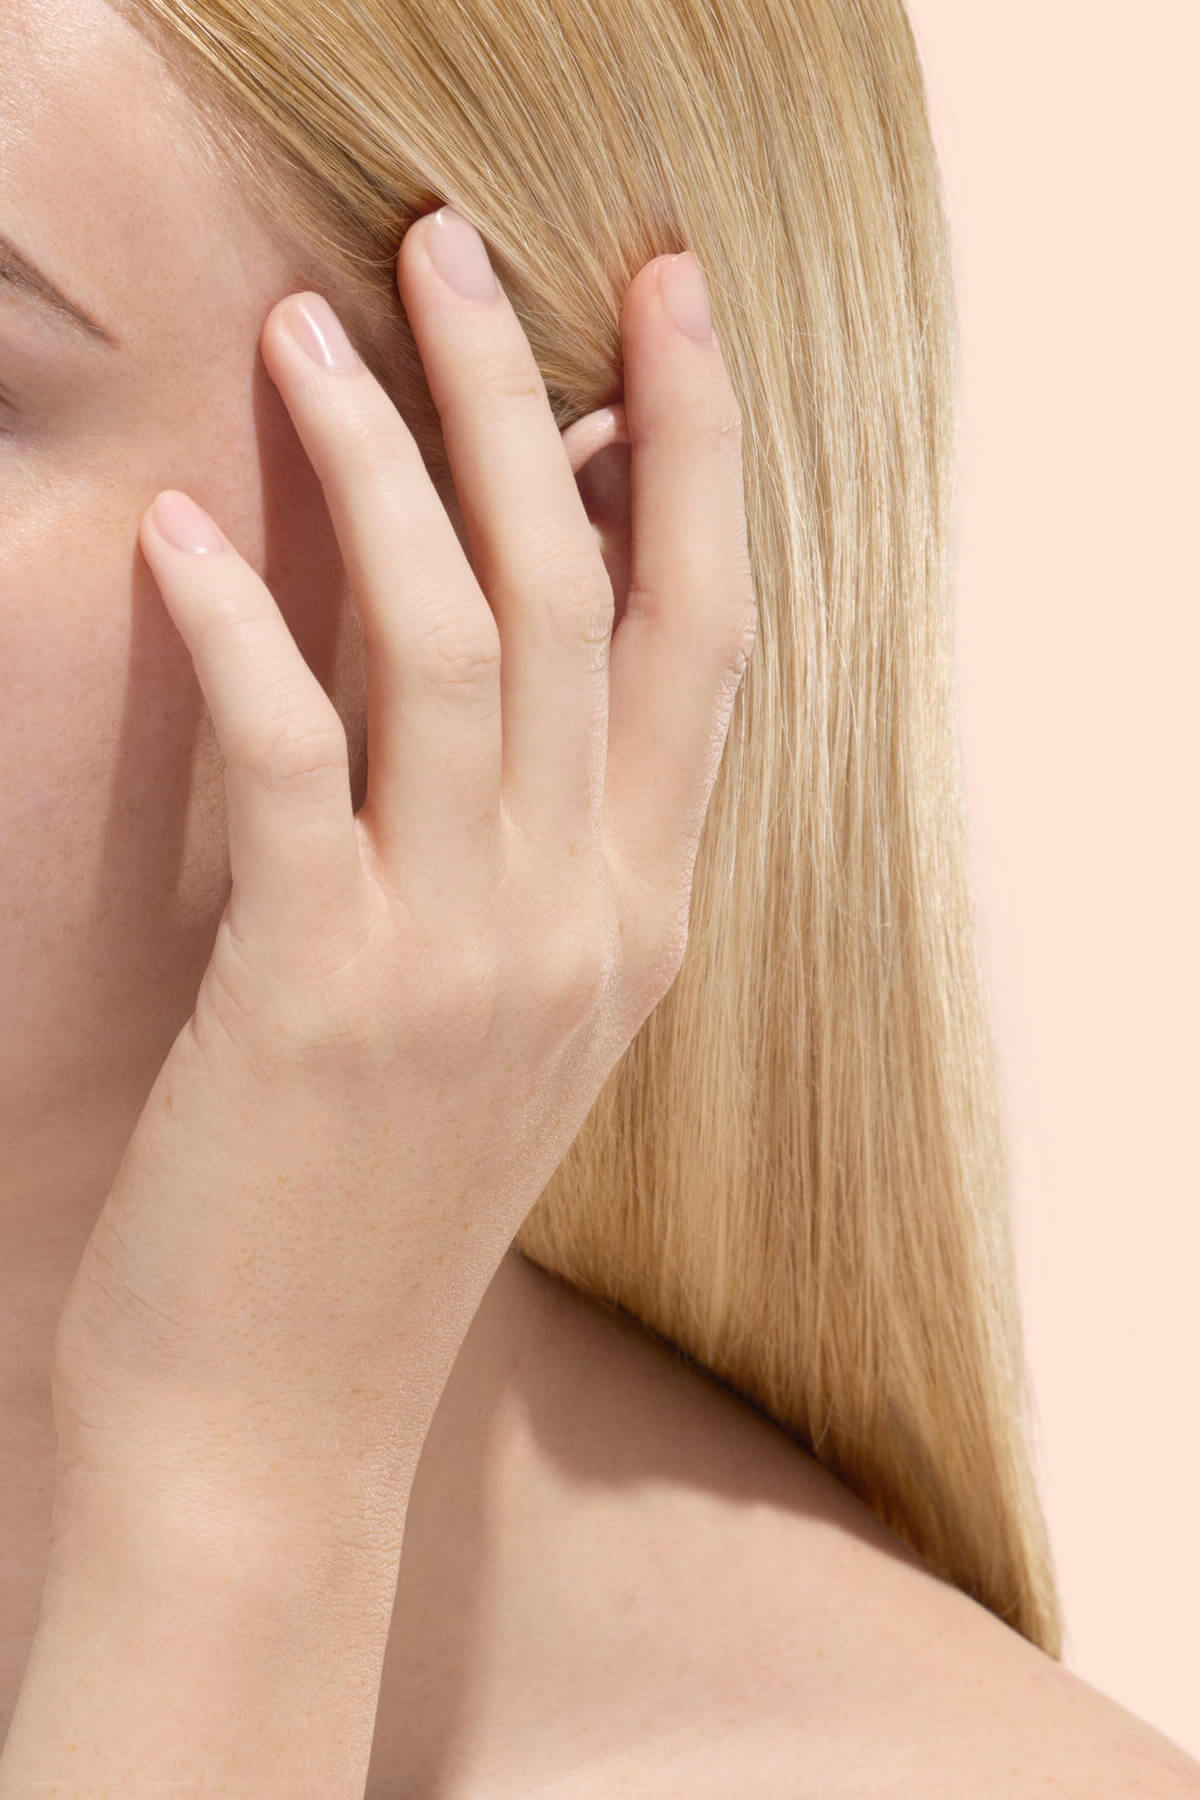
You can finish off your manicure using Green Oil. Apply a few drops to the nail contour and massage in gently to help it penetrate.
For the ultimate at-home nail care experience, our Green Flash kits bring together everything you need from base and top coats to nourishing oils so your nails stay strong, healthy, and salon-ready every time. To make every manicure step easier at home, our gel nail polish kits bring together the essentials for smooth application, proper curing, and gentle removal in one complete routine.
Et voilà! 💅 Share your fantastic creations with us on our Instagram @manucurist.
To see a video of this step and other nail beauty tips, click here 👈.