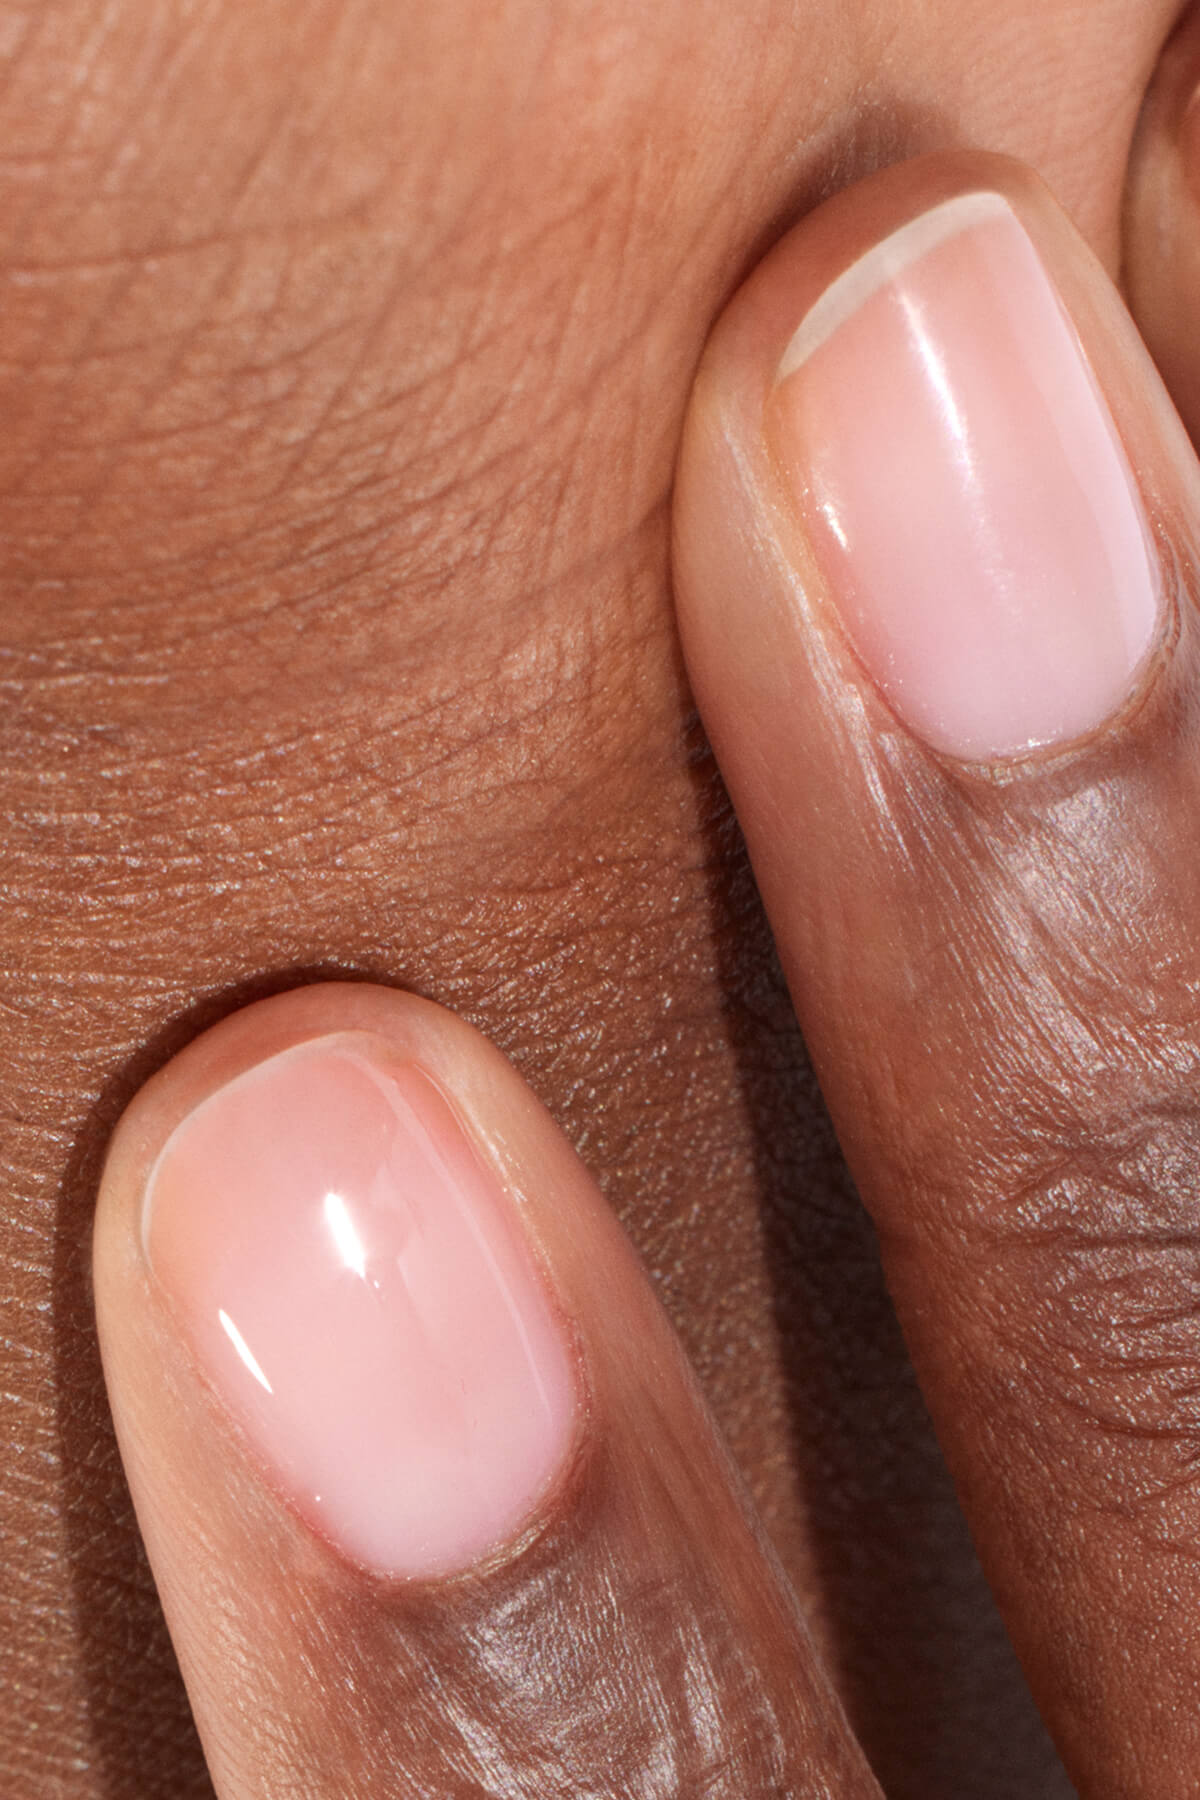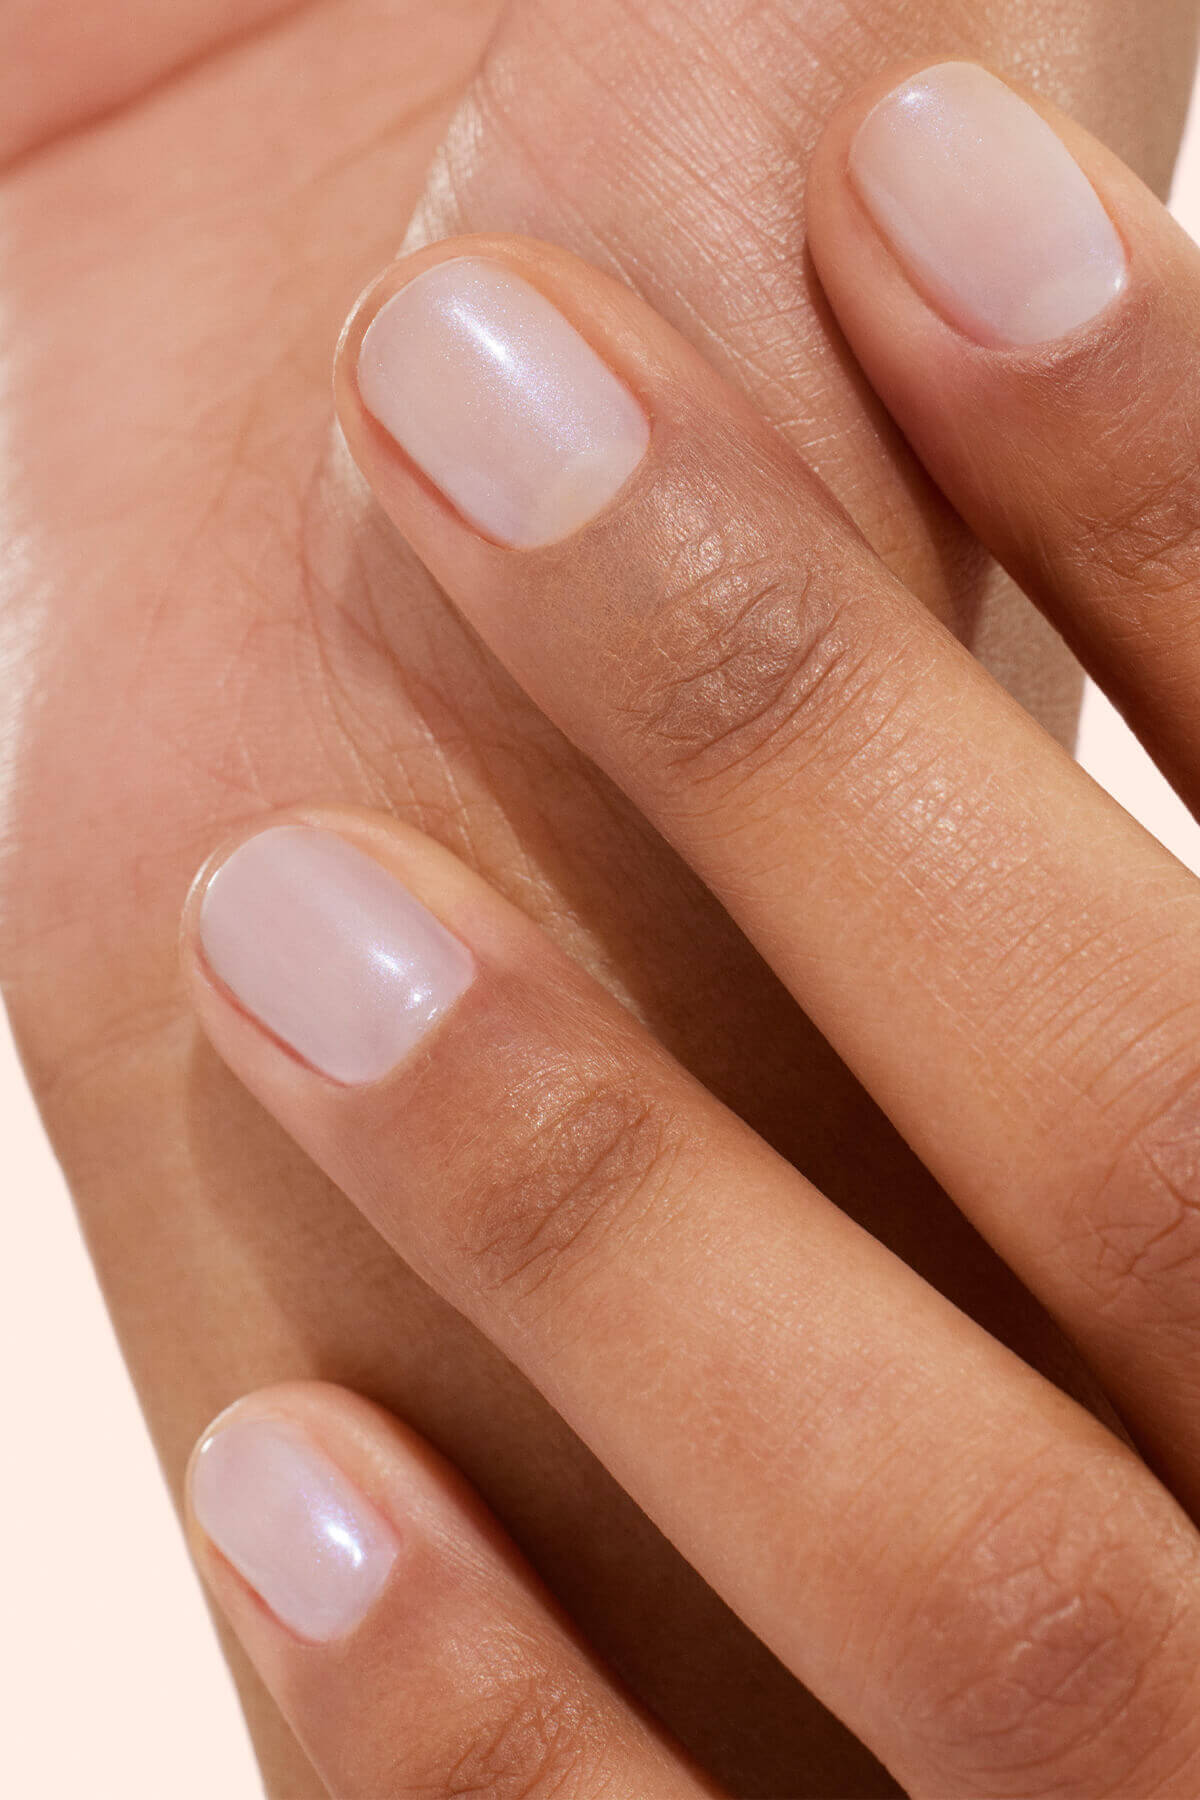
Prep: the step that makes all the difference
Let’s say it loud and clear: good prep is the secret to a flawless manicure, whether you're using classic polish, gel polish, or press-ons. Just like skin needs to be clean and hydrated before applying makeup, well-prepped nails ensure an even result and longer wear. Here are the key steps:
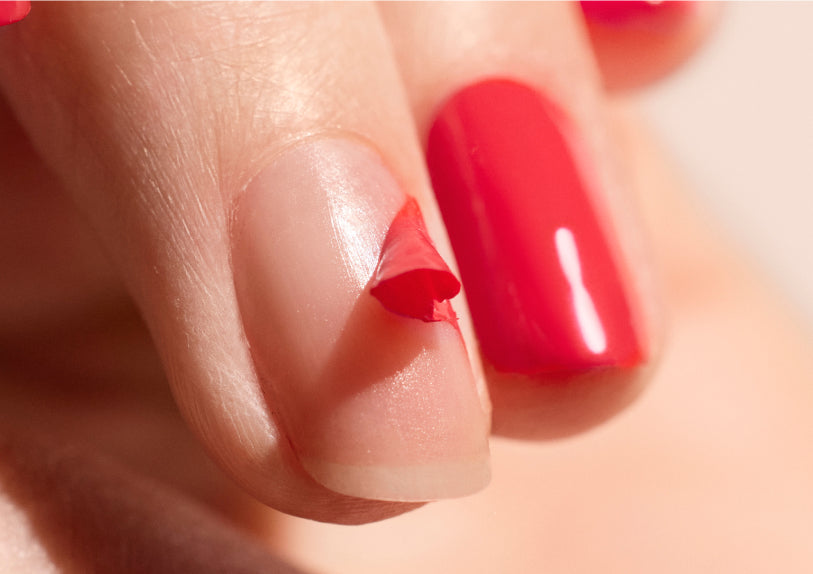
Shape and smooth
Start by trimming and shaping your nails with a nail file designed for natural nails. Choose your favorite nail shape—square, oval or almond—your call. File in a gentle arc to shorten and shape the nail. Important: avoid using a soft buffer on the surface at this stage—that’s a job for the priming file. What you want is a neat, even foundation. For more tips on perfect filing technique, check out our guide.

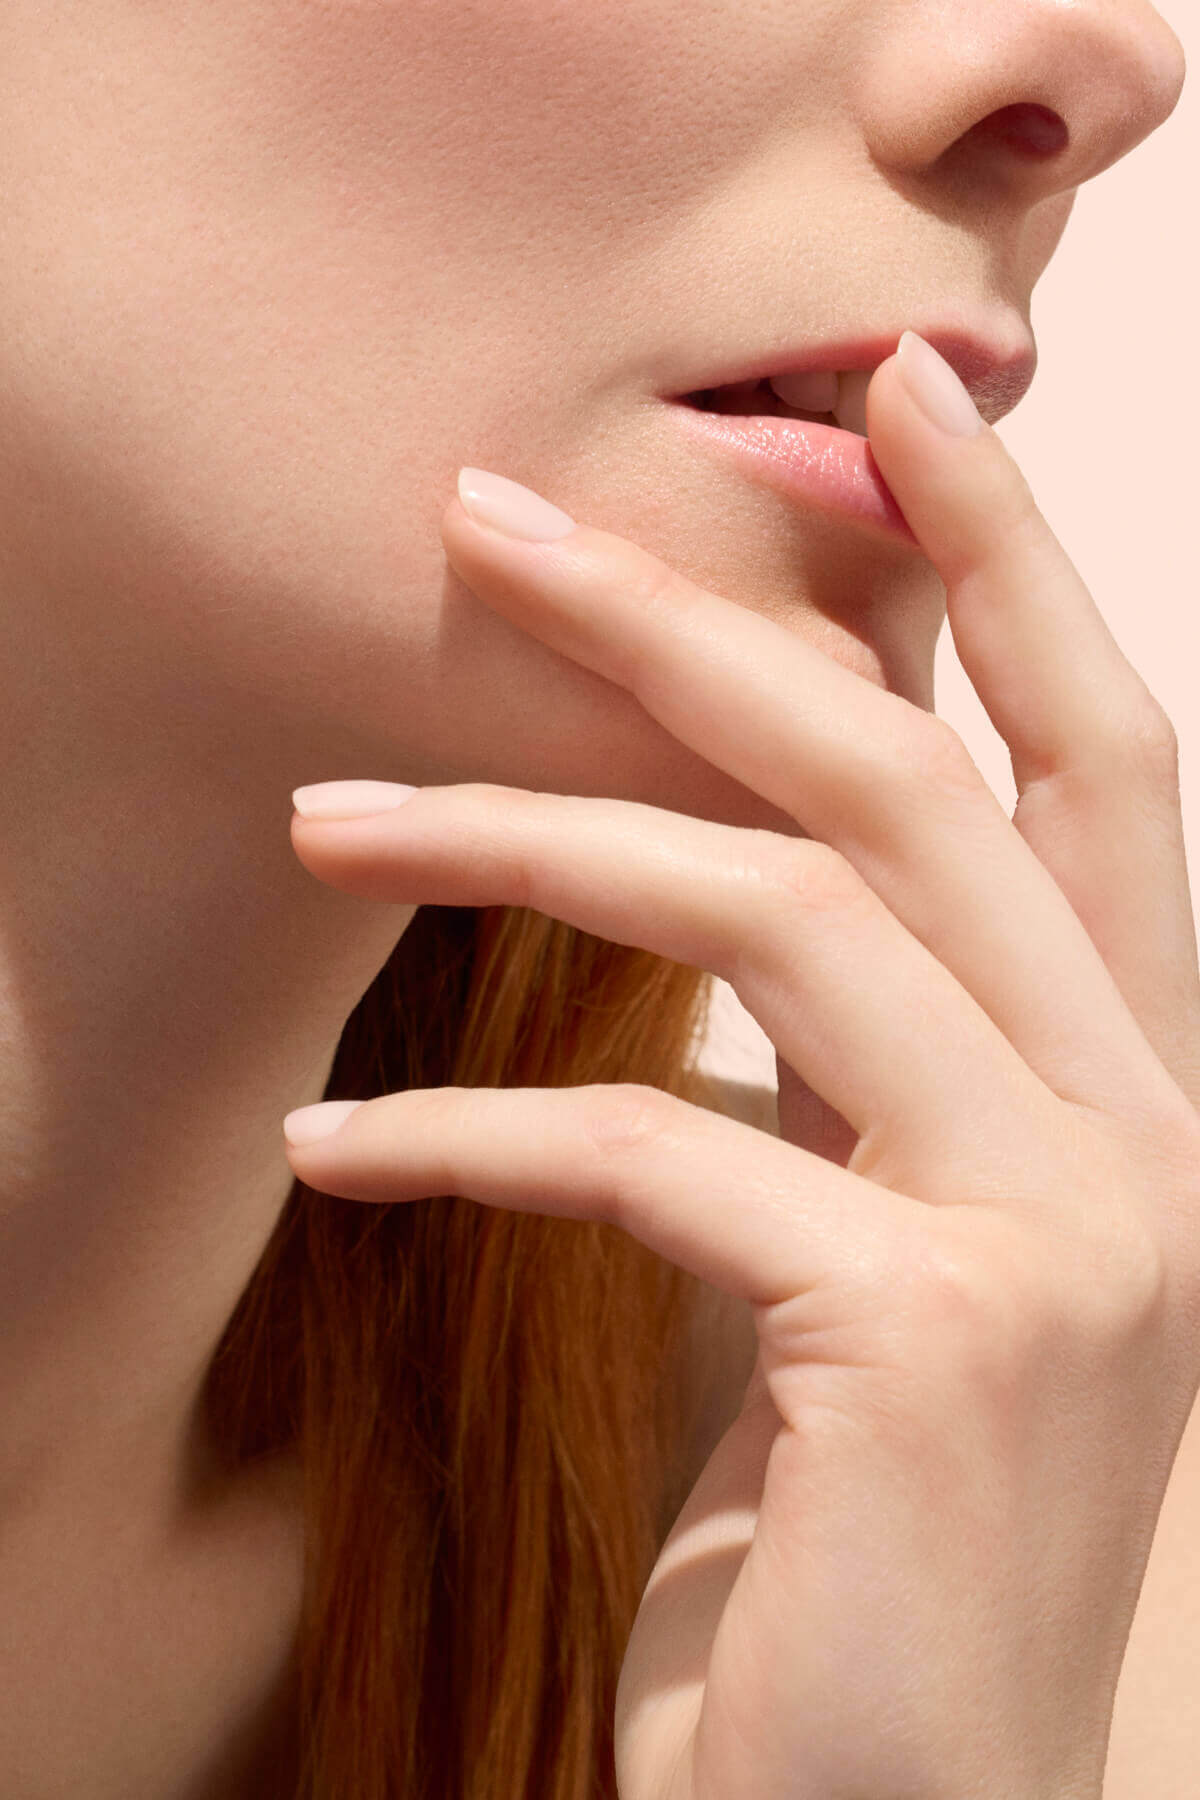
Show your cuticles some love
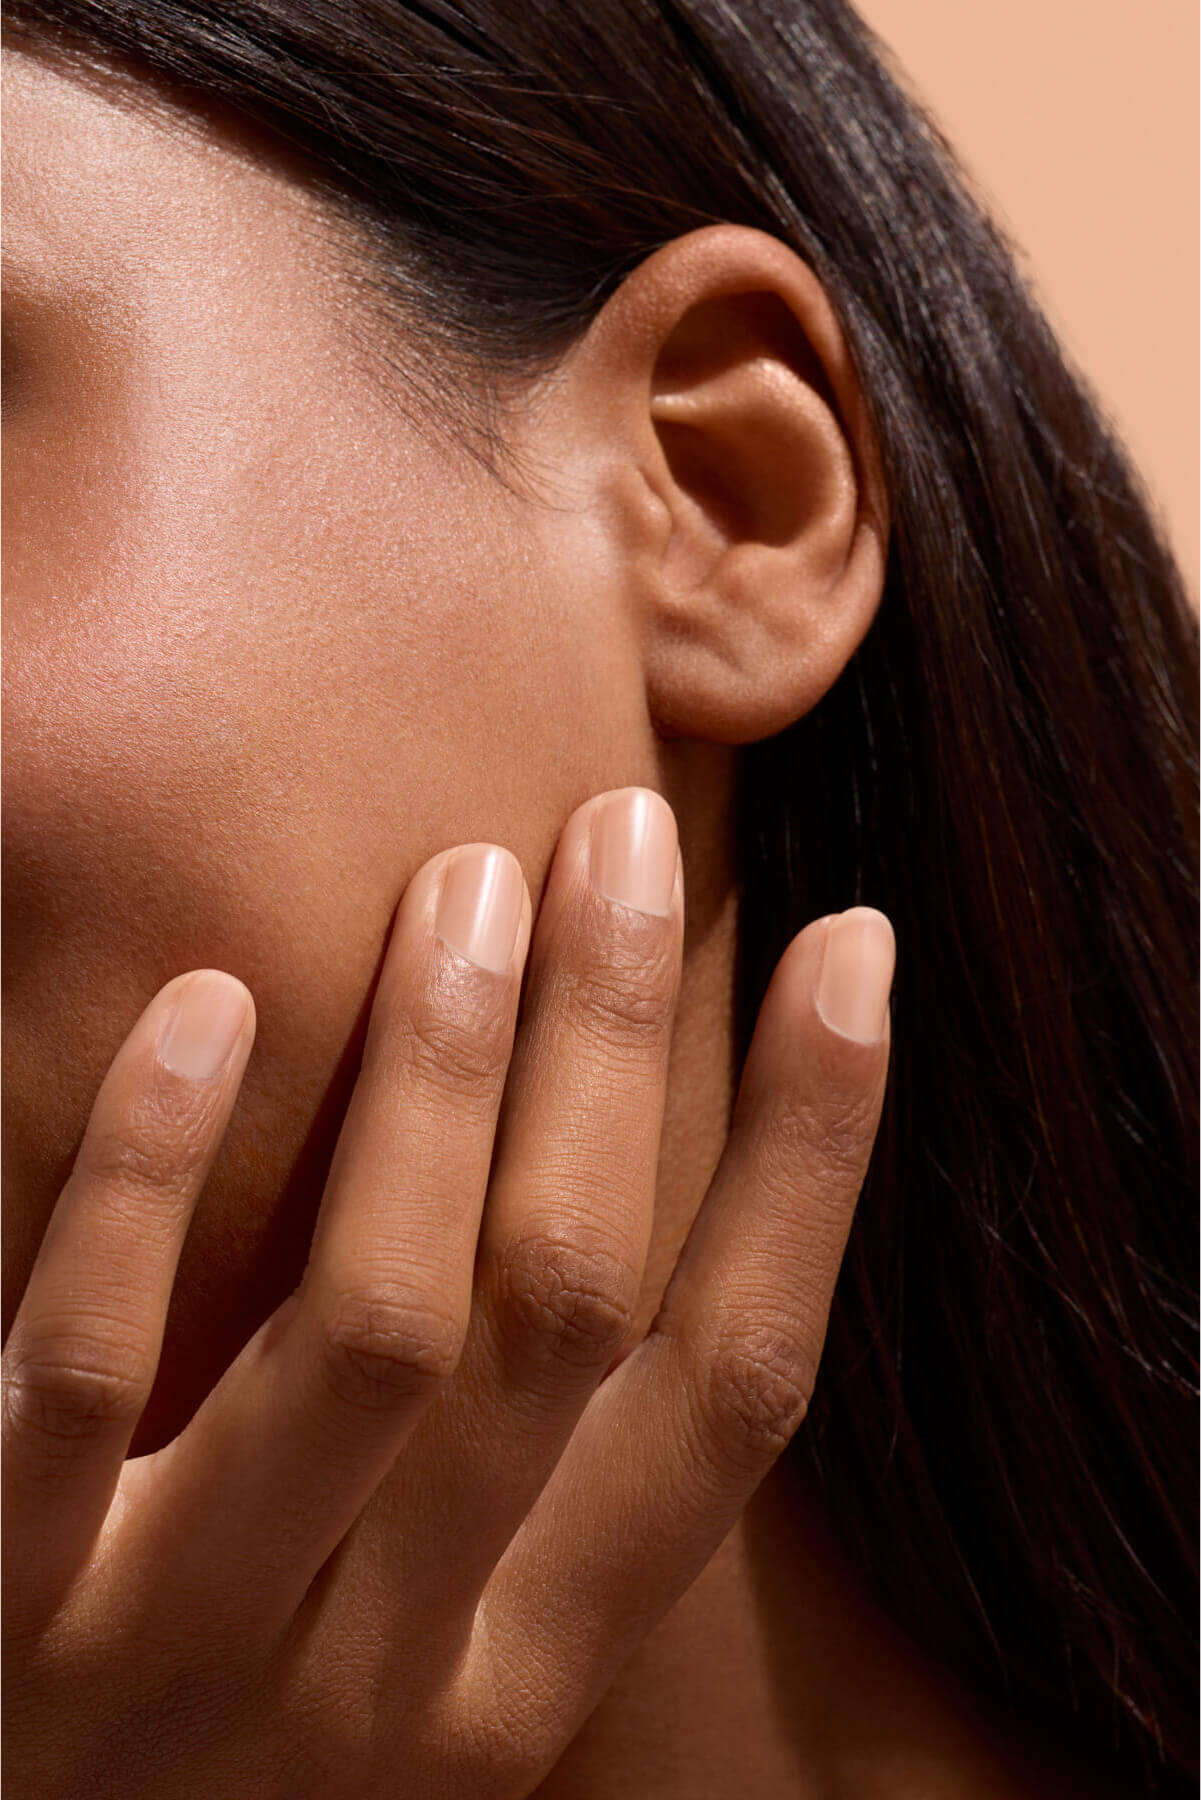
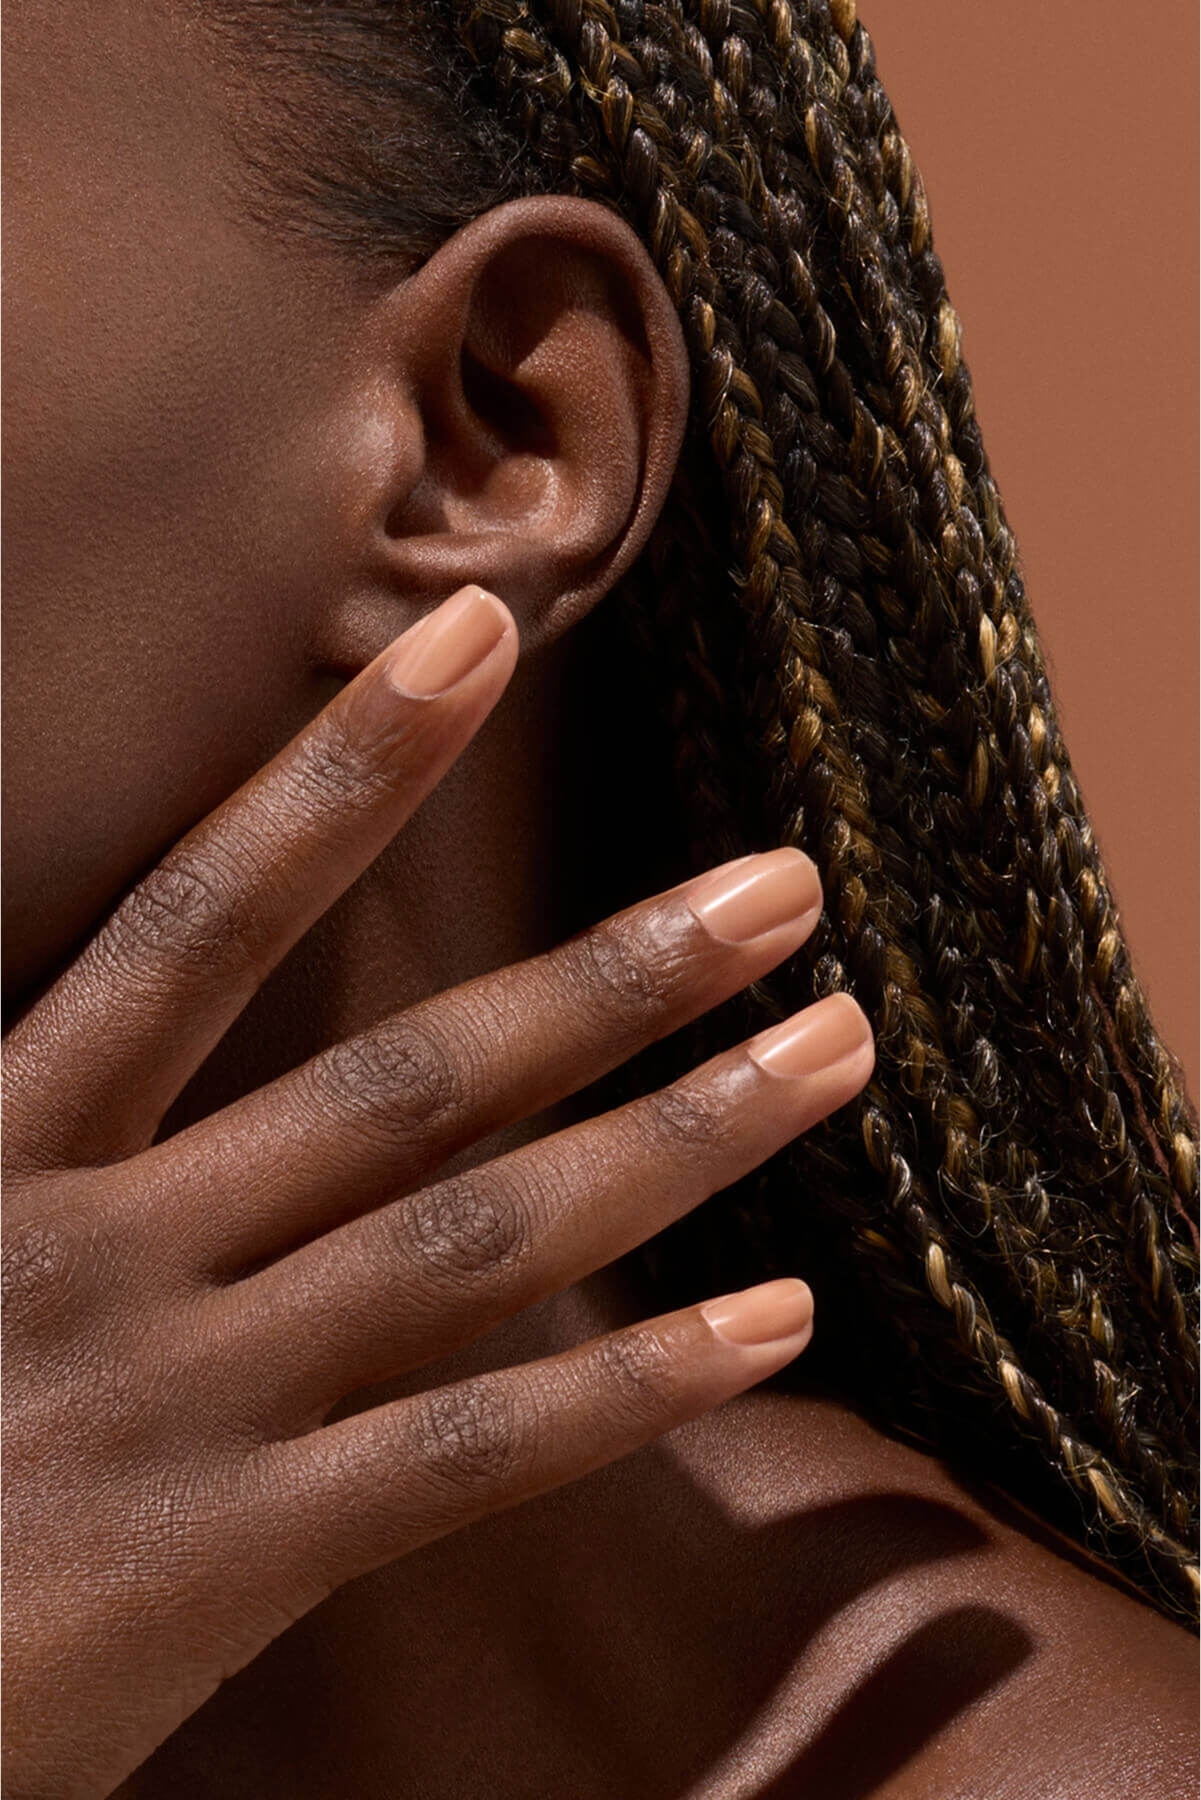
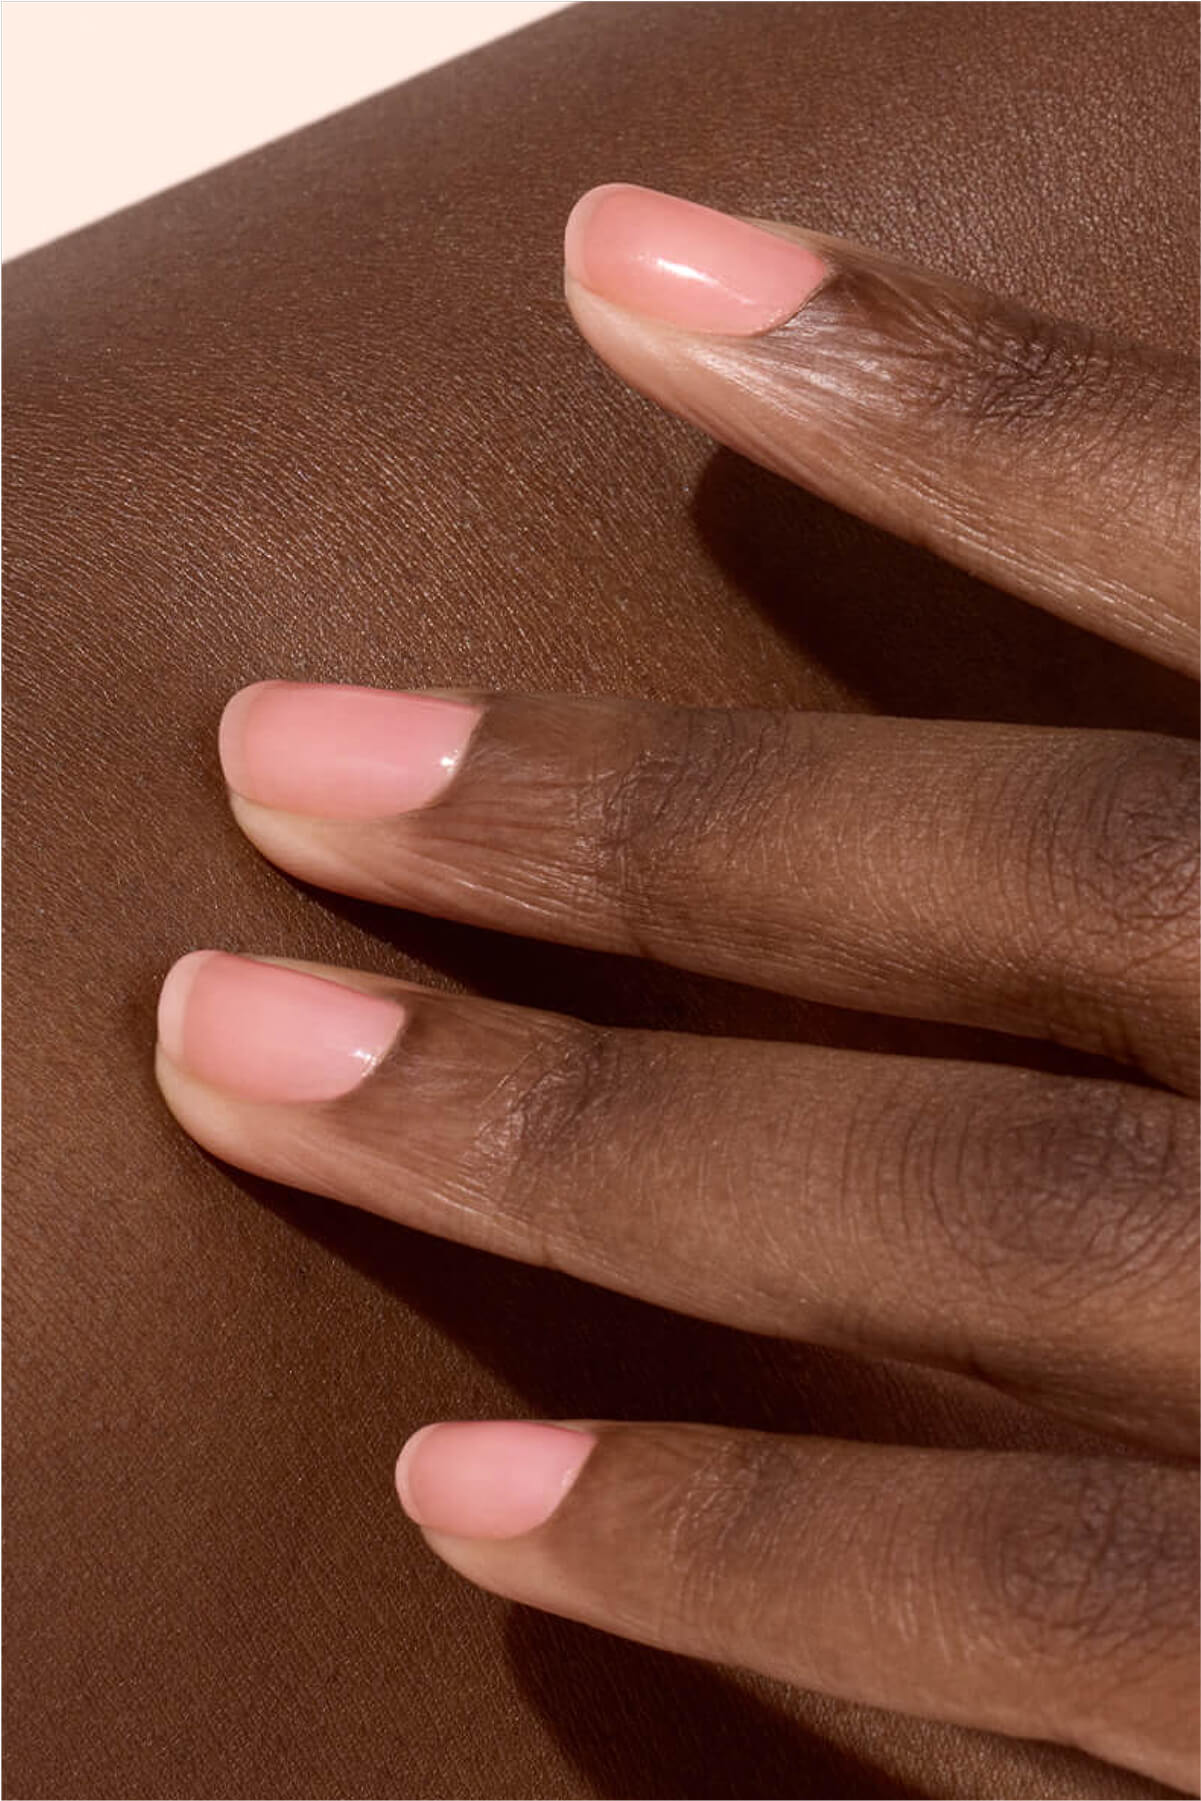
Take a few minutes to pamper your cuticles. Apply a few drops of Effective Emollient to soften dry skin, then gently push them back using a cuticle pusher or orangewood stick. You’ll get neat, clean nail edges that make color application so much easier. Find more tips in our cuticle care guide.

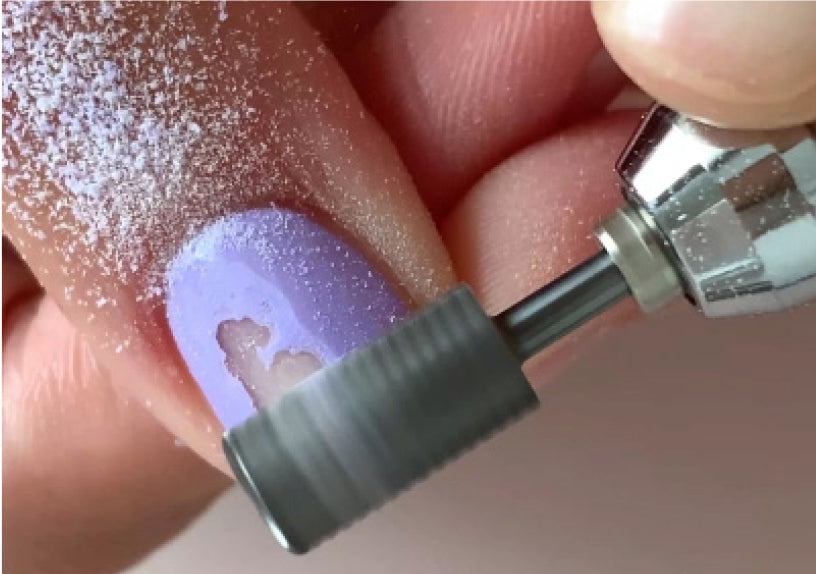
Clean and prep the surface
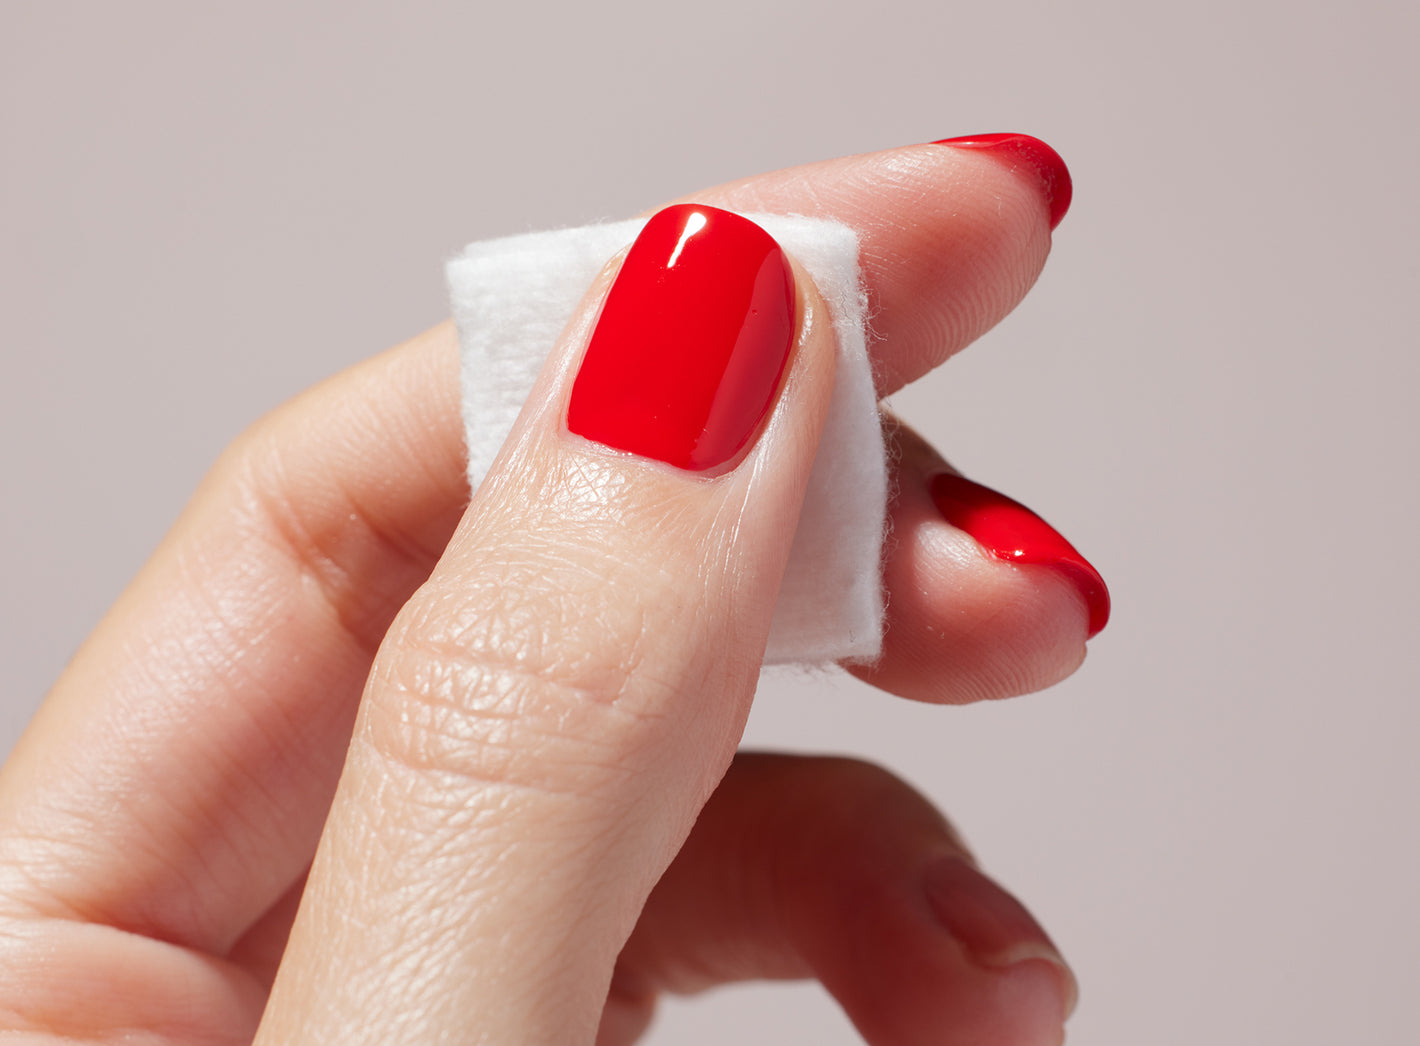
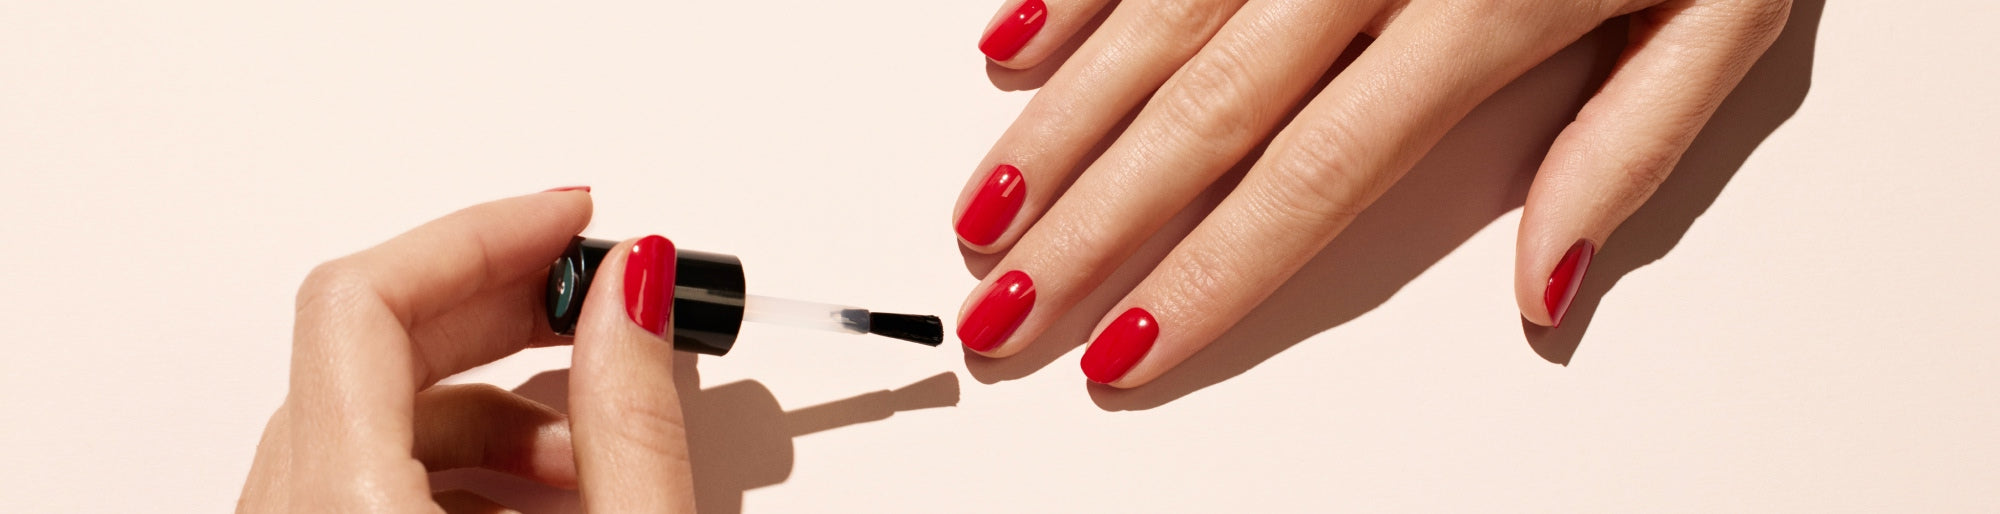
Gently buff the nail surface using a priming buffer to smooth out any irregularities and create micro-ridges that help the polish grip. Then, use a cotton pad soaked in gentle remover to degrease the nail. It should be clean, dry and free from any oil or dust—ready for color!

Four well-paced steps to perfect polish
Applying gel polish involves four ultra-thin coats. Each one needs curing under an LED or UV lamp to lock in the polish and create that signature long-wear shine.
The Base Coat: where it all begins
The Base Coat is the foundation of your manicure. Applied before your color, it plays a vital role:
🫷 Protects the natural nail.
👌 Creates a smooth surface for better adhesion and longer wear.
Apply a very thin coat without touching the cuticles or sides of the nail. Then cure under an LED or UV lamp according to the recommended timing.

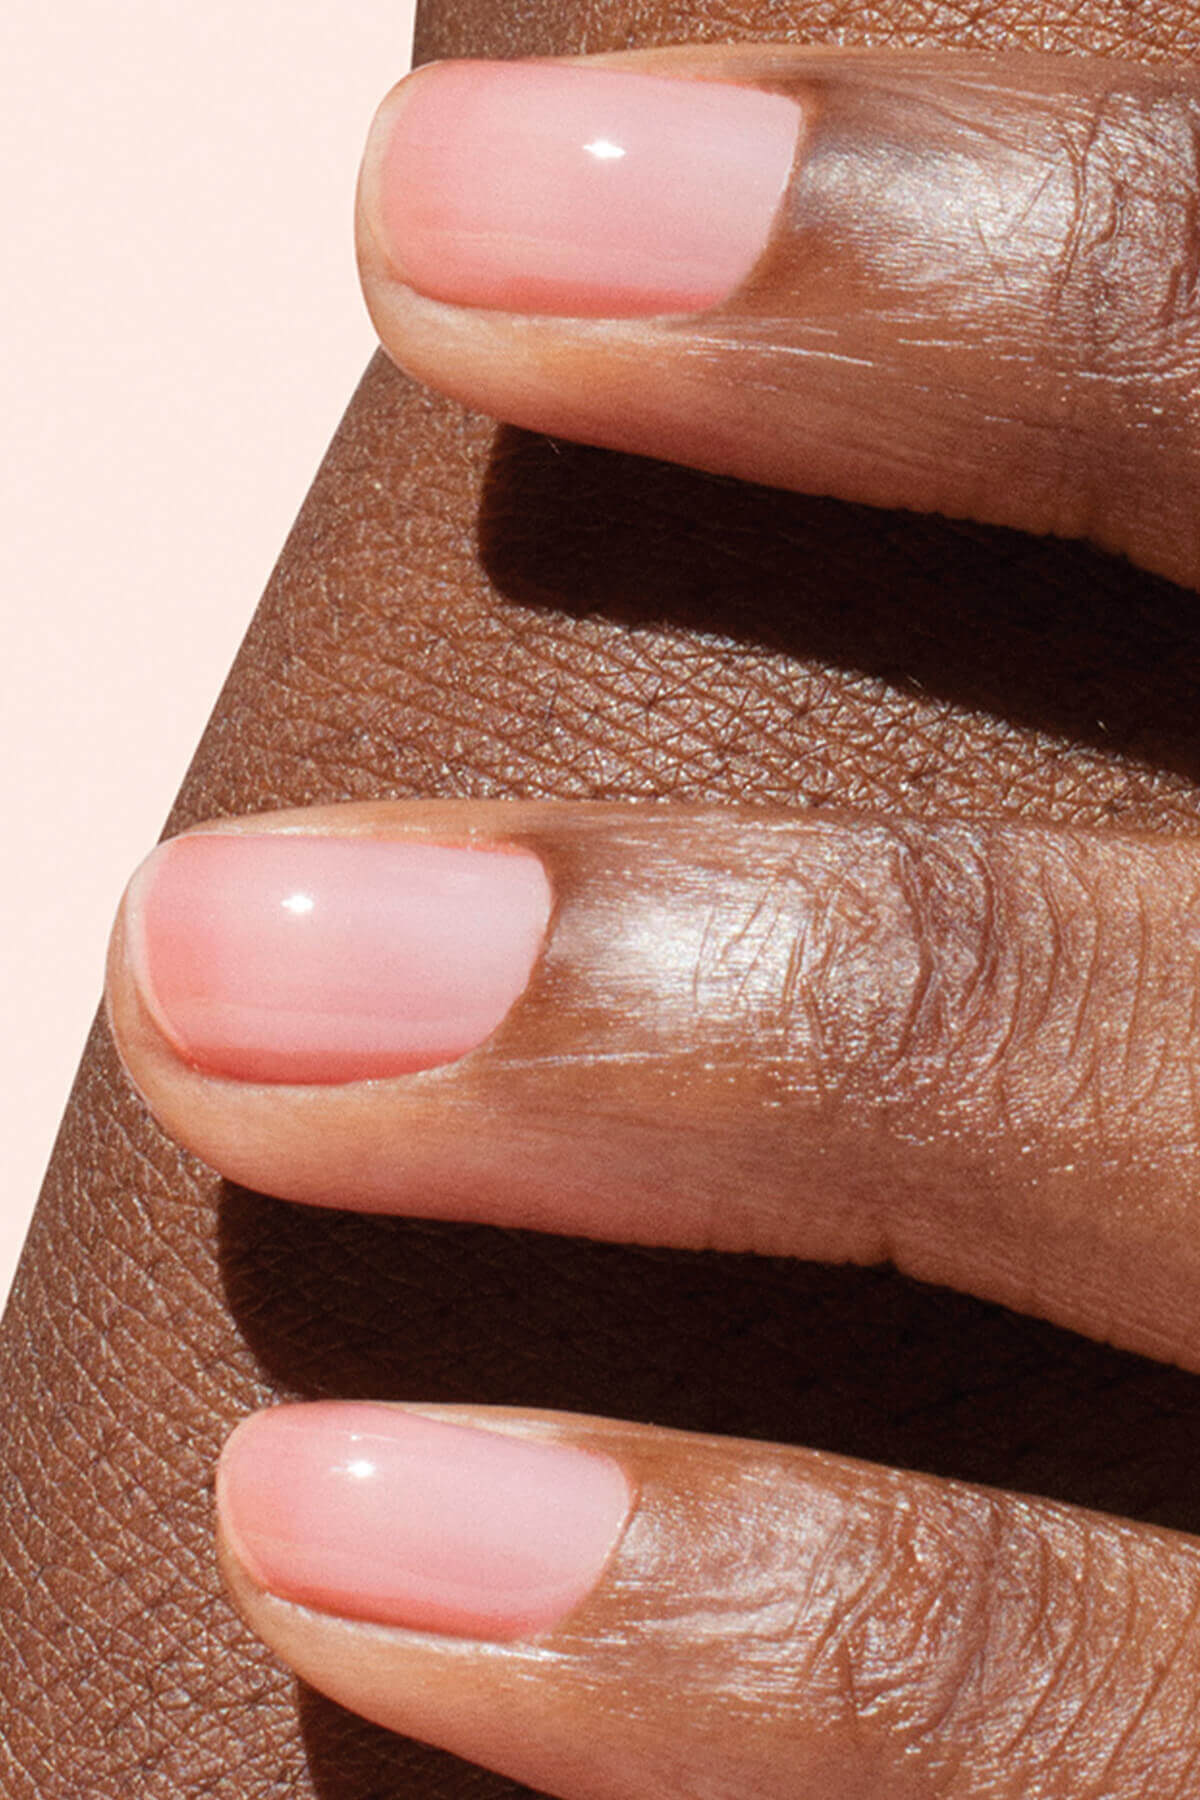
Two coats of color
Whether you're into soft pastels or bold reds, color is applied in two thin coats. Here’s how to get it just right:
🖌️ Pick up a small amount of polish with the tip of the brush.
💅 Apply in three strokes: one down the center of the nail, followed by one on each side. This technique ensures an even application with no streaks or bubbles—just a flawless finish.
🗝️ Don’t forget to cap the free edge by gently sweeping the brush along the tip of the nail. This seals the polish and helps prevent chipping.
💡 Make sure to cure each coat under your LED or UV lamp. Drying times may vary from the base coat, so check your lamp instructions.

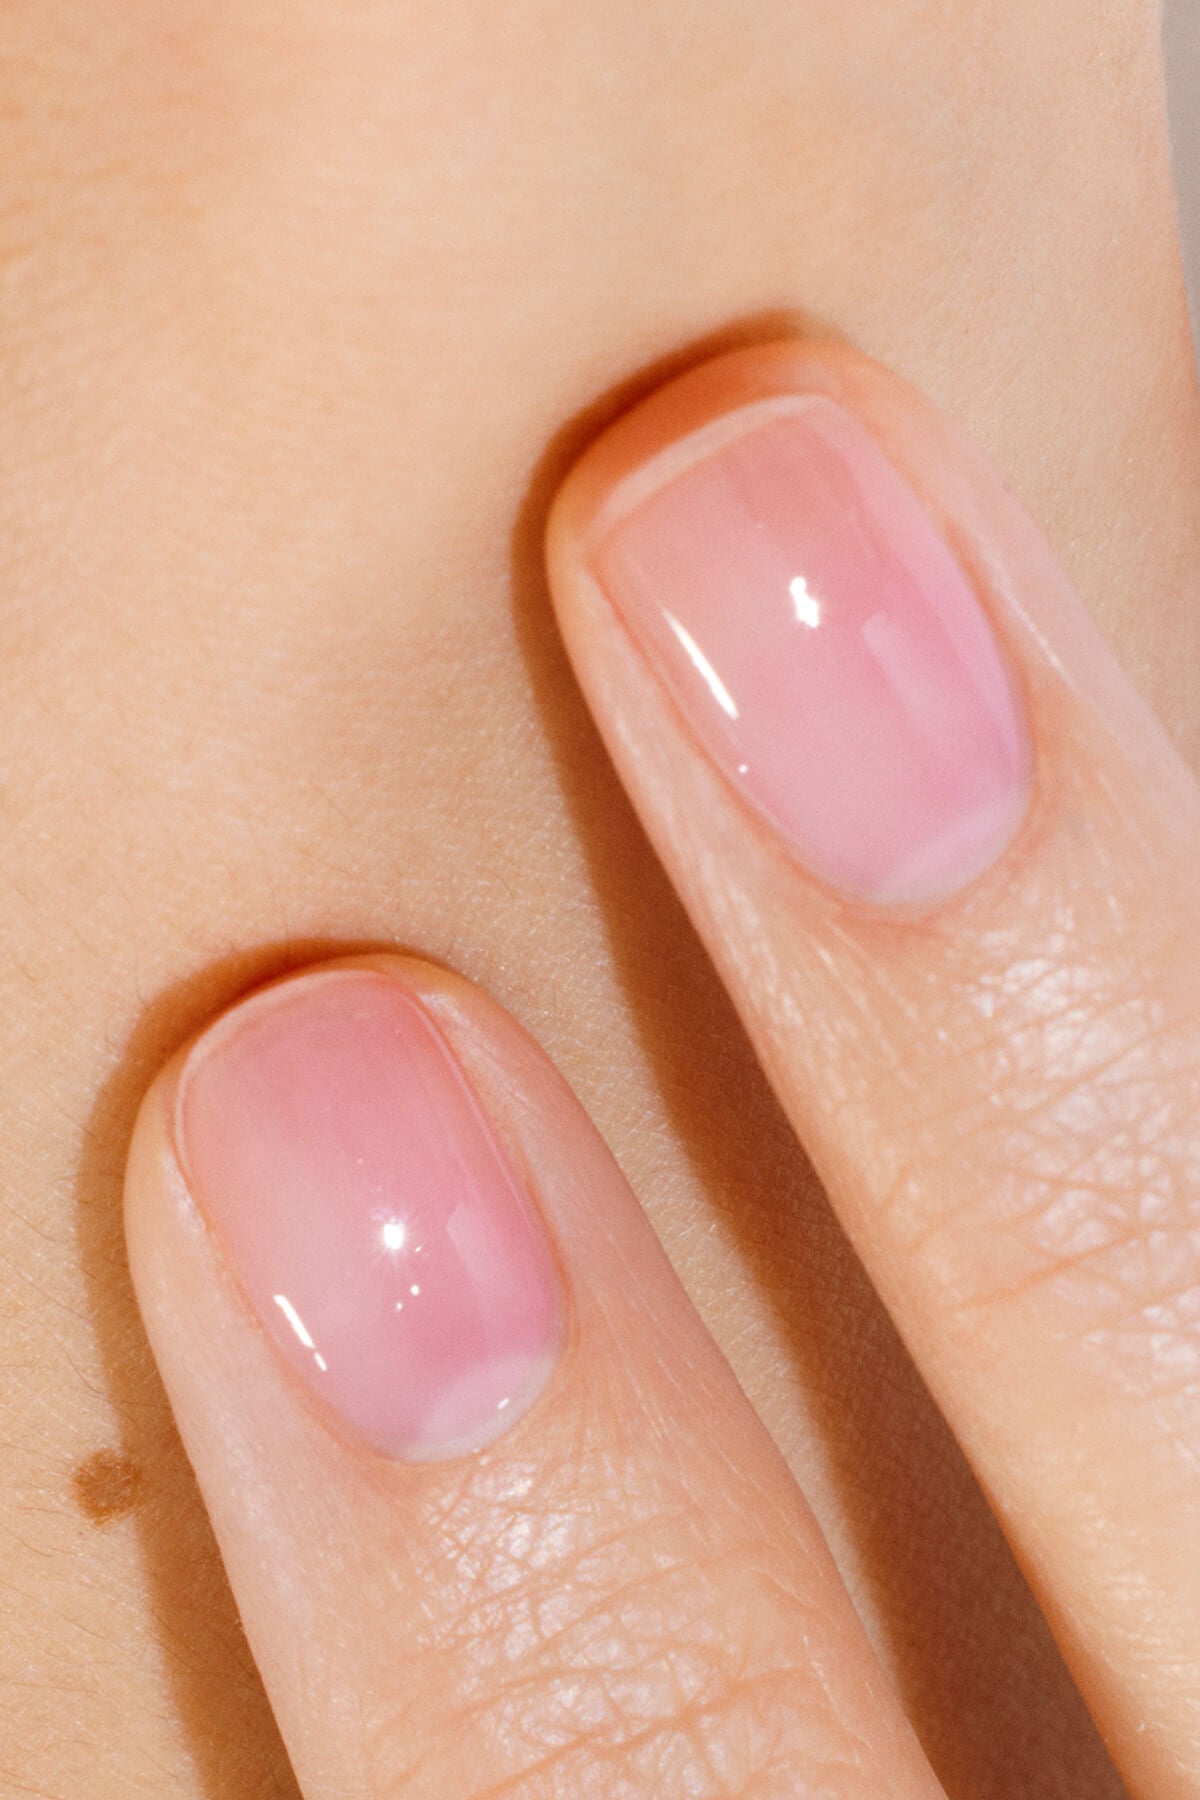
Top Coat: the finishing touch
The top coat is the final step and the secret to a long-lasting gel manicure. Here’s why it matters:
✨ It’s the finishing layer, available in high shine or matte.
🎨 It locks in your color and any nail art designs.
🛡️ It adds extra protection against everyday wear and tear.
💫 It extends the life of your manicure.
Just like the other layers, apply a thin coat and cure it under your LED or UV lamp for the recommended time.

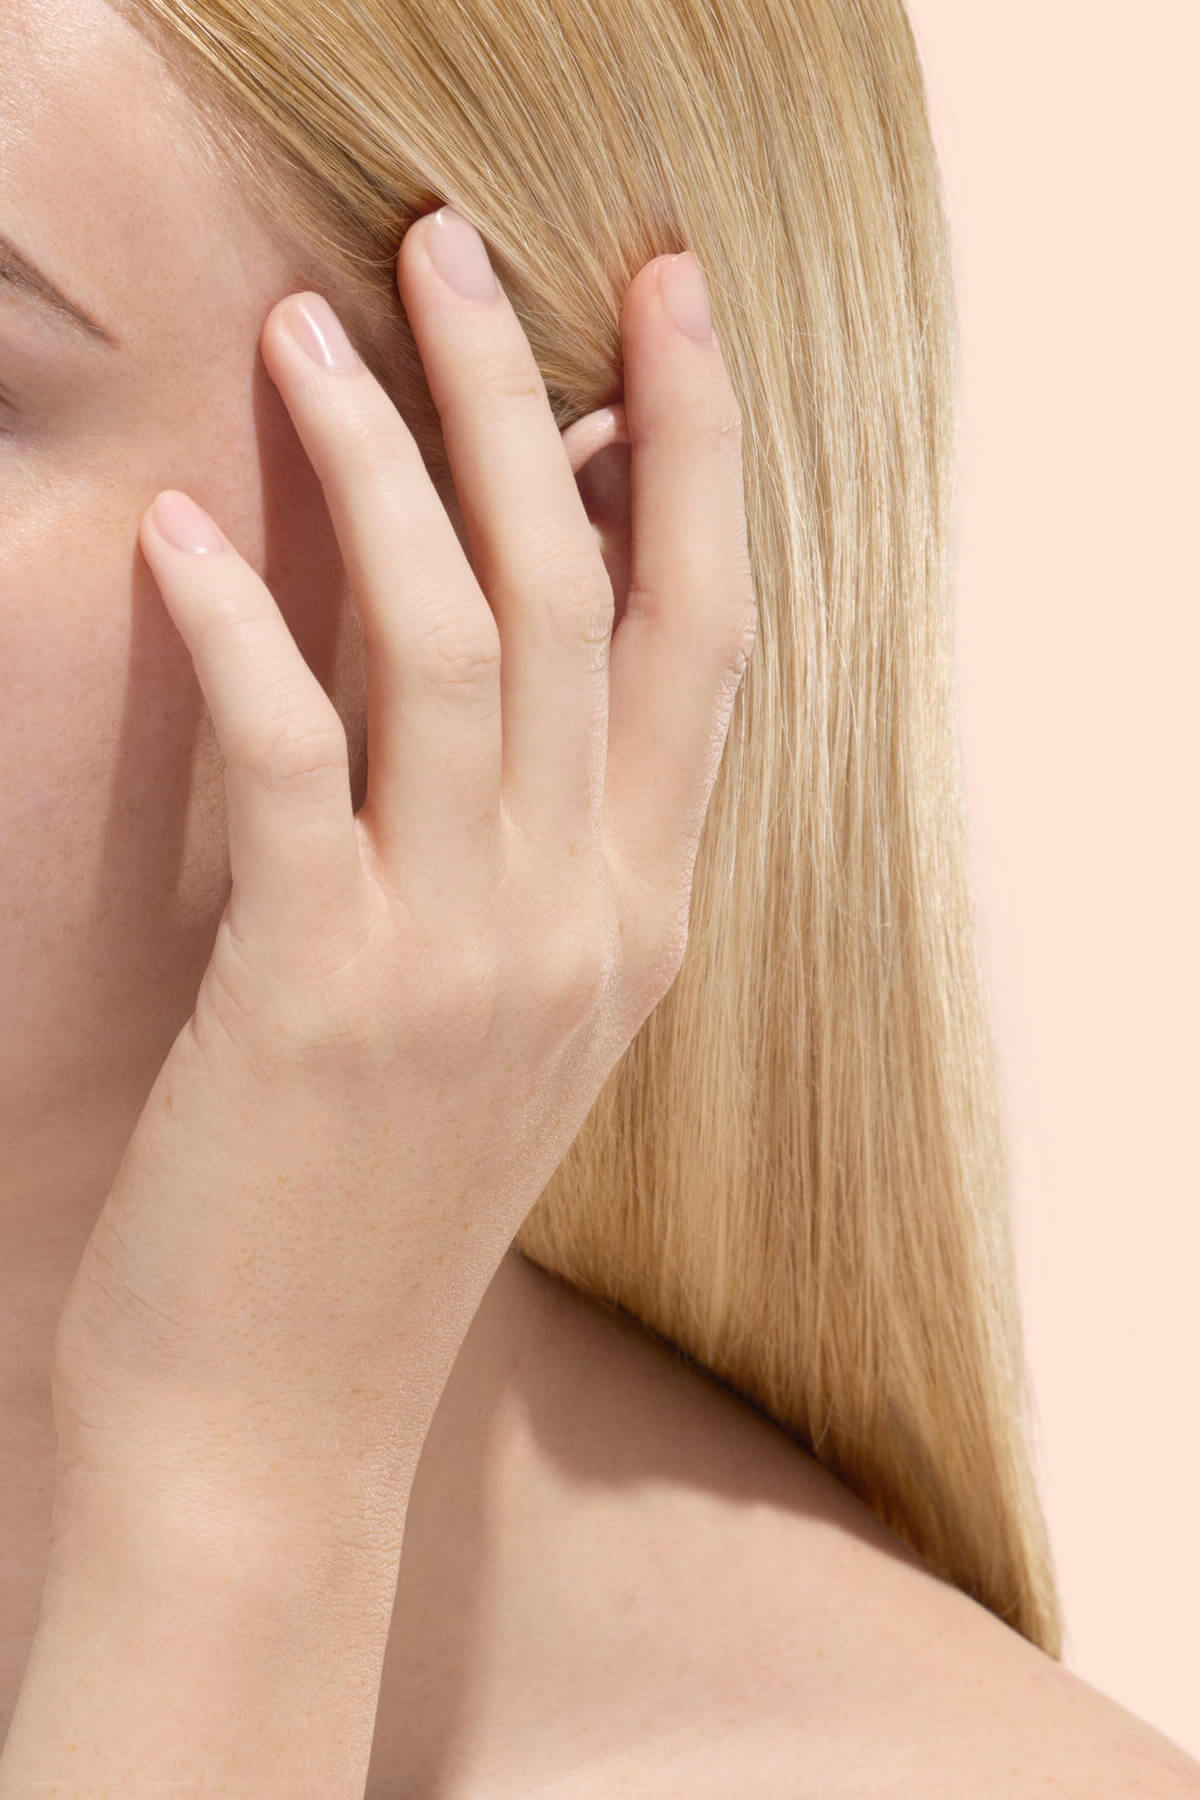
And don’t forget the final step: finish with a hydrating touch. Gently massage in a few drops of Green Oil around the cuticles to nourish and add shine. Now you’re ready to flaunt your beautiful nails!
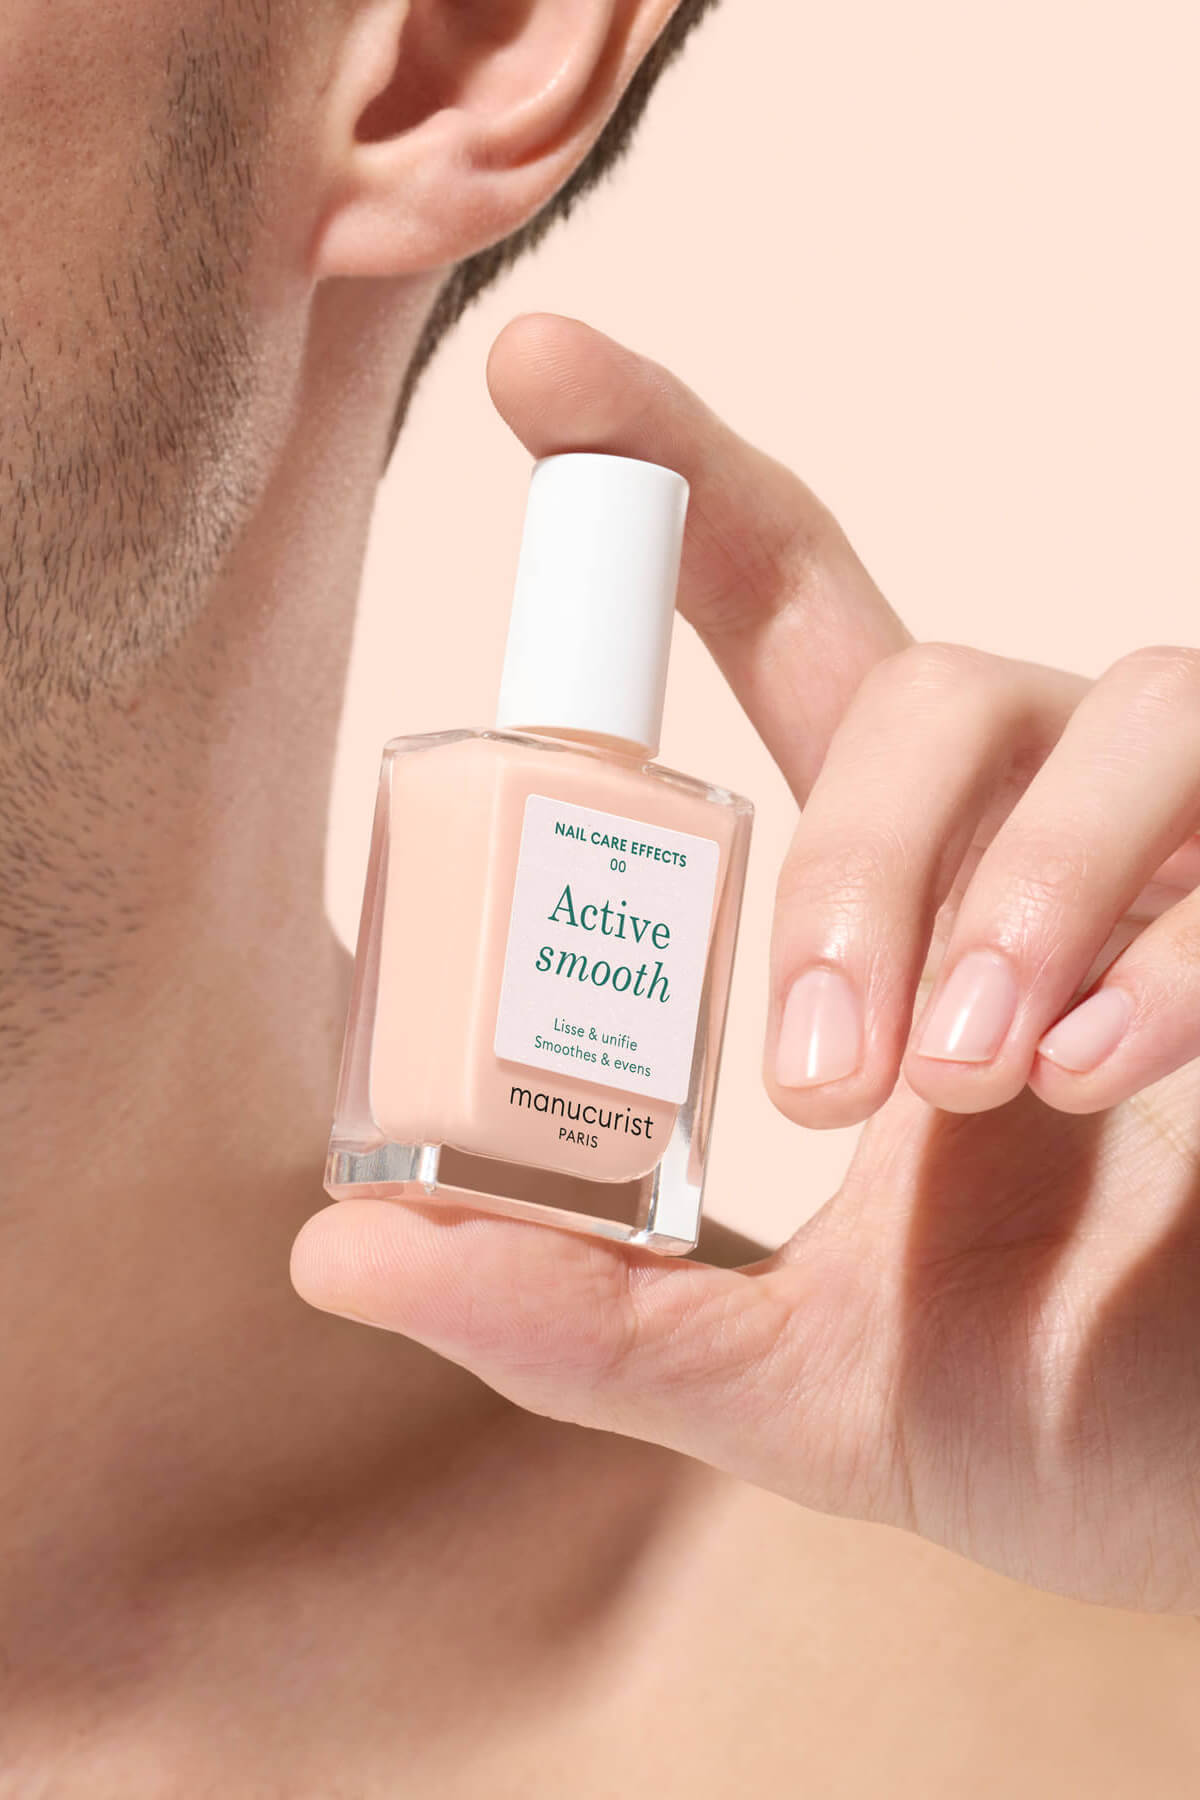
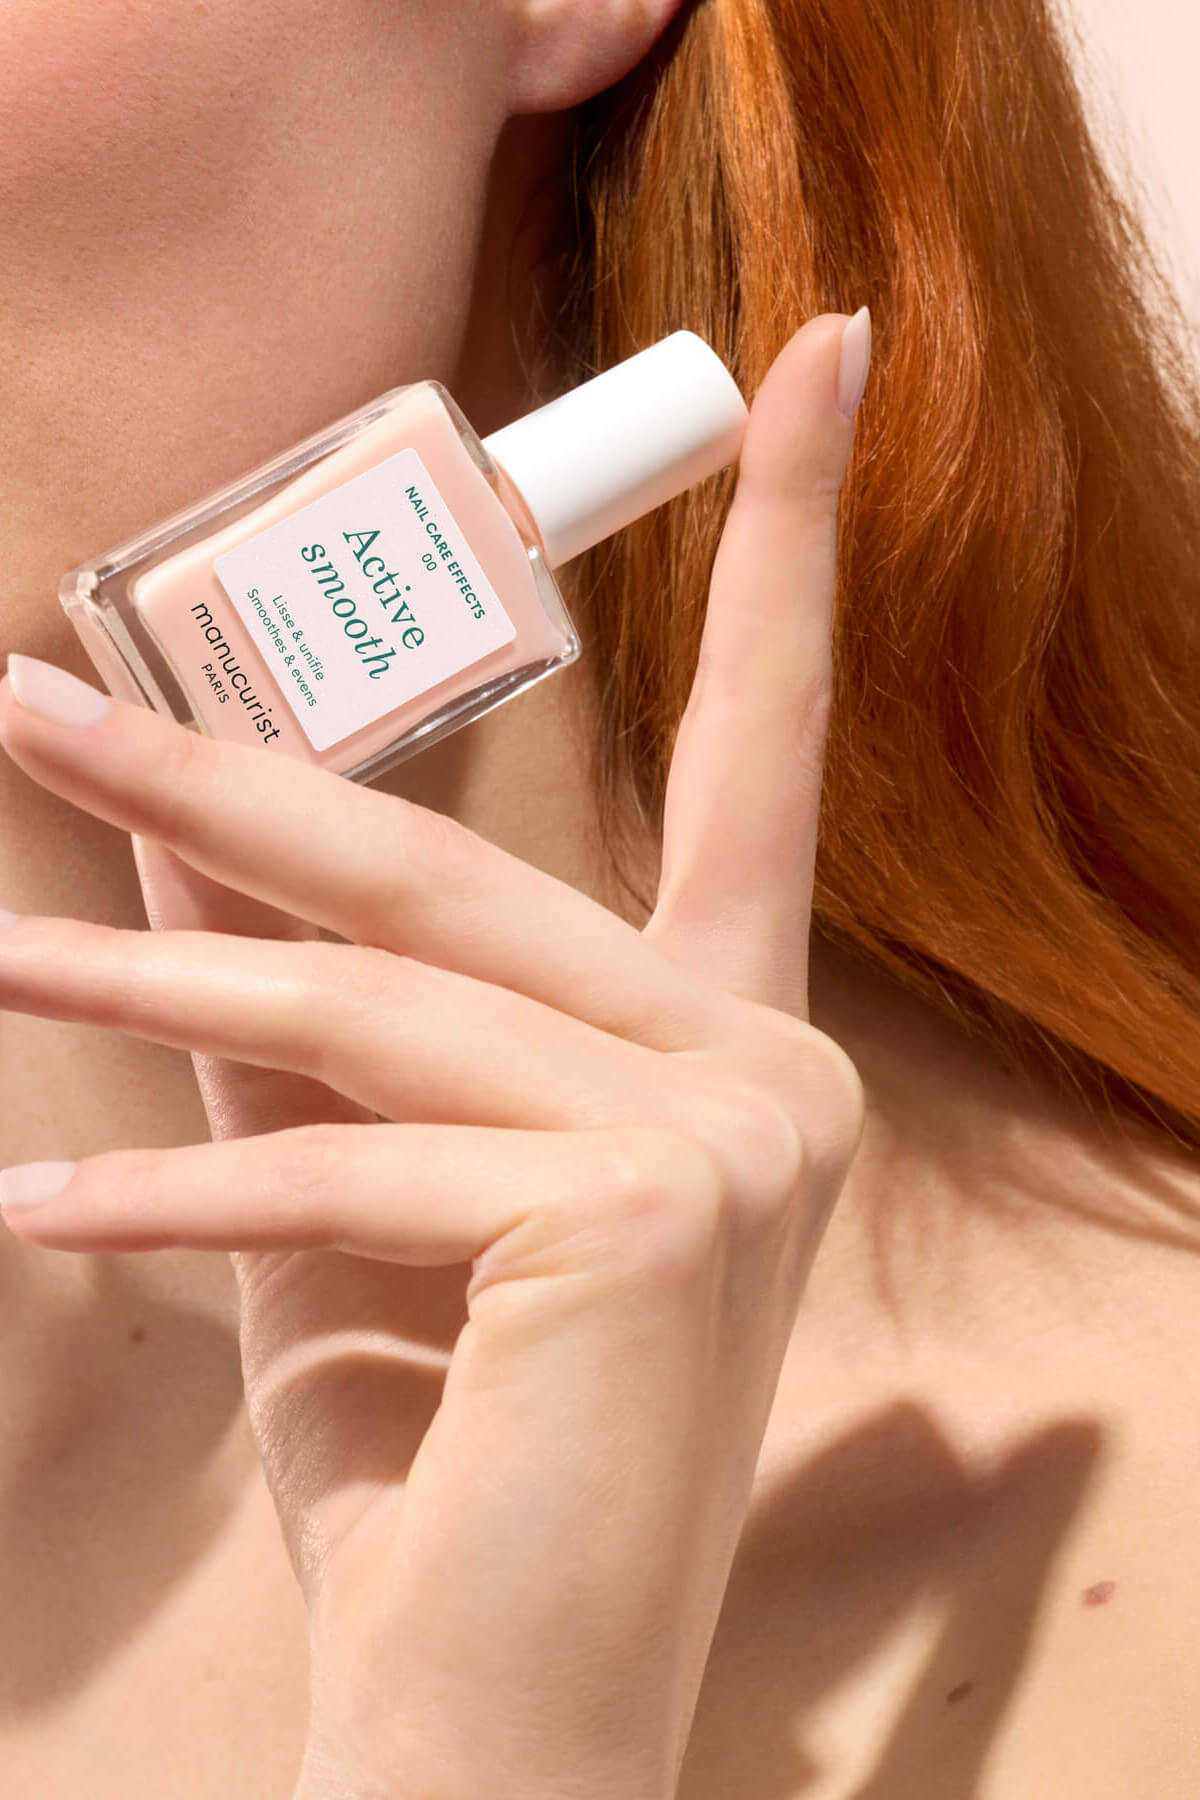
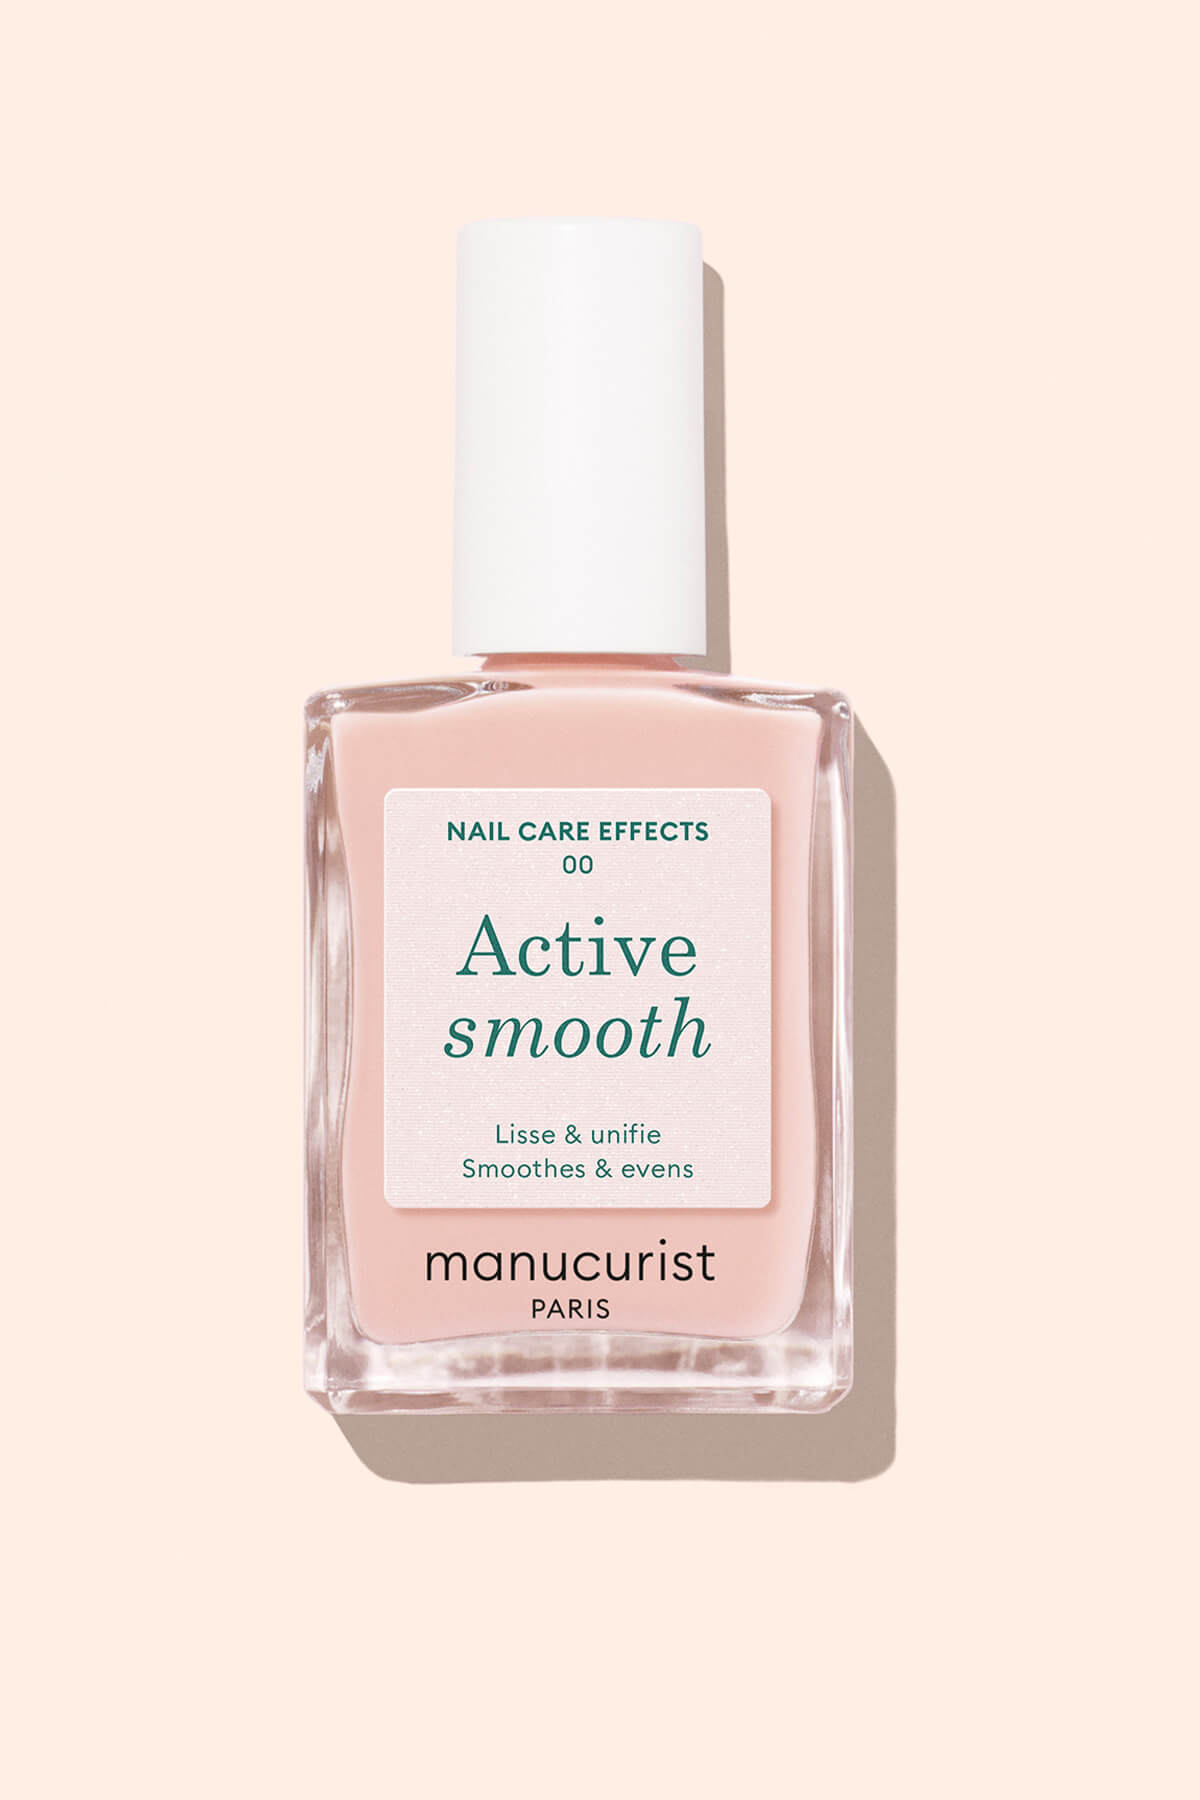
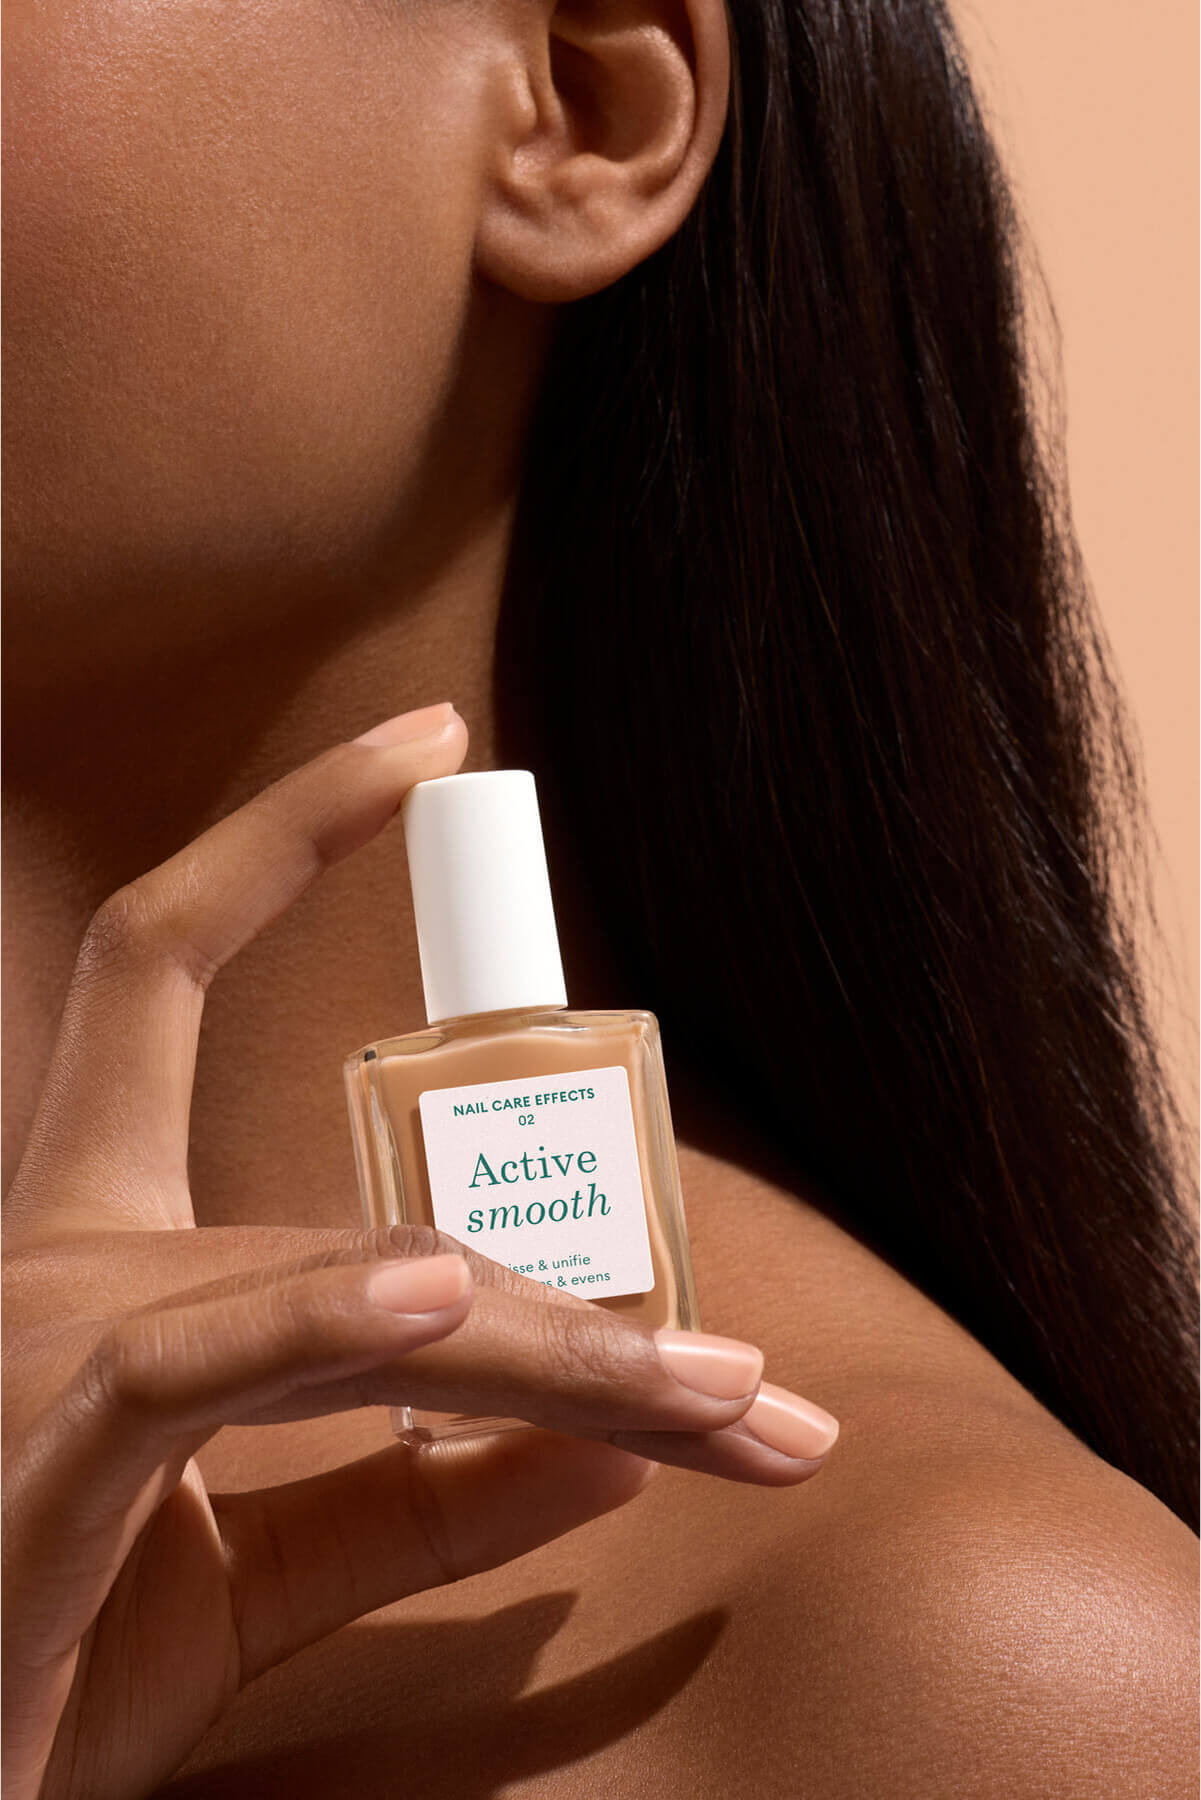
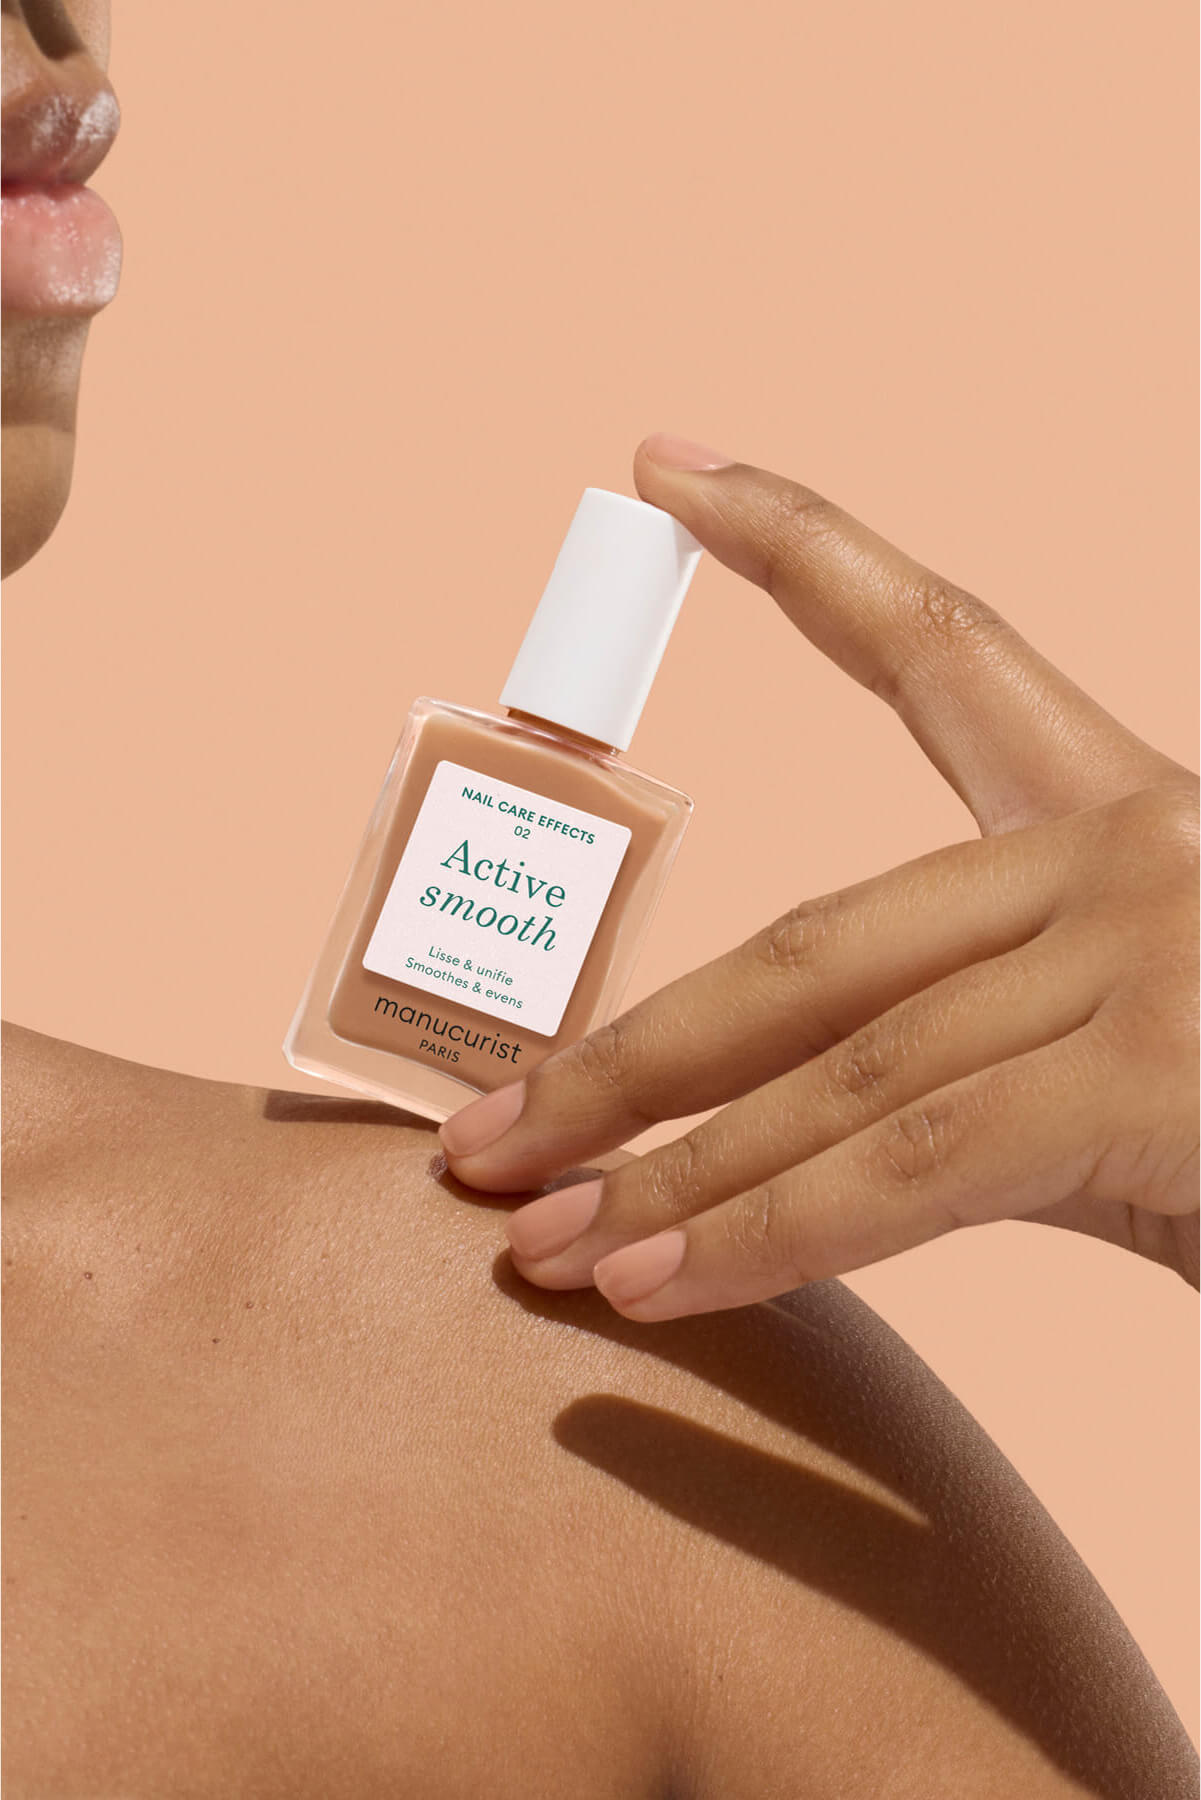
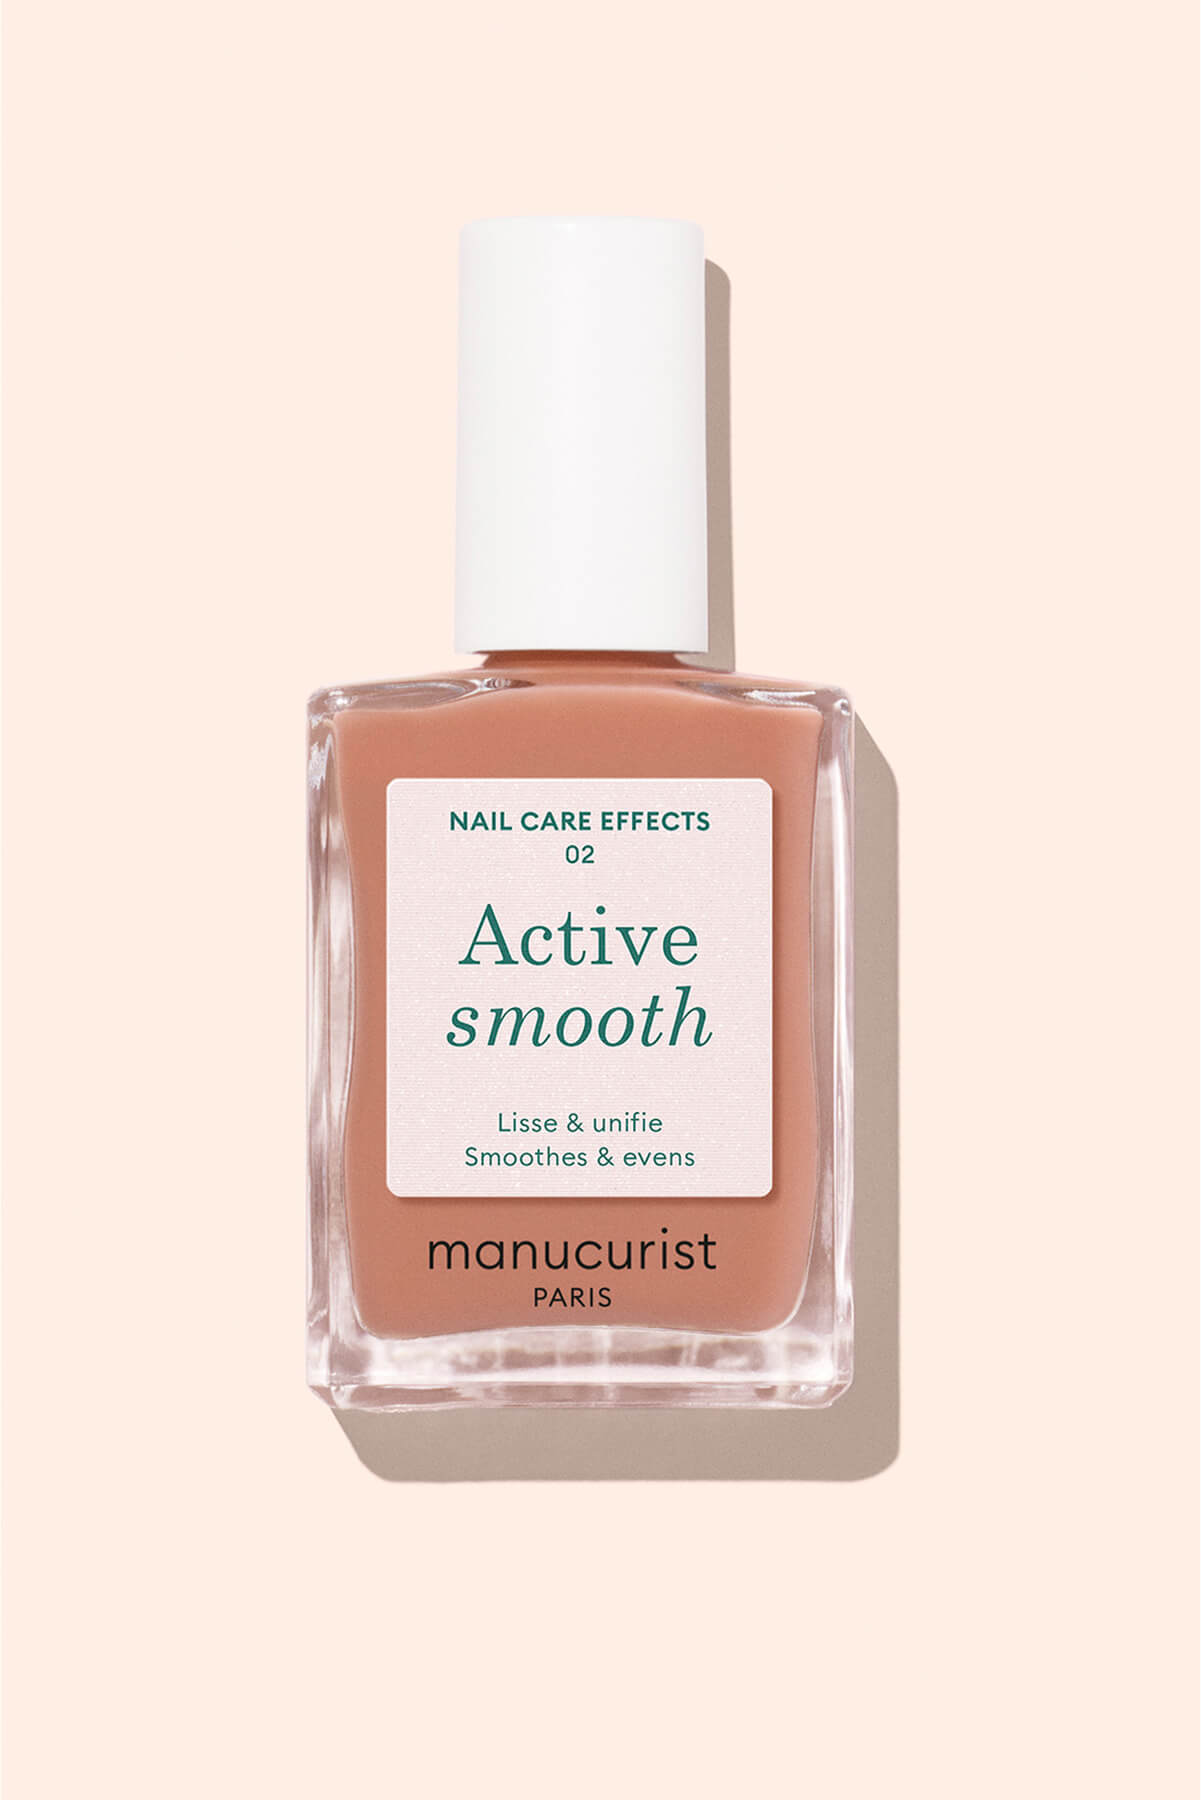
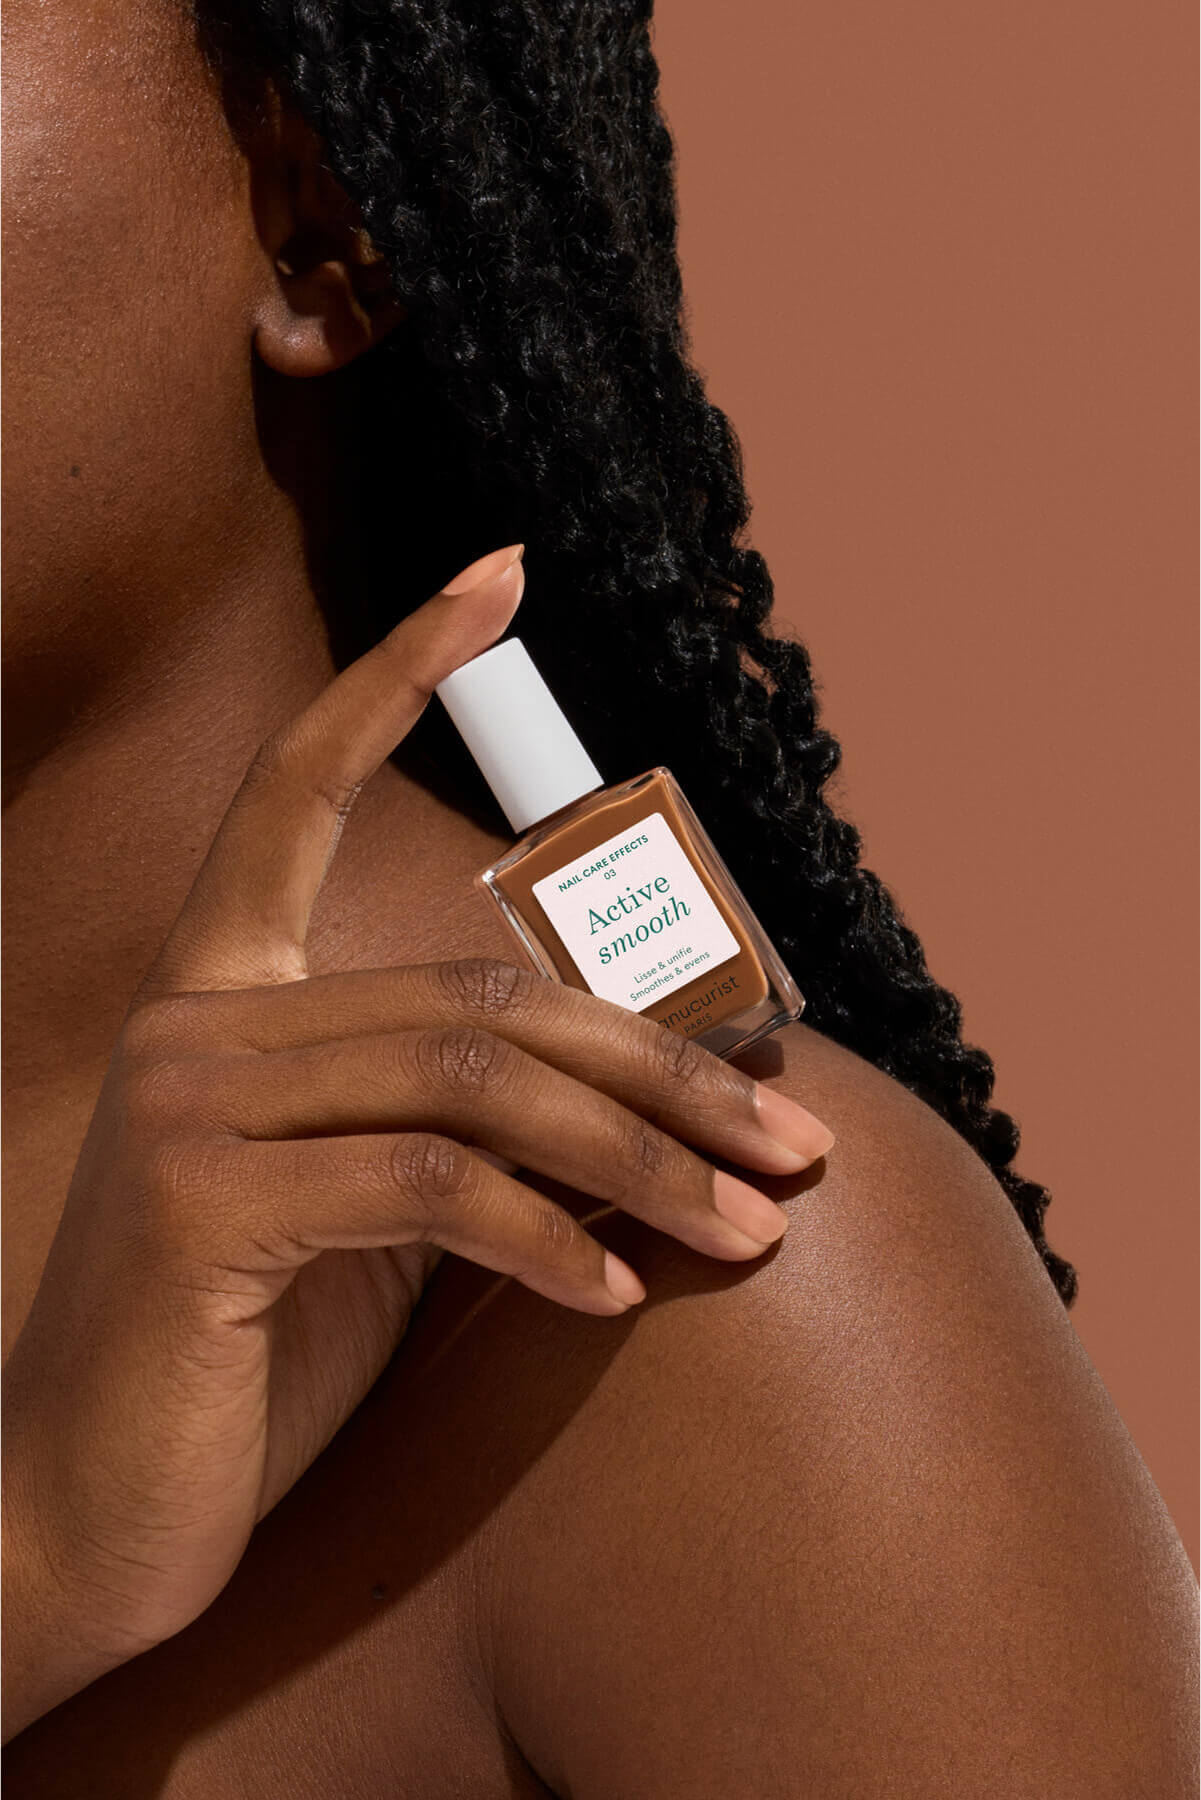
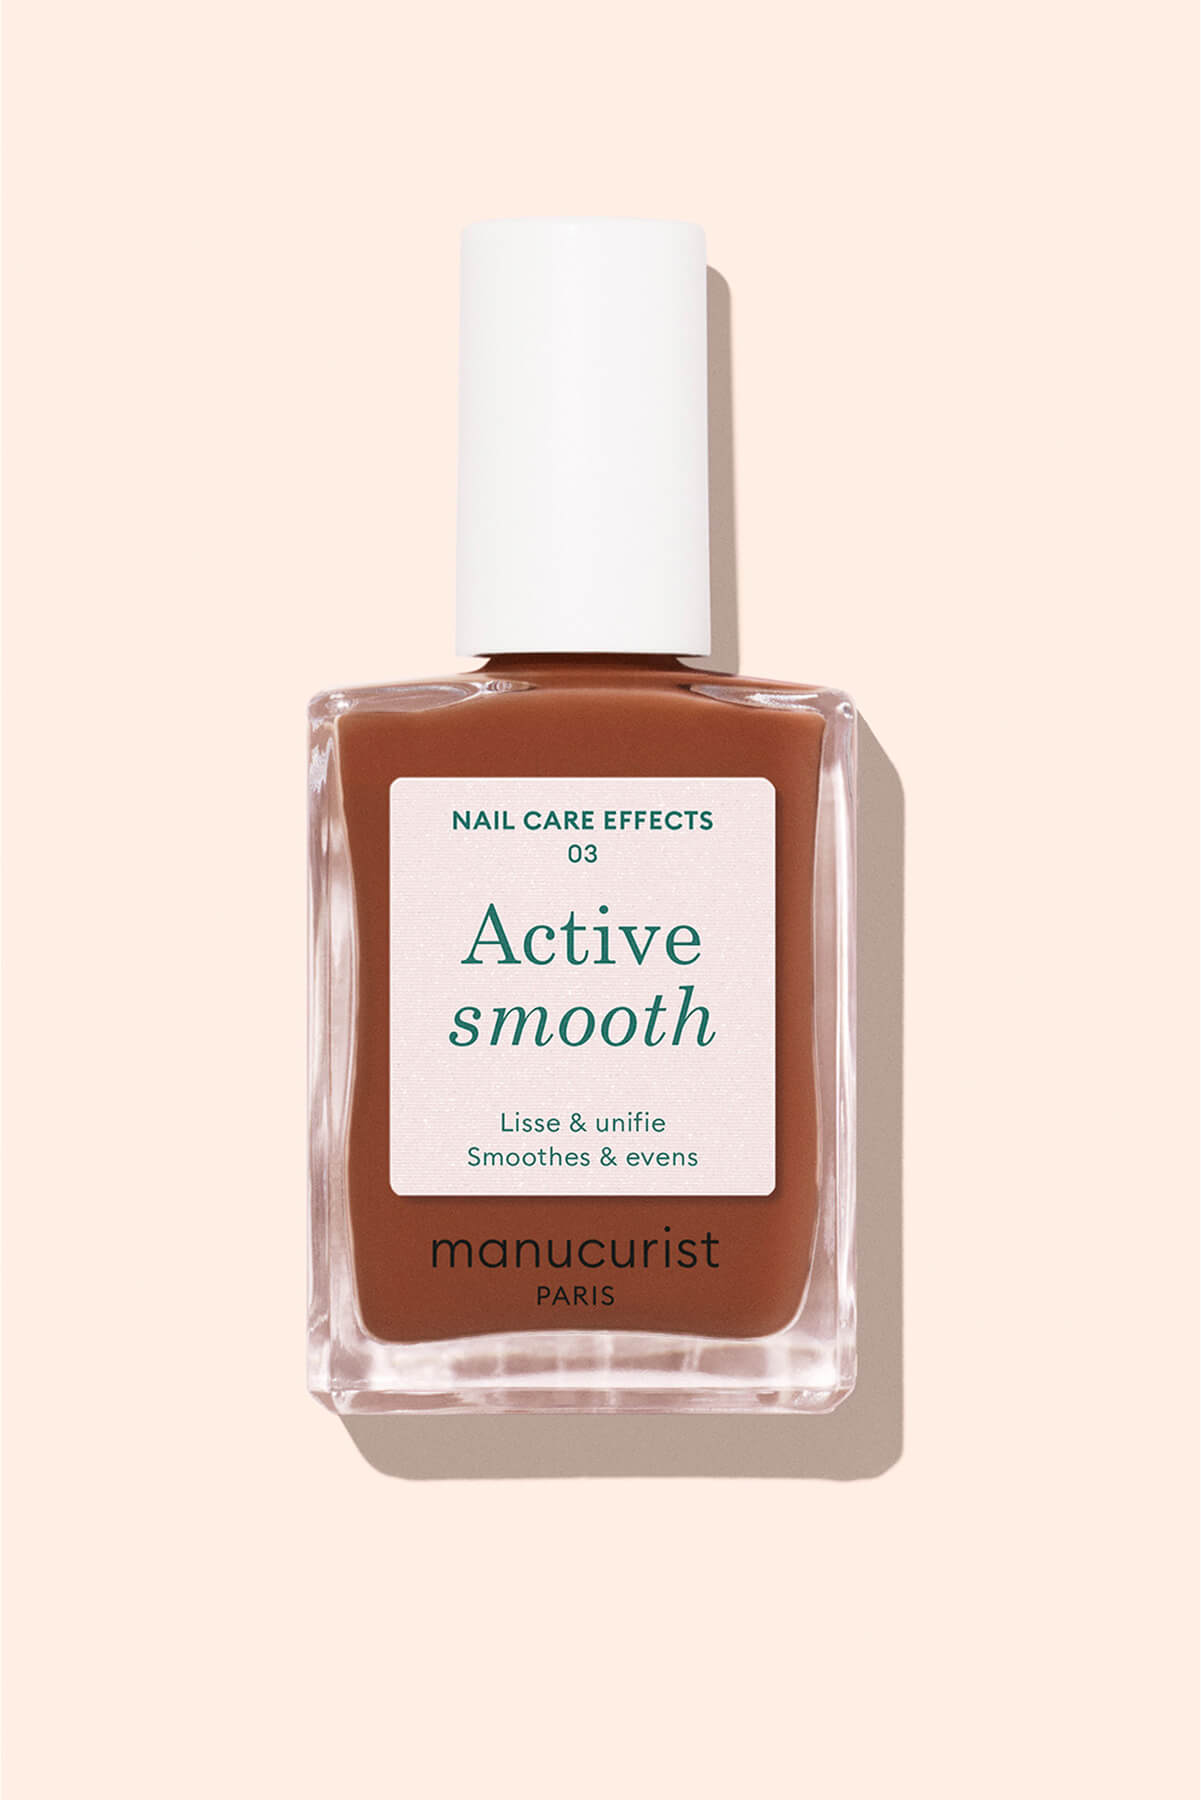
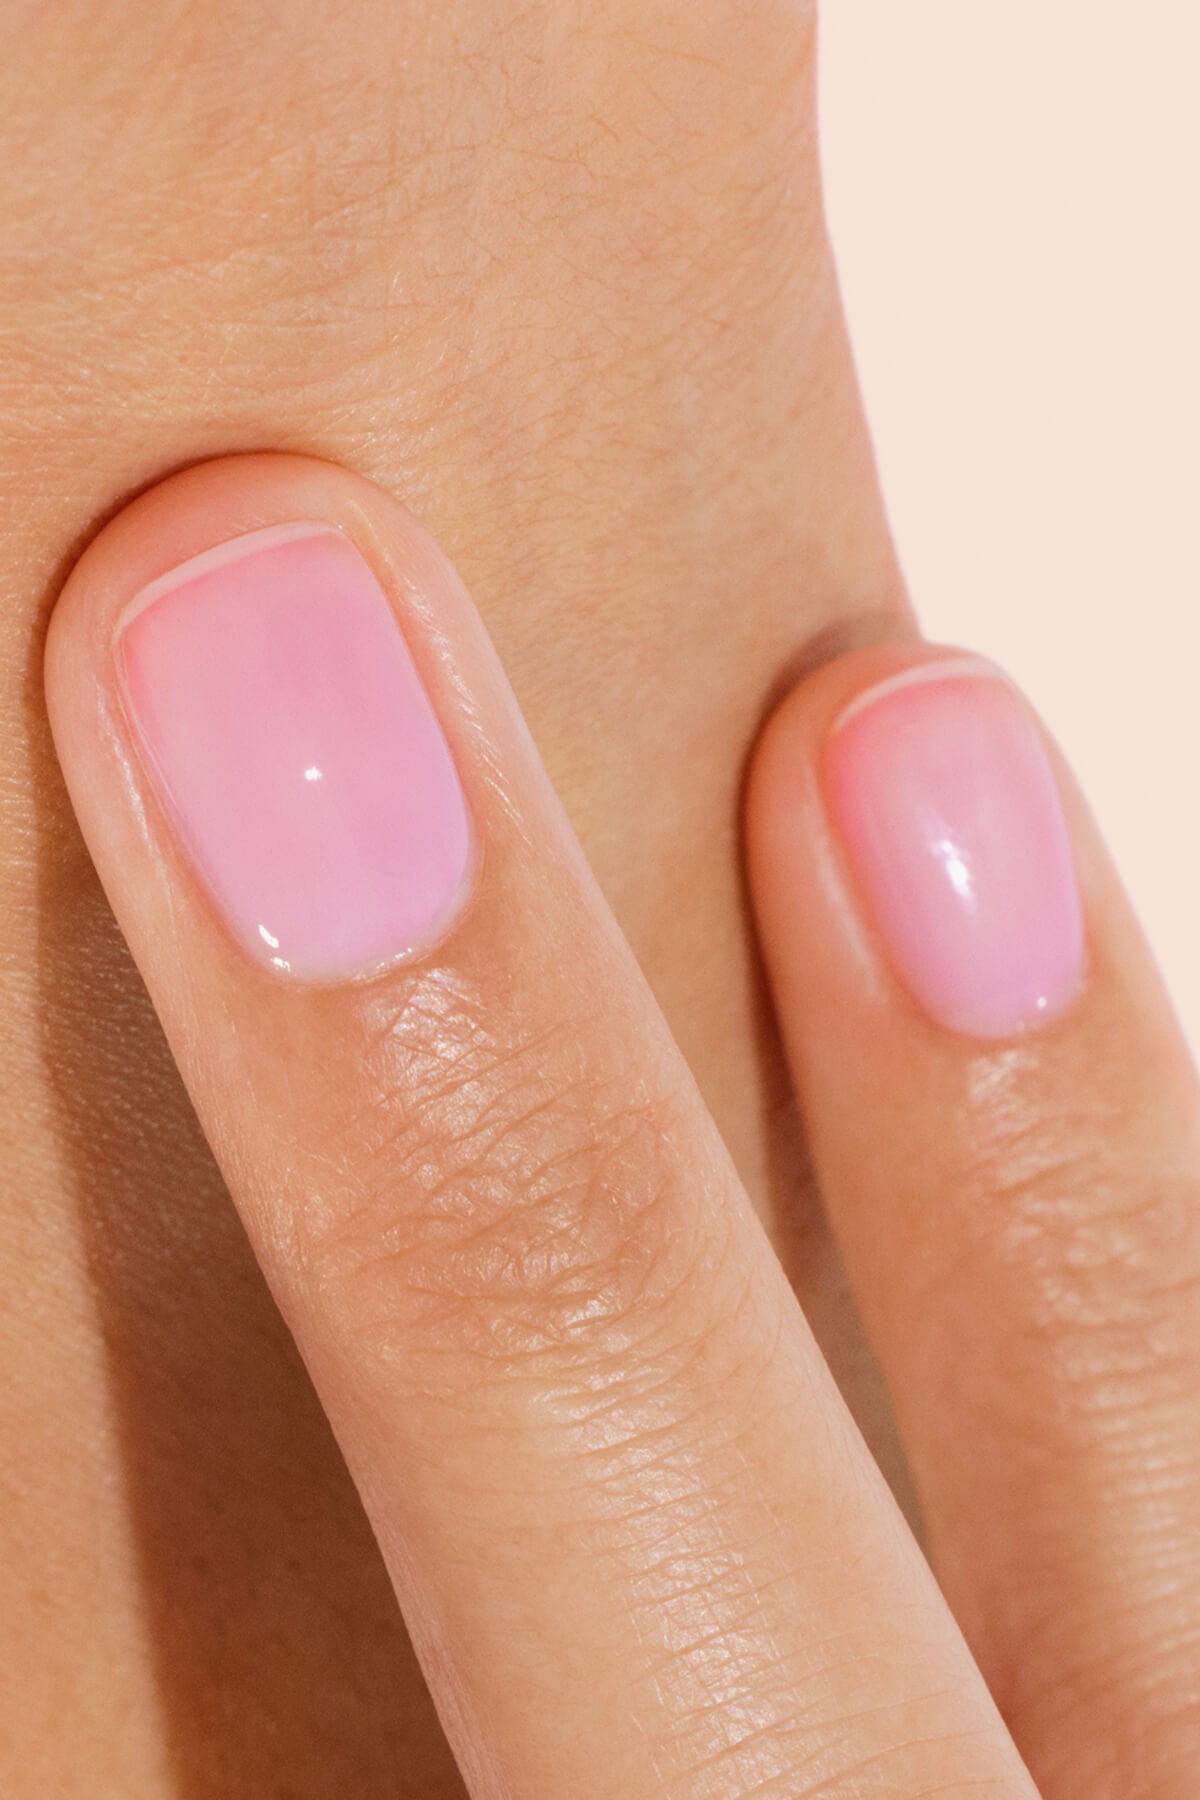
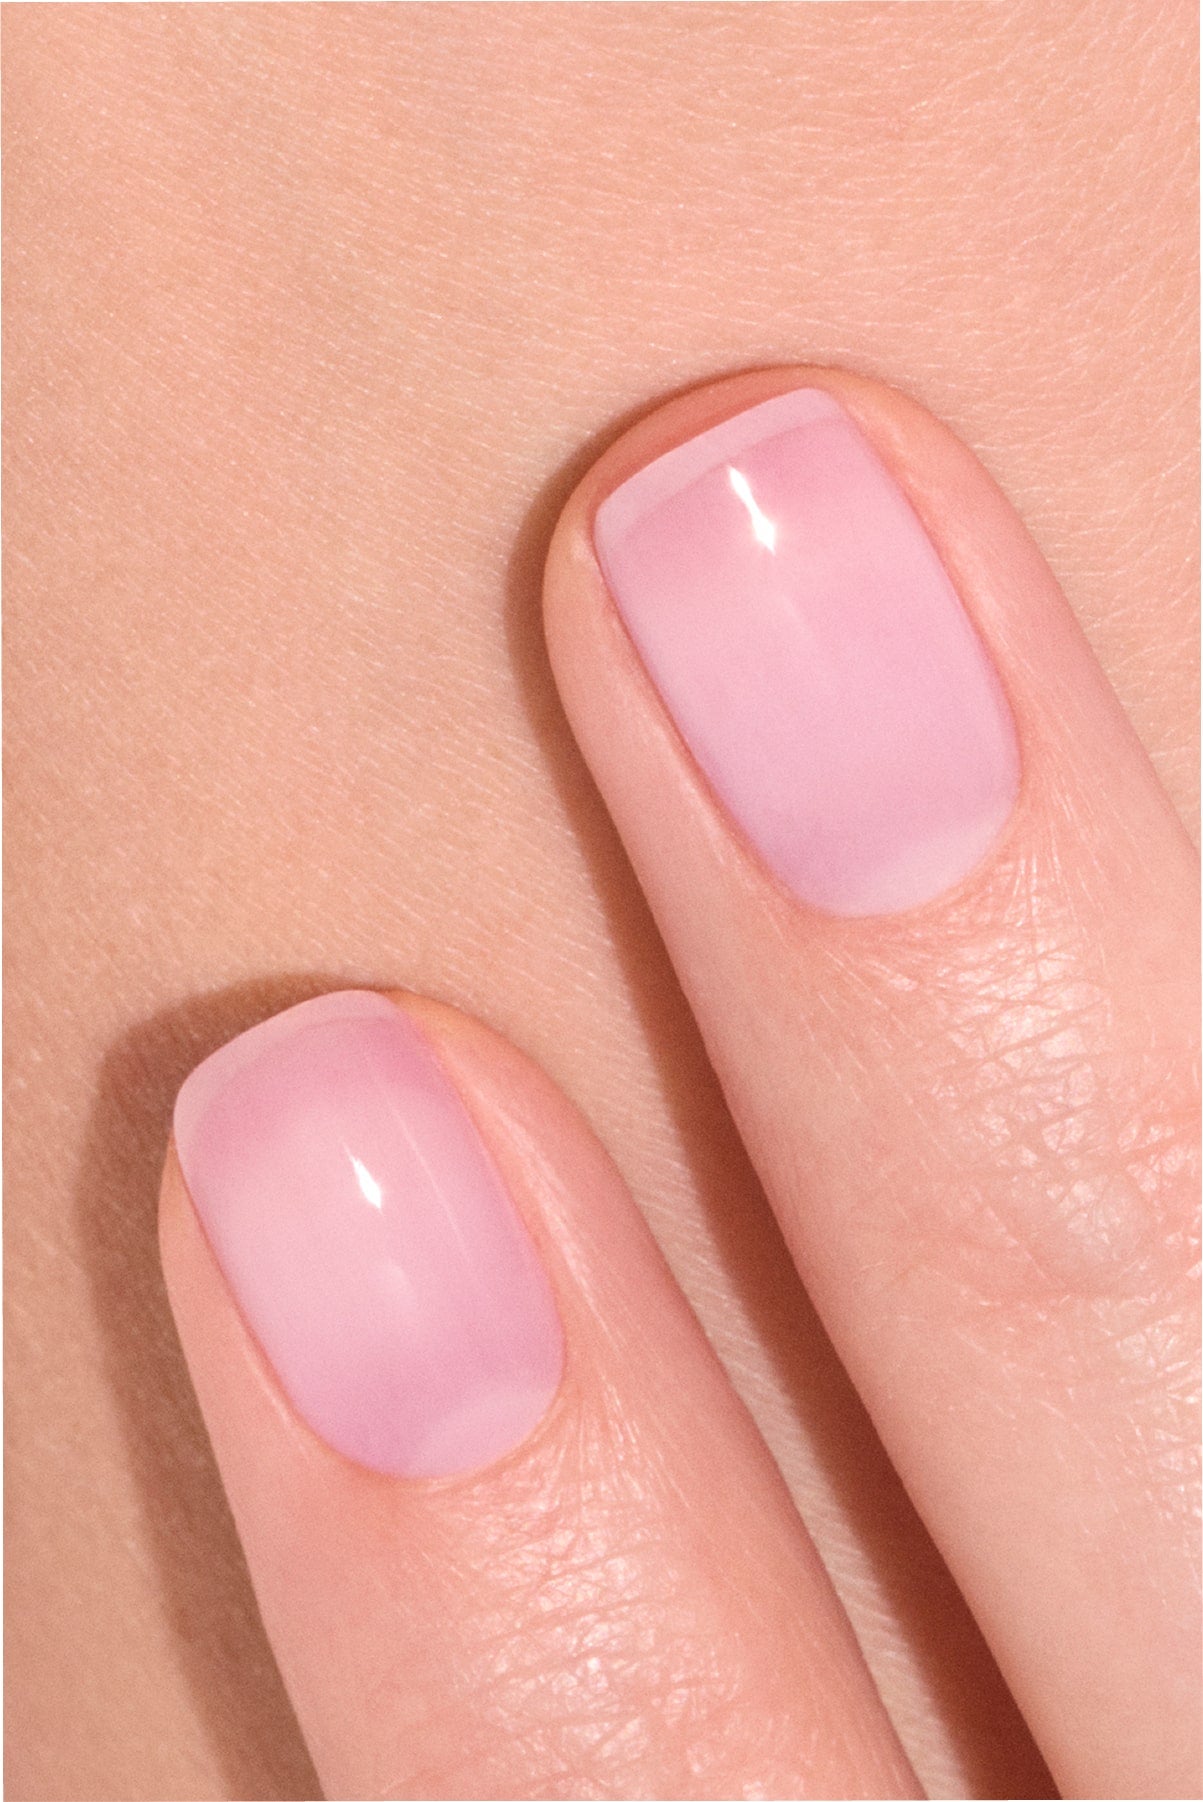
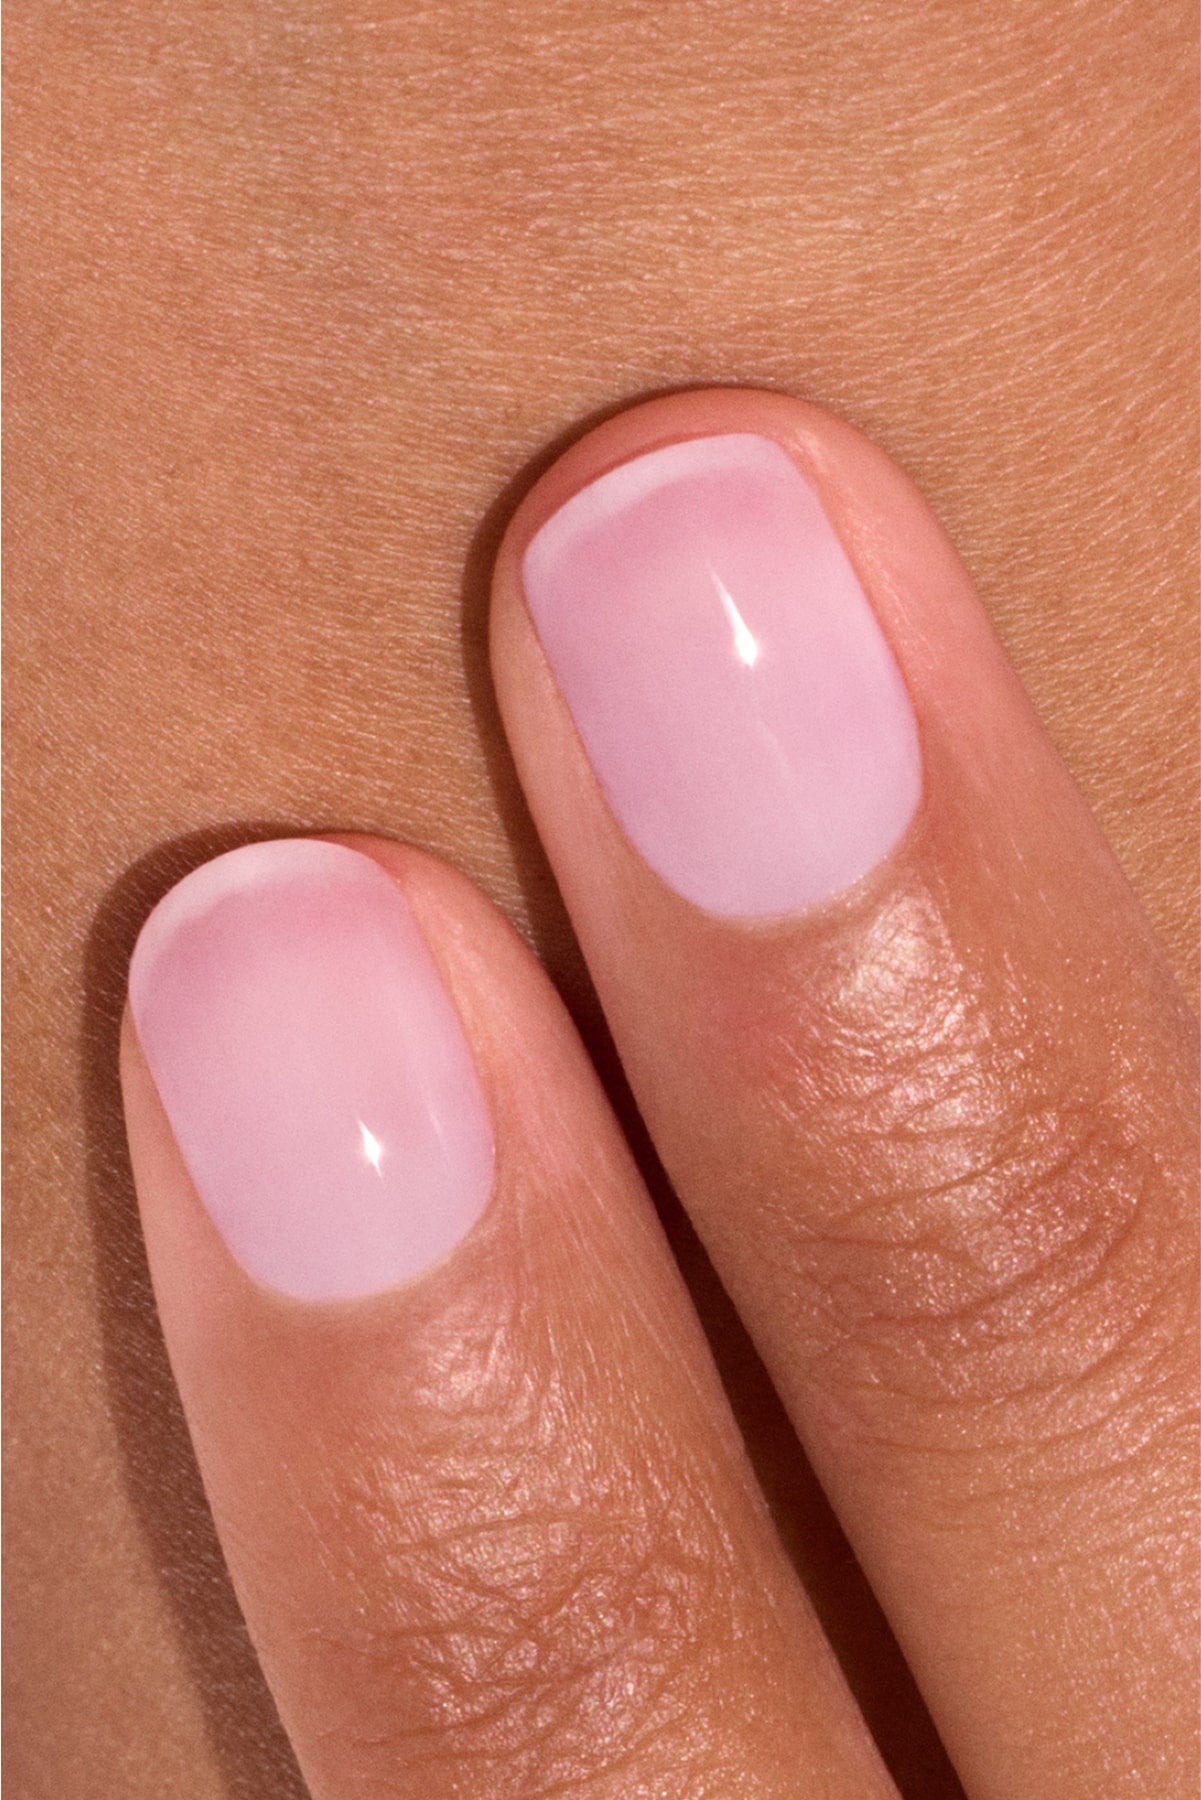
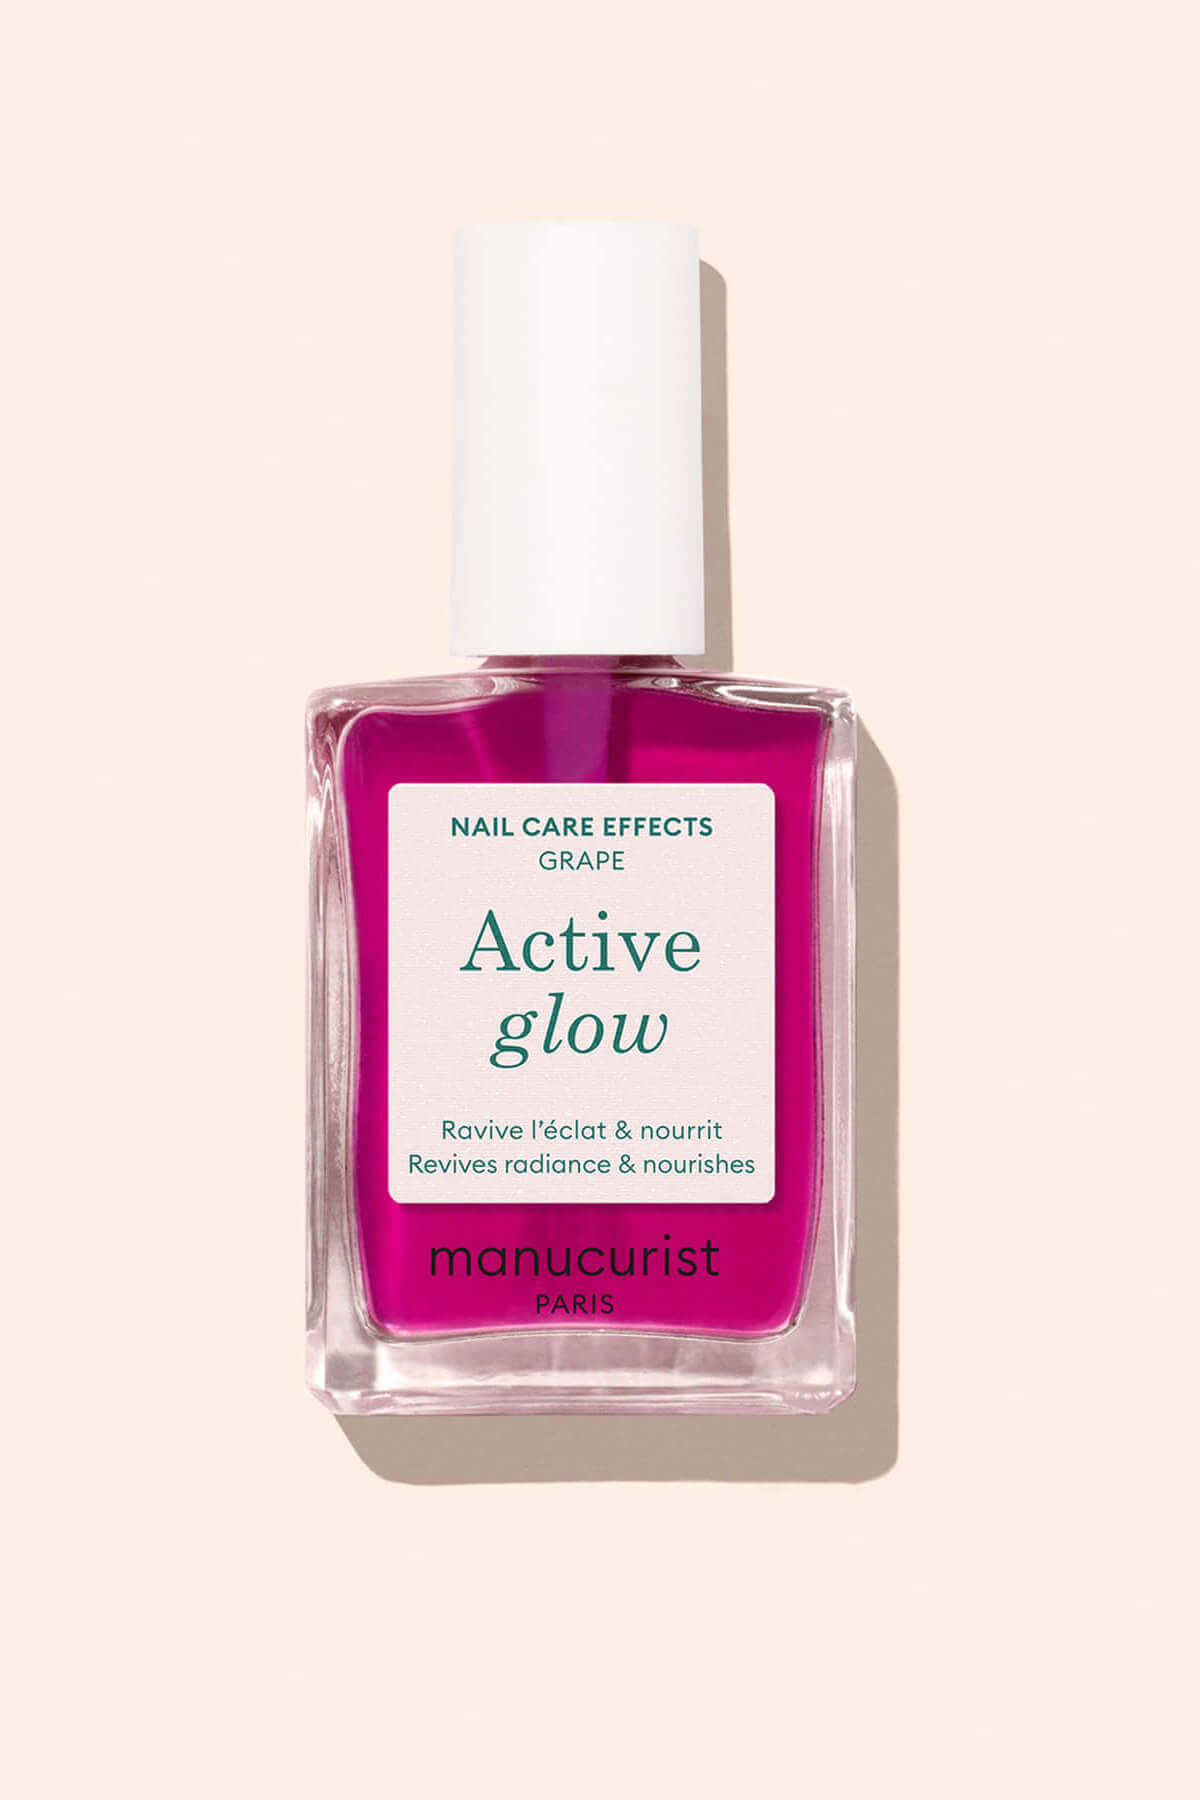
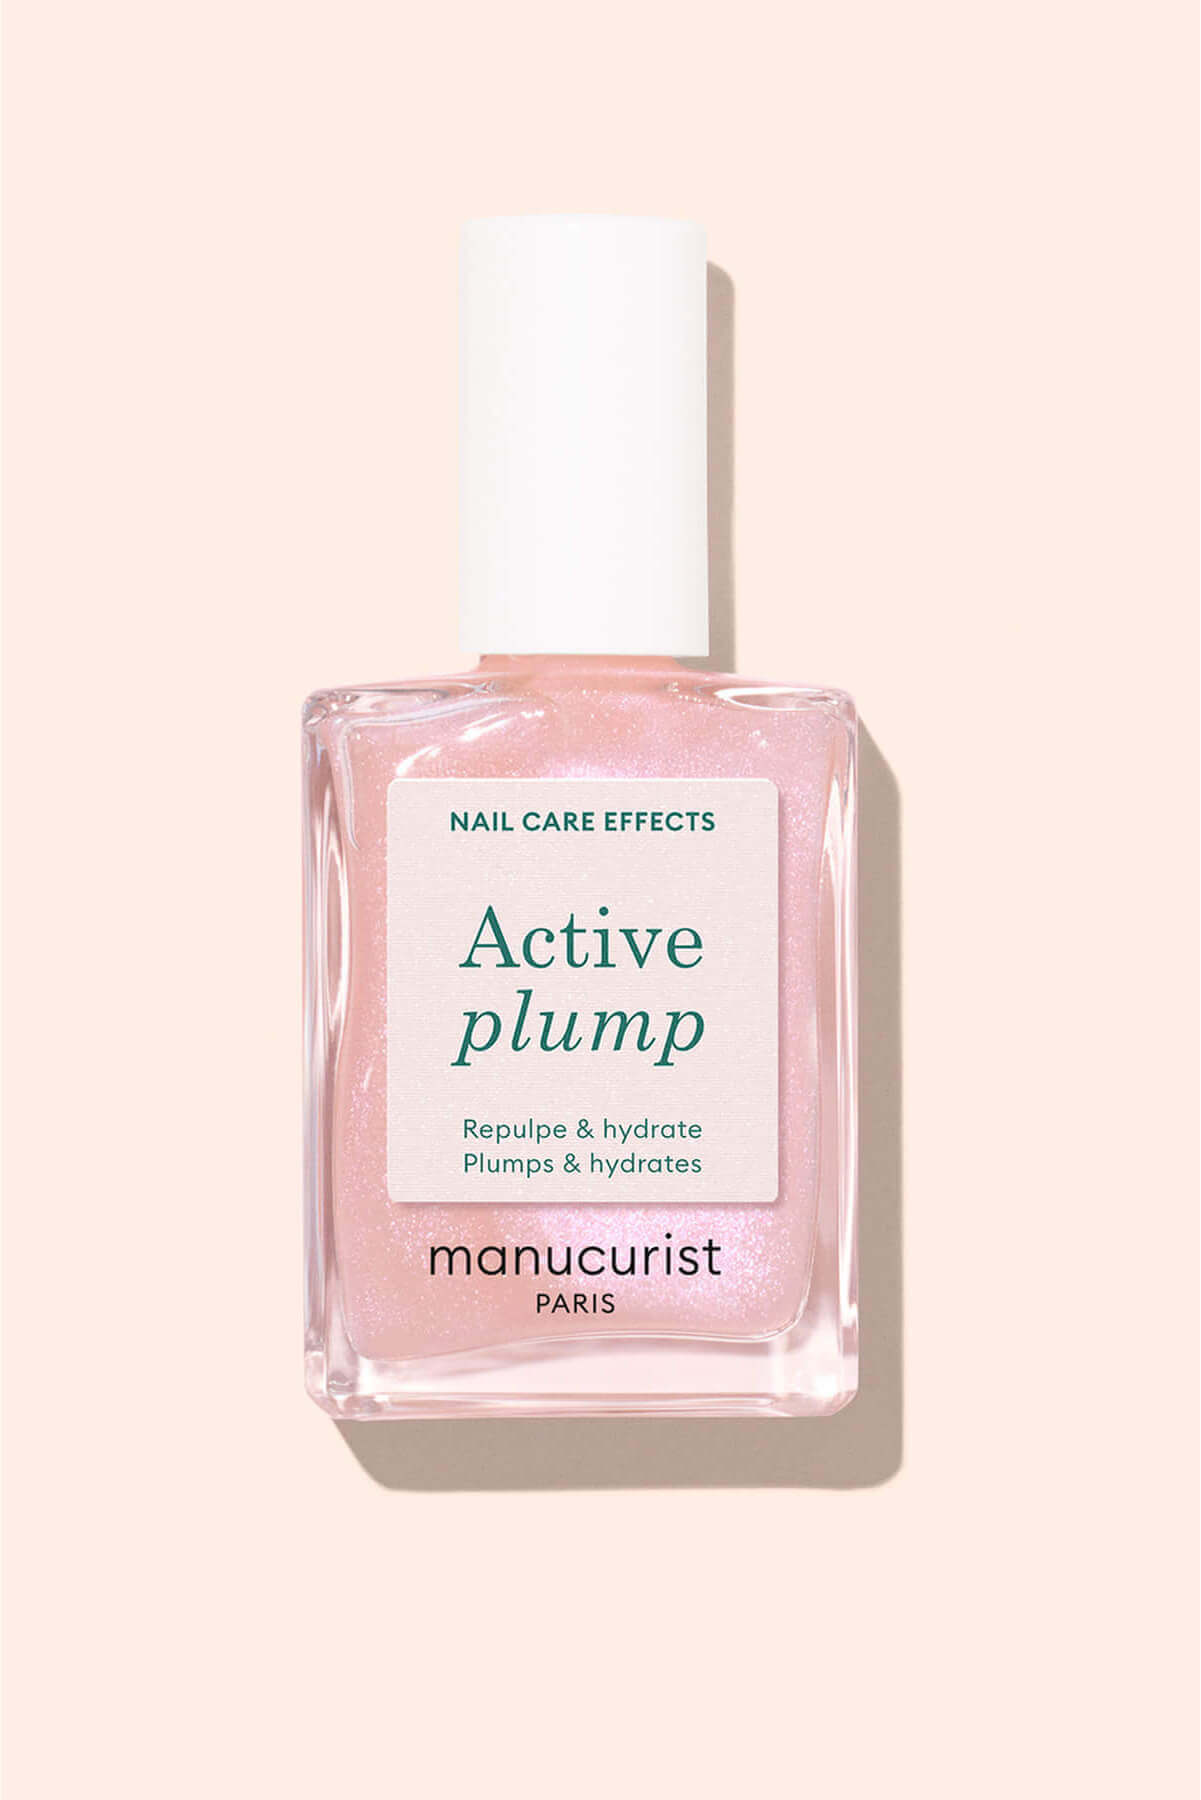
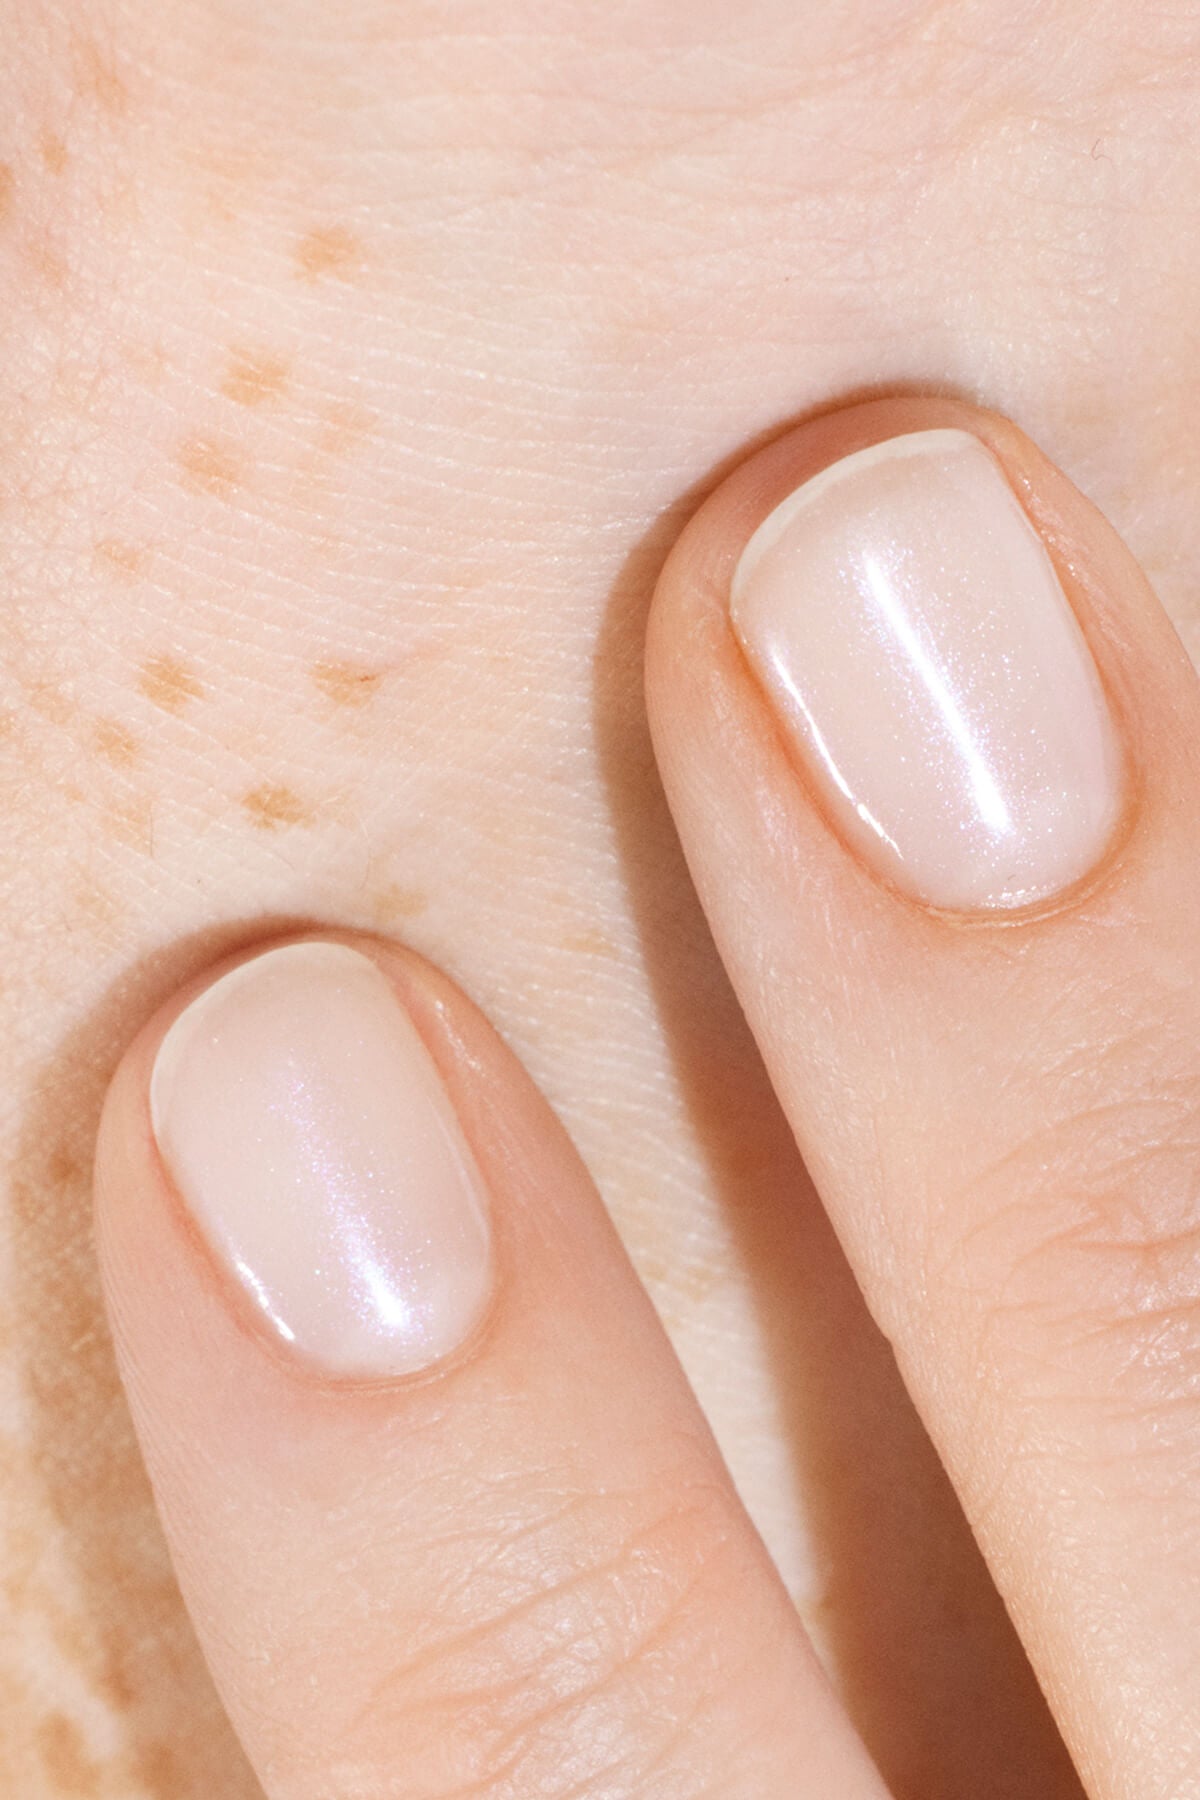
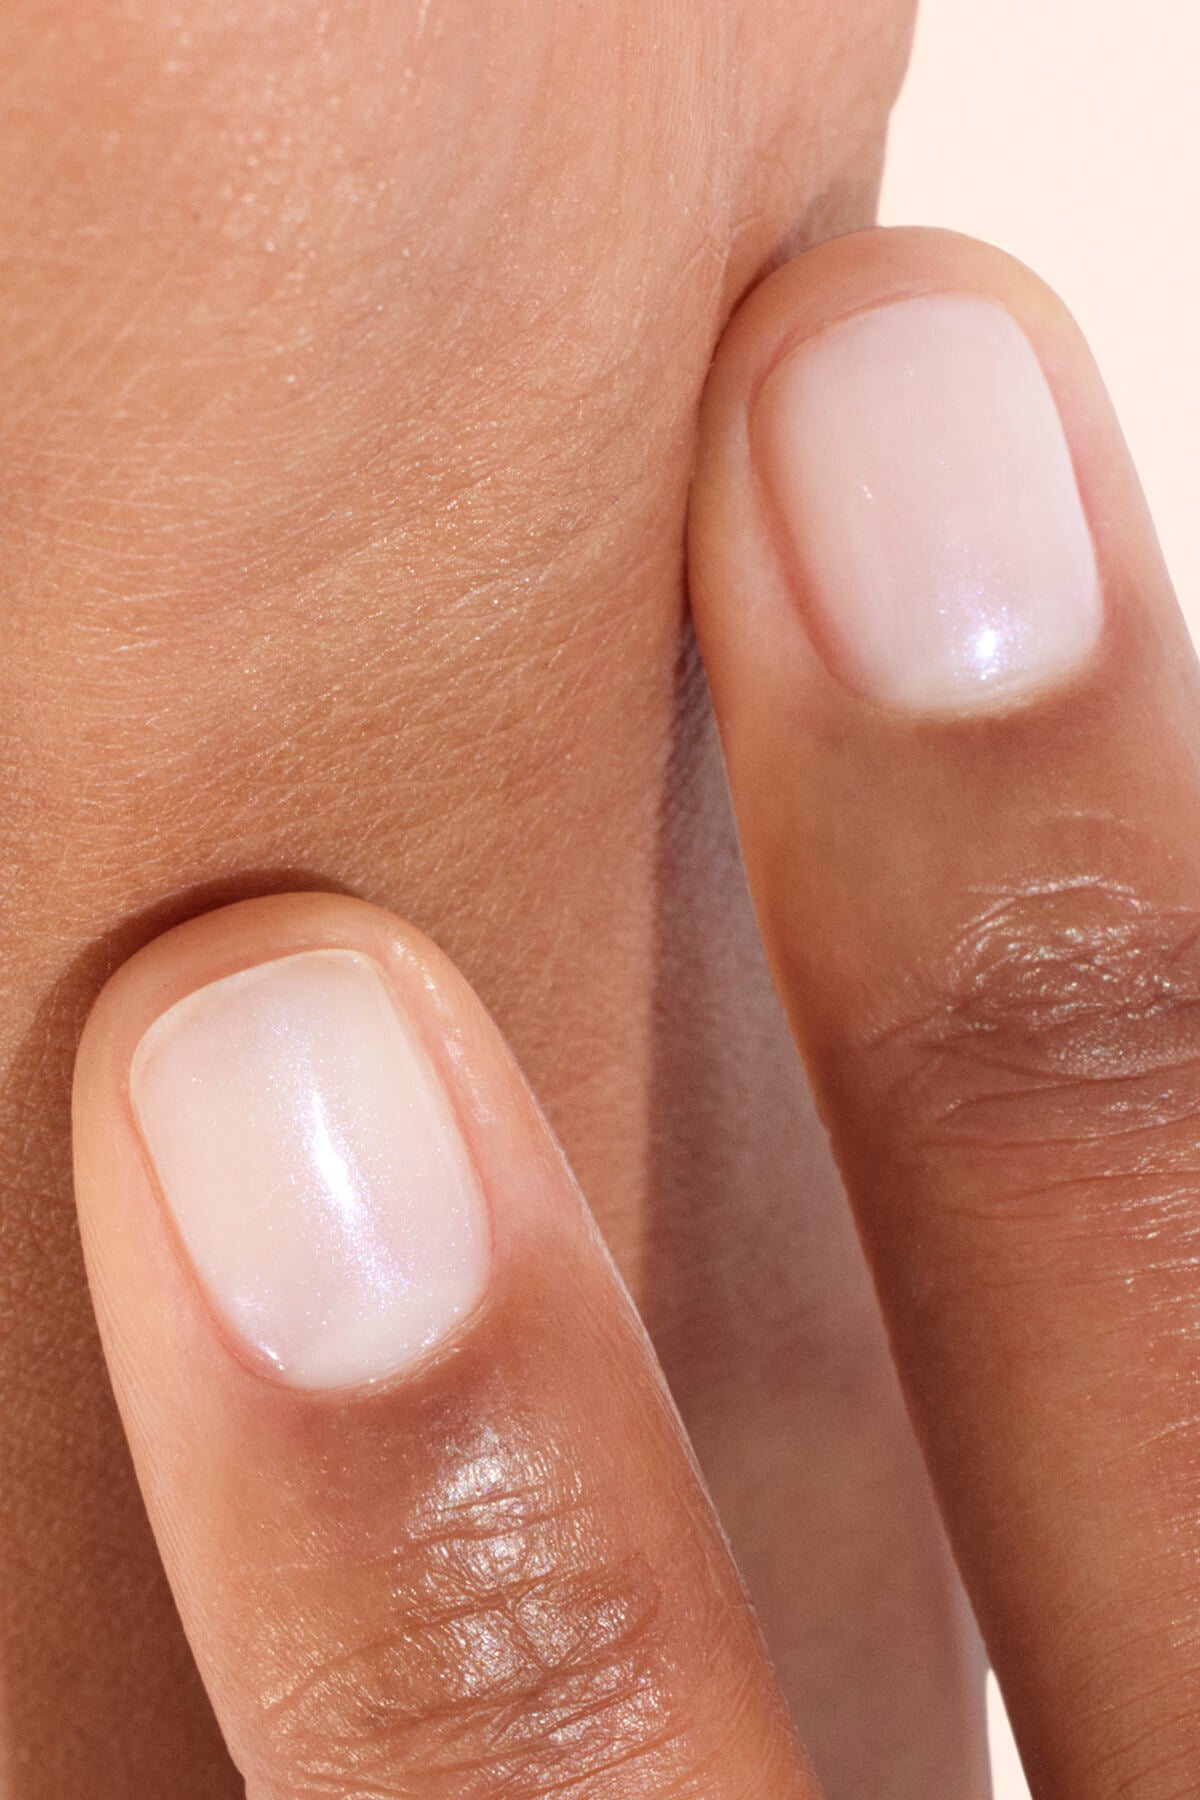
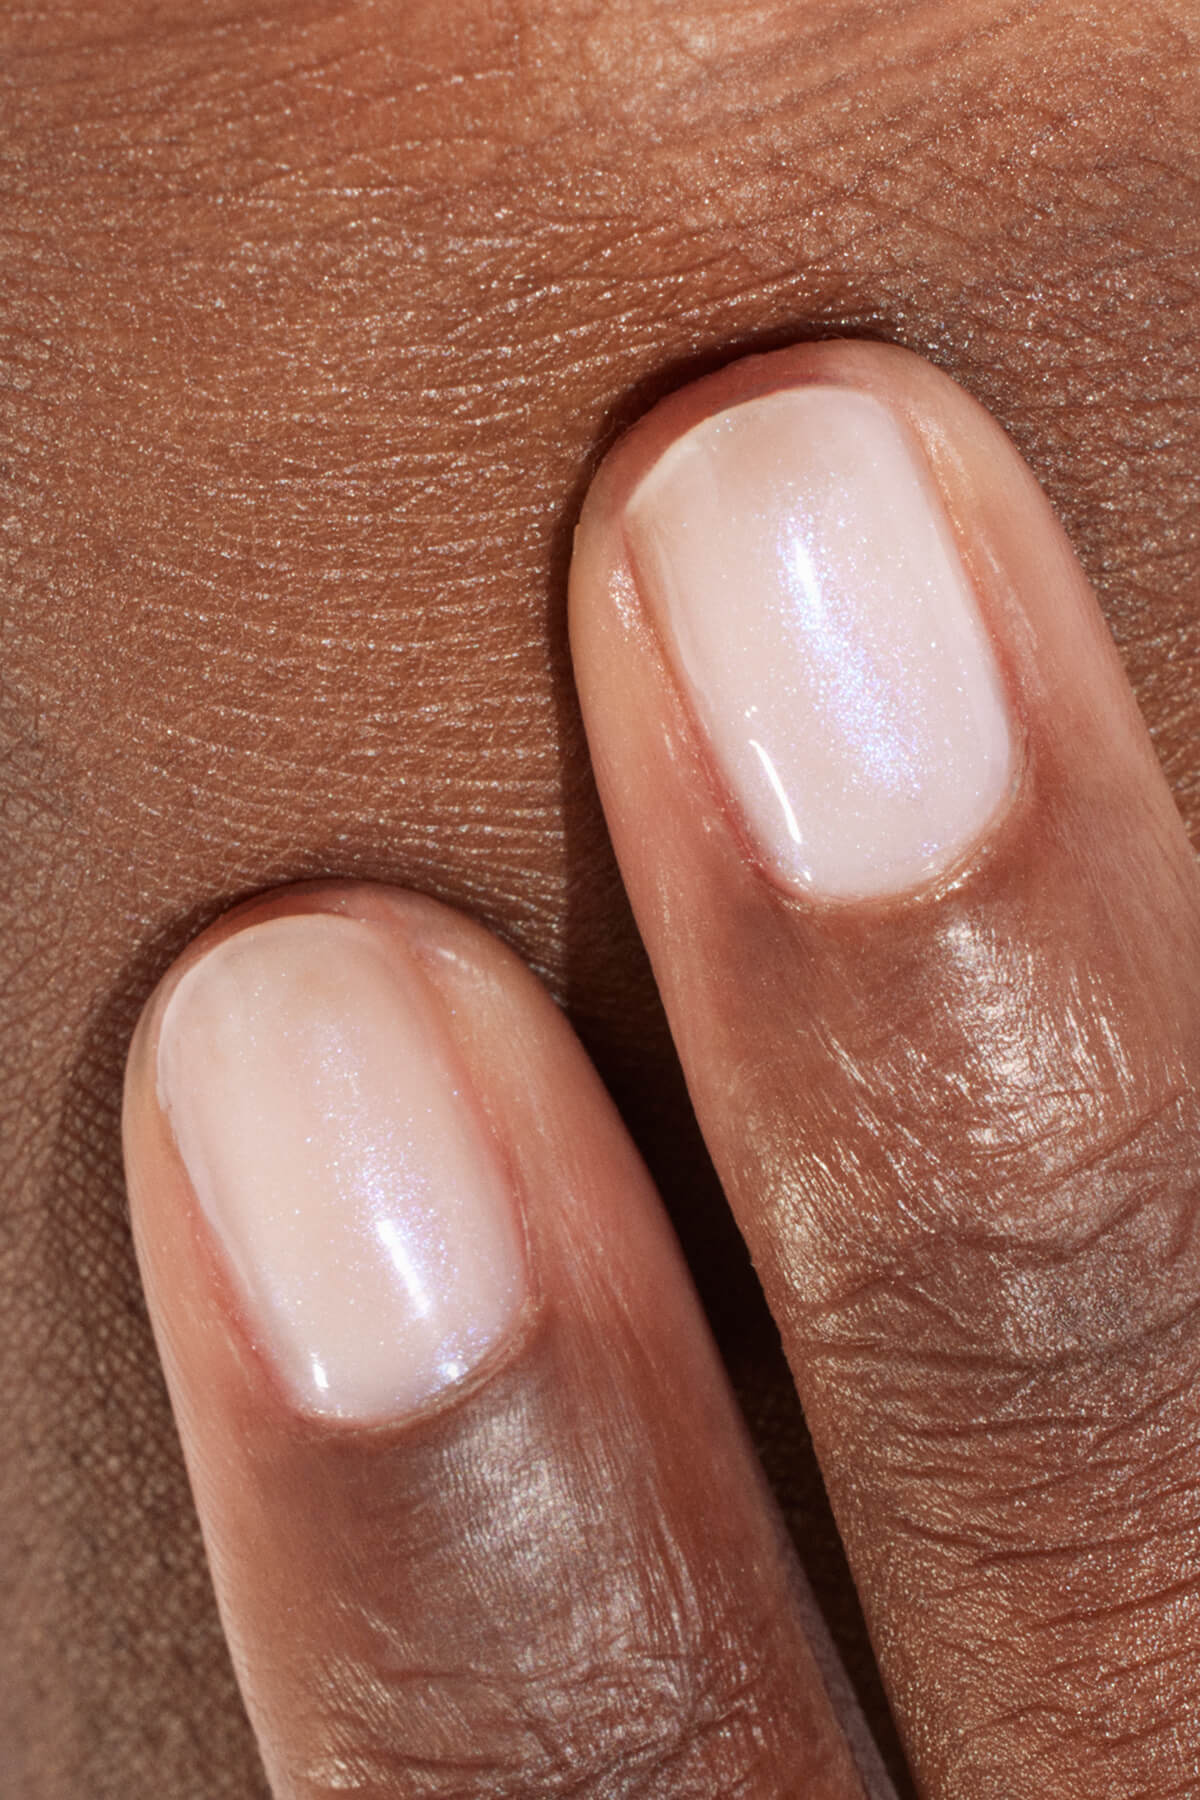
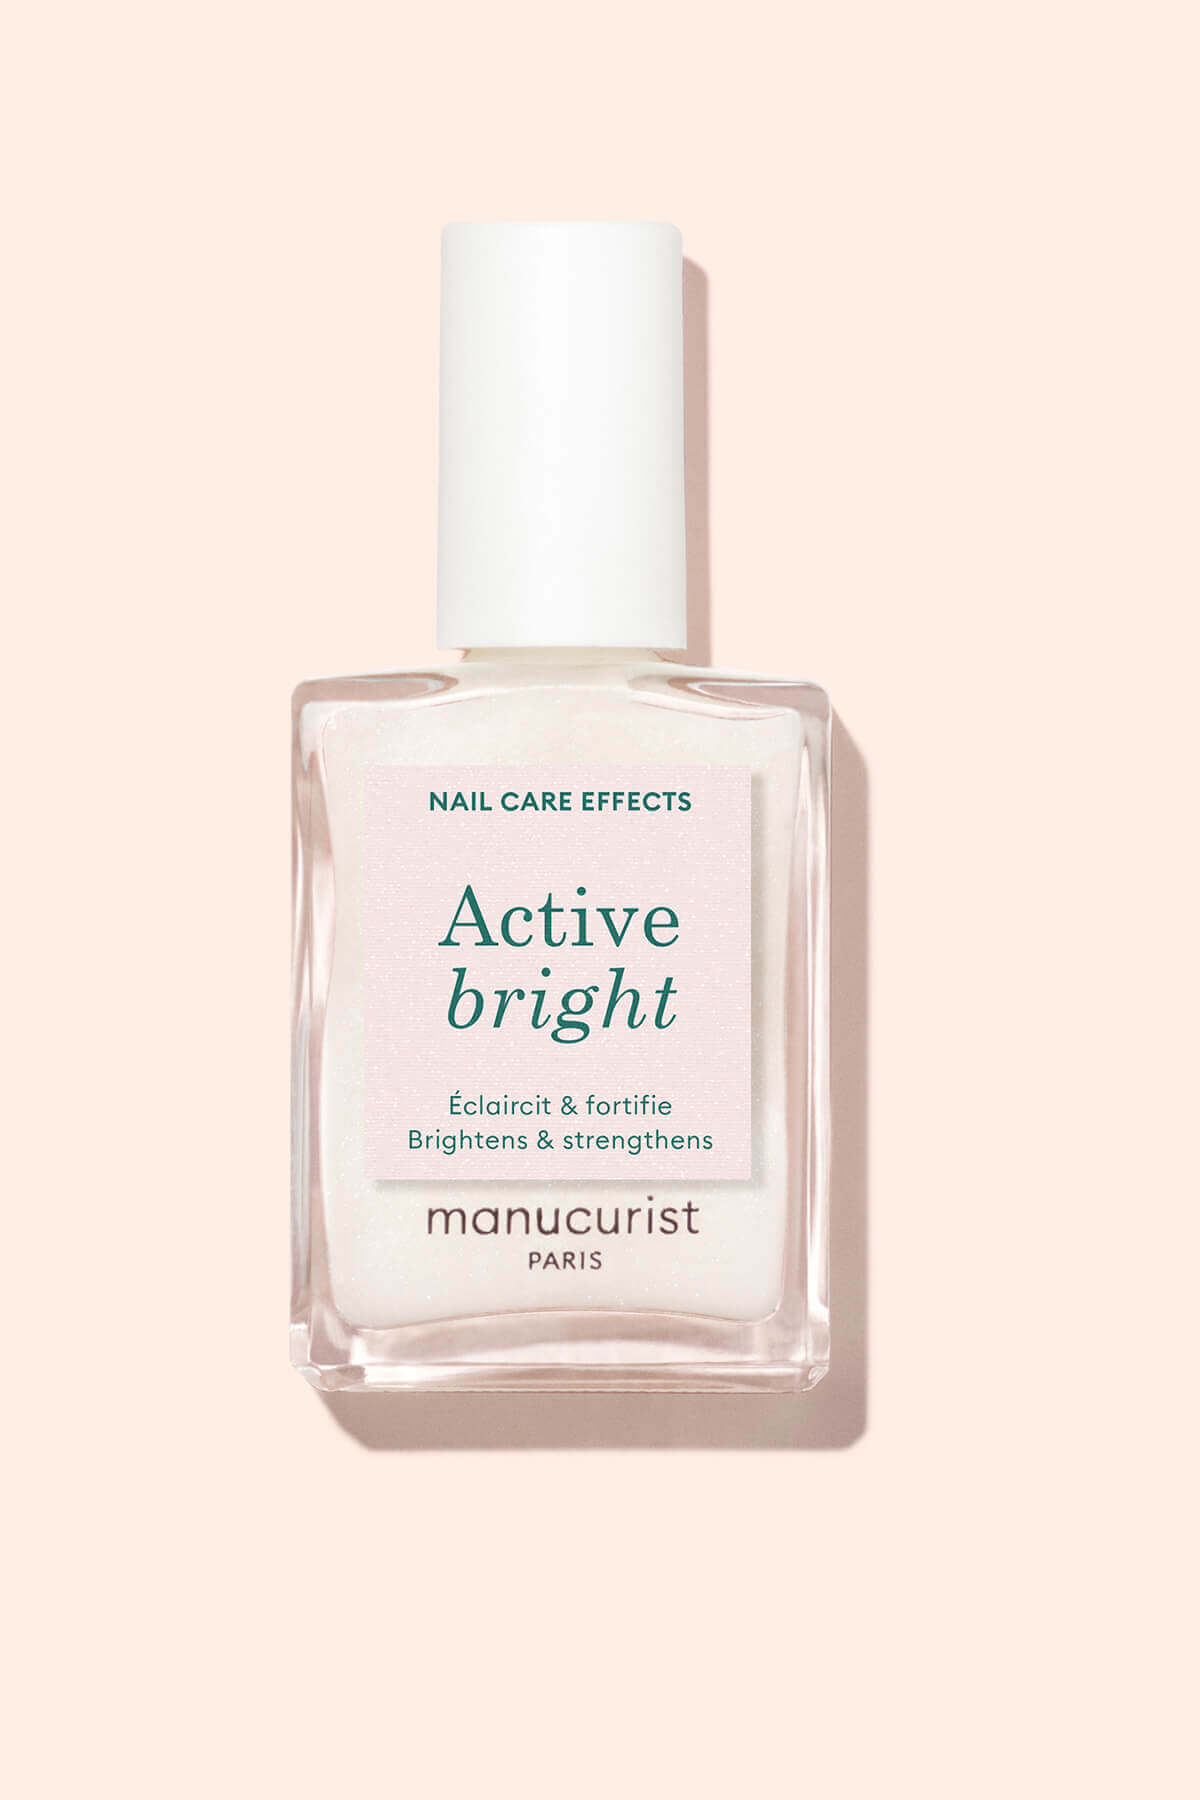
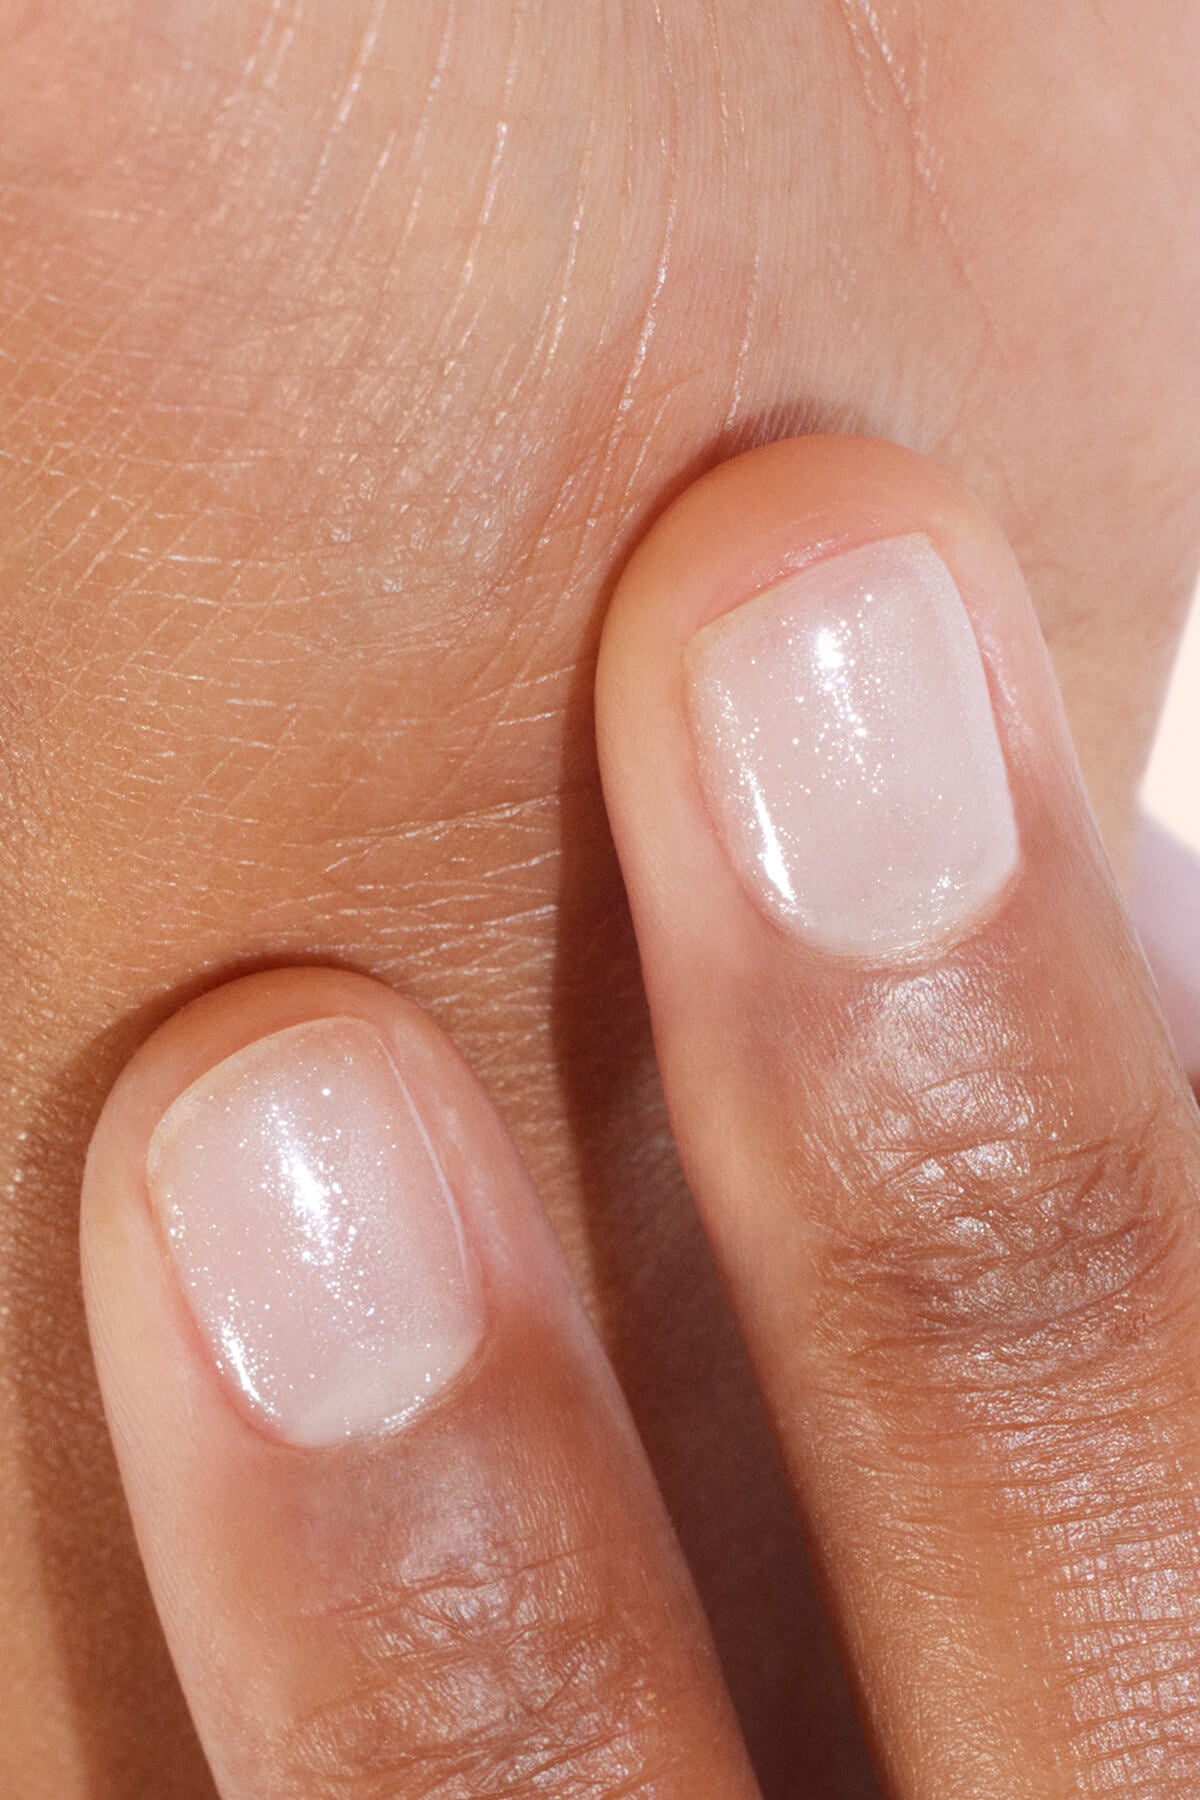
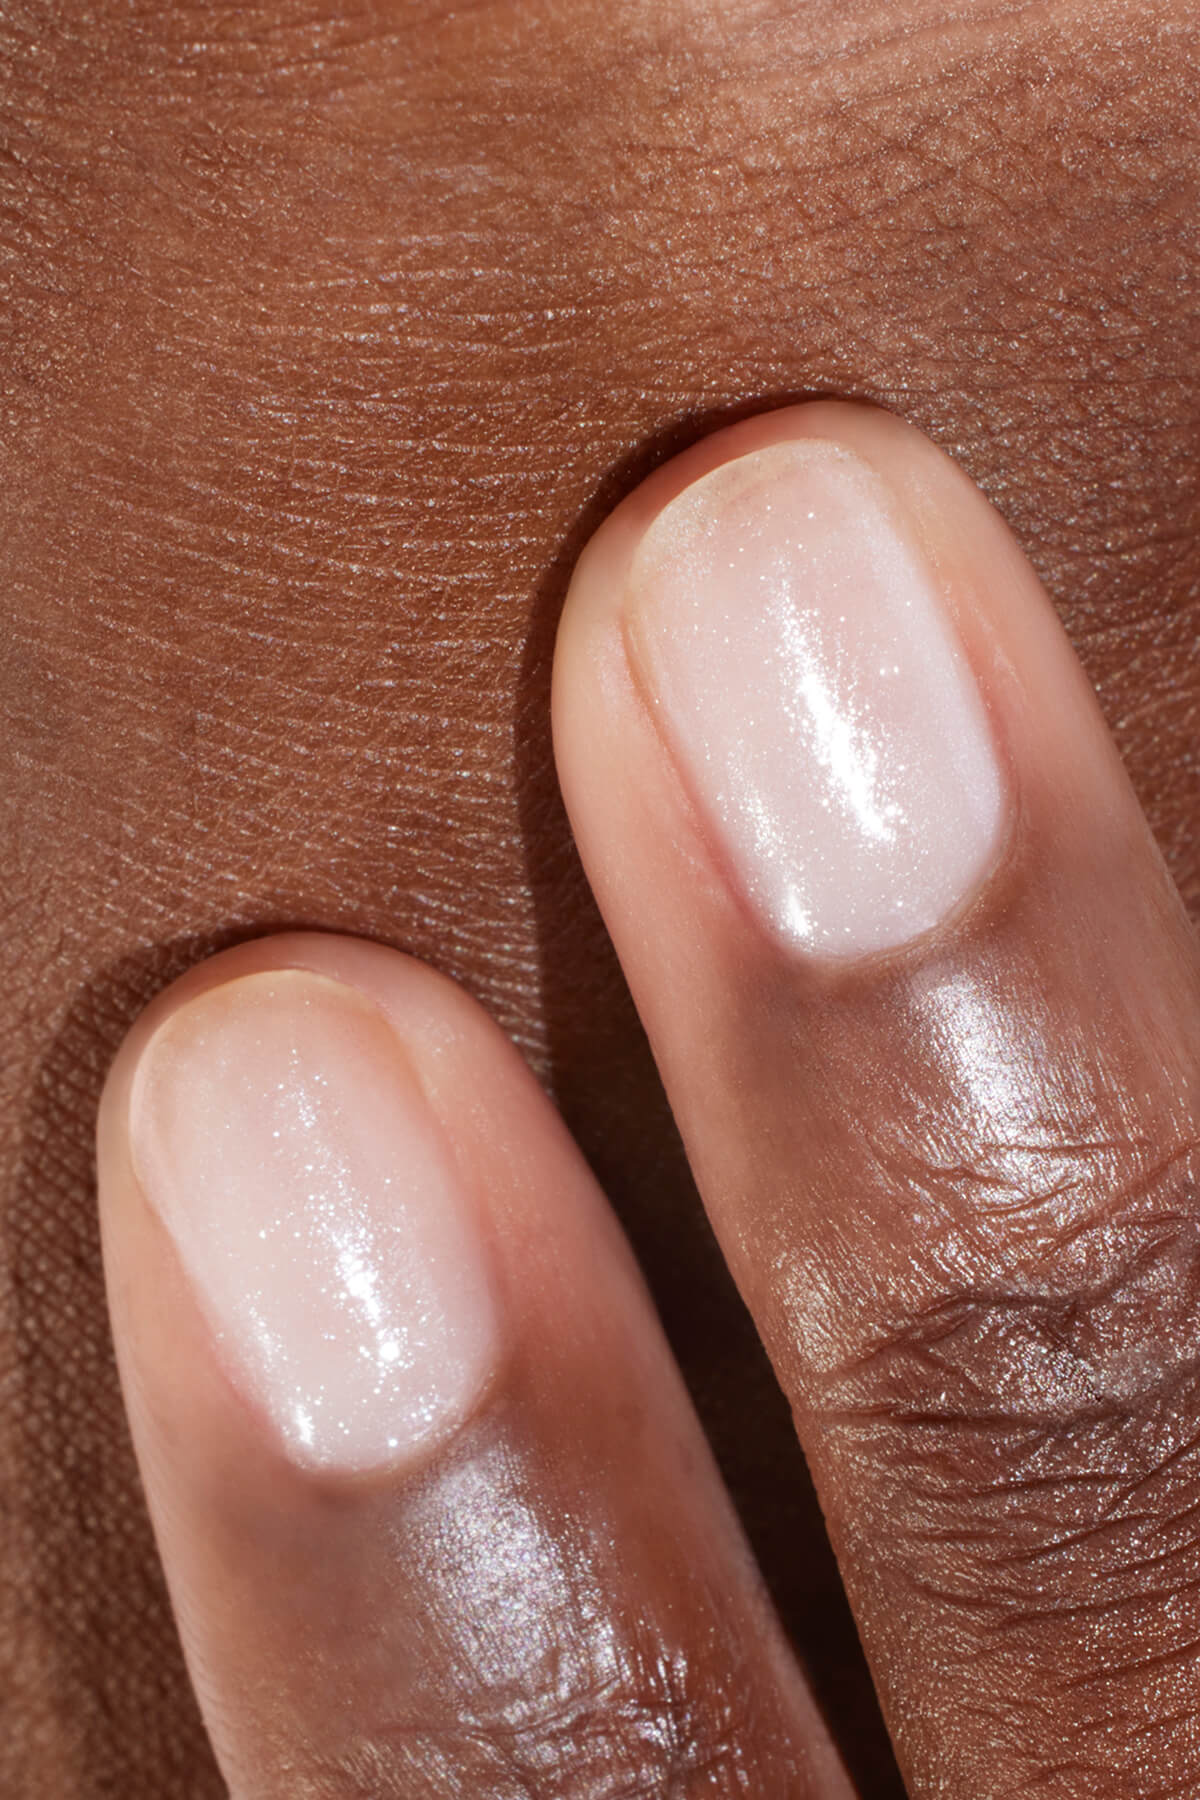
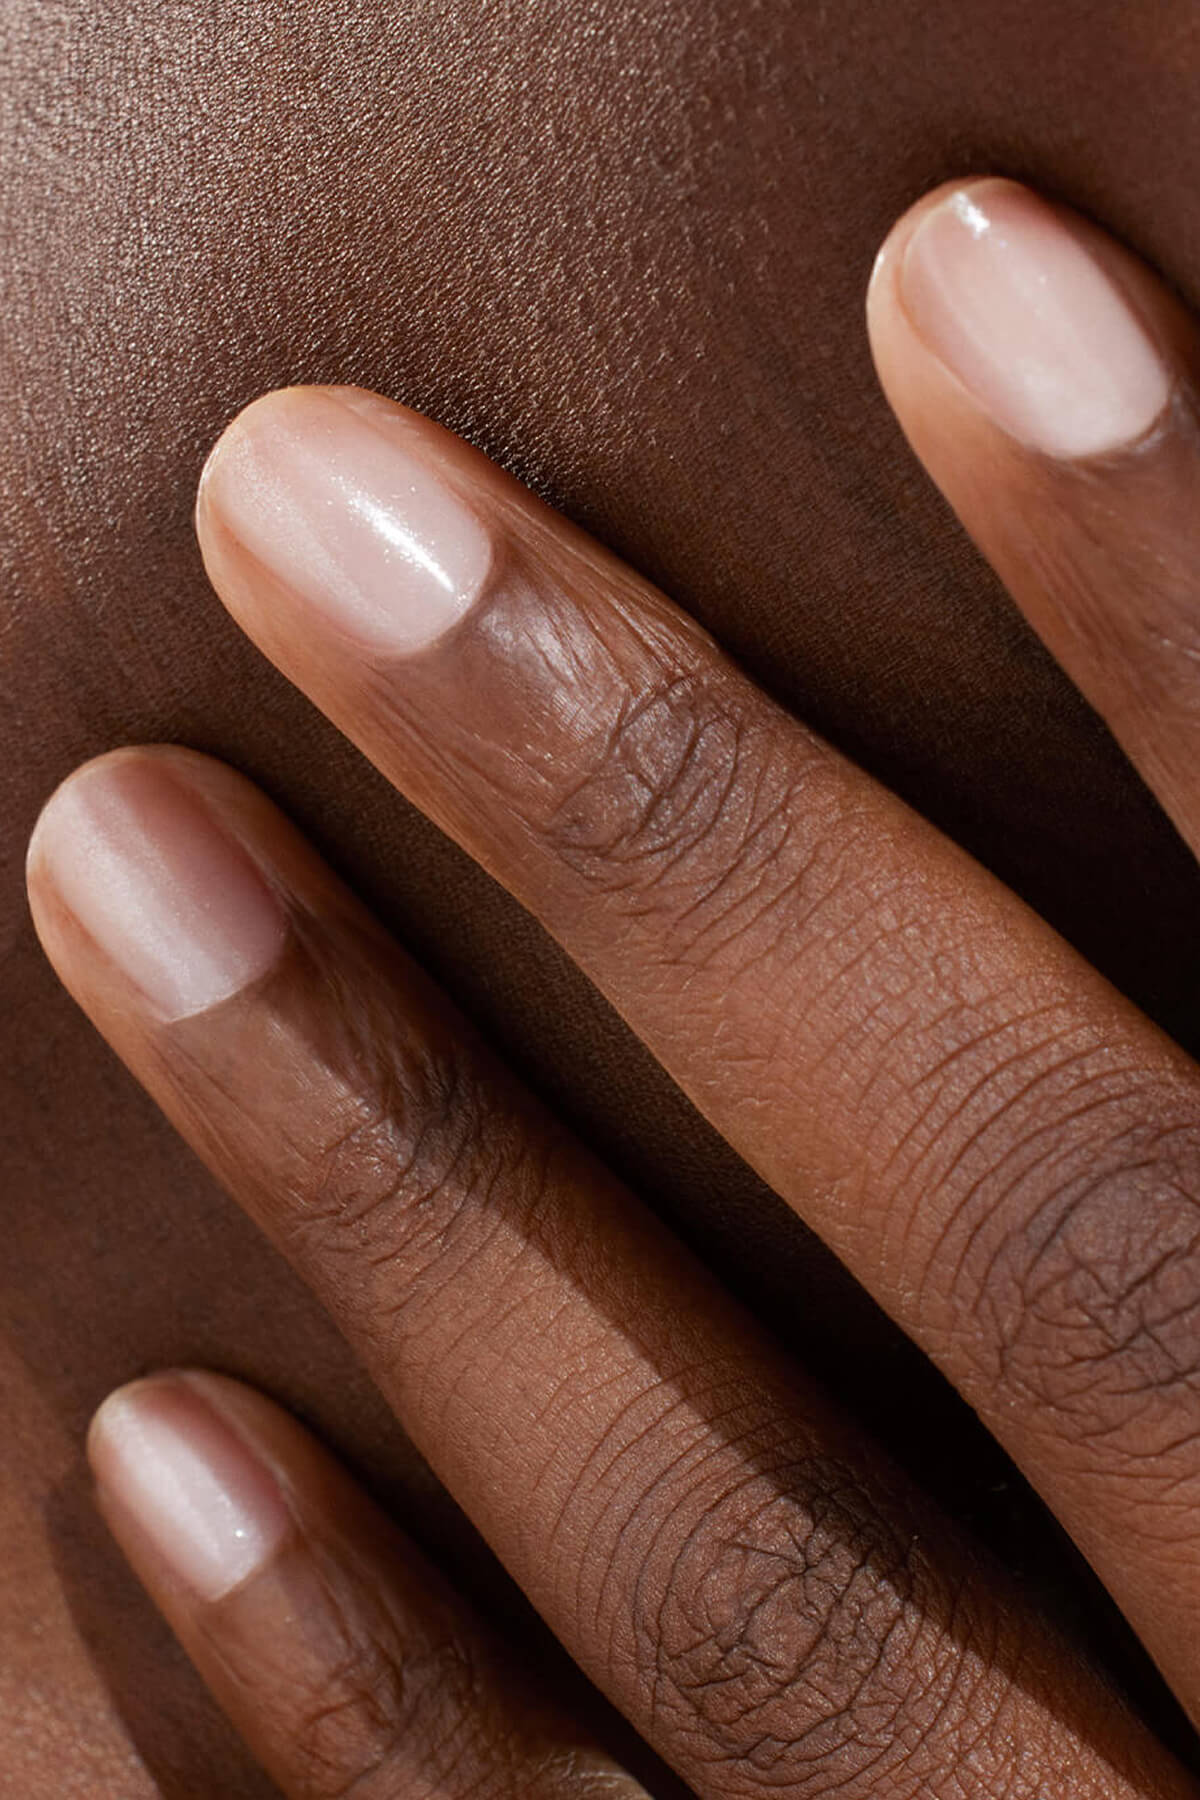
Green Flash™: the alternative to traditional gel polish
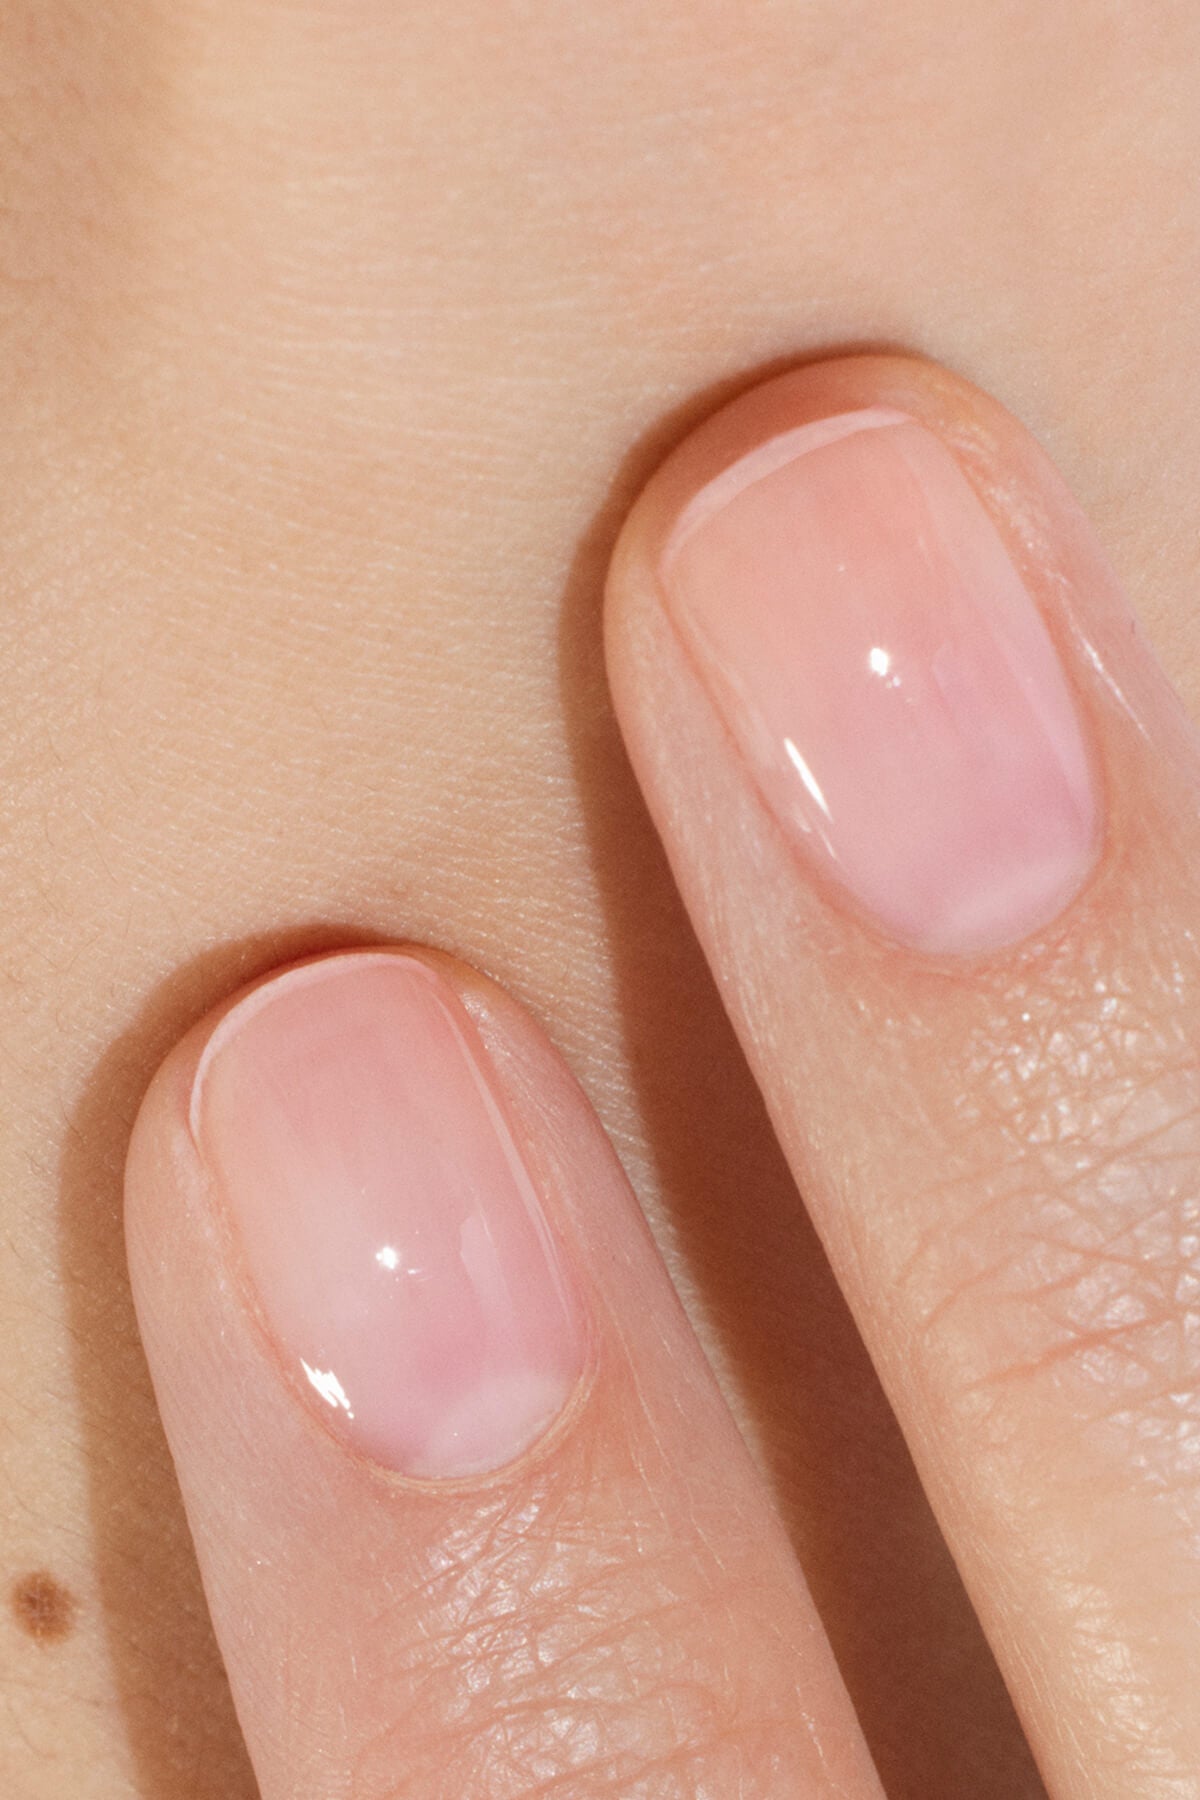
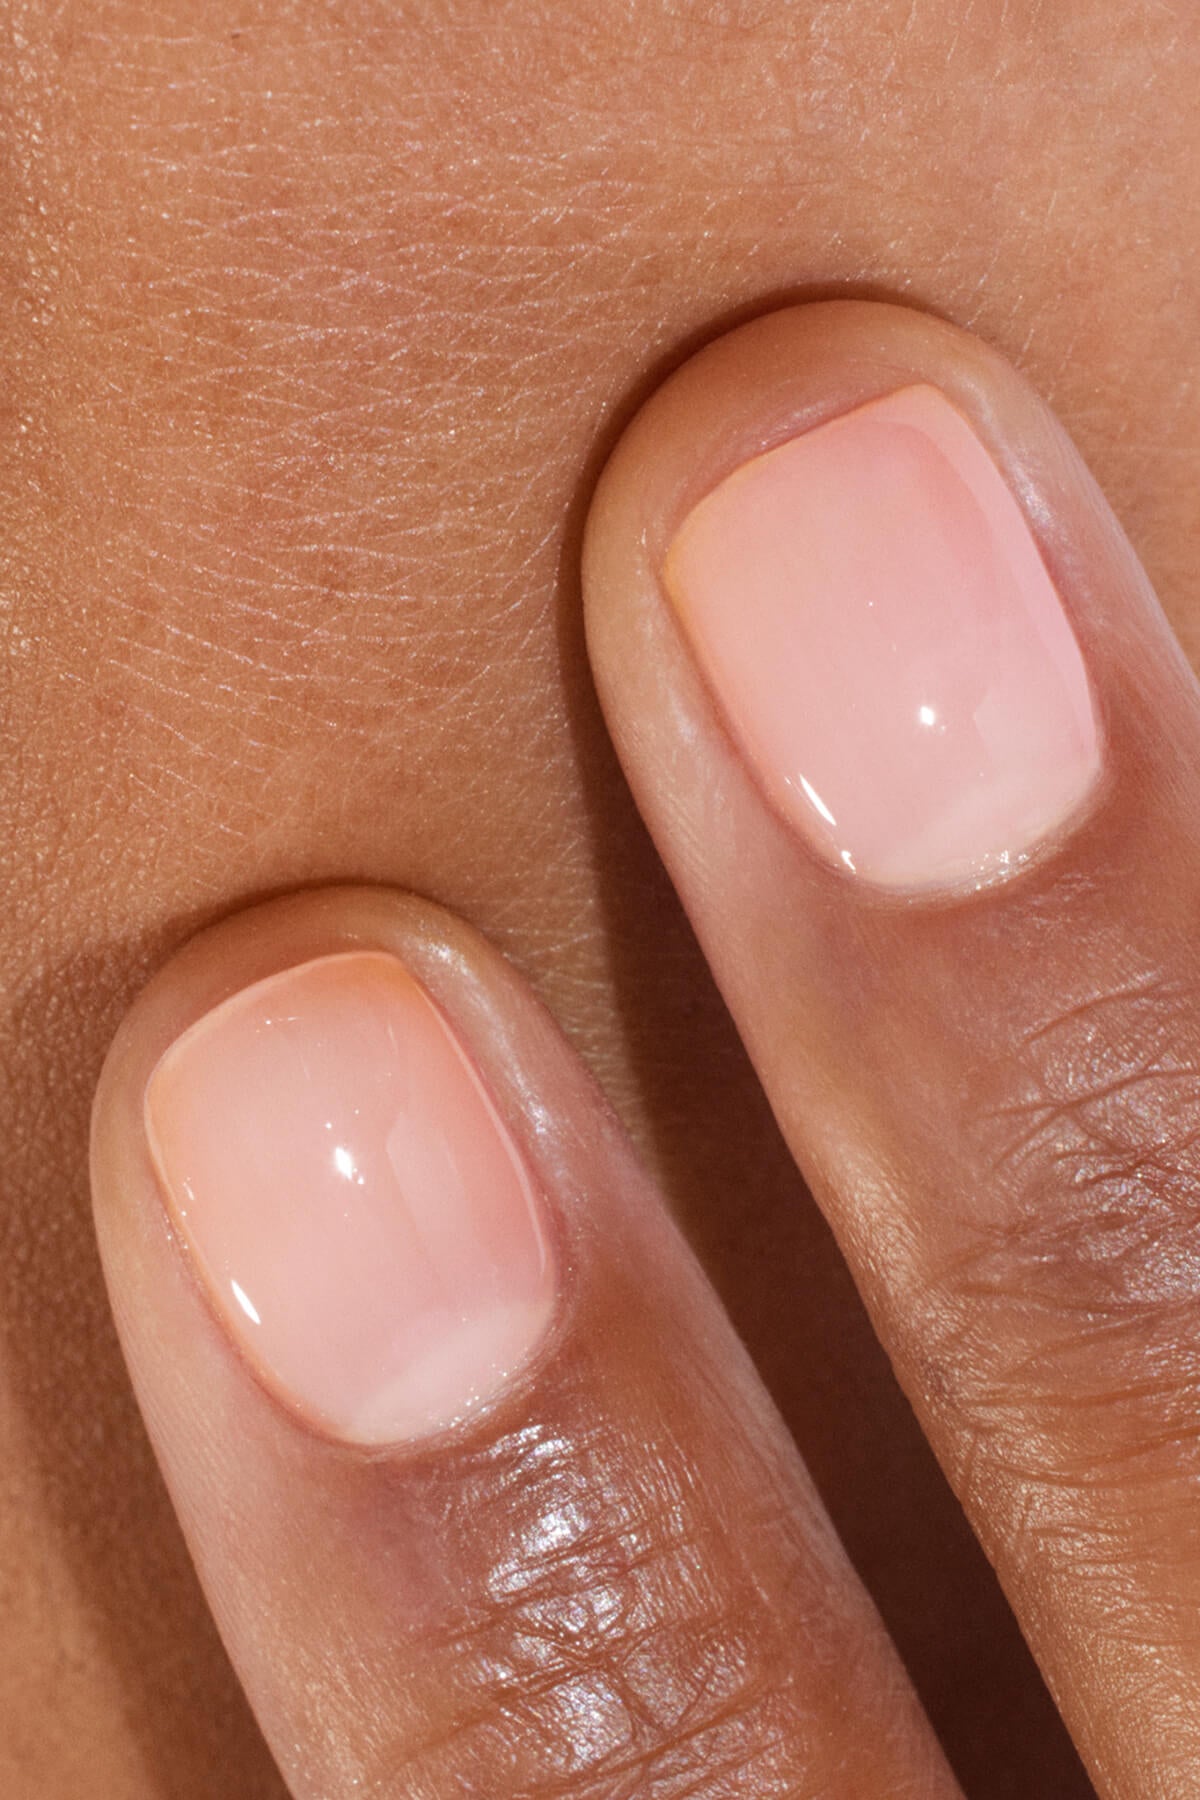
Looking for a gel polish that delivers on shine and staying power—without compromising nail health? With Green Flash™, the first patented gel polish that strengthens and protects your nails, you get an ultra-modern manicure that combines performance, care and a clean formula.
A non-toxic gel polish
Unlike traditional gel polishes, Green Flash™ is a safe option formulated without ingredients that pose a risk to your health. We’ve said goodbye to methacrylate monomers (like HEMA and DI-HEMA), which are known to cause allergic reactions and inflammation. Instead, we use copolymers that do not penetrate the skin. These copolymers still offer all the benefits of traditional gel polish (quick drying, shine, strength, long wear), but with none of the risk.
Green Flash™ is designed to cure under an LED lamp, which is faster and more energy-efficient than a UV lamp. Plus, removal is quick and easy using gentle remover and cotton pads—no acetone, no scraping, no damage.

A vegan, bio-based formula
We’ve also removed 11 other petrochemical ingredients commonly found in traditional formulas and replaced them with natural alternatives like corn, wheat, sugar cane and potato starch. The result? A gel polish that’s vegan and up to 84% bio-based.
Powered by molecular actives
The secret to Green Flash™ also lies in its unique Vitamin-Enriched Base Coat, powered by patented KeraHCE+ technology. By combining hexanal with vitamins C and E, this base coat strengthens your nails with every application, creating an antioxidant, hydrating shield that extends your Green Flash™ manicure up to 12 days.

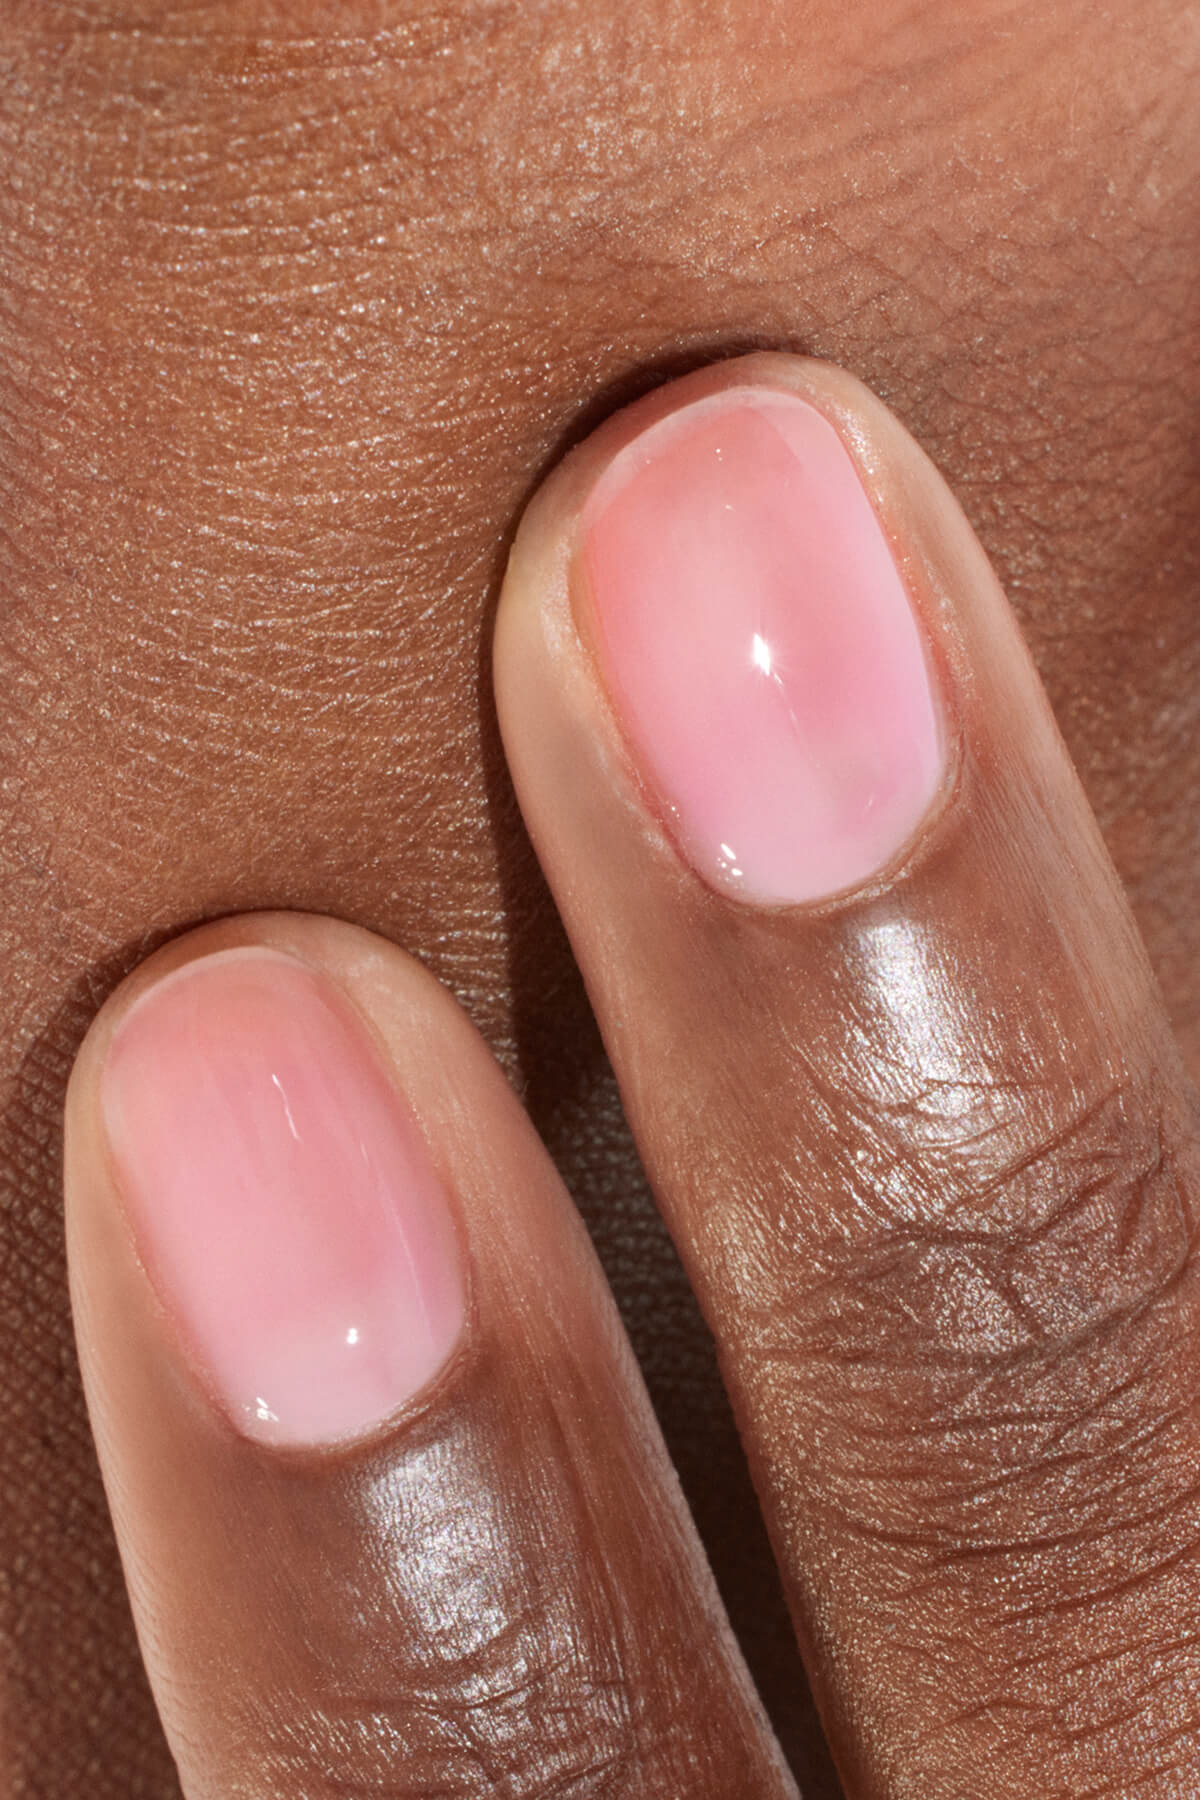
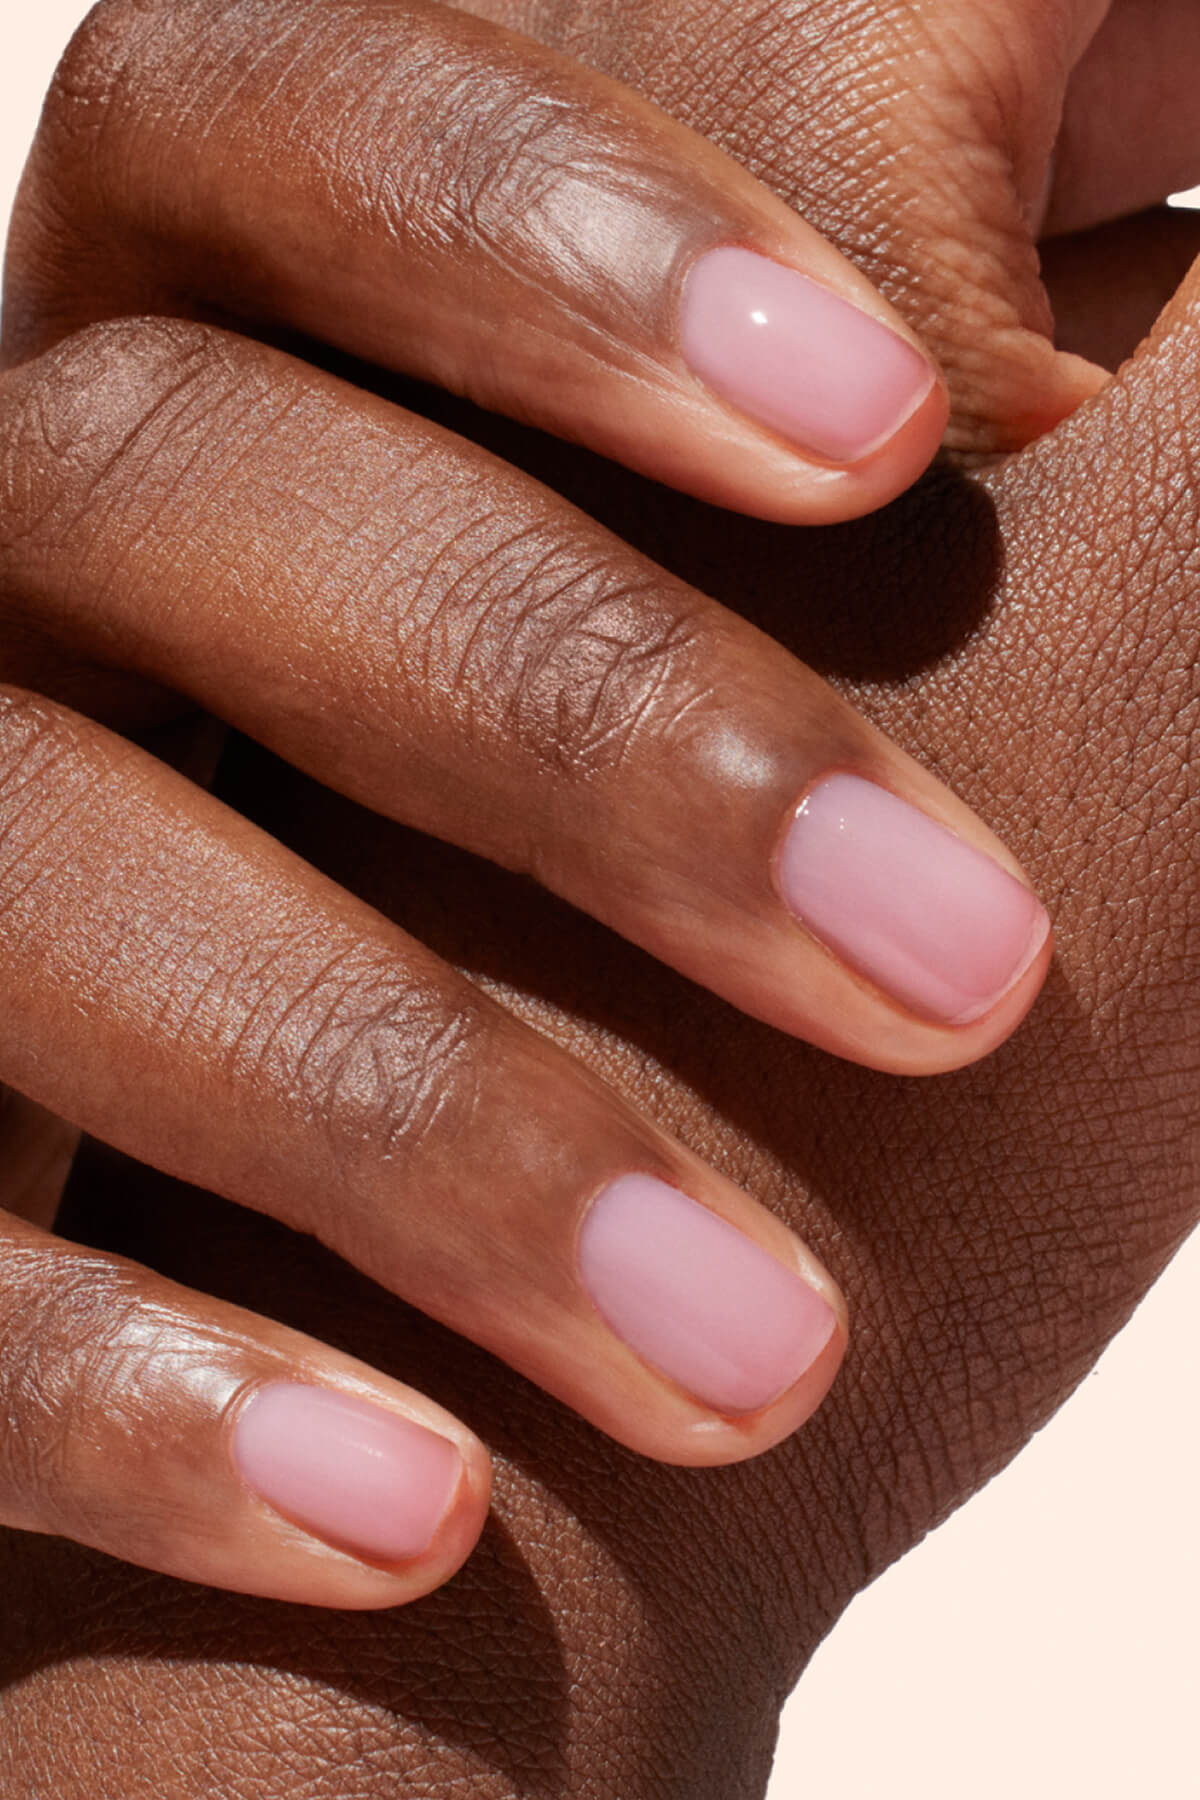
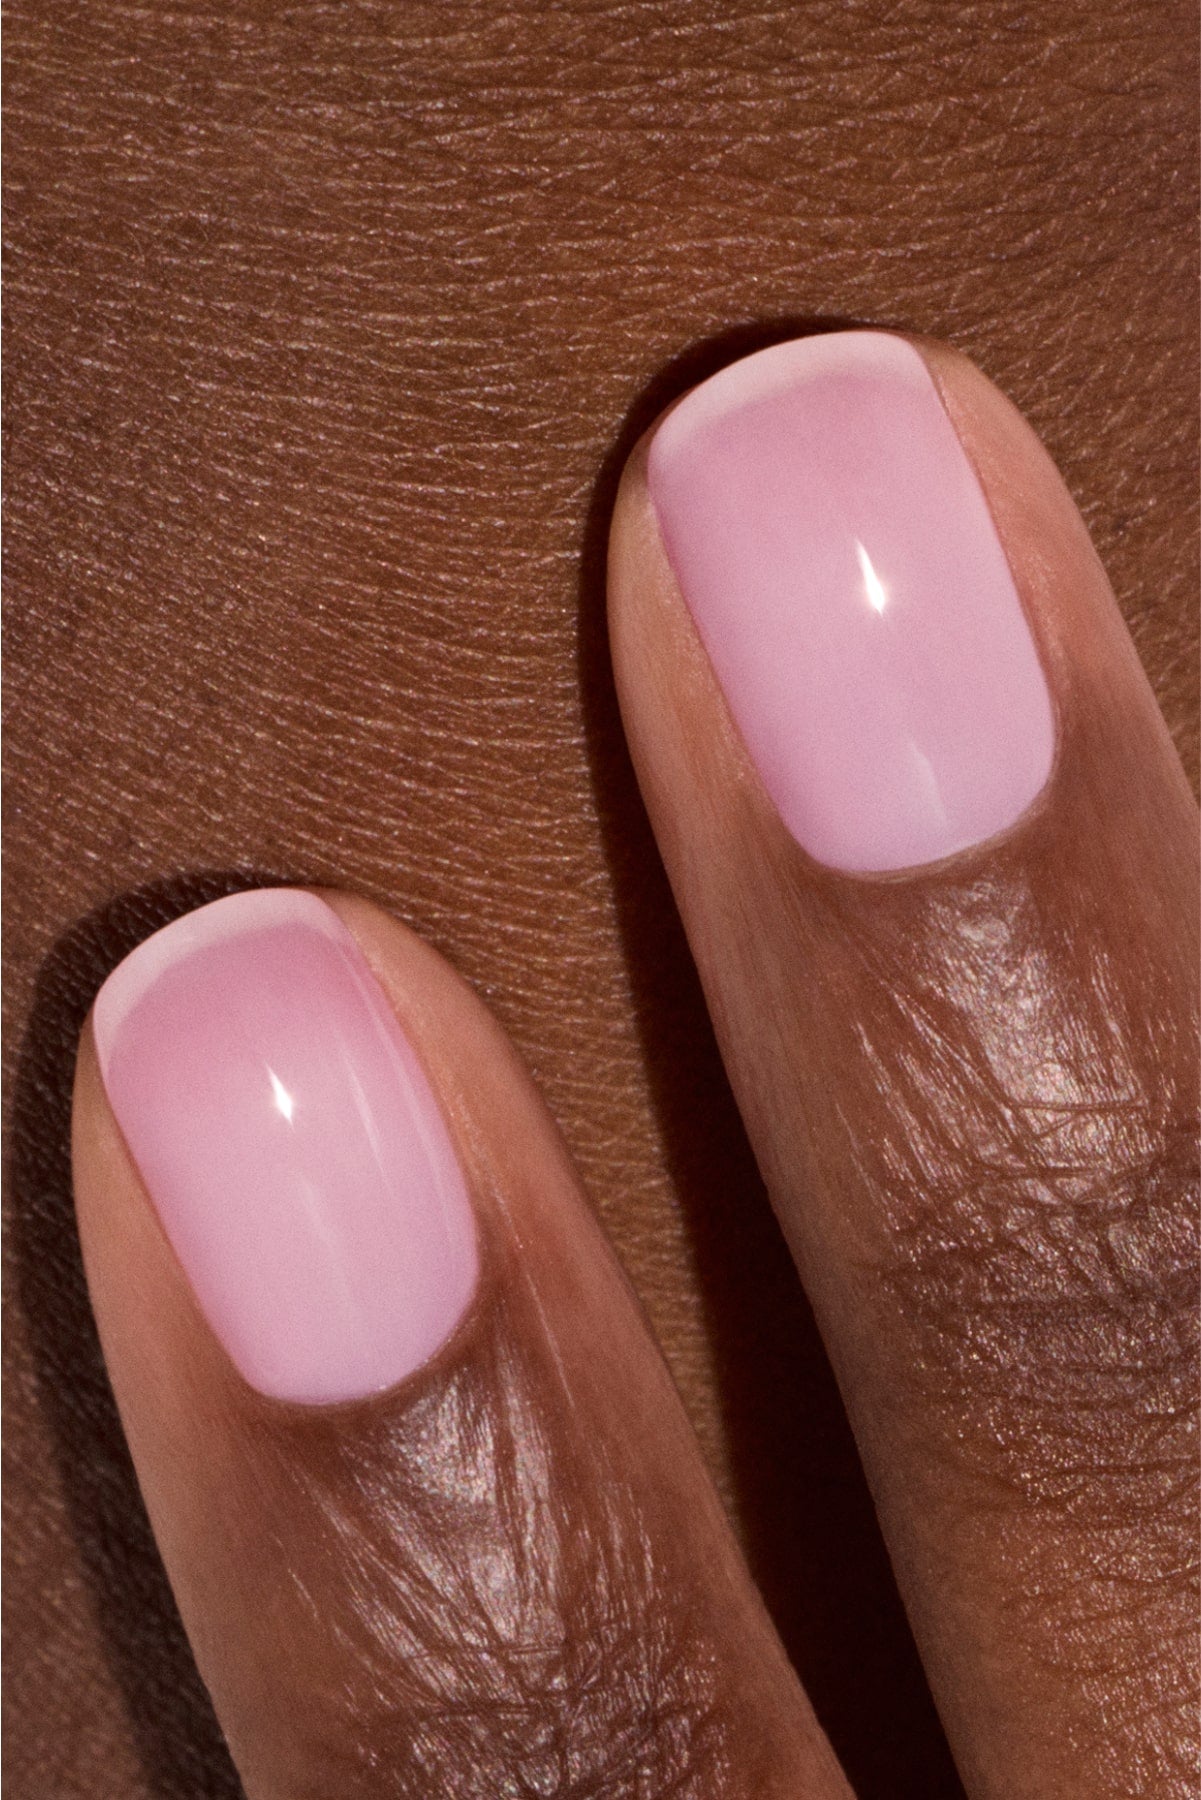
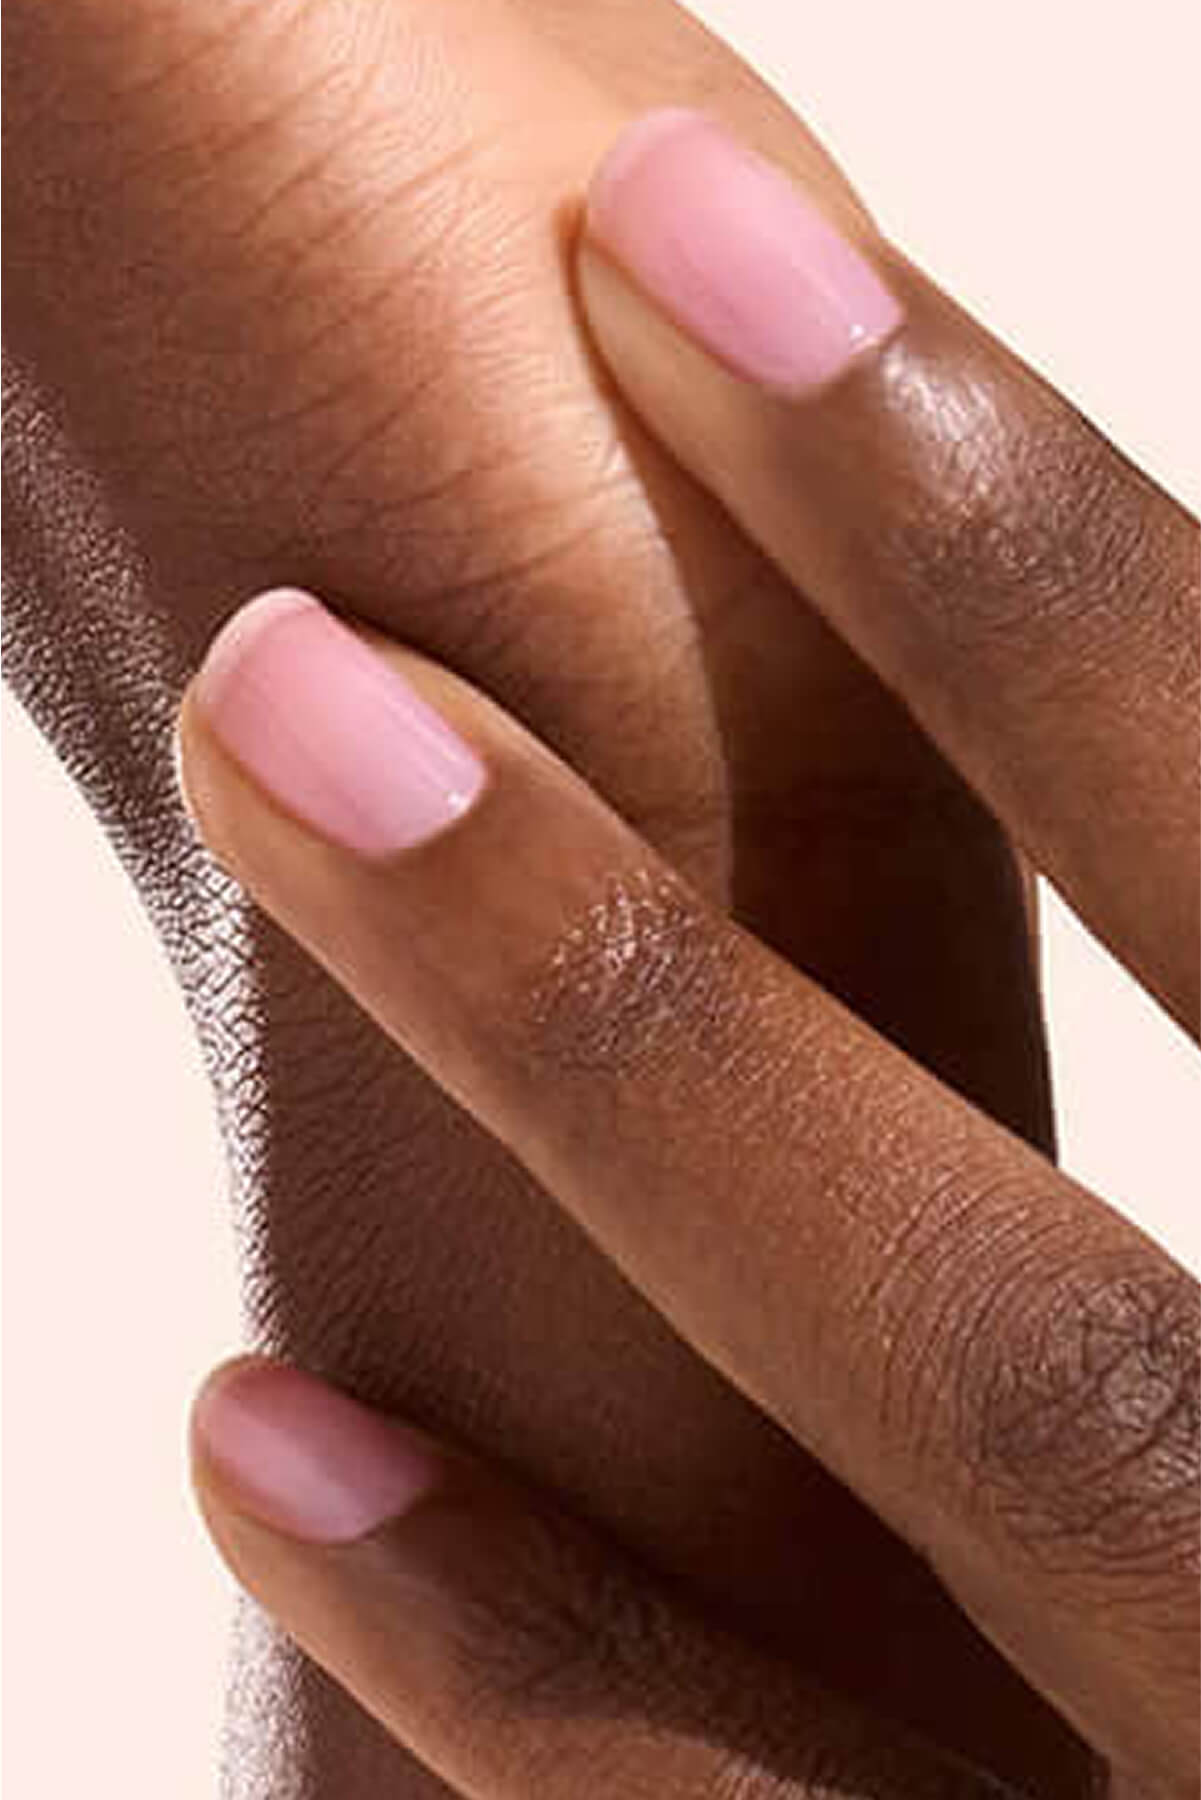
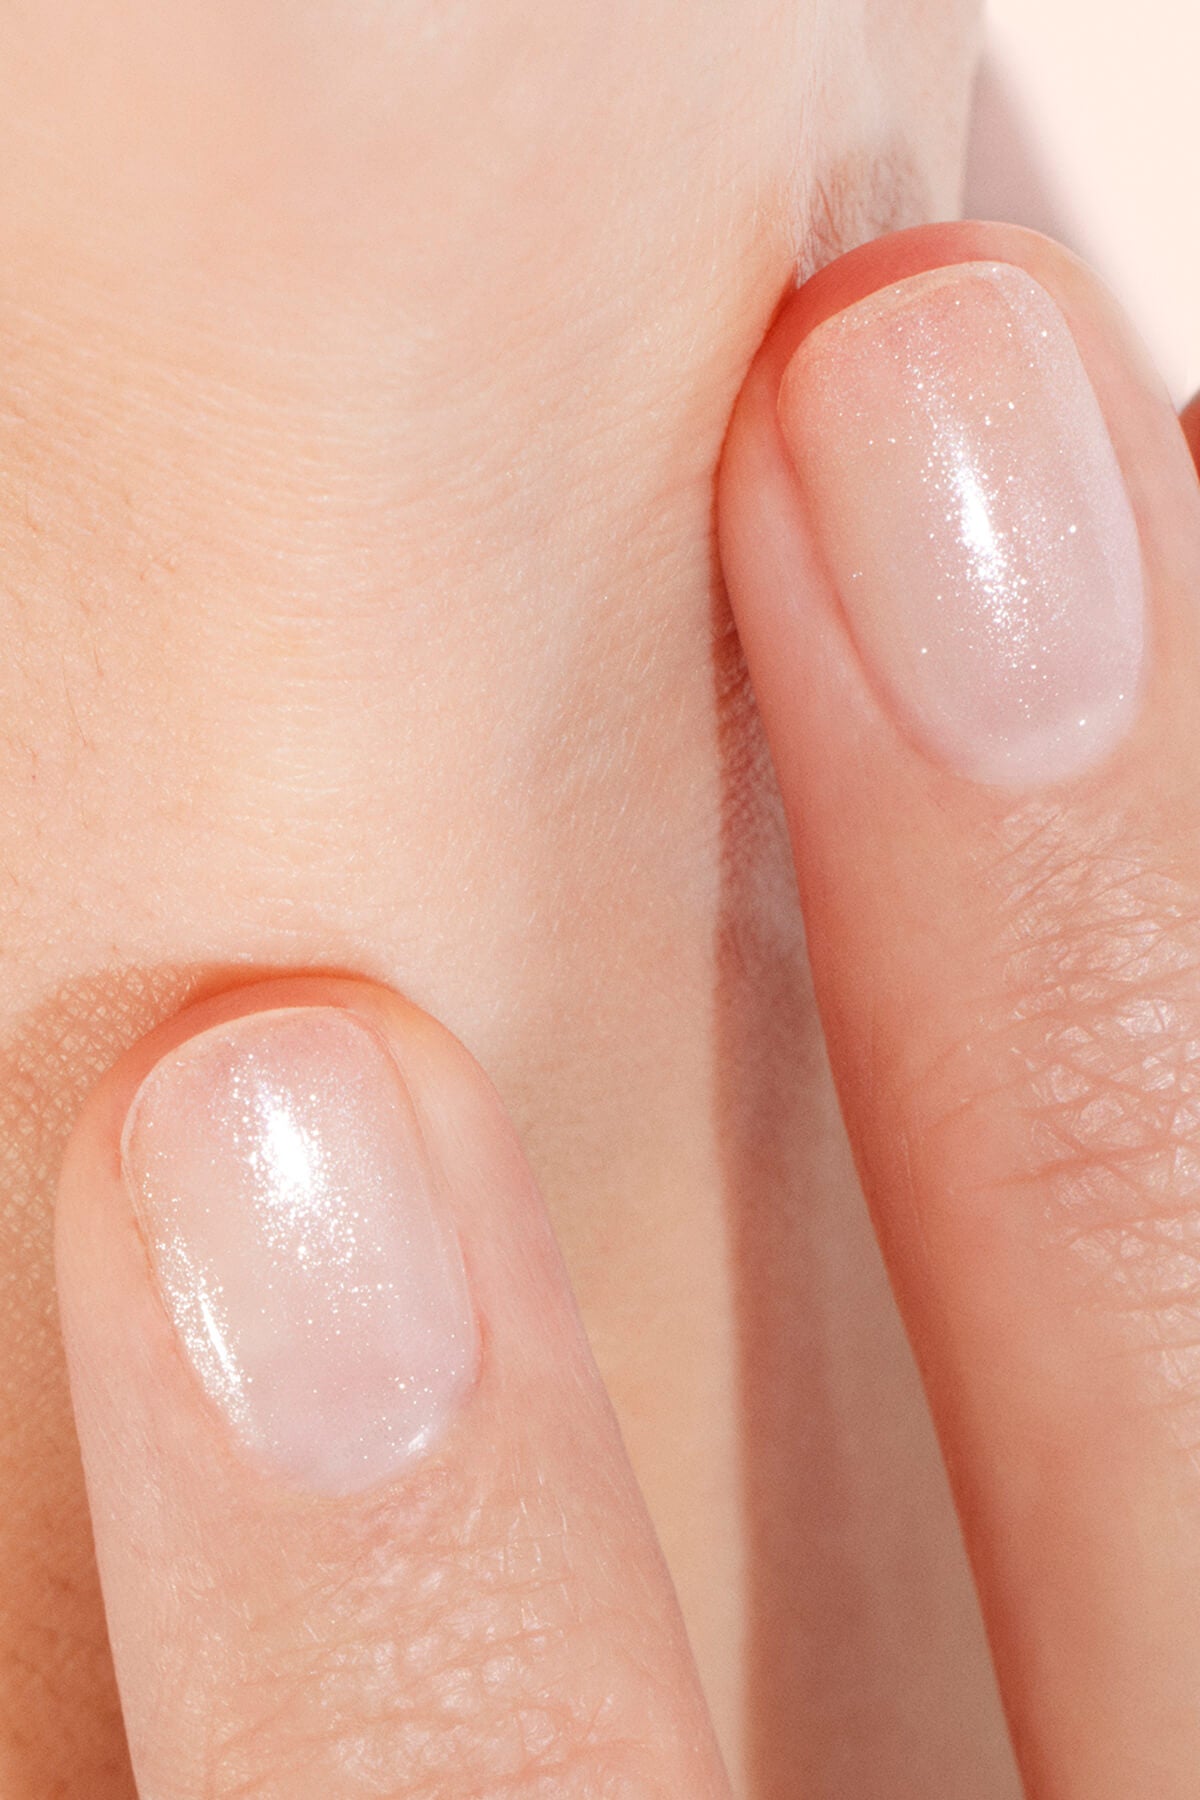
A pro-quality manicure at home
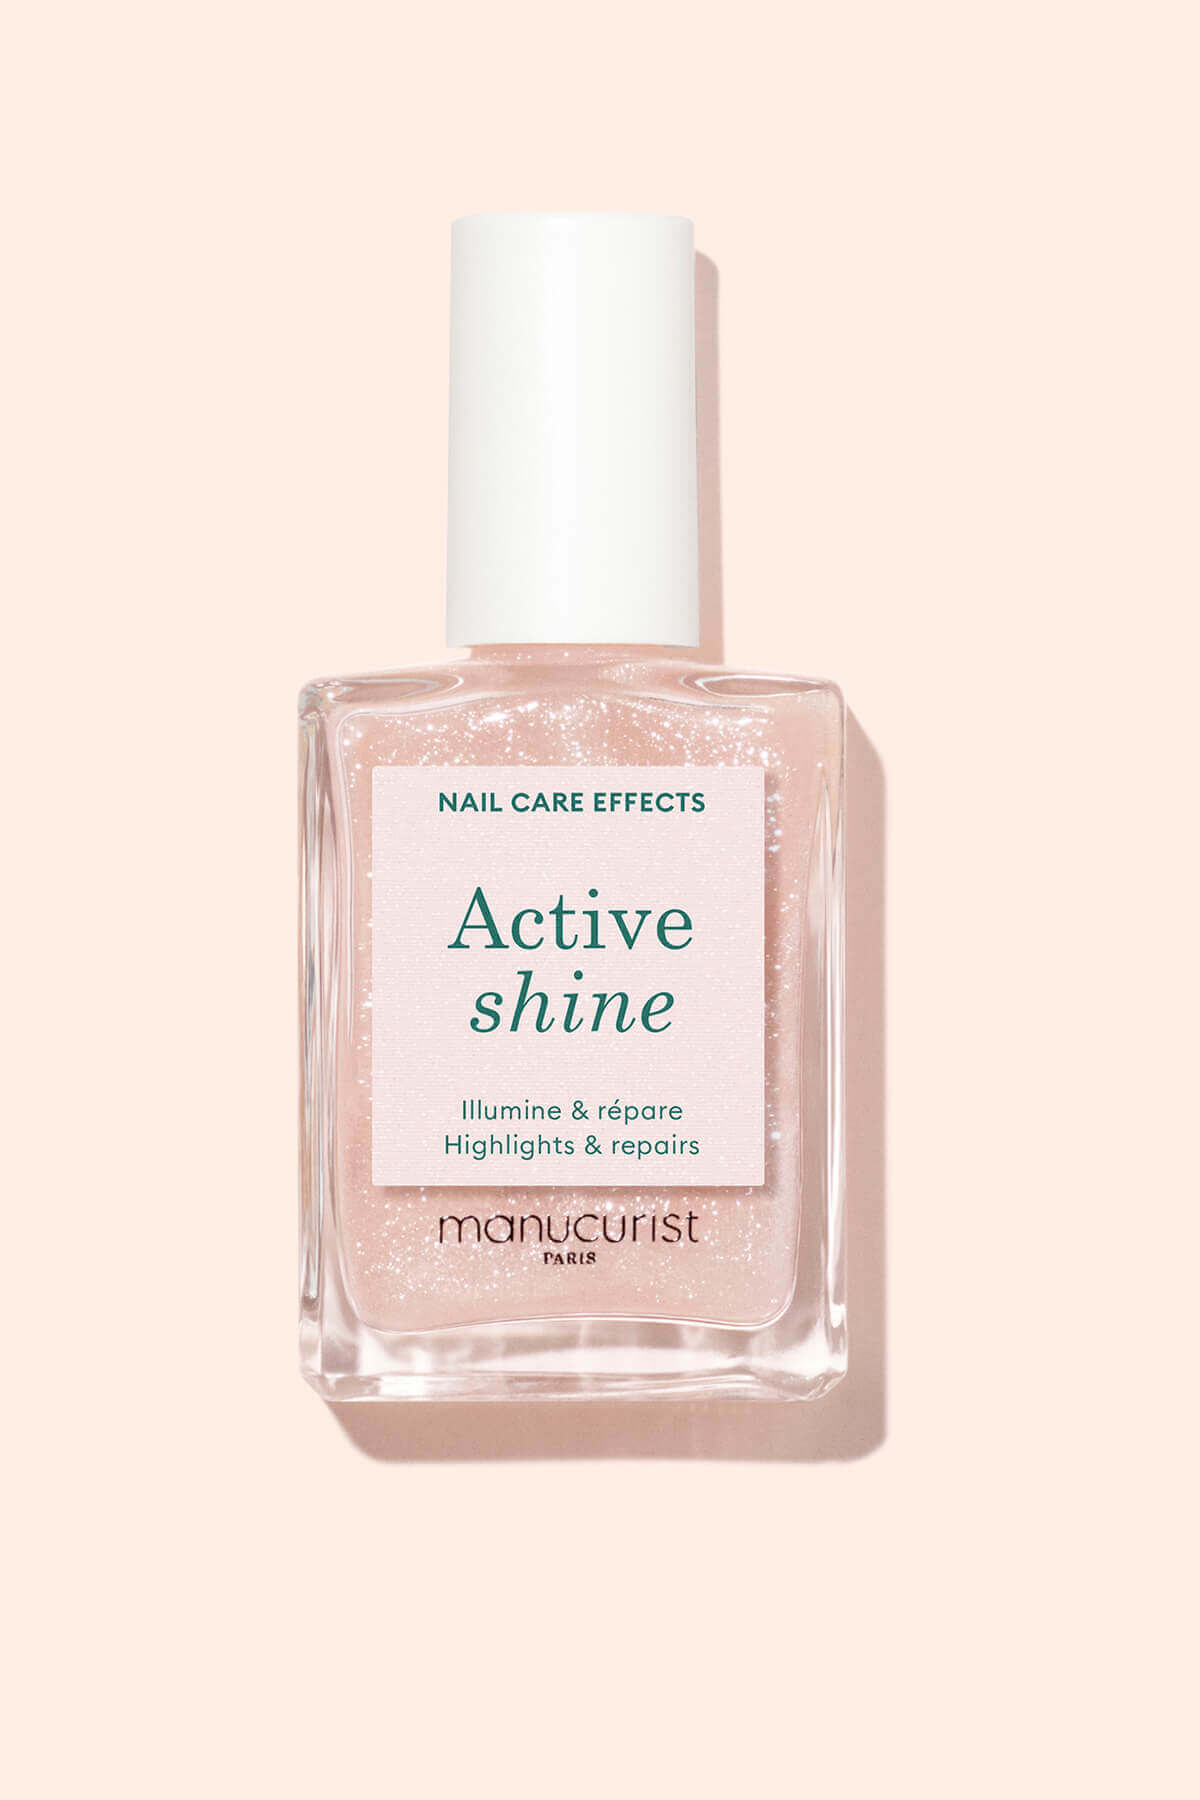
Nude, red, pastel, glitter or pearly—over 90 polish shades await in the Green Flash™ collection. Doing your own gel manicure at home has never been easier, thanks to our starter kits. Fully equipped and customizable, they include everything you need for the perfect at-home routine.

With the right tools, a little practice and our expert tips, you can achieve results that rival a salon manicure. Green Flash™ is your go-to for a 2-in-1 routine that’s both beauty ritual and nail care treatment, giving you strong, glossy nails that last. Ready to give it a go?