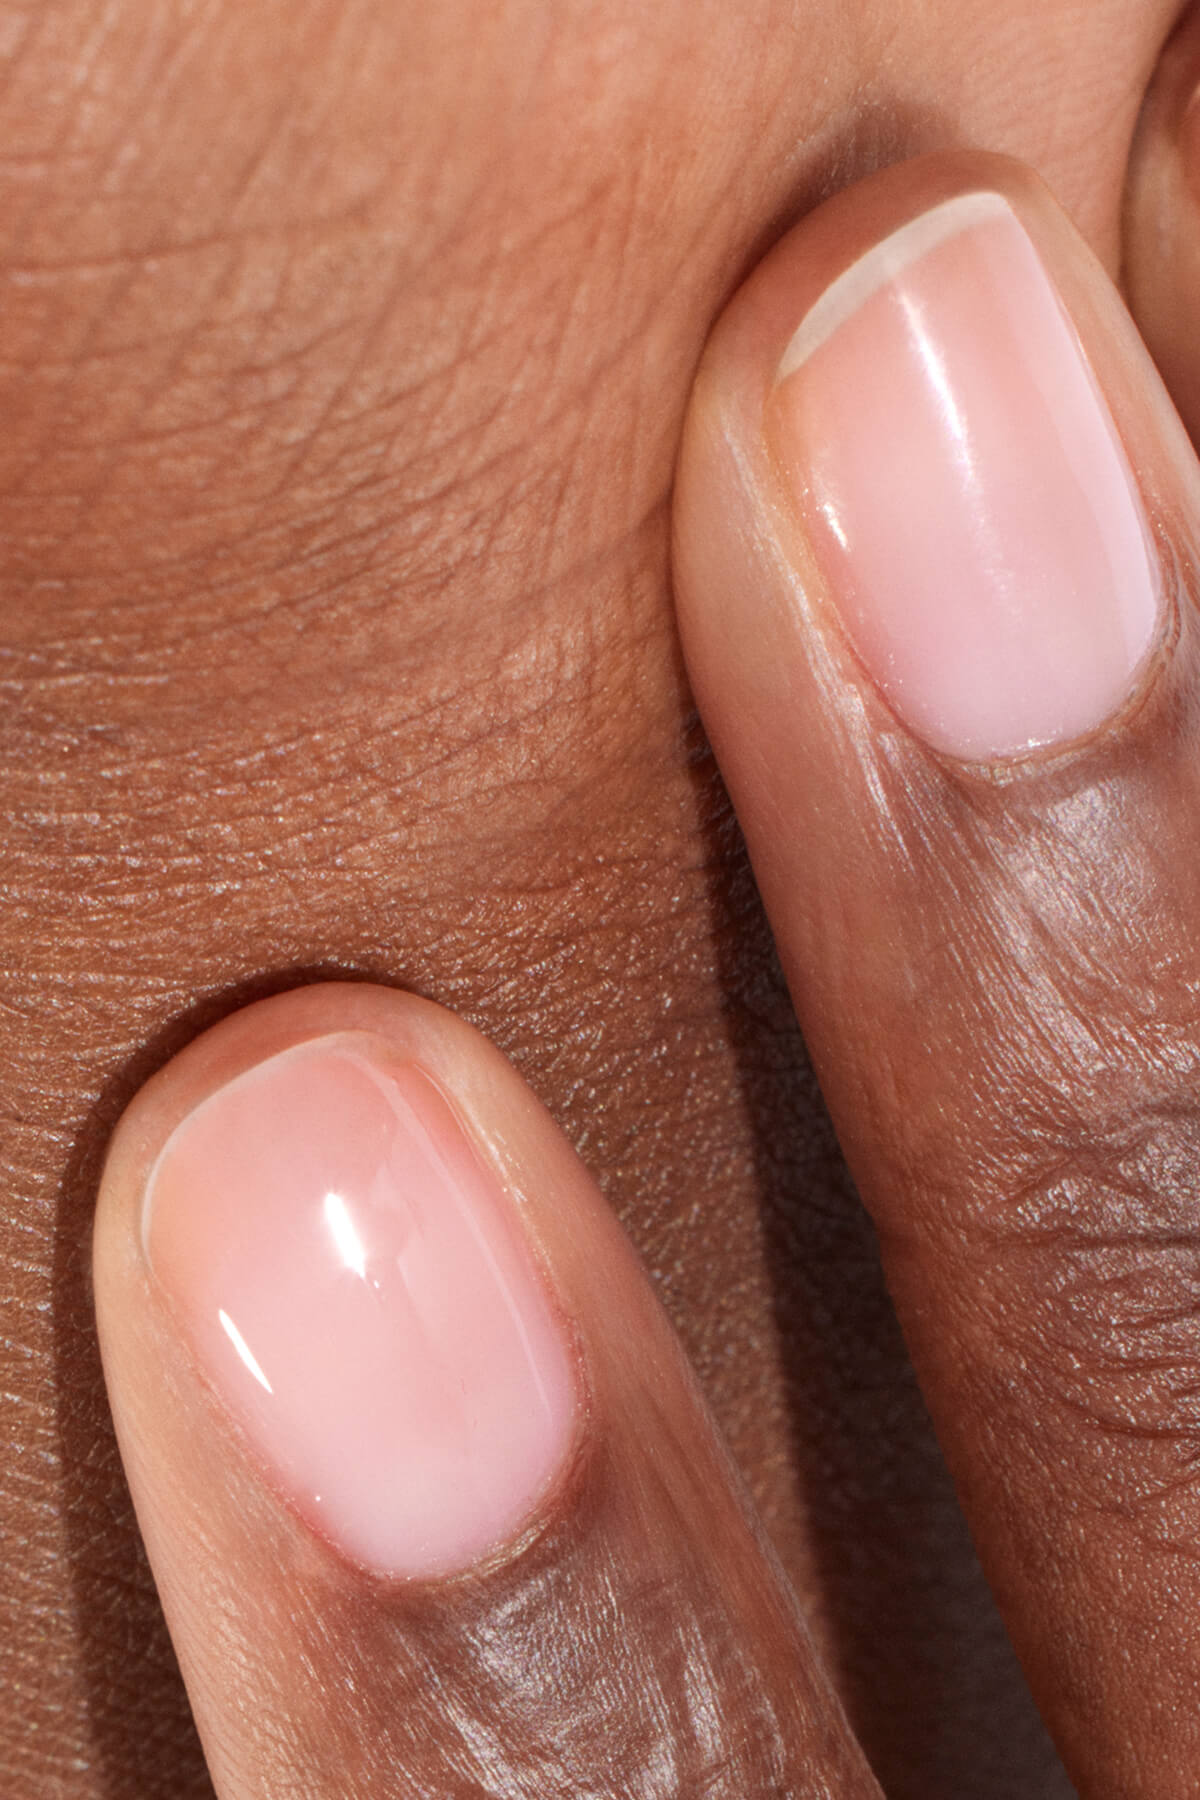
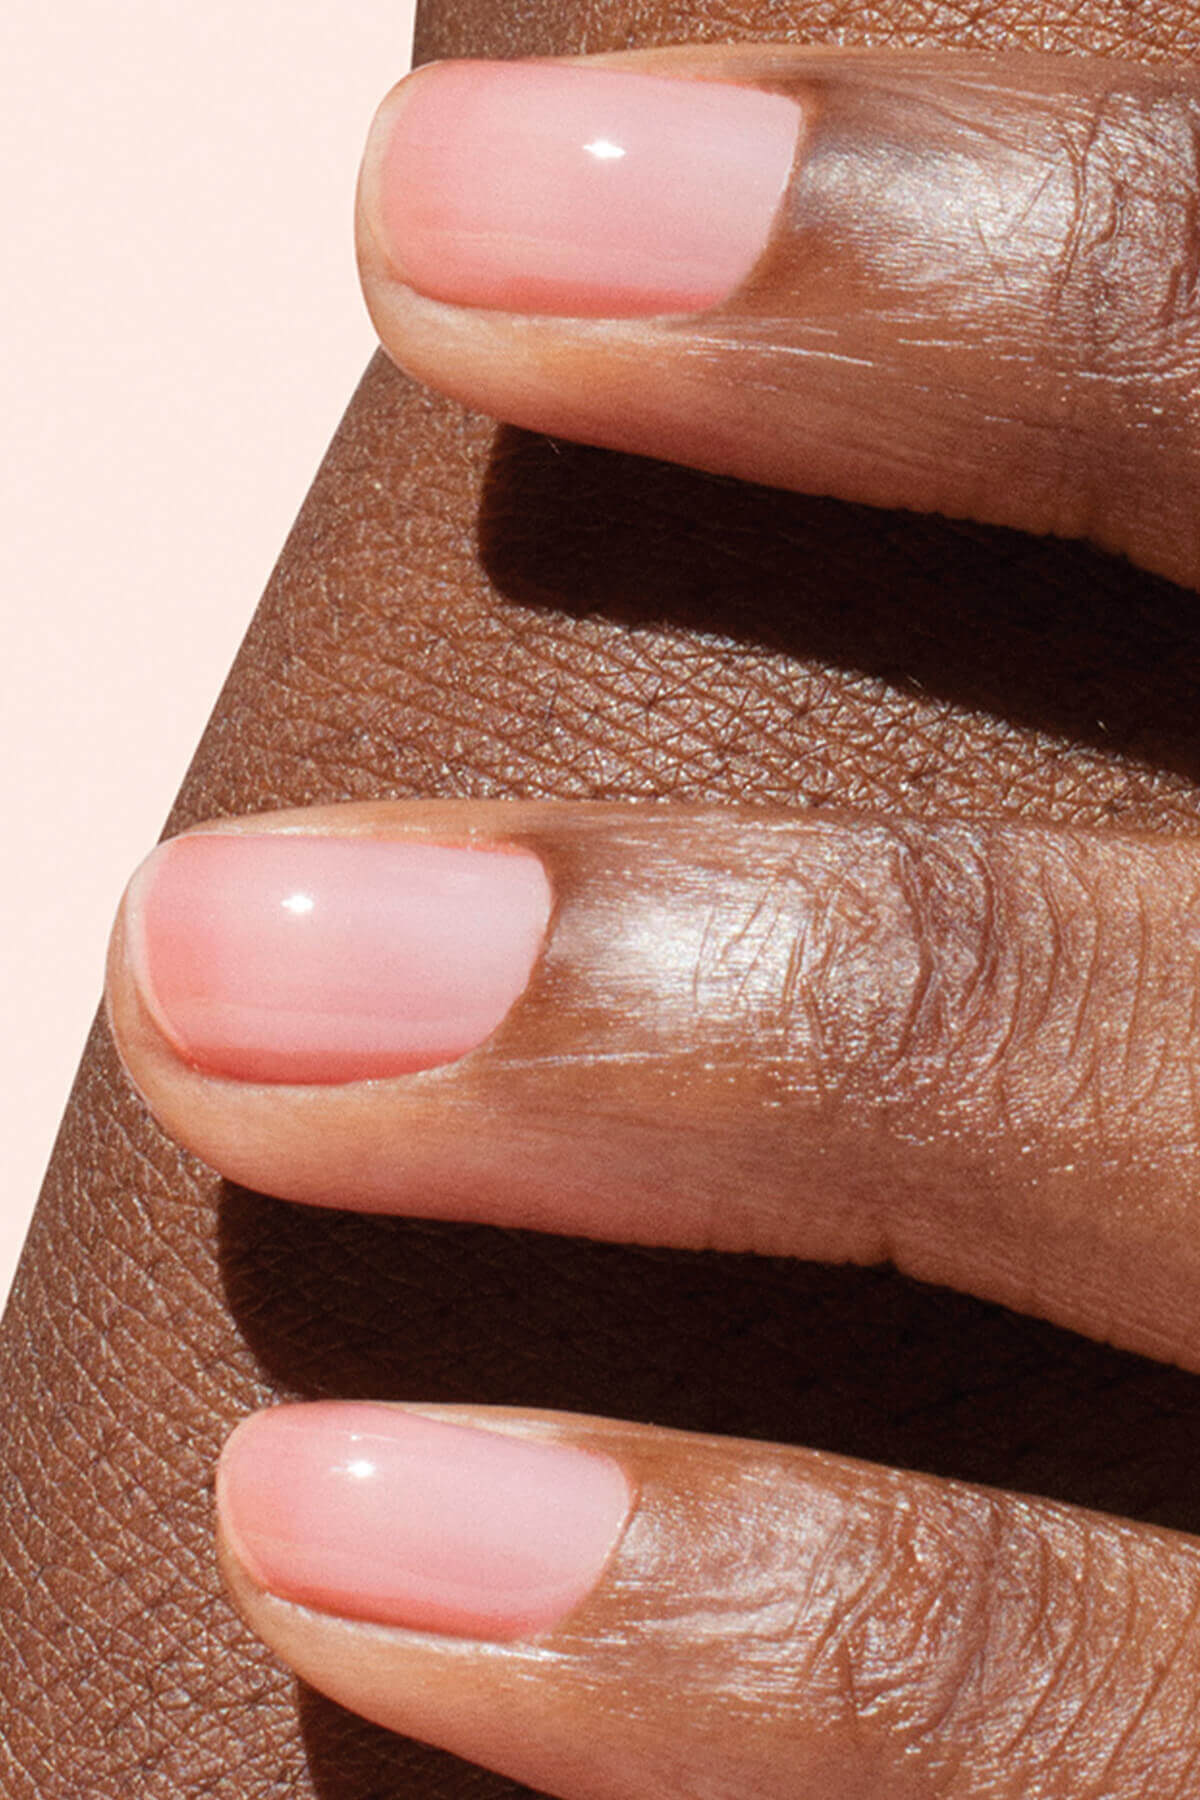
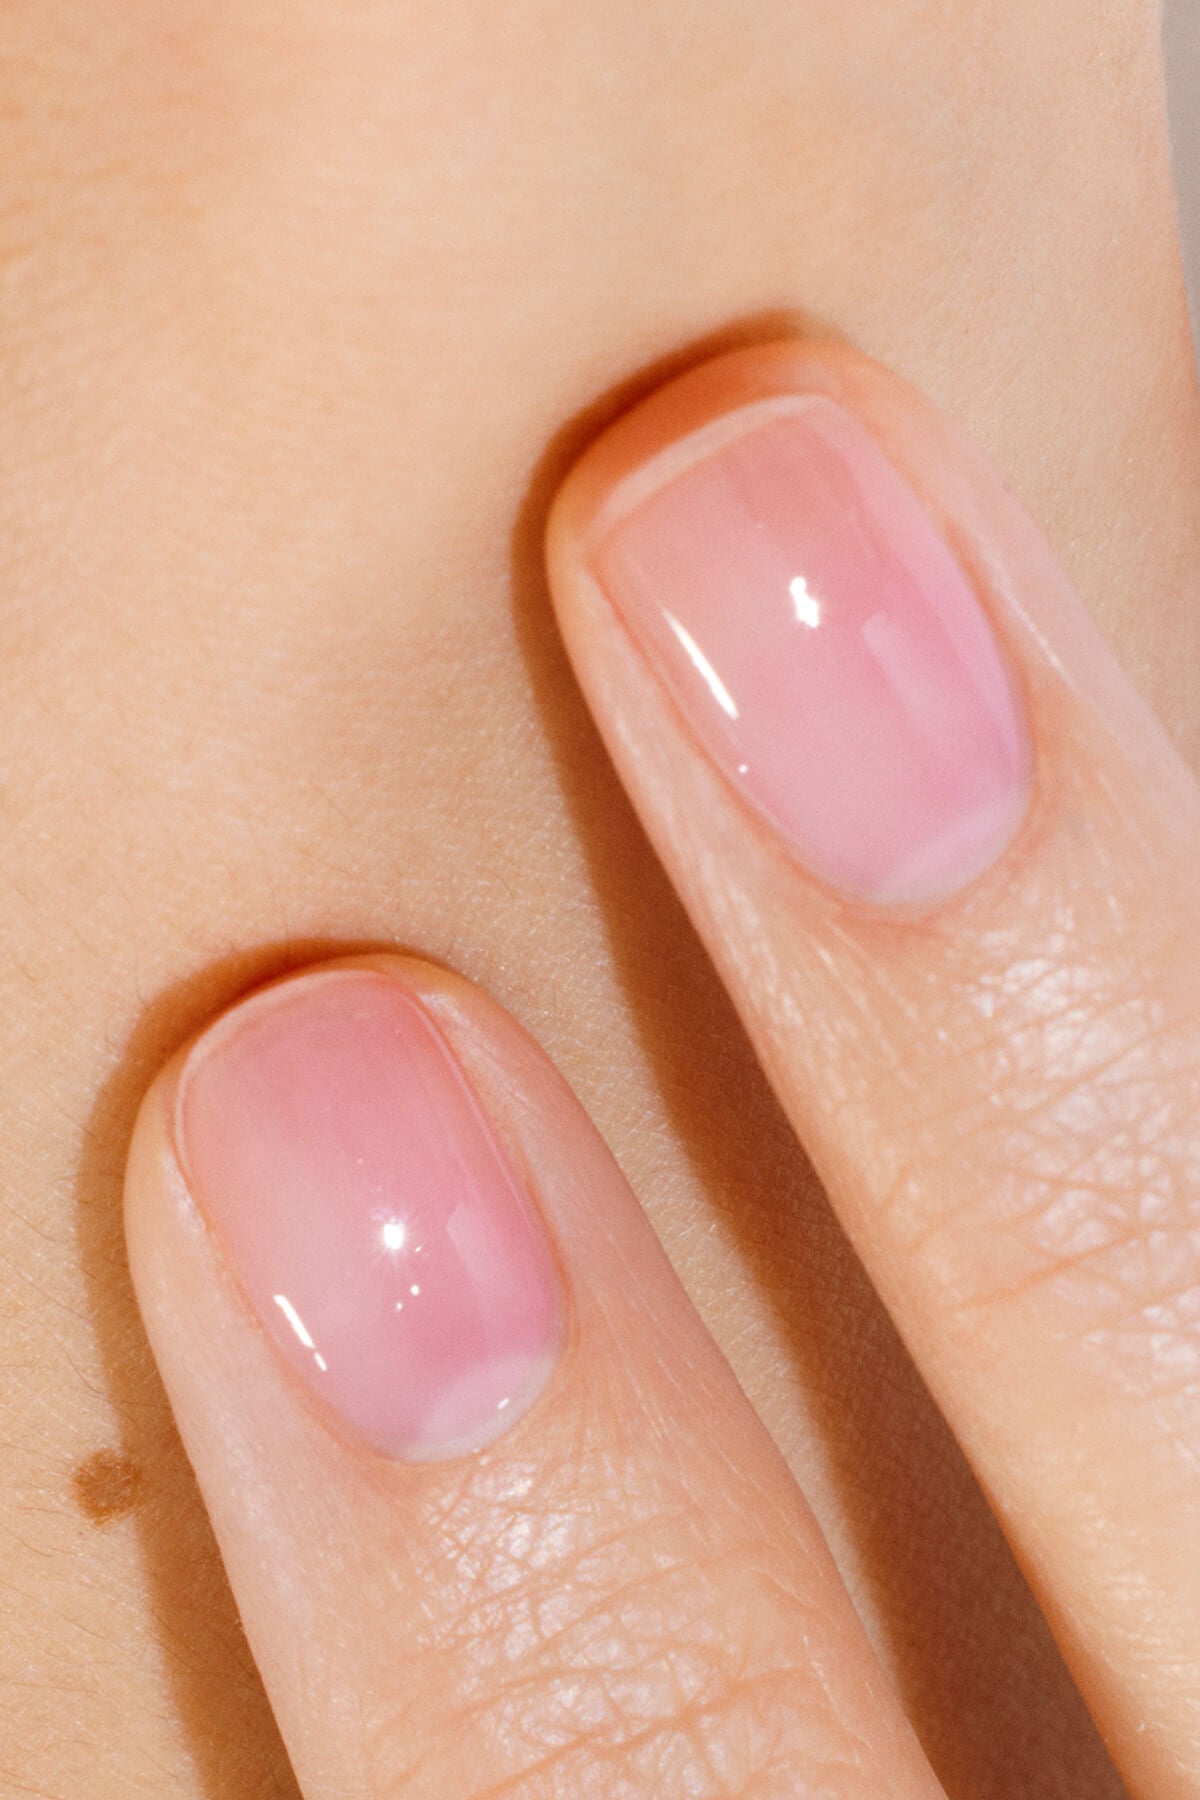
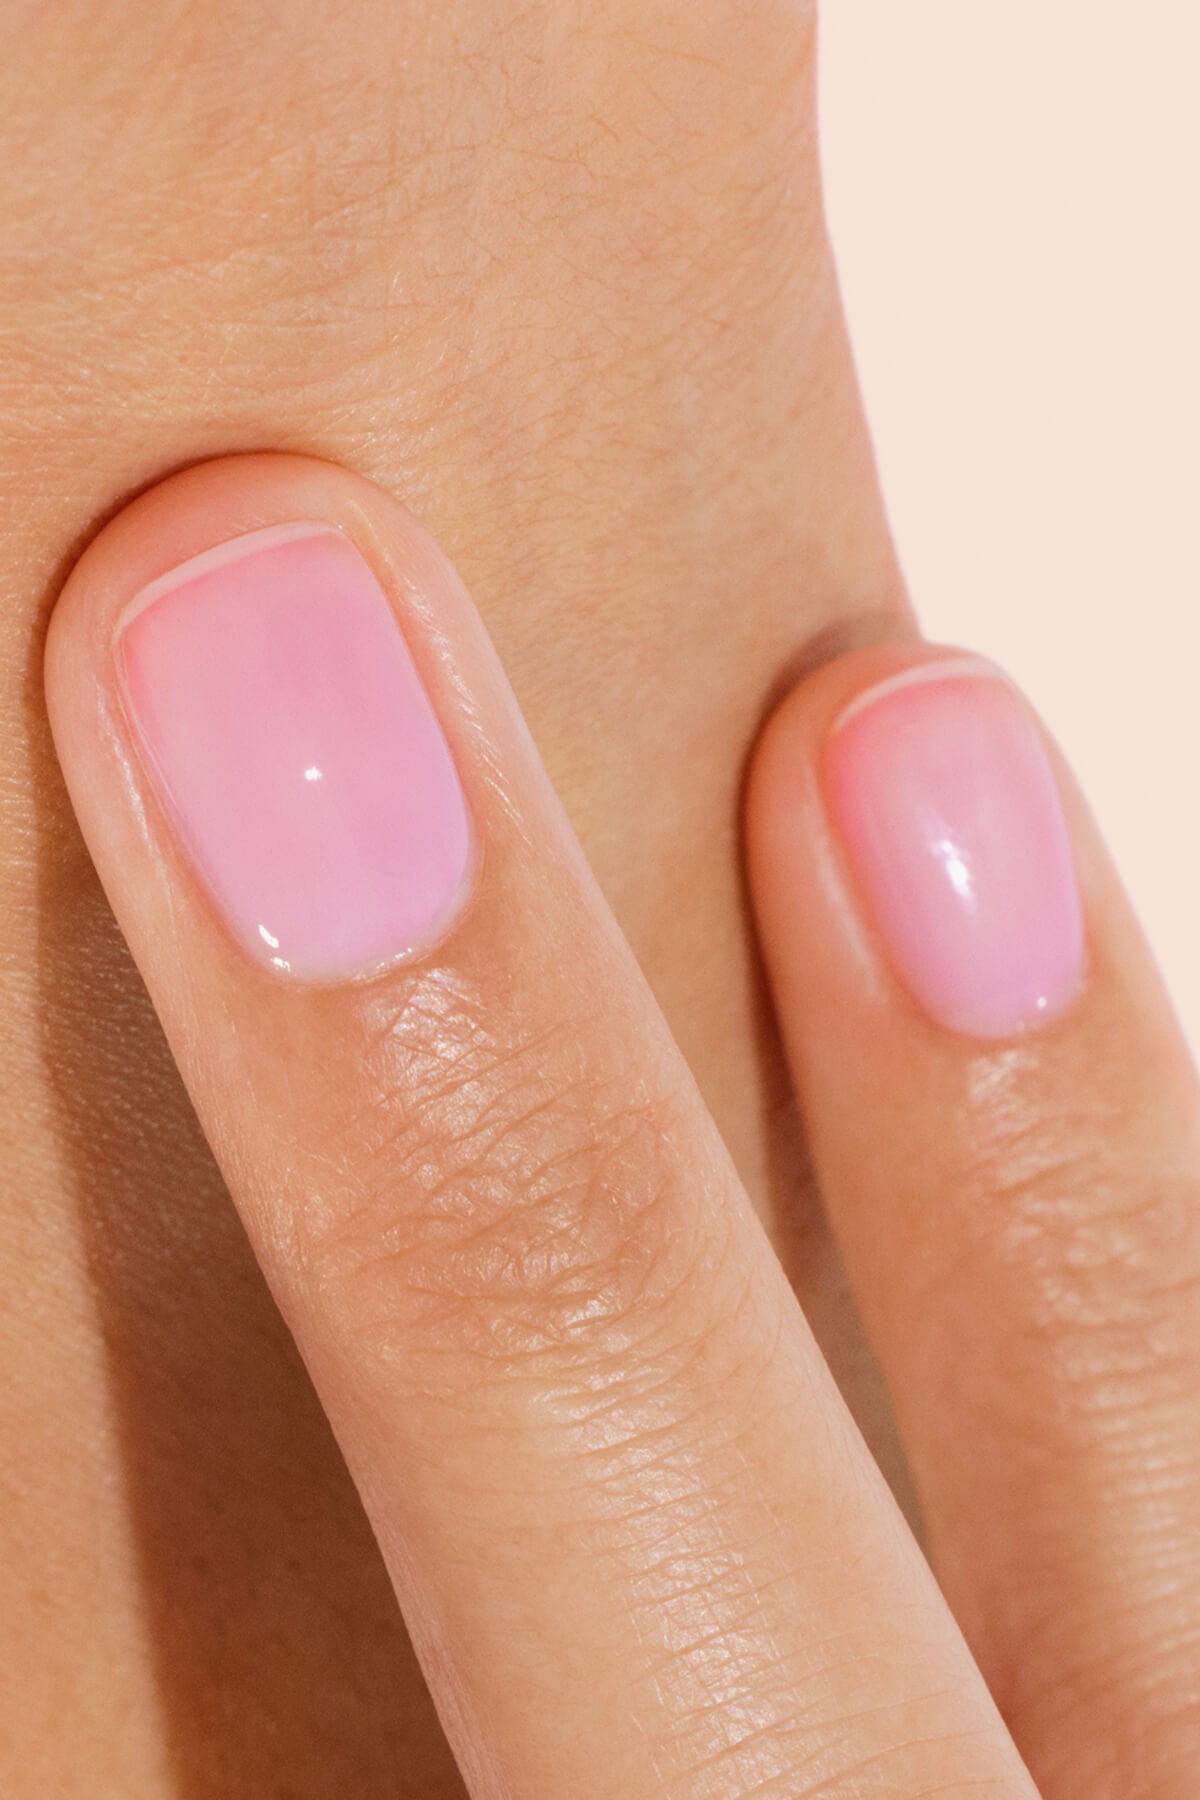
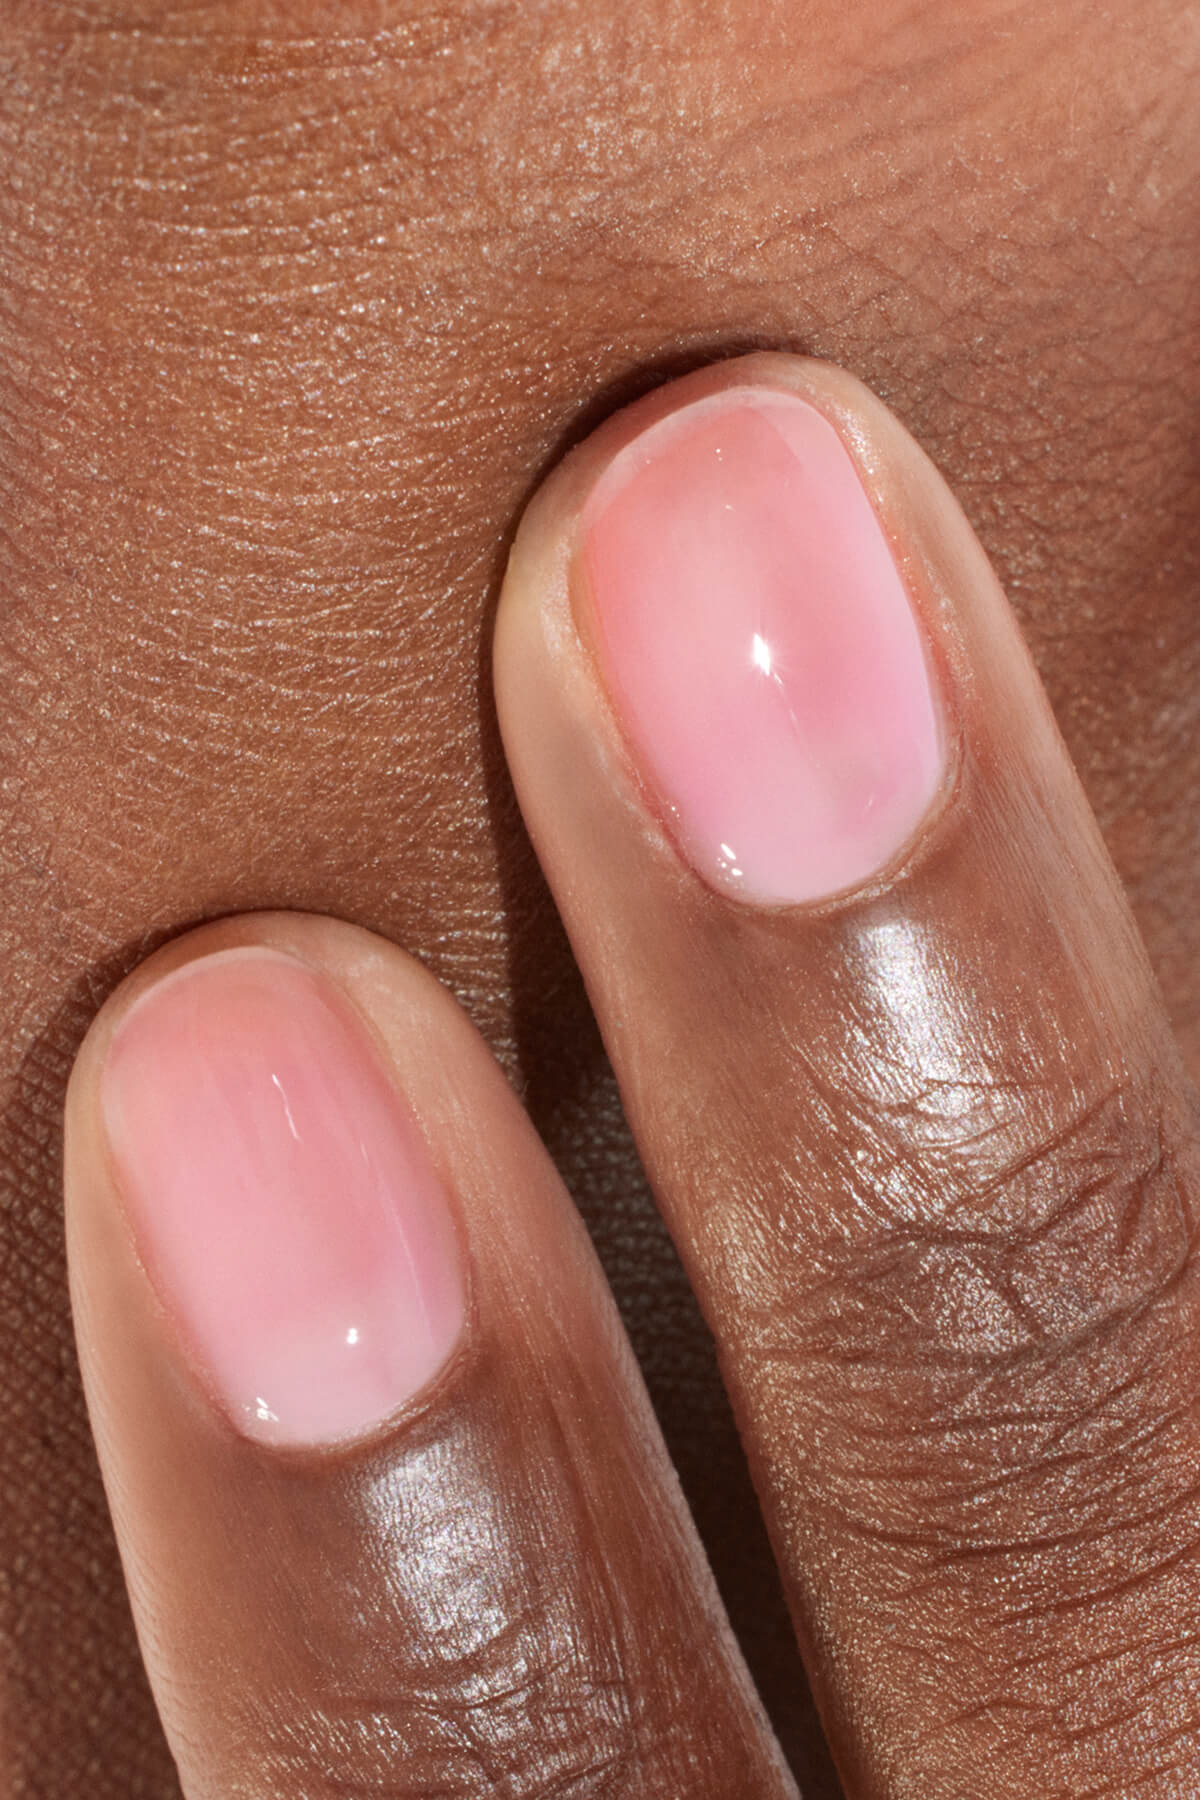
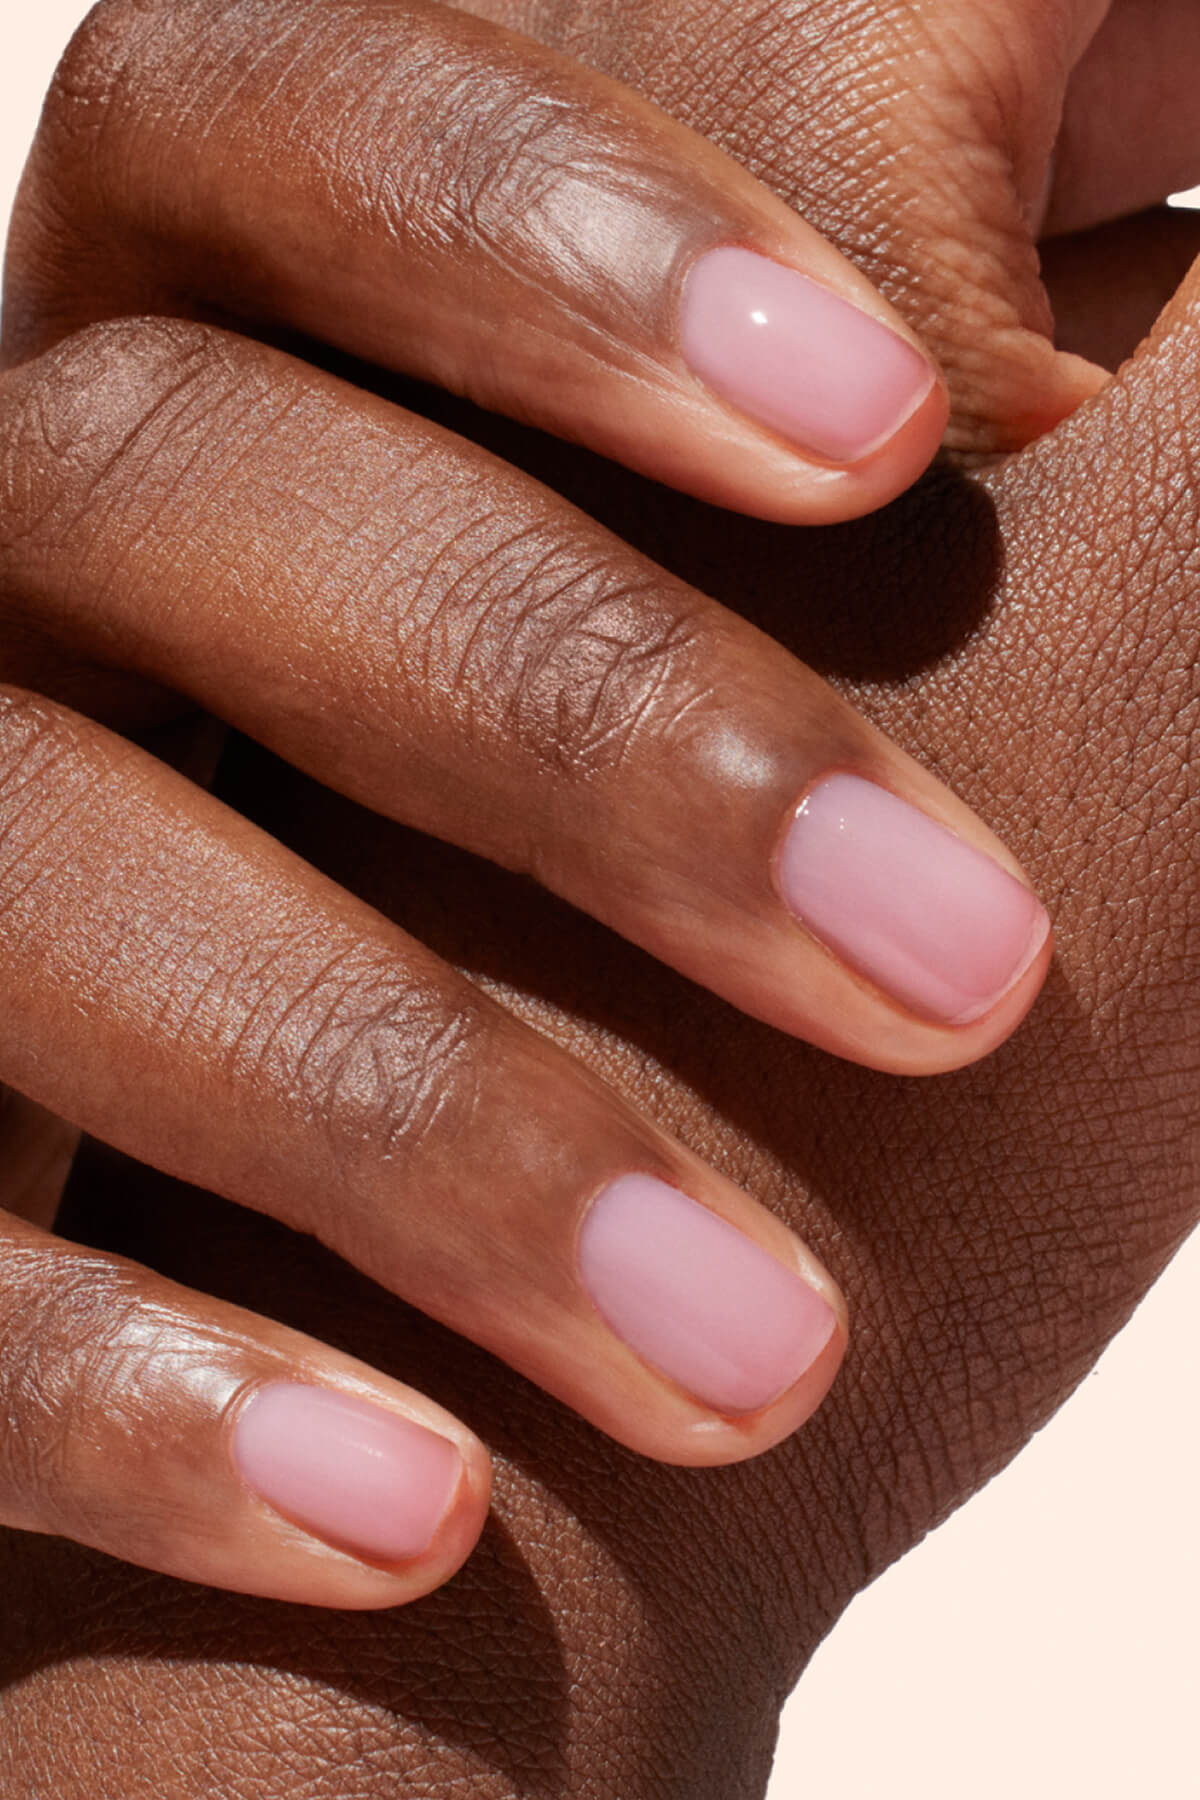
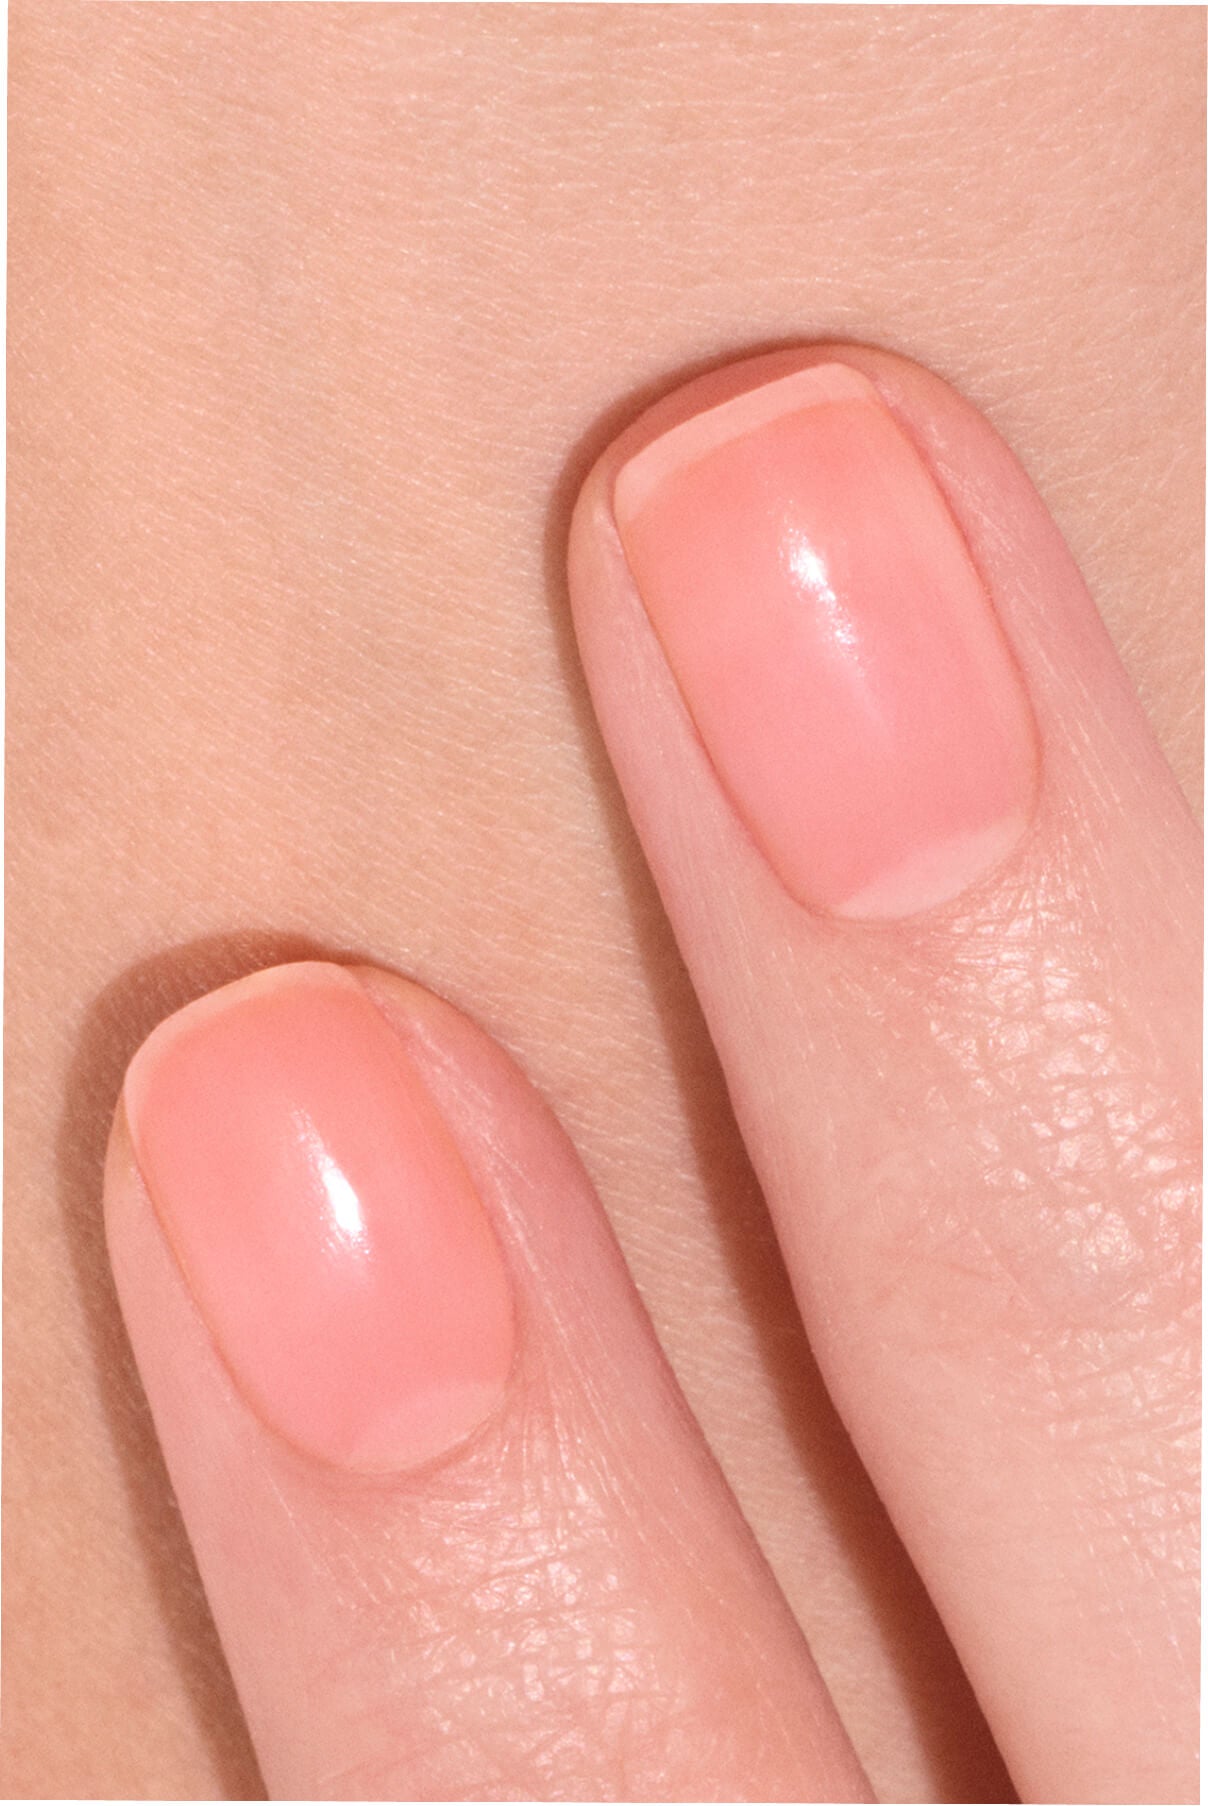
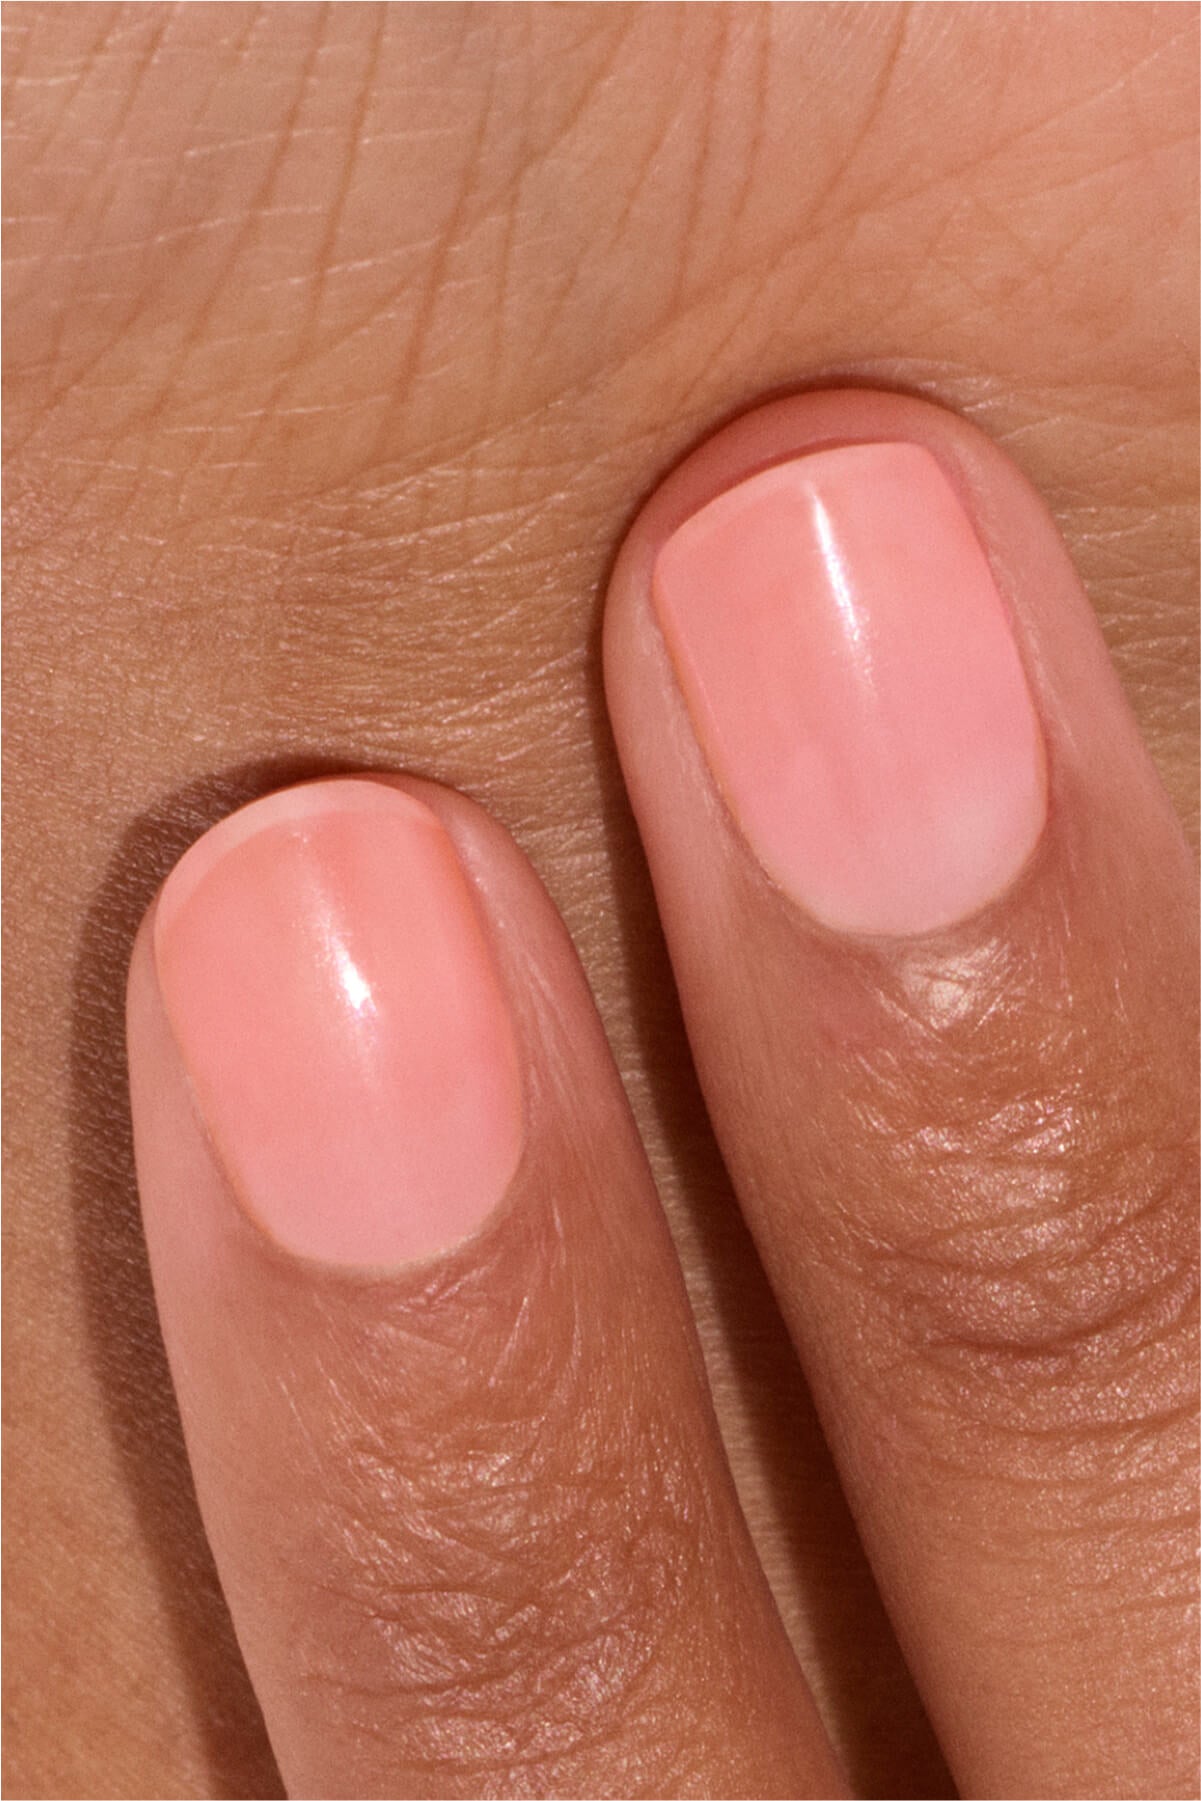
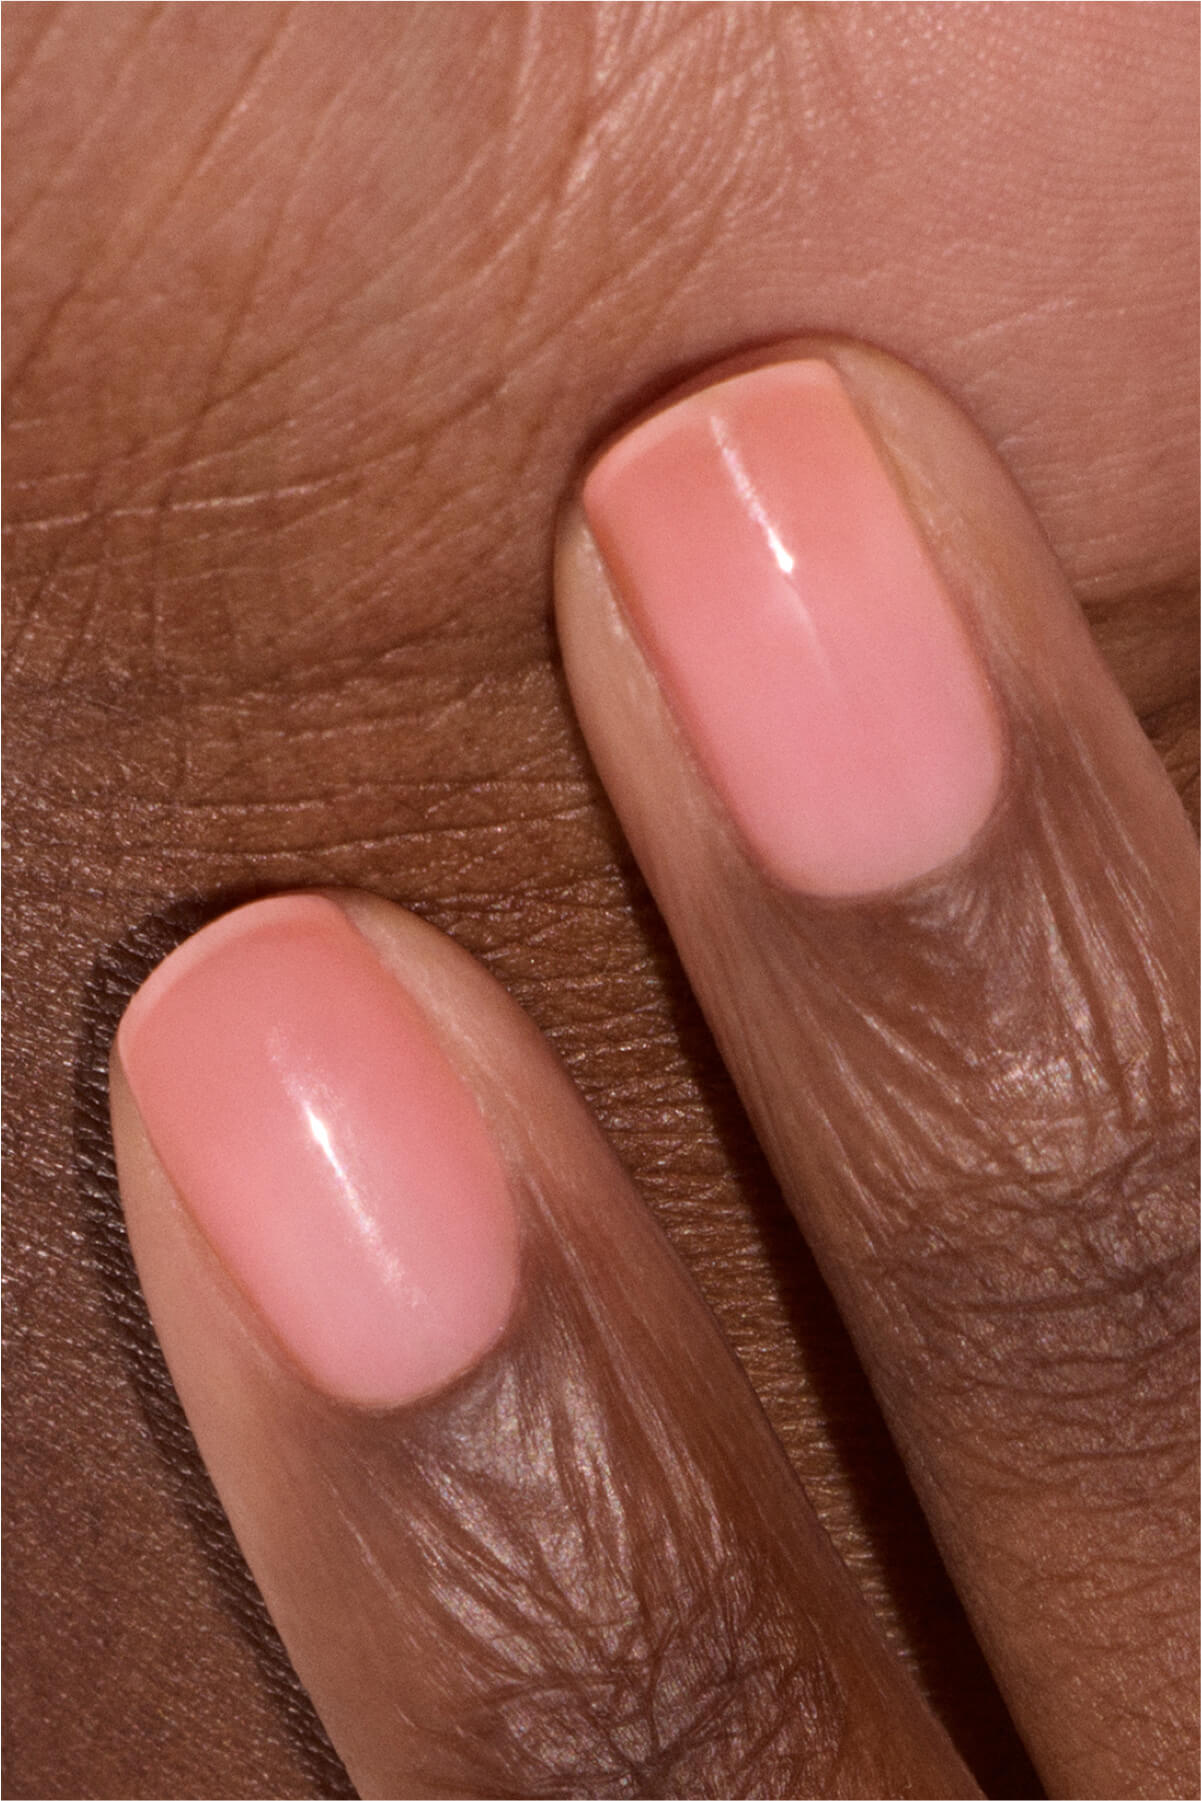
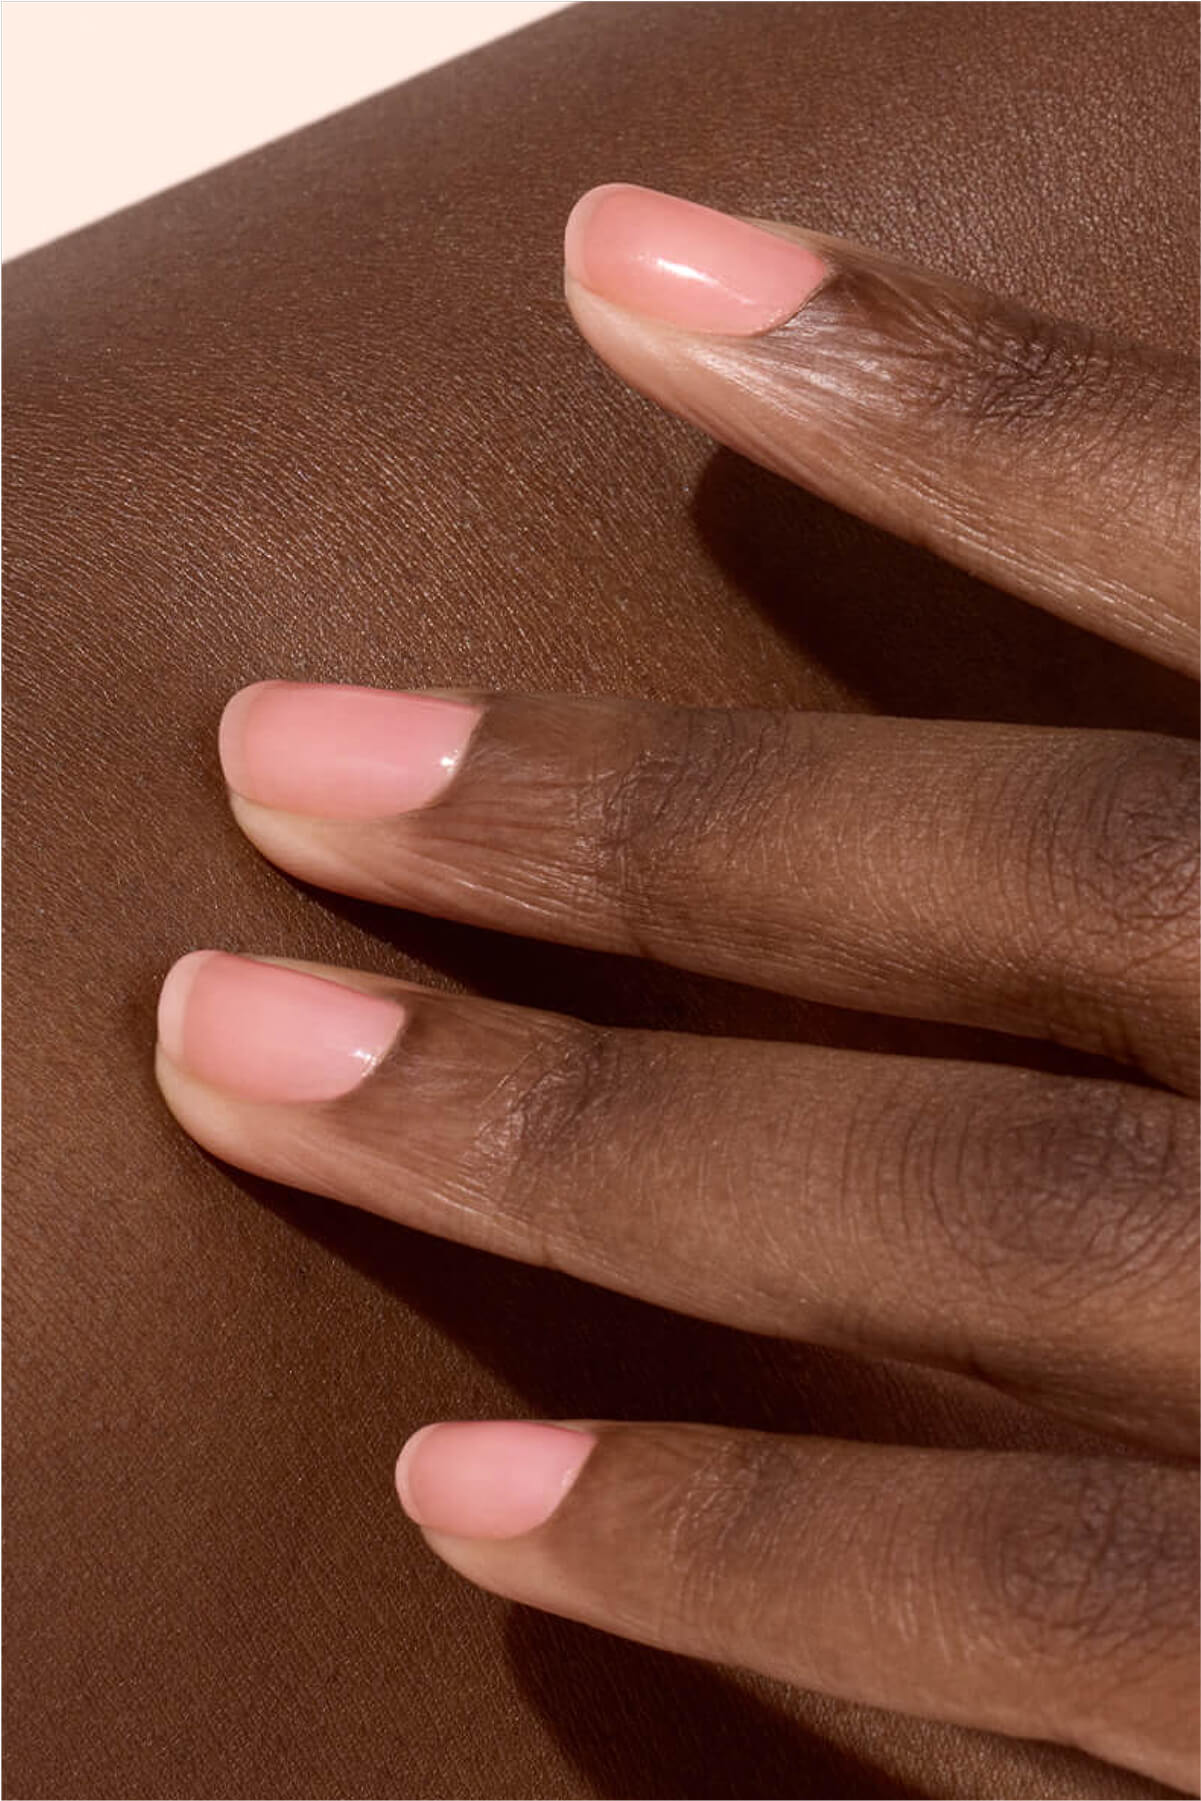
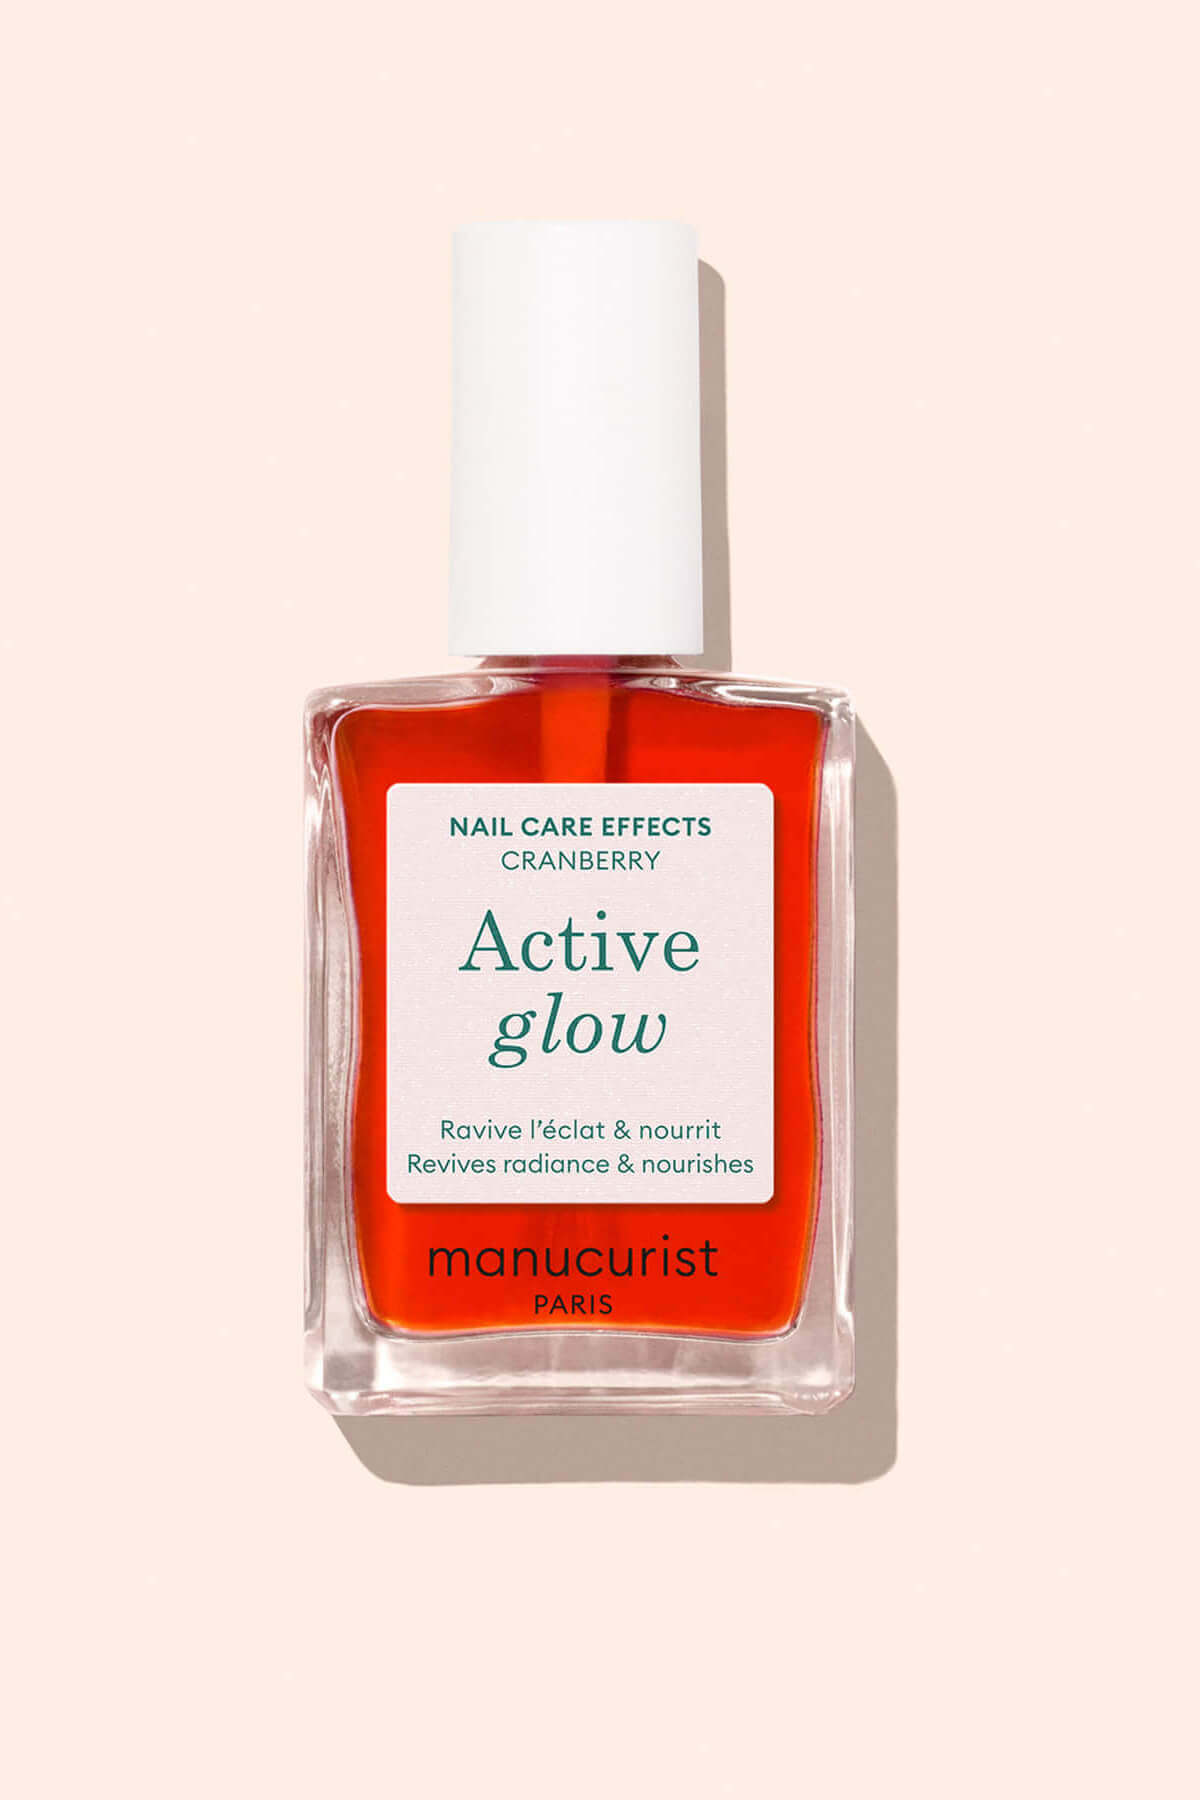
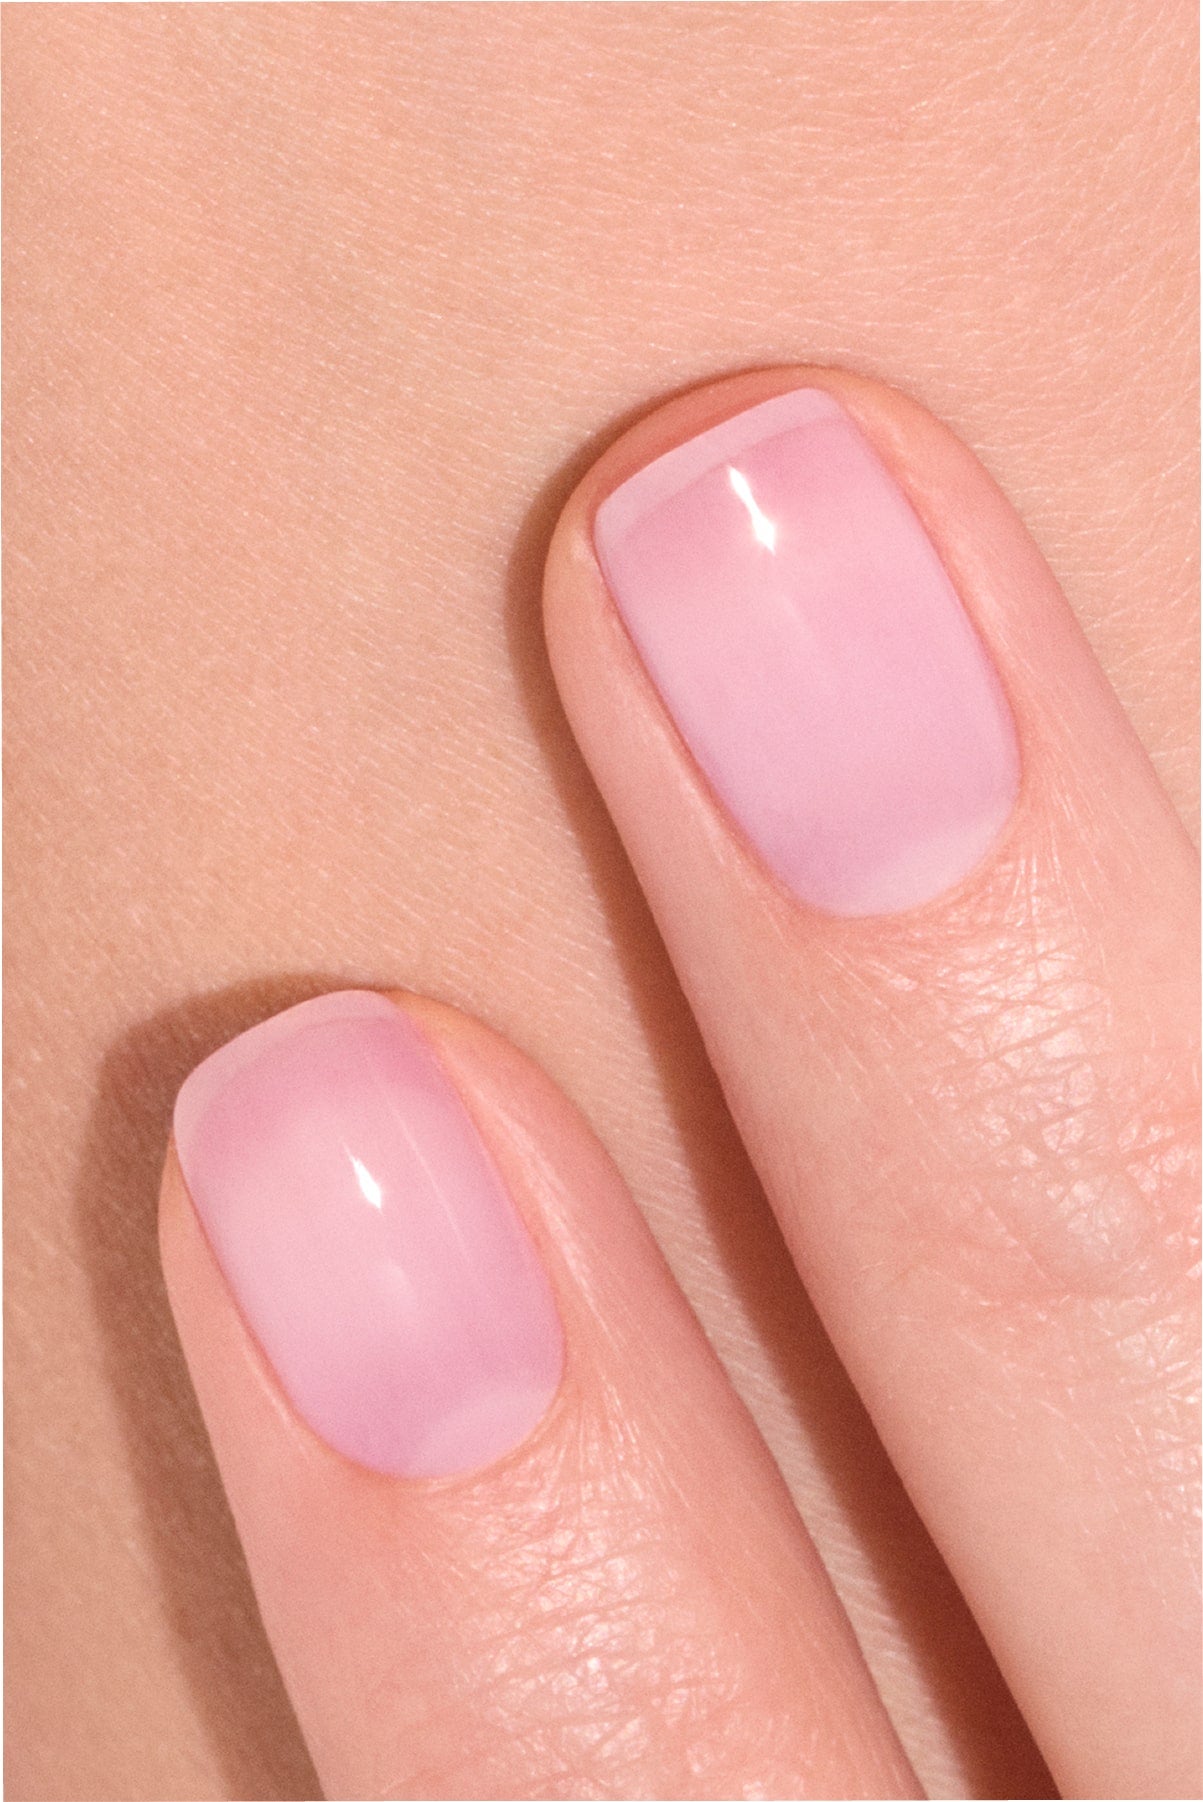
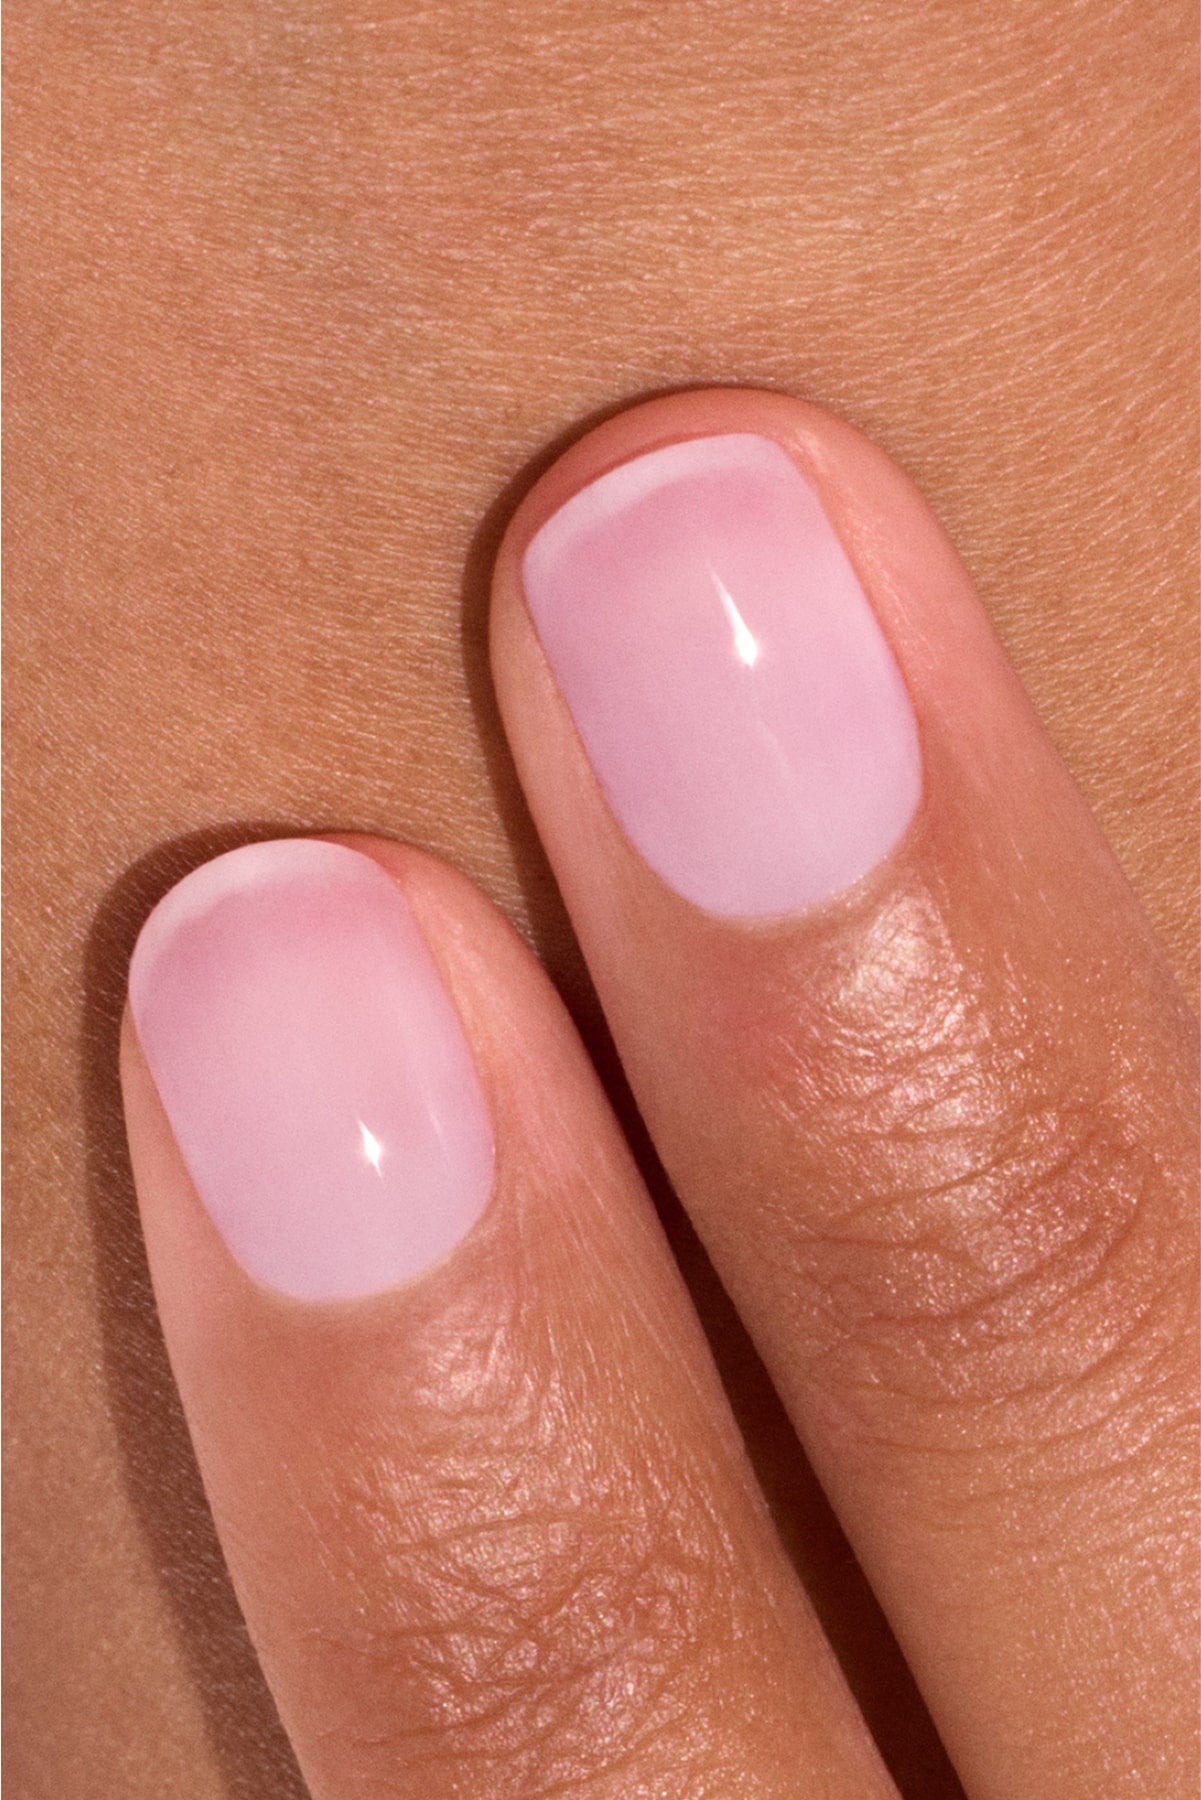
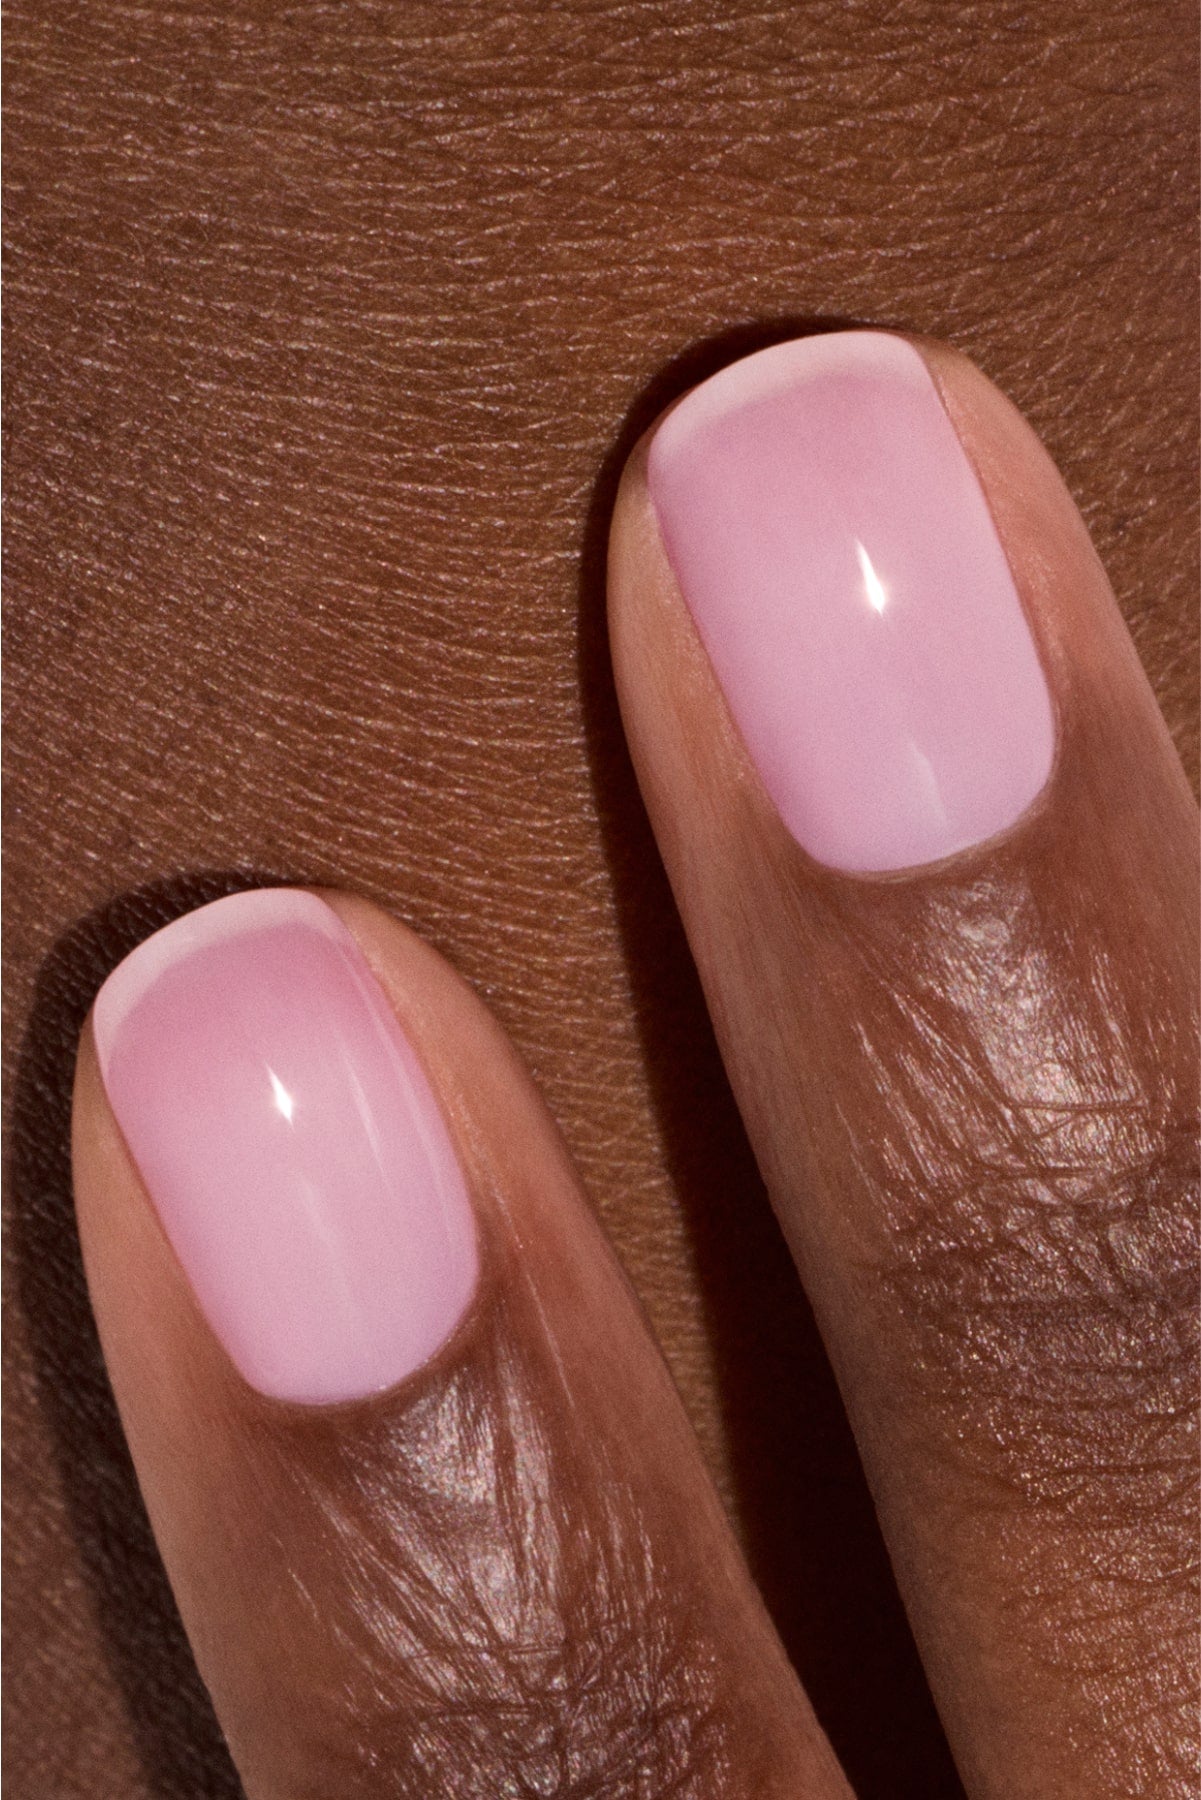
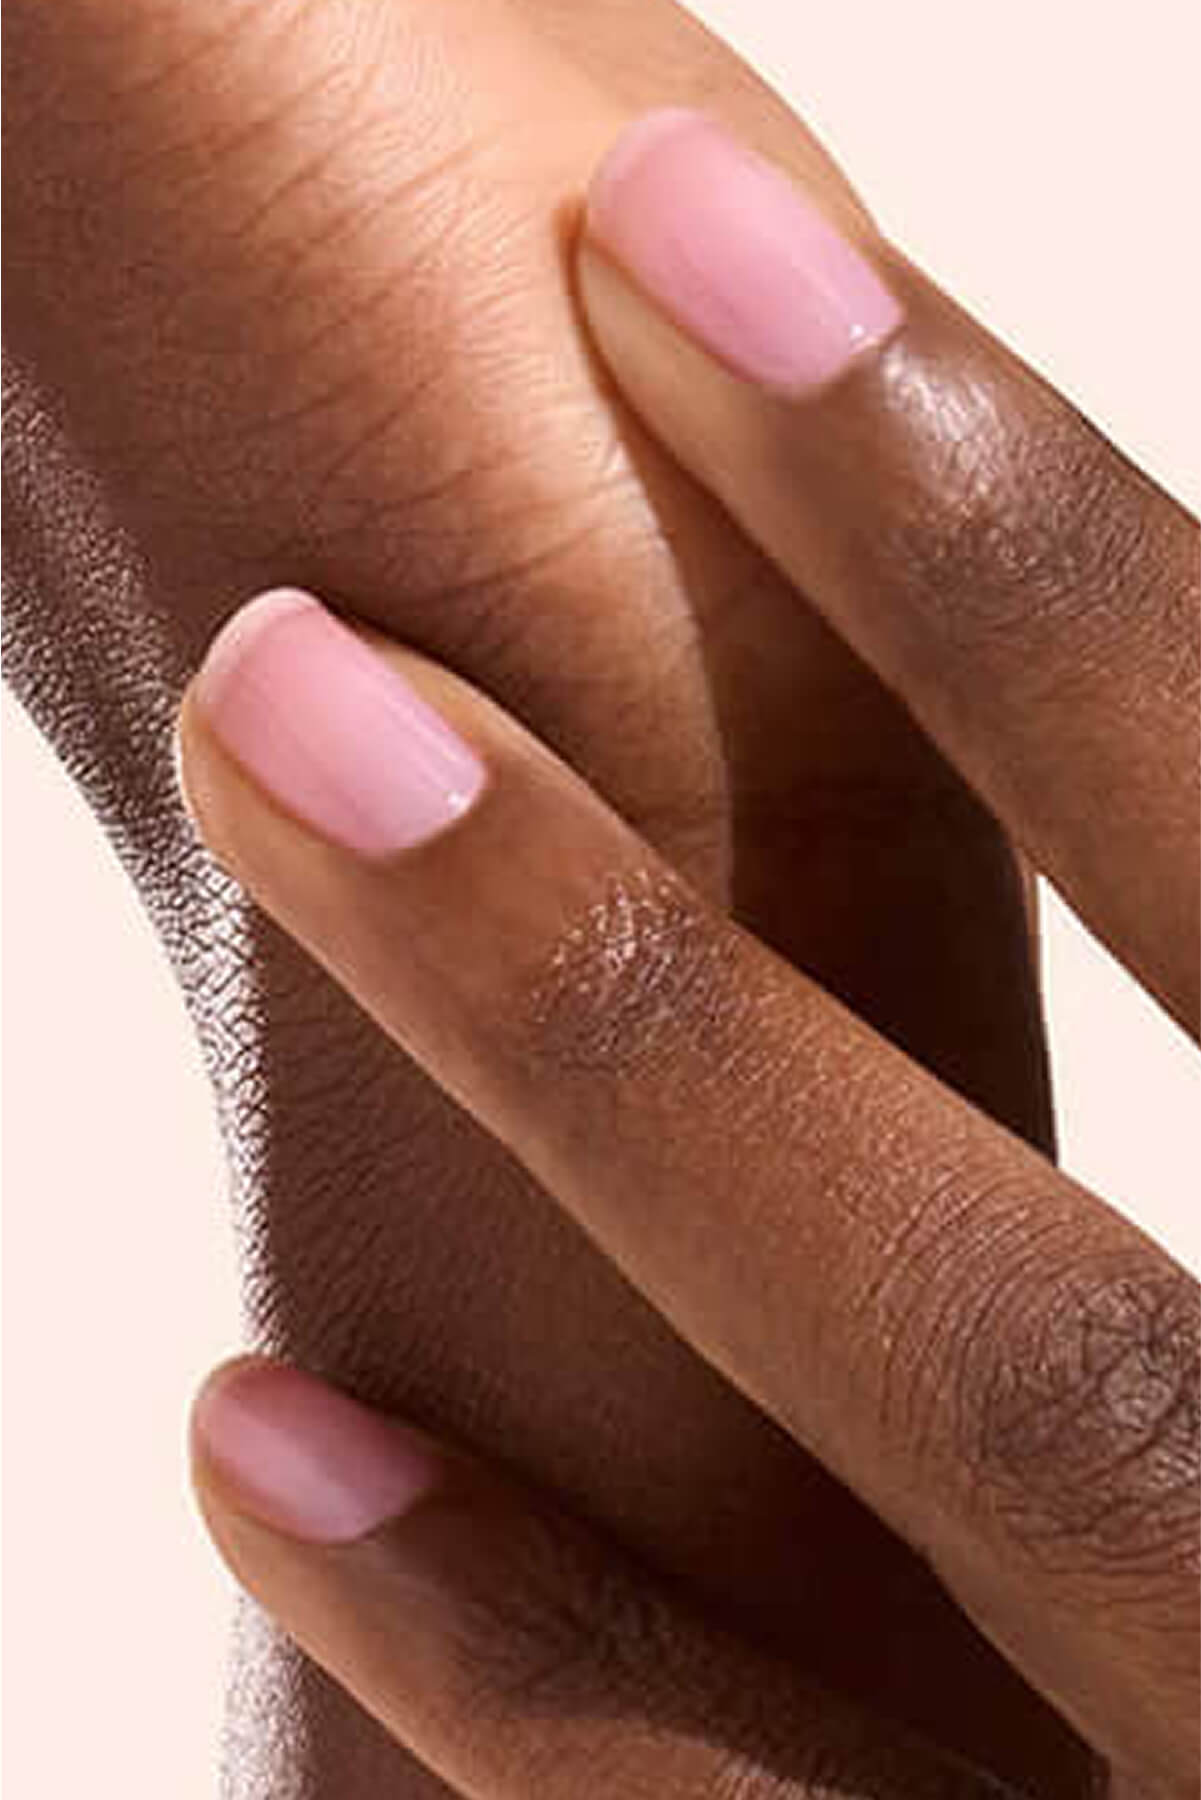
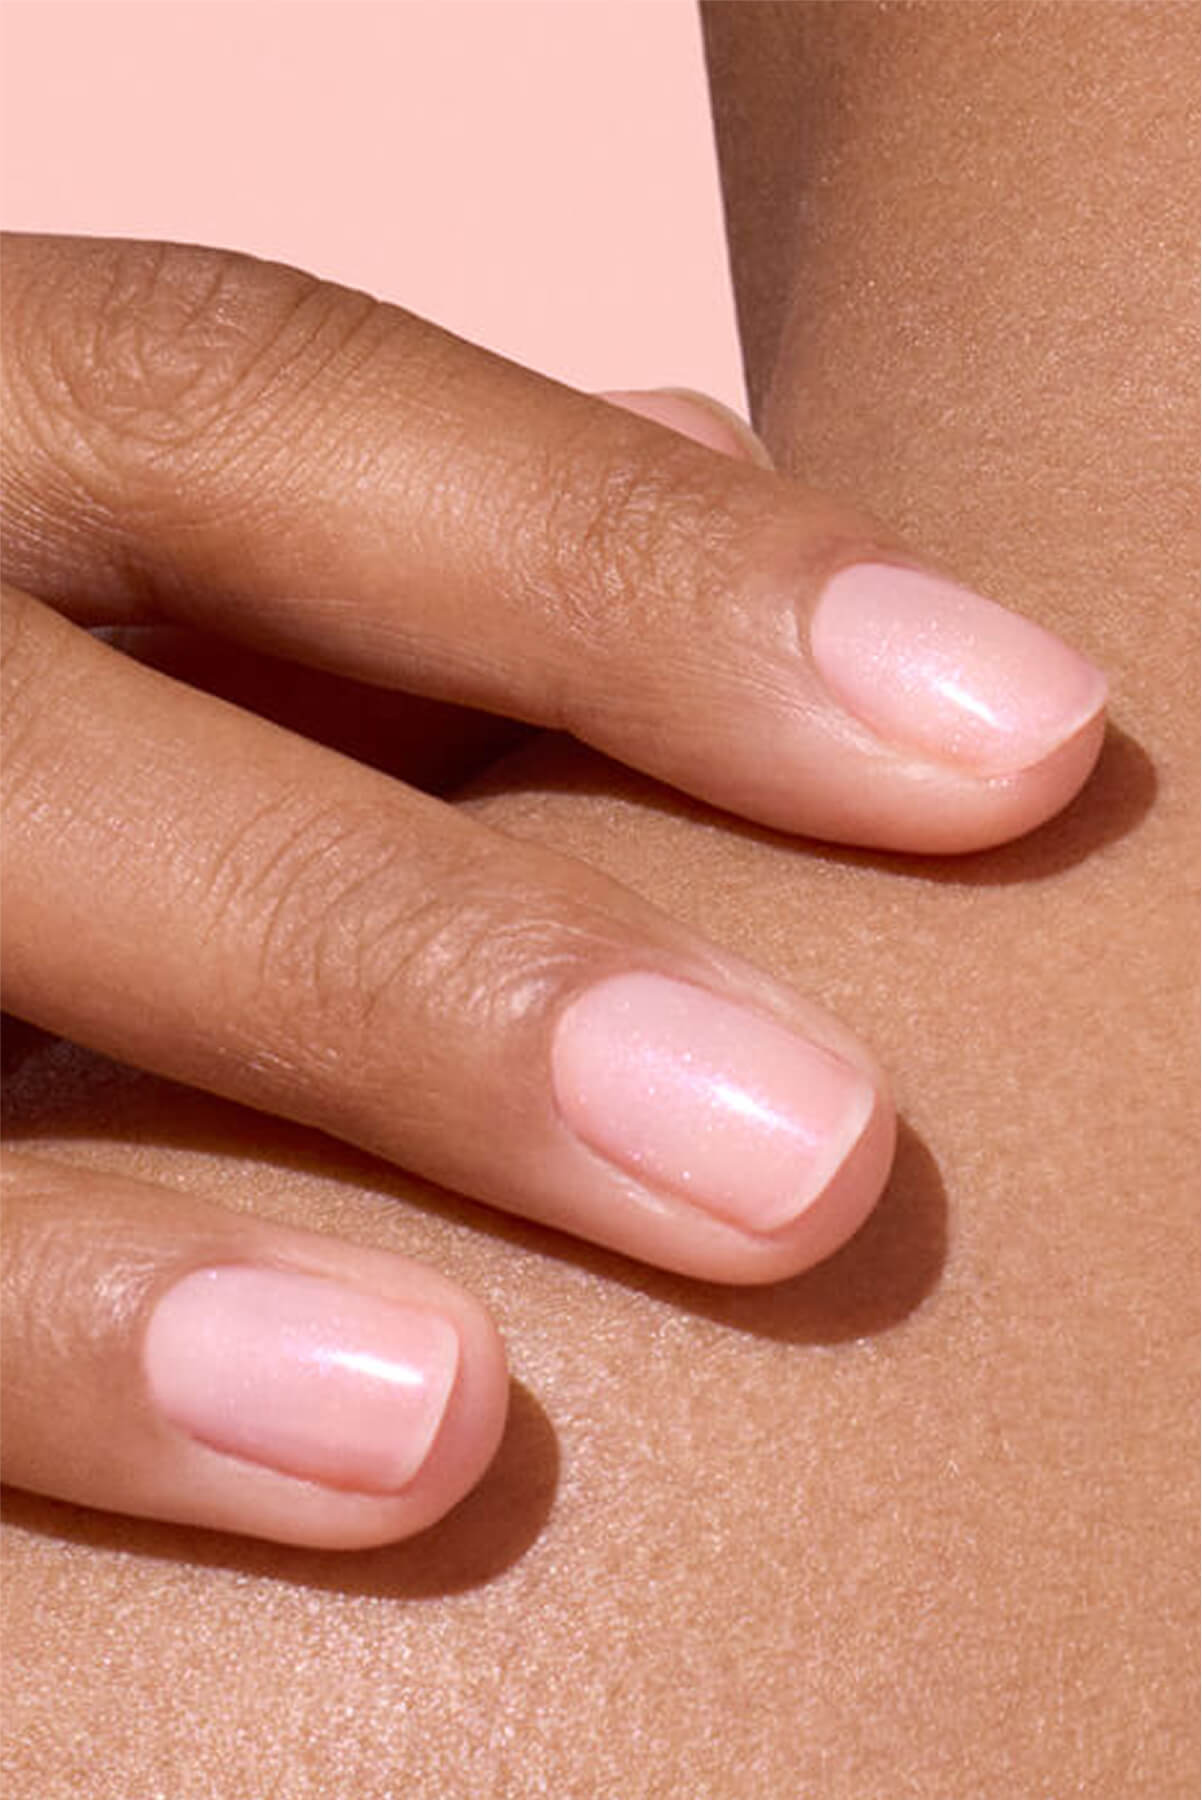
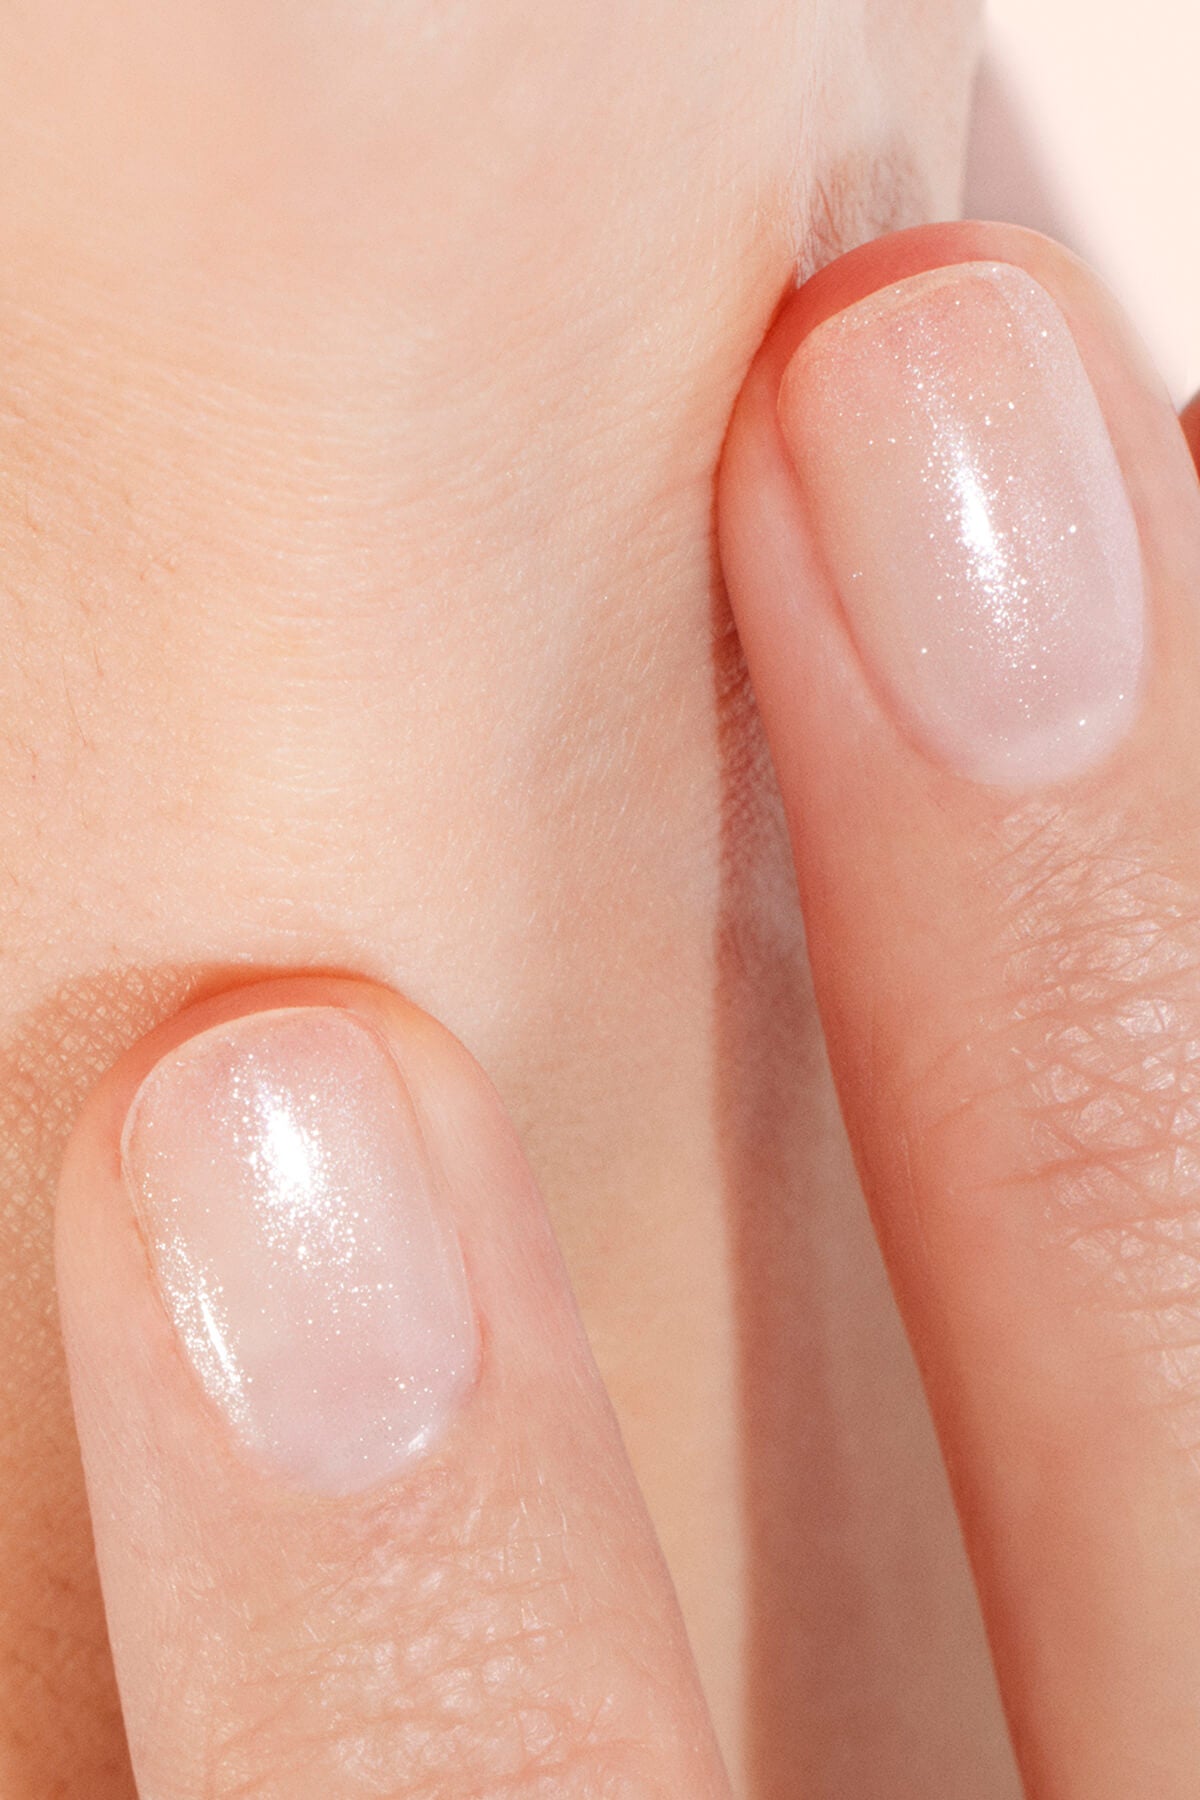
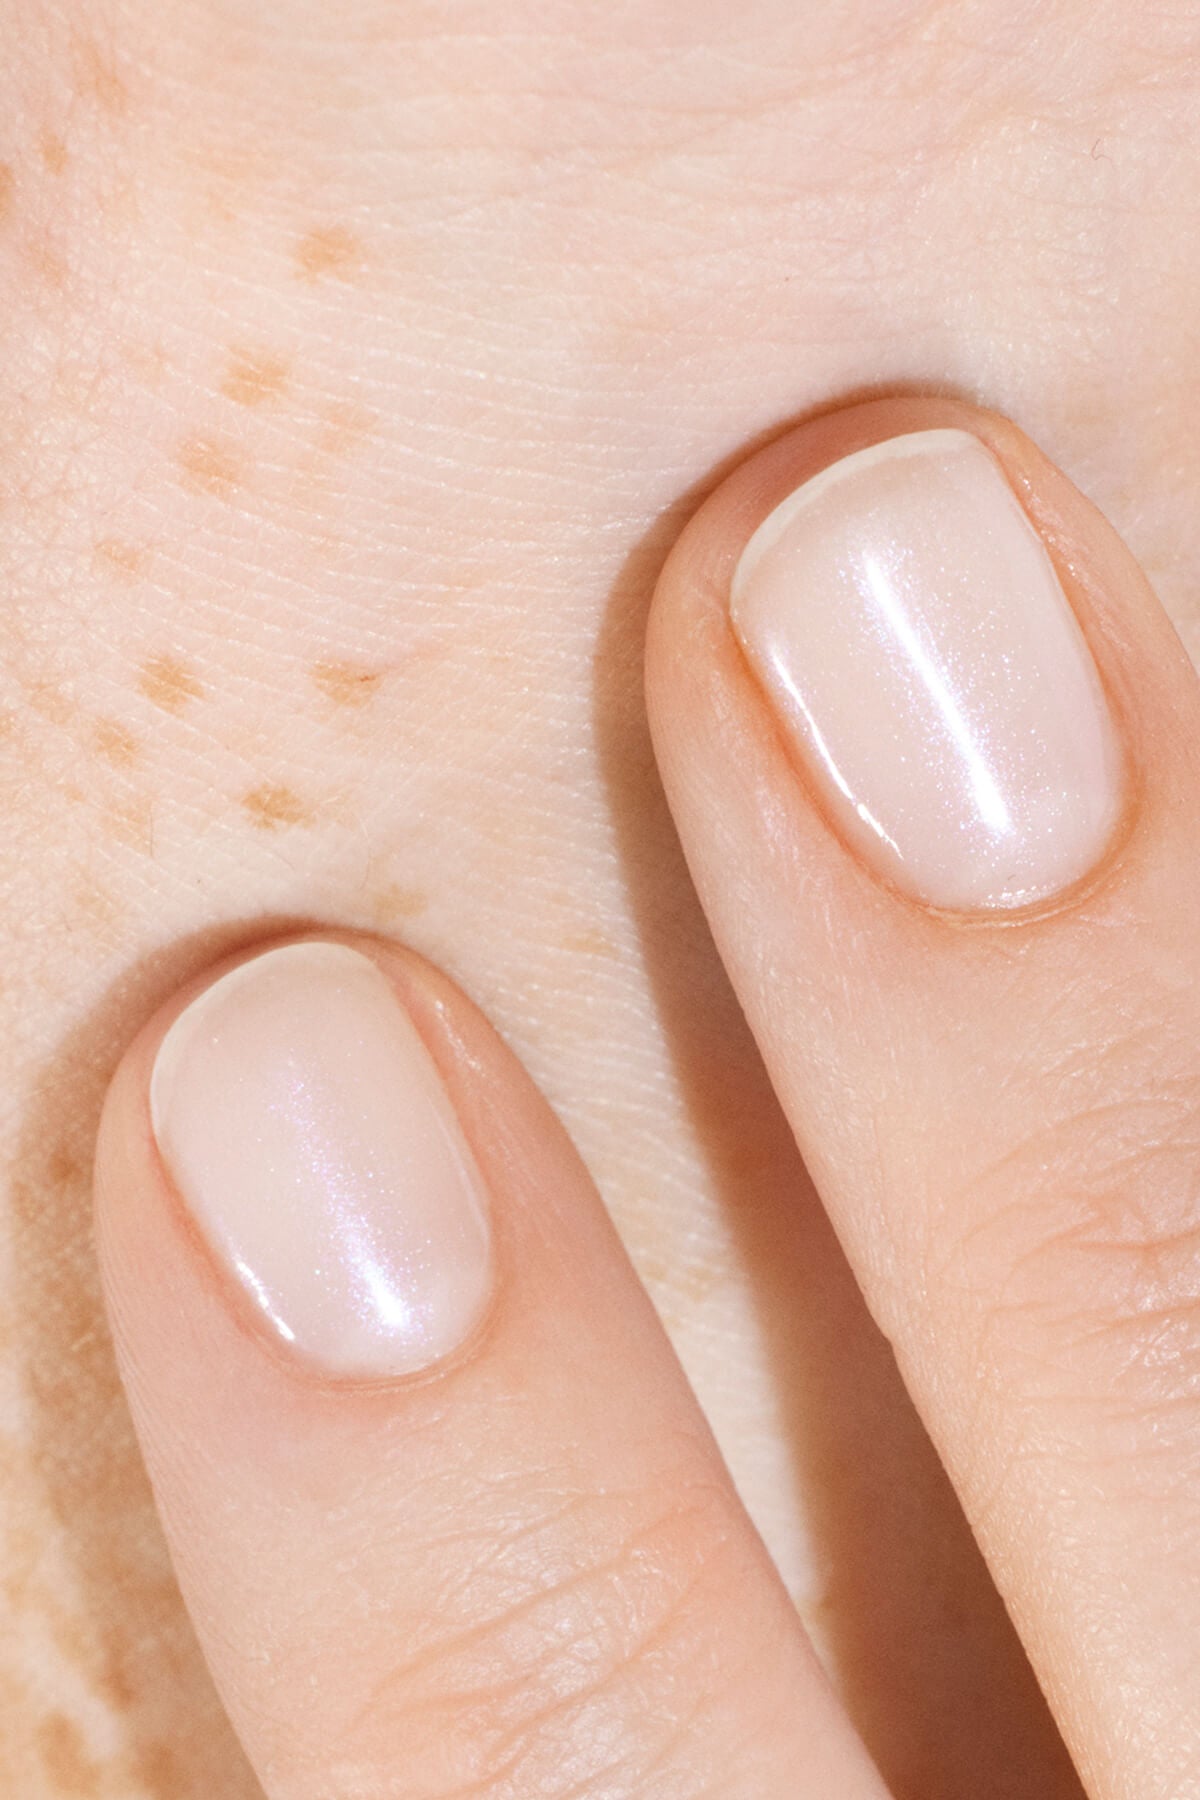
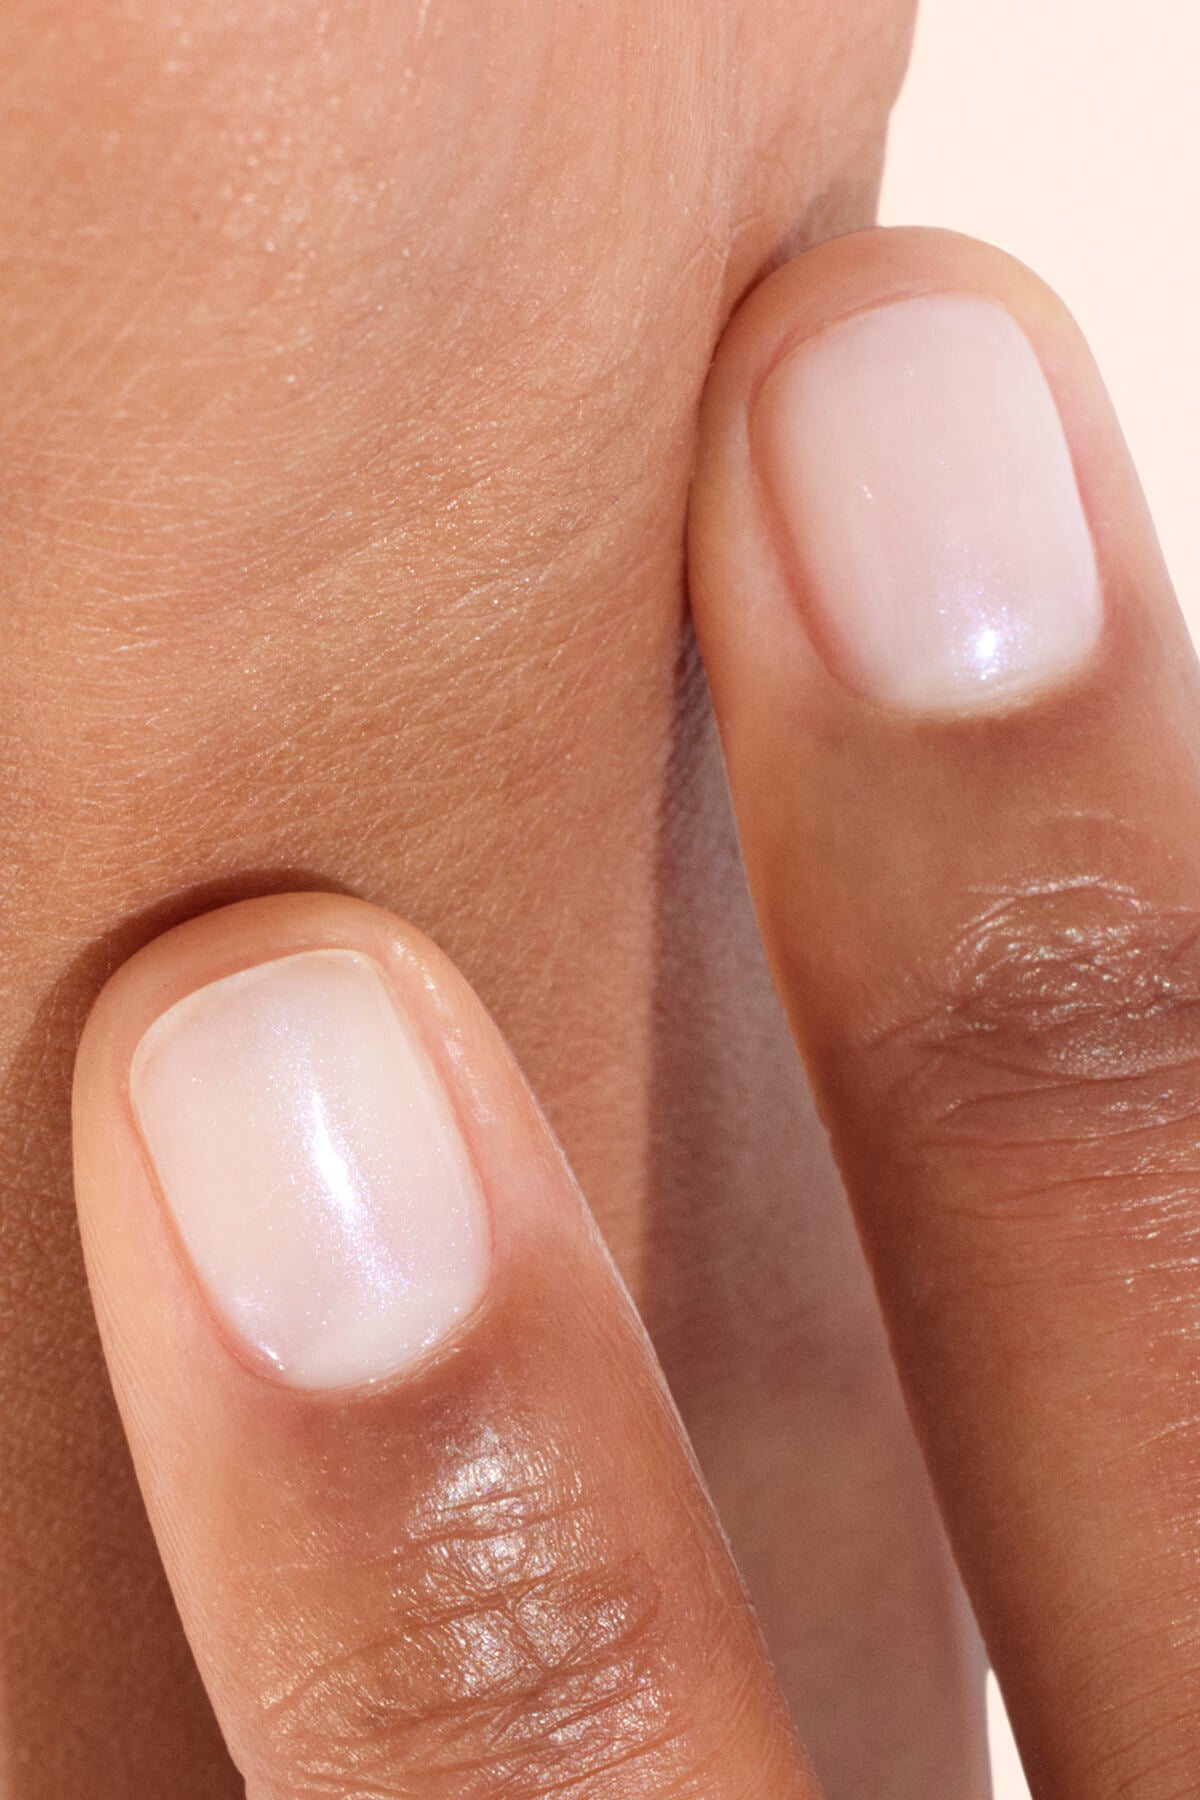
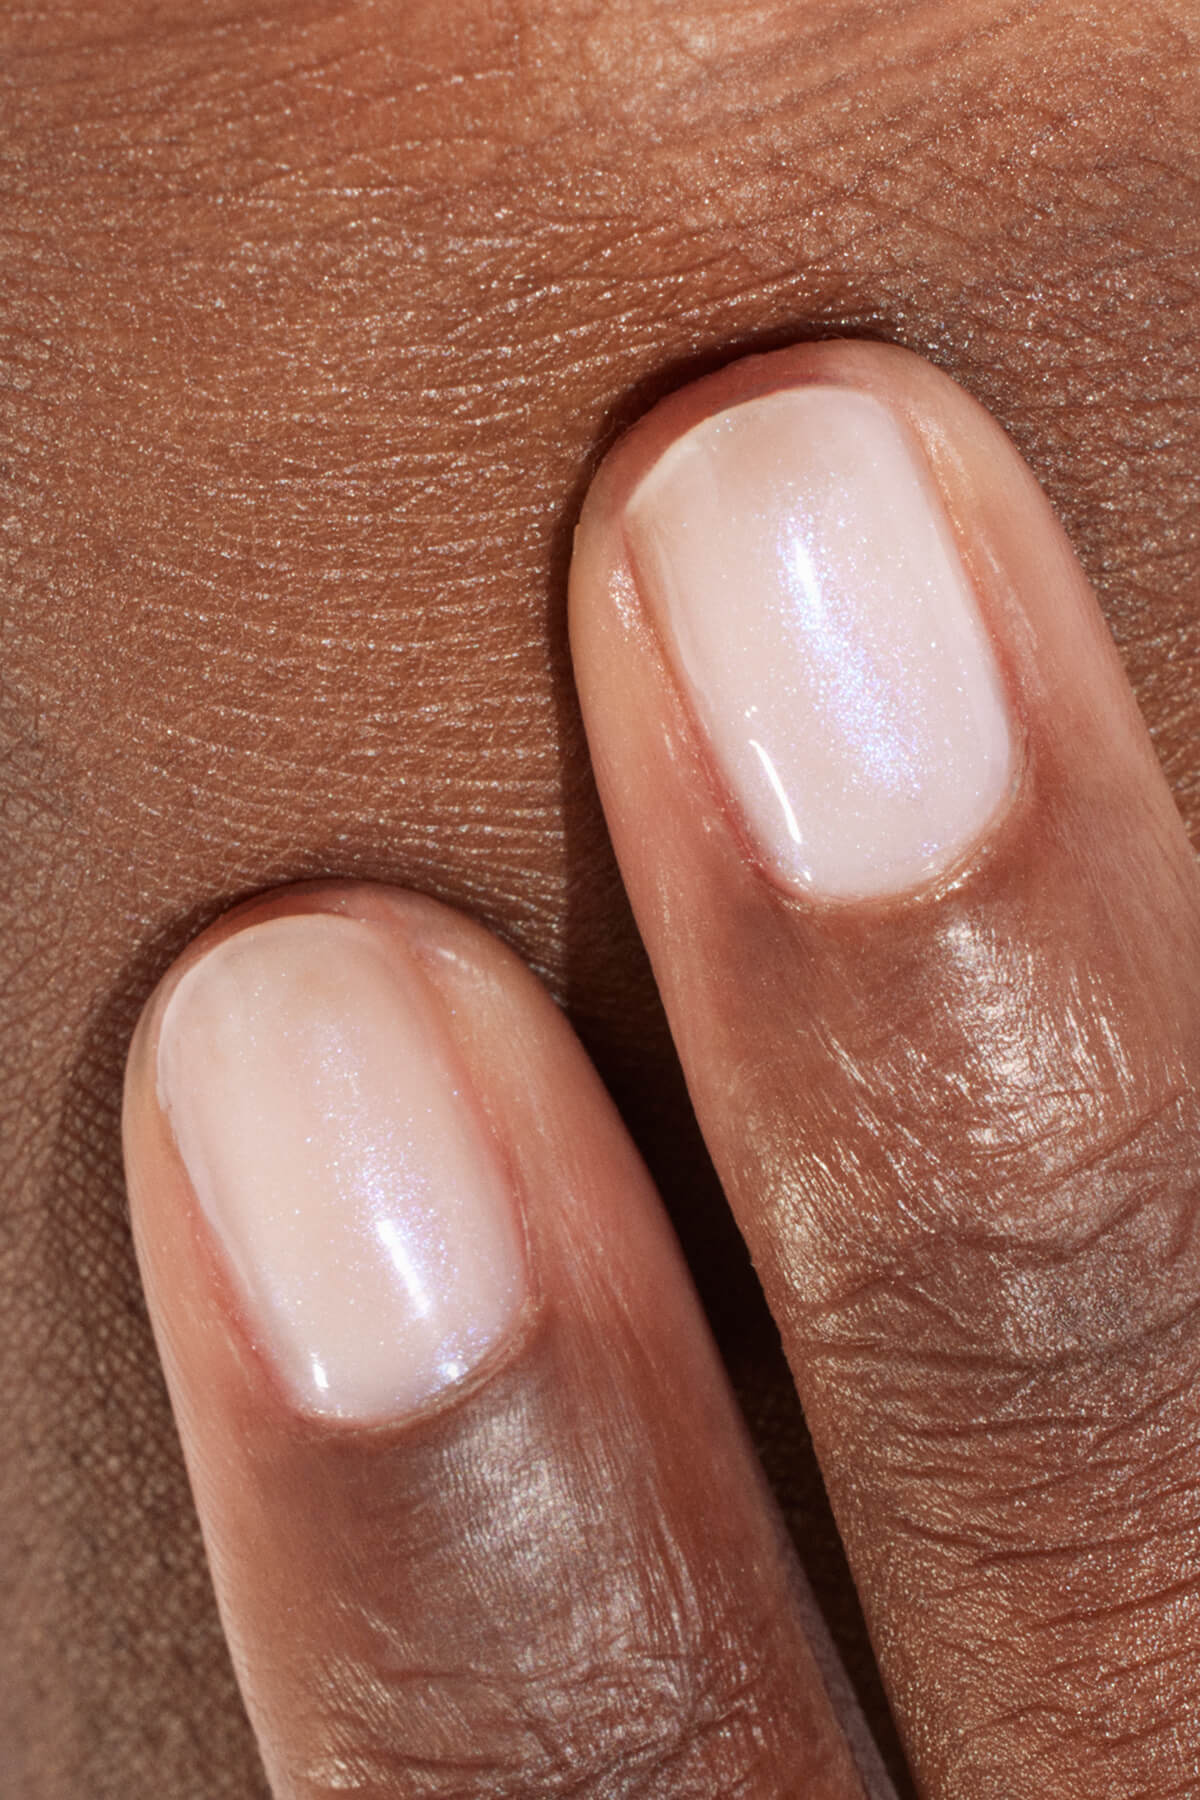
Pink blush, blue orange, deep purple or witchy green, aura nails lean into color and originality to give your nails real character. Discover this take on gradient nail art, our favorite inspirations, and the technique for easily creating your own aura nails at home. It's your turn to play and create the aura that feels like you!
What are aura nails?
After a few seasons dominated by minimalist manicures, aura nails are once again taking over nail bars and putting color back at the center of attention. Their defining feature? A soft halo of color at the heart of the nail, giving the impression that a glowing aura is radiating across the surface.
The idea is simple: one shade acts as the base, then one or more polish colors are blended at the center of the nail through a gradual fade. The result can be very soft or, on the contrary, boldly graphic. That's exactly what makes aura nails so appealing: the technique stays the same, but the design possibilities are endless.
Aura nails belong to the wider family of gradient nail art, but shouldn't be confused with a simple color gradient. In a classic ombré manicure, colors typically flow from one edge of the nail to the other. With the aura nail effect, color creates a glowing halo at the center of the nail that creates an illusion of depth then gradually fades outward.
The advantage is that you can play with two, three or four colors, depending on the intensity you're after.

Delicate pastels, flashy colors, deep shades or combined with nail art patterns: every aura has its own mood! (@look8thenails, @matejanova, @cristinaccalvo)
Soft aura nails for everyday wear
Do you love this nail design but want an easier to wear version? Start with color pairings that are close together or only lightly contrasted. The result will still make an impact without being too bold.
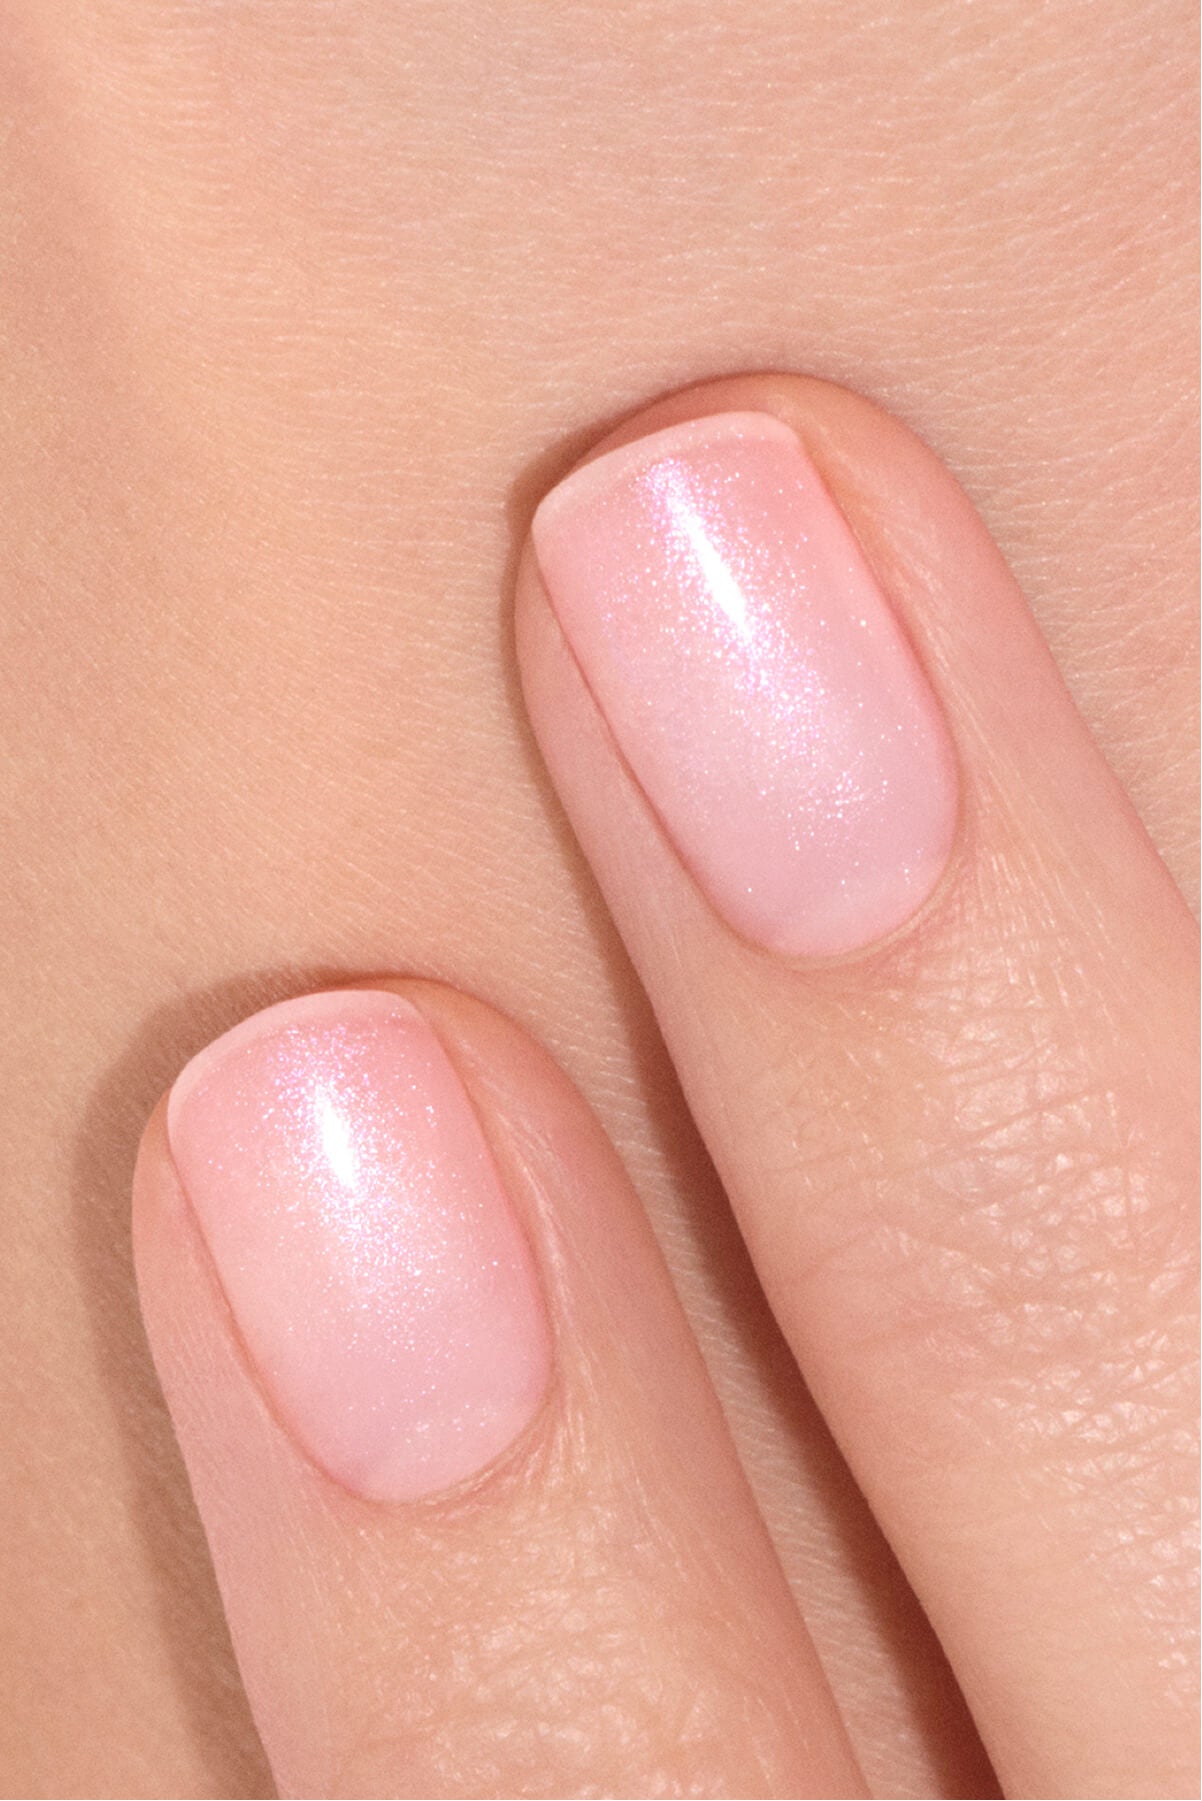
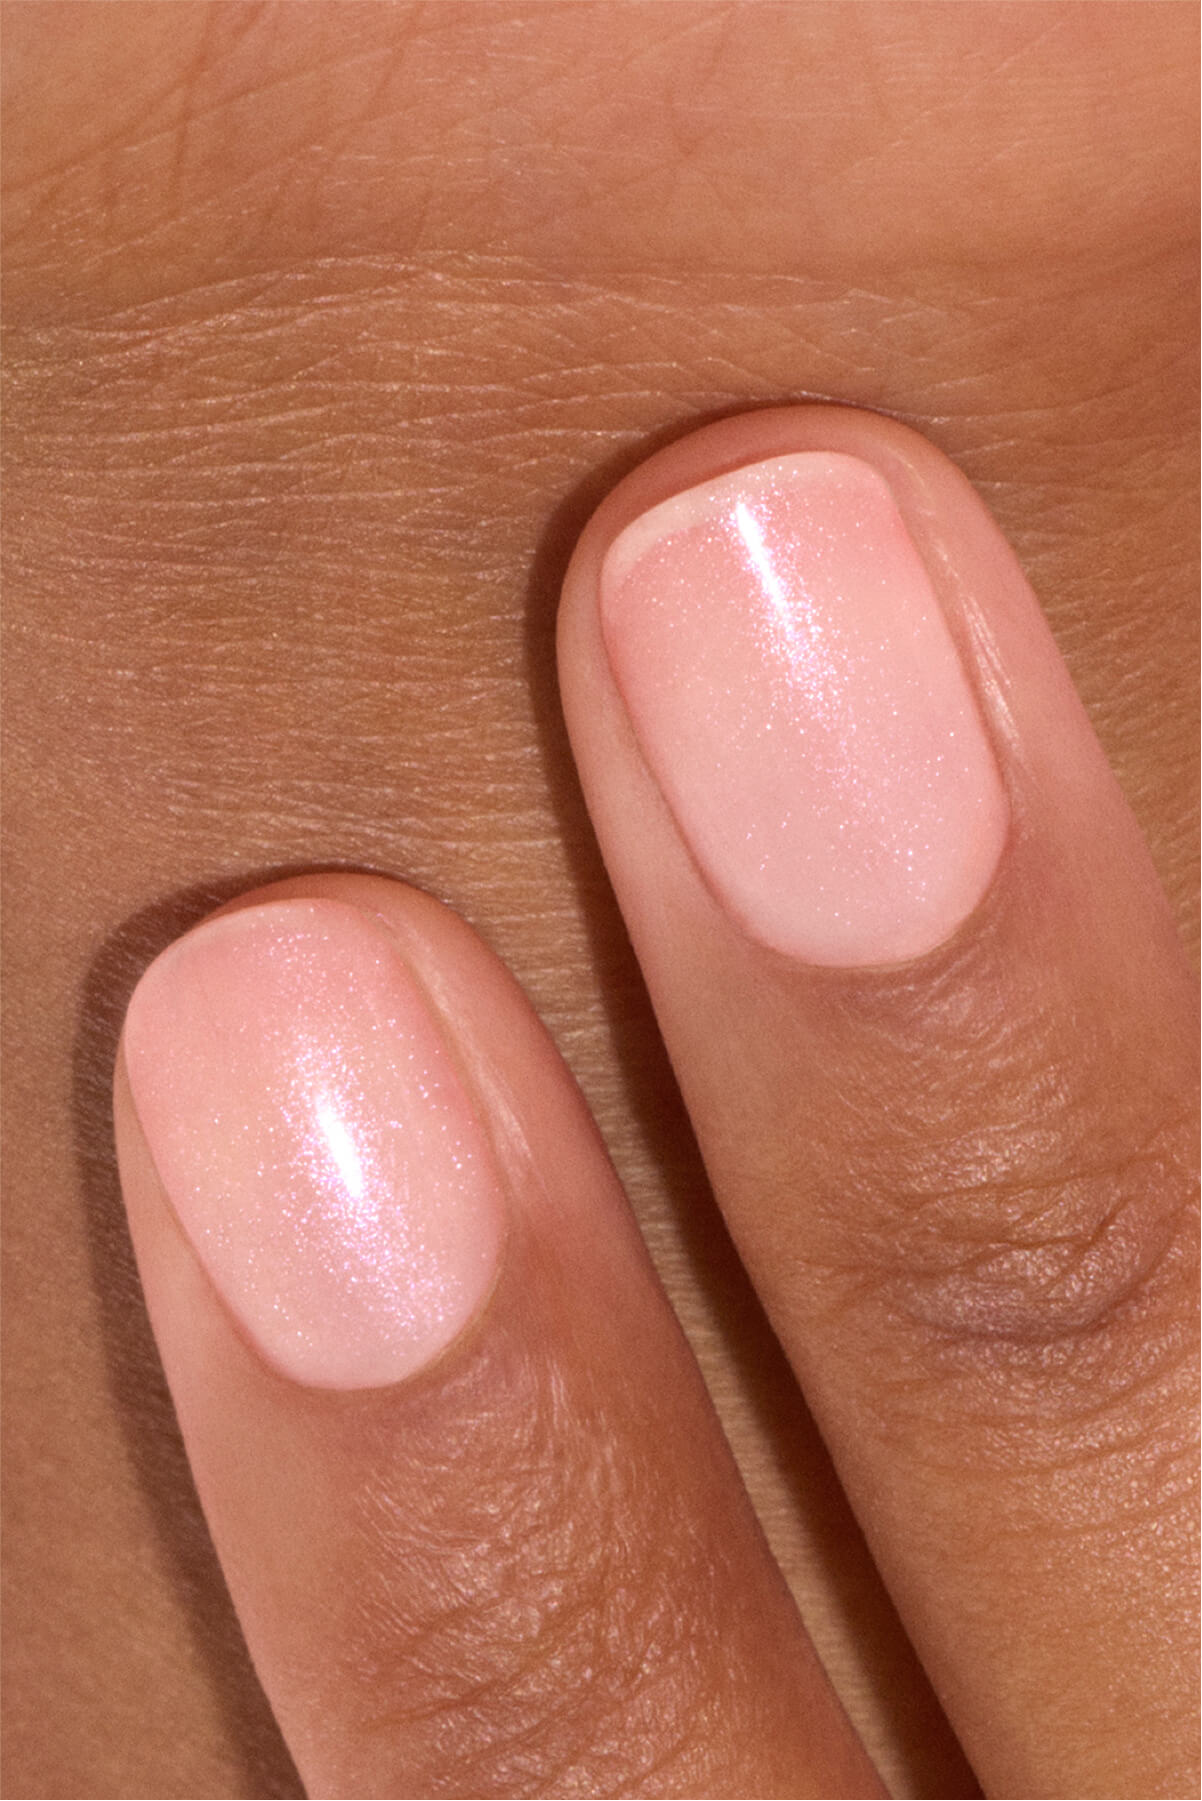
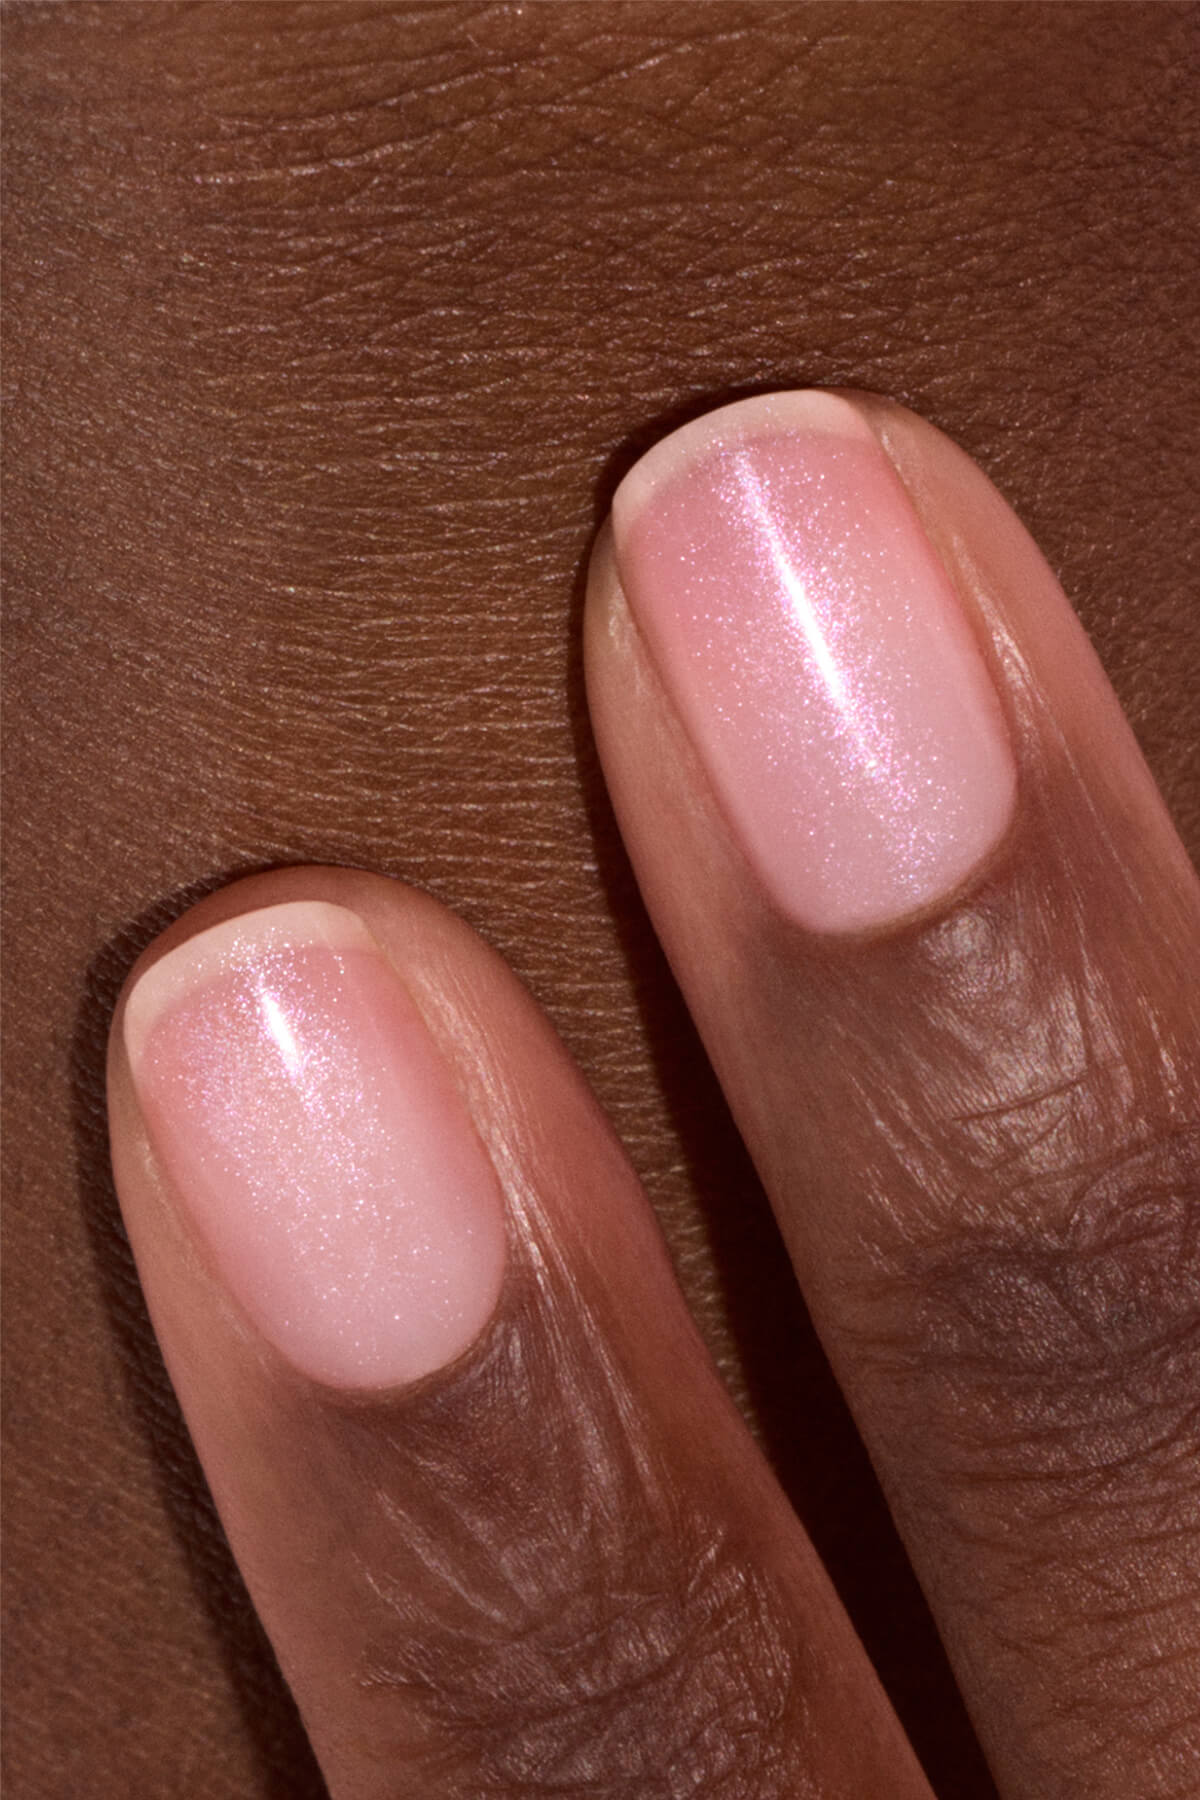
Pastel aura: Pink Aura
For pink aura nails that look like they've had a pretty flush of blush, use Hortencia as your base, then create a halo by combining Hortencia and Neon Pink. The secret to keeping that soft, hazy effect? Don't overload the sponge with color. Several light passes let you build up the halo gradually and keep a nicely controlled blend.
Orange aura: Mango Aura
Bring on the sunshine with Abricot as your base and an Abricot and Sunset duo for the halo. This pairing works especially well on short or rounded nails: the color instantly adds dimension to the manicure, with no need for any extra pattern.
Blue aura: Ocean Glow Aura
Craving mermaid style aura nails? Apply Bubble as your base and play with Bubble and Pop to create the aura. The perfect combination for an ultra fresh & trendy result. Shades of blue are especially interesting for playing with depth.

On a pastel base, choose a bolder shade for the center to enhance the sense of depth. (@m.o.n.a.j, @cristinaccalvo, @look8thenails)
Bold aura nails
Prefer manicures that get noticed? Good news: aura nails work wonderfully well with bold color pairings.
Sunset aura: Aura Red Orange
Why choose just one color when you can create a blazing sunset at your fingertips? Alternate Capucine, Coral Reef, Abricot and Spicy as base and aura colors to build a warm gradient inspired by the shifting hues of a sunset. Here, each nail can have its own combination. No need to aim for perfect symmetry: it's exactly that mix of shades that creates this pretty effect.
Burgundy aura: Deep Purple Aura
Purple tones bring a more sophisticated dimension to aura nails. Use Grenat as your base, then Grenat and Bois de Rose to create a gradient as deep and intoxicating as a fine vintage wine.
Halloween Aura
As Halloween approaches, aura nails are ready to join the party. Here are two variations:
- Bloody Aura: for a dark, romantic result, use Licorice as your base and blend this polish color with Red Velvet at the center.
- Witchy Aura: for a "magic potion" style aura, apply Poison as your base and create a halo effect with Poison andMint for an unexpected… and spellbinding contrast!

Attention color addicts: aura is the perfect nail art for experimenting with contrast effects and bold color combinations. (@look8thenails, @m.o.n.a.j,@shanivynails, @mani.minimalist)
Aura nails with a twist
The great thing about aura nails is that they don't stop at a simple halo of color. Once you've mastered the technique, you can pair your aura nails with a French manucure, patterns or graphic details. Anything goes!
Aura & French: Guava Aura
Bring back the Hortencia & Neon Pink duo that creates that pretty Pink aura effect and add Lime along the free edge of the nail for a decidedly punchy anise green French manicure. The result keeps the signature aura halo while adding a small graphic touch. A great option for anyone who wants to try the Aura trend without giving up the structure of a French manicure.
Fruity aura: Passion Fruit Aura
For a vitamin boosted manicure, start with Candy as your base, then Candy and Neon Pink at the center. Then draw a few little "seeds" on top with Mimosa and Clove. The result? A passion fruit, nail art style! A playful idea that proves aura nails can be the starting point for slightly more elaborate designs.
Aura & hearts: Valentine's Day Aura
What if we added a touch of whimsy to the aura effect? The Hortencia and Rose duo gets dressed up here with tiny hearts drawn in Snow, for a manicure that's pure romance, perfect for Valentine's Day nails! The pattern can sit at the center of the nail, be slightly offset, or appear on just a few fingers. It's up to you how much detail to add!

Let's play with colors! Mix and match your aura nails with other nail art patterns as much as you like. (@look8thenails, @cristinaccalvo)
How to create aura nails at home
Good news: the aura is a completely accessible nail design that's fairly easy to create at home, with either classic nail polish or gel polish.
Ⓘ The magic tool for pulling this off is the nail art sponge. It lets you build up color gradually and create that signature soft halo for a perfect gradient with no harsh line between colors. Manucurist's nail art sponge is made from an ultra fine foam that gives an even blend for a result worthy of a nail salon.
Ⓘ Now, let's get to the how to with our step by step tutorial:
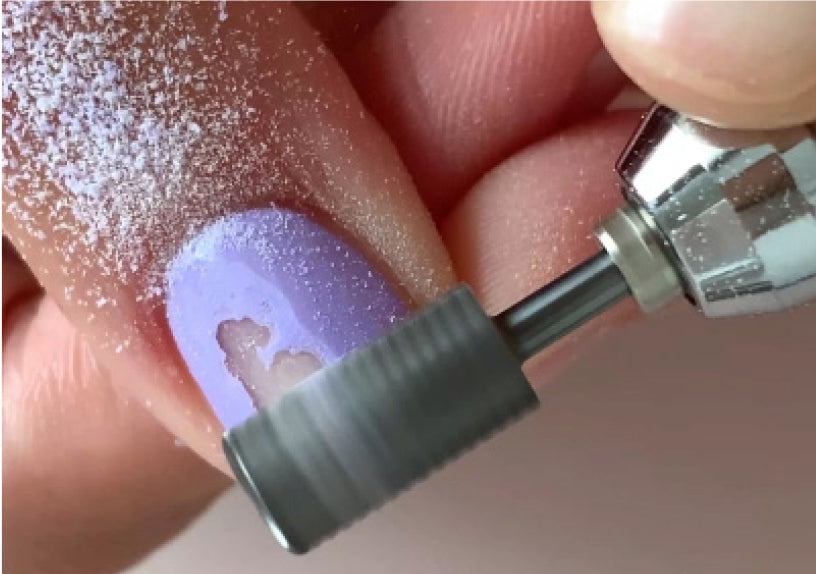
#1 Prep your nails: this is the step you shouldn't skip if you want your aura nails to turn out well. File your nails to give them a nice shape. Gently push back your cuticles. Then mattify the surface to open up the keratin scales and improve polish adhesion. Finally, clean and degrease your nails to remove any oil and dust.
#2 Apply your polish: start by applying a coat of Base Coat Green™ or Green Flash™ and let it air dry or cure under an LED lamp, depending on the type of polish you're using. Then apply the Green™ color or Green Flash™ that will serve as your base and let it dry fully.
#3 Create the halo: on the nail art sponge, use the tip of your brush to place a touch of your center color (often the lightest one). Surround it with a circular brushstroke of your secondary color (often the color used as your base), leaving no gap between the two. Gently dab the center of the nail to create the halo, without trying to get an intense color right away. Repeat the process several times to control the intensity and achieve an even gradient.
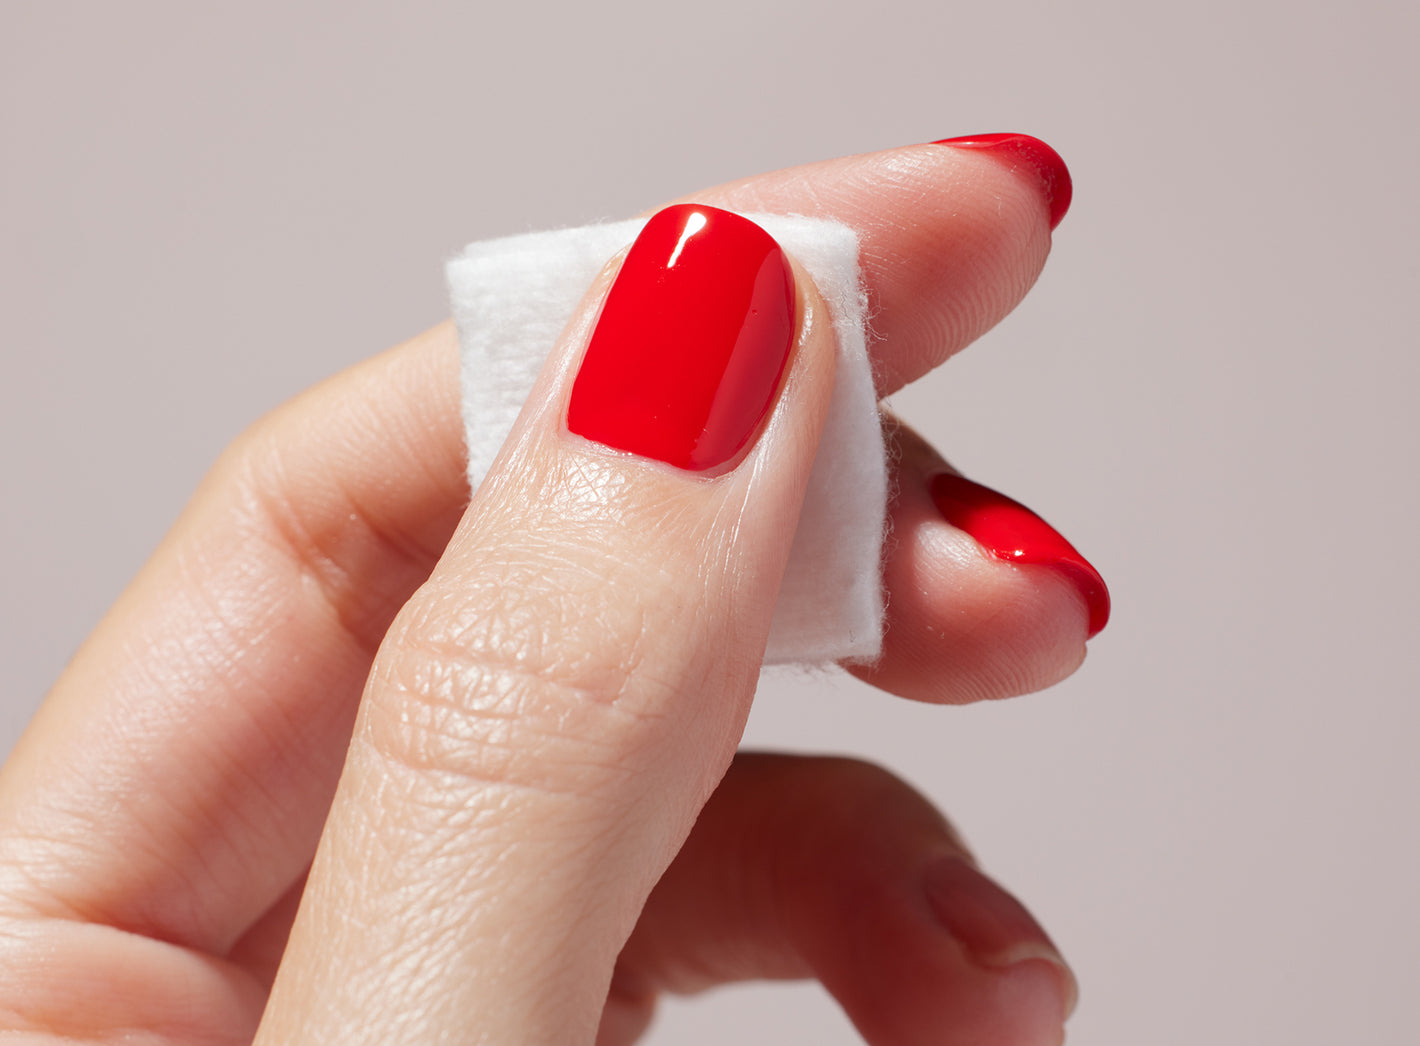
#4 Clean up any overflow left by the sponge using a corrector pen or a cotton swab dipped in gentle polish remover.
#5 Finish the manicure by applying a coat of top coat to protect your nail art and add a touch of shine. Use the top coat suited to your polish: Top Coat Sunshine (lasts 7 days) for Green™ polish, Top Coat Green Flash™ (lasts 12 days) or Xtrem Flash™ (lasts 21 days) for Green Flash™ gel polish.


Choosing your colors for your aura
To get your aura nails right, choosing your colors matters just as much as the technique. For a subtle result, go with two closely related shades: pink and bright pink, light blue and a deeper blue, orange and coral. For a more contrasted aura effect, pair two different color families.
If you're just starting out, begin with two colors. Once you've mastered the technique, gradually add a third shade, then patterns or a French manicure.
You can also start from a color you love and build your palette around it: a light shade as the base, a more intense color at the center, and possibly a third shade to enrich the halo.
⚠️ A word of caution: don't try to reproduce an inspiration photo exactly. The very same duo of colors can give a completely different result depending on how much polish is applied, the size of the halo, or how many passes you make with the sponge. Aura nails are meant to be personalized!
As you can see, aura nails offer endless possibilities: pastel and delicate, vitamin boosted and colorful, more intense, or given a twist with a French manicure. Proof that the very same technique can produce completely different manicures. To get started, choose two colors you love and that inspire you, grab your nail art sponge, and let the magic of color guide you.