Does your nail polish chip as quickly as fresh paint in the rain? Fragile nails, rushed prep, or even those seemingly harmless everyday habits... there are lots of reasons your manicure might not last. Keep calm! Here's your complete guide to understanding why polish chips—and our best tips for vibrant color that stands the test of time!
Key takeaway:
- Chipping nail polish is almost always caused by an overlooked detail at one of three stages: before, during, or after application.
- Before: Soft, brittle, or split nails (weakened keratin) prevent the polish from adhering properly.
- During: Inadequate preparation or incorrect application compromise the polish’s durability.
- After: Hot water, household products, and minor impacts accelerate chipping.
- The solution: Meticulous preparation + expert application (four coats) + daily protection.
Why does my polish chip?
If your polish starts chipping after just a few days, it's often due to a small detail overlooked at one of these three stages: before, during, or after application.
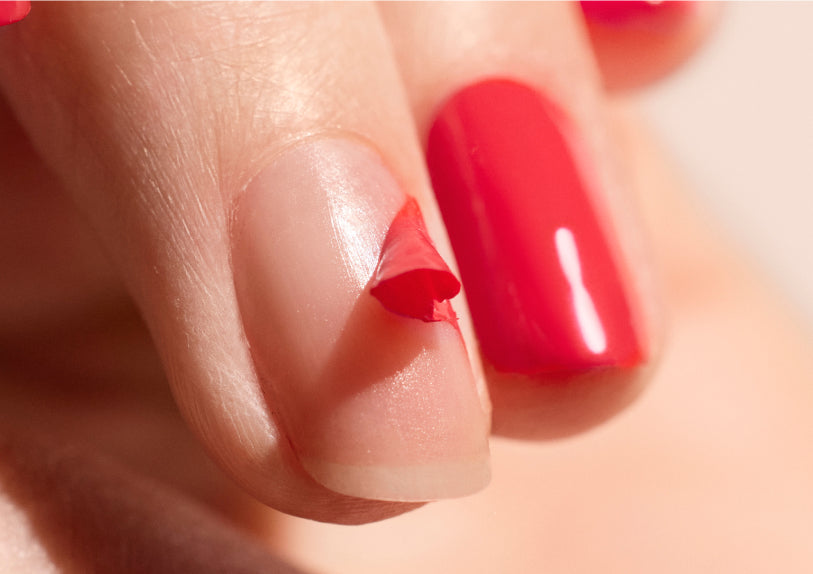
Before application: weakened nails
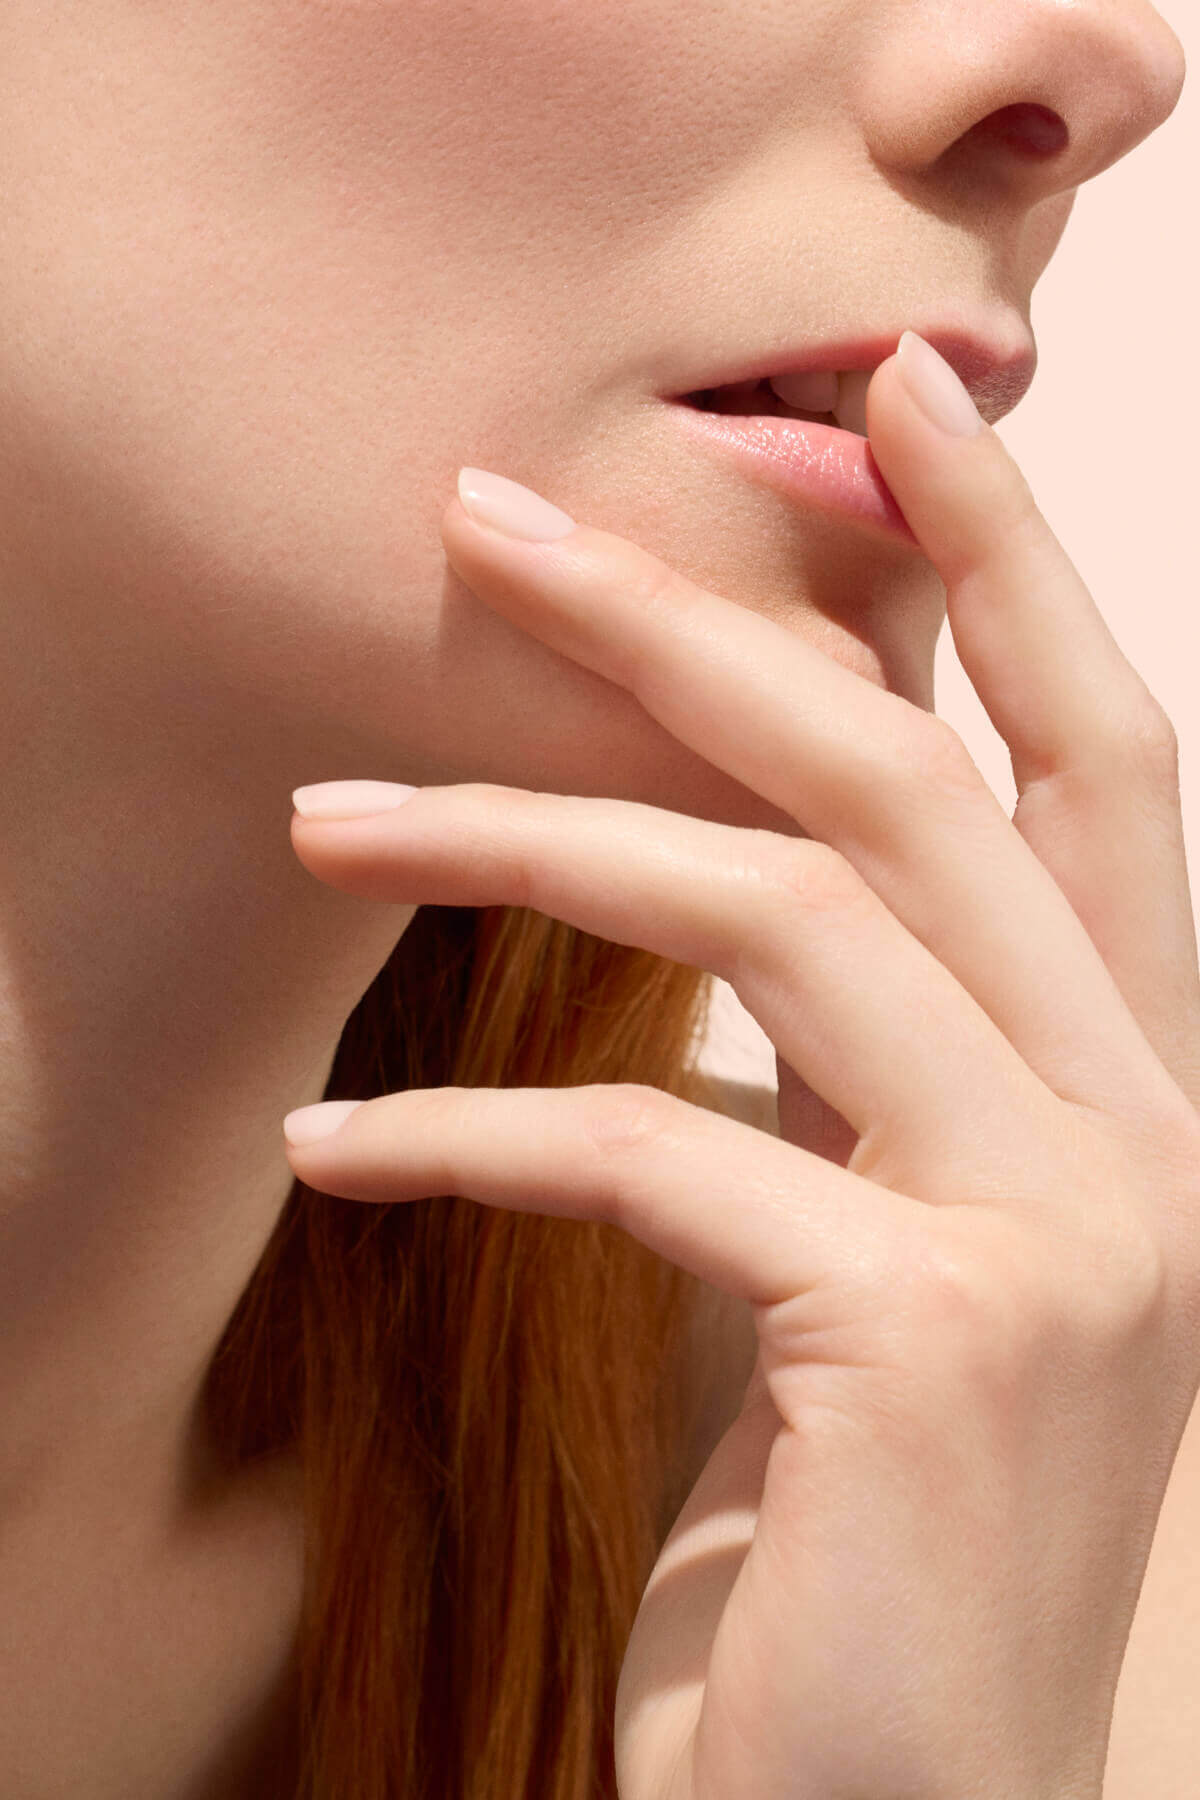
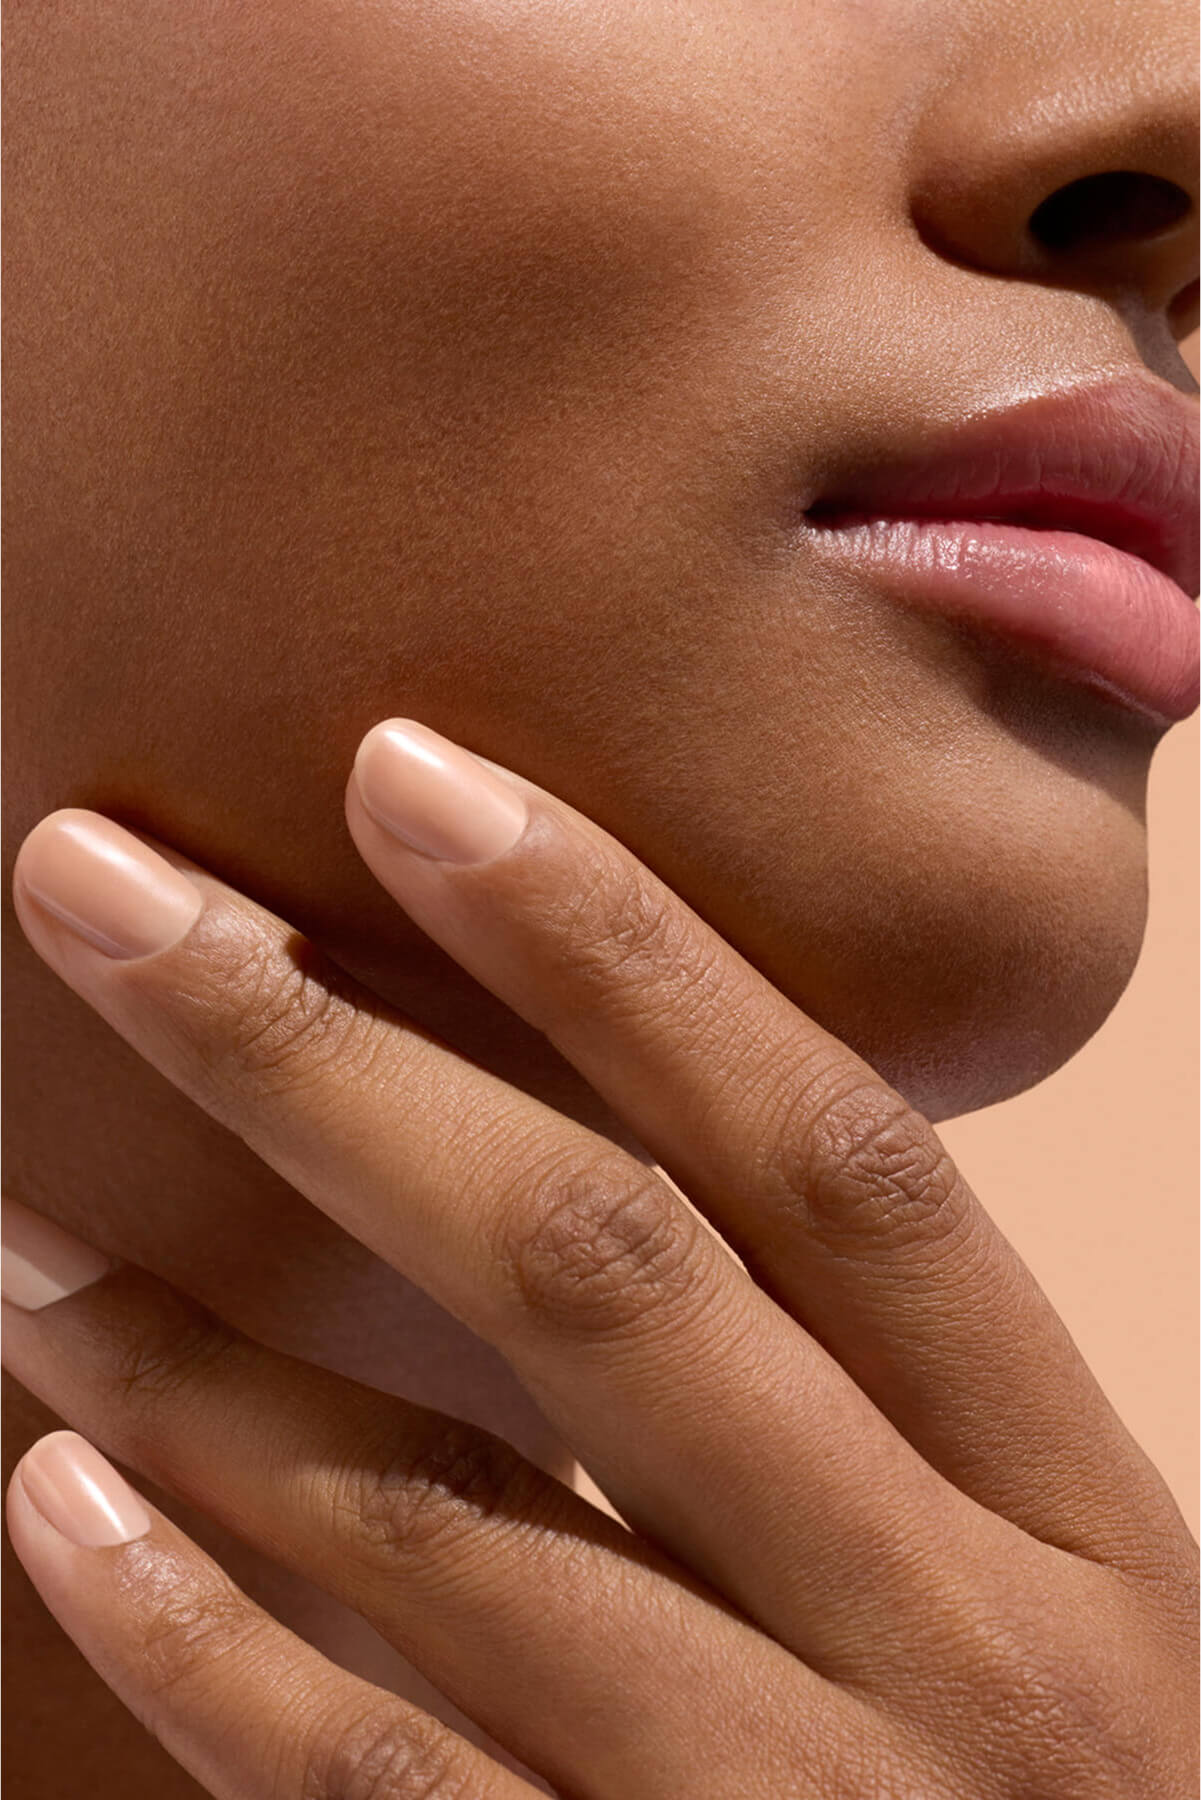
Soft, brittle, or split nails are one of the main causes of polish that chips too soon. Why? Because keratin—the key protein that gives nails their structure—can be weakened by various factors:
- A lack of vitamins or minerals, especially zinc, iron or vitamin B,
- Repeated micro-traumas or nail-biting,
- Insufficient hydration, which can cause tiny cracks invisible to the naked eye that prevent polish from adhering properly.
👉 Want to know more? Read our article all about keratin for nails, including how to strengthen it.

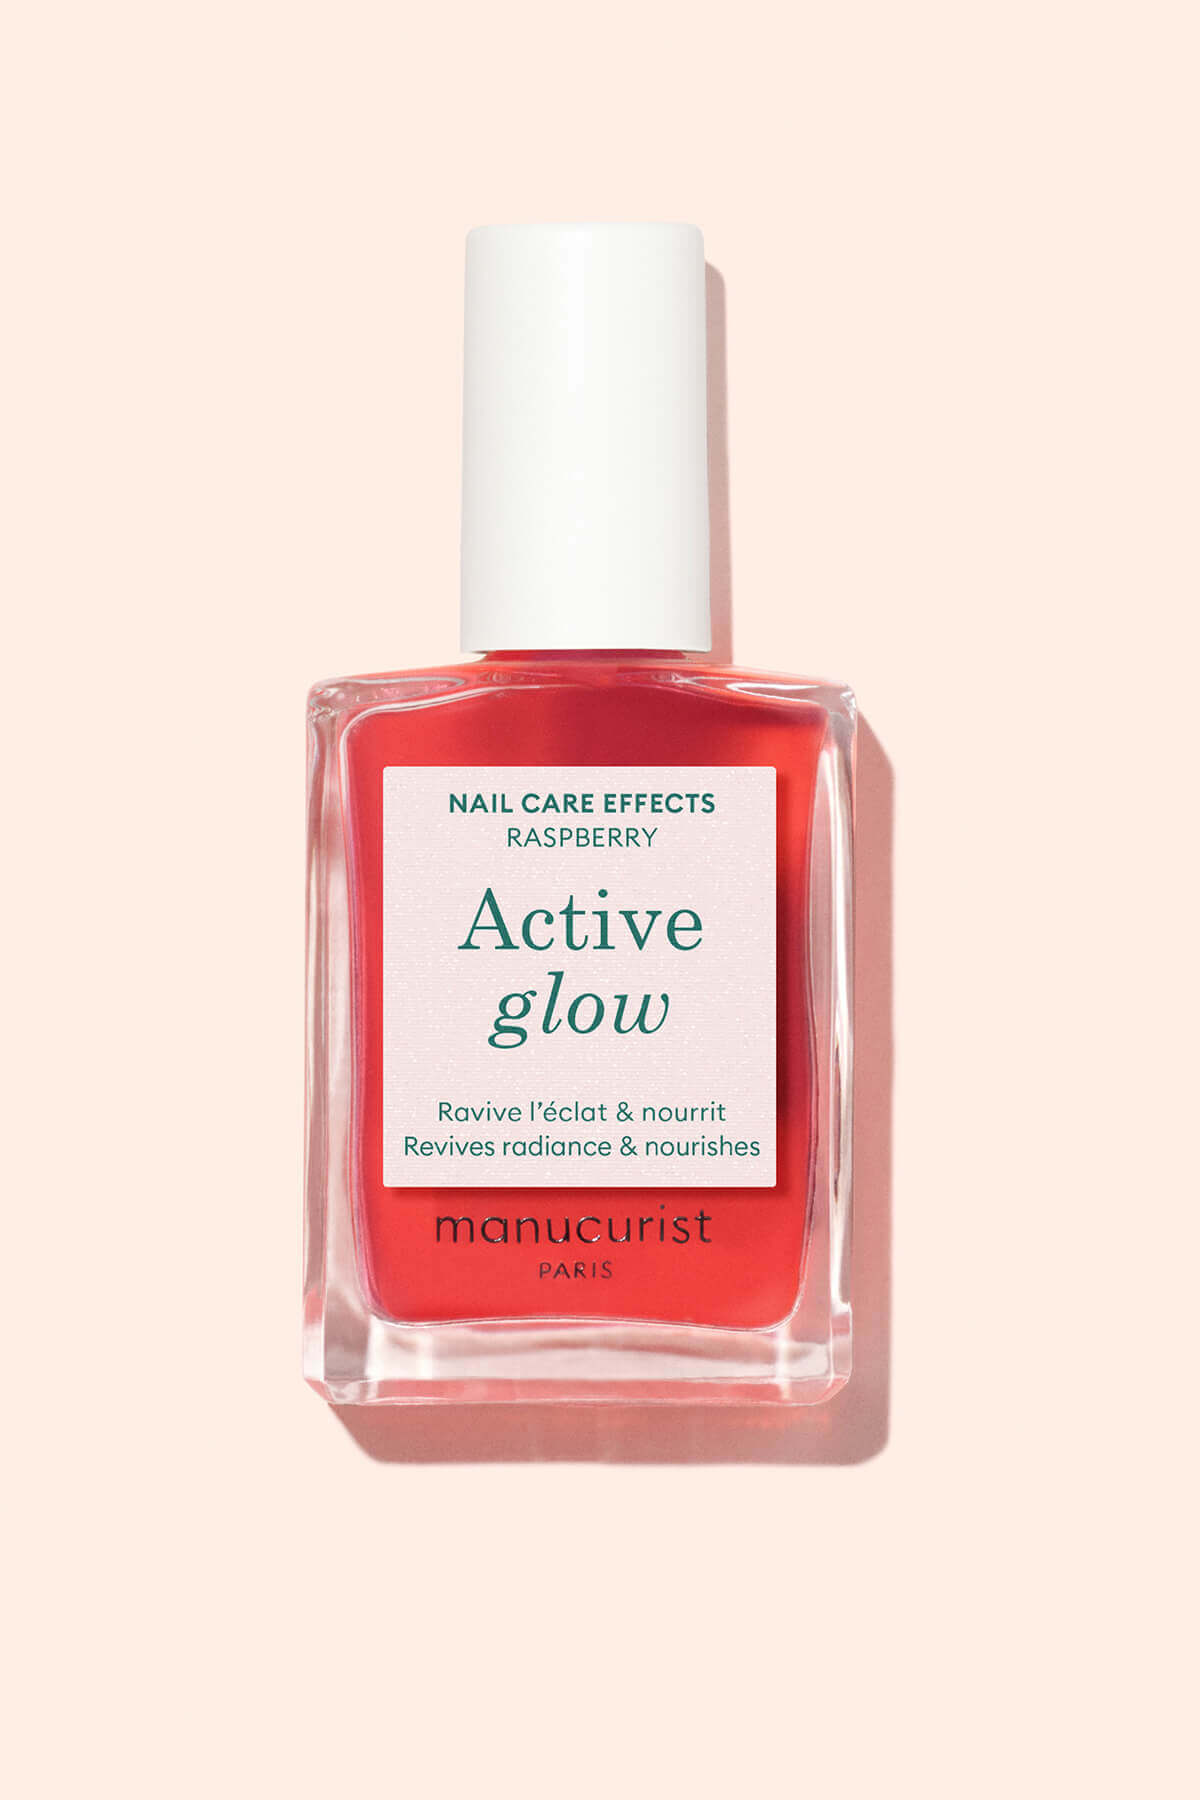
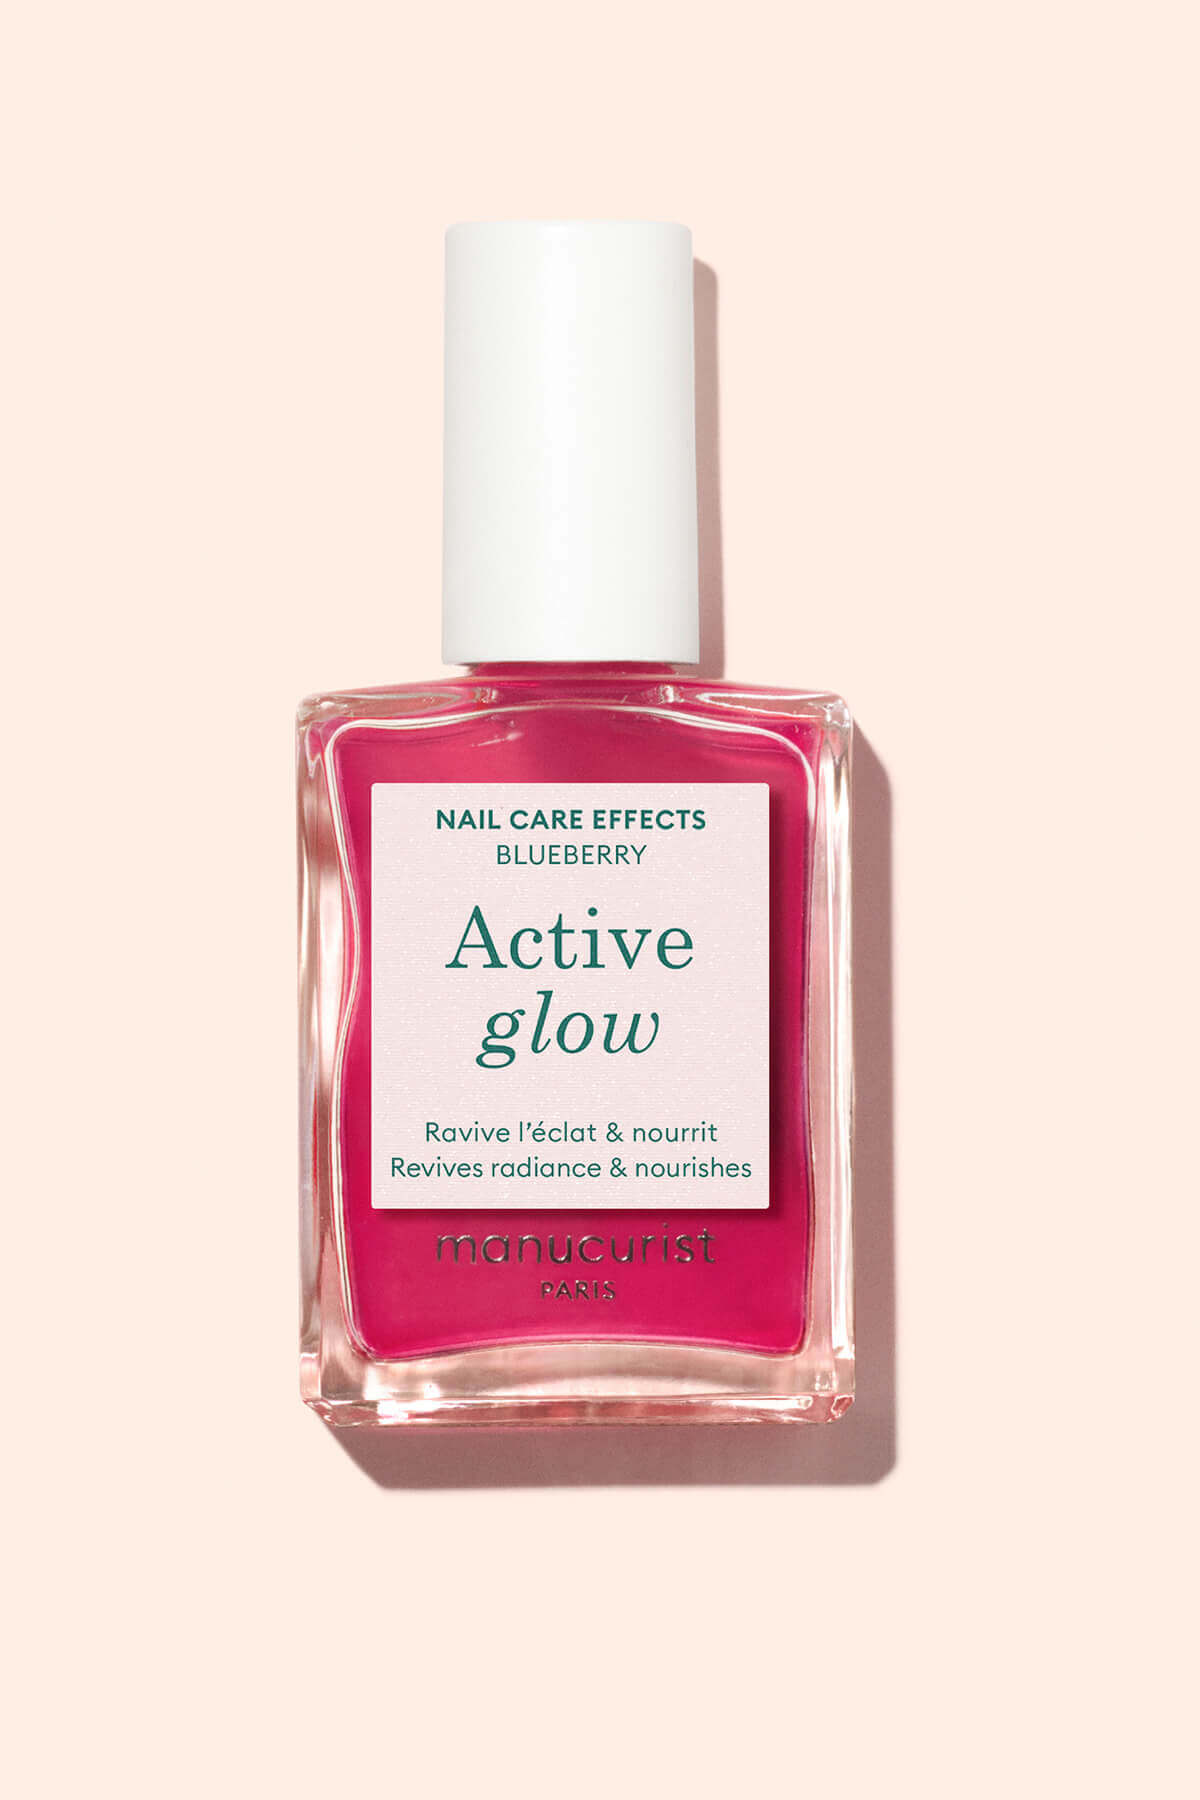
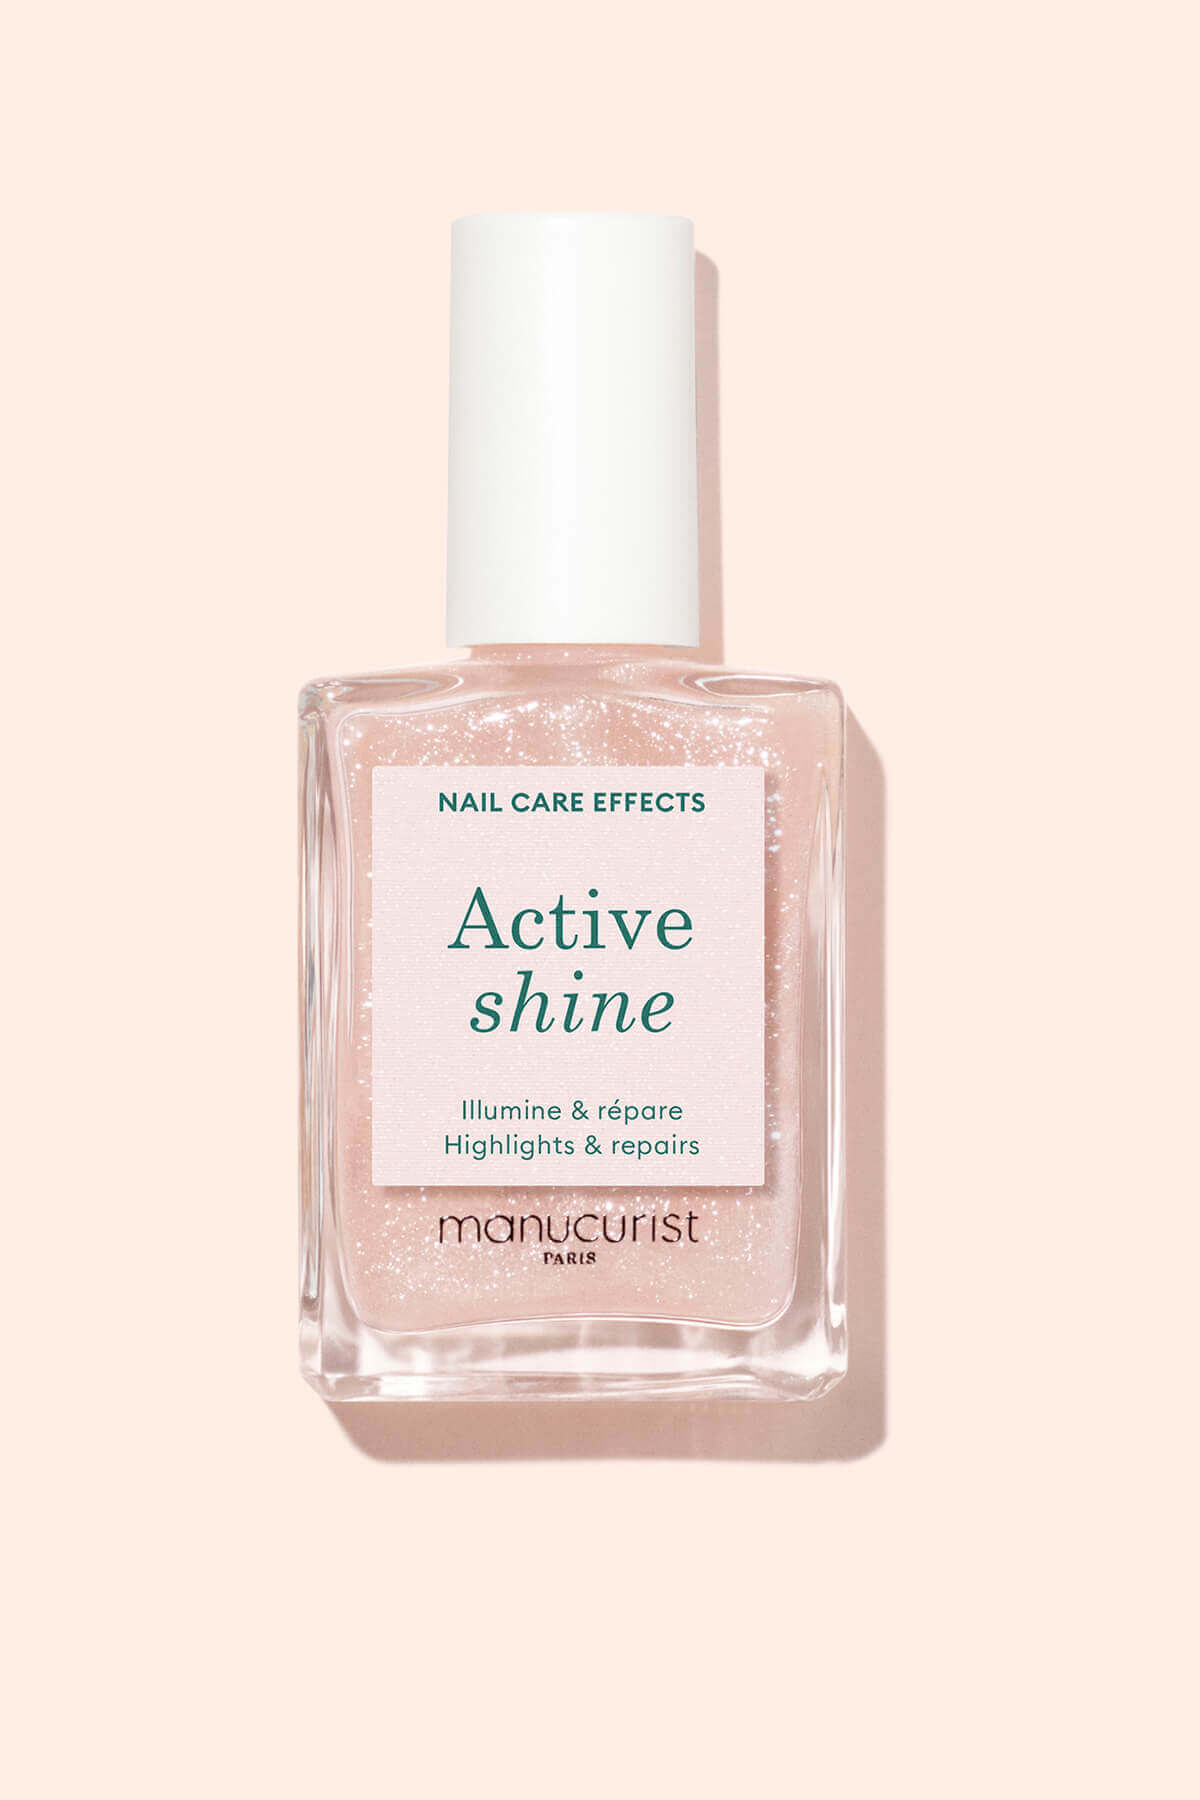
Need a keratin boost to regenerate your nails? Try the Kératine Booster.
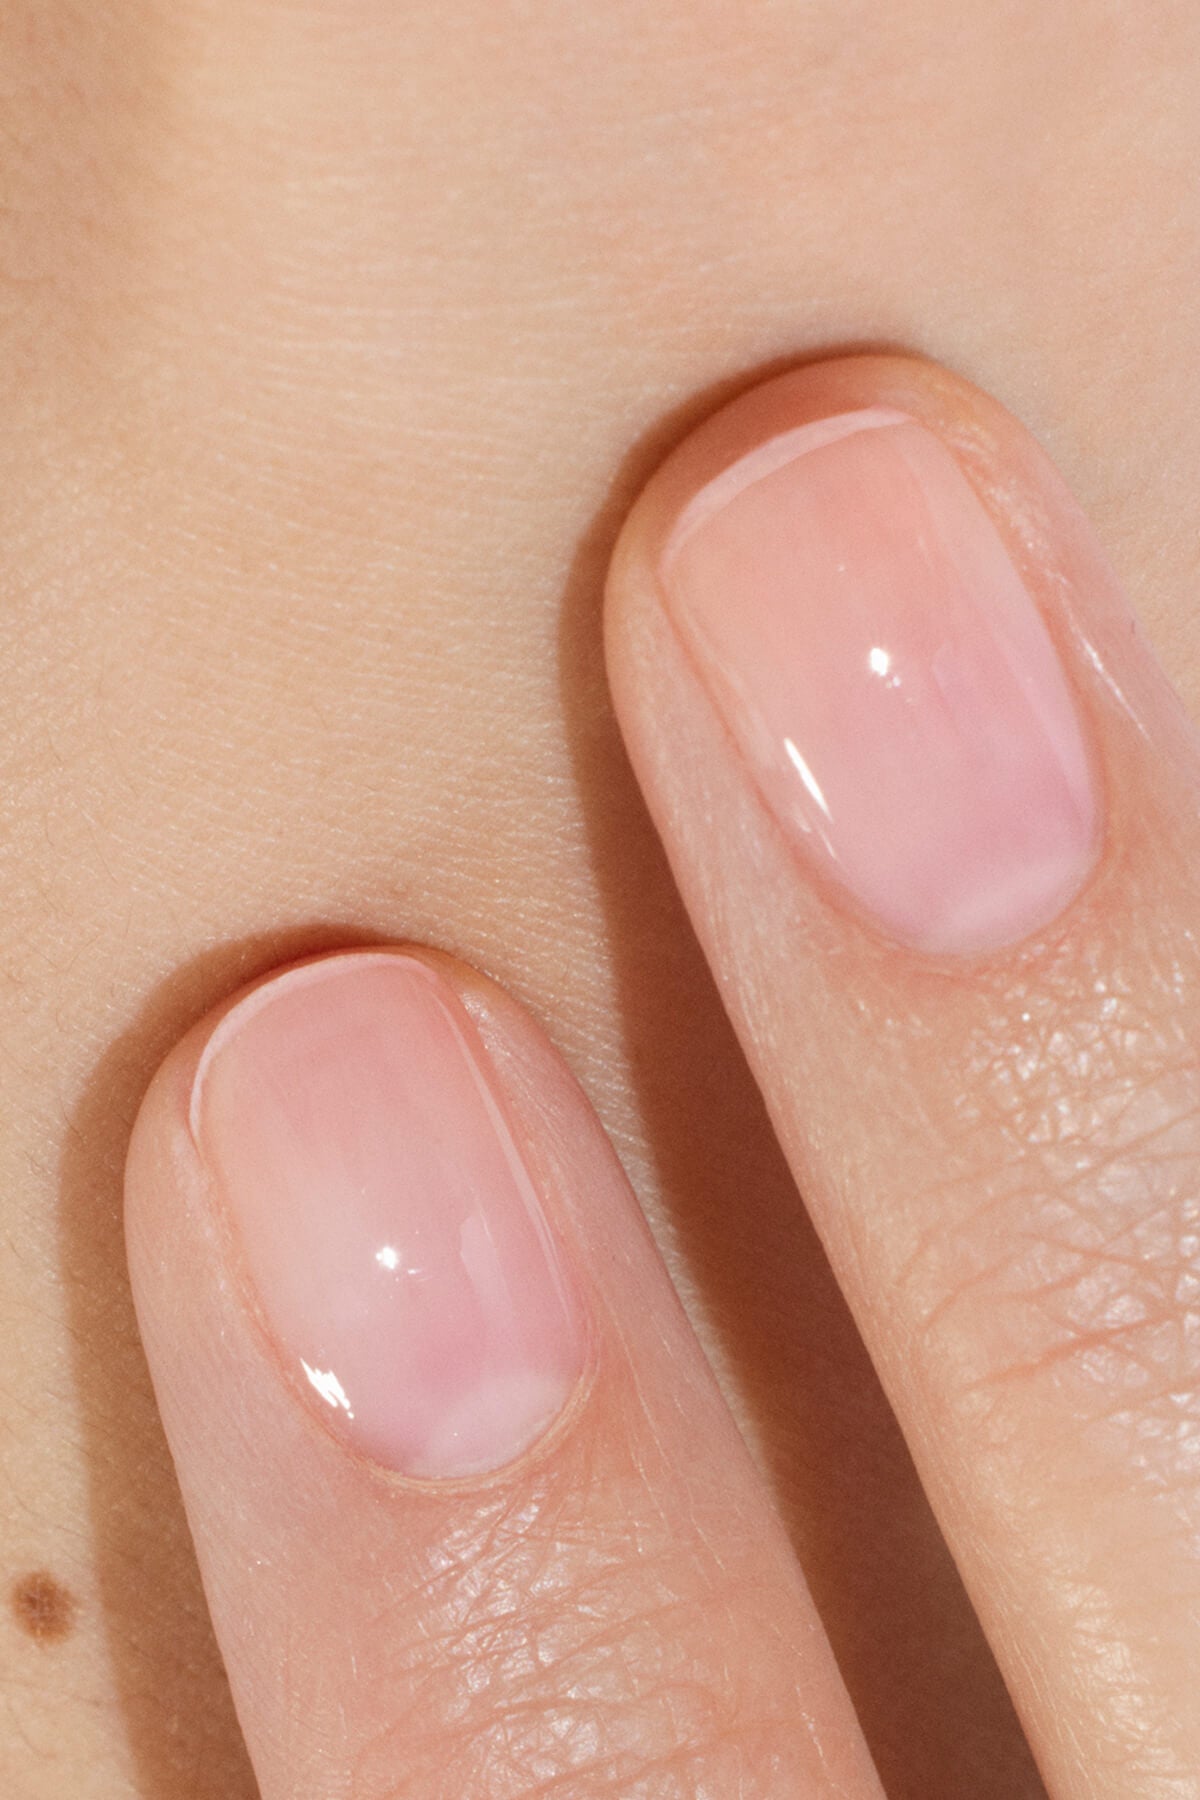
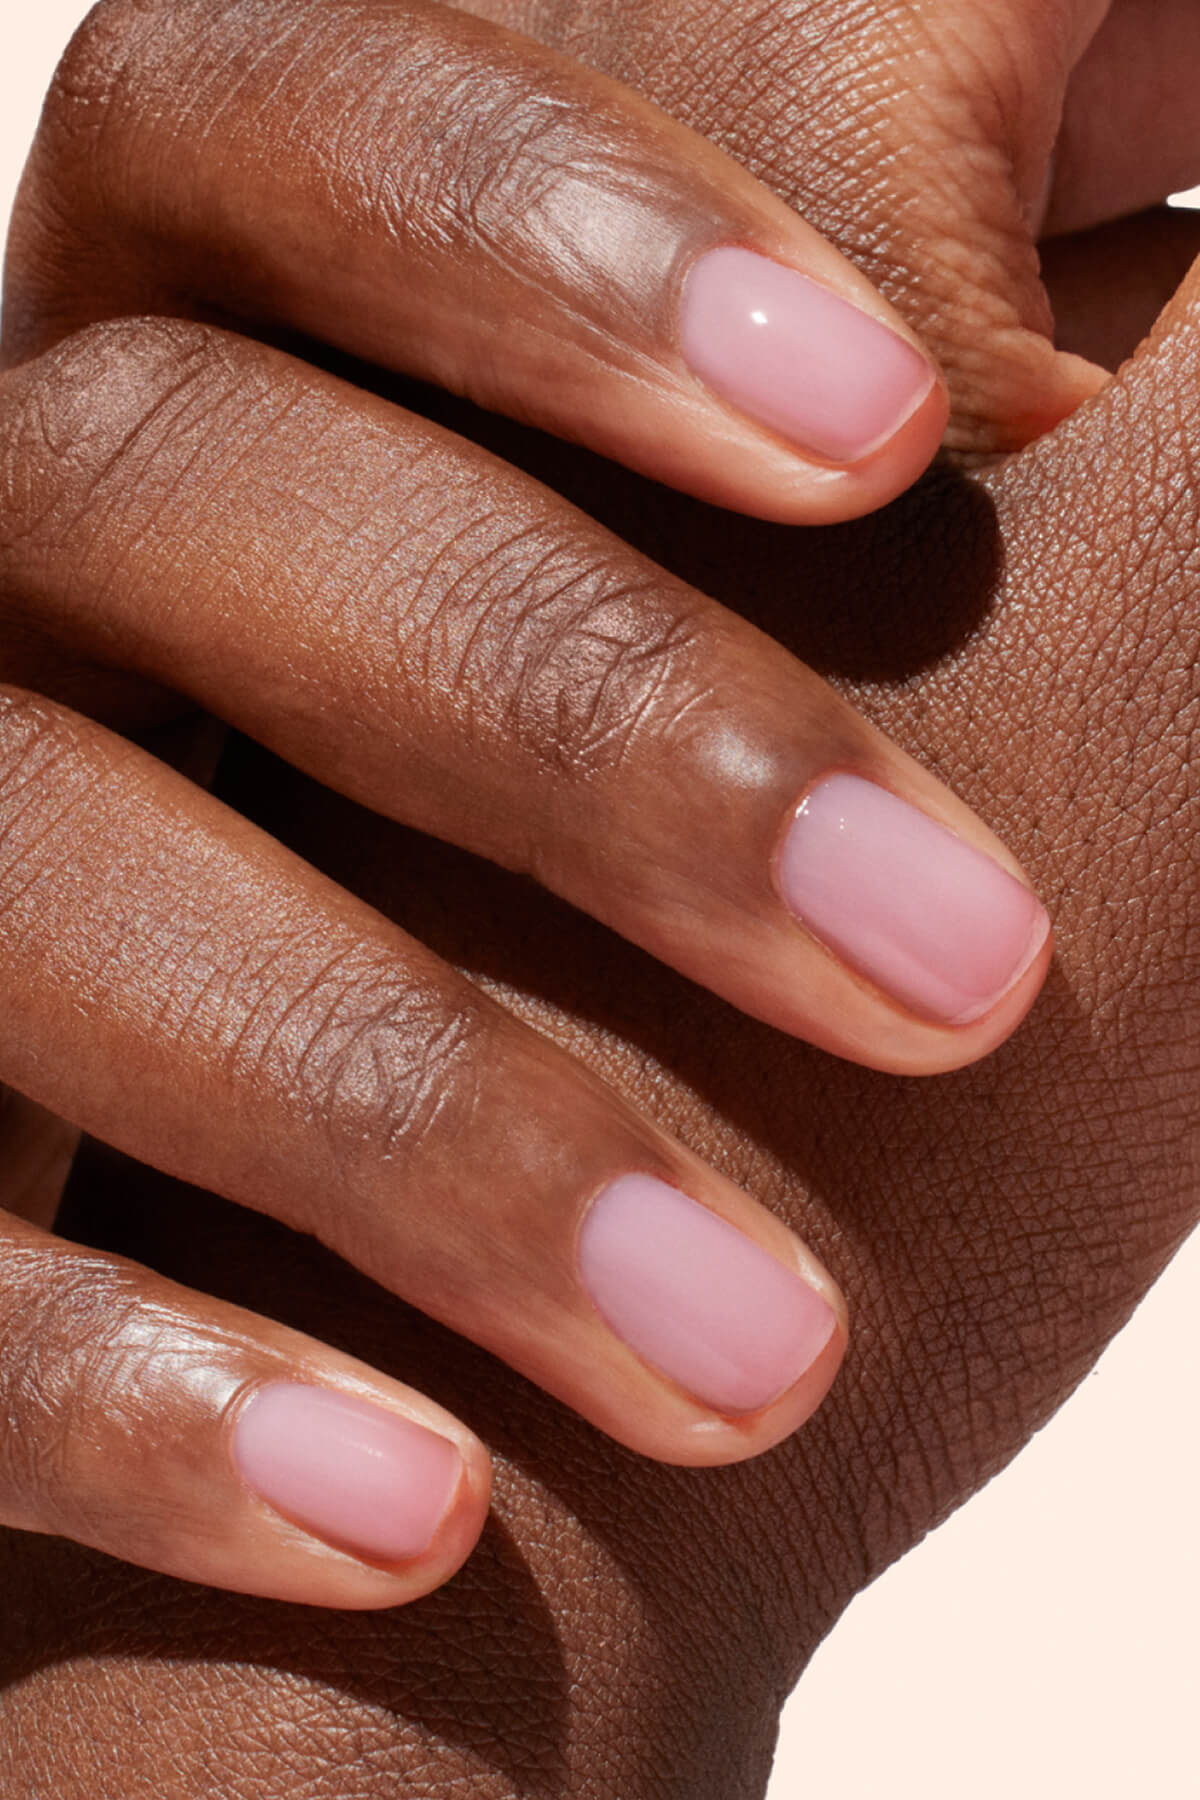
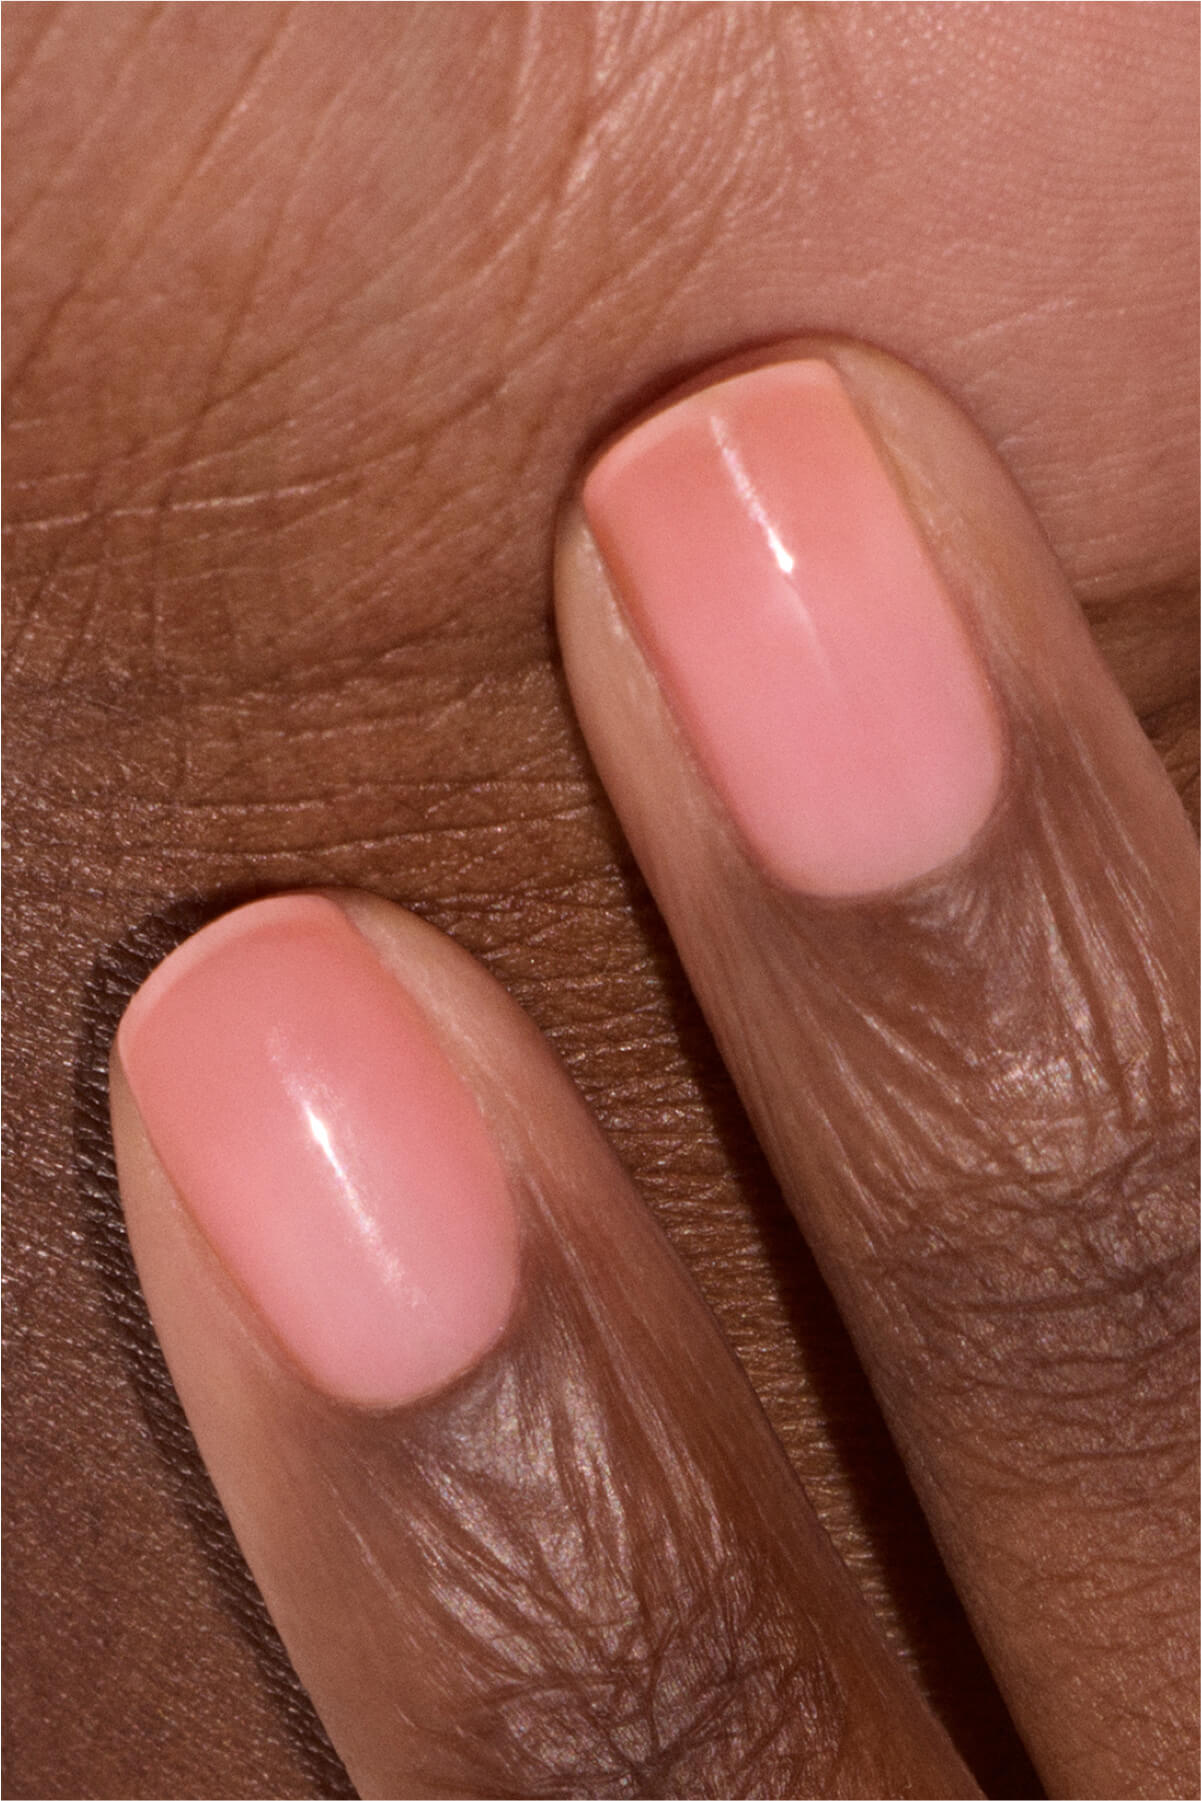
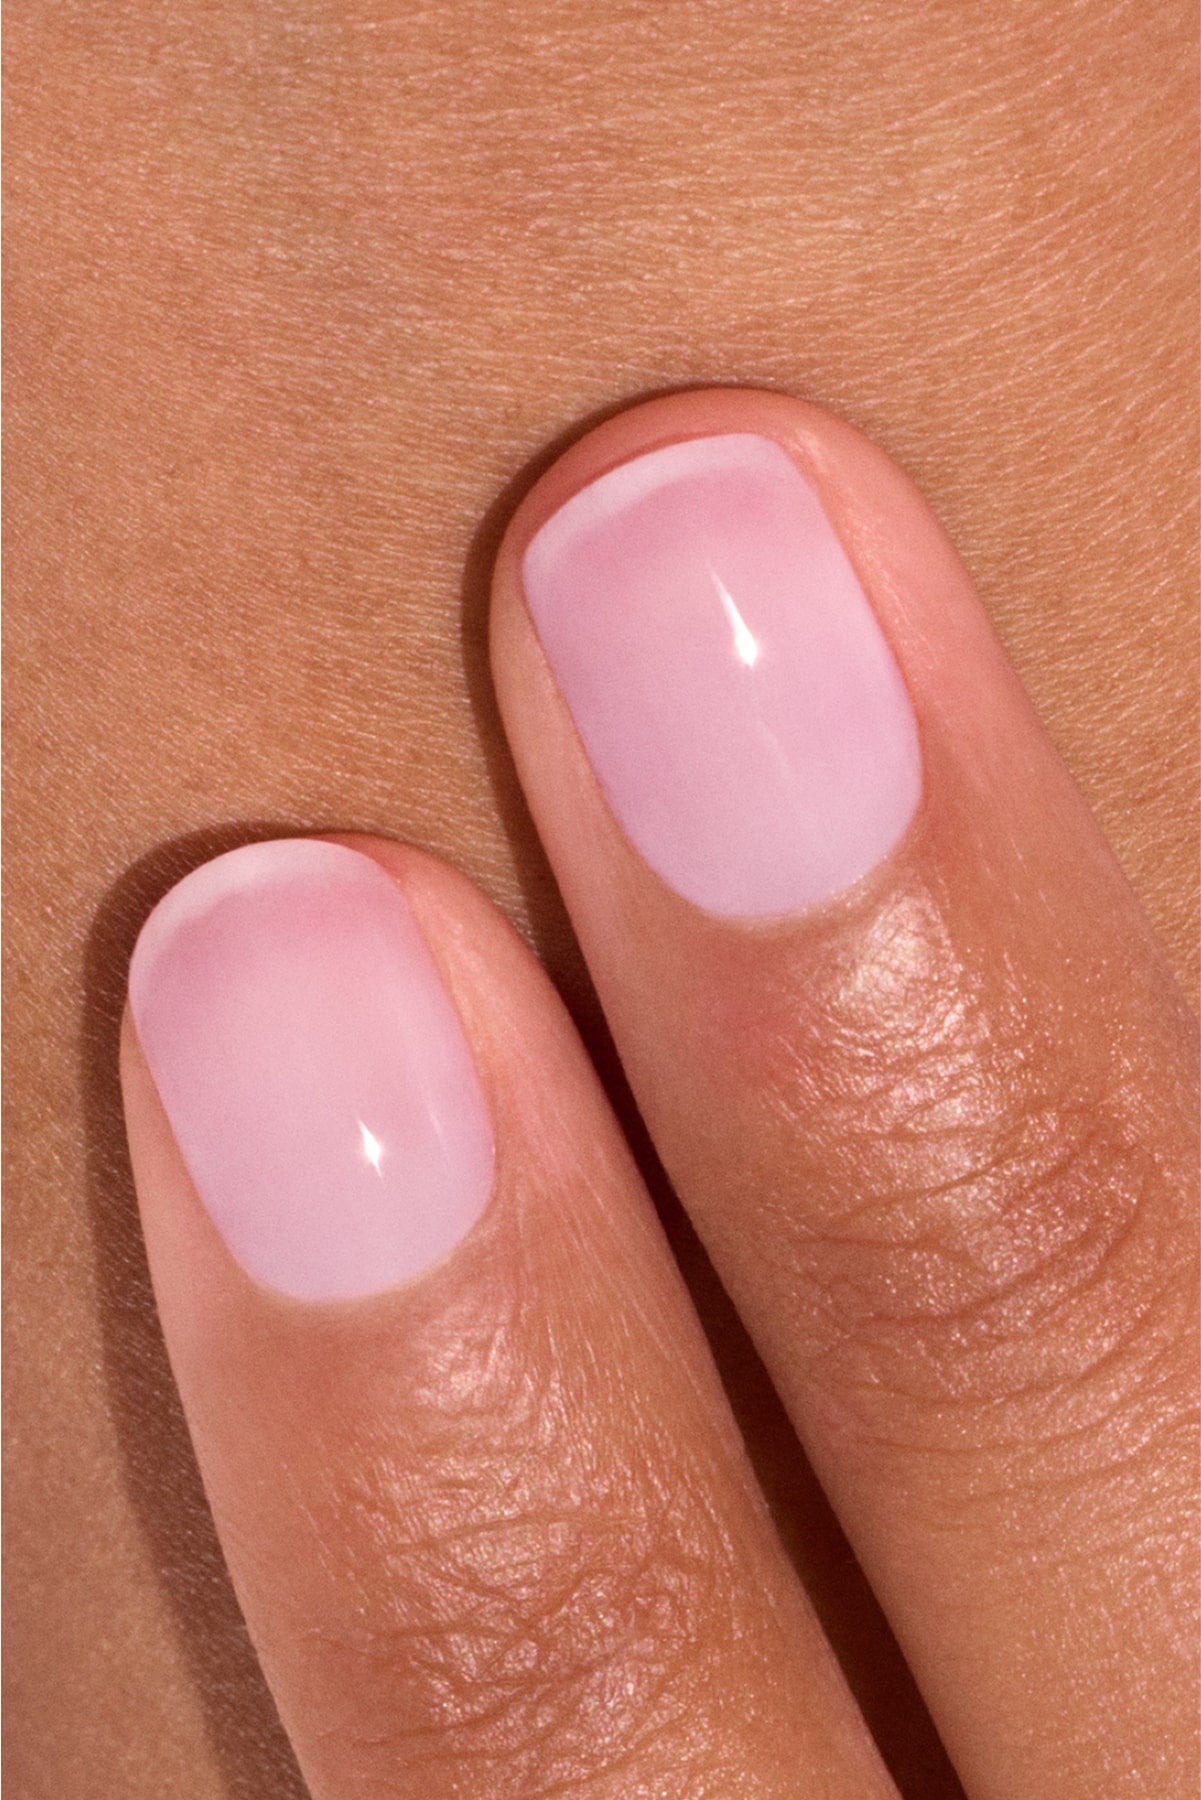
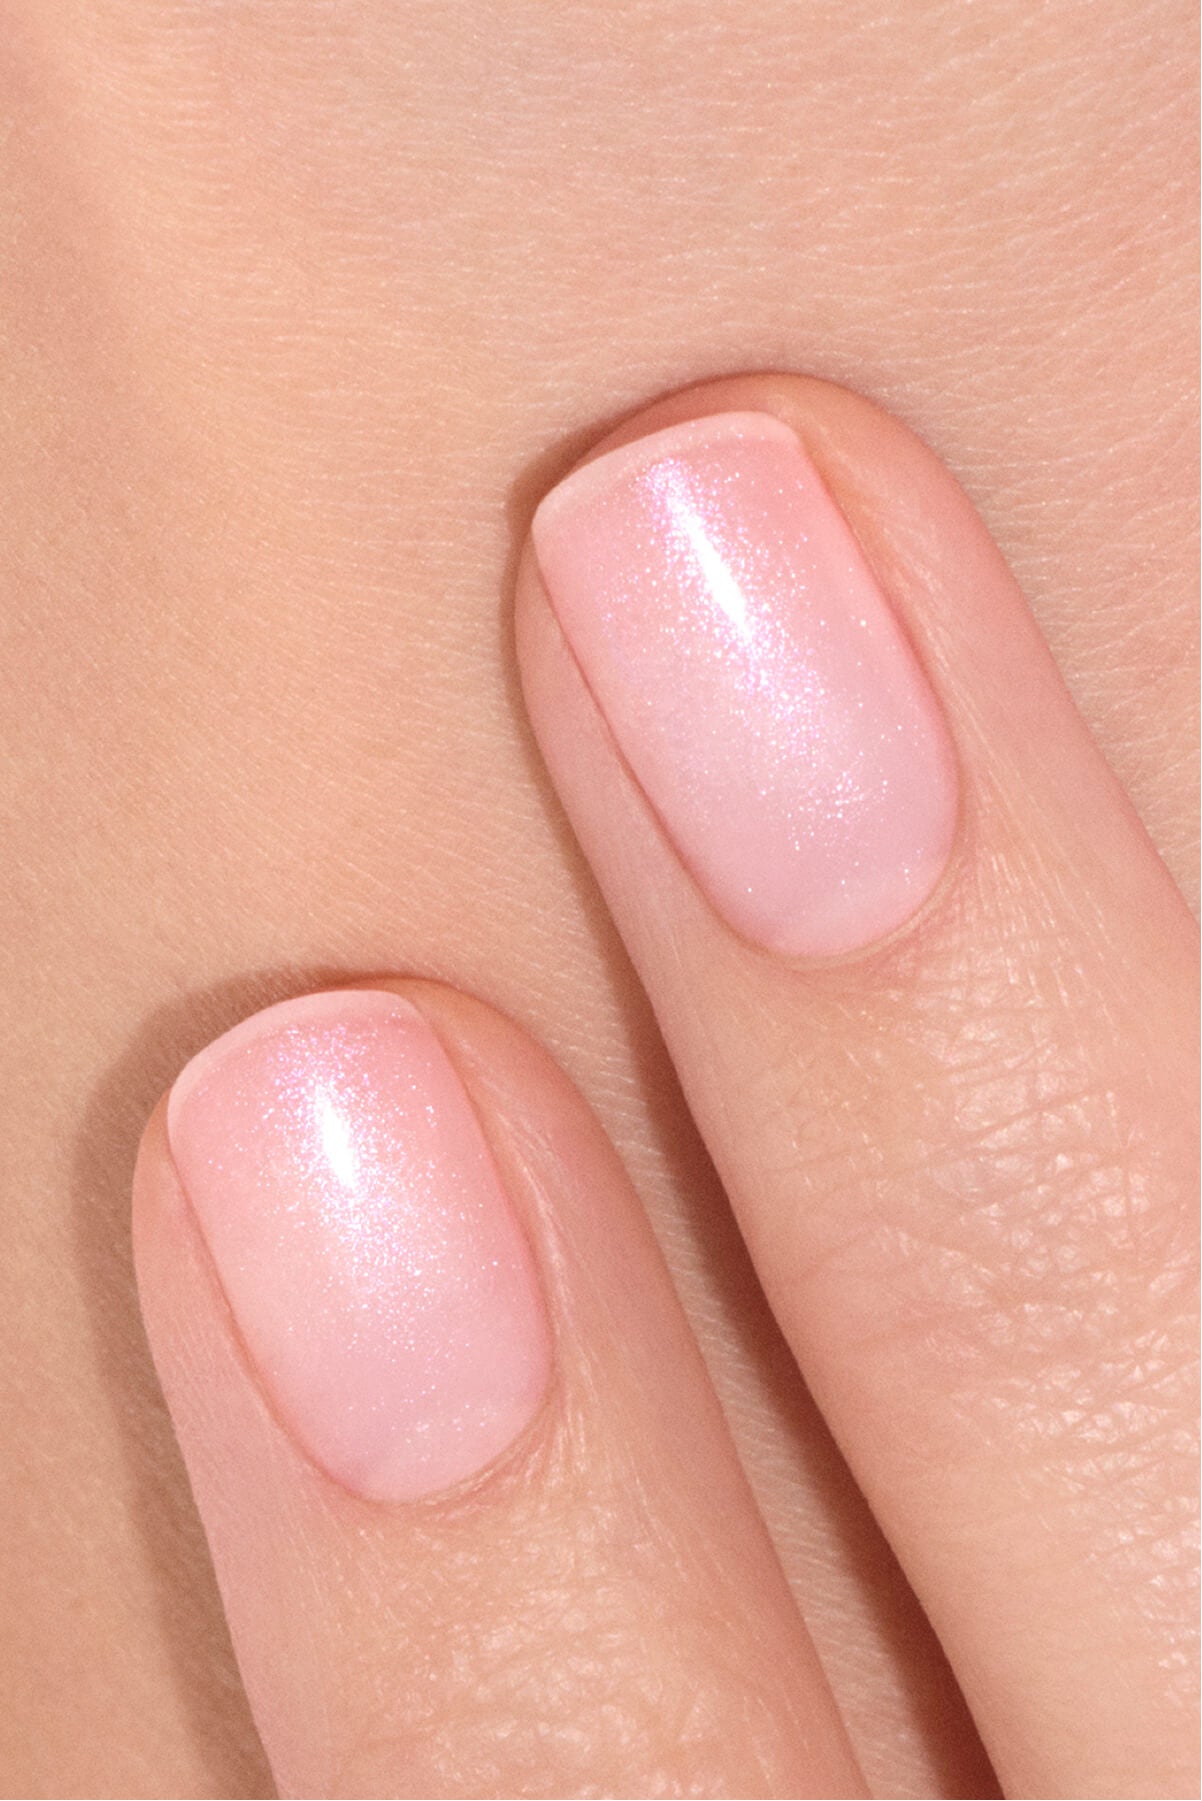
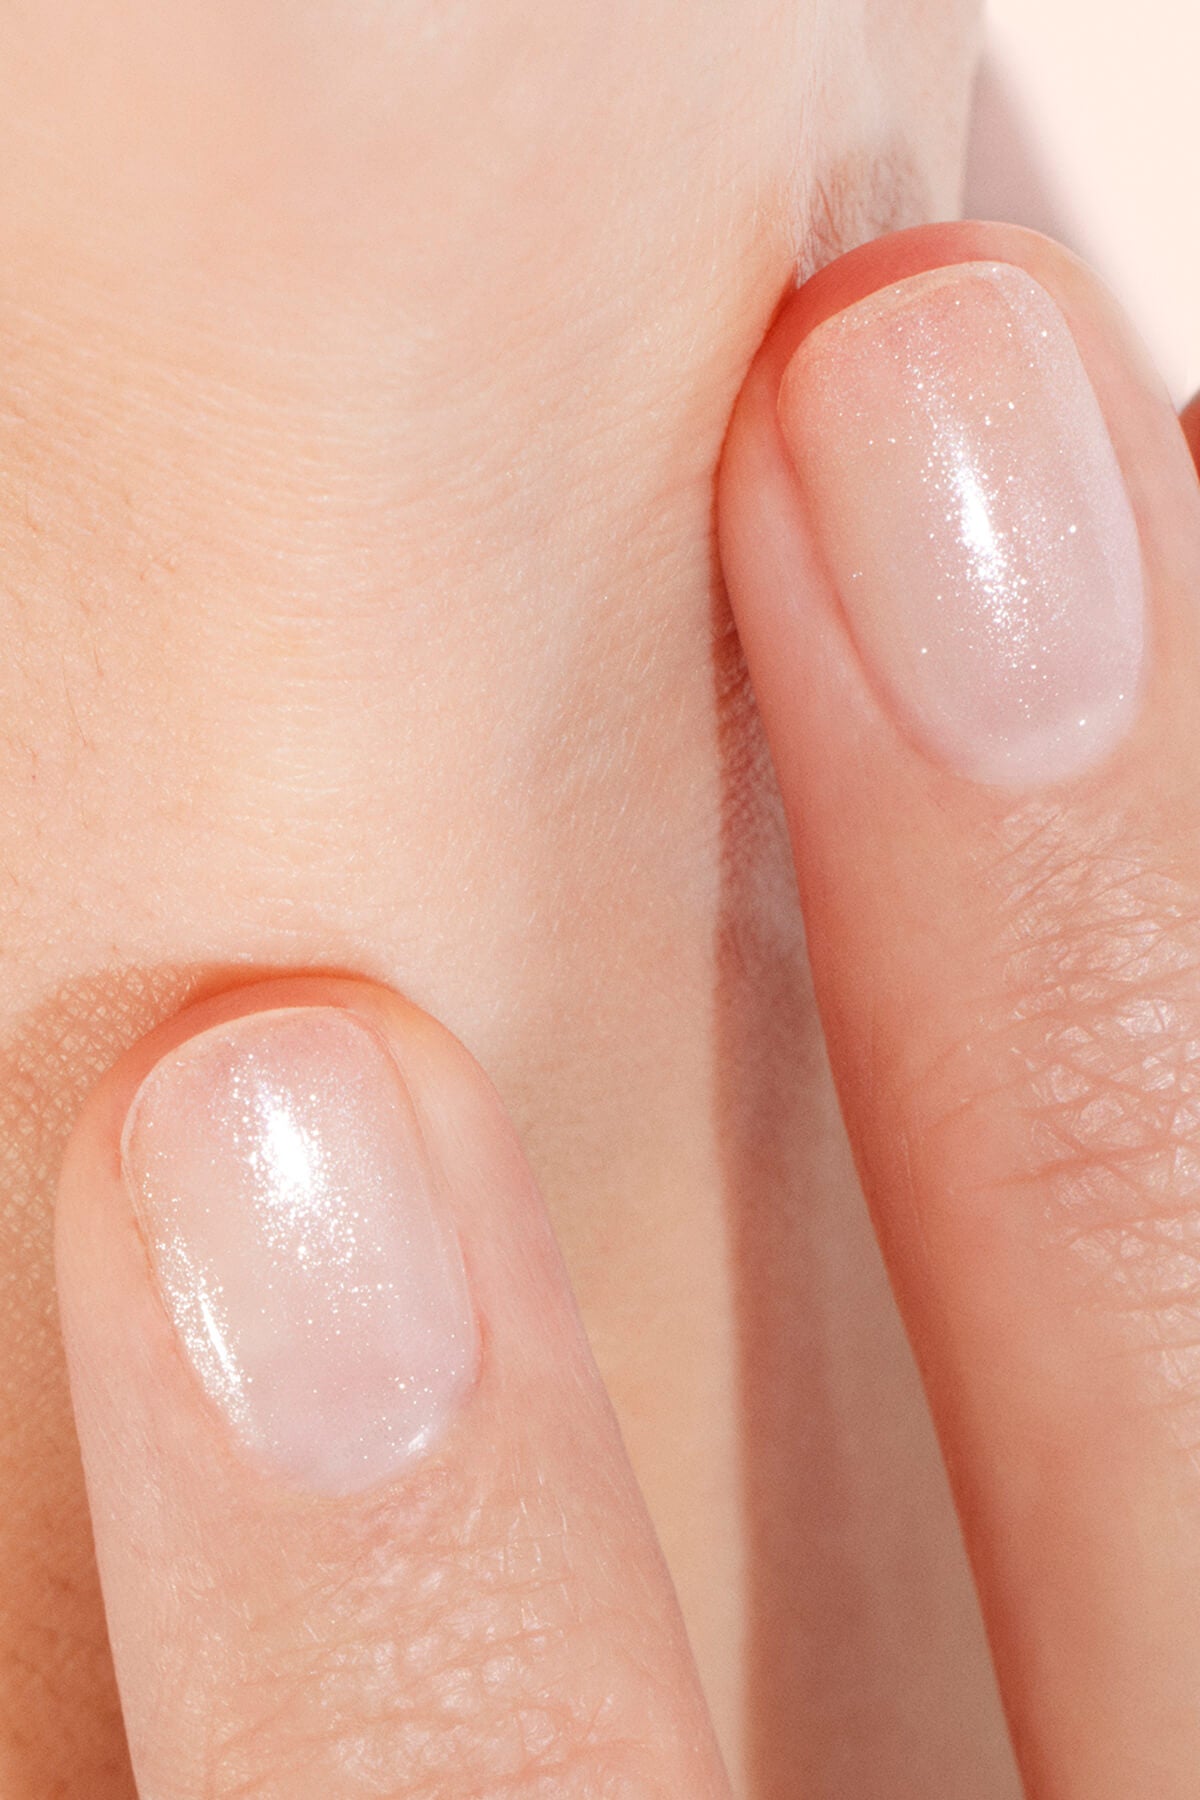
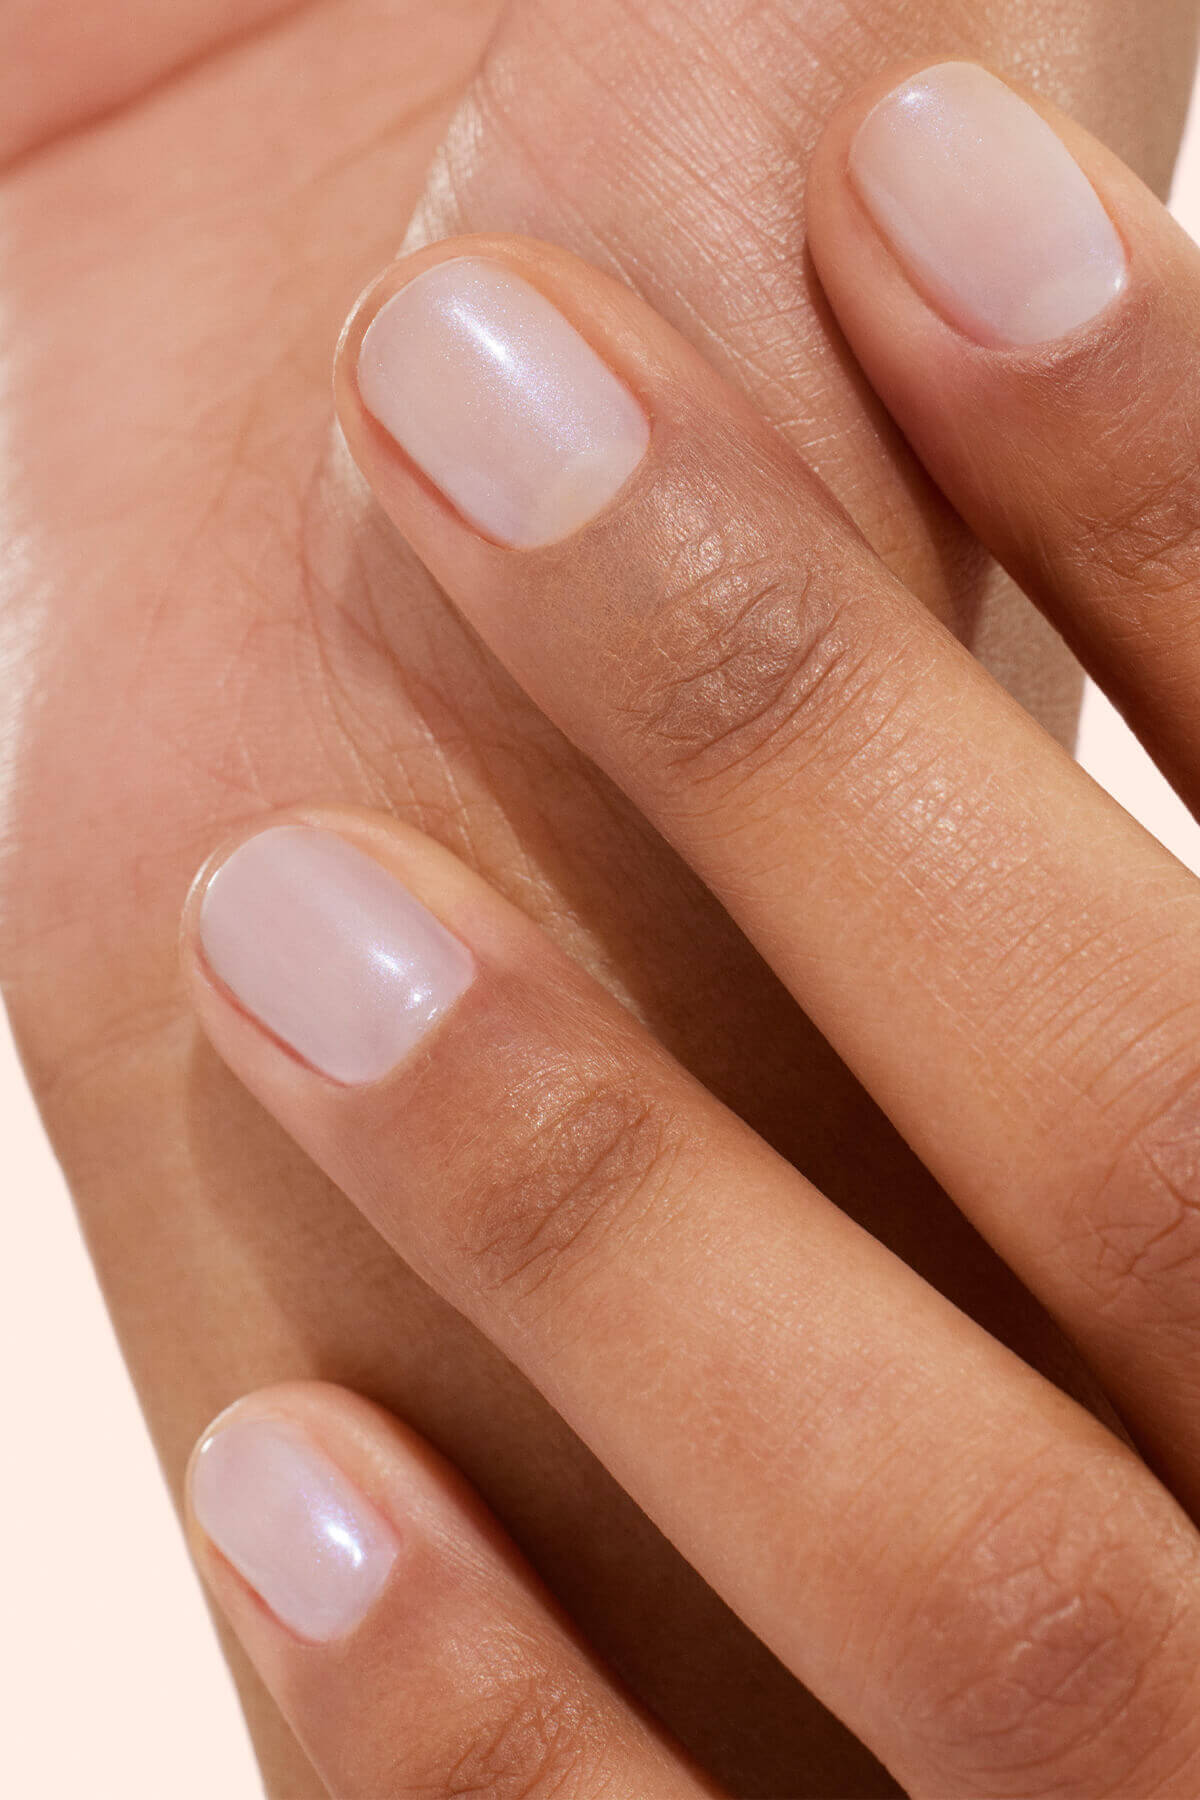
(@look8thenails)
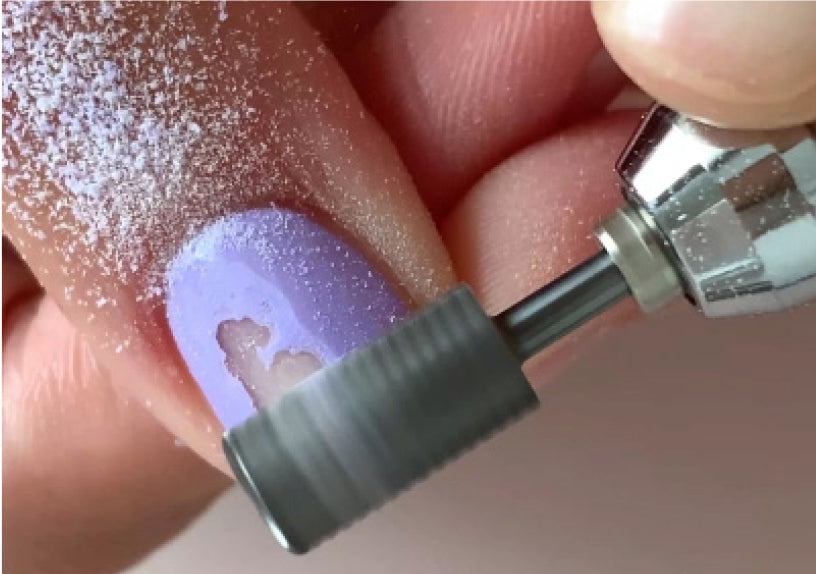
During application: poor prep or technique
Remember, long-lasting polish starts *before* the first coat! A few common missteps can throw your whole mani off:
- Insufficient prep: cuticles on the nail plate, an unbuffed or greasy surface—all of these can prevent proper adhesion.
- Incorrect application: thick layers, not enough drying time (air-dried or LED), skipping base and top coat—each of these can shorten your polish’s life.
- Mixing different brands: the formulas may not work well together. Products within a single range are designed to be fully compatible and work in synergy for optimal results.

A clean, even surface is key to long-lasting polish.
After application: habits to avoid
Even the perfect polish application can chip if your manicure isn’t properly protected. Here’s what to steer clear of:
- Prolonged exposure to hot water (dishwashing, long showers or baths) can slightly expand the nail and loosen the polish,
- Harsh household products can alter the polish surface,
- Everyday micro-shocks (like typing or opening containers) can damage the tips of your nails.

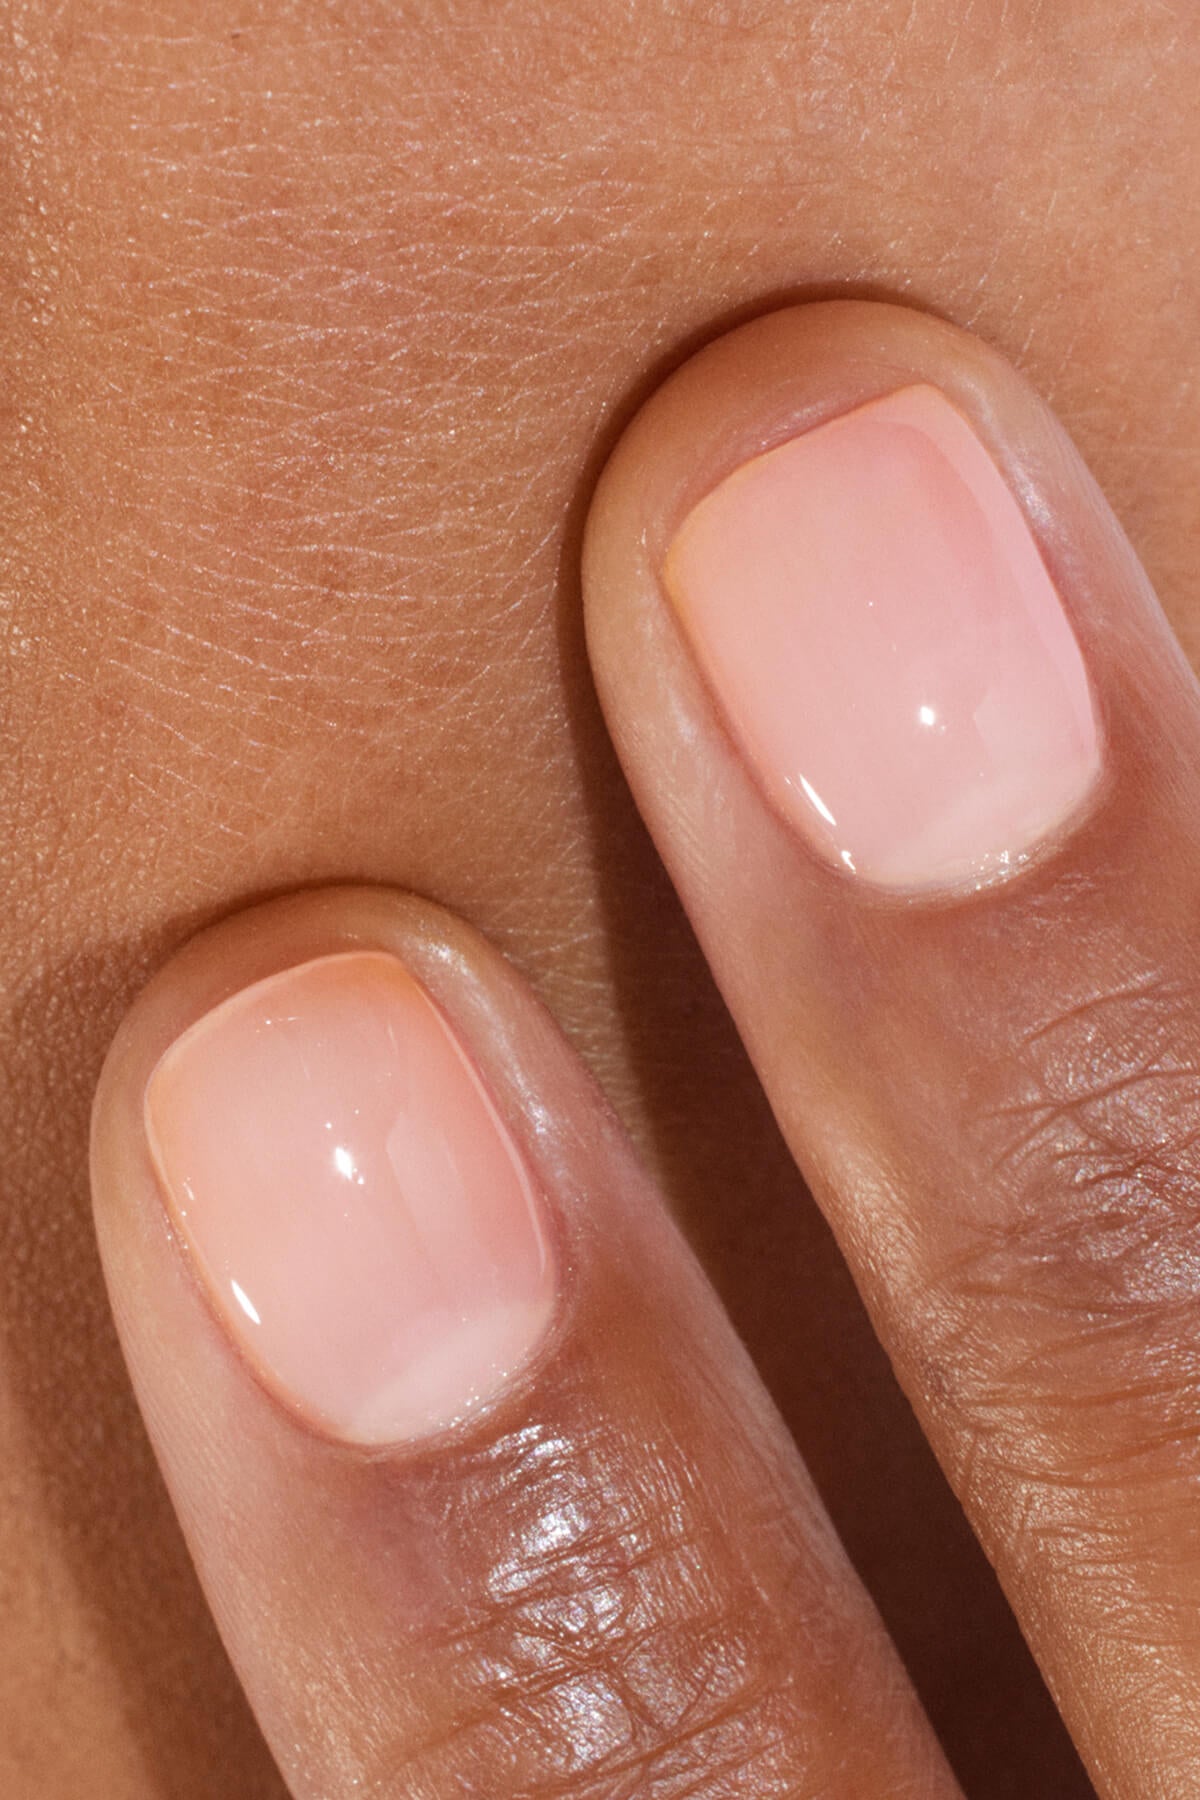
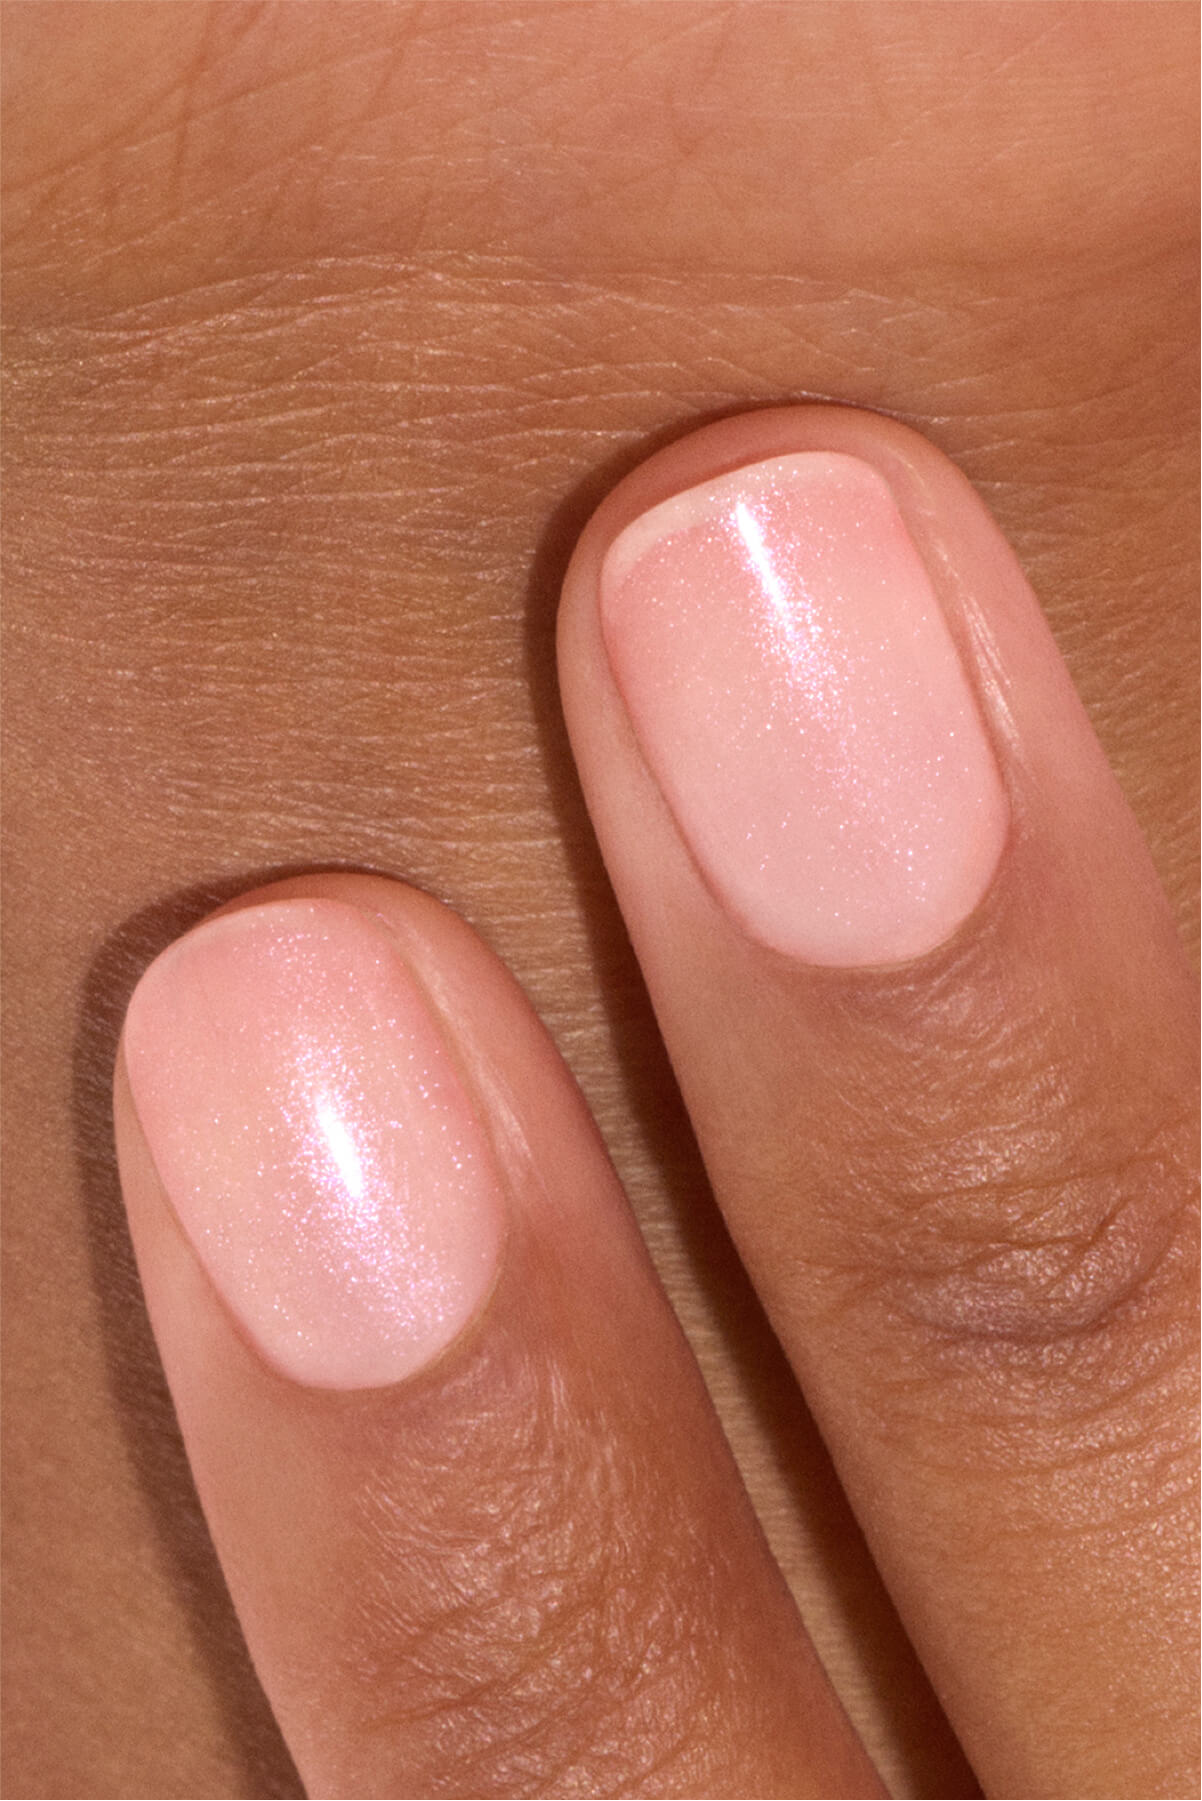
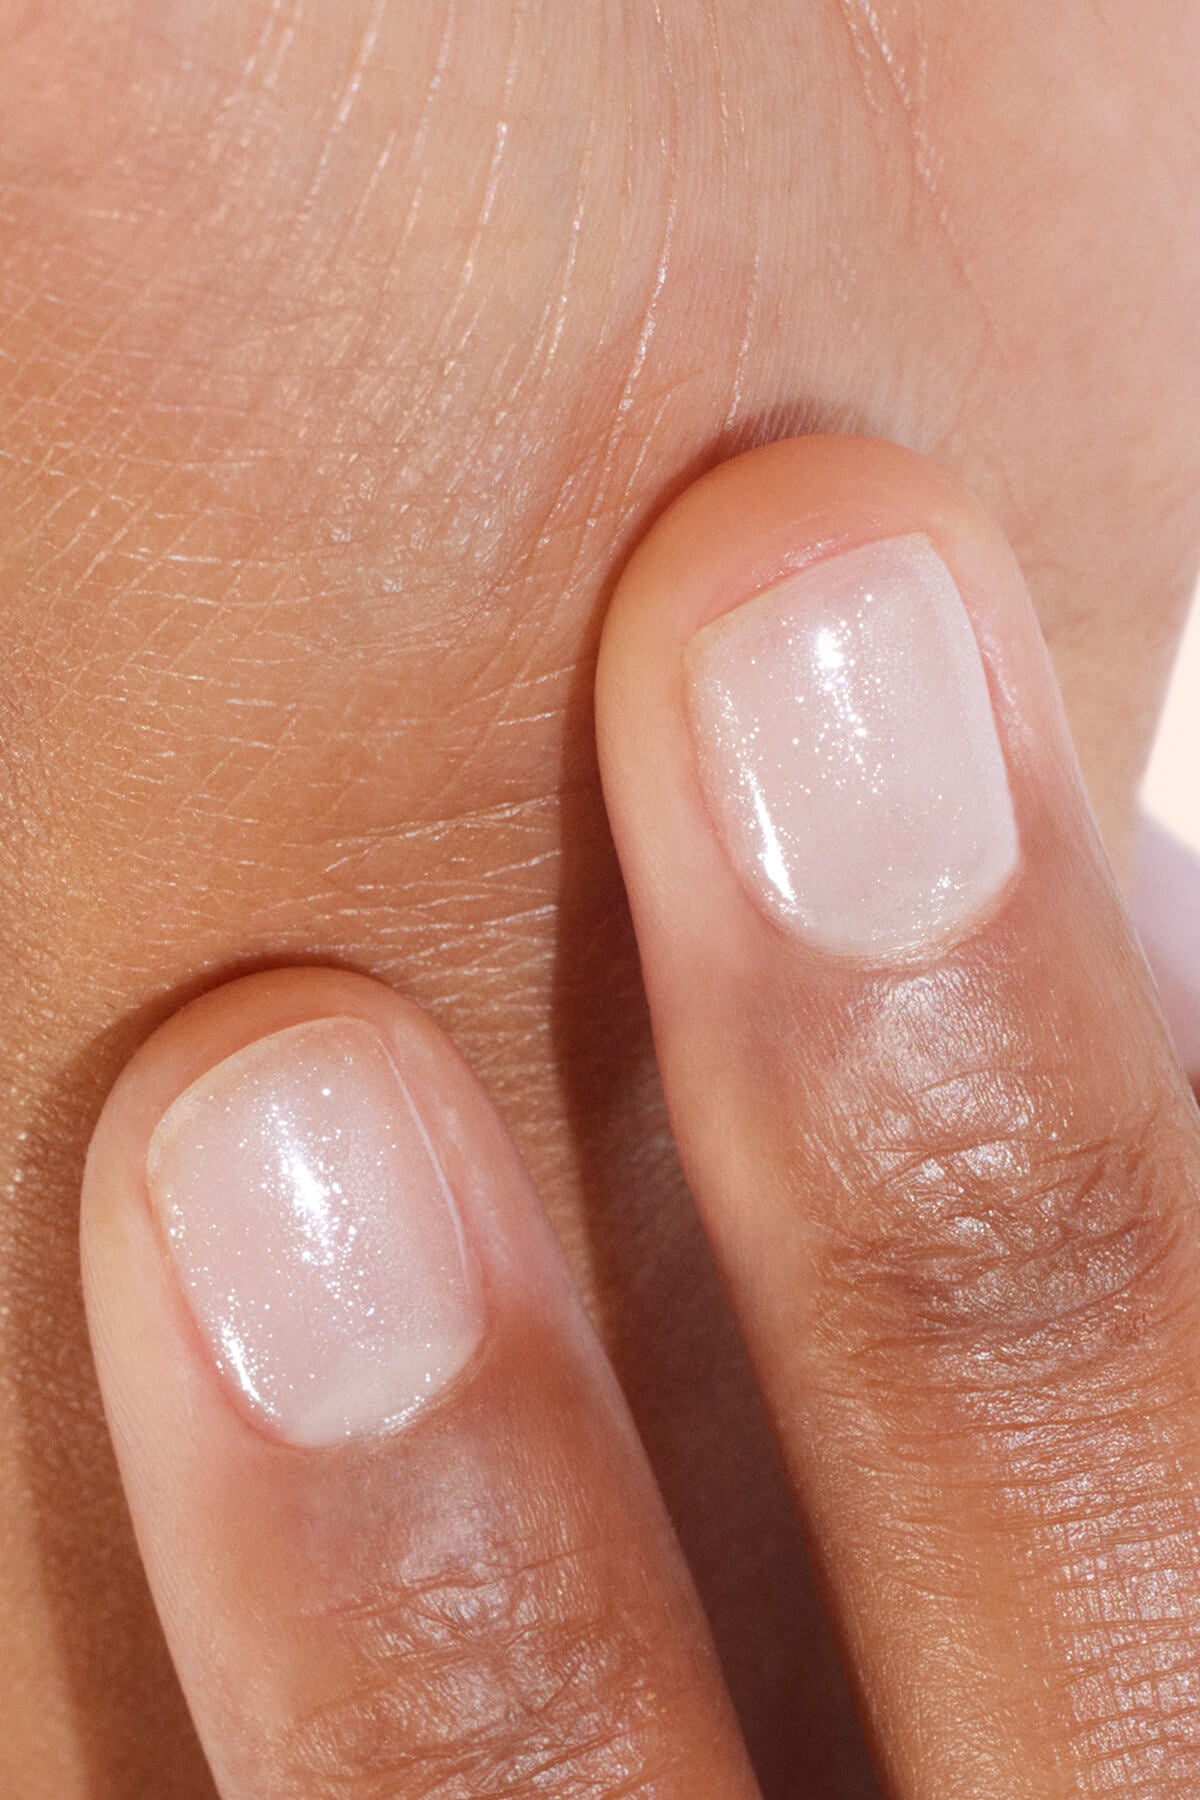
Hot water, cleaning, sudden movements: protect your mani day to day. (@Unsplash)
How can I stop my polish from chipping?
The good news? A few simple tips are all it takes to help your manicure stay glossy for longer.
Prep your nails like a pro
Before reaching for your polish, take a little time to pamper your nails. After filing them, tend to your cuticles: apply an emollient to soften them and gently push them back. Then, using a suitable file or buffer sponge, smooth the surface of the nail to even it out and gently lift the keratin scales to improve adhesion. Don’t forget to degrease your nails with a nail cleanser or gentle remover.
👉 Discover all our top tips in our article on how to prep your nails before applying polish.

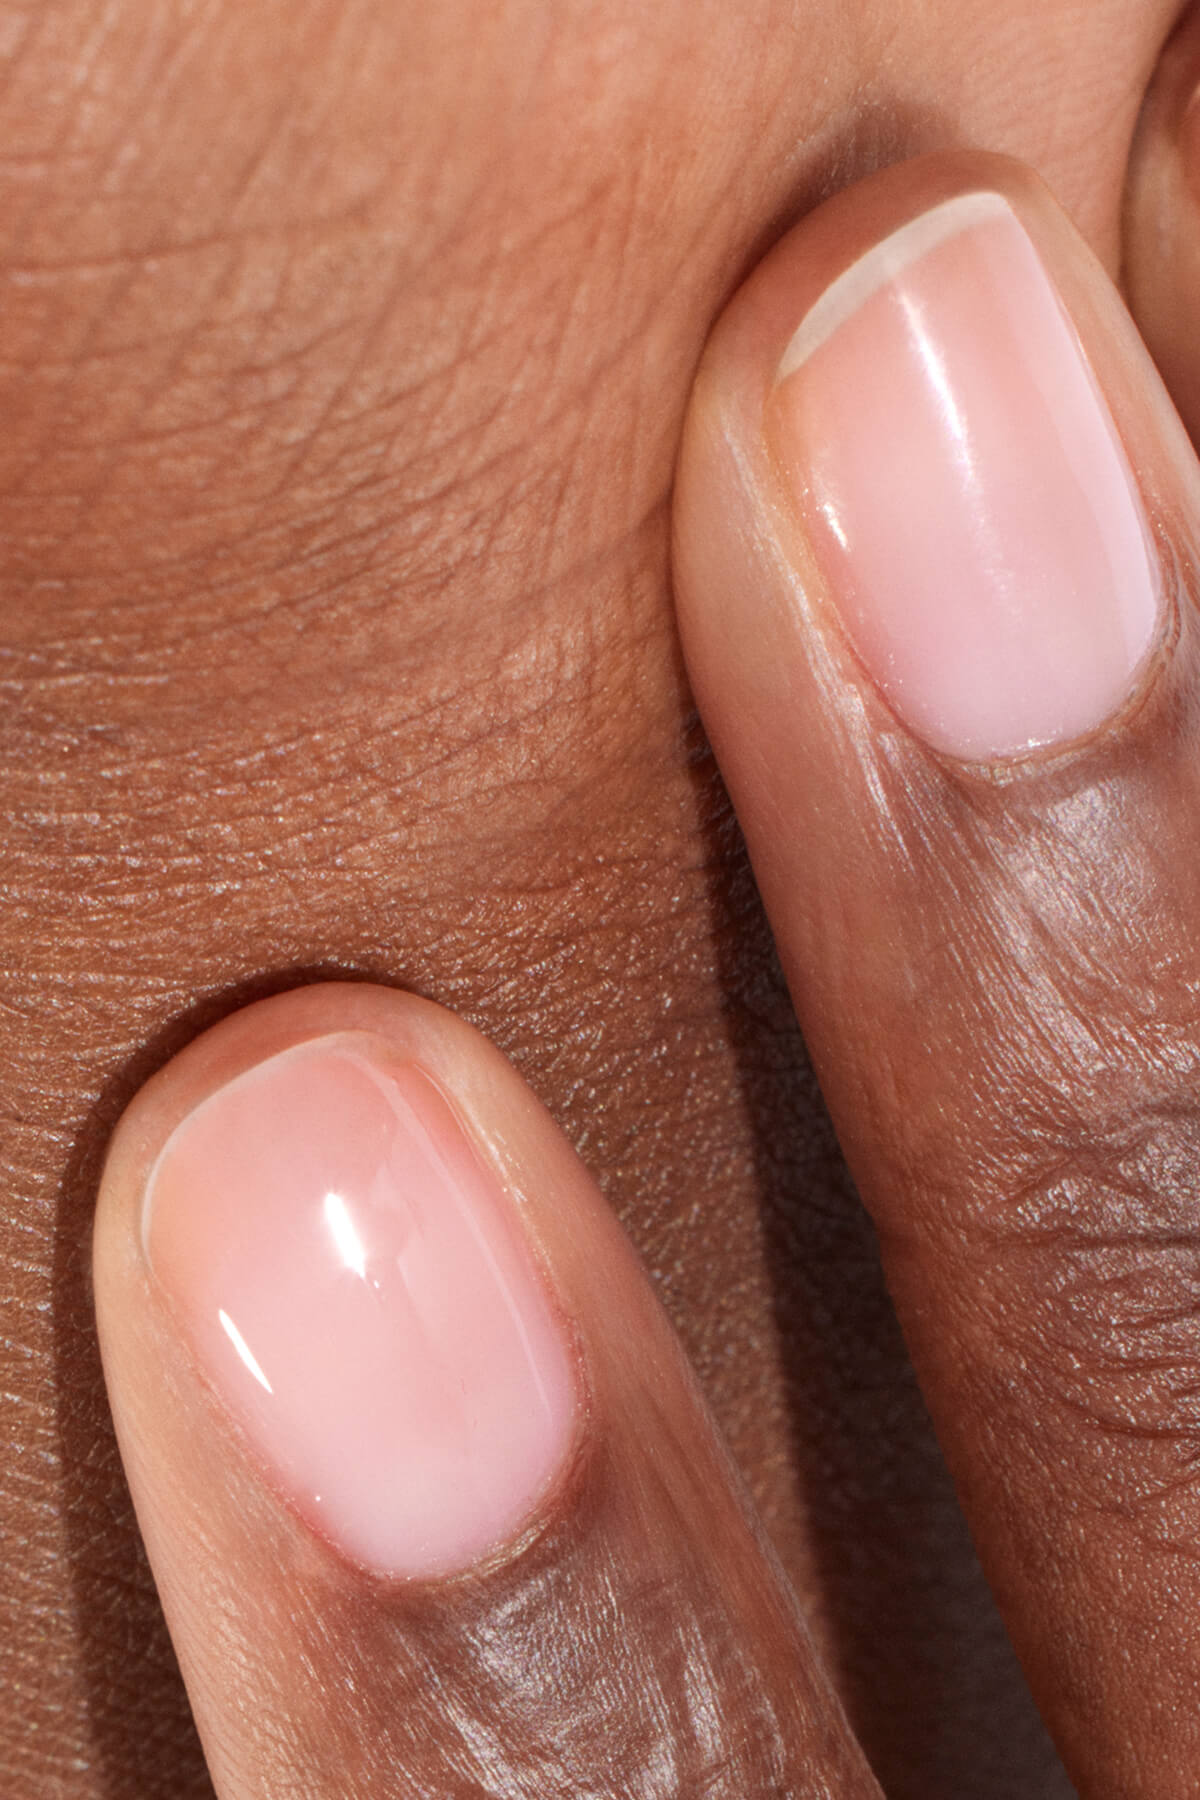
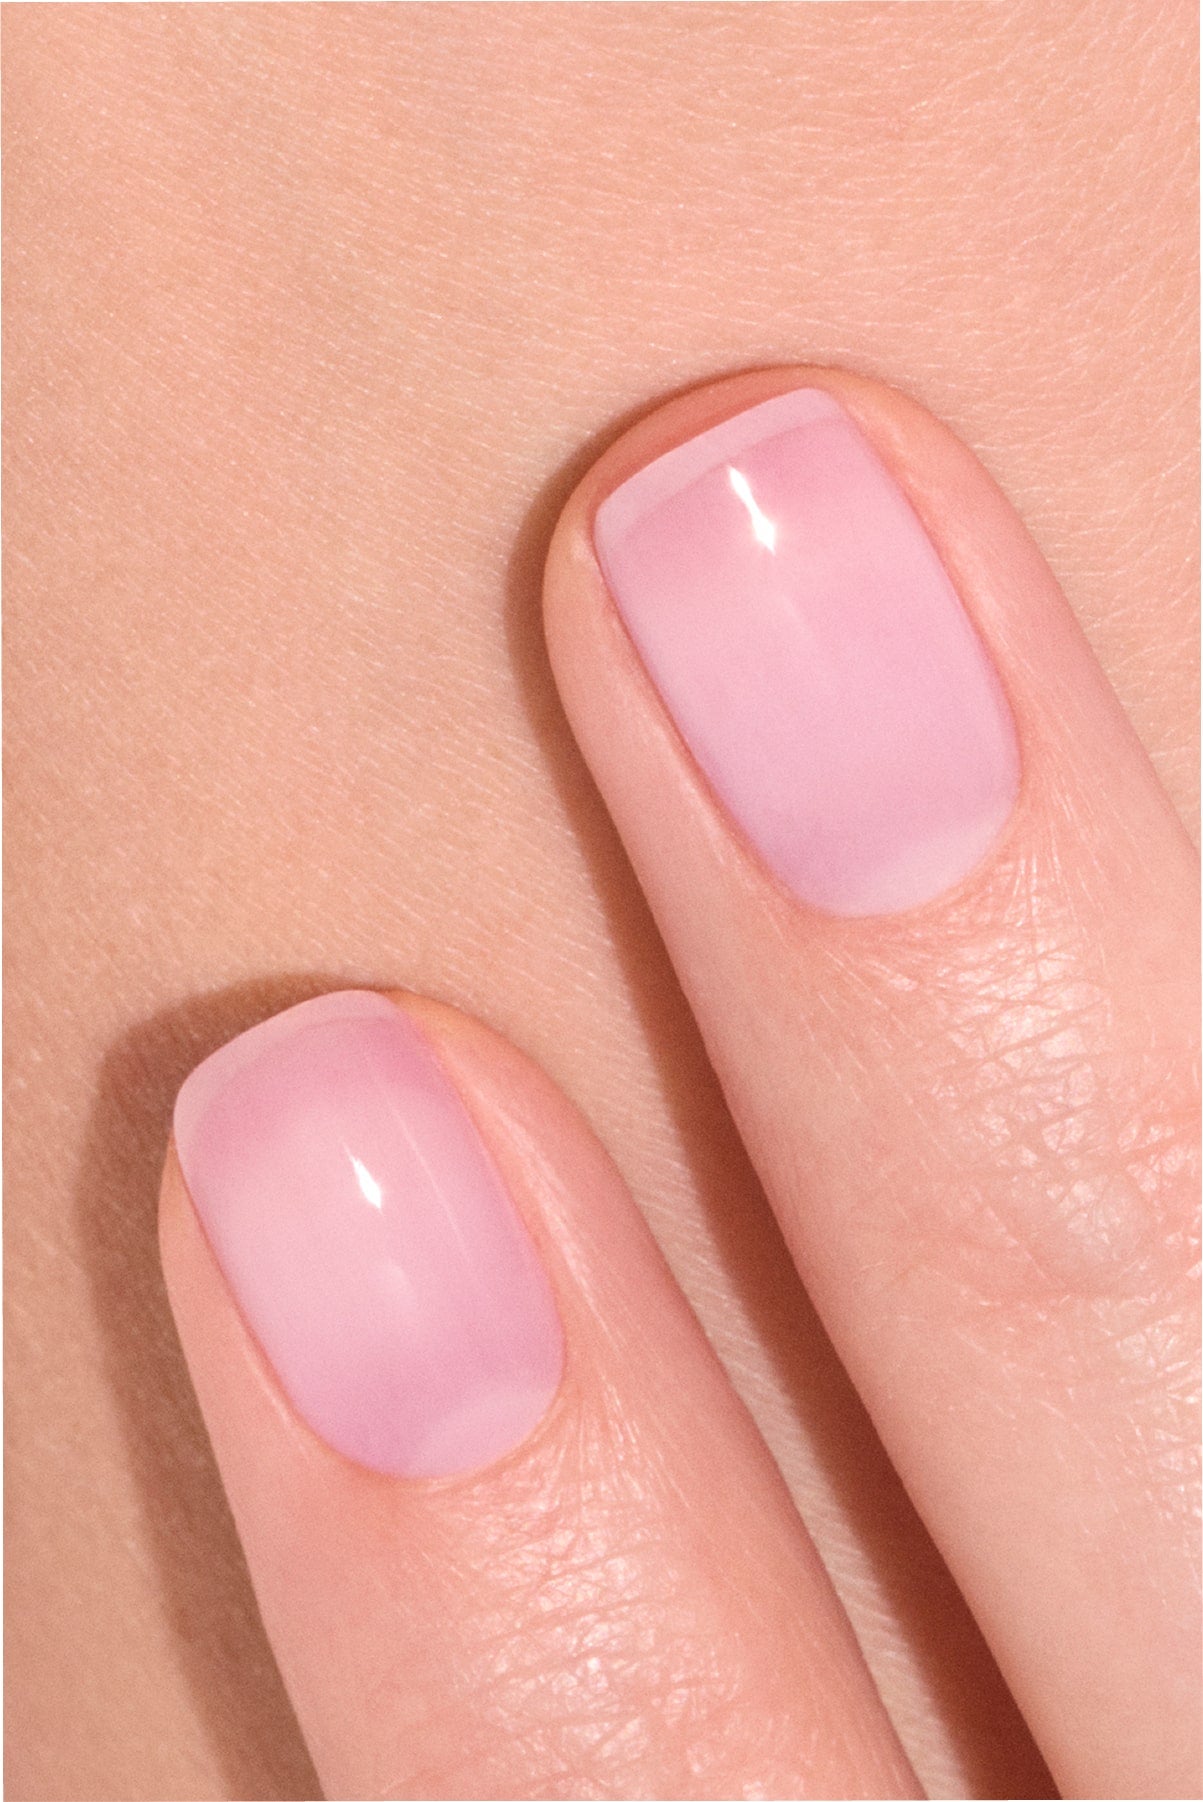
Before the color, it’s all about the right prep for perfect adhesion.
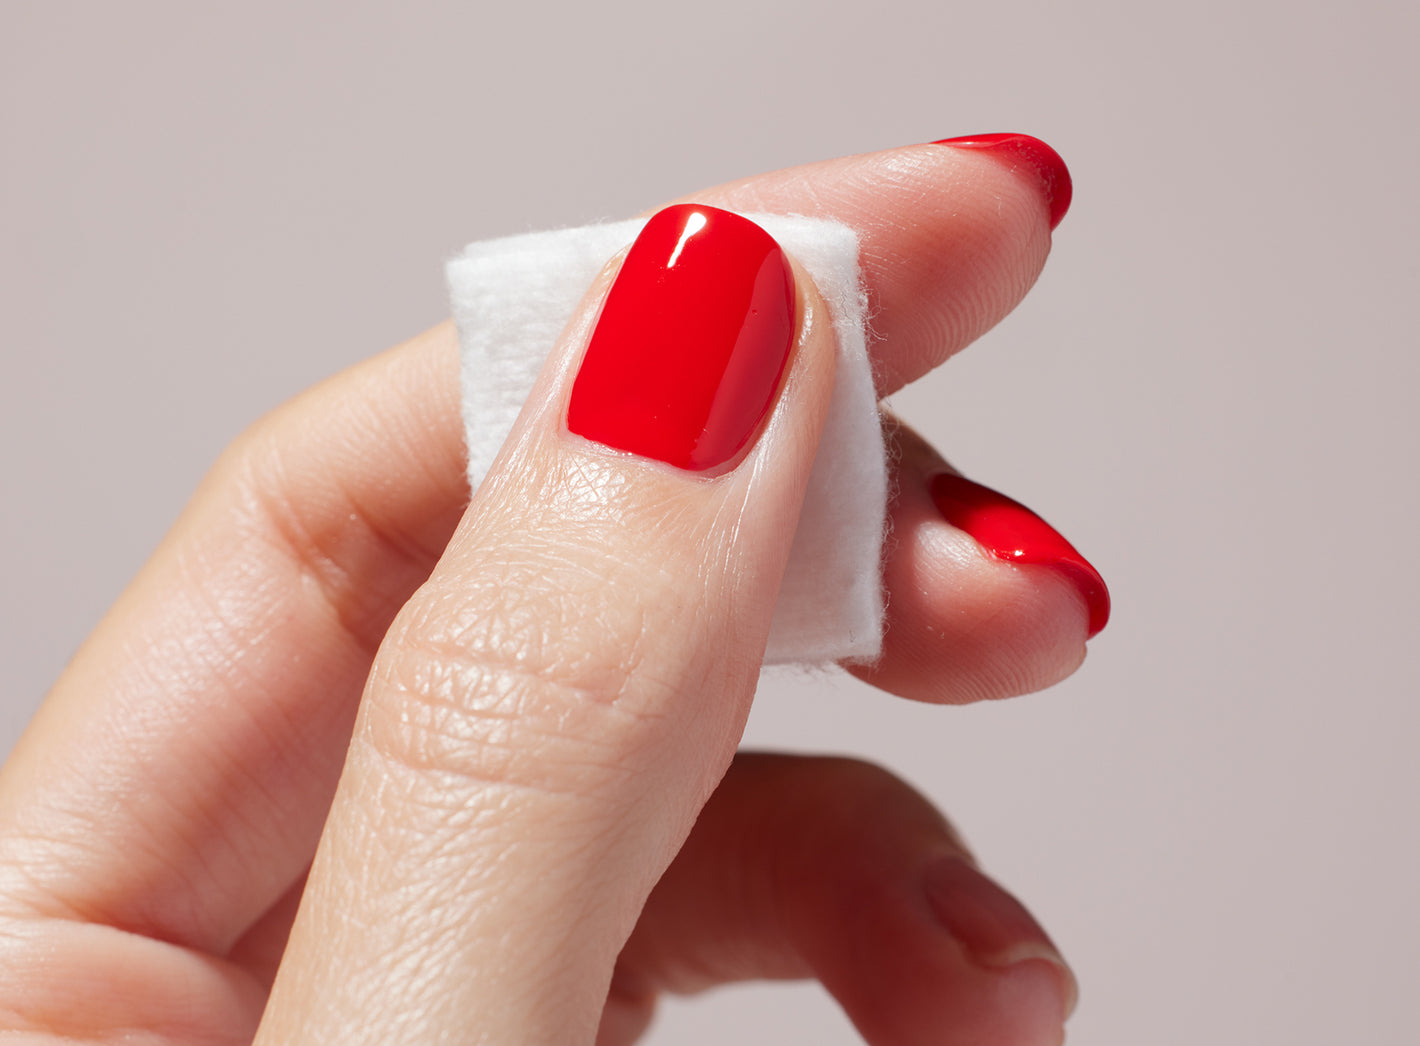
The right polish routine
Whether you prefer classic polish or gel nail polish, the same golden rule applies: 4 coats for a lasting result.
With classic polish
- Start with a layer of base coat to smooth the surface and boost staying power.
- Apply two thin coats of color, making sure to cap the tip (a quick swipe across the edge to seal in the color).
- Finish with a thin coat of top coat to protect against knocks and add shine.
- Allow each layer to dry for 1 to 2 minutes in open air, ensuring the previous layer is no longer tacky before applying the next.

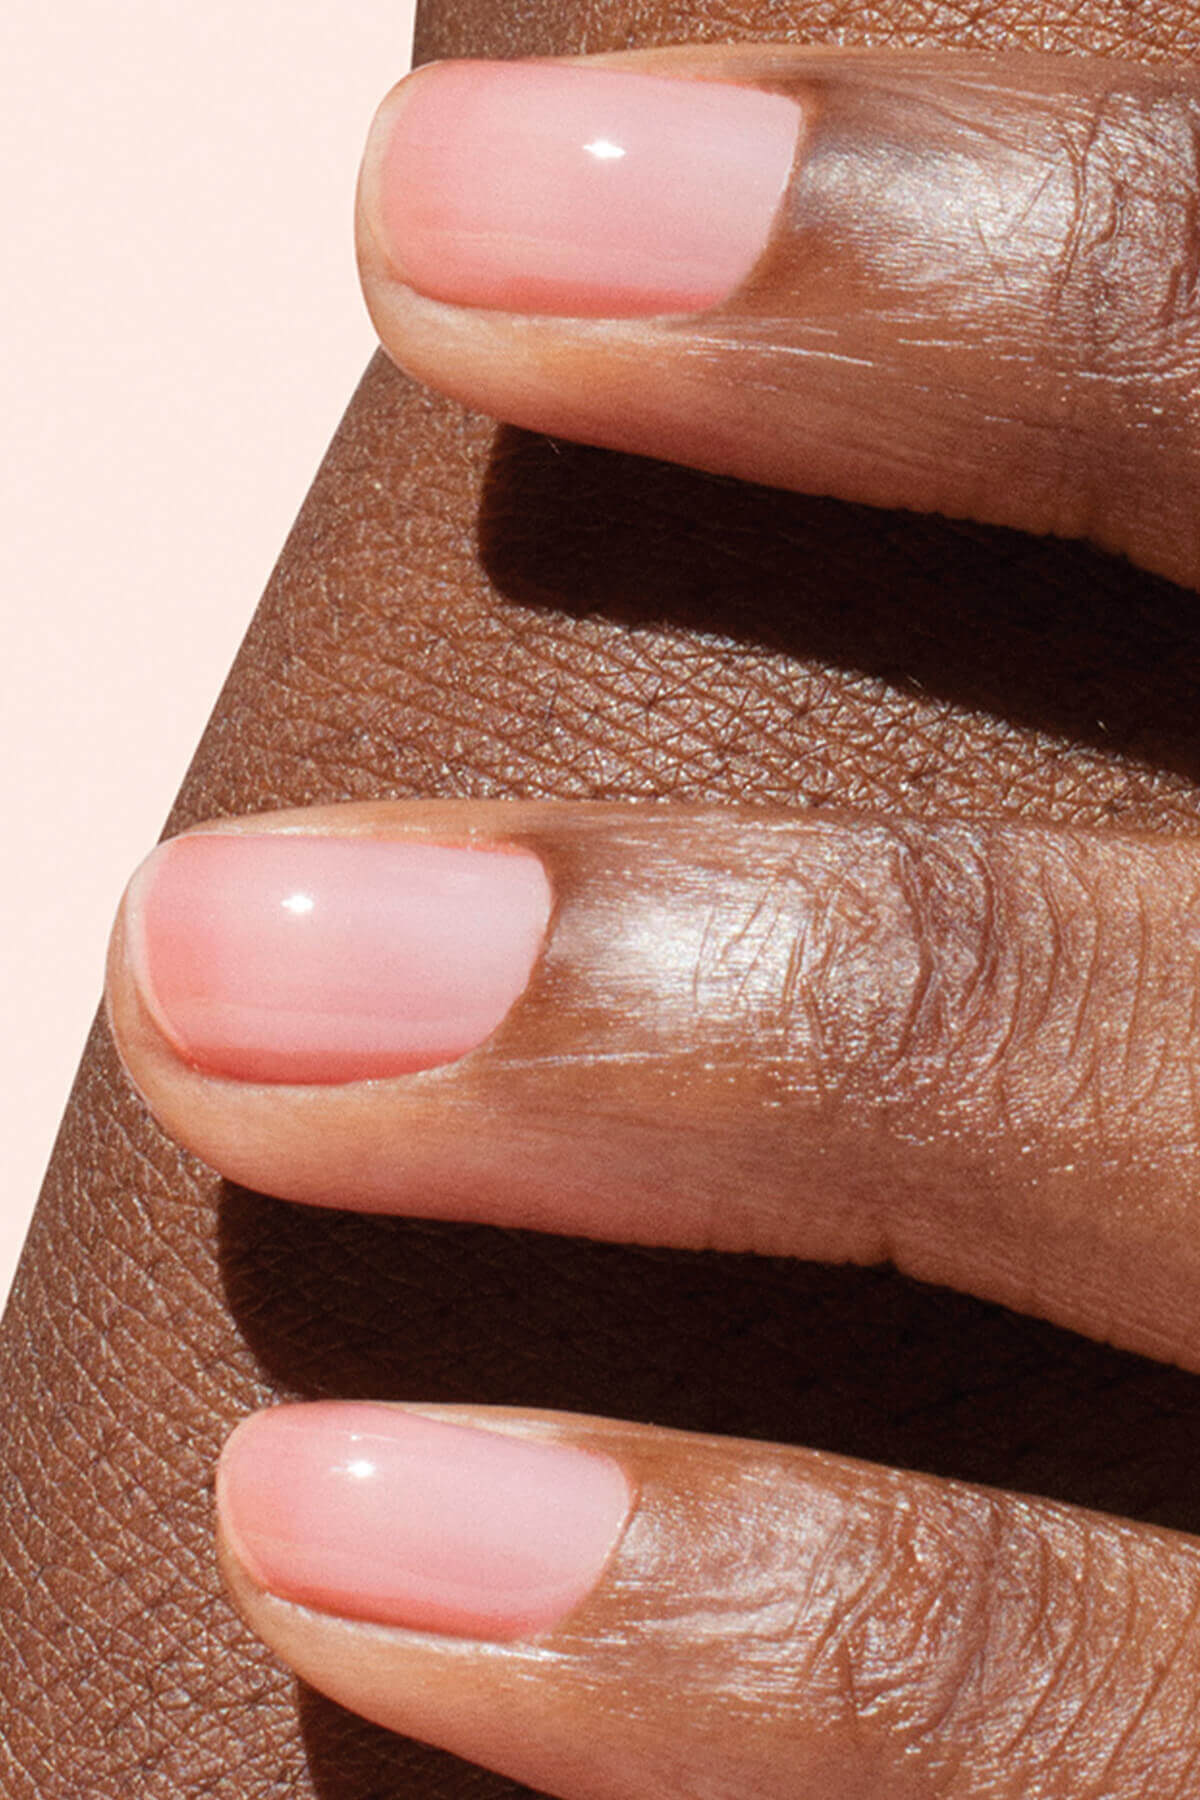
Base coat, two layers of color, top coat: the perfect formula for a flawless mani.
With Gel Polish
- Apply a protective base coat and cure it under a LED or UV lamp as directed.
- Apply two thin layers of color, capping the tips, and cure each coat under the lamp (1 to 3 minutes depending on lamp power).
- Finish with a top coat to seal the color and add shine. Cure again under the lamp.

With Gel Polish, follow the same steps—curing under a UV or LED lamp at each stage.
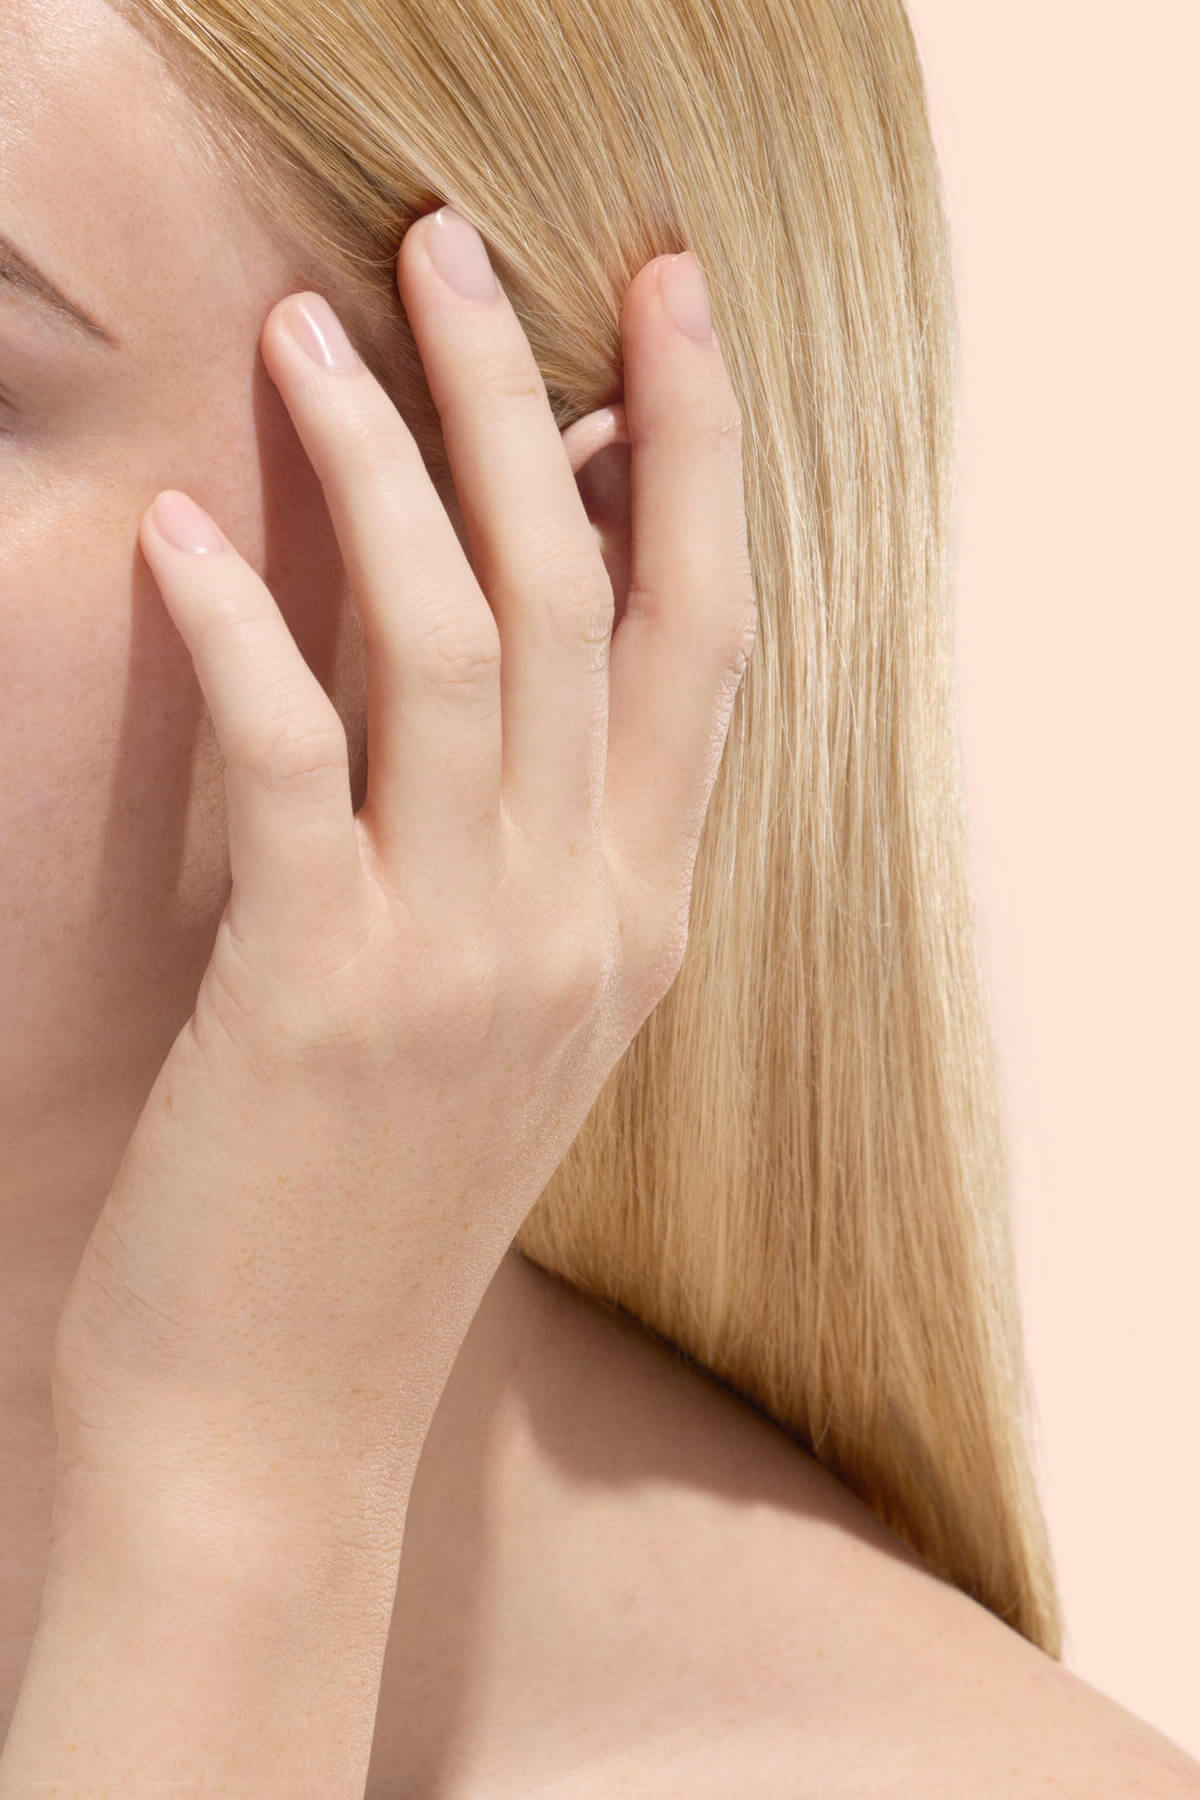
Daily nail care is a must
If you want your manicure to last, regular nail care is essential for strength and resilience.
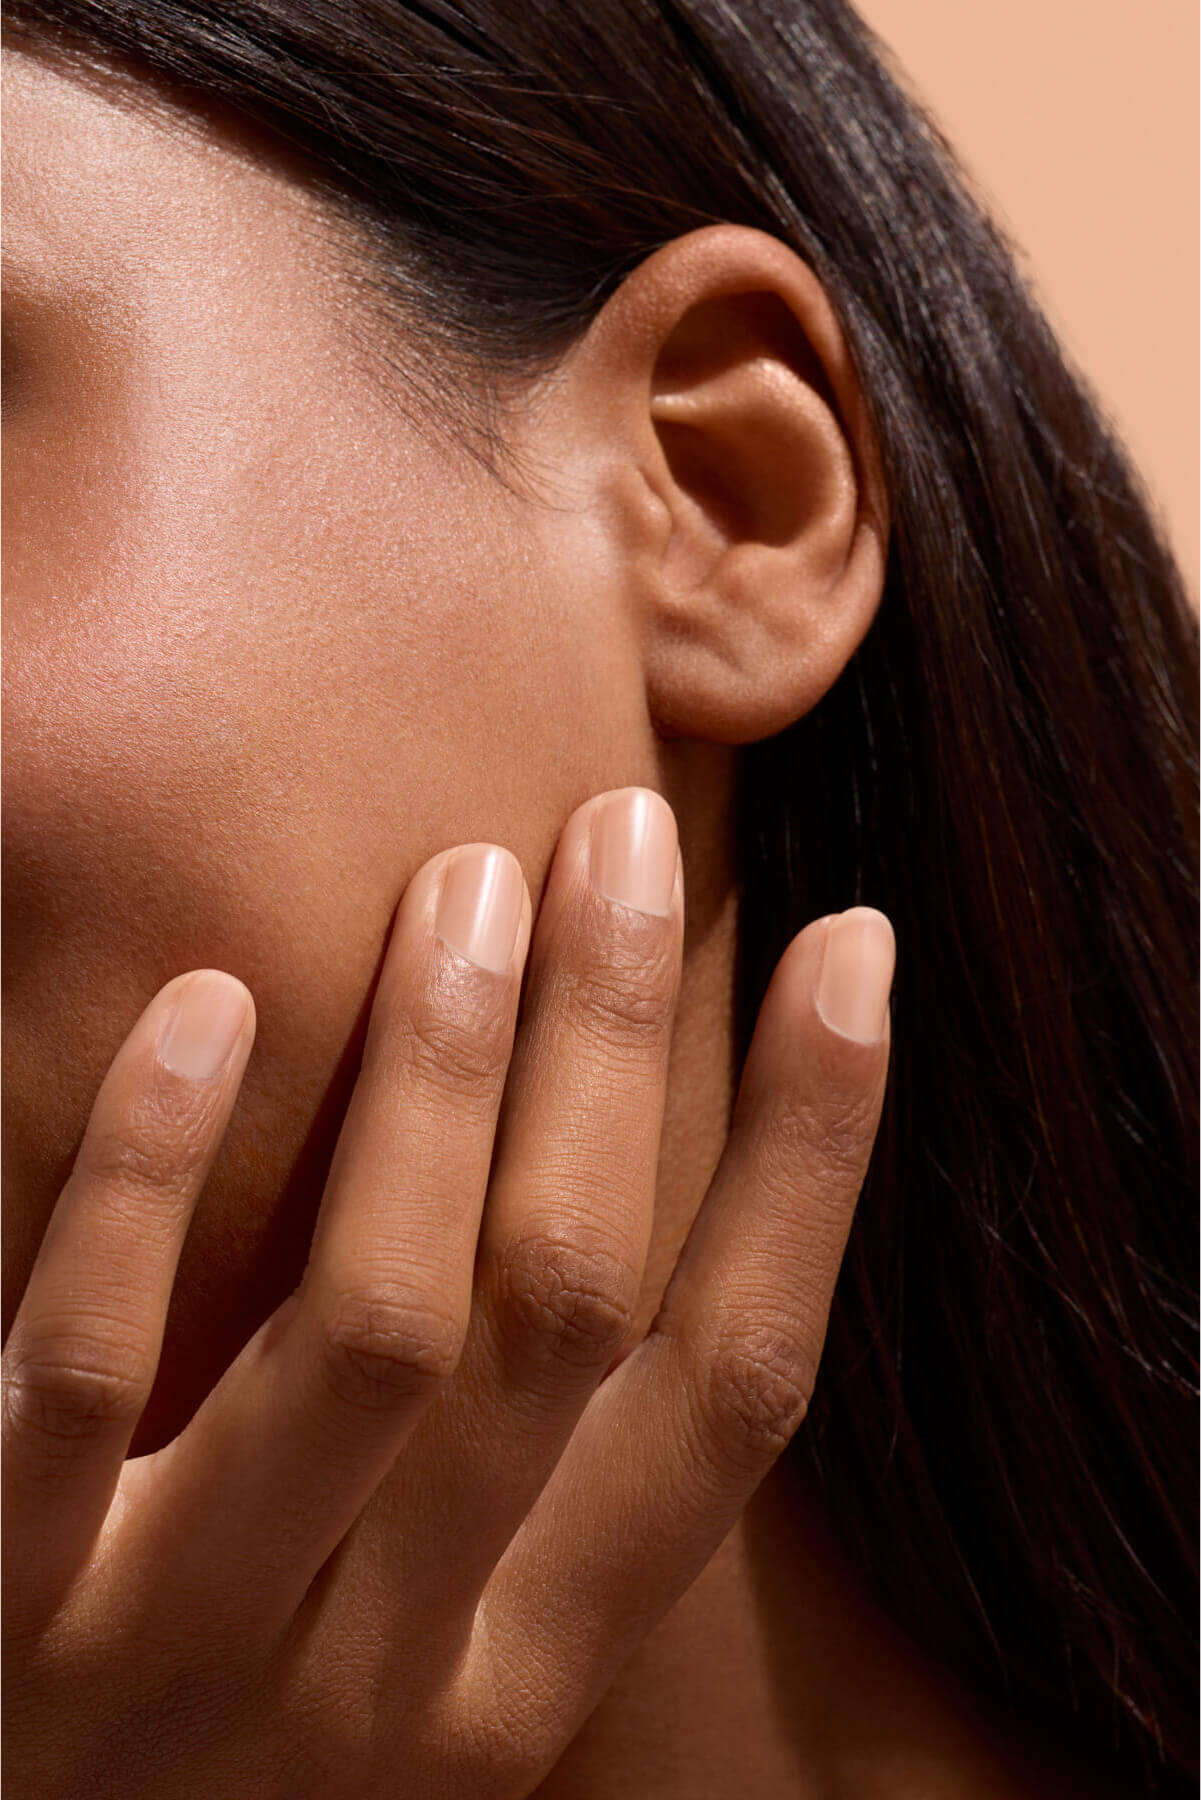
Keep your nails hydrated daily with a cuticle oil such as Green Oil, which deeply nourishes and hydrates the nails and surrounding skin.
If your nails tend to be fragile, soft or split, try a targeted care routine by starting with a Nail Diagnostic. Based on your results, we’ll recommend a 2-week care routine to help your nails become strong enough to hold polish longer.
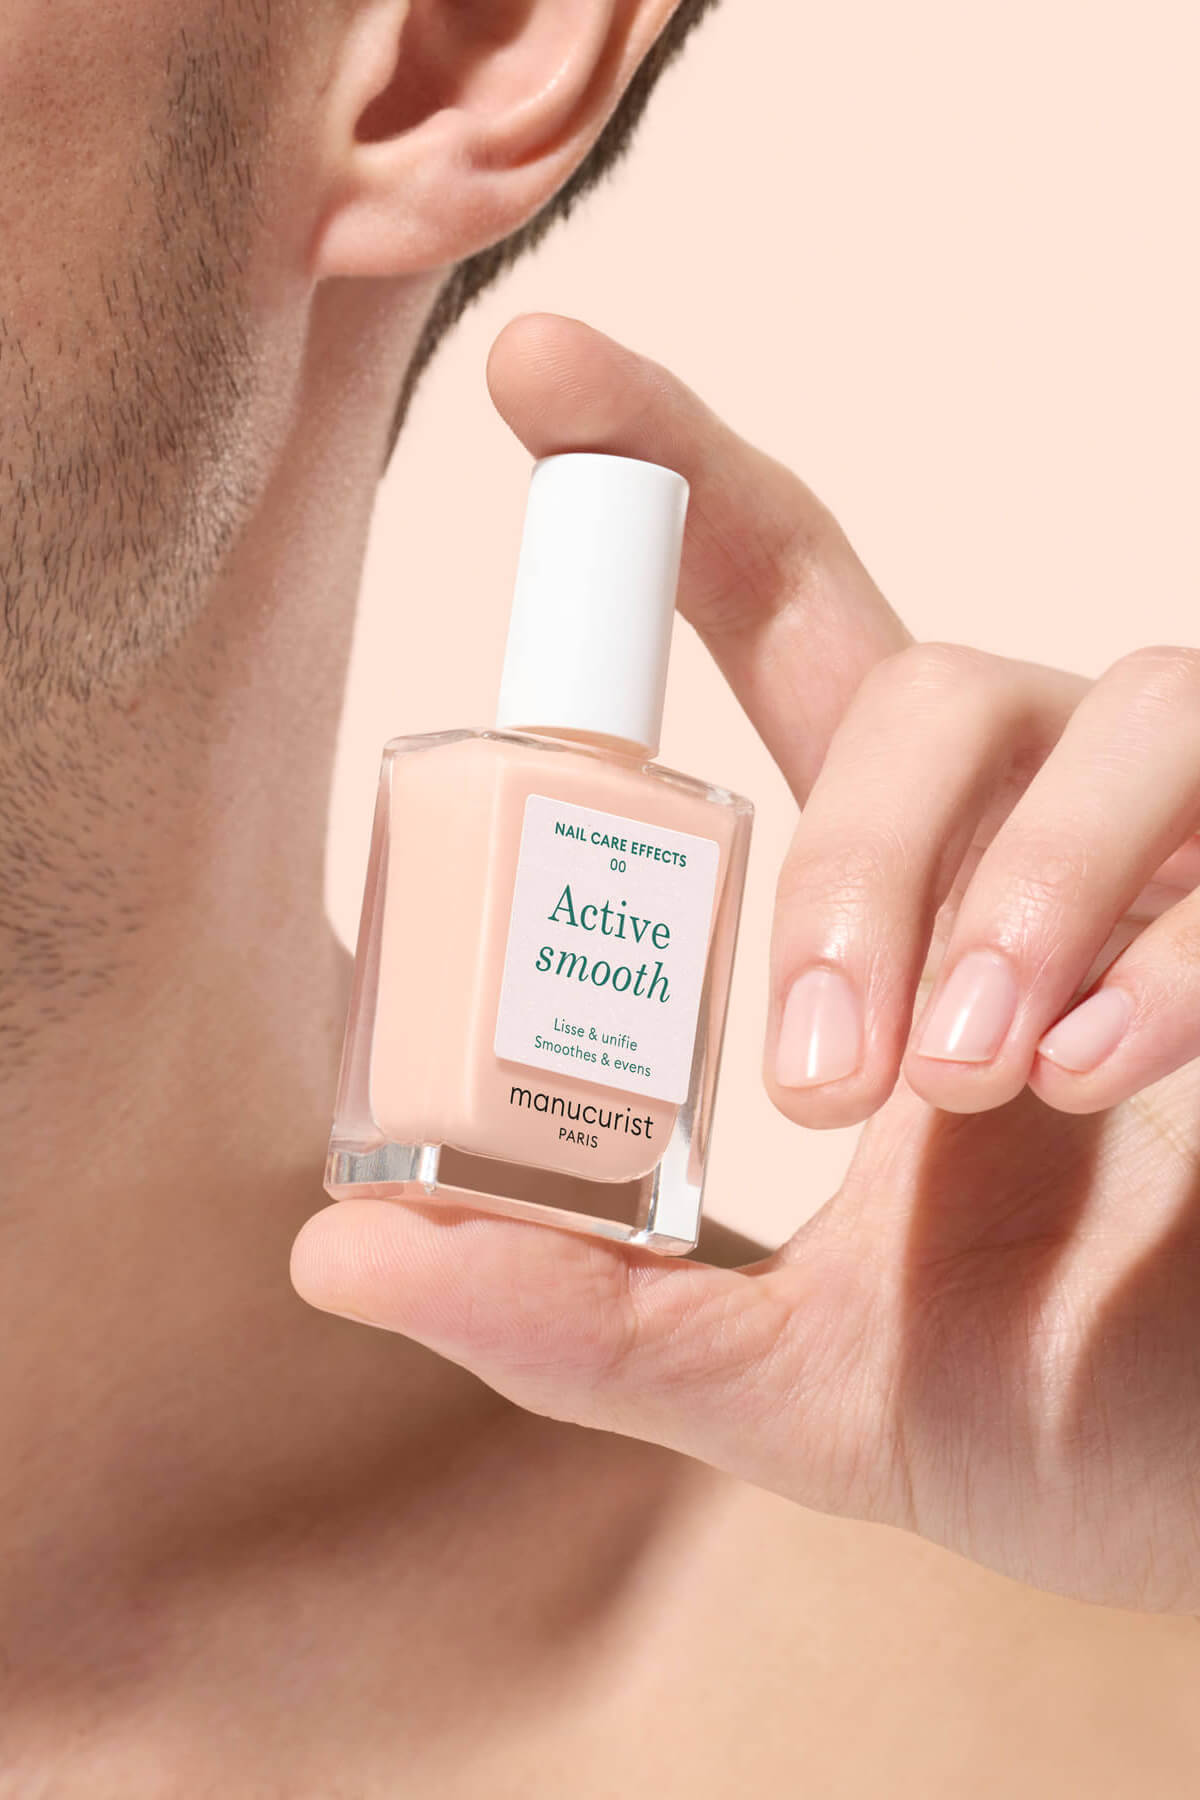
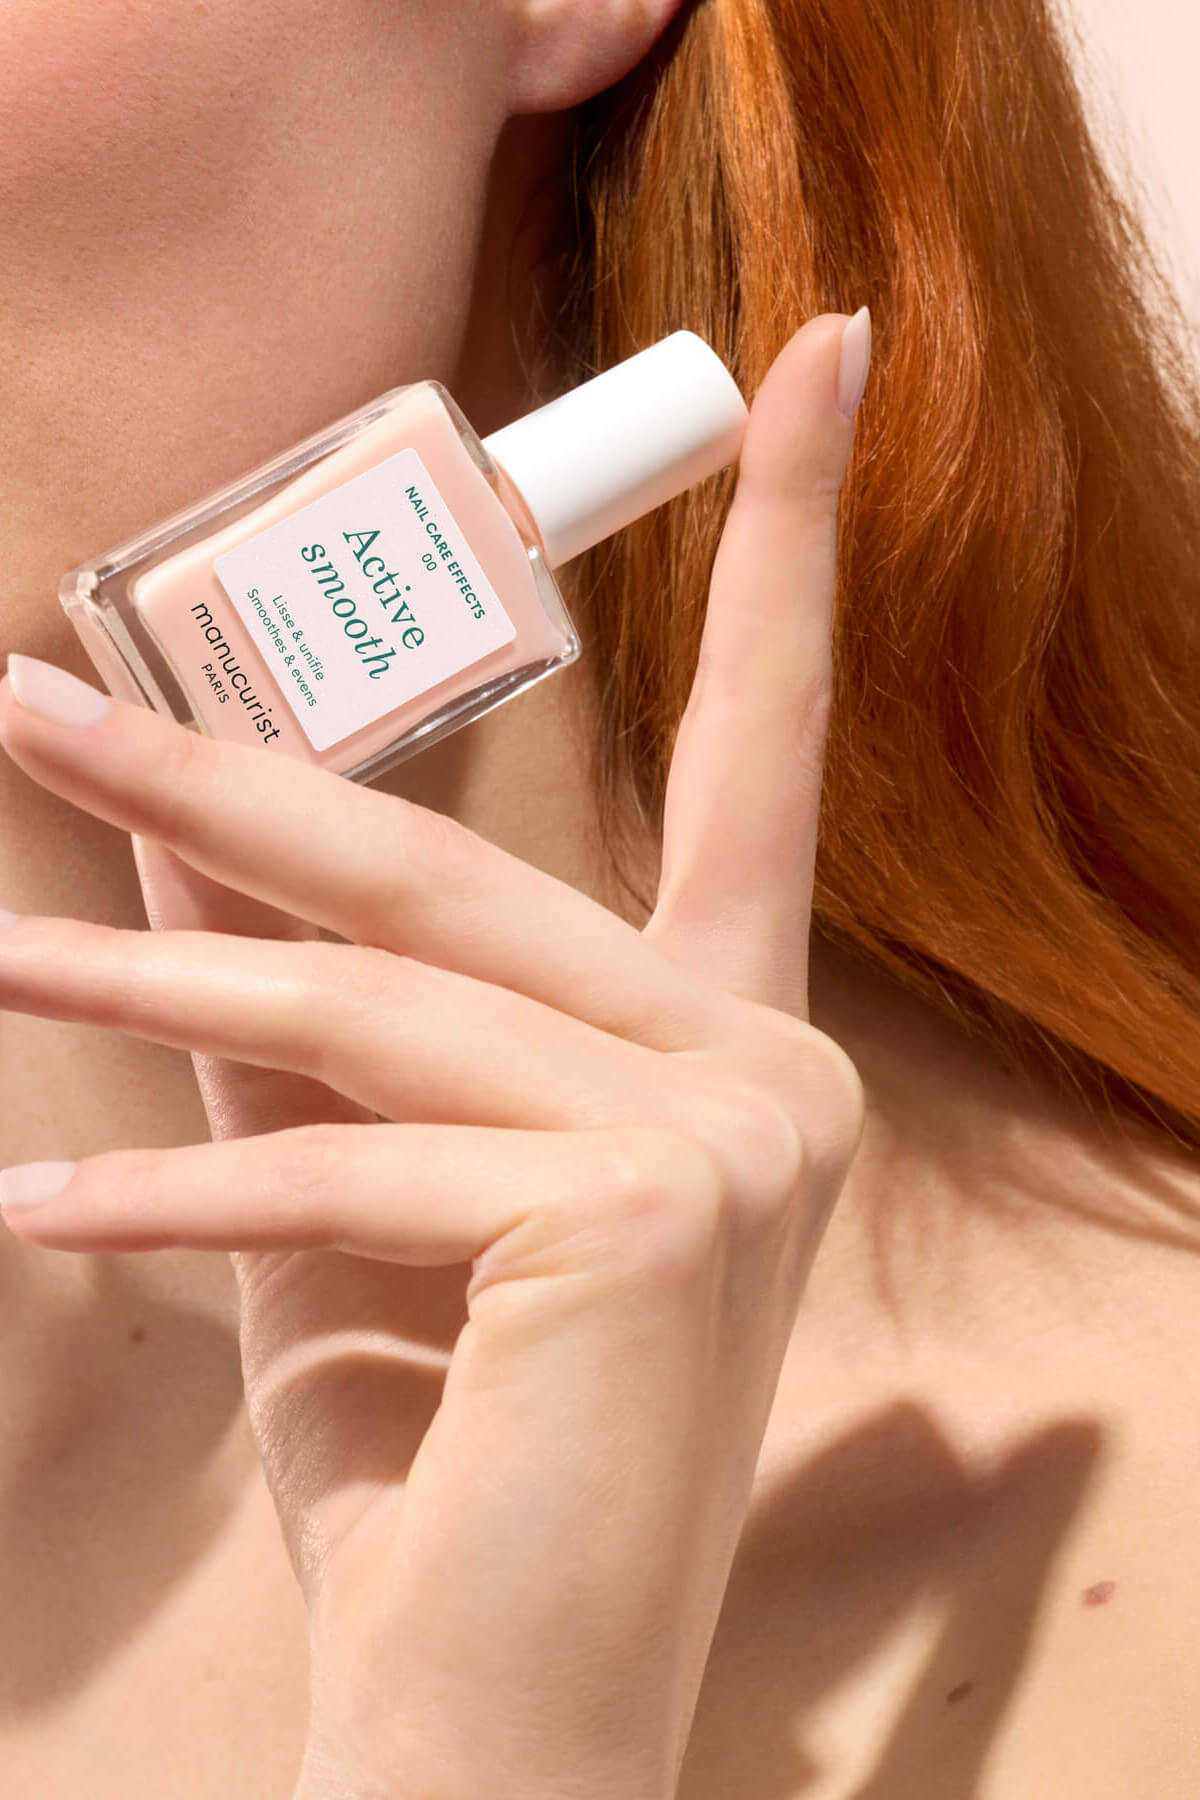
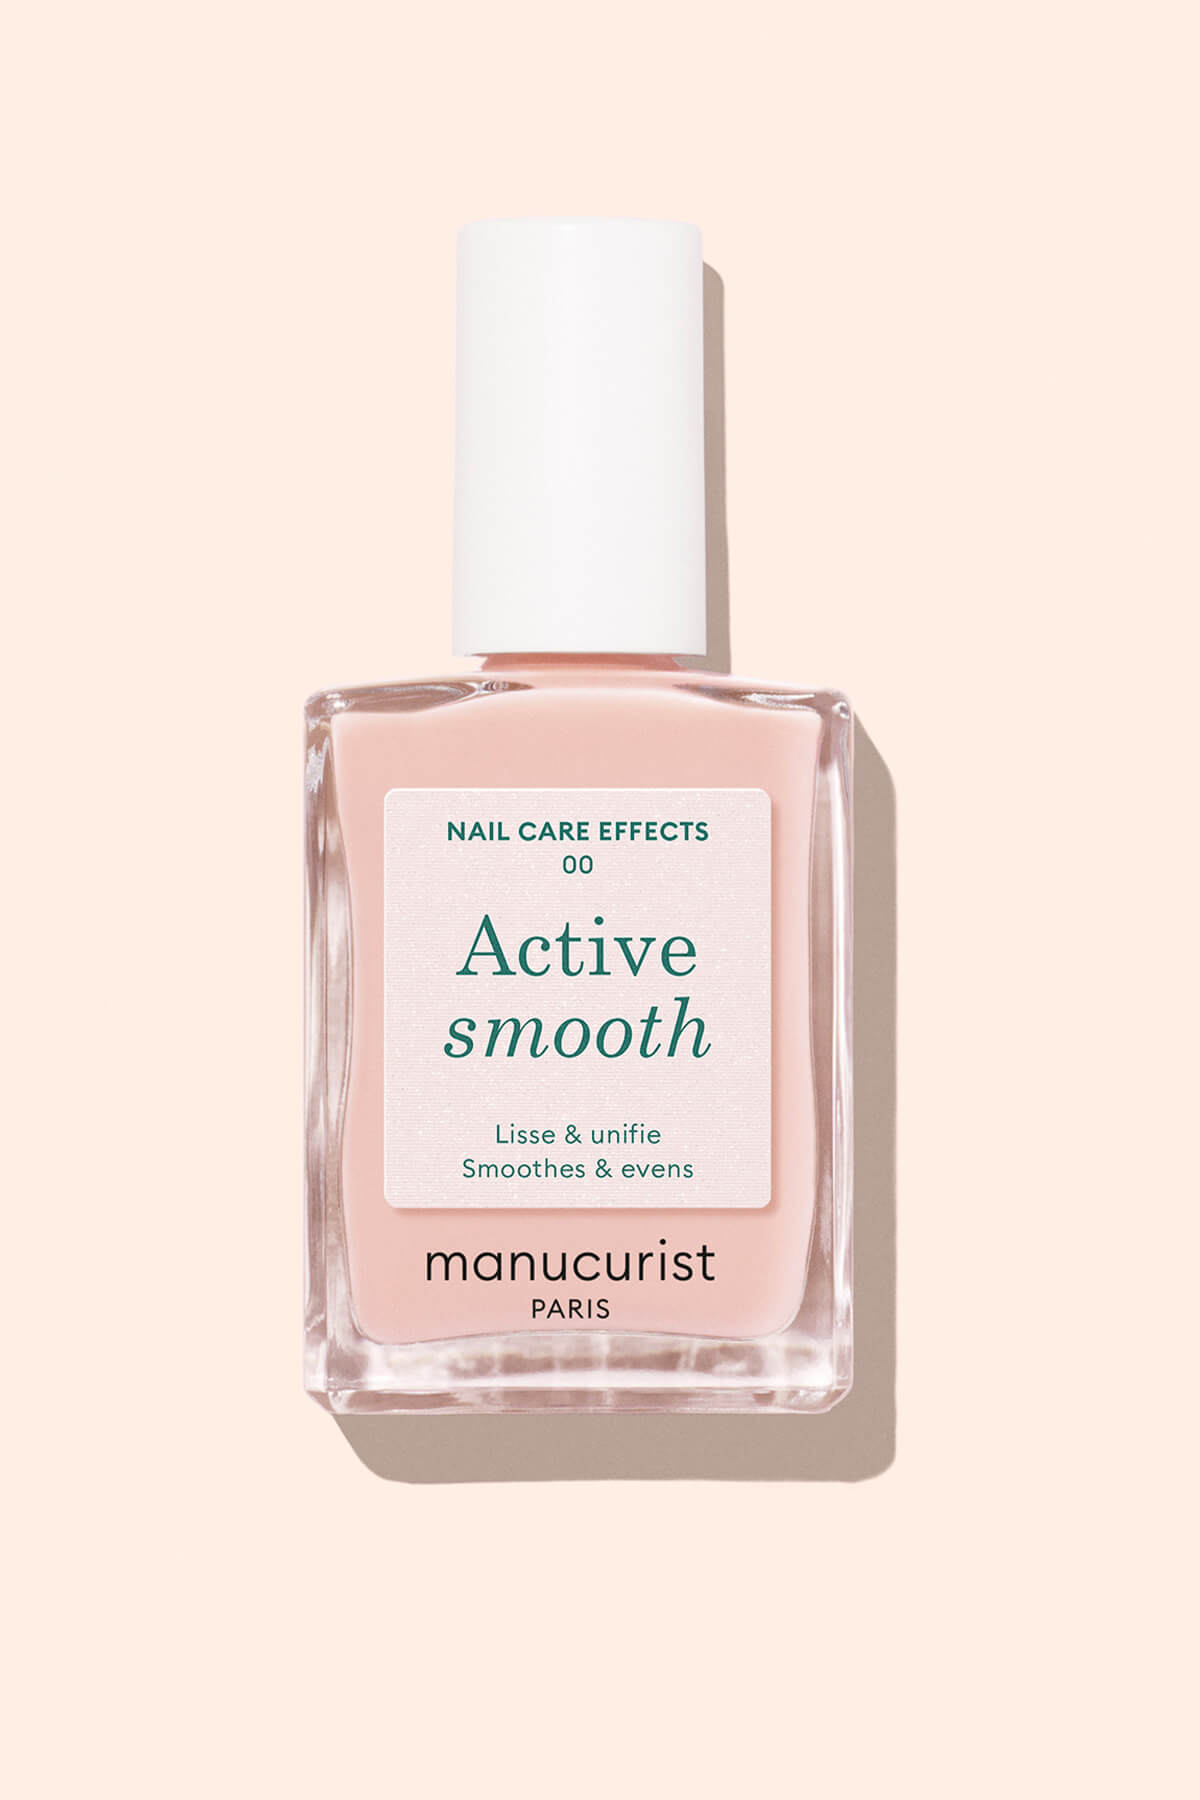
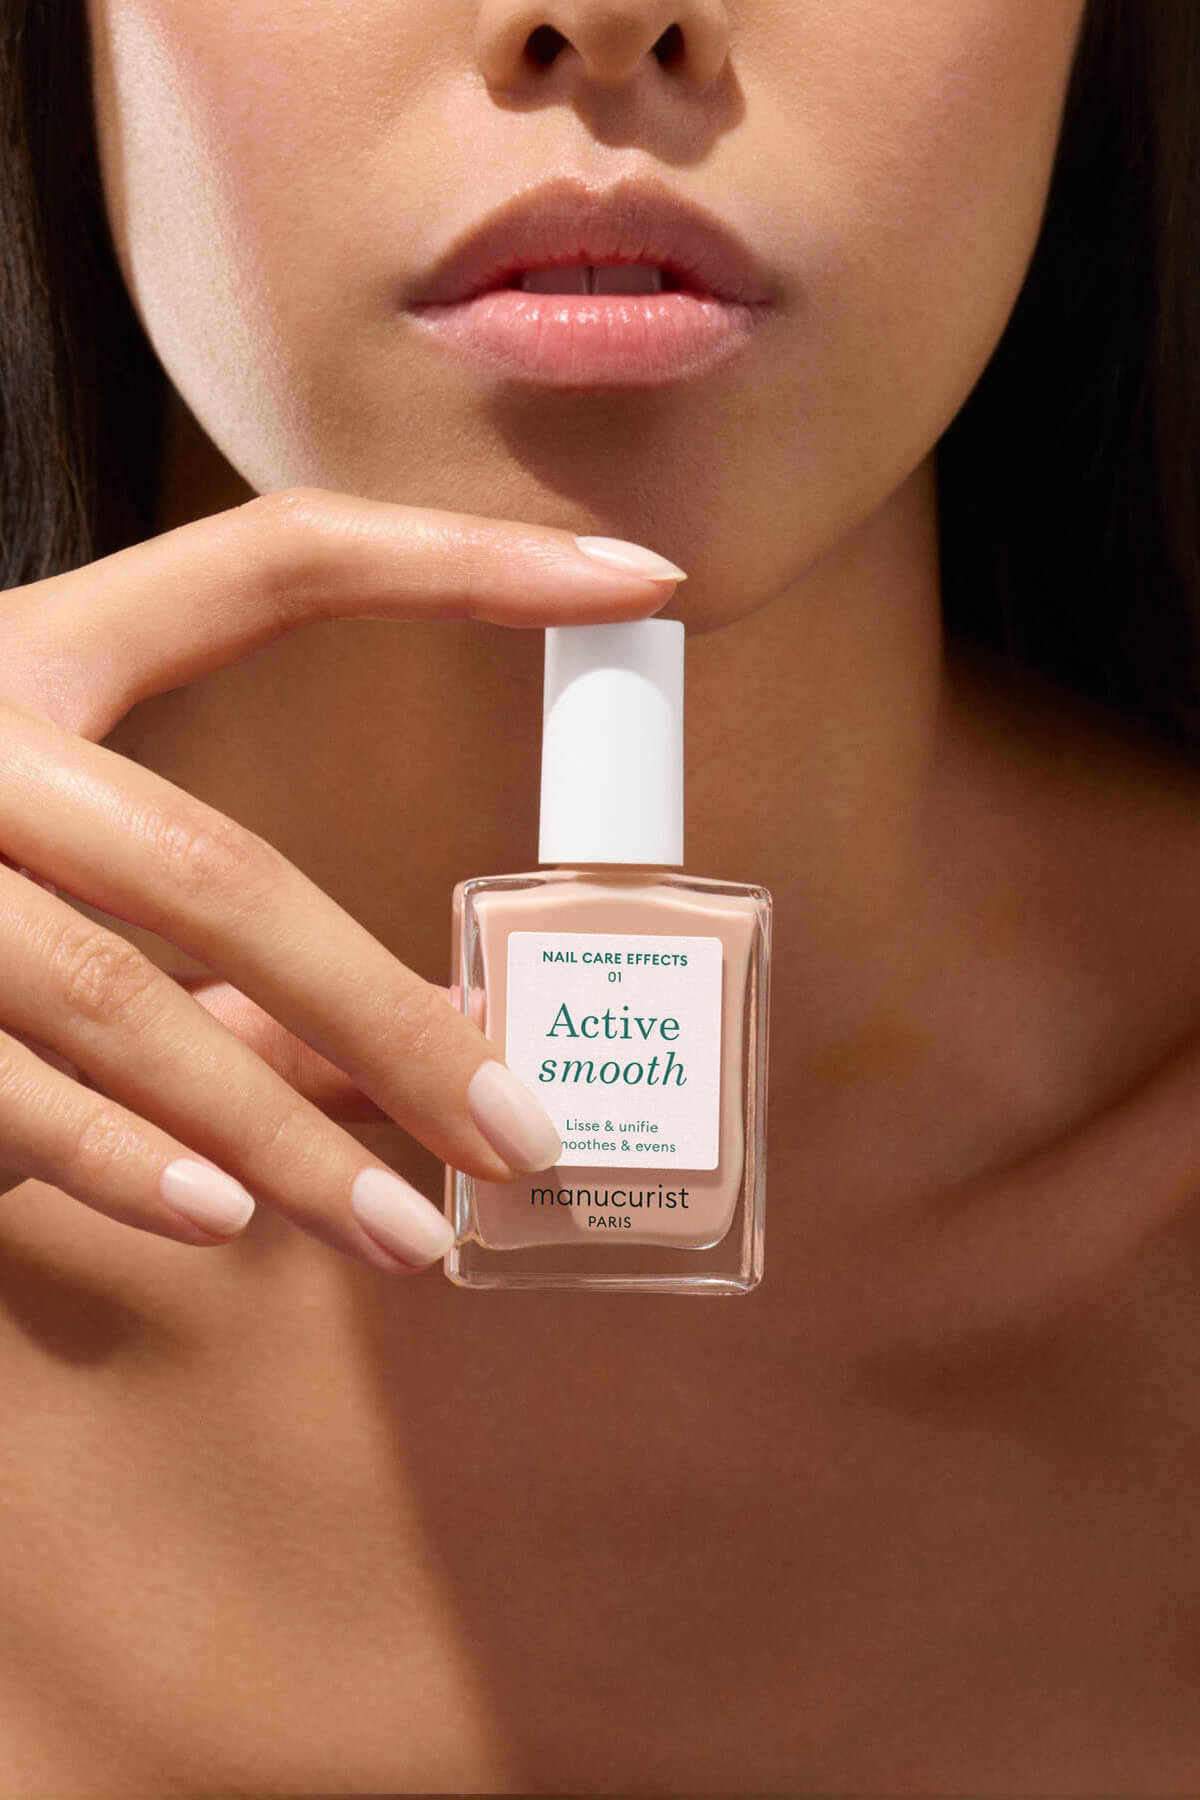
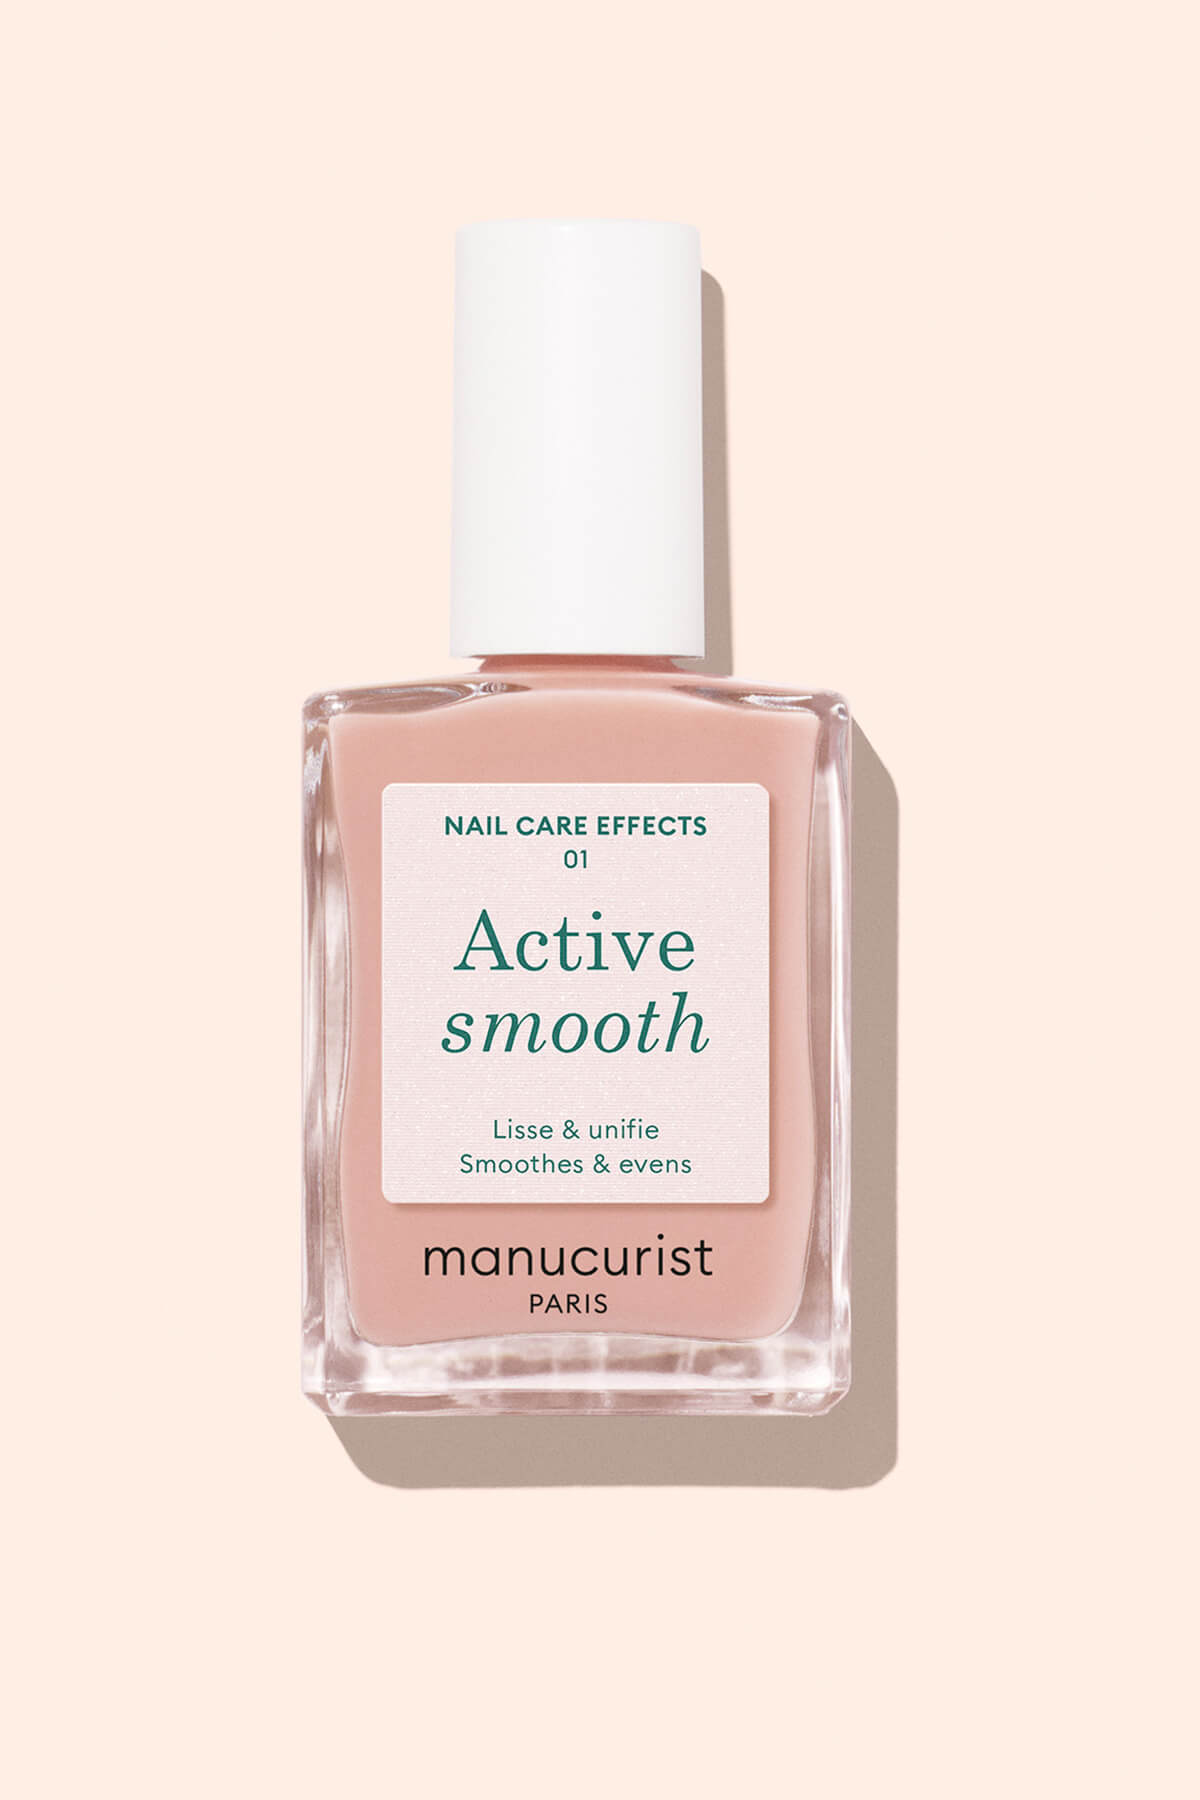
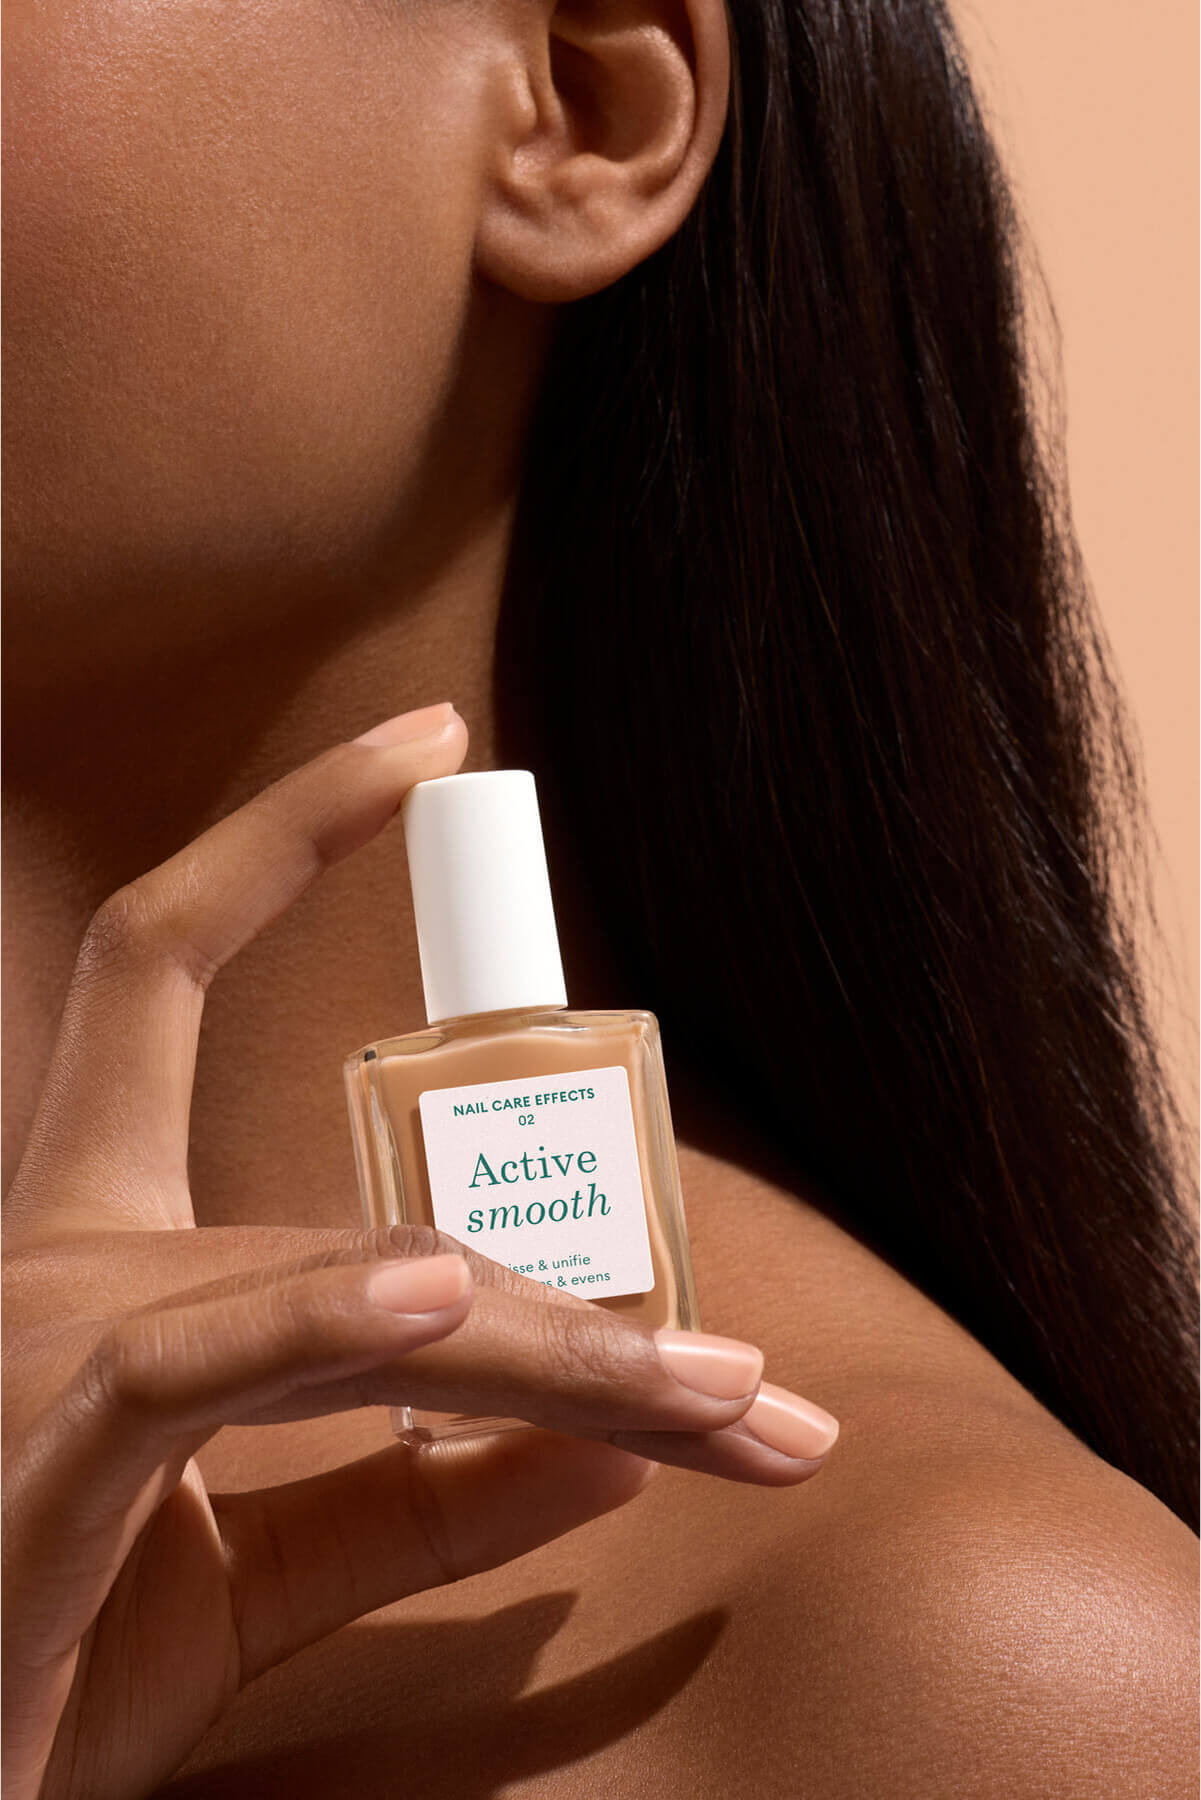
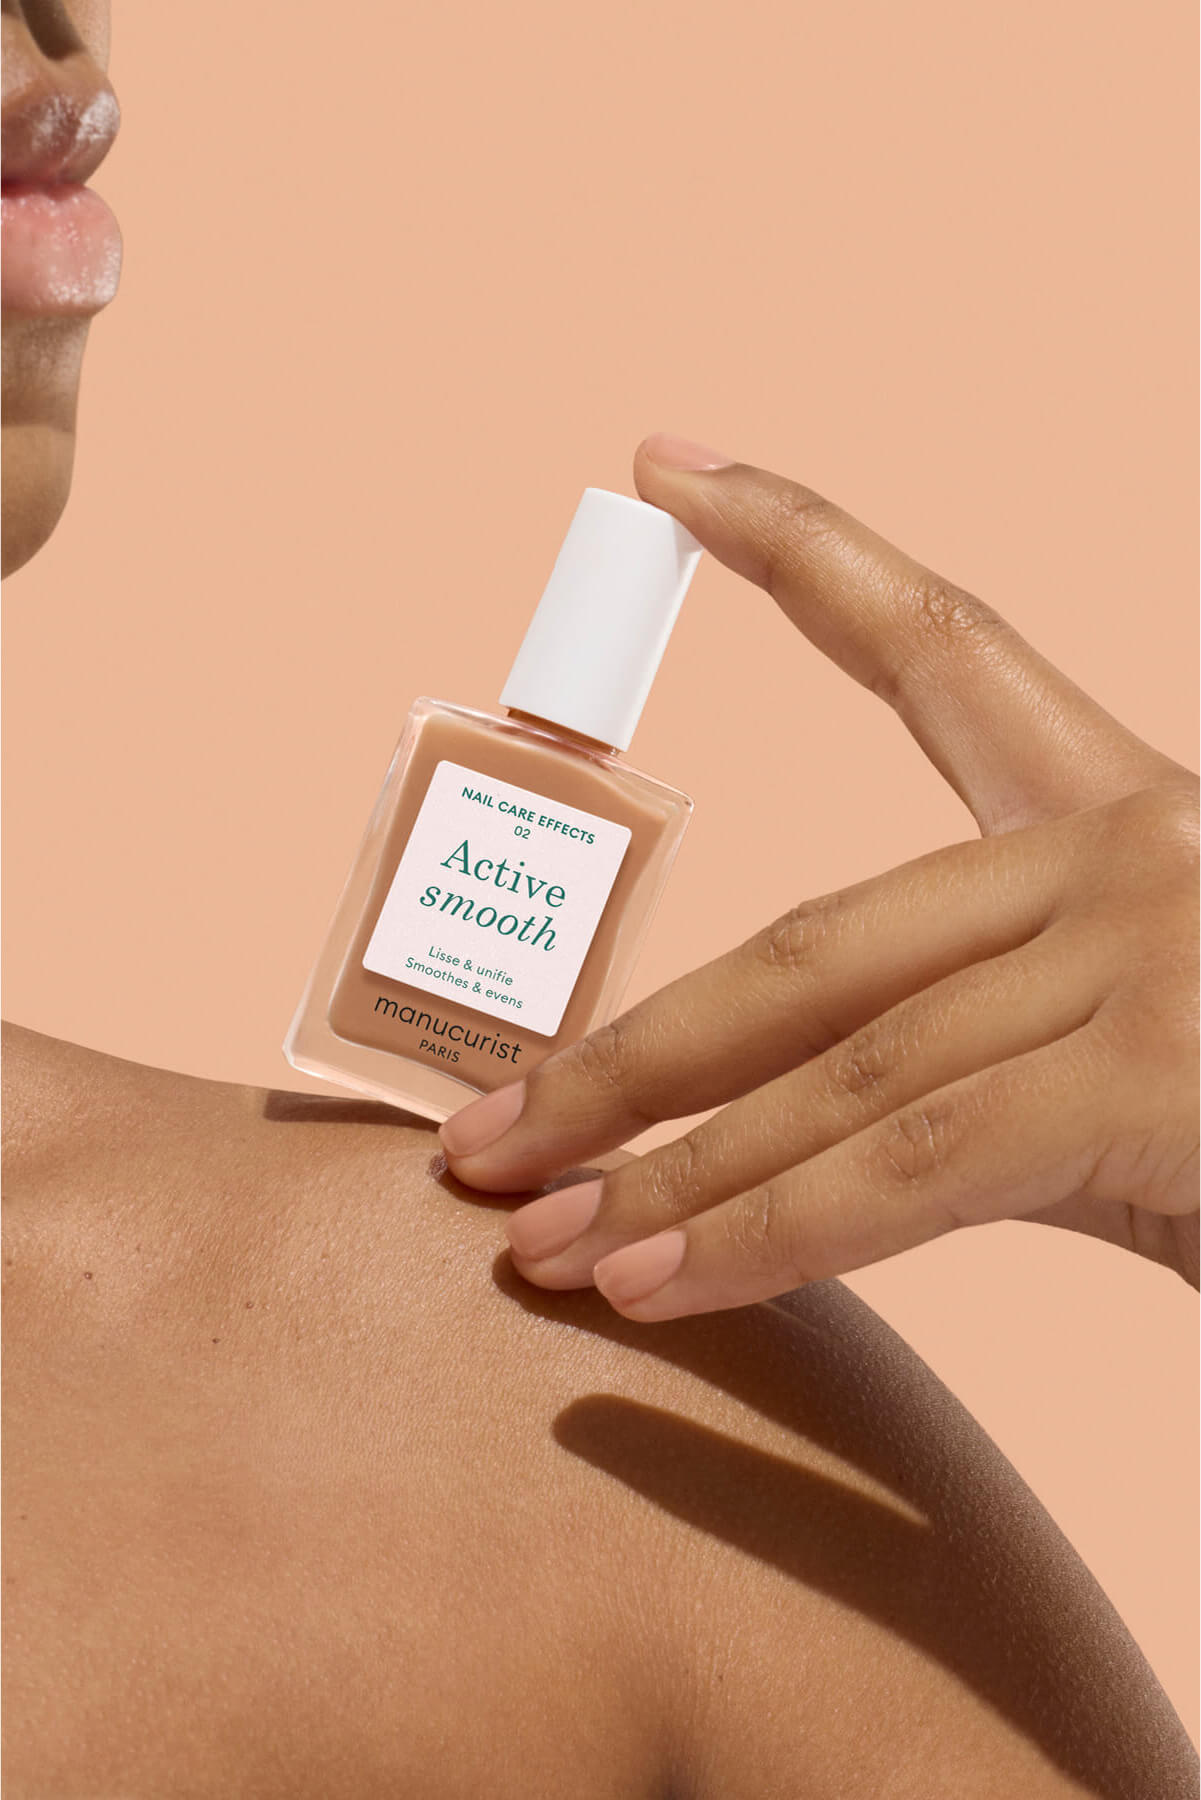
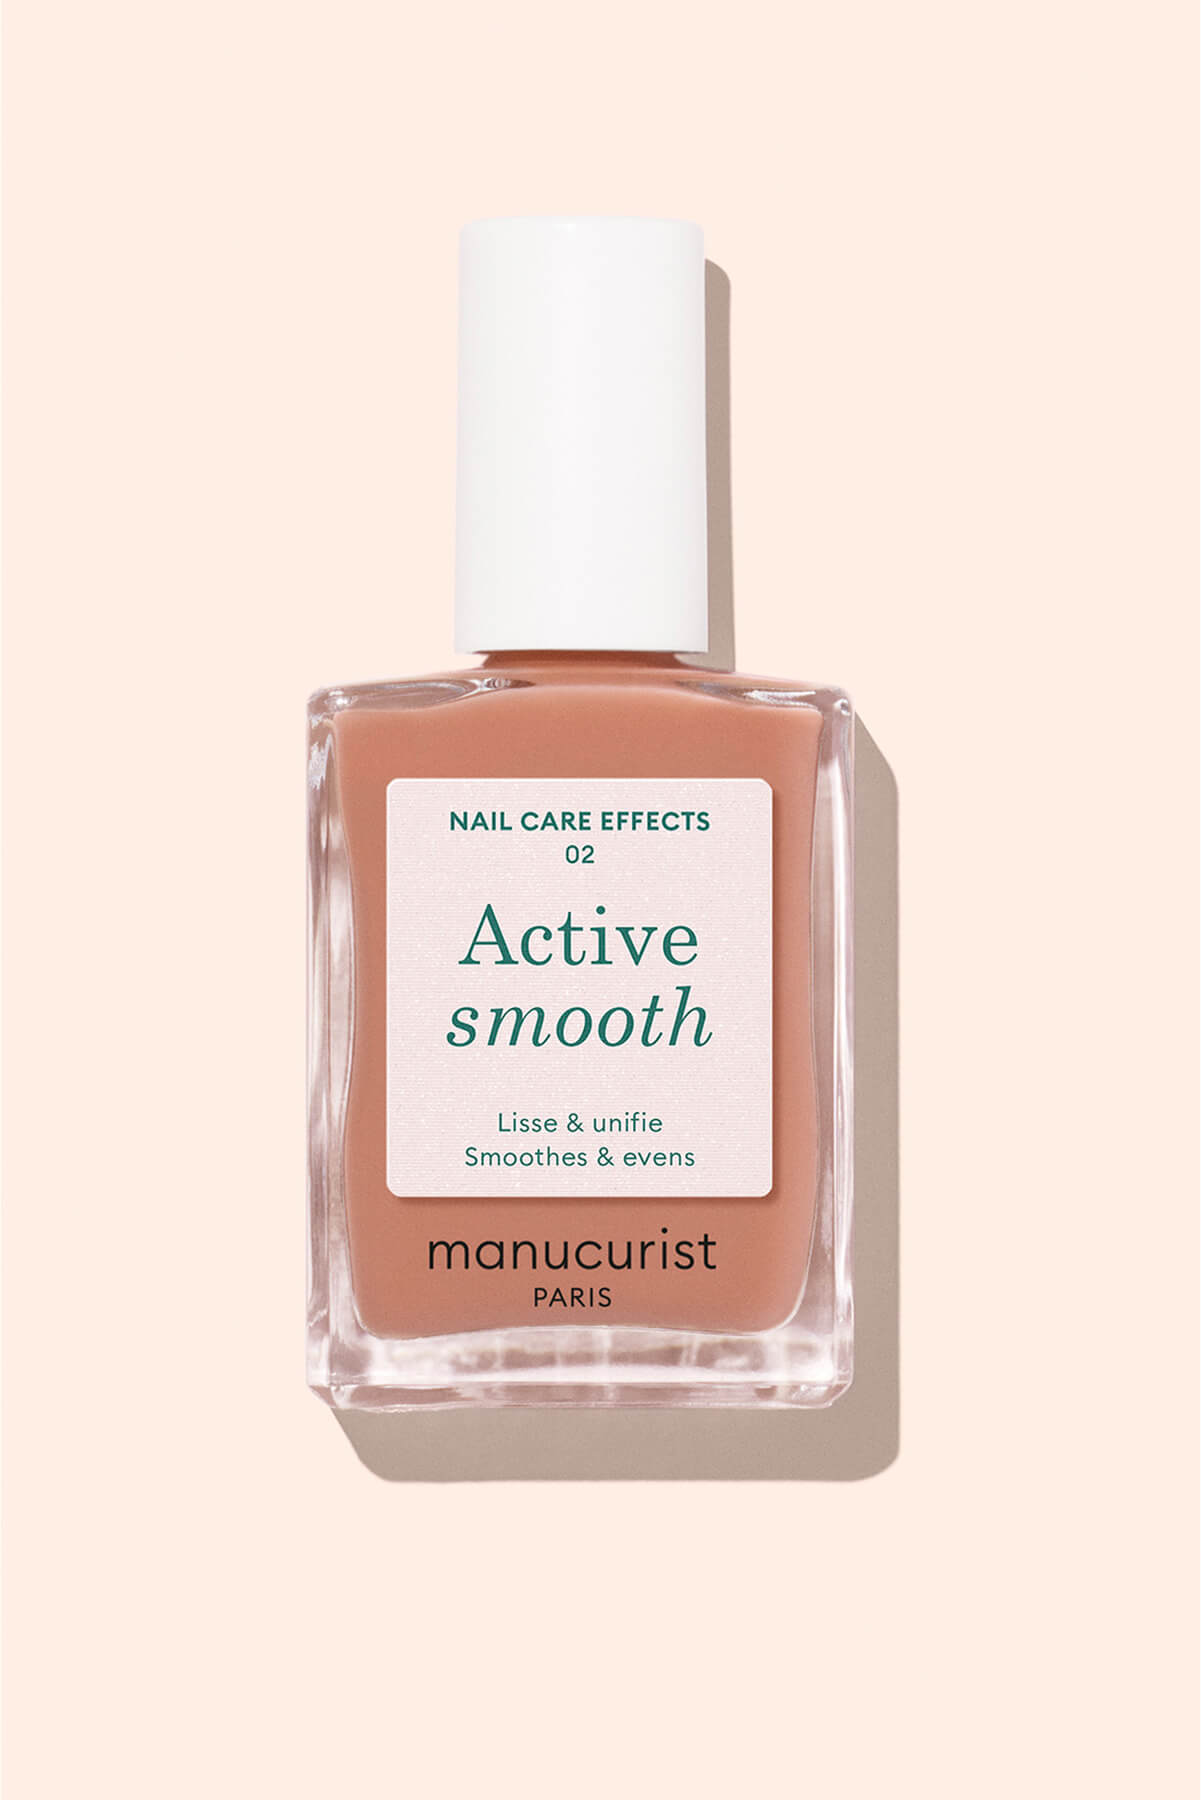
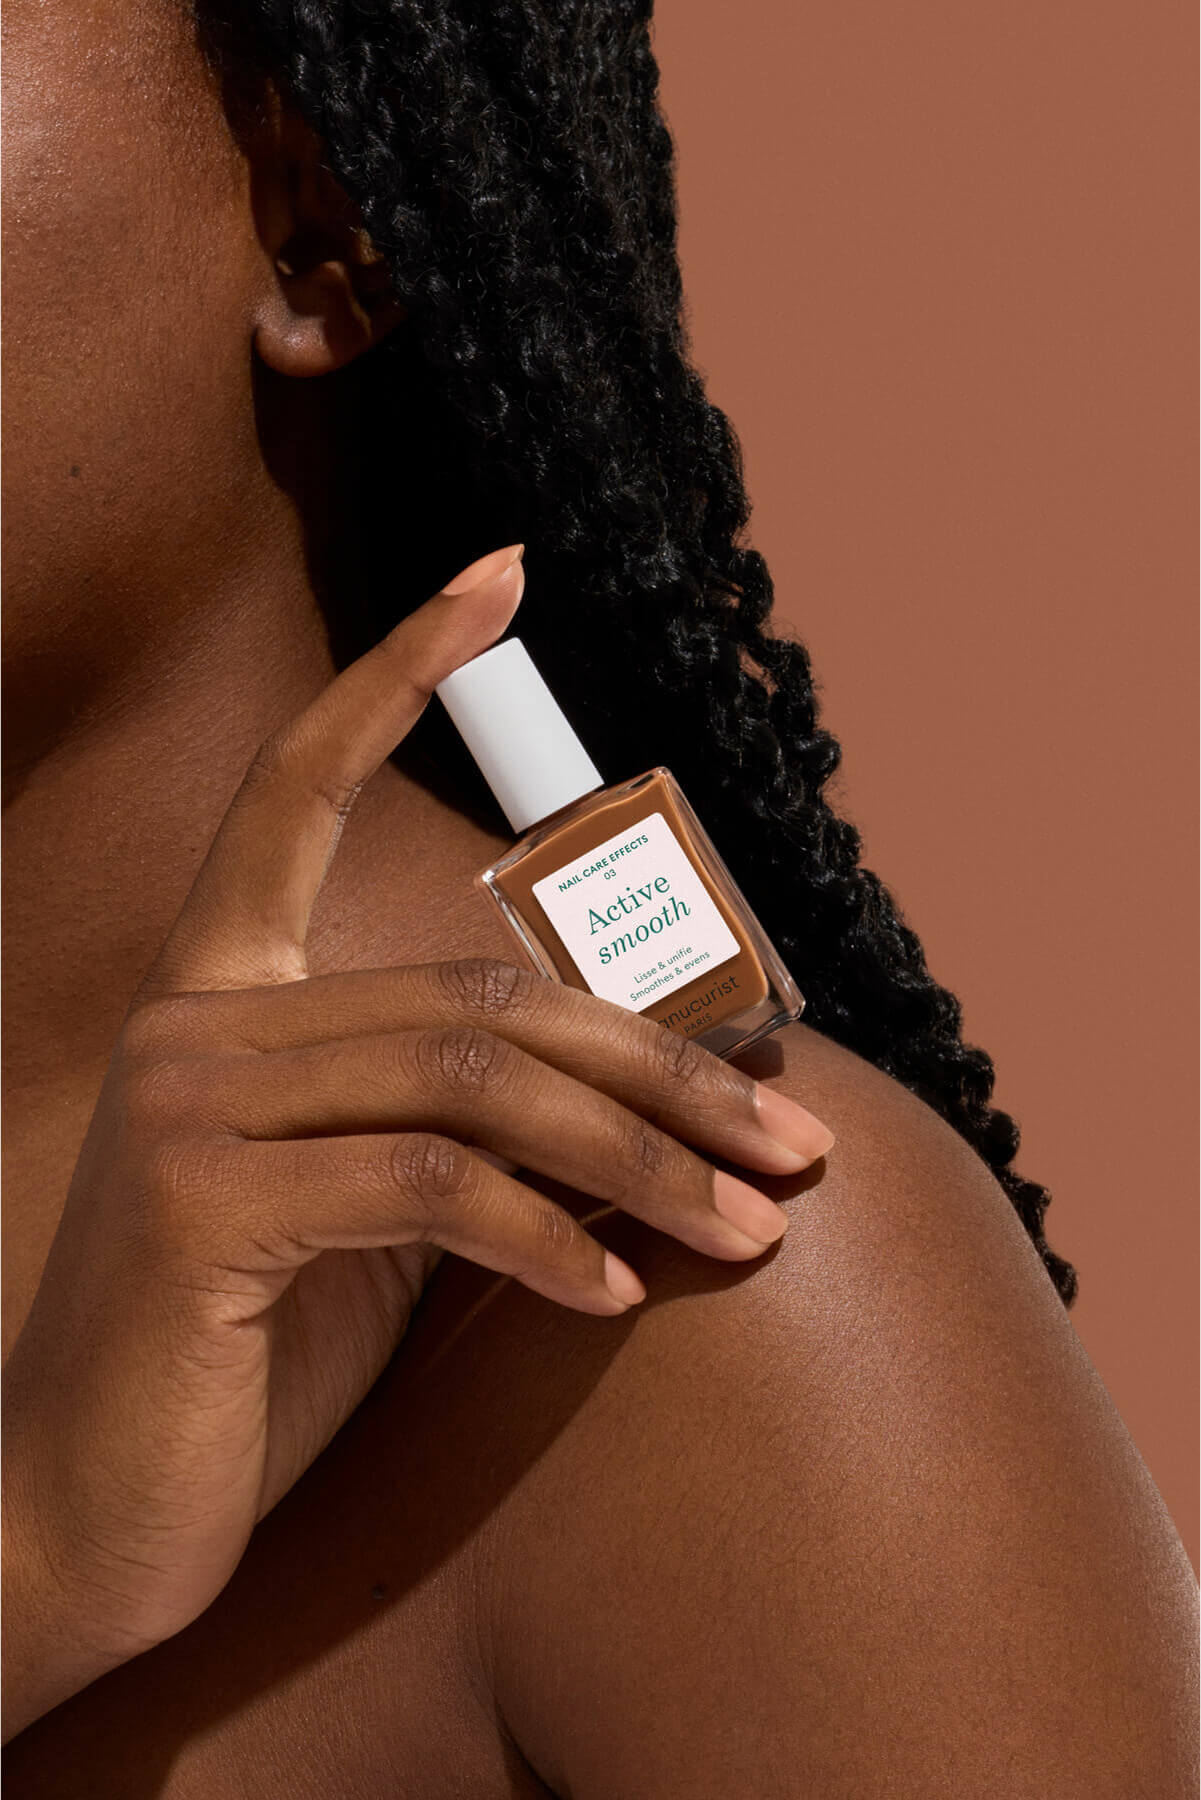
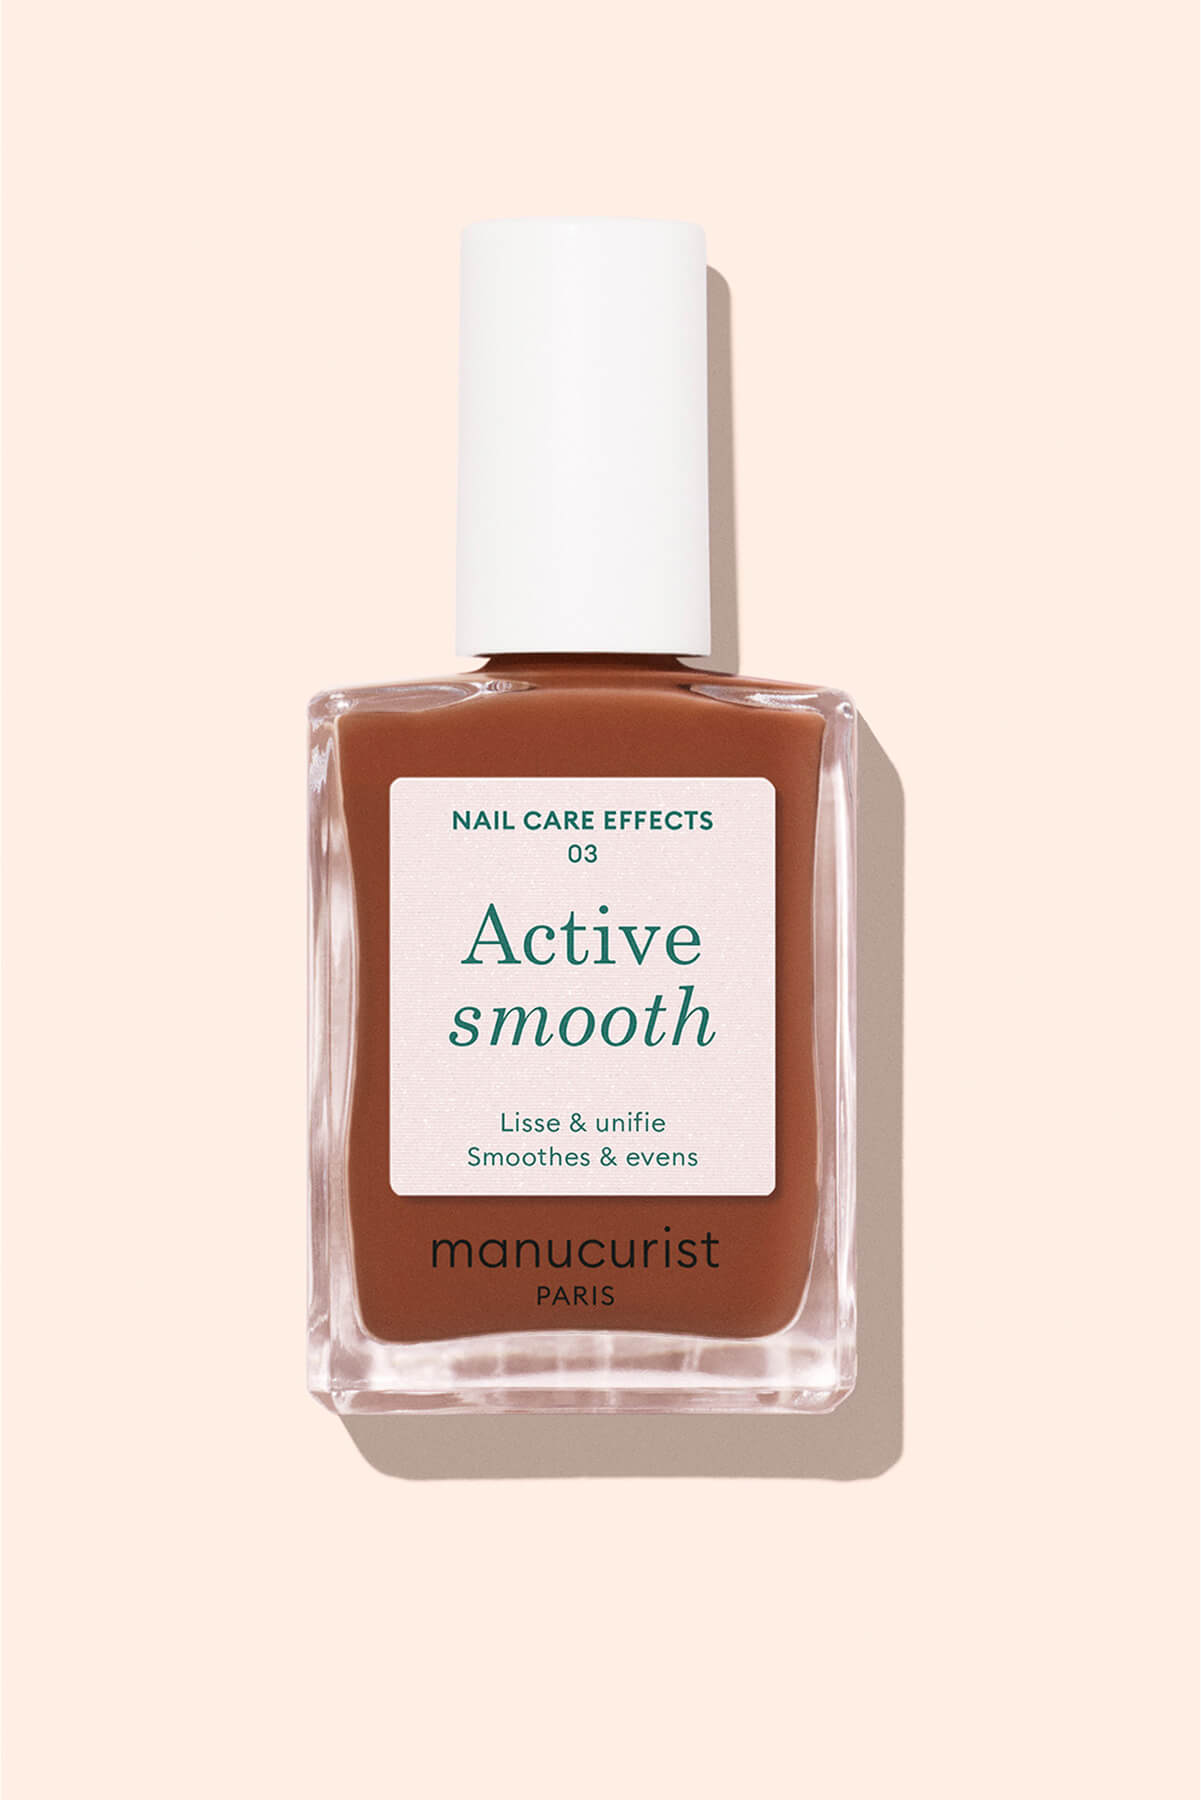
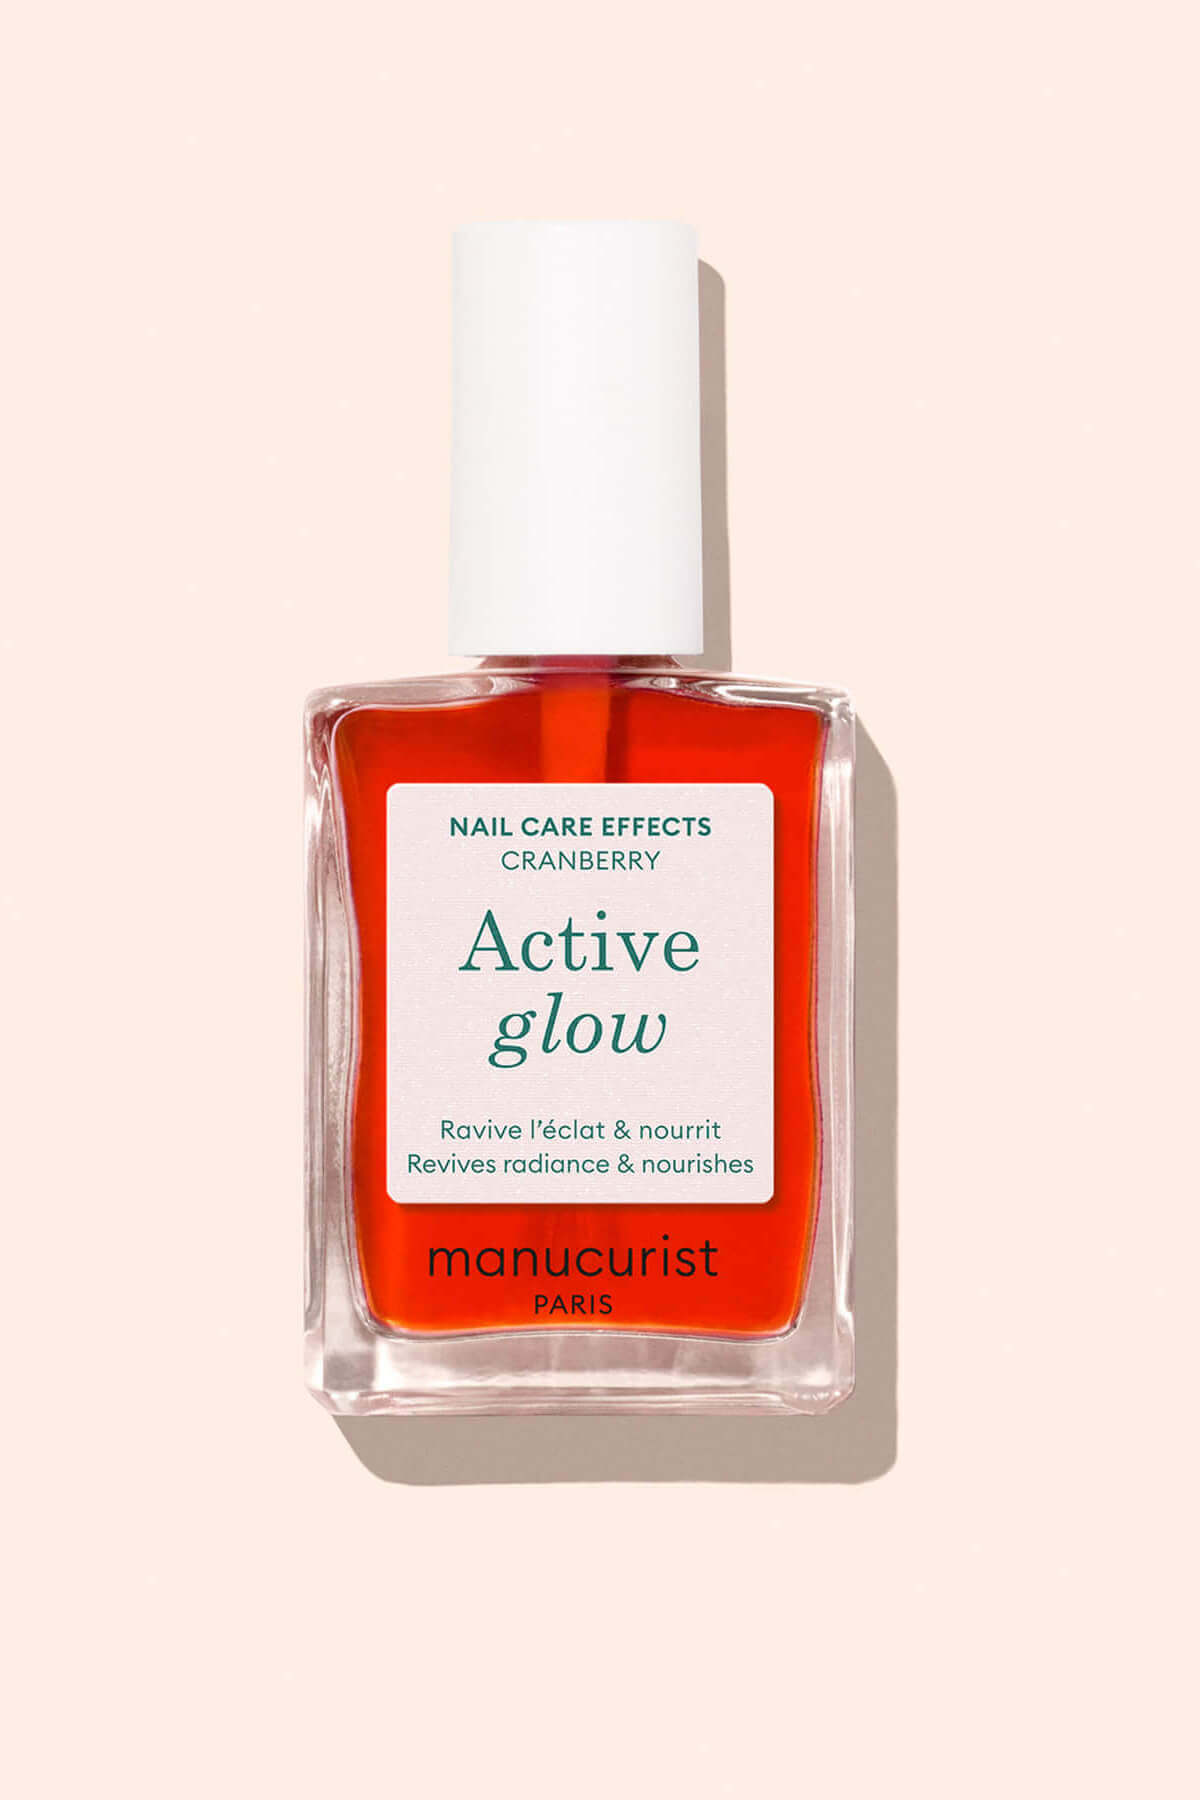
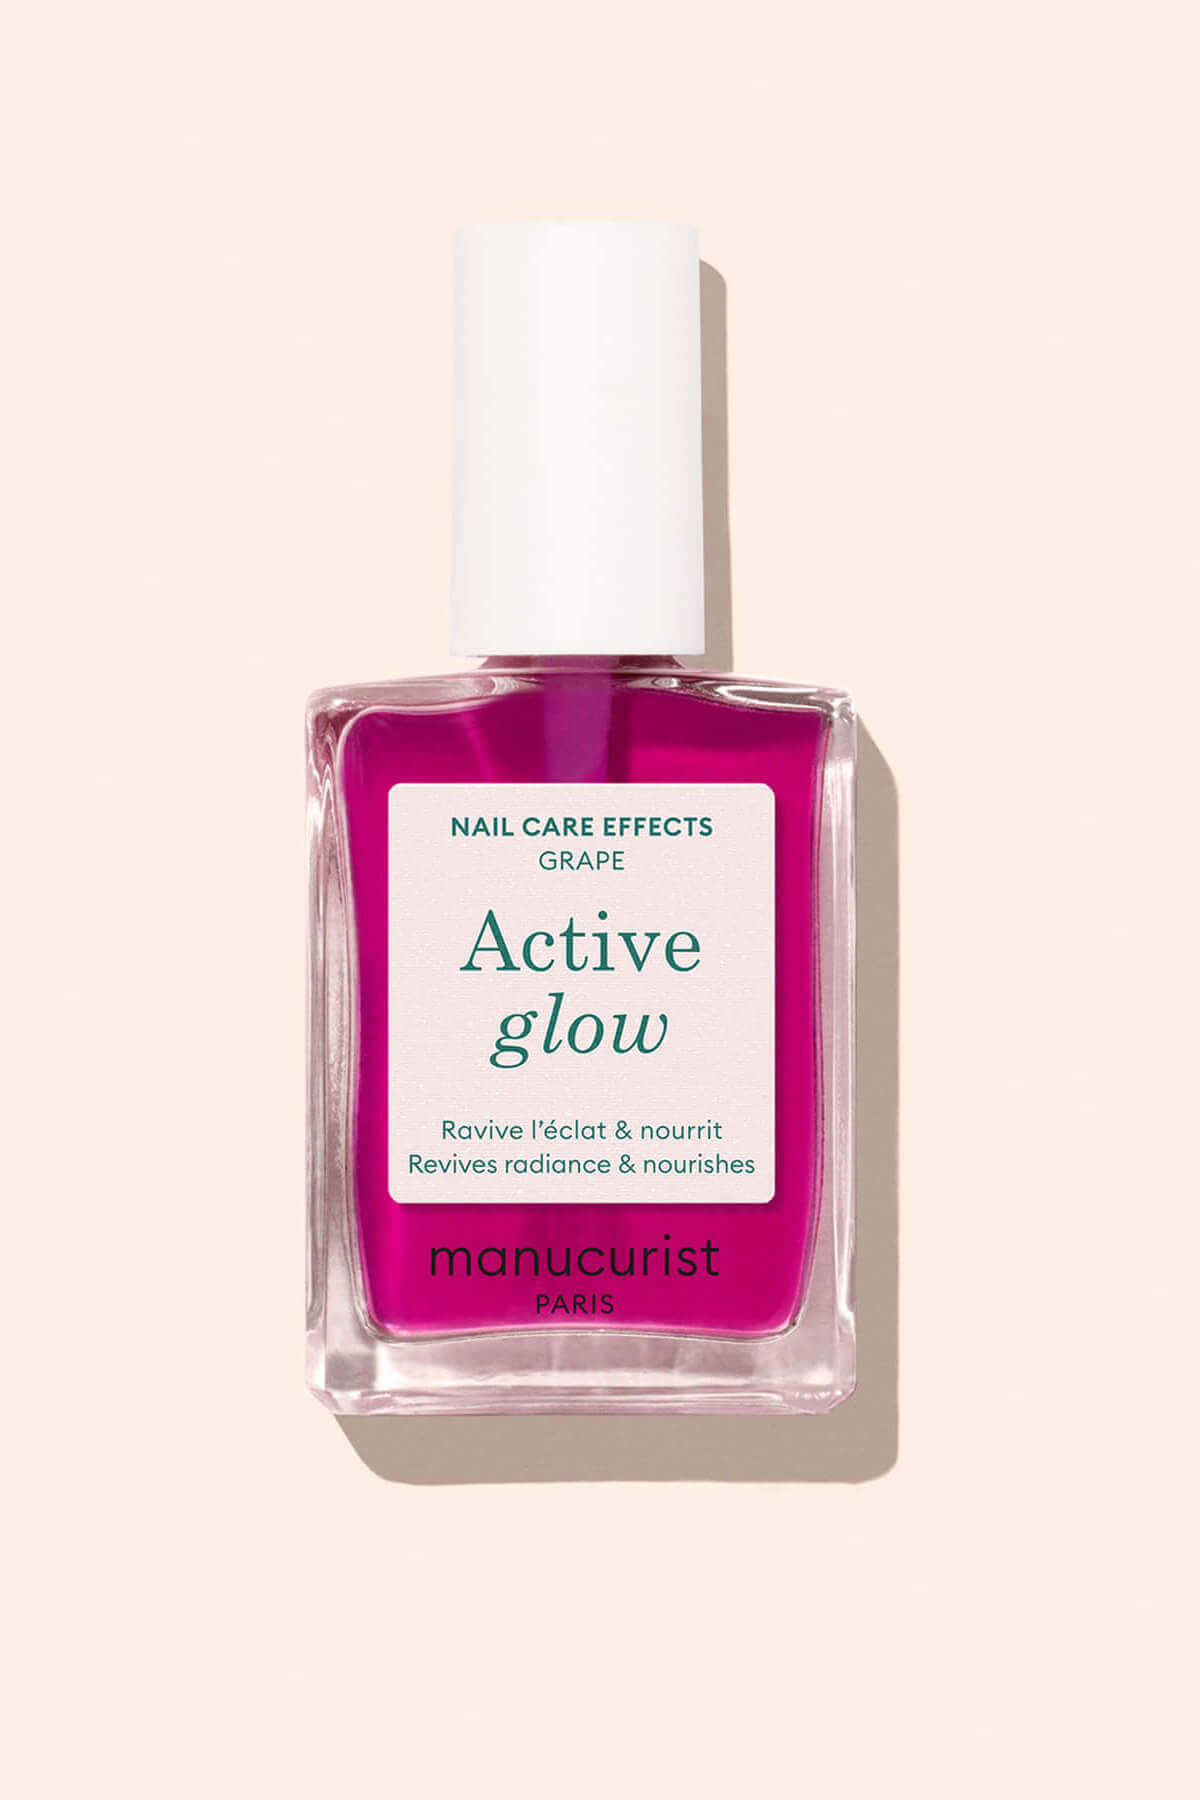
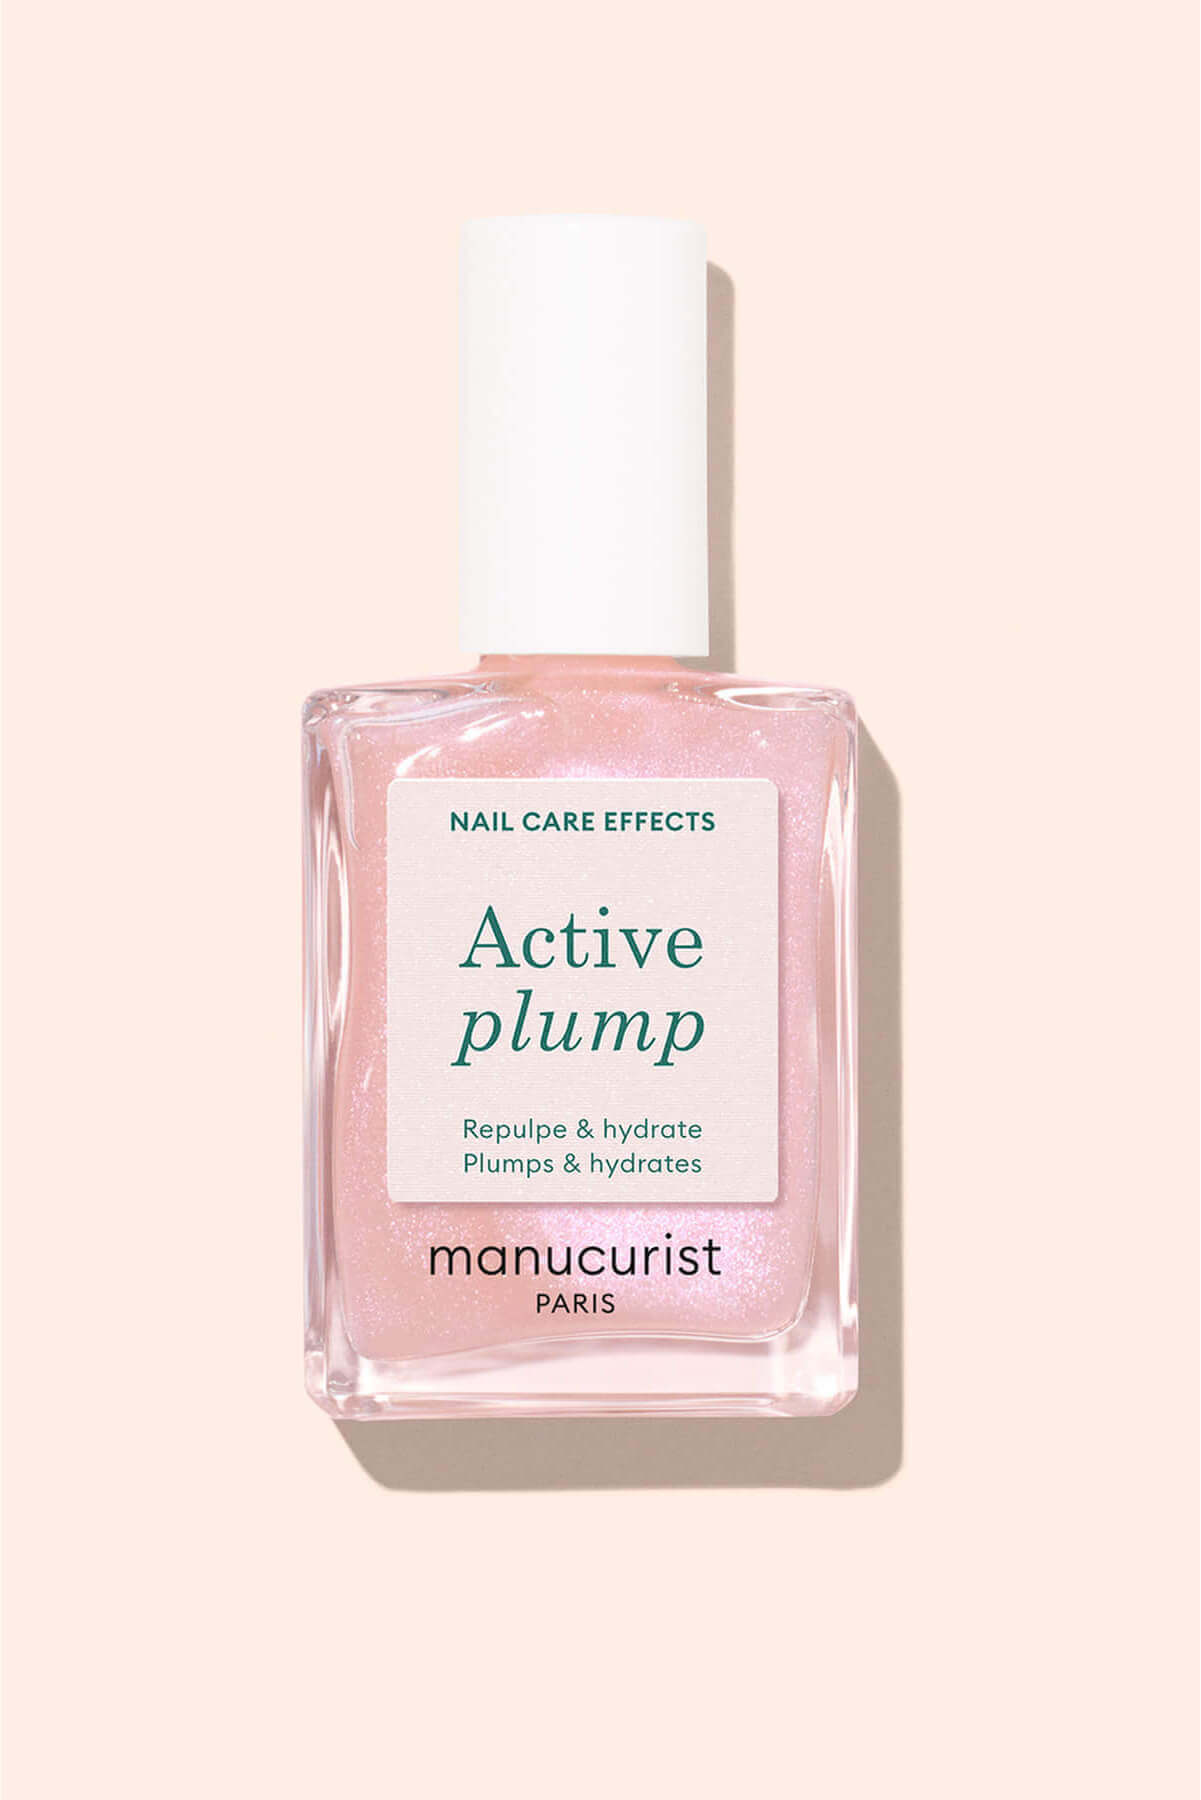
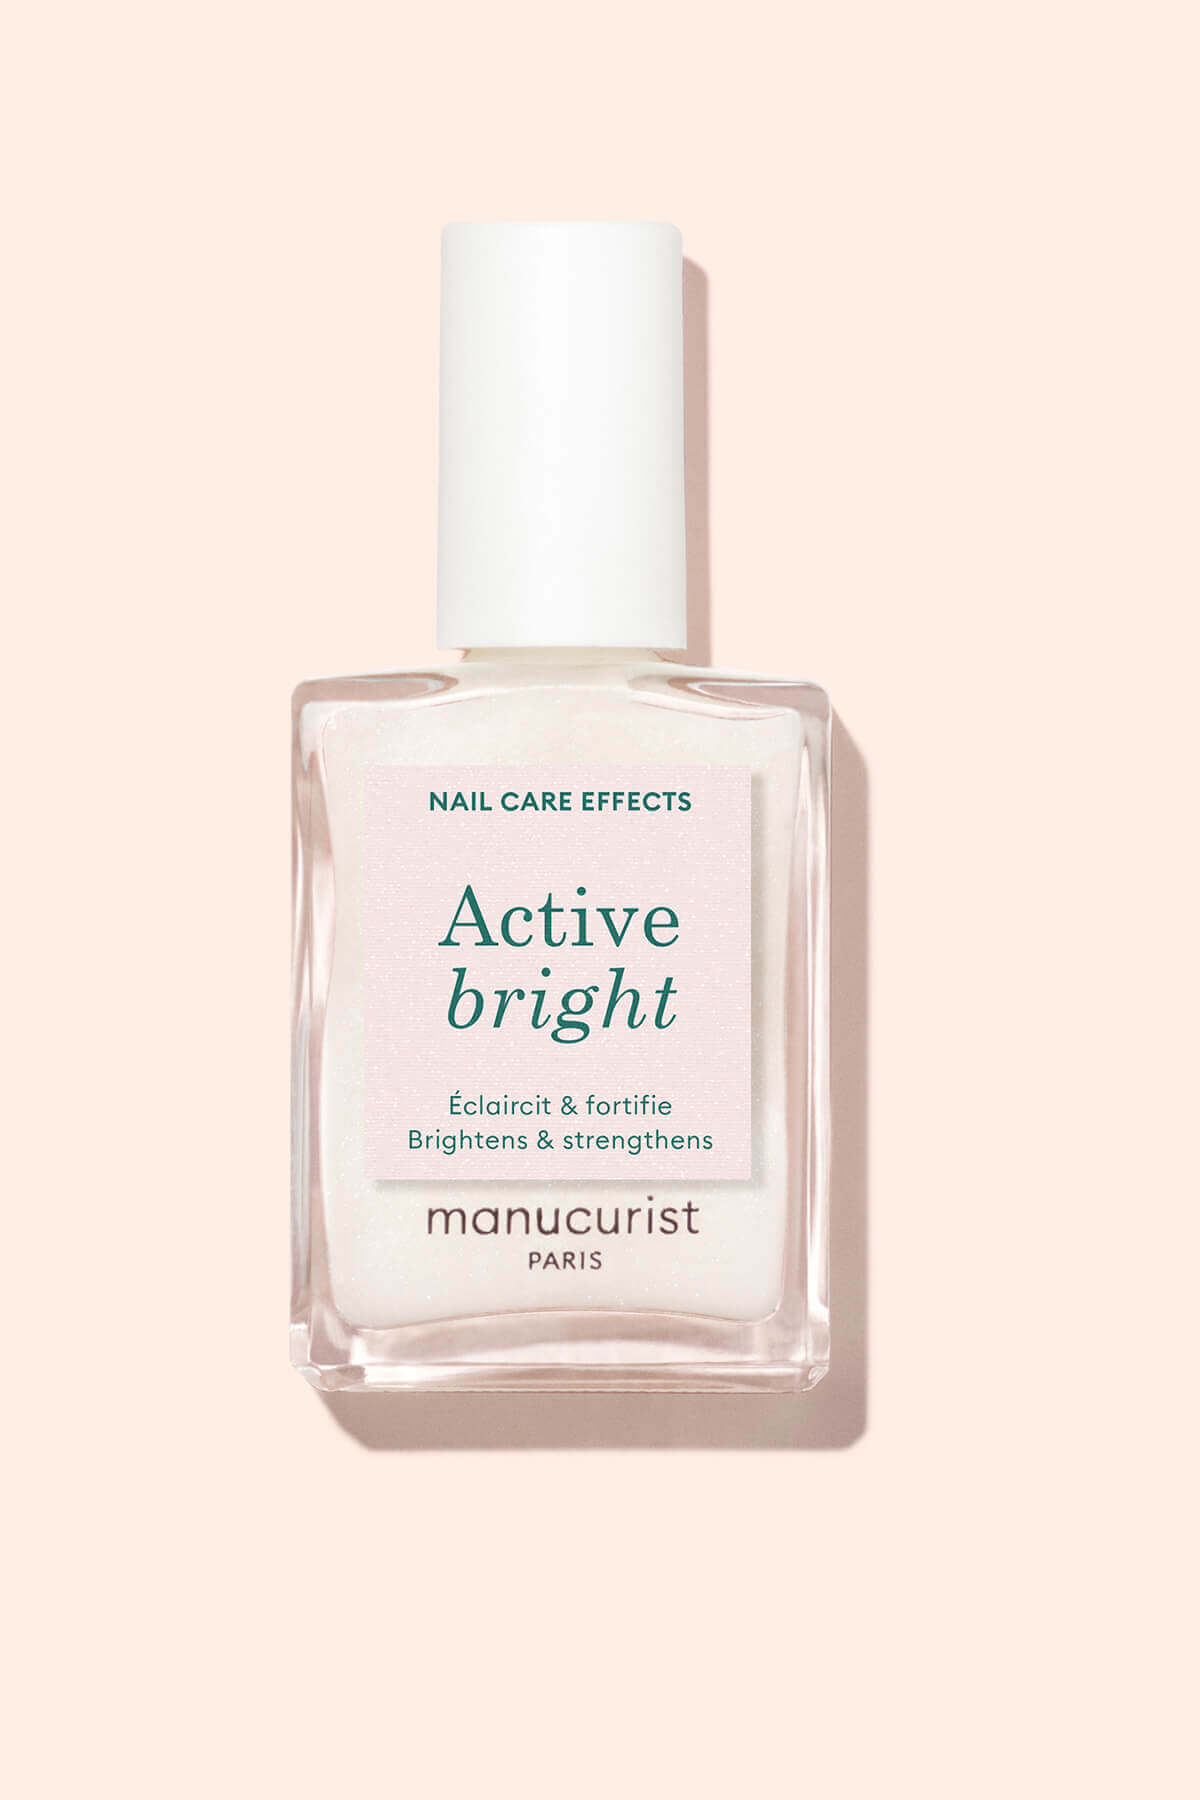
And for a nourishing and beautifying boost in one, opt for treatment polishes from the Active™ range. These unique, hybrid formulas combine care with a makeup finish. No base or top coat needed, fast drying, and each one targets a specific need. Tried & tested!

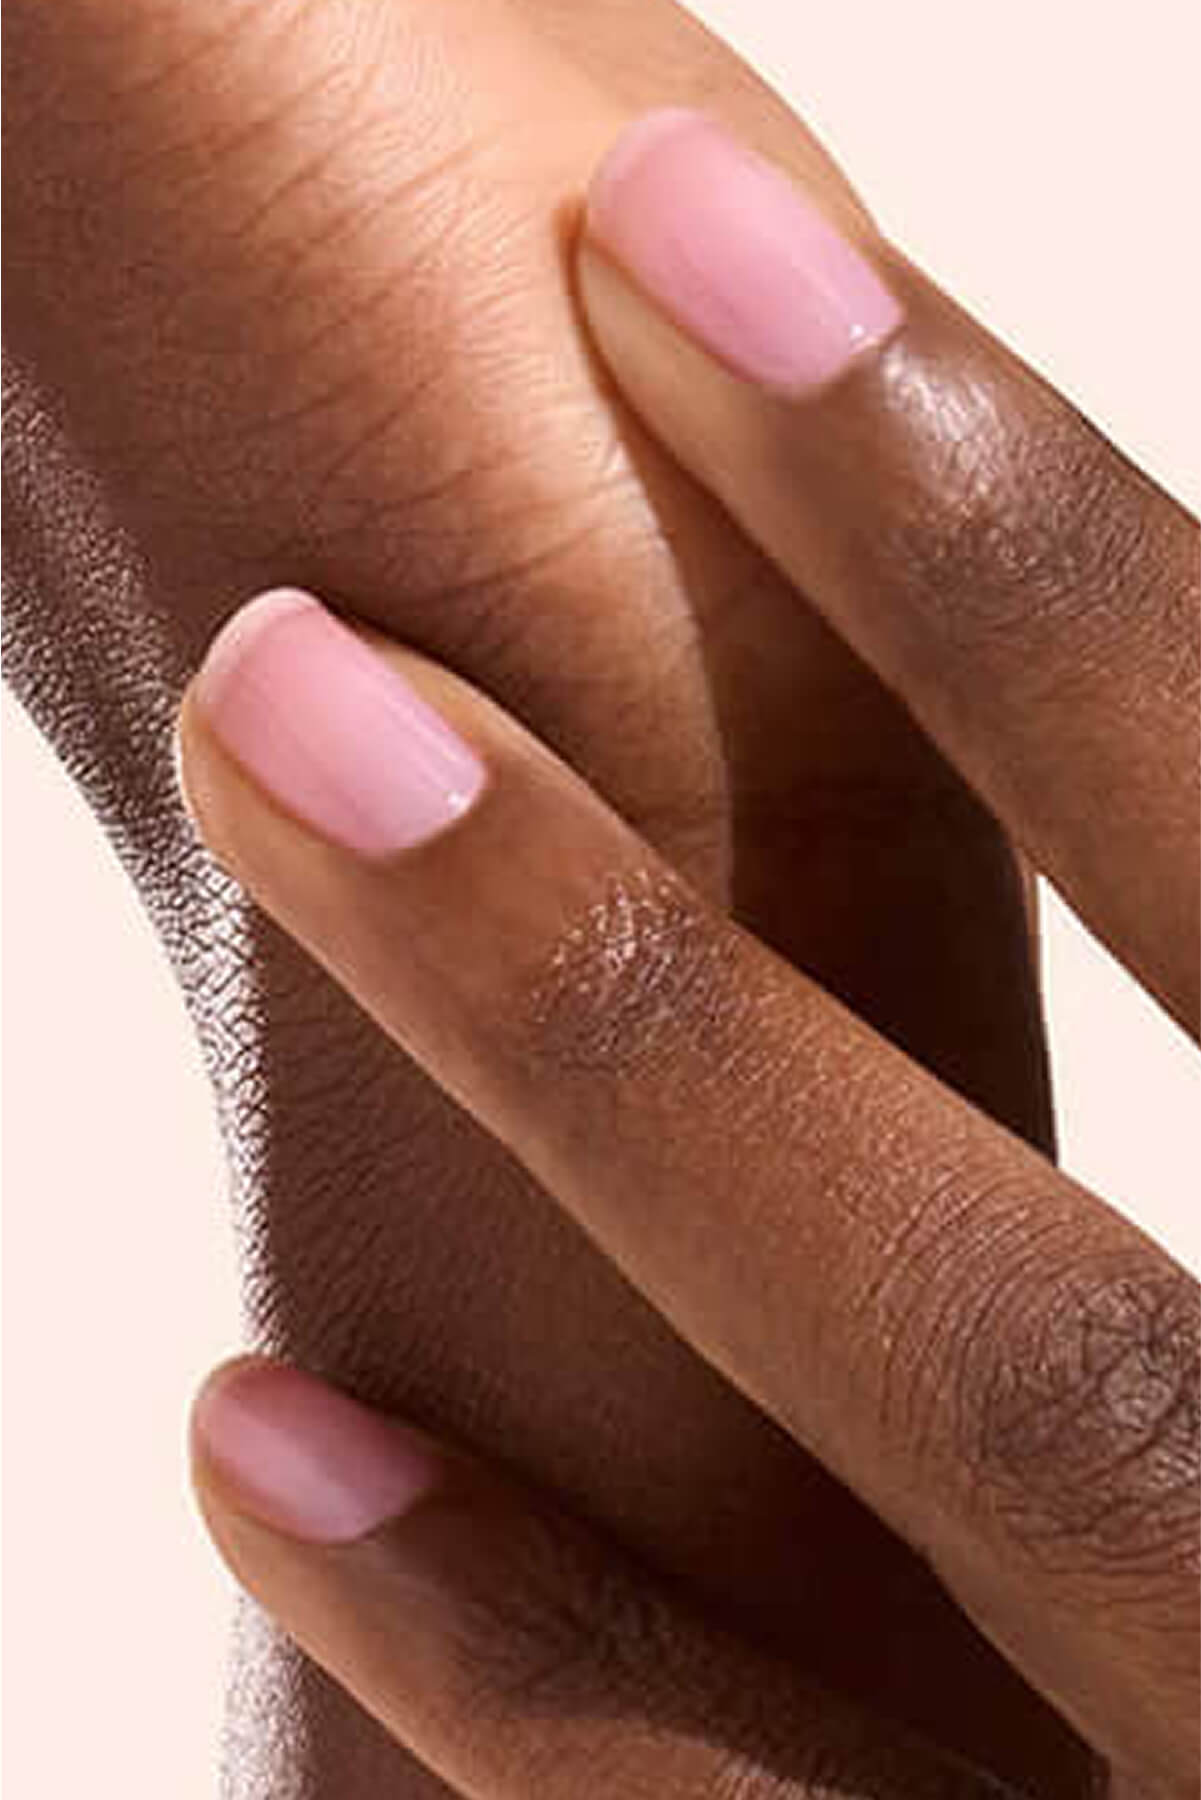
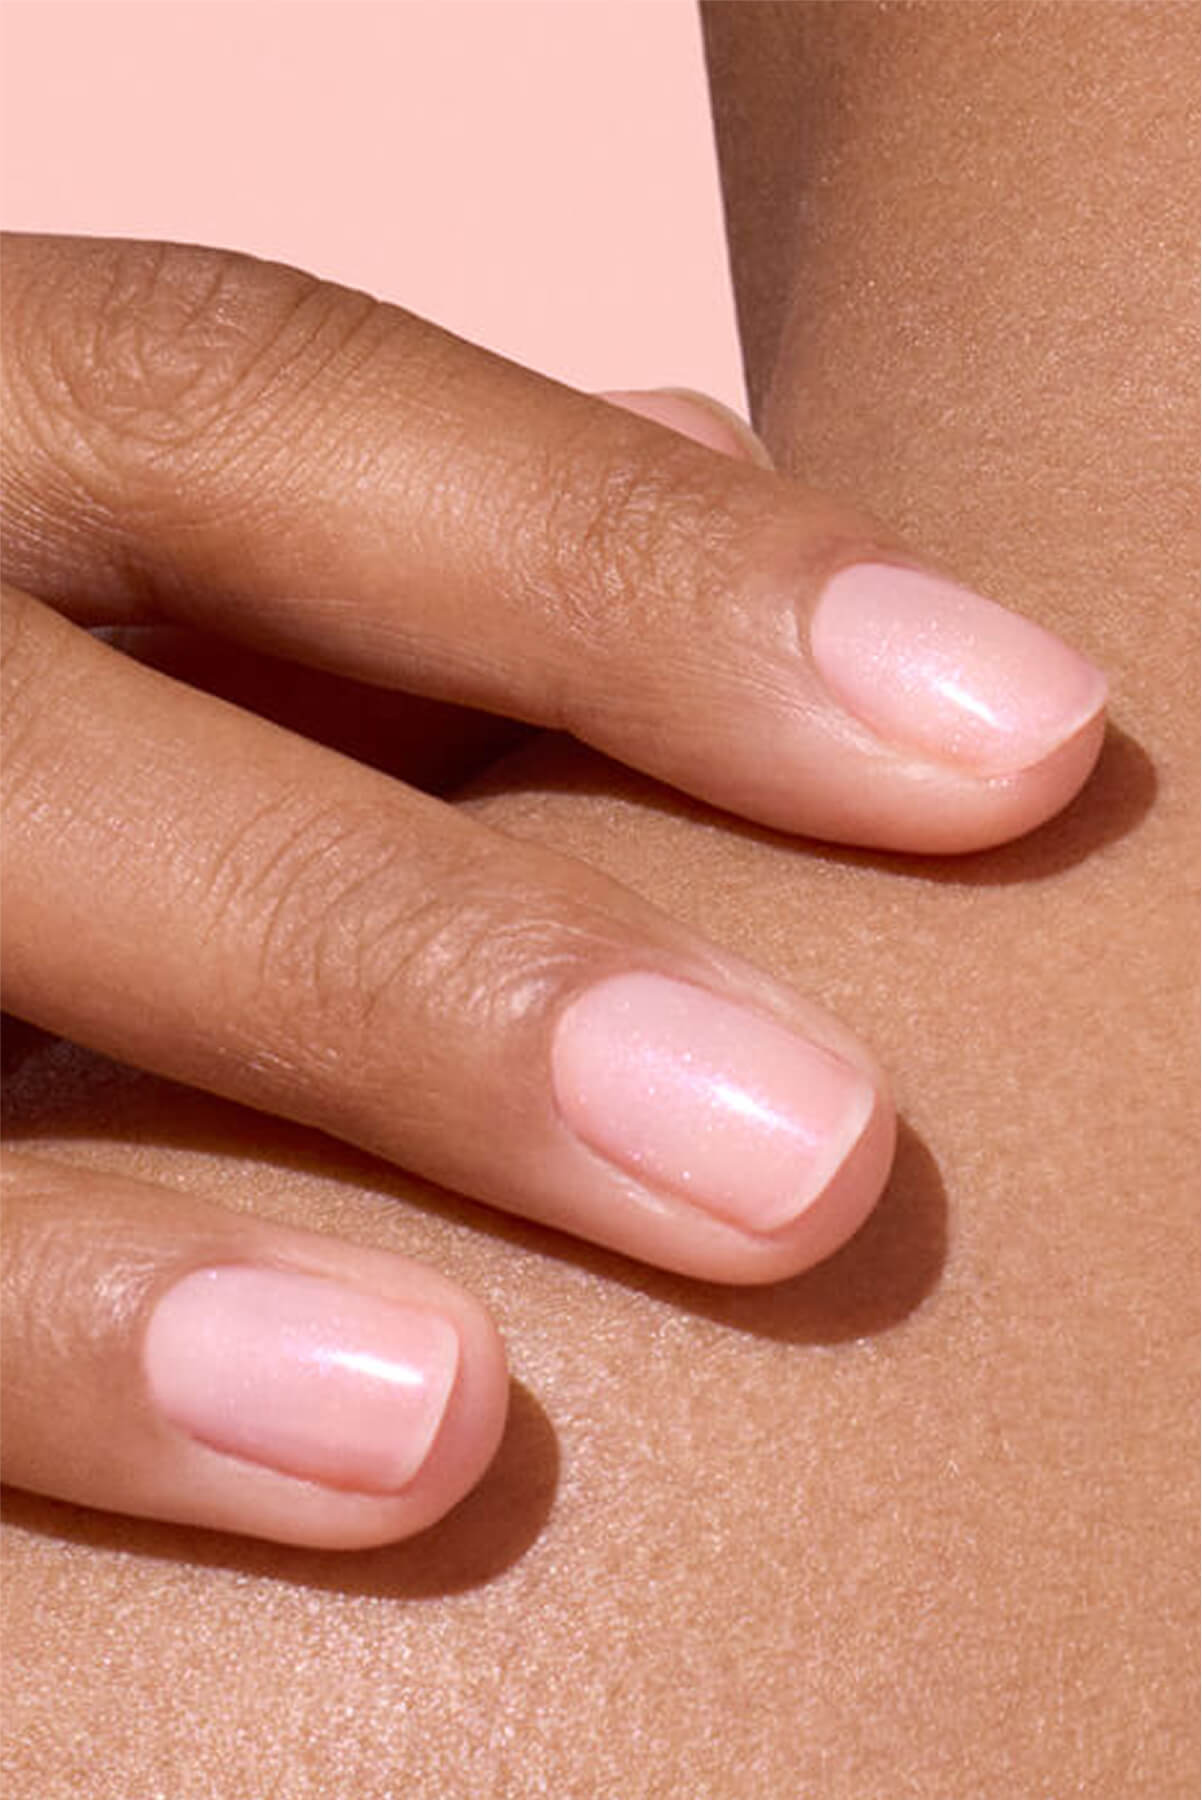
Green Oil and Active™ treatment polish: your nails deserve a tailor-made routine, even without polish.
Protect your manicure day-to-day
And lastly, to make your manicure shine bright and last longer, here are a few simple, effective daily habits to adopt:
- Wear gloves for dishwashing, cleaning, DIY or gardening.
- Apply a fresh layer of top coat (either Green™ or Green Flash™) every 2–3 days.
- Avoid prolonged contact with hot water.
👉 Check out our full guide: How to make your polish last longer
To summarize:
- Before application: nails weakened by nutritional deficiencies (zinc, iron, vitamin B), repeated trauma, nail-biting, or a lack of moisture that causes micro-cracks, preventing proper adhesion.
- During application: cuticles overlapping the nail plate, nails not degreased or not sufficiently buffed, layers too thick, insufficient drying, absence of a base or top coat, or mixing of multiple brands.
- After application: prolonged exposure to hot water, contact with household cleaning products, and minor impacts.

Prep, protect, and prolong: our Green™ Starter Kit & Green Flash™ Starter Kit or complete nail care kit have everything you need
Chipped polish doesn’t have to be a given. With the right prep, expert application and everyday protection, you’ll enjoy a manicure that’s not just radiant but resilient. Our plant-based, vegan polishes are designed to work perfectly together, from base to top coat. The result? A bright & shiny mani that stays flawless for longer—no chips in sight 🥰
To summarize:
- Preparation: file the nails, soften the cuticles with a cuticle softener, then push them back; buff the surface to open the keratin scales; and degrease the nail.
- Application in 4 layers: base coat, two thin layers of color (following the nail’s edge), then top coat—with 1 to 2 minutes of air drying (classic polish) or 1 to 3 minutes under an LED/UV lamp (semi-permanent).
- Daily care: moisturize with Huile Verte or Active™ care polish, which can be applied without a base or top coat.
- Protection: wear gloves for household chores, reapply a layer of top coat every 2–3 days, and limit contact with hot water.
- The bio-based and vegan Green™ and Green Flash™ nail polishes are designed to work in synergy, from the base coat to the top coat.