Dreaming of a manicure that shines and lasts, without stepping foot in a salon? Good news: gel polish has officially made itself at home.. Thanks to new generation gel polish formulas and easy DIY manicure kits, applying your polish has become a beauty ritual in its own right. We have put together a complete guide to show you exactly how to do gel nails like a pro. Settle in, we are sharing everything you need to know.
Key takeaways:
- Some semi-permanent nail polish formulas deliver a glossy, long-lasting manicure without having to visit a salon.
- DIY kits make application accessible to everyone.
- Careful nail preparation is essential for a long-lasting, even finish.
Why preparation is essential for a flawless manicure
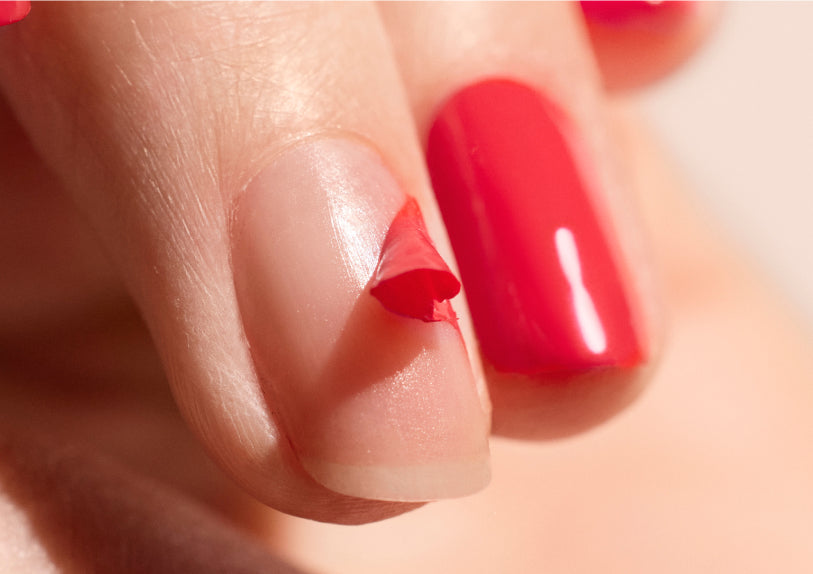
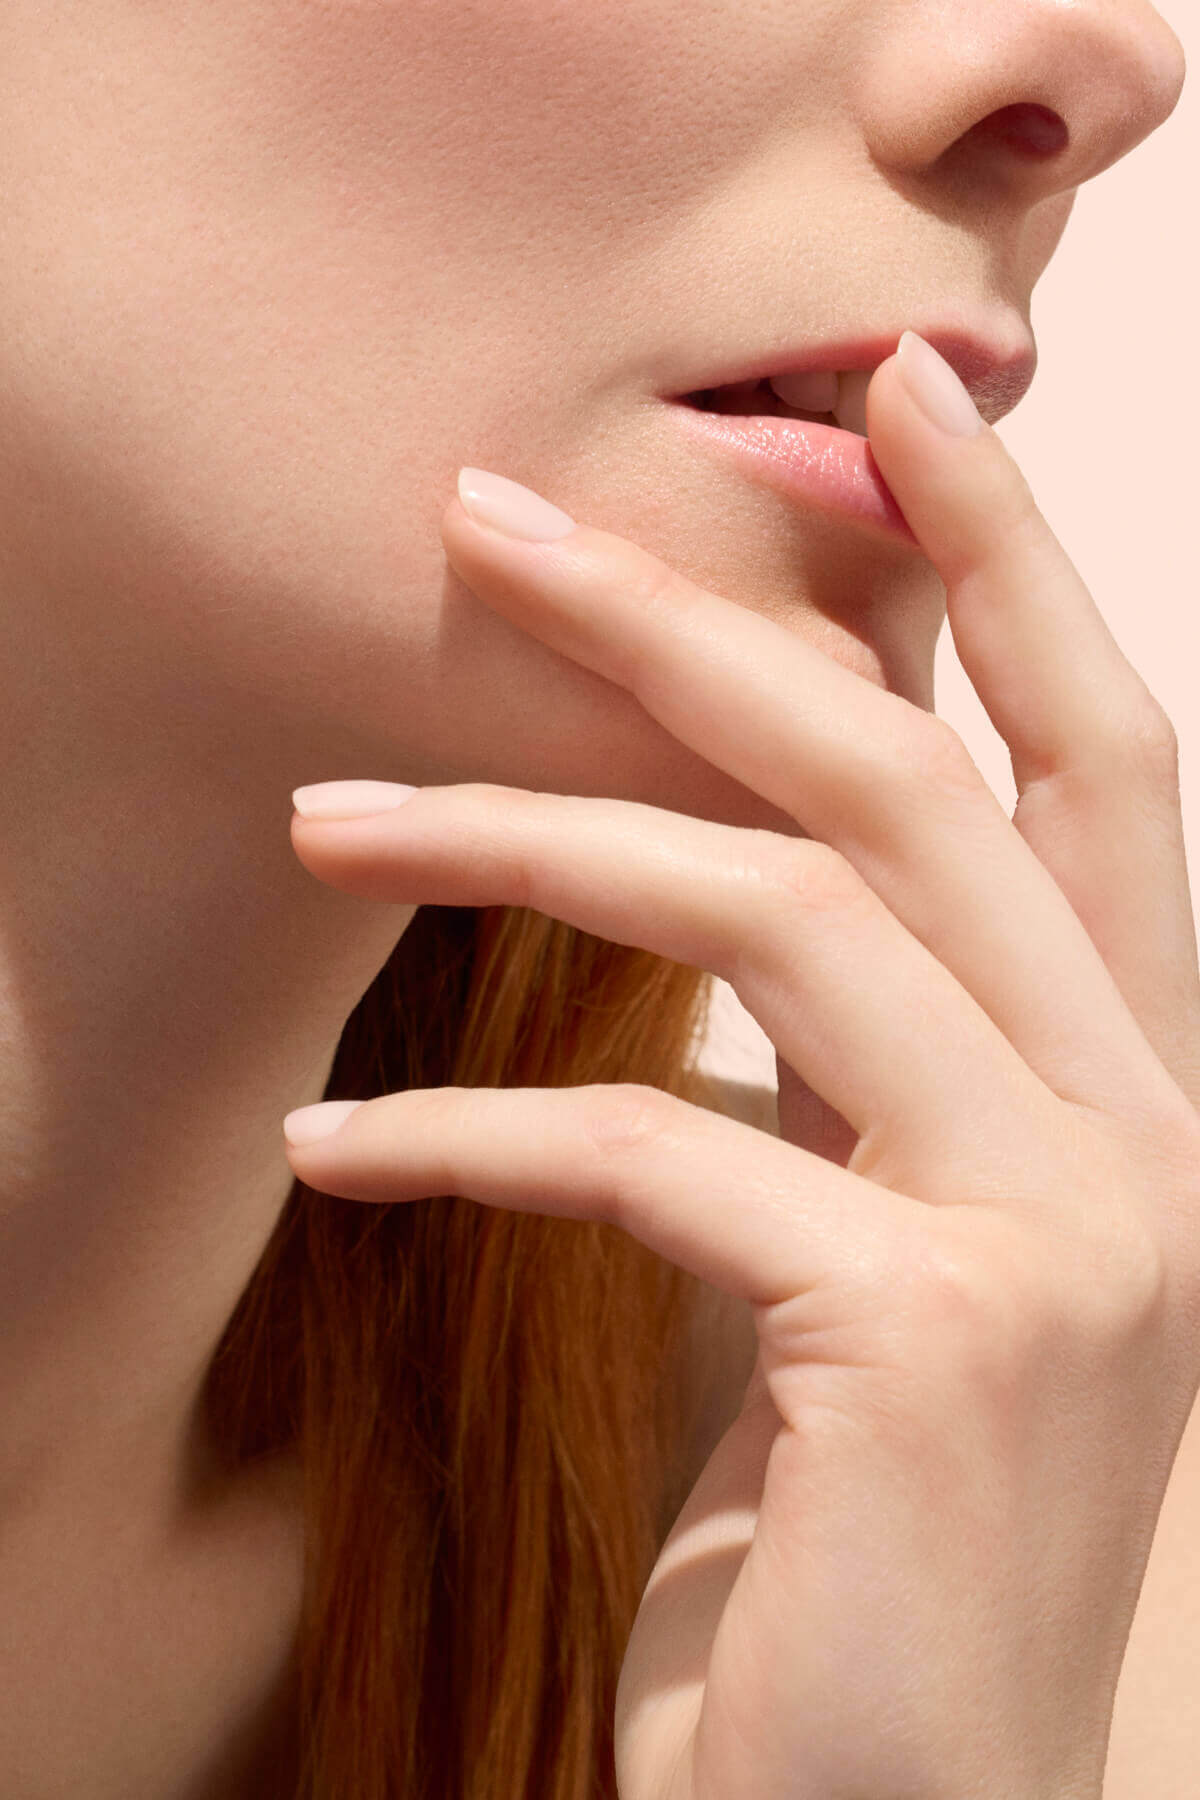
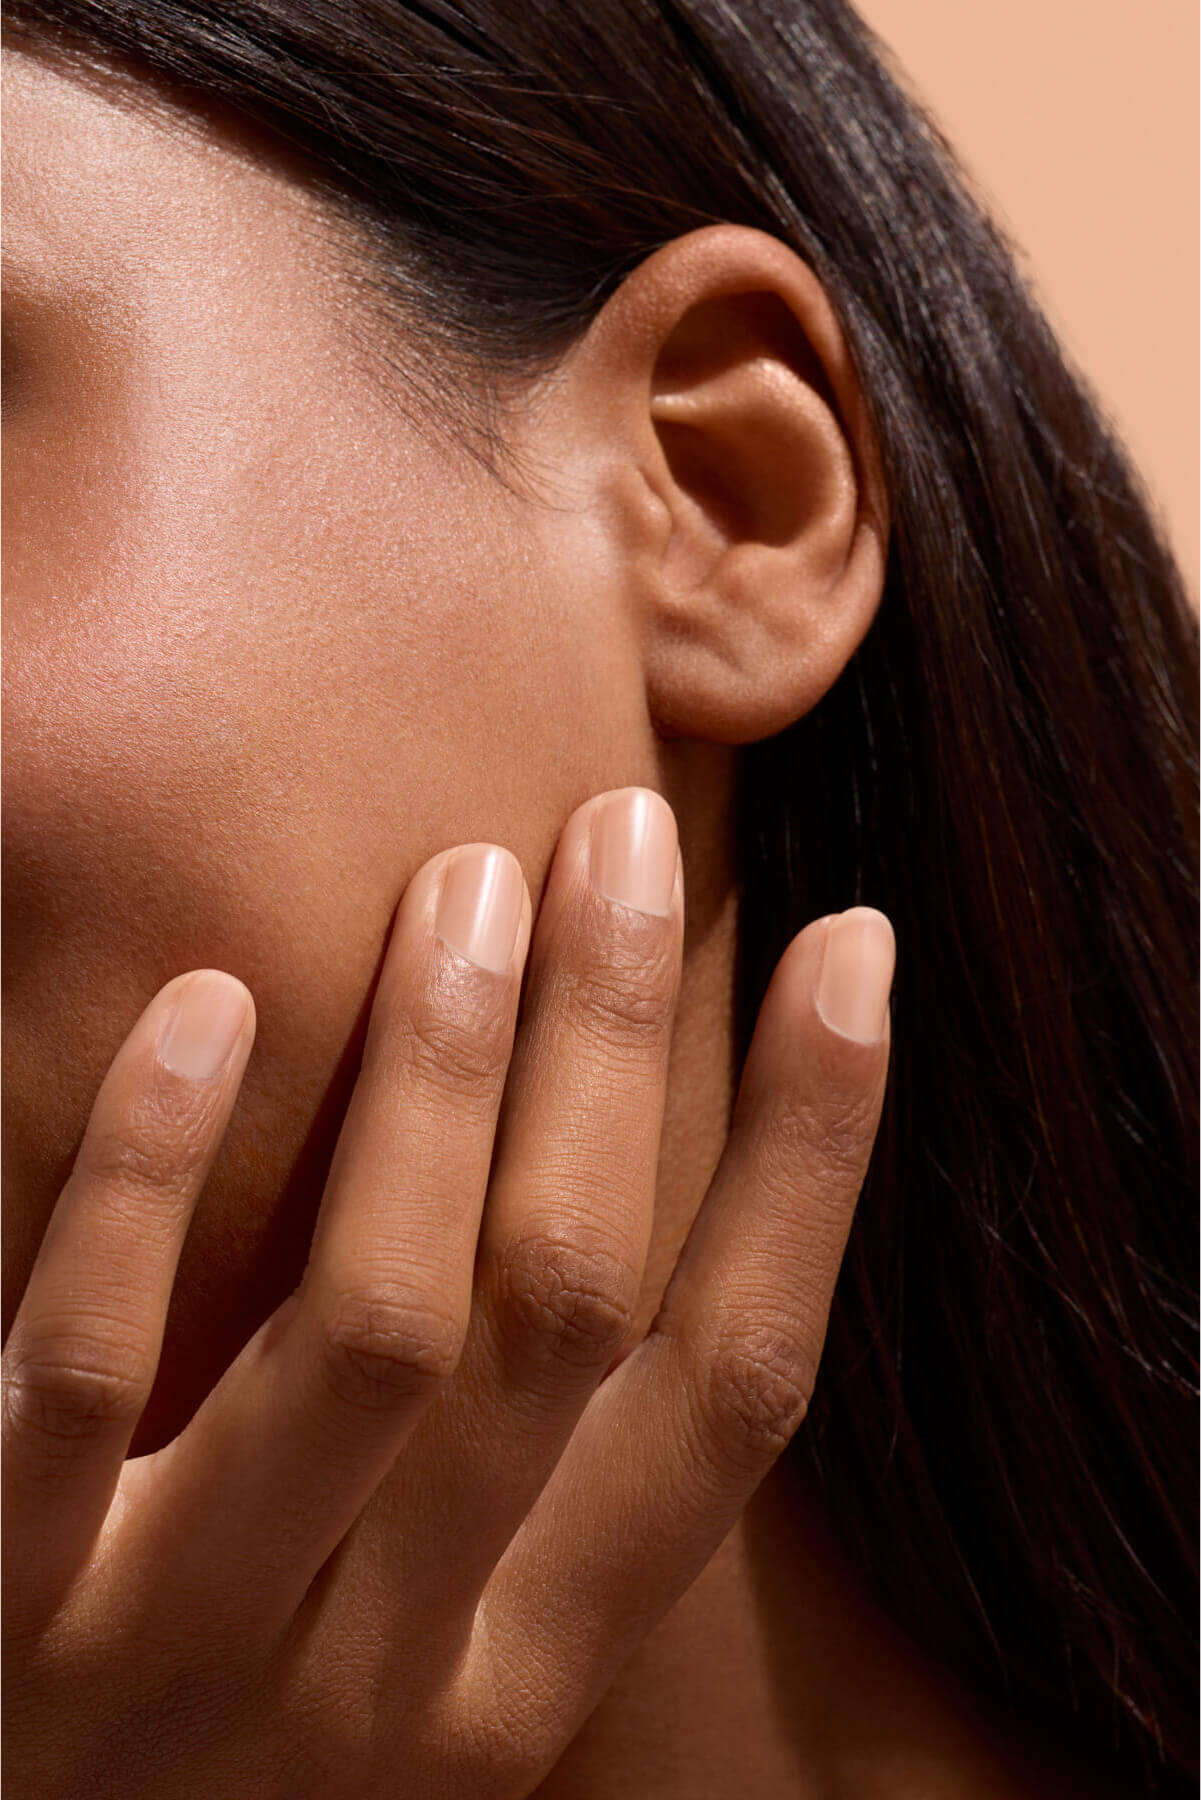
We cannot say it enough: proper nail prep is the secret to a perfect manicure, whatever formula you choose, whether regular polish or Gel Polish. Just like well cleansed and hydrated skin before makeup, well prepared nails guarantee an even finish and long lasting hold. If you are wondering how to do gel nails step by step, it all starts here. Here are the key gel nails steps to follow before applying color:
Step 1: file and shape your nails
Start your nail prep by filing your nails to shorten and even them out using a nail file for natural nails. Choose the nail shape that suits you best: square, oval or almond. File the free edge following a gentle curve to shorten the nail, then refine the shape. The goal is to create a clean, even base, which is essential when learning how to apply gel polish on natural nails at home.
Step 2: care for your cuticles
Continue your nail prep by taking a few minutes to care for your cuticles. Apply a few drops of Cuticle Softener to soften the skin. Then gently push back the cuticles using a Steel cuticle pusher or a wooden stick. In just a few moments, your nails will have a neat, defined contour. This step makes gel polish steps easier and helps prevent chipping after just a few days.
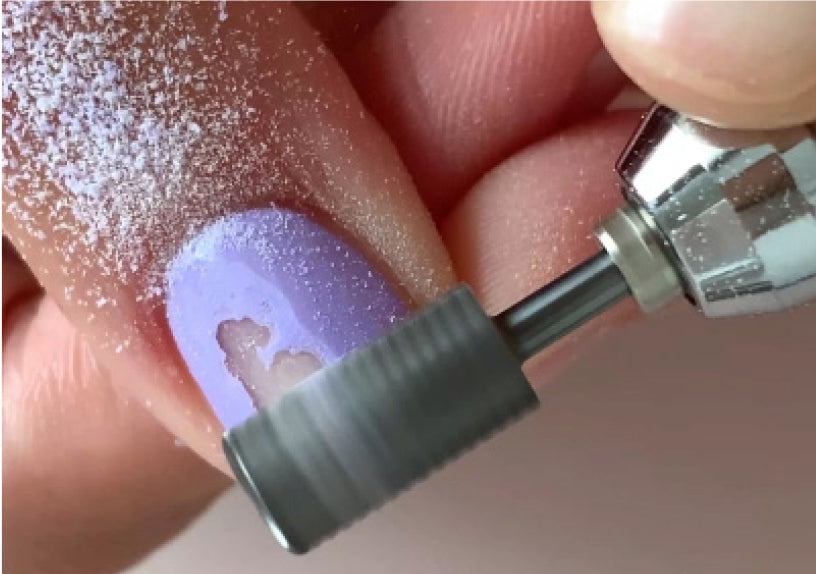
Step 3: buff, cleanse and degrease
Next, lightly buff the surface of your nails using a Buffer sponge. This creates tiny micro scratches and gently opens the keratin layers, improving adhesion. It is one of the most important steps for gel polish success. Then degrease your nails with a cotton pad soaked in gentle remover or nail cleanser. Your nails should be clean, dry and free from oil or dust before you begin applying color.

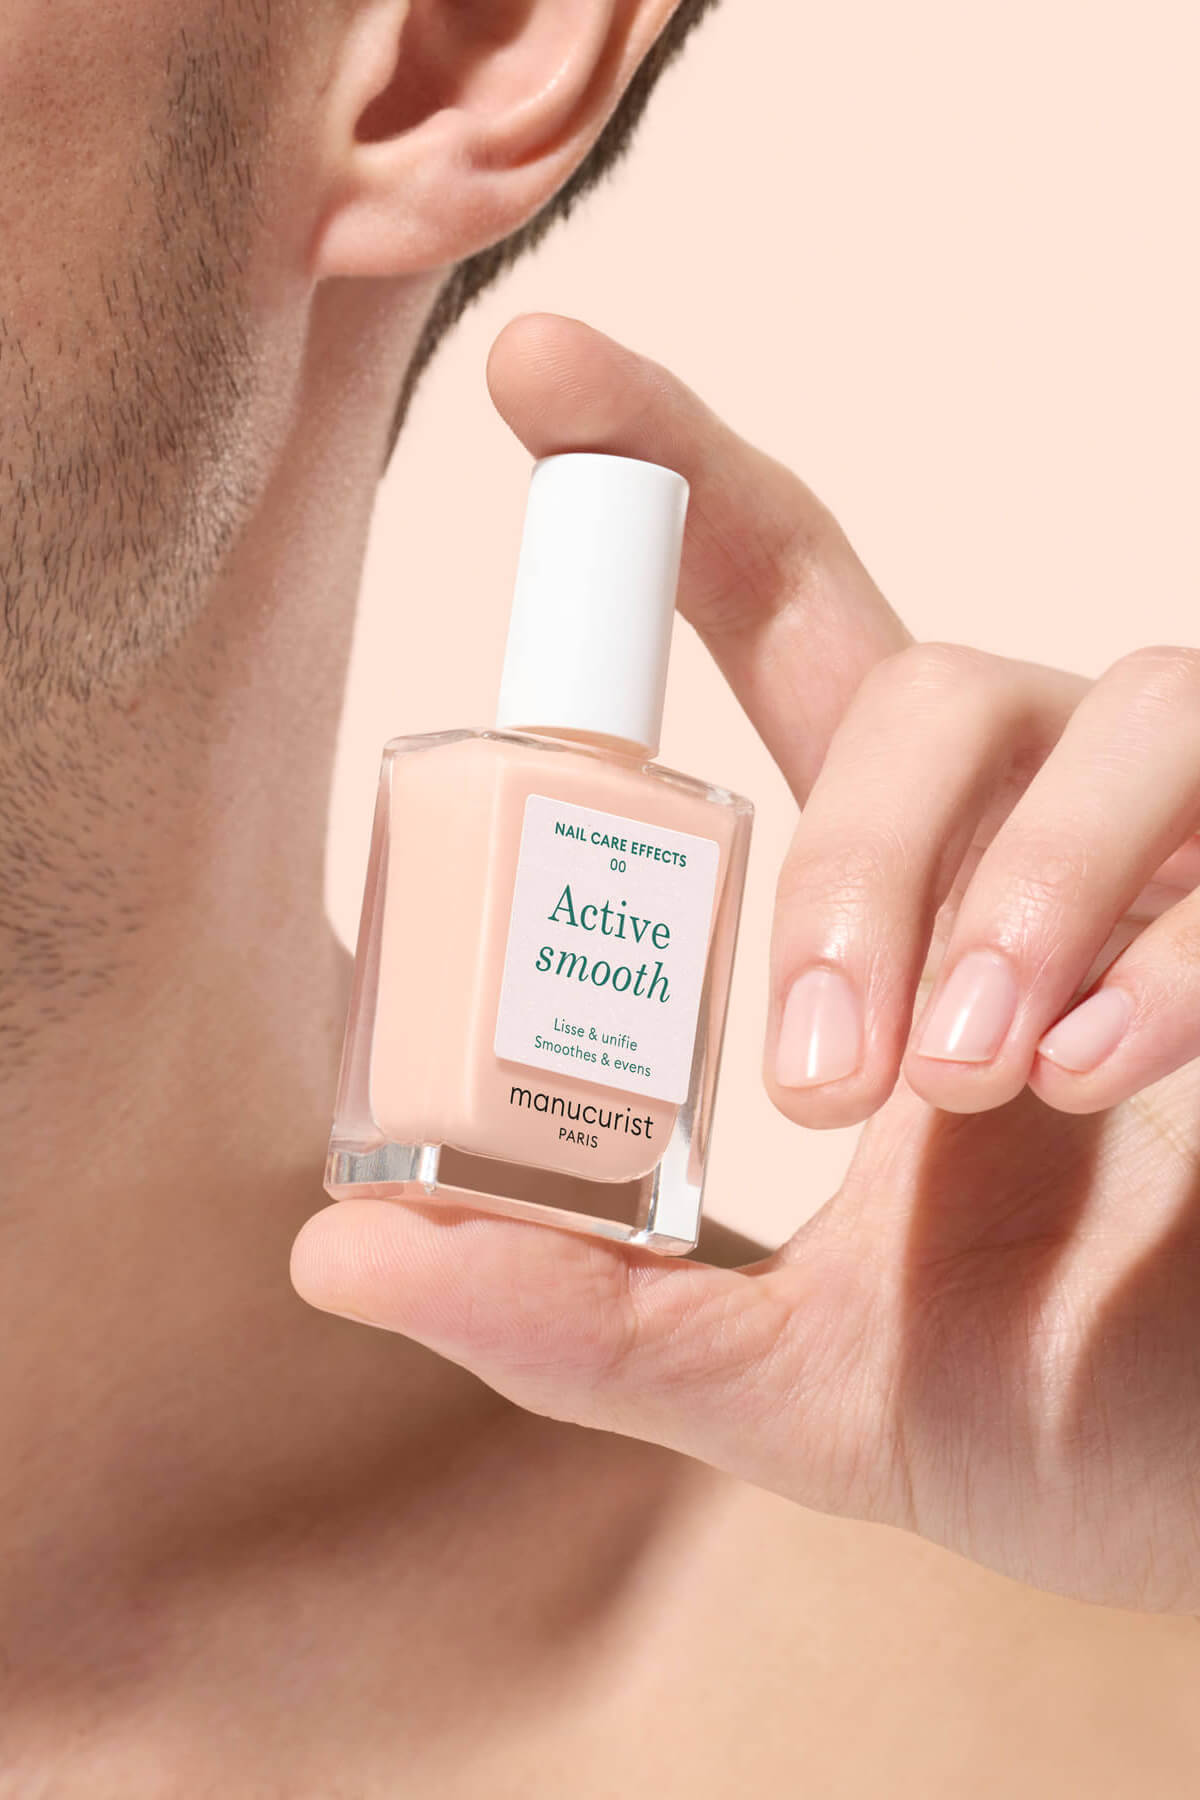
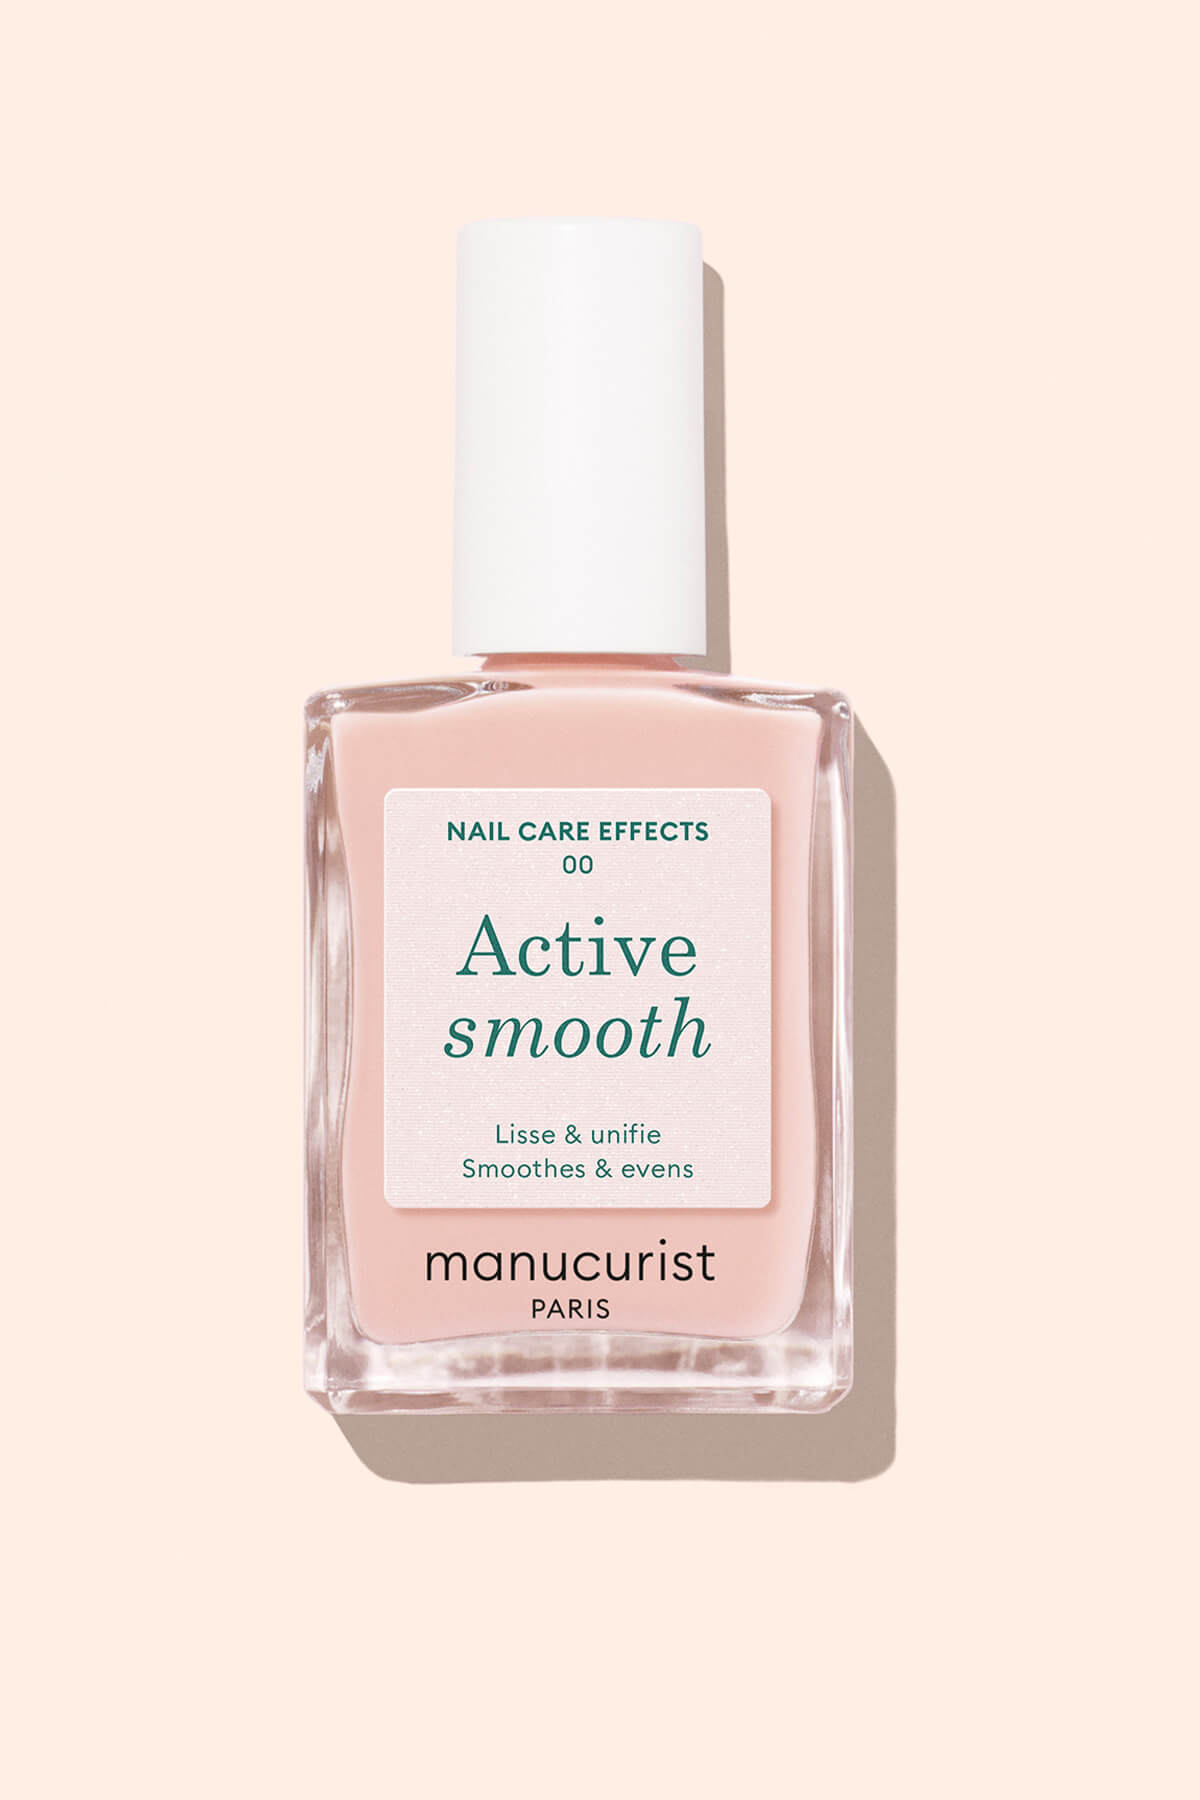
Prep your nails to perfection with our Nail Prep Set.
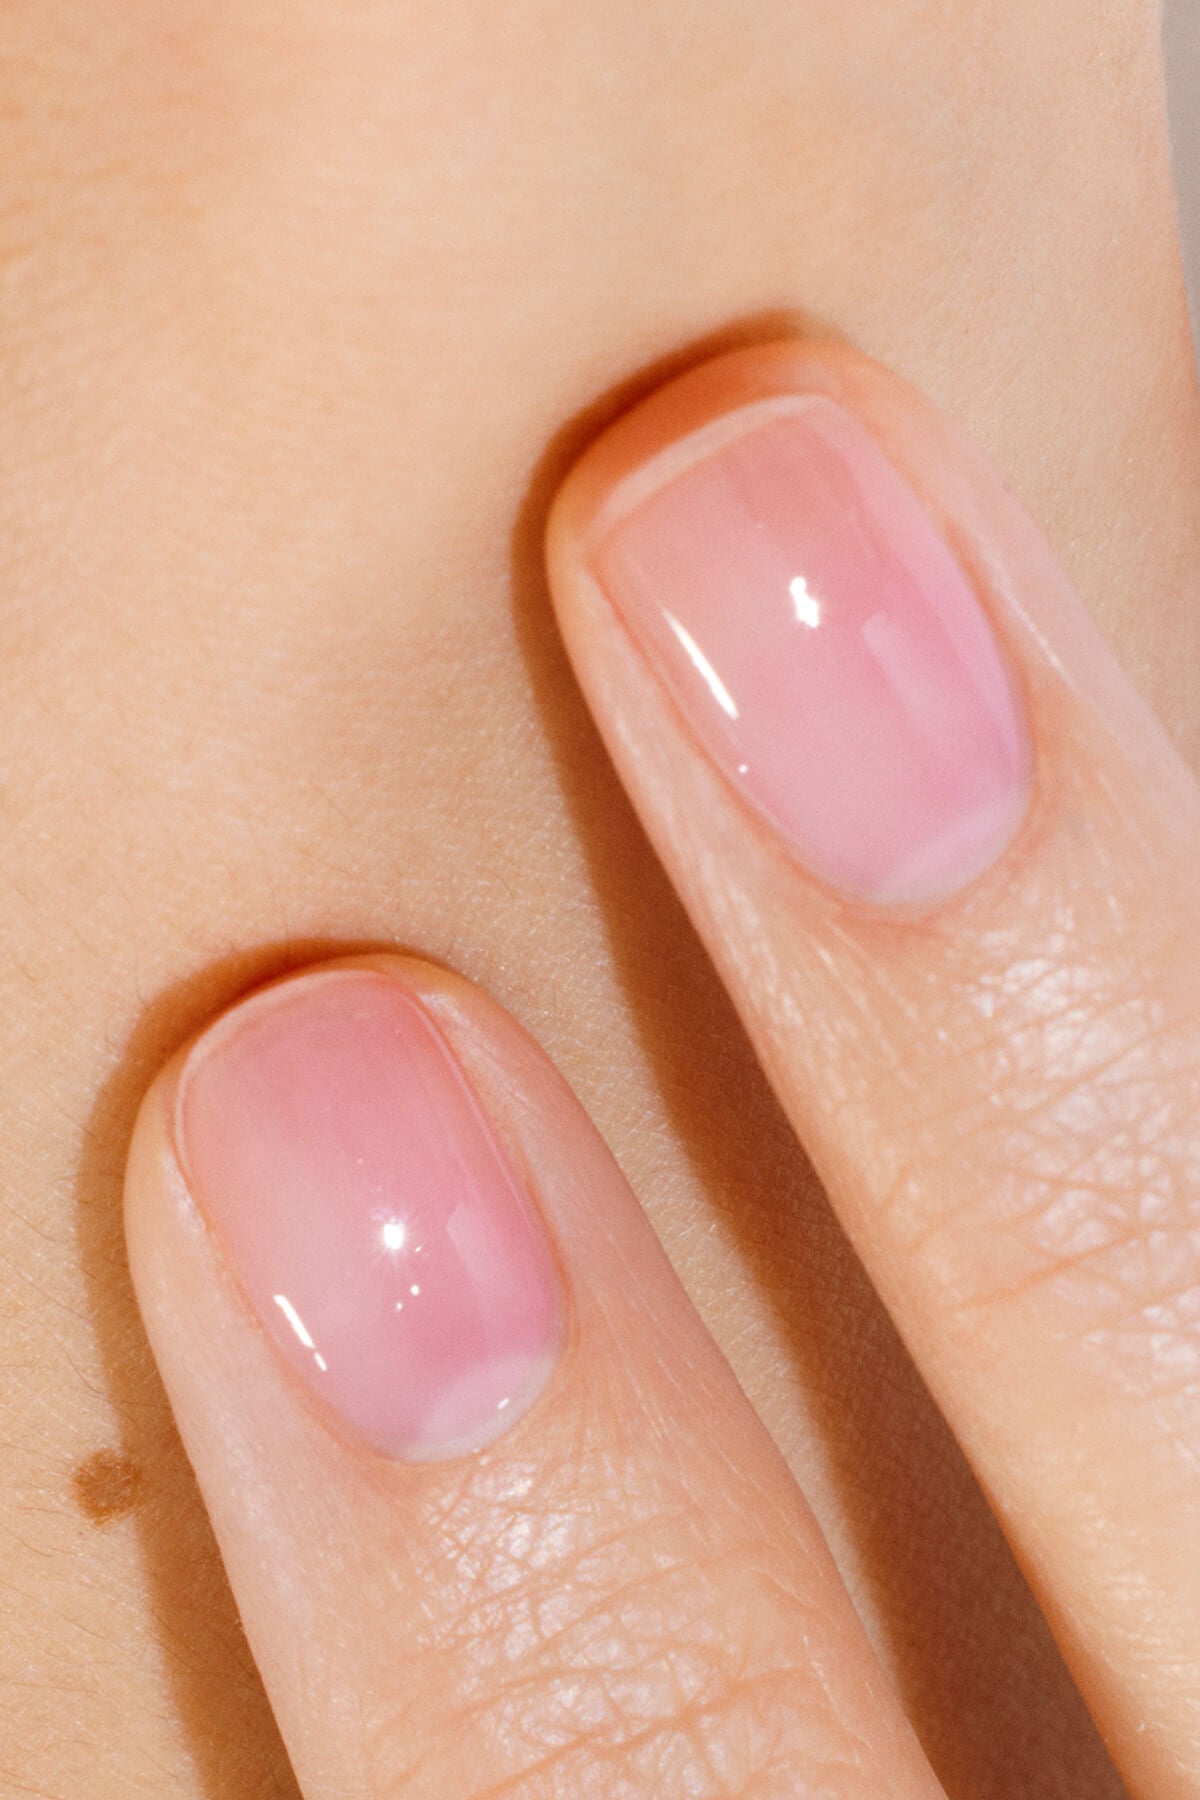
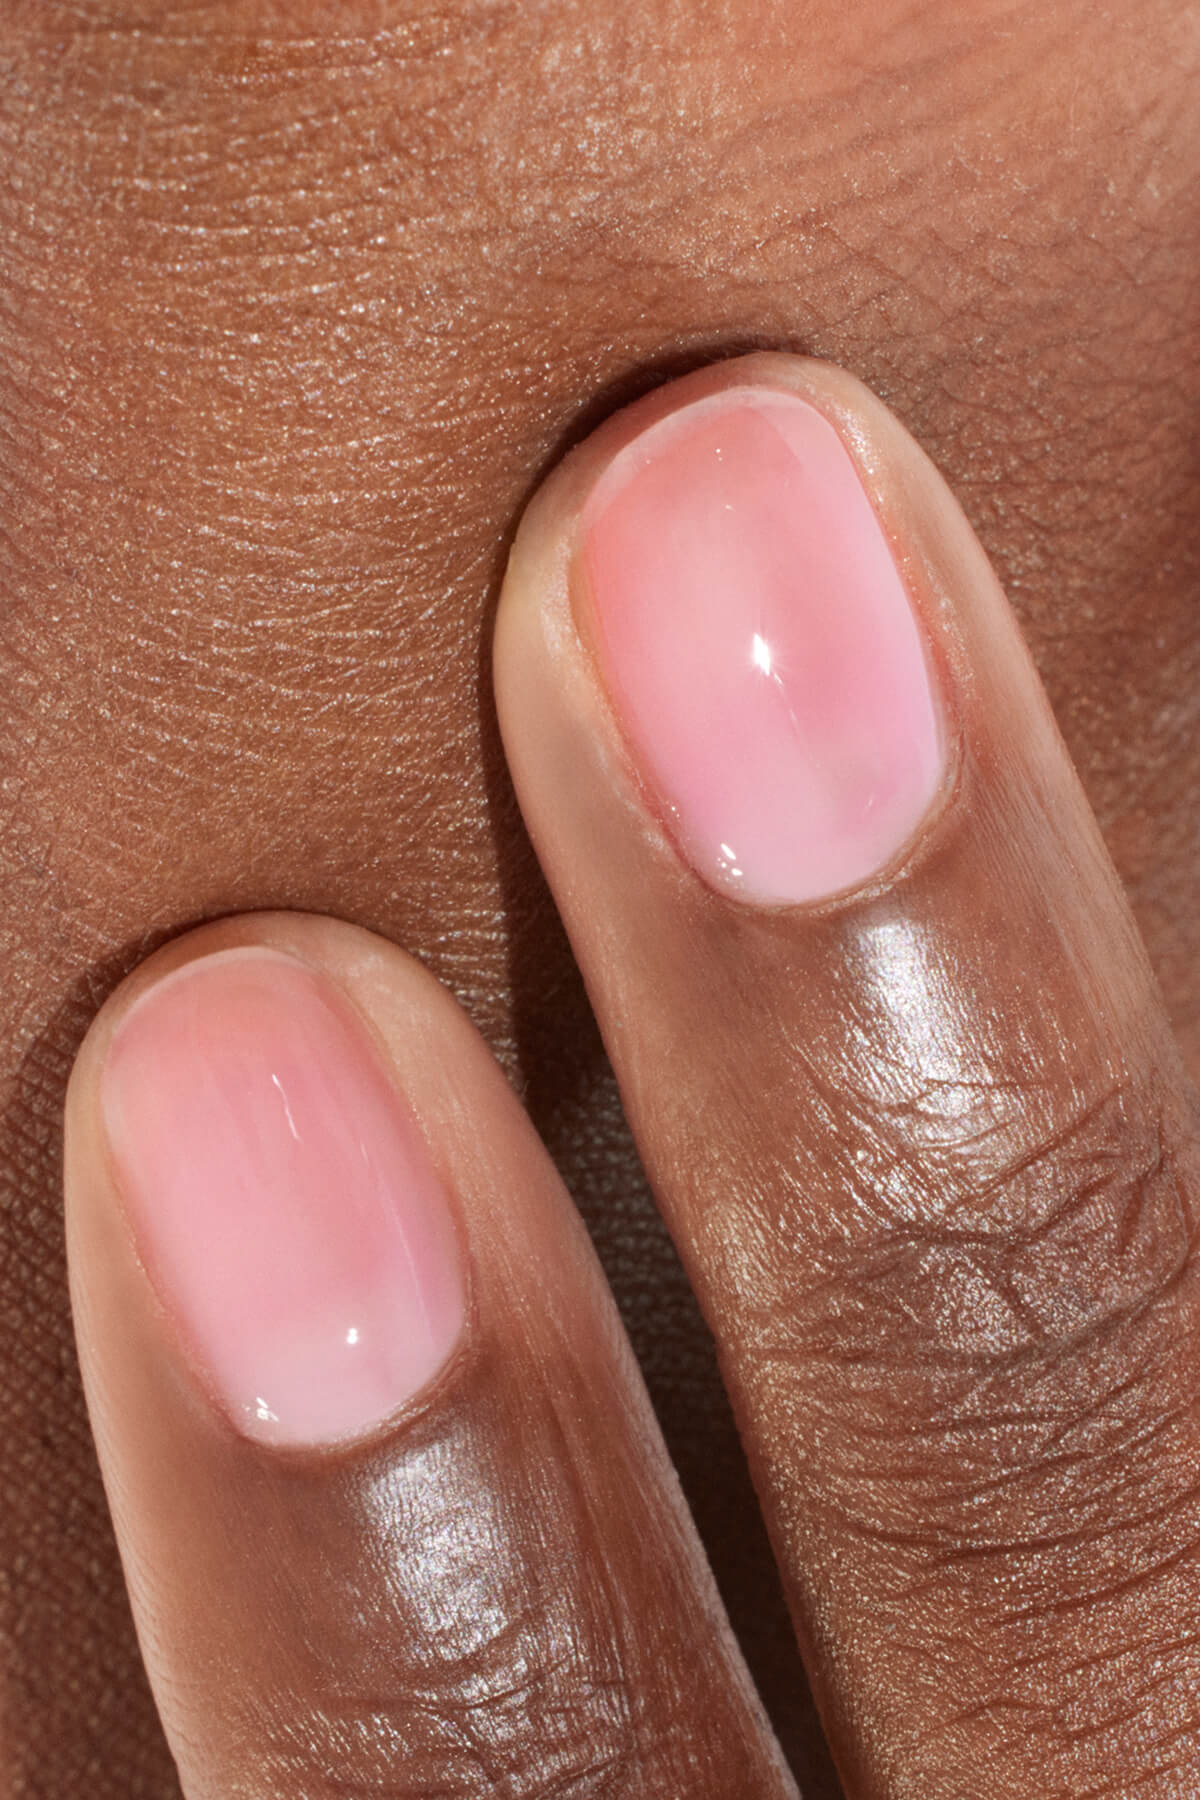
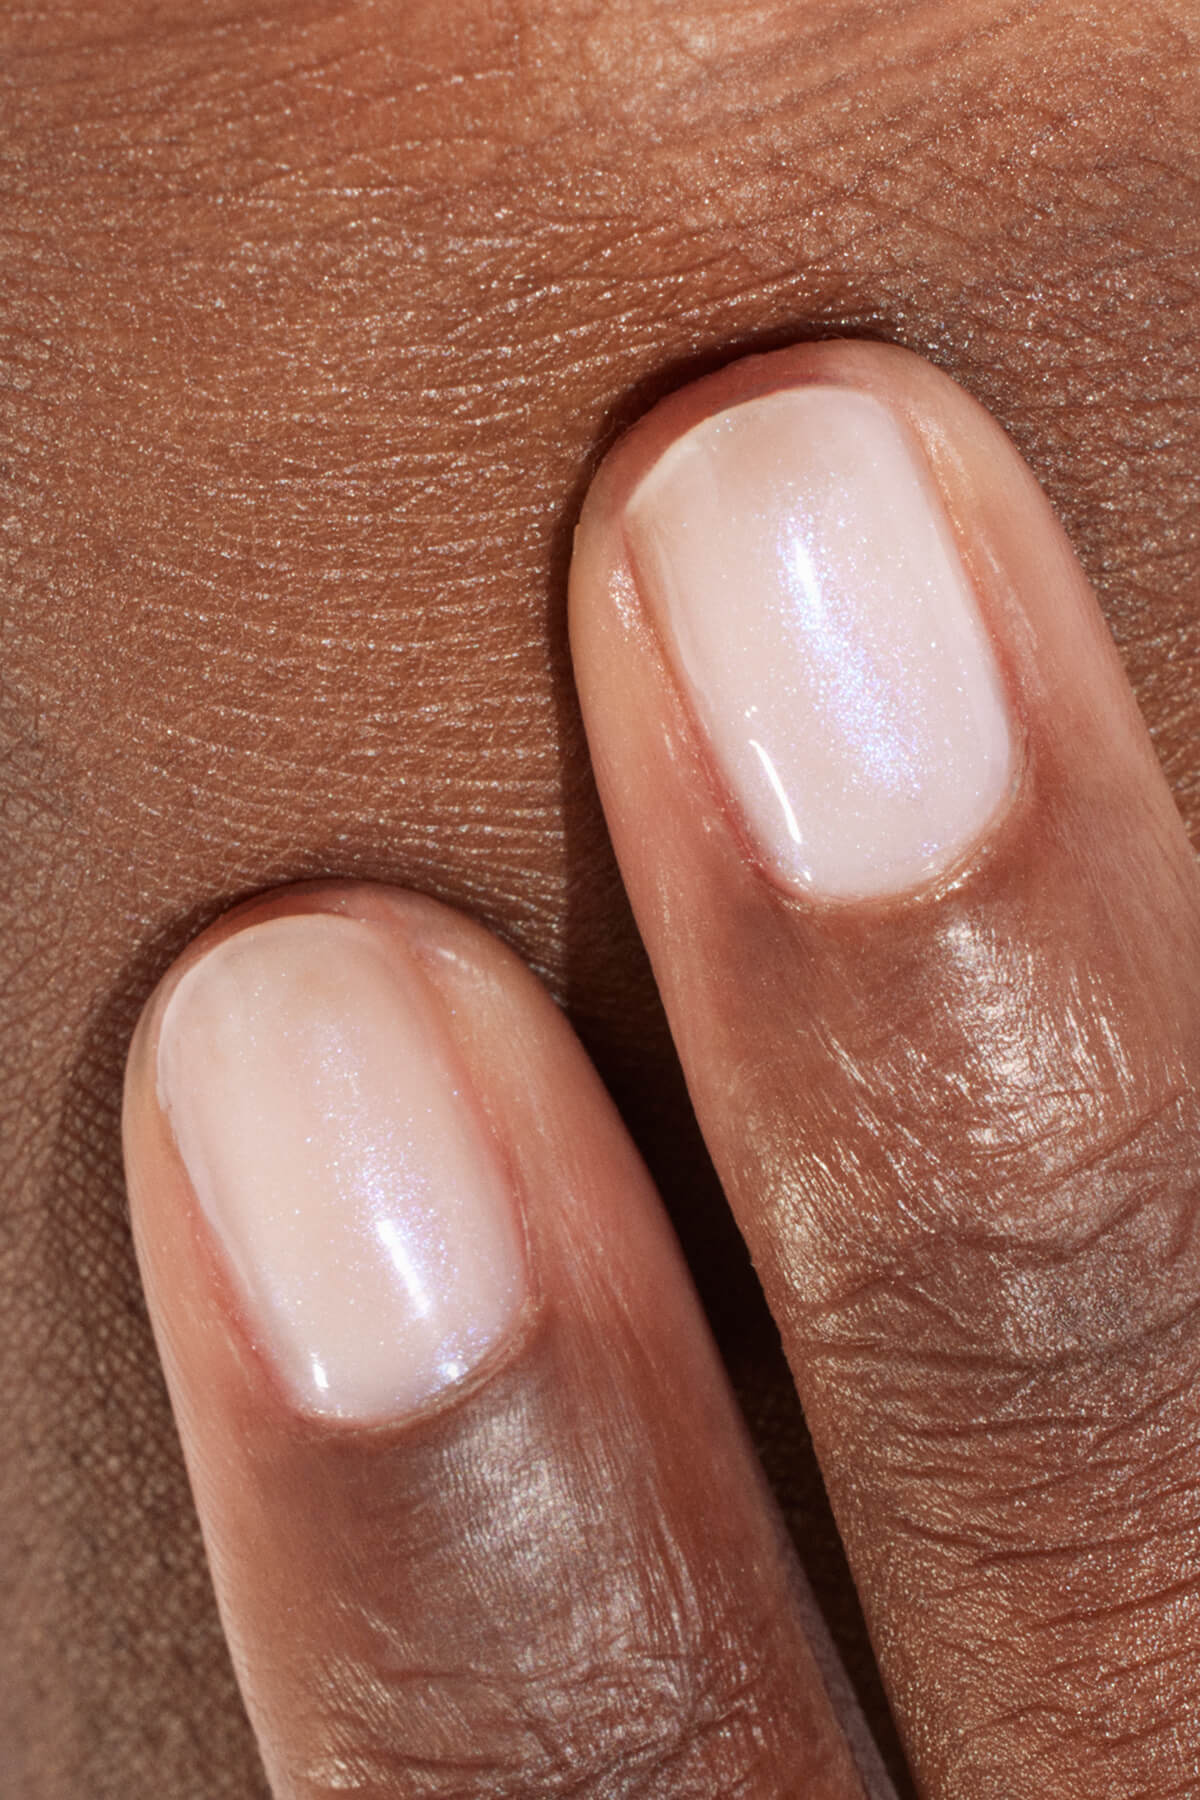
How to do gel nails: the 4 coat rule
When it comes to how to do gel nails step by step, the secret lies in four thin coats: one base coat, two coats of color and one top coat. Curing each layer under an LED lamp is essential for a long lasting, glossy finish.
1. Apply a base coat
The base coat is the foundation of your manicure. Applied before color, it protects the natural nail and creates a smooth surface that helps the Gel Polish adhere and last longer. Apply a thin layer and cure under a UV or LED lamp for the recommended time. This first step sets the tone for all the gel nails instruction that follow.
2. Apply two thin coats of color
Whether you choose a soft pastel or a bold red, always apply your color in two thin coats. If you are learning how to apply gel polish on natural nails at home, here is the technique to follow:
-
Take a small amount of Gel Polish on the brush and wipe off any excess on the neck of the bottle.
-
Apply using three brush strokes: one down the center of the nail, then one on each side. This method ensures an even, bubble free finish without excess thickness.
-
Cure each coat under your UV or LED lamp. Make sure the first coat is properly cured before applying the second to avoid wrinkling.
Working in thin layers is one of the most important steps for gel polish success and guarantees a smooth, ultra glossy result.
3. Seal with a top coat
The top coat is the final touch and the protective shield of your manicure. It can offer intense shine or a more natural finish depending on the effect you prefer. It seals in the color, protects against daily wear and enhances durability.
Apply a thin layer and cure under your UV or LED lamp for the recommended time. These are the essential gel nails steps that ensure your manicure stays flawless for days.

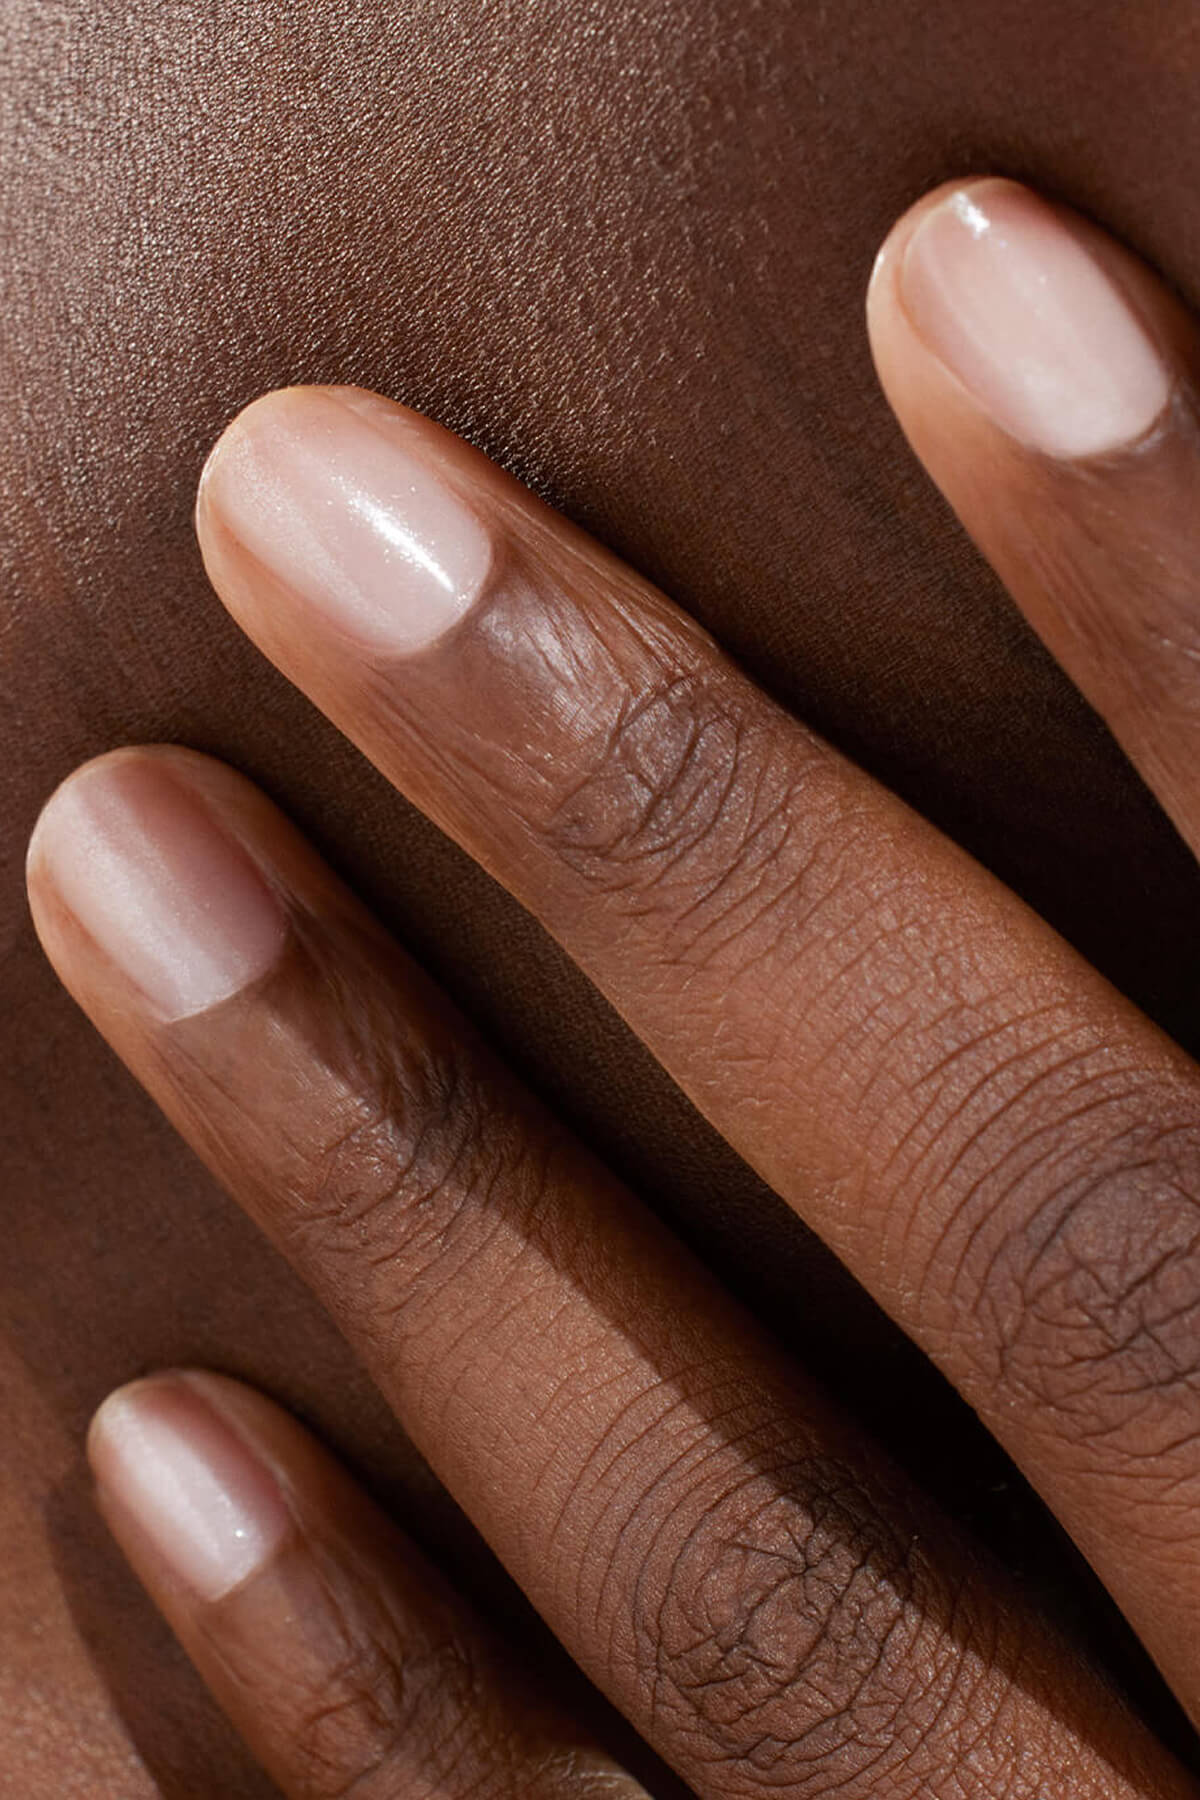
Four thin coats are all you need for a perfect Gel Polish manicure.
In summary:
- Prepare the nails: file, push back the cuticles, buff, and degrease.
- Base coat + 2 coats of color + top coat: apply in thin layers and cure under an LED/UV lamp.
- Cure each layer for the necessary amount of time to prevent bubbles or wrinkling.
- Aftercare: use cuticle oil and a moisturizer to extend the life of the manicure.
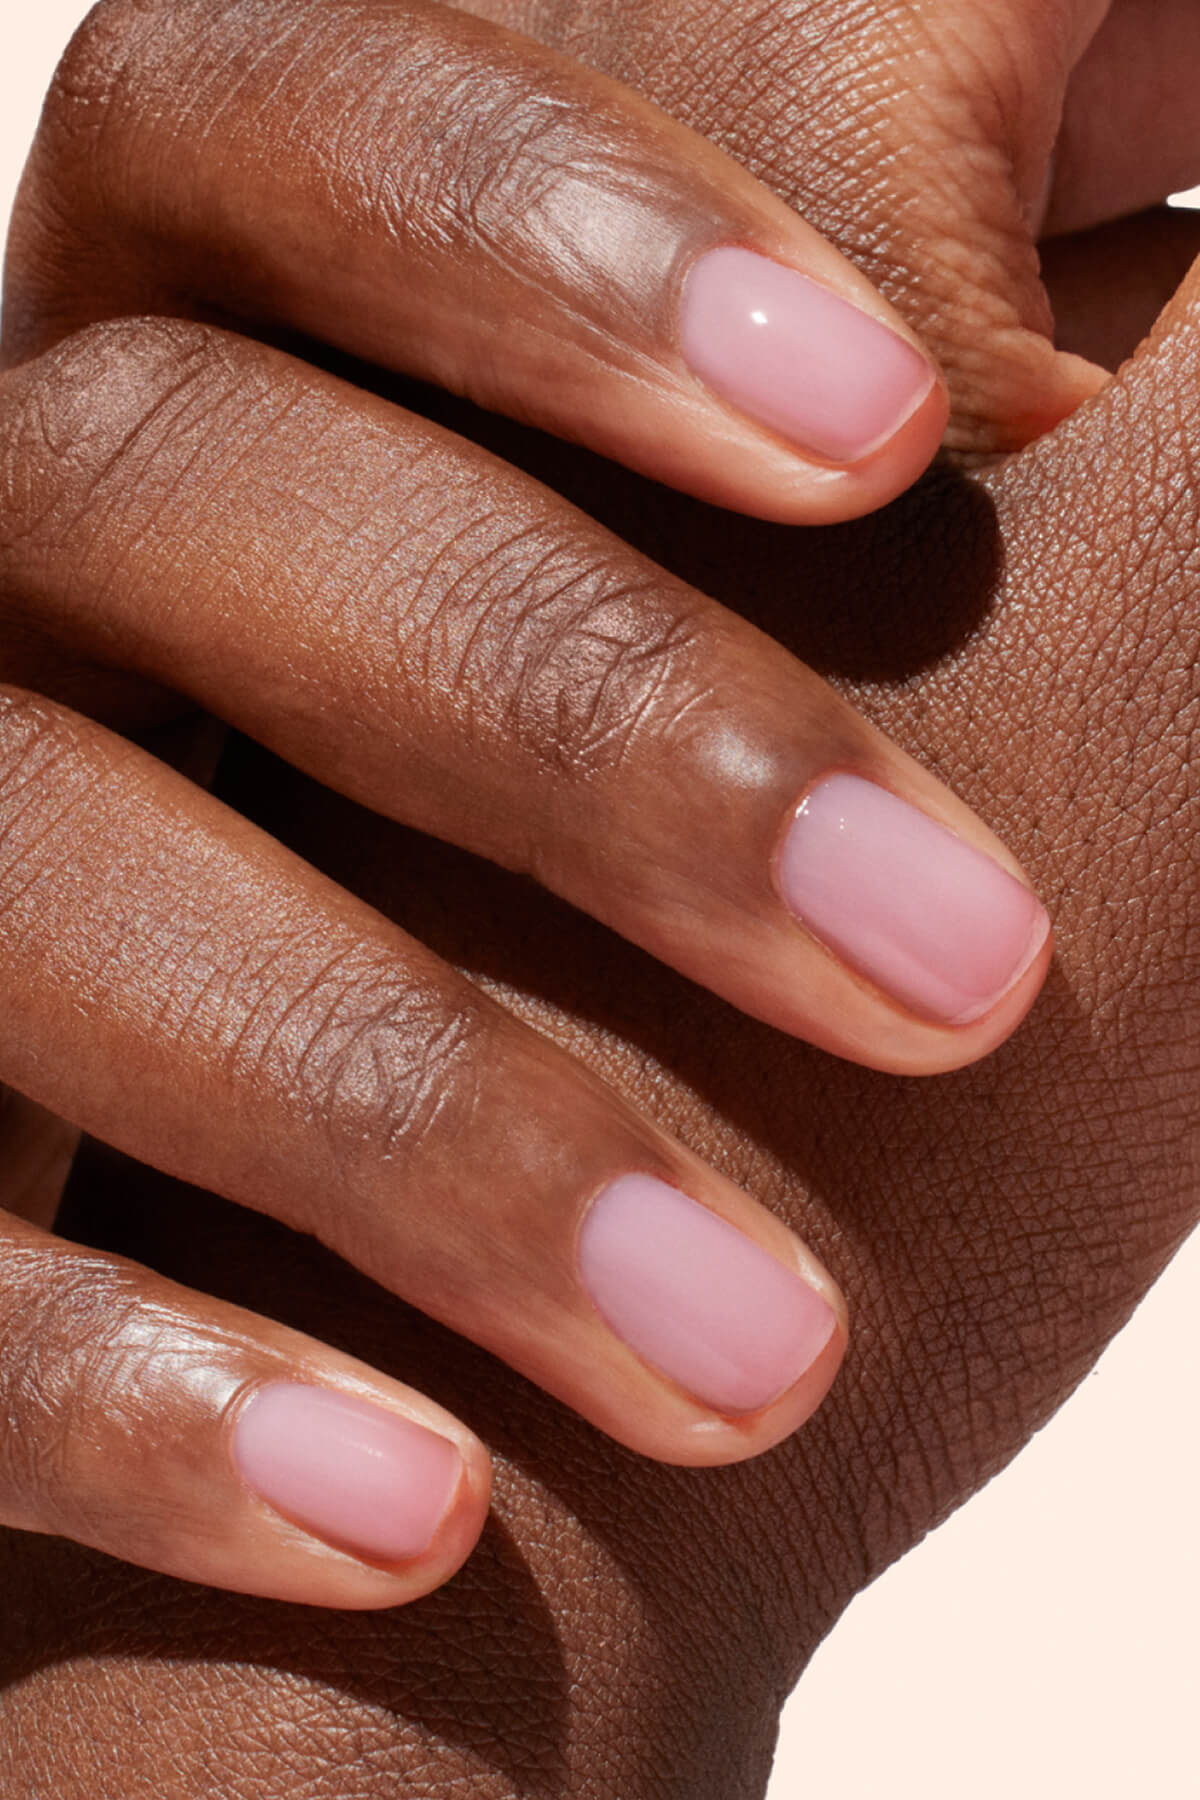
Aftercare: make your gel manicure last
Once you know how to do gel nails, maintaining them is just as important. A beautiful manicure deserves daily care.
-
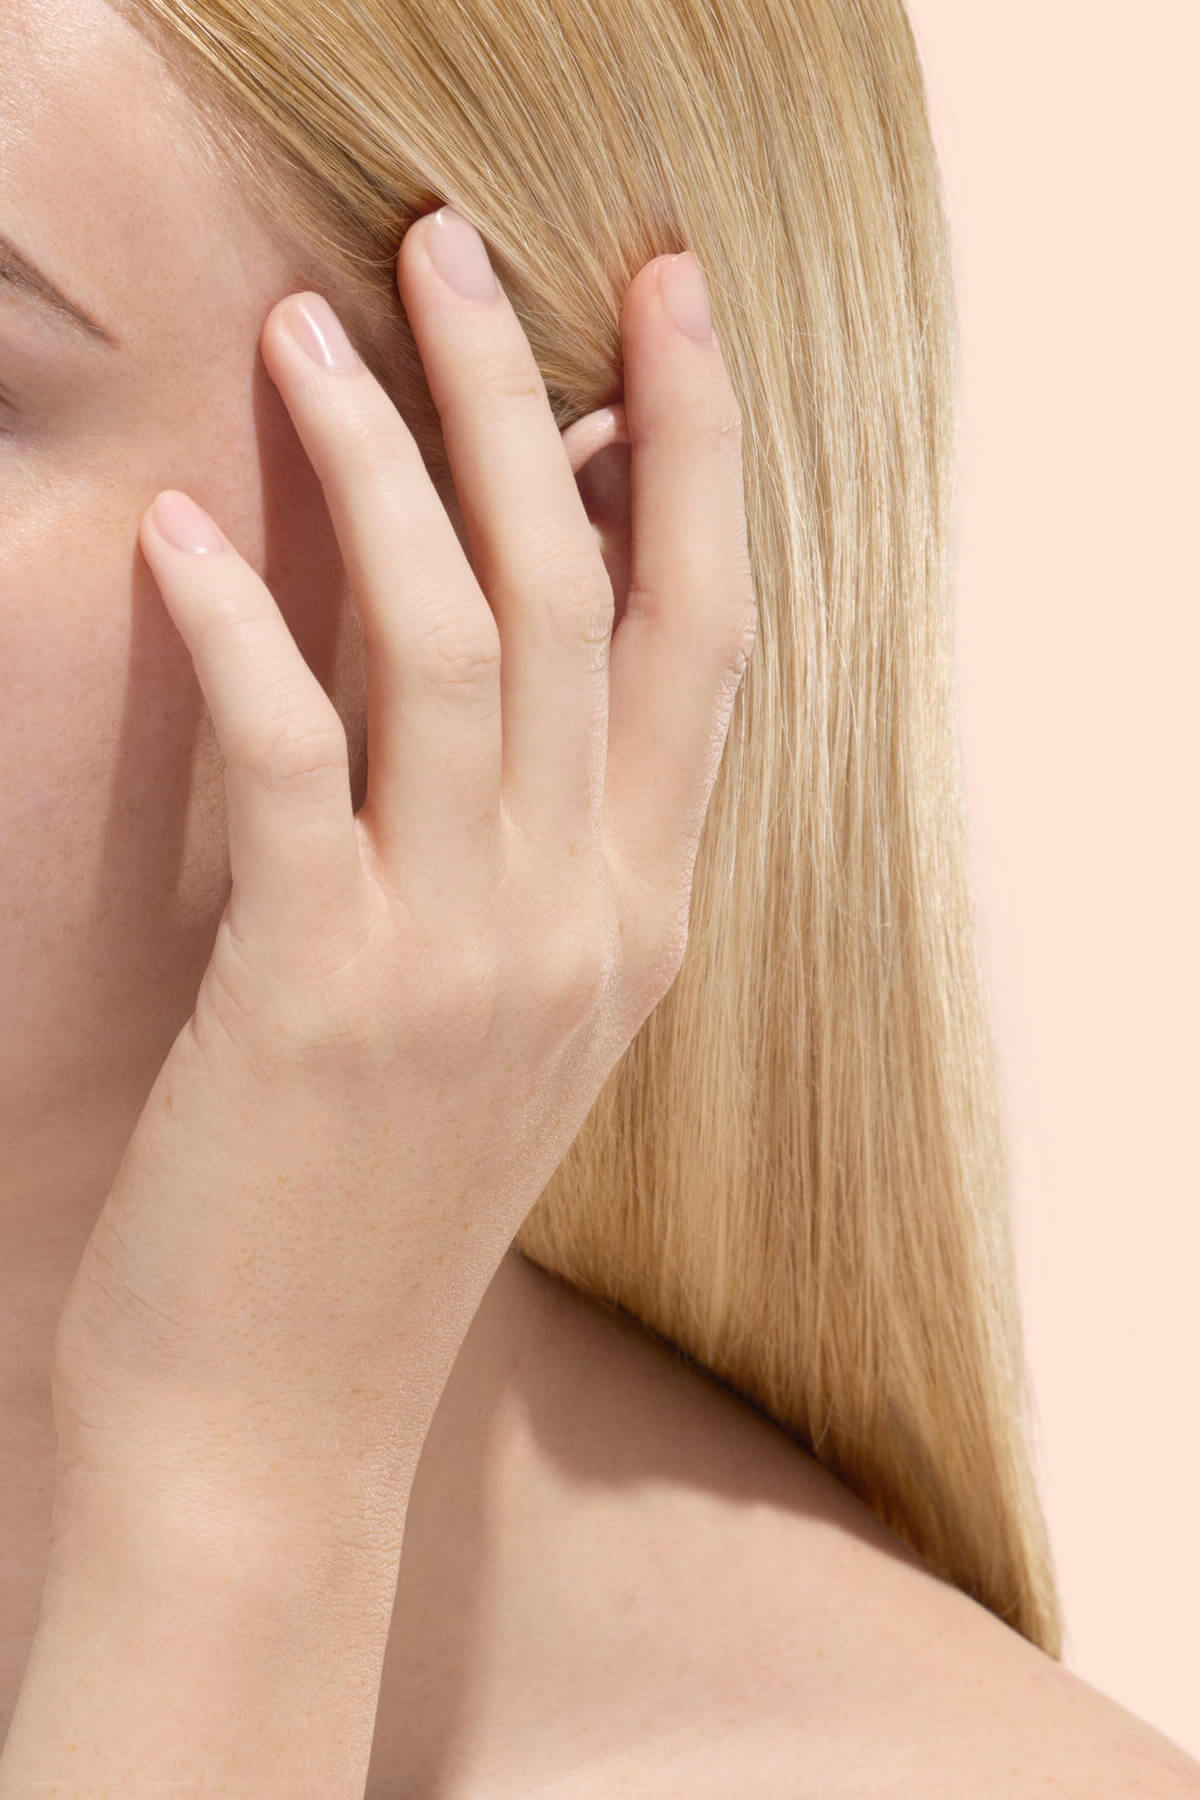
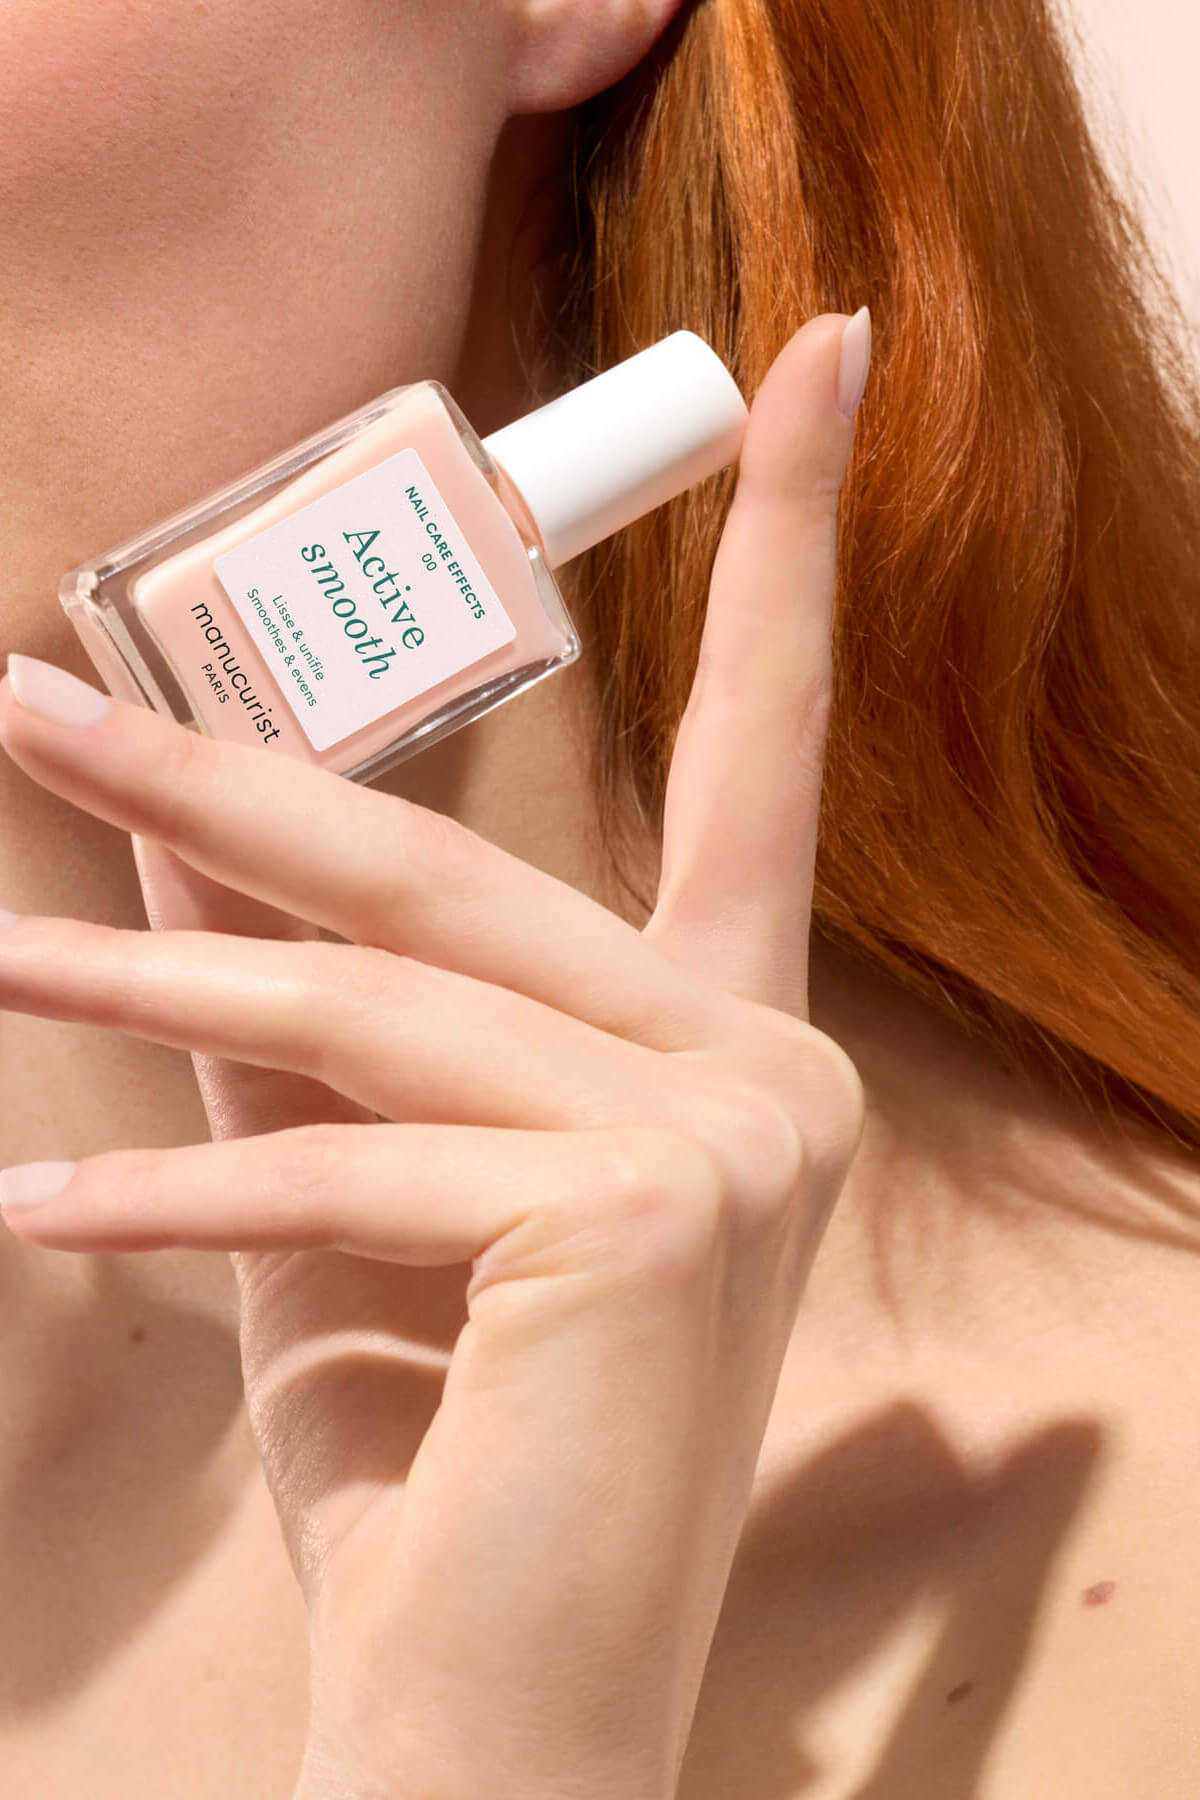
As soon as your top coat is cured, apply a drop of Nourishing Cuticle Oil to each nail to nourish the nails and surrounding skin. Repeat daily to keep your Gel Polish looking fresh.
-
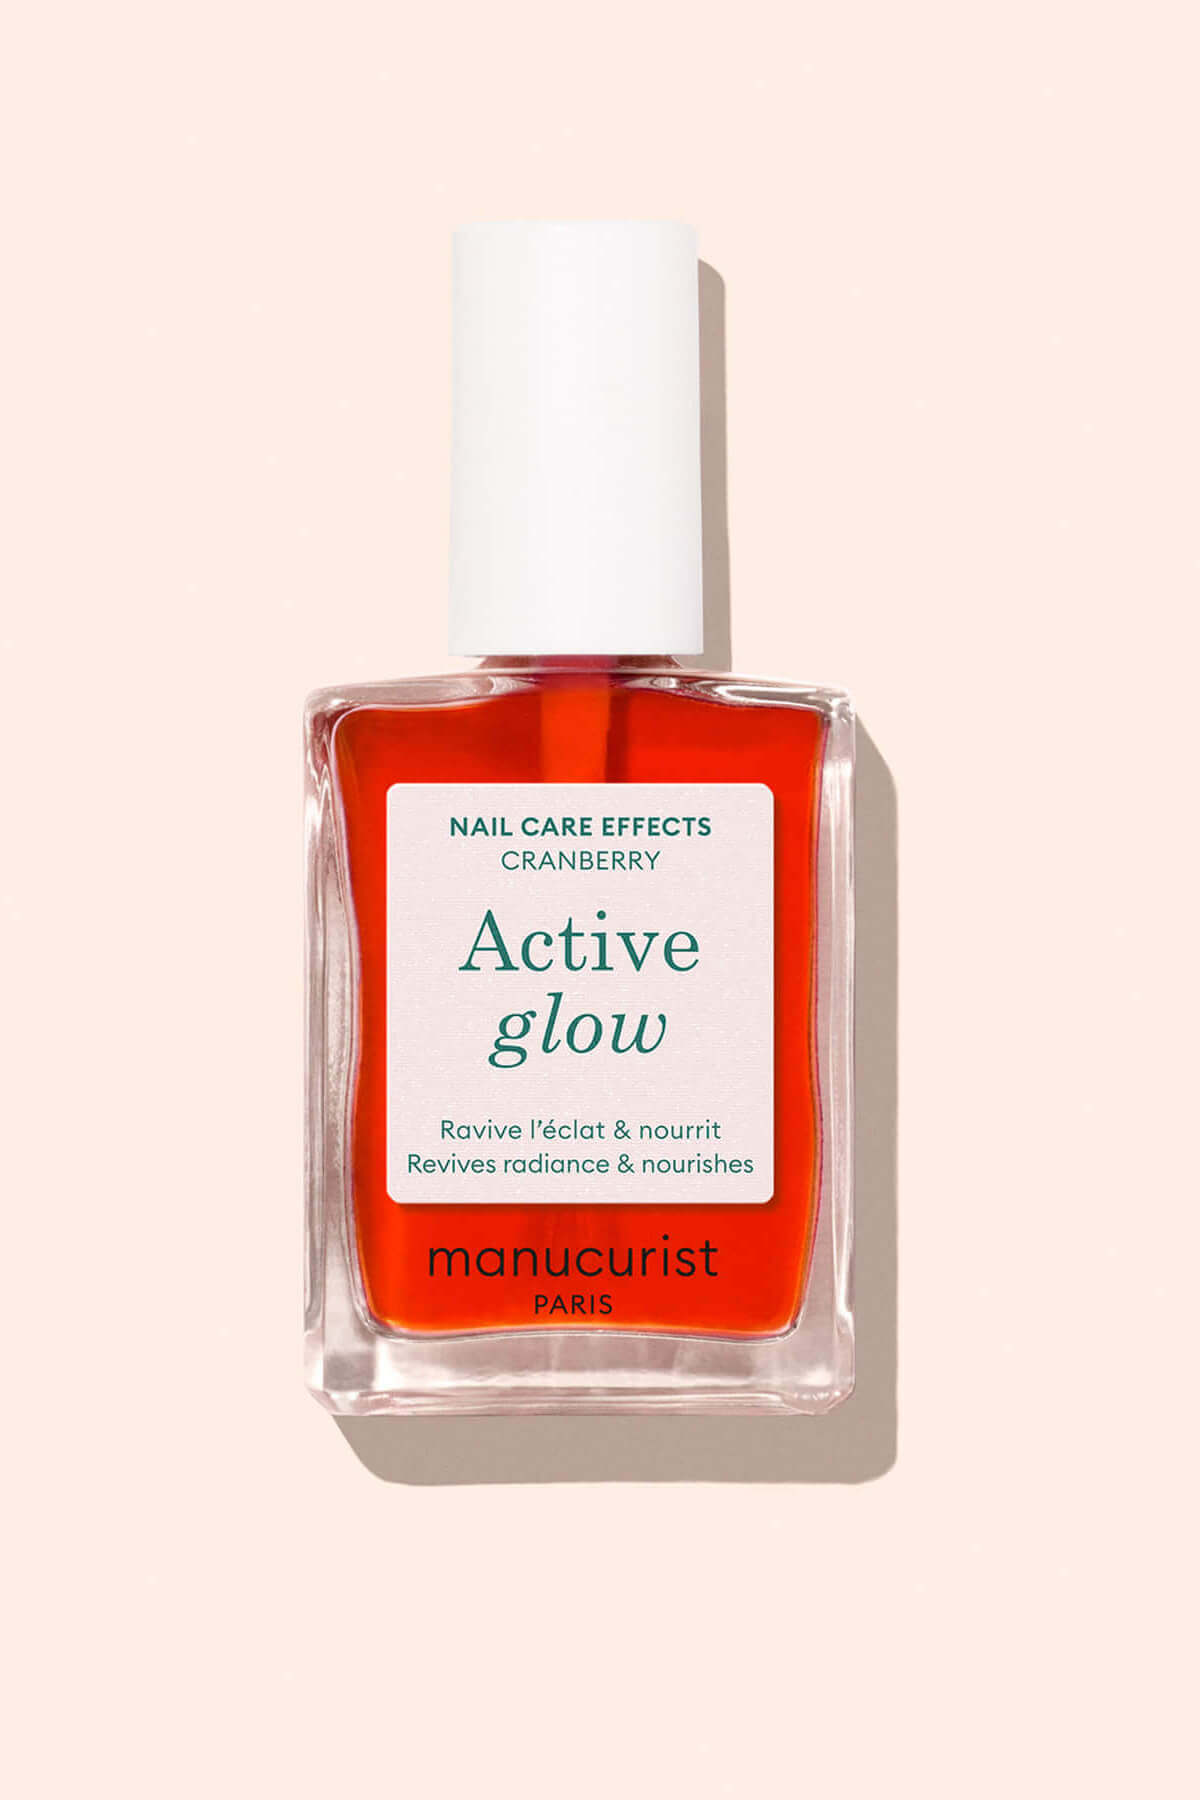
Massage your nails every day with Complete Serum to maintain flexibility and hydration. Enriched with vegetable glycerin, panthenol and chestnut extracts, it deeply hydrates and regenerates the nail.

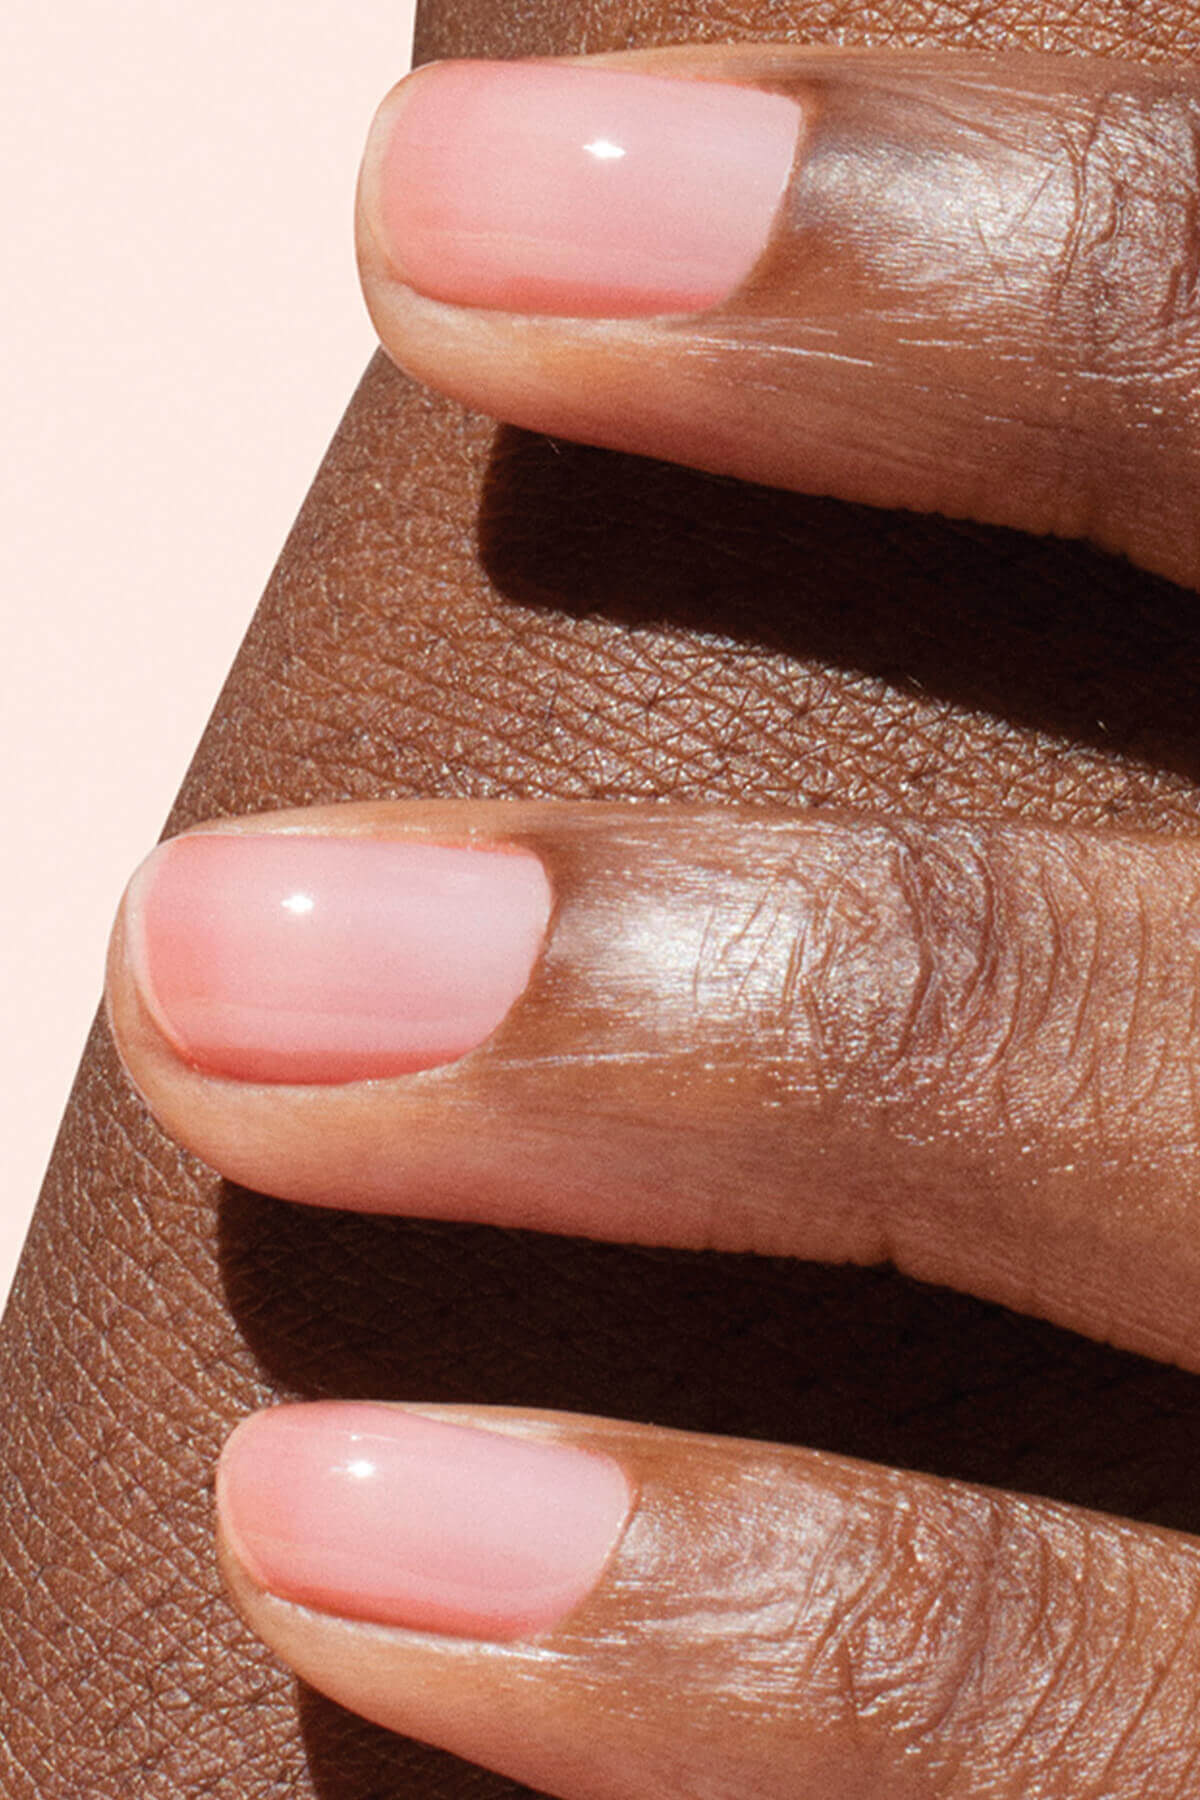
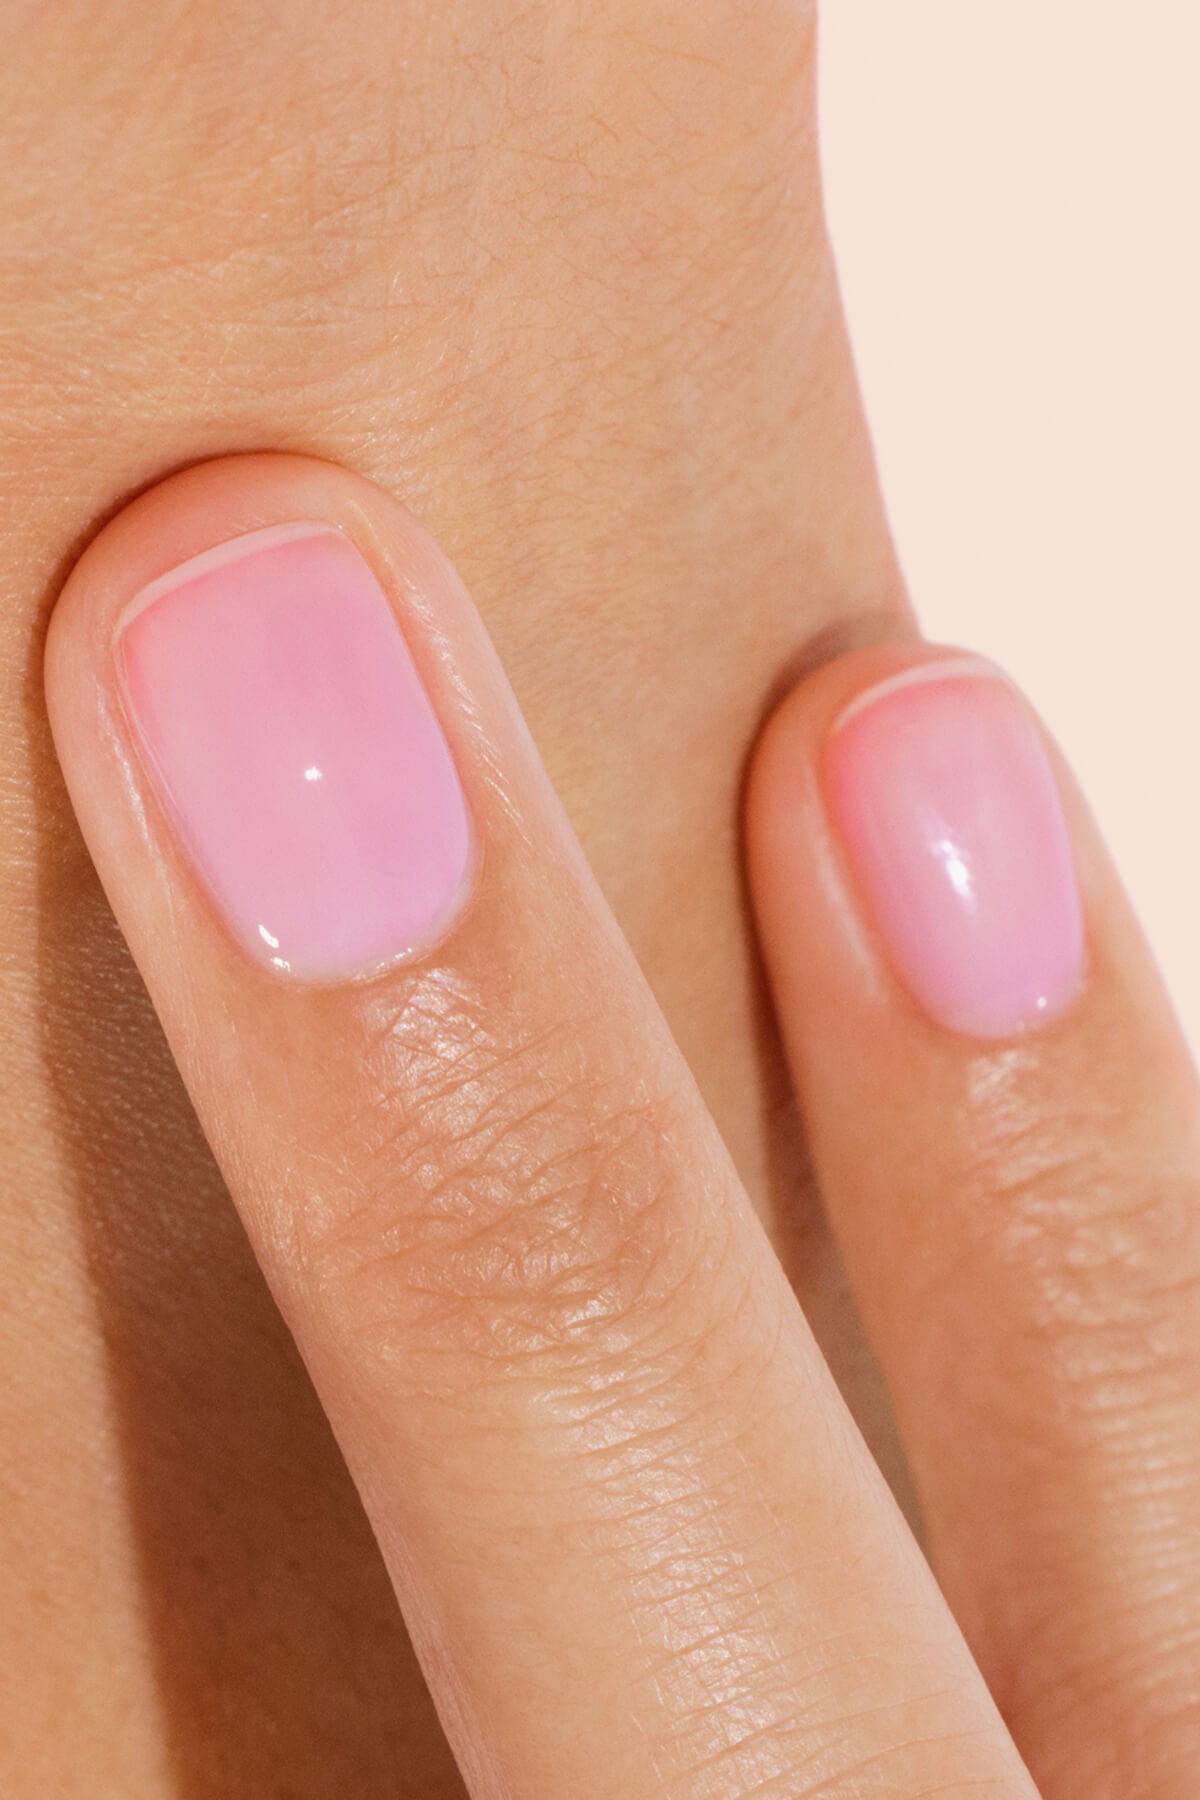
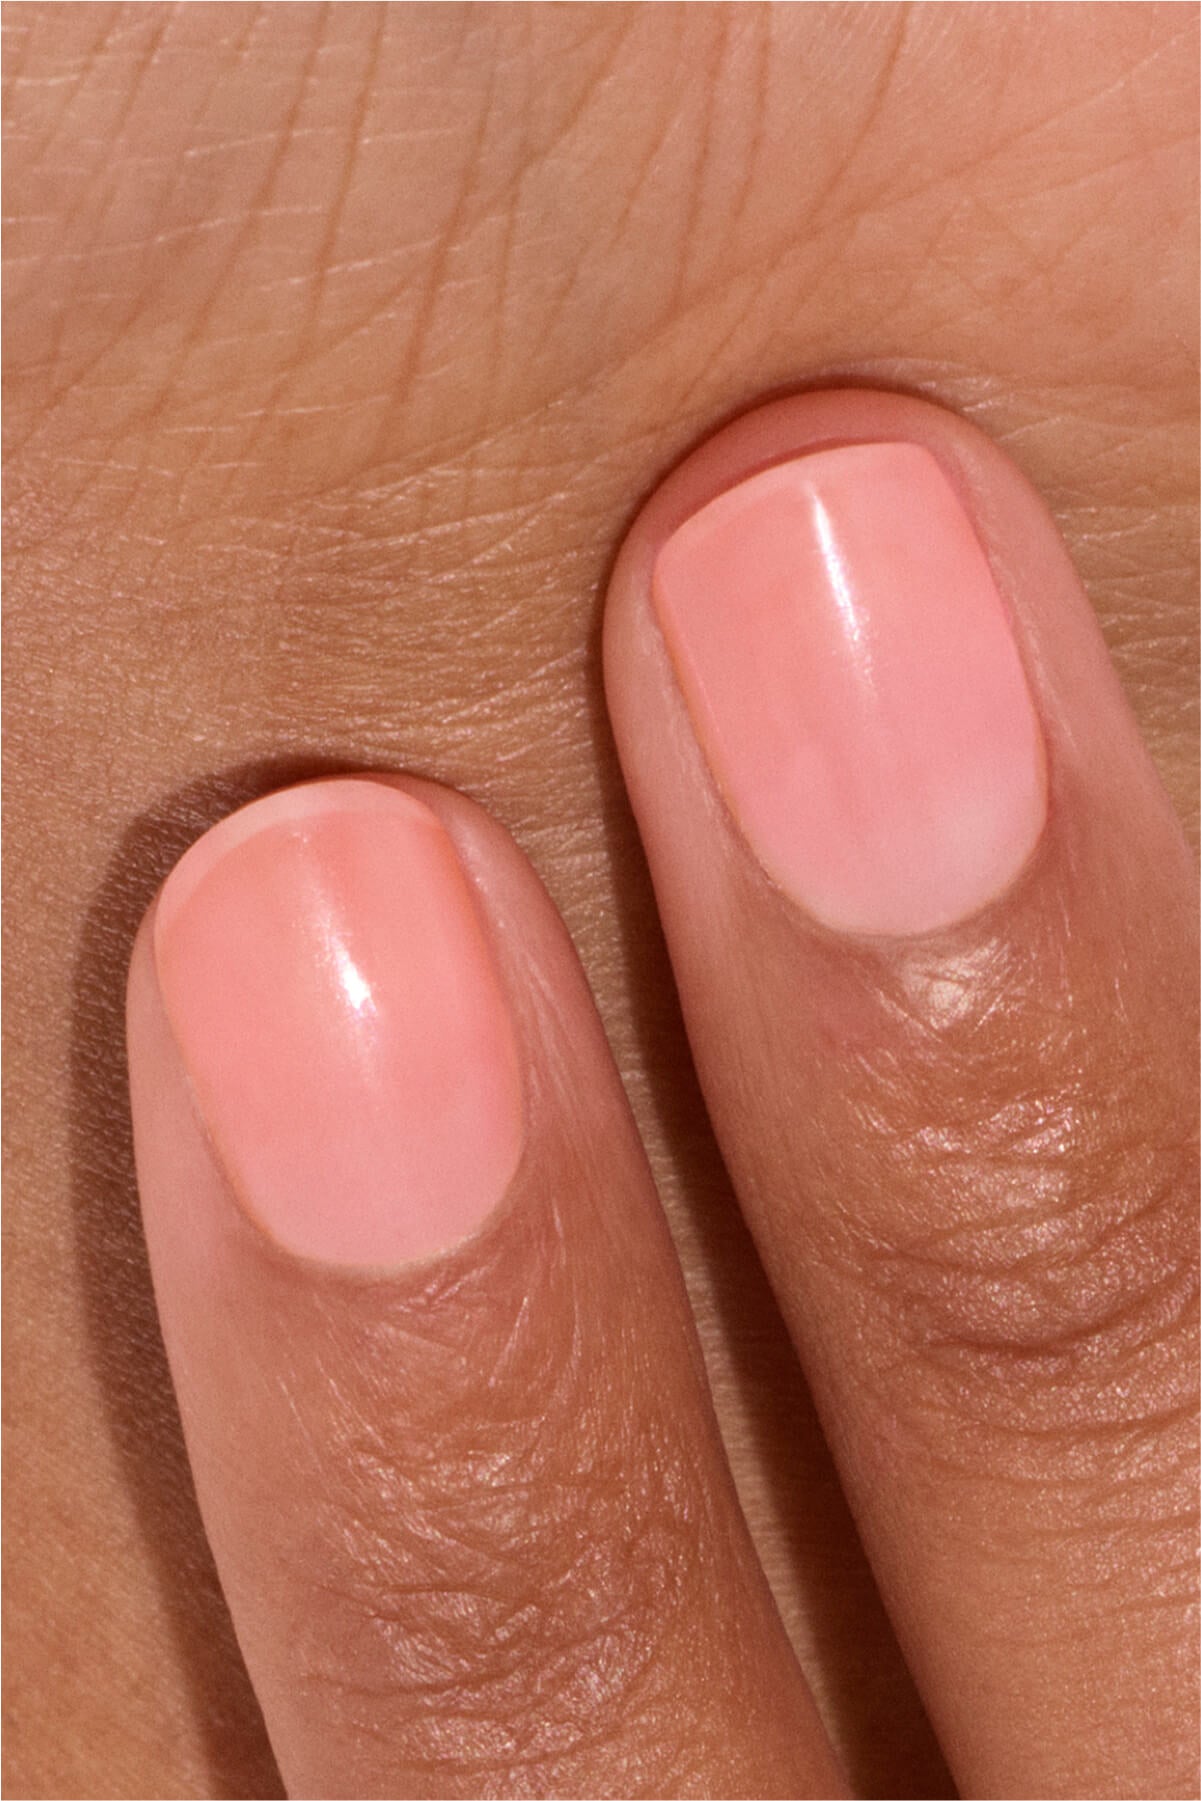
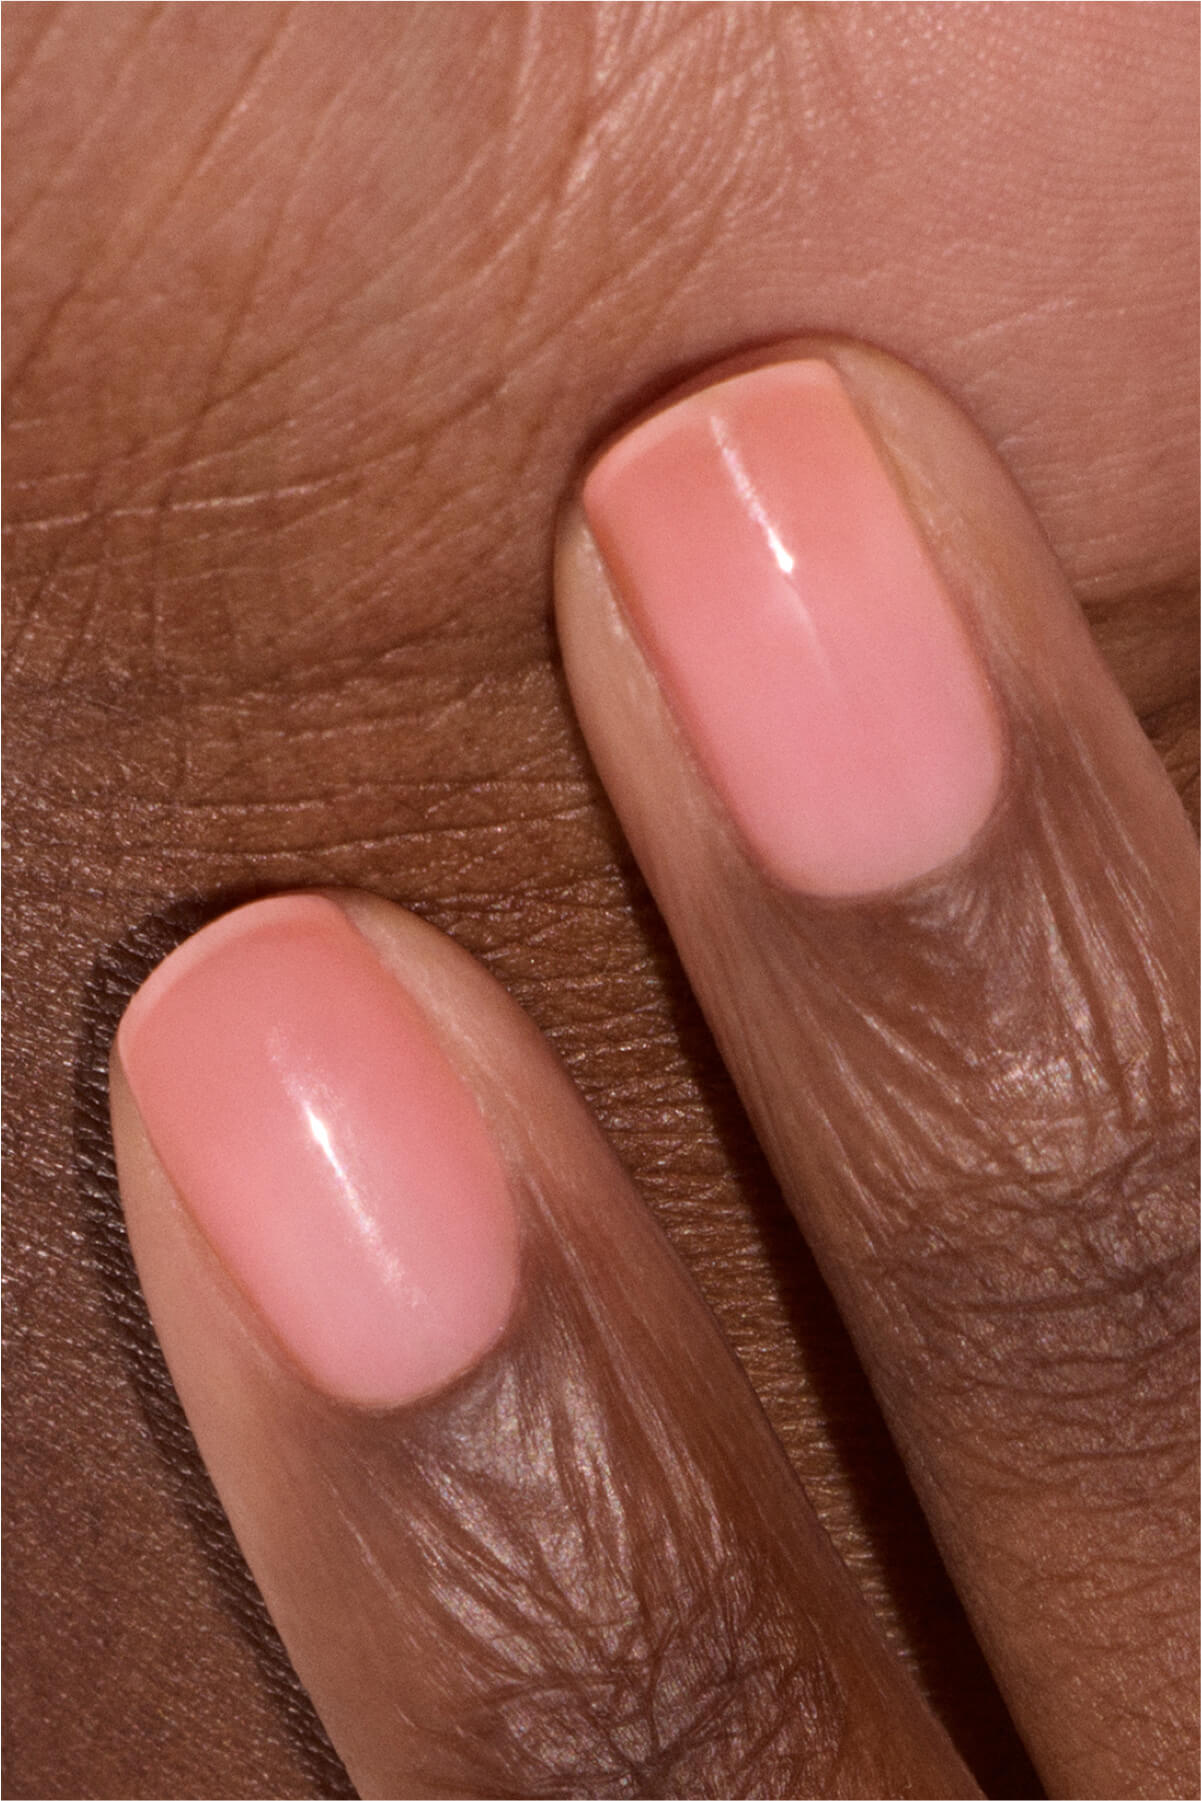
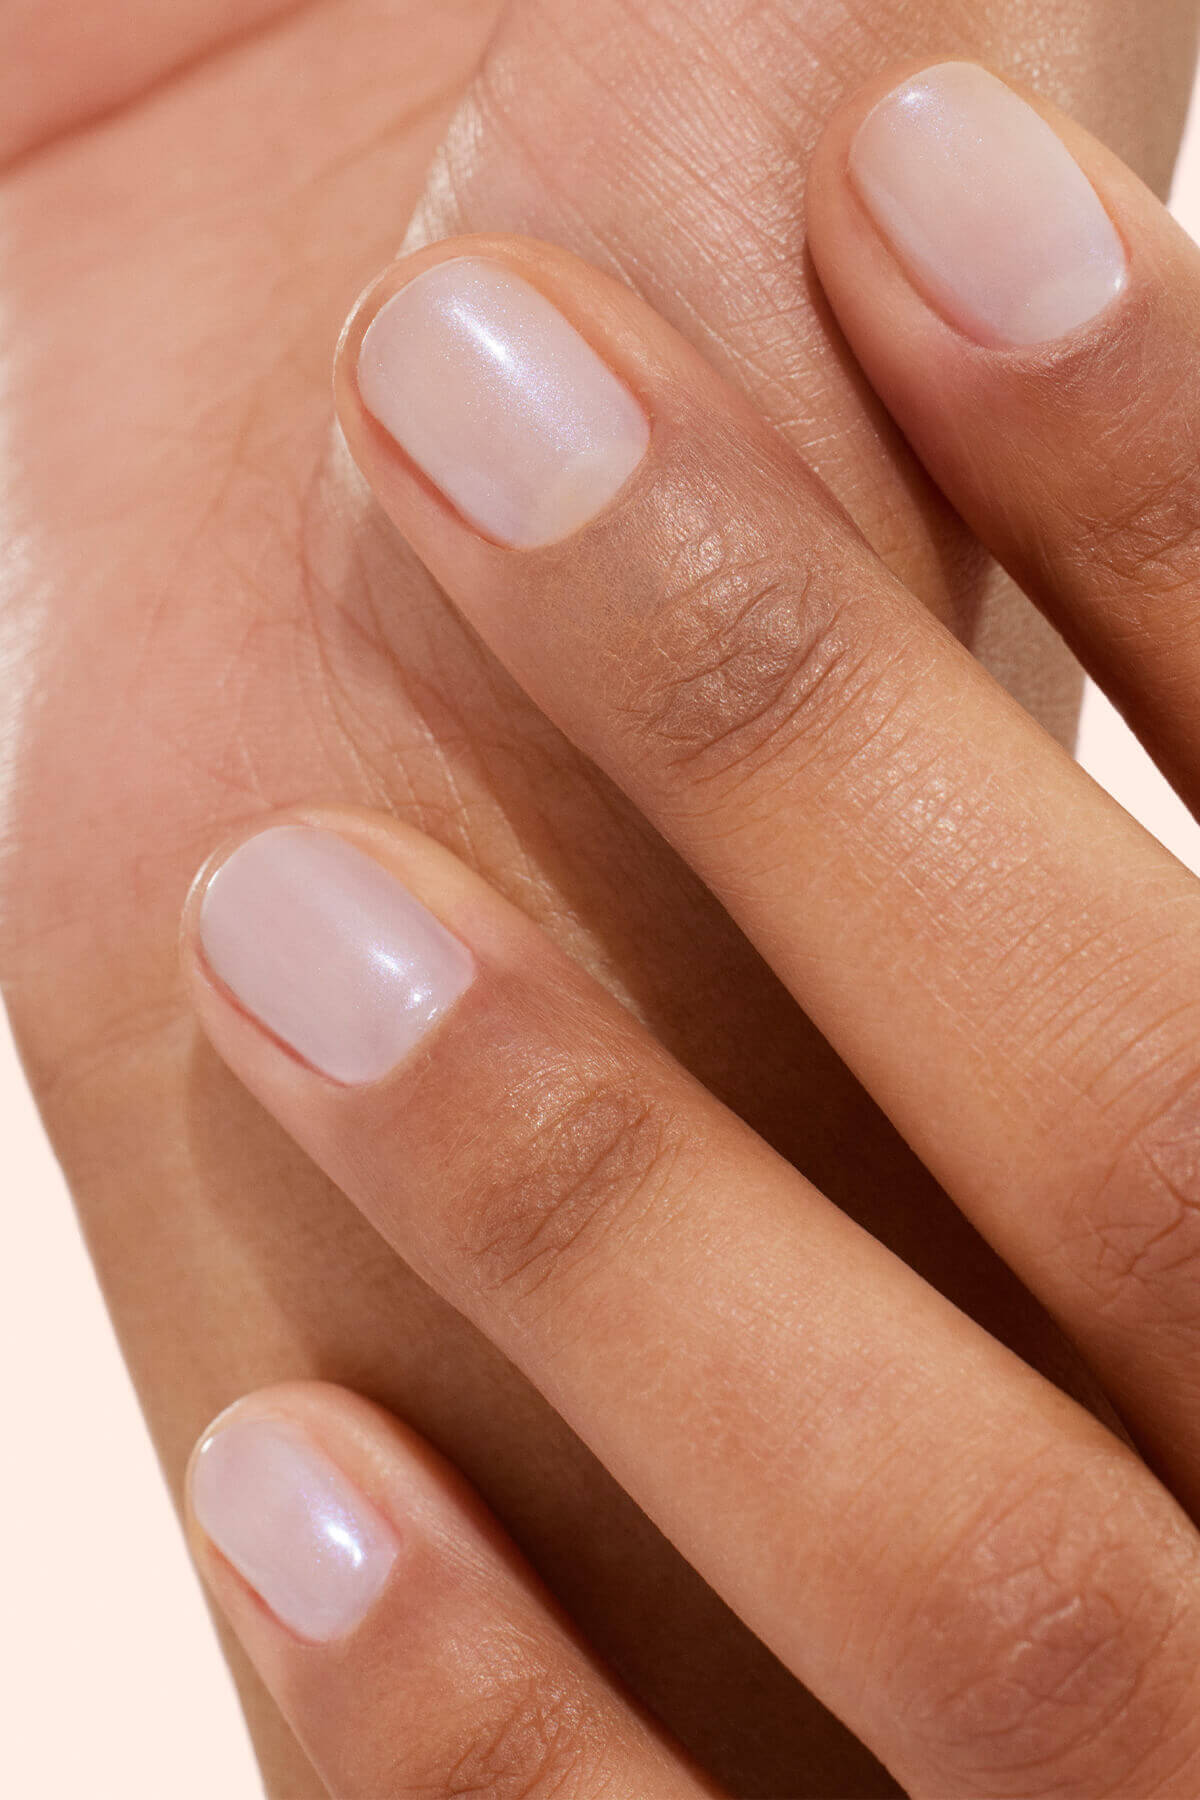
Hydrated, nourished nails are the secret to a long lasting manicure.
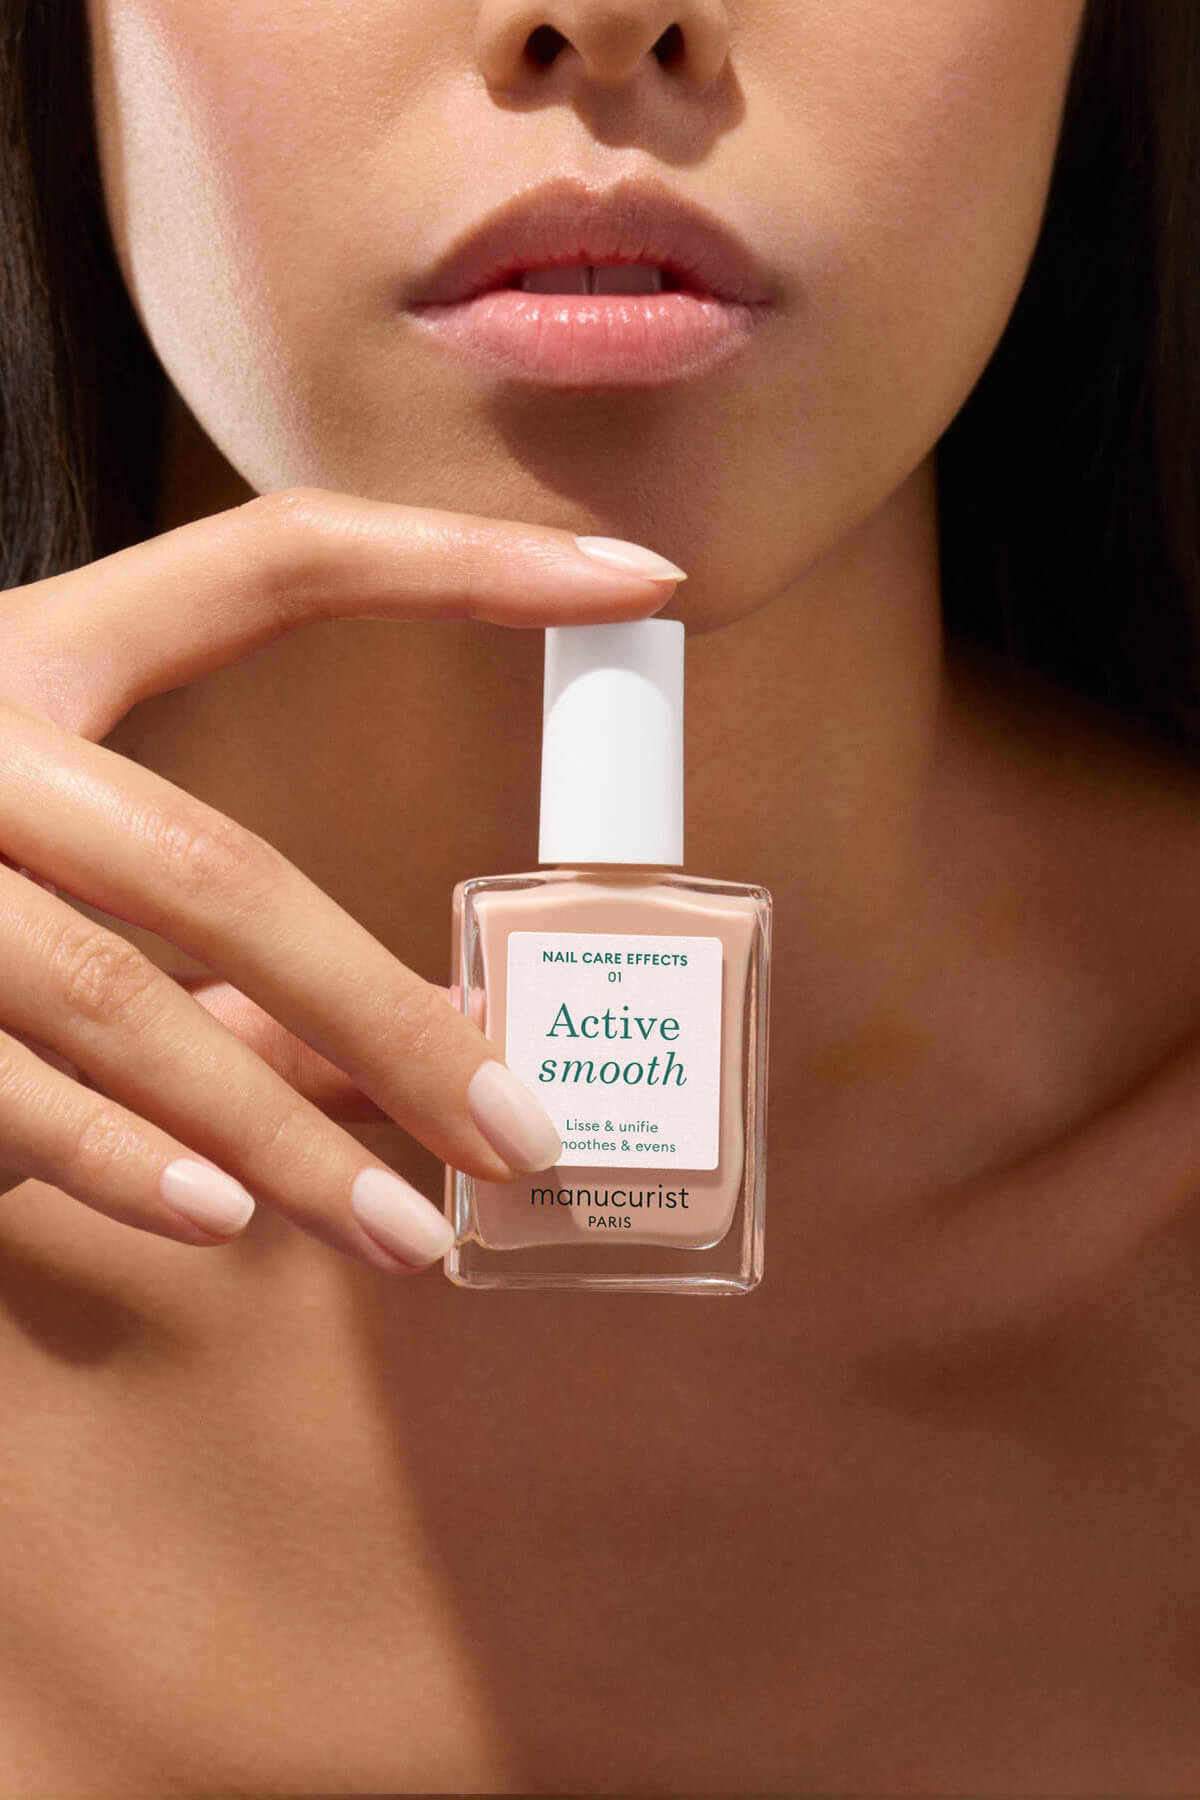
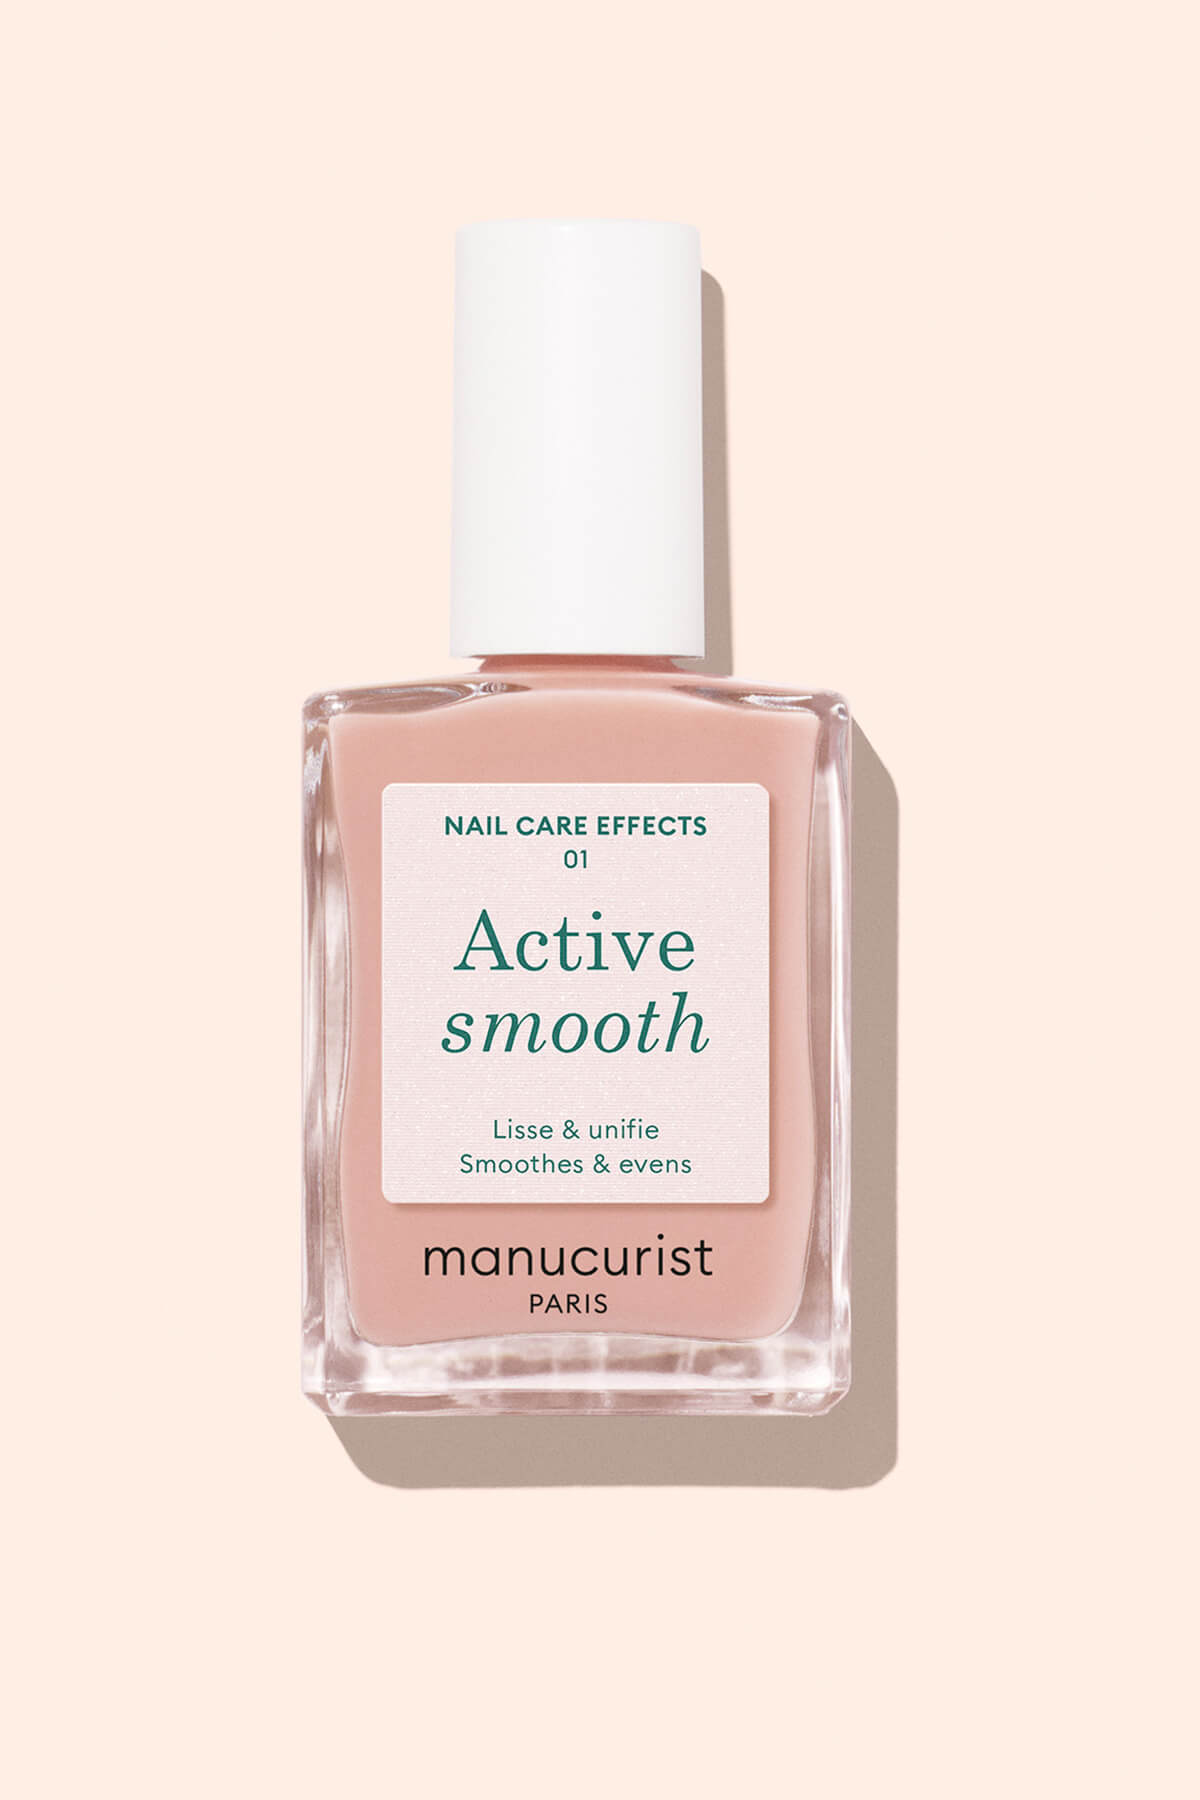
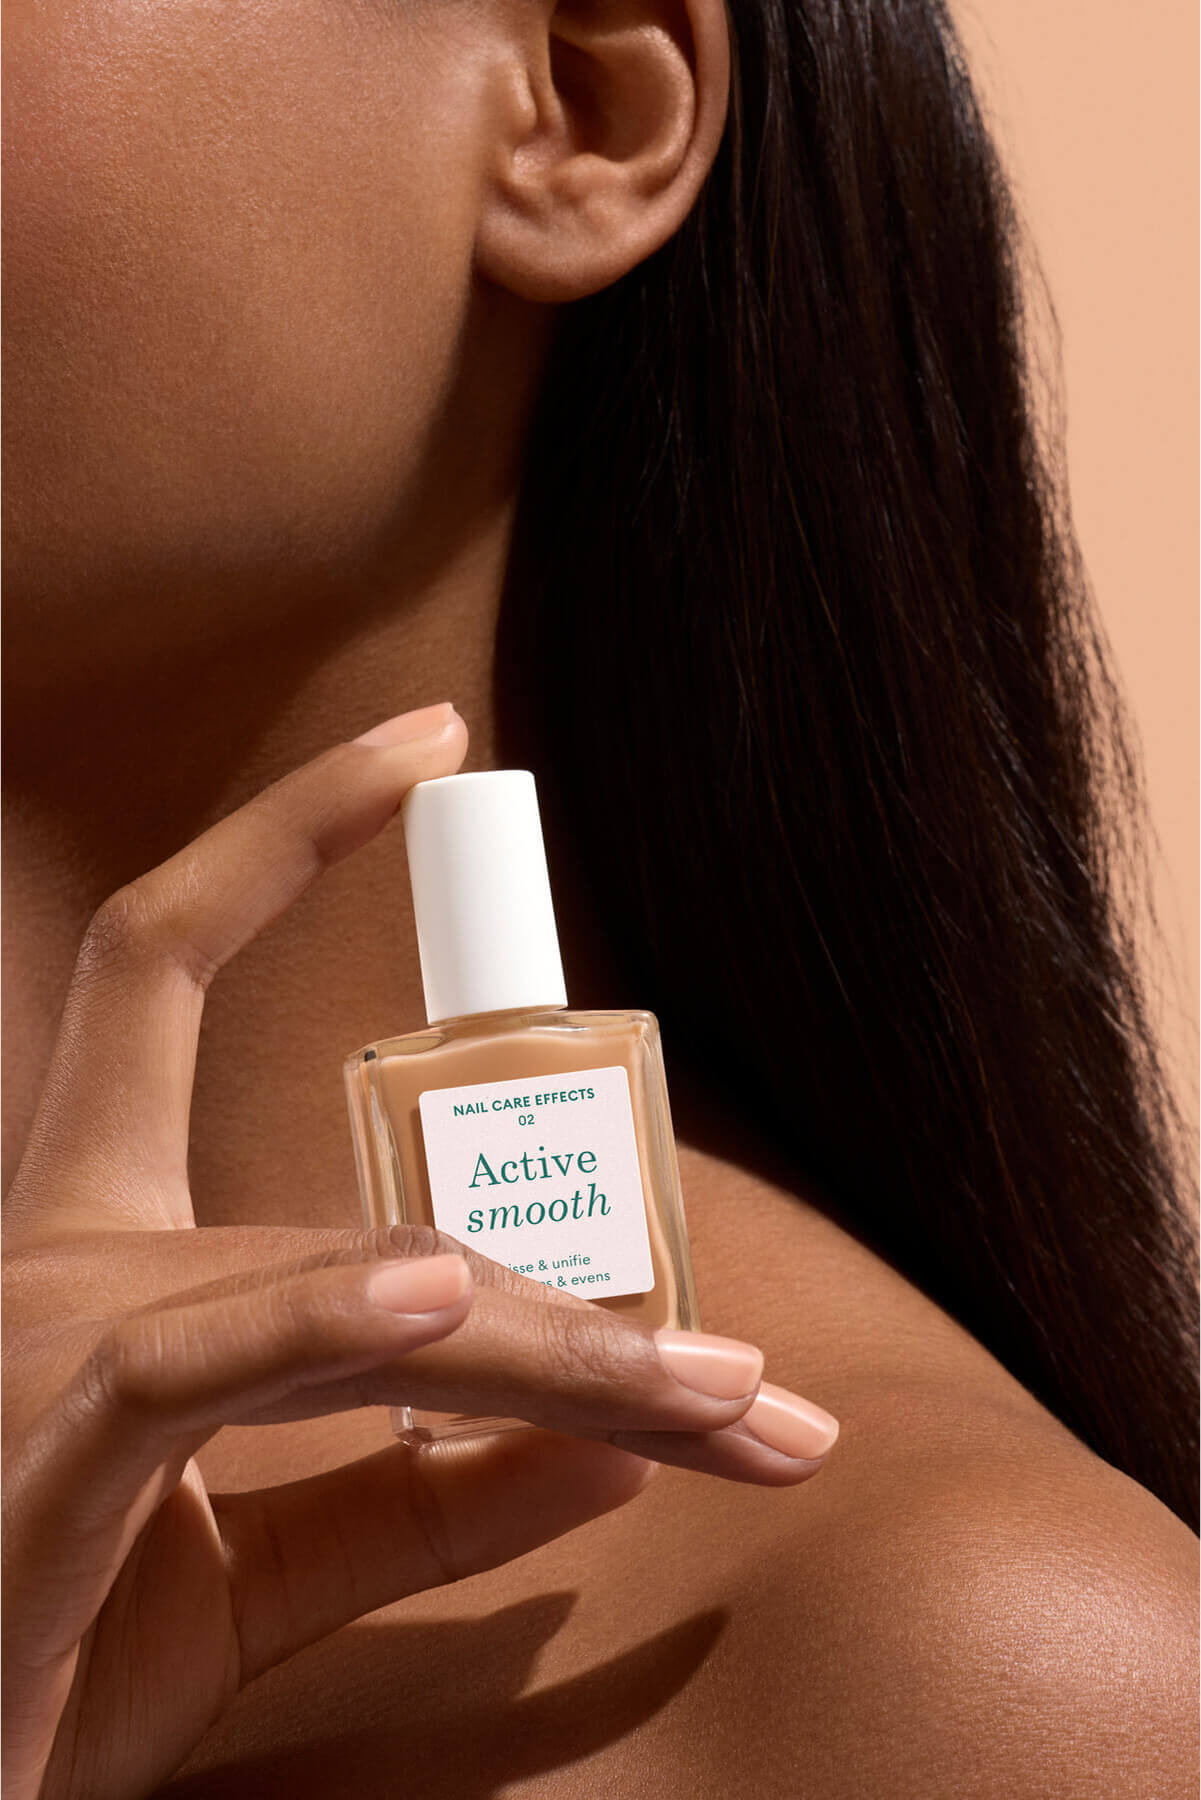
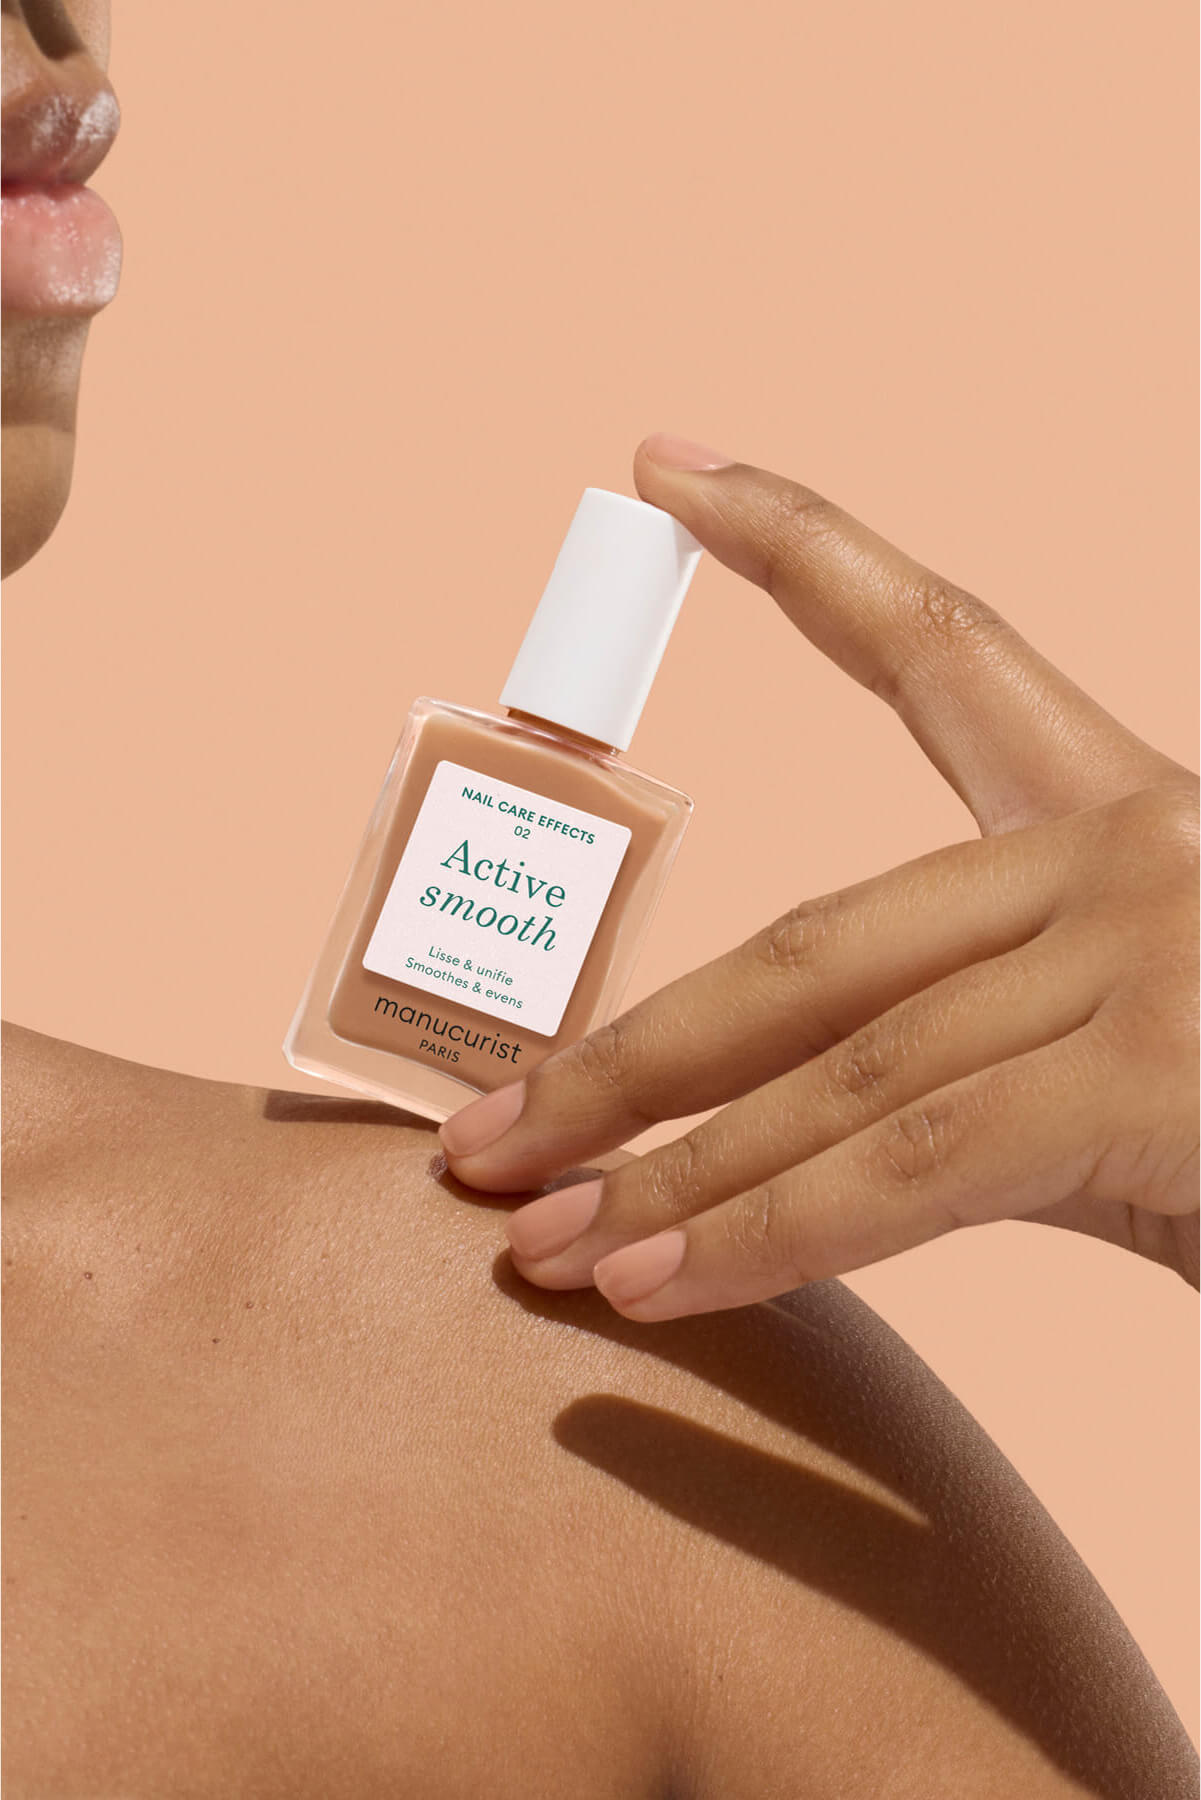
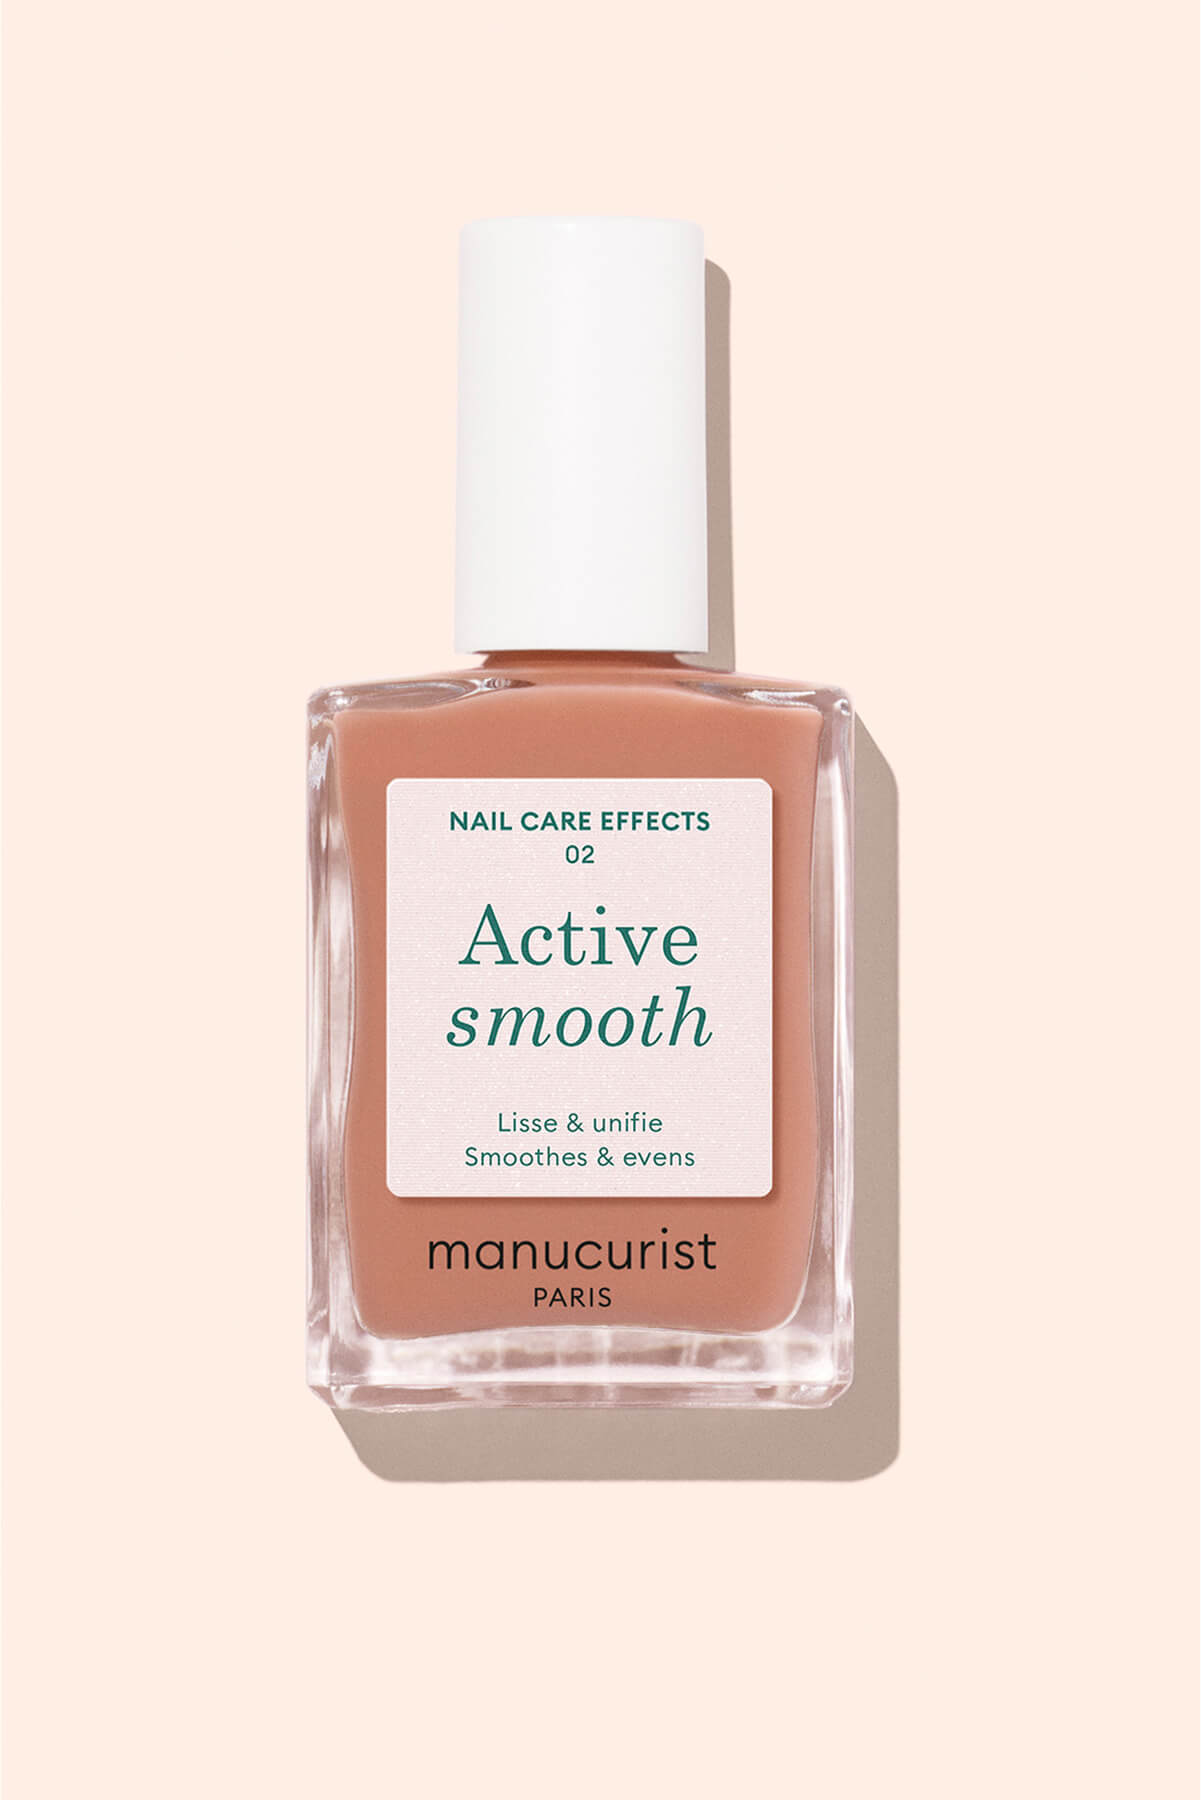
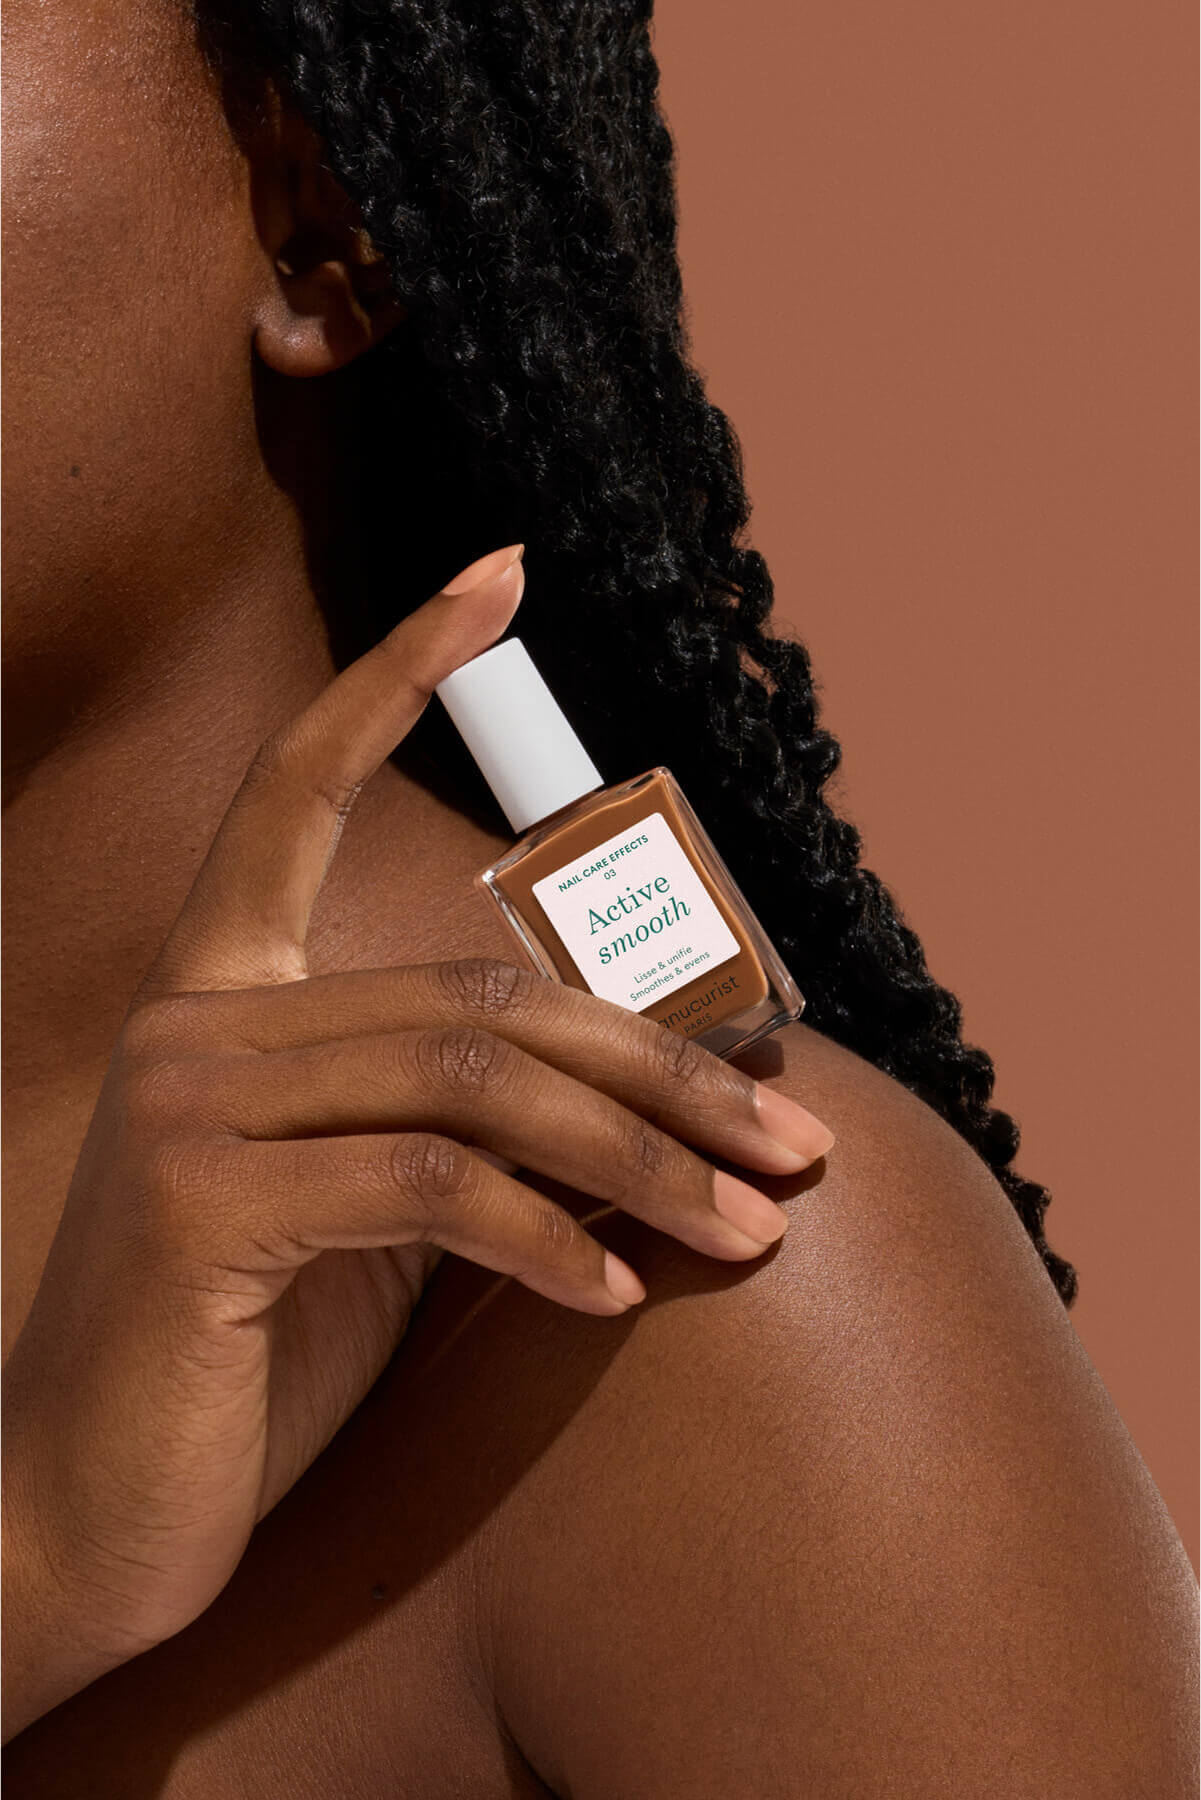
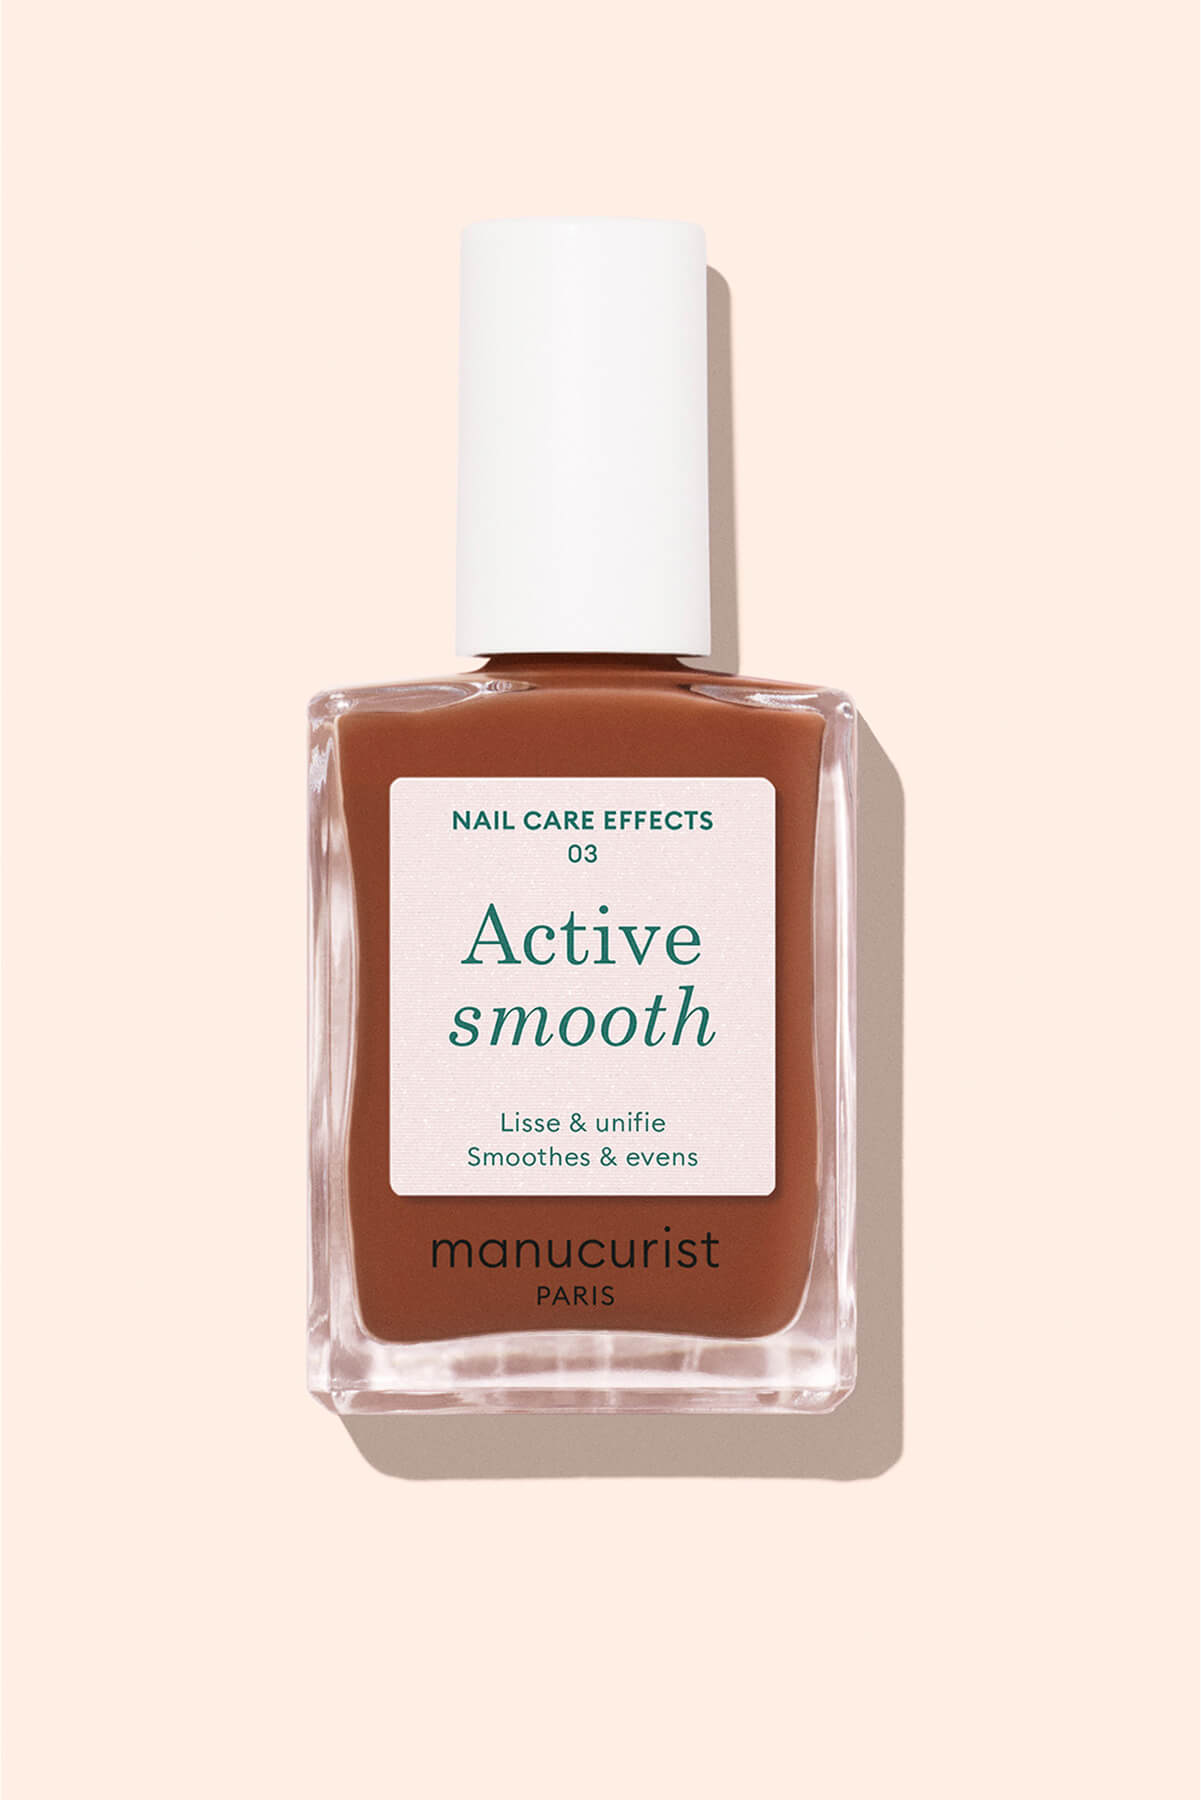
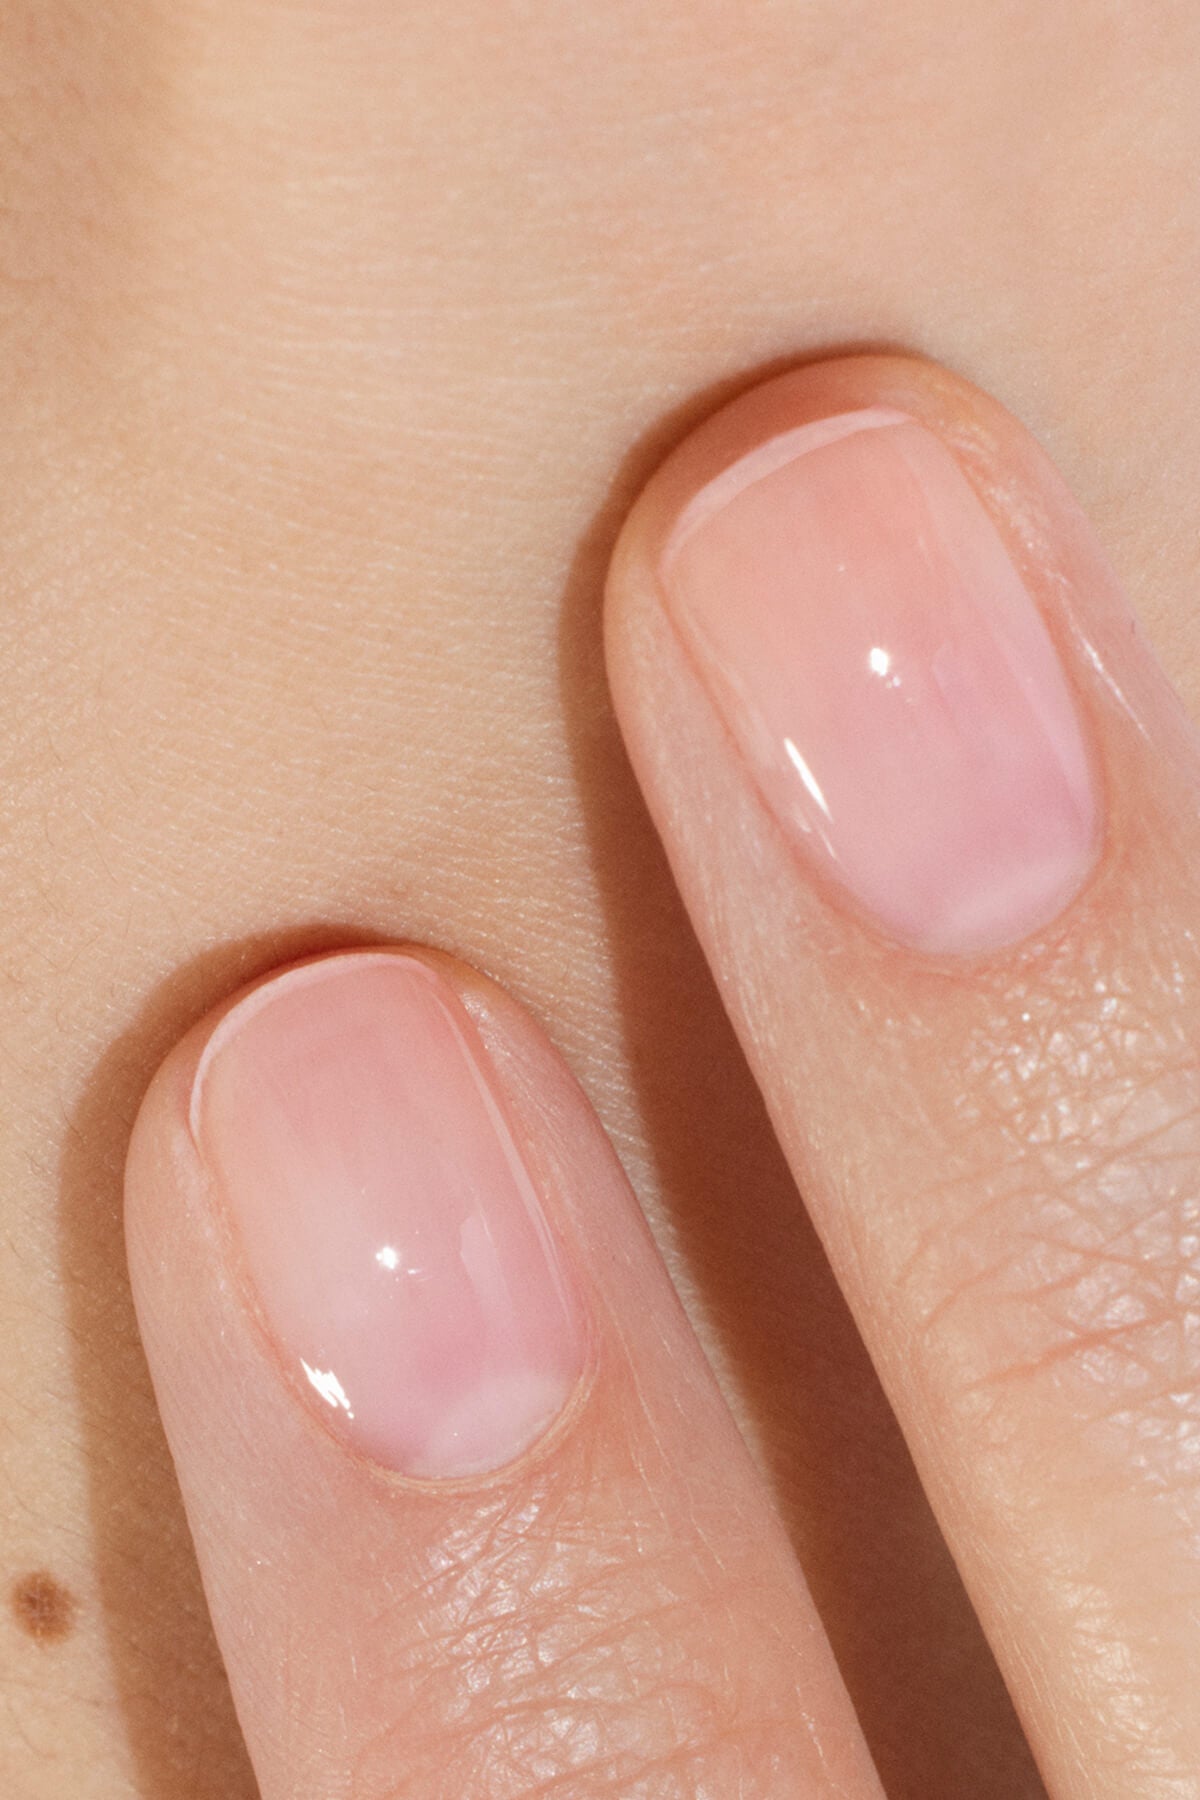
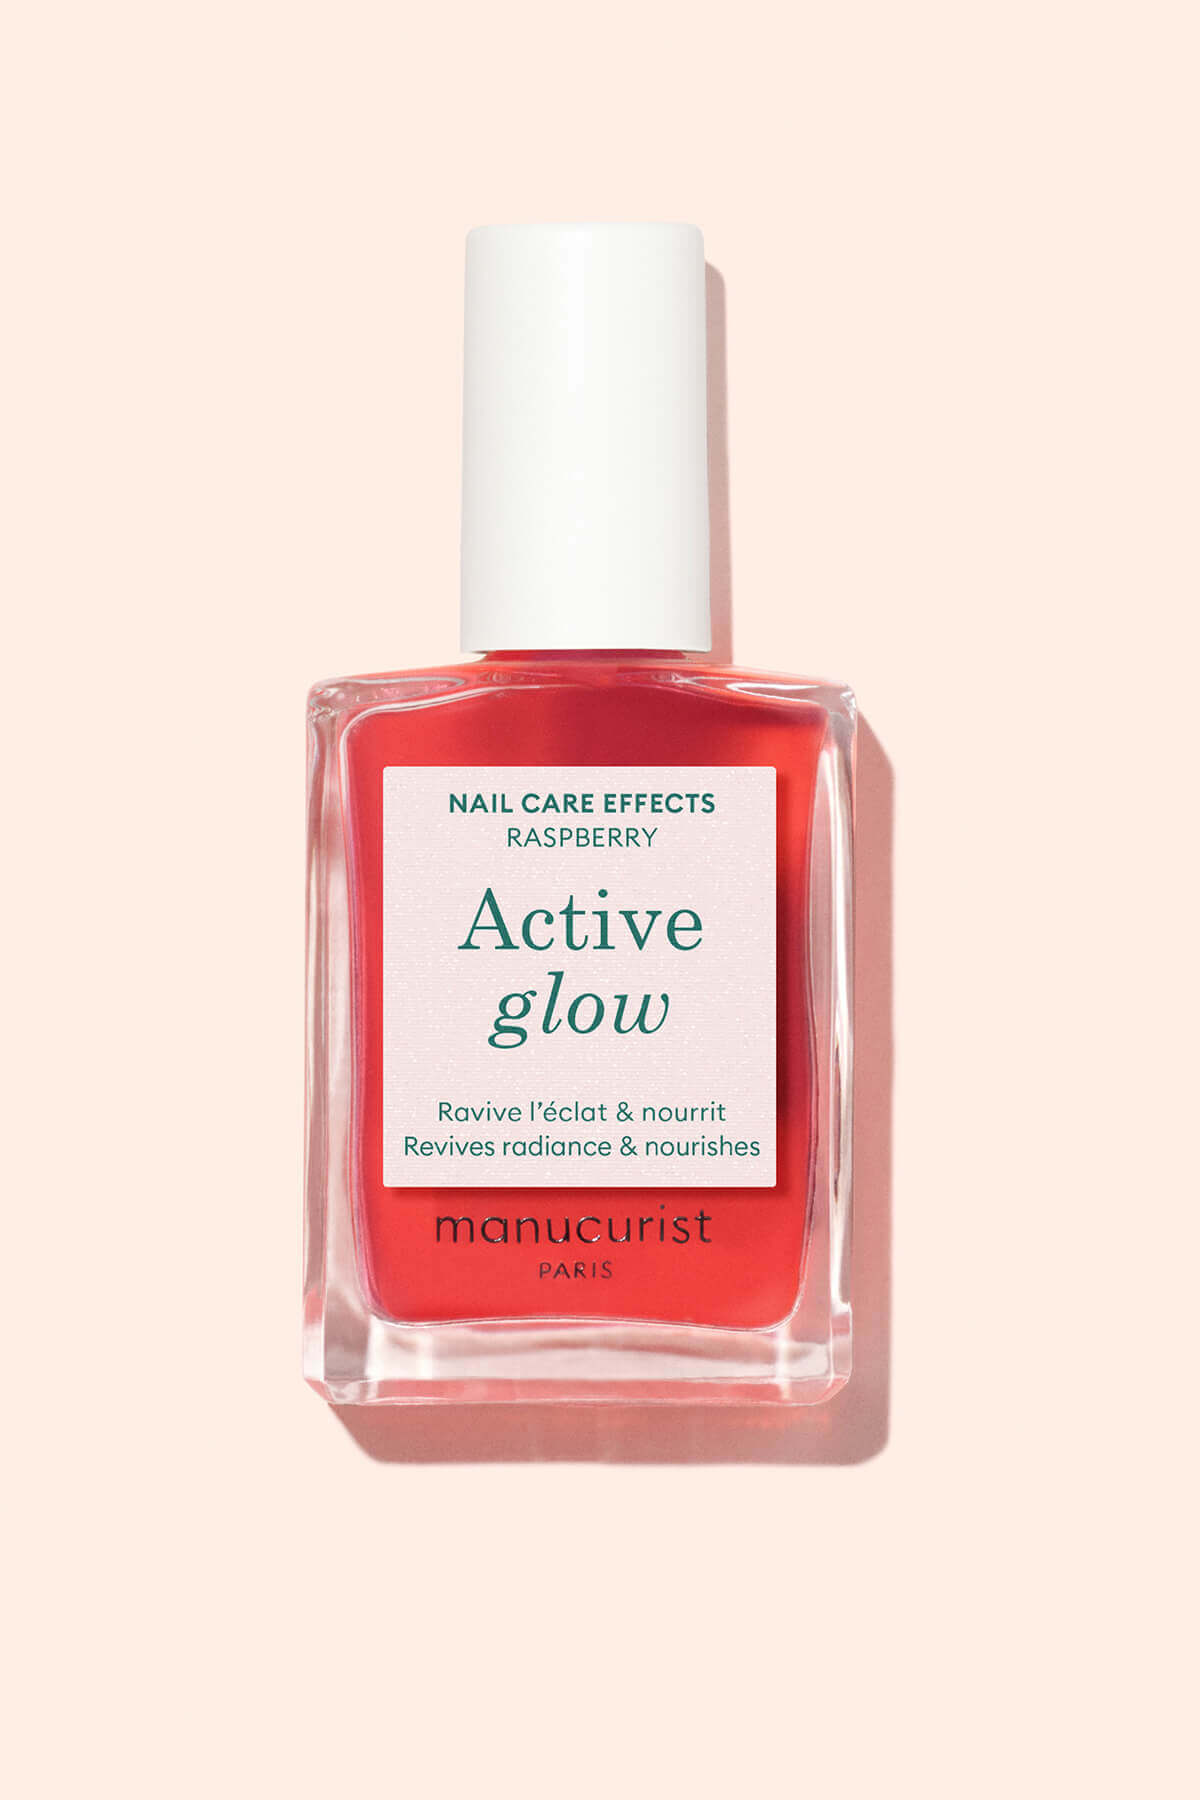
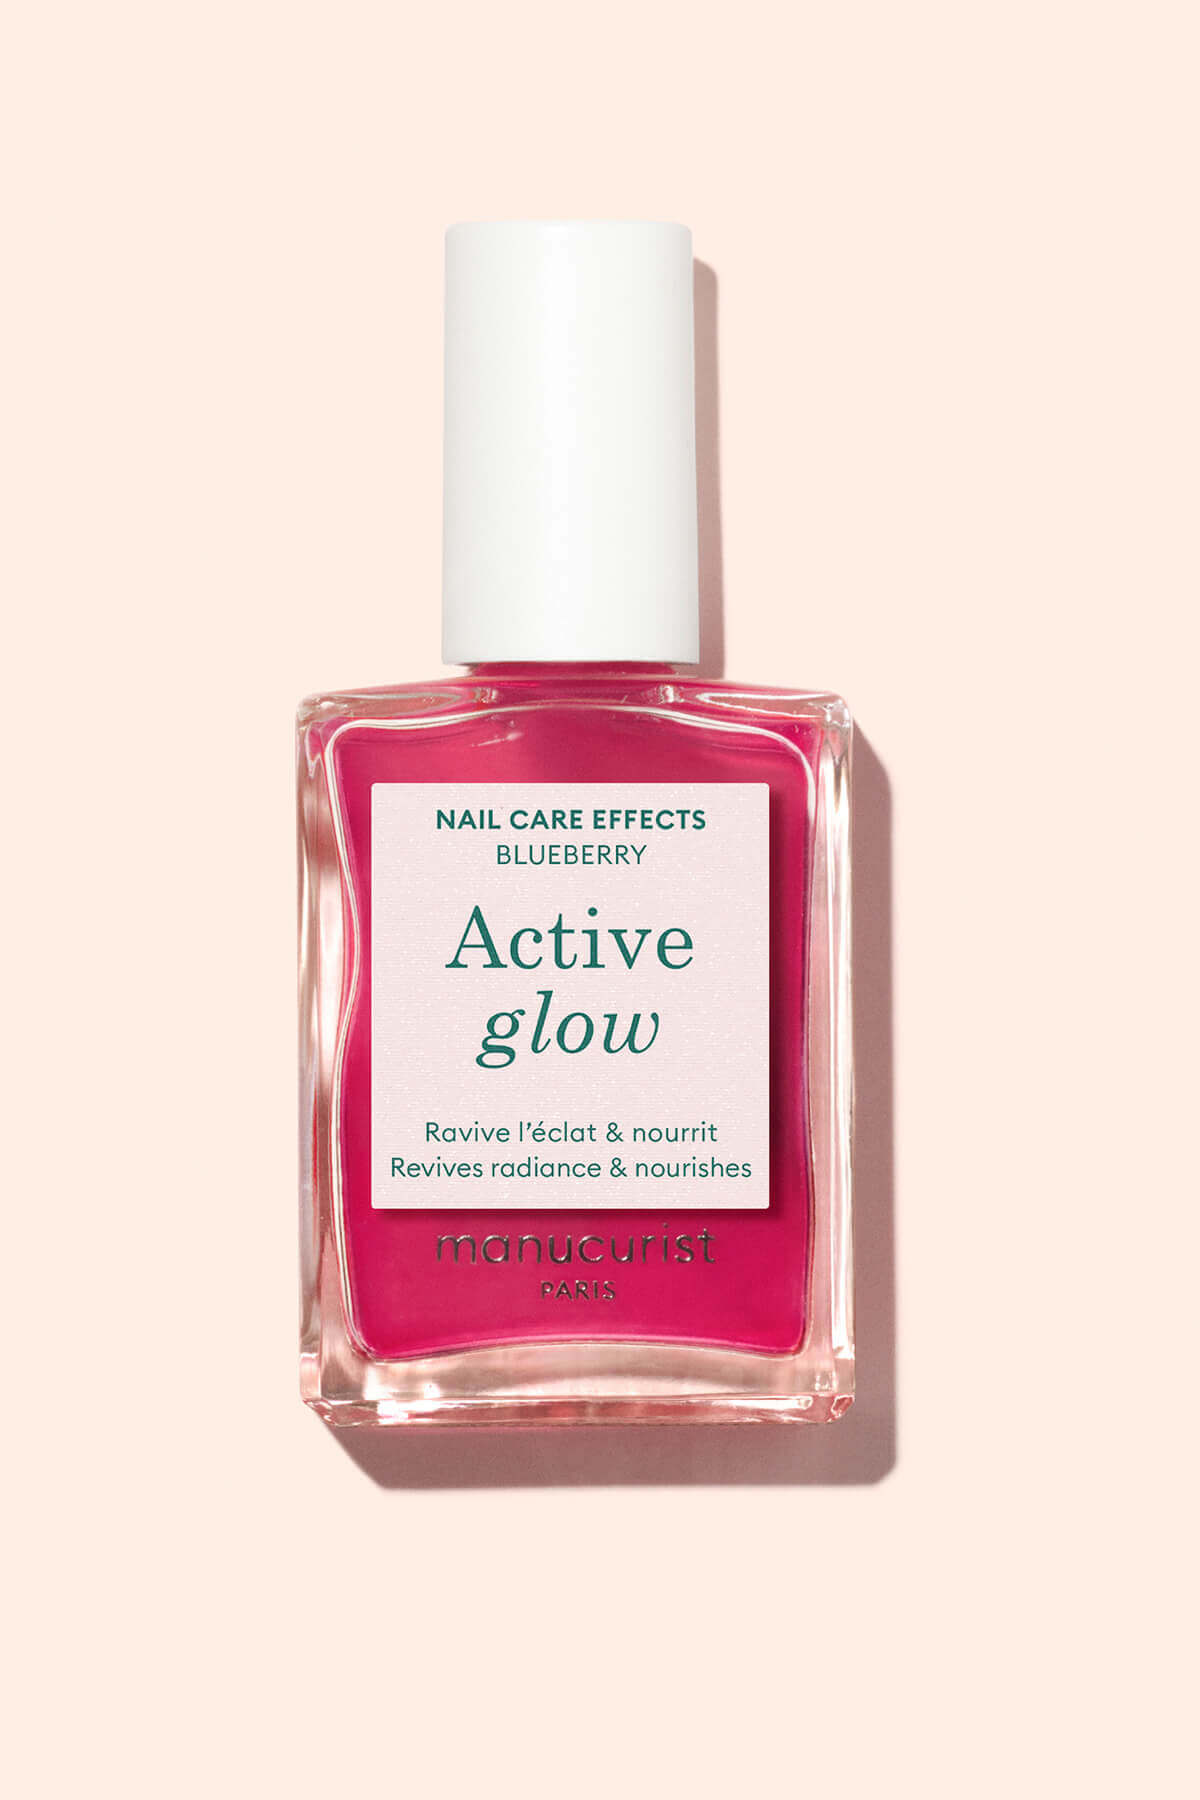
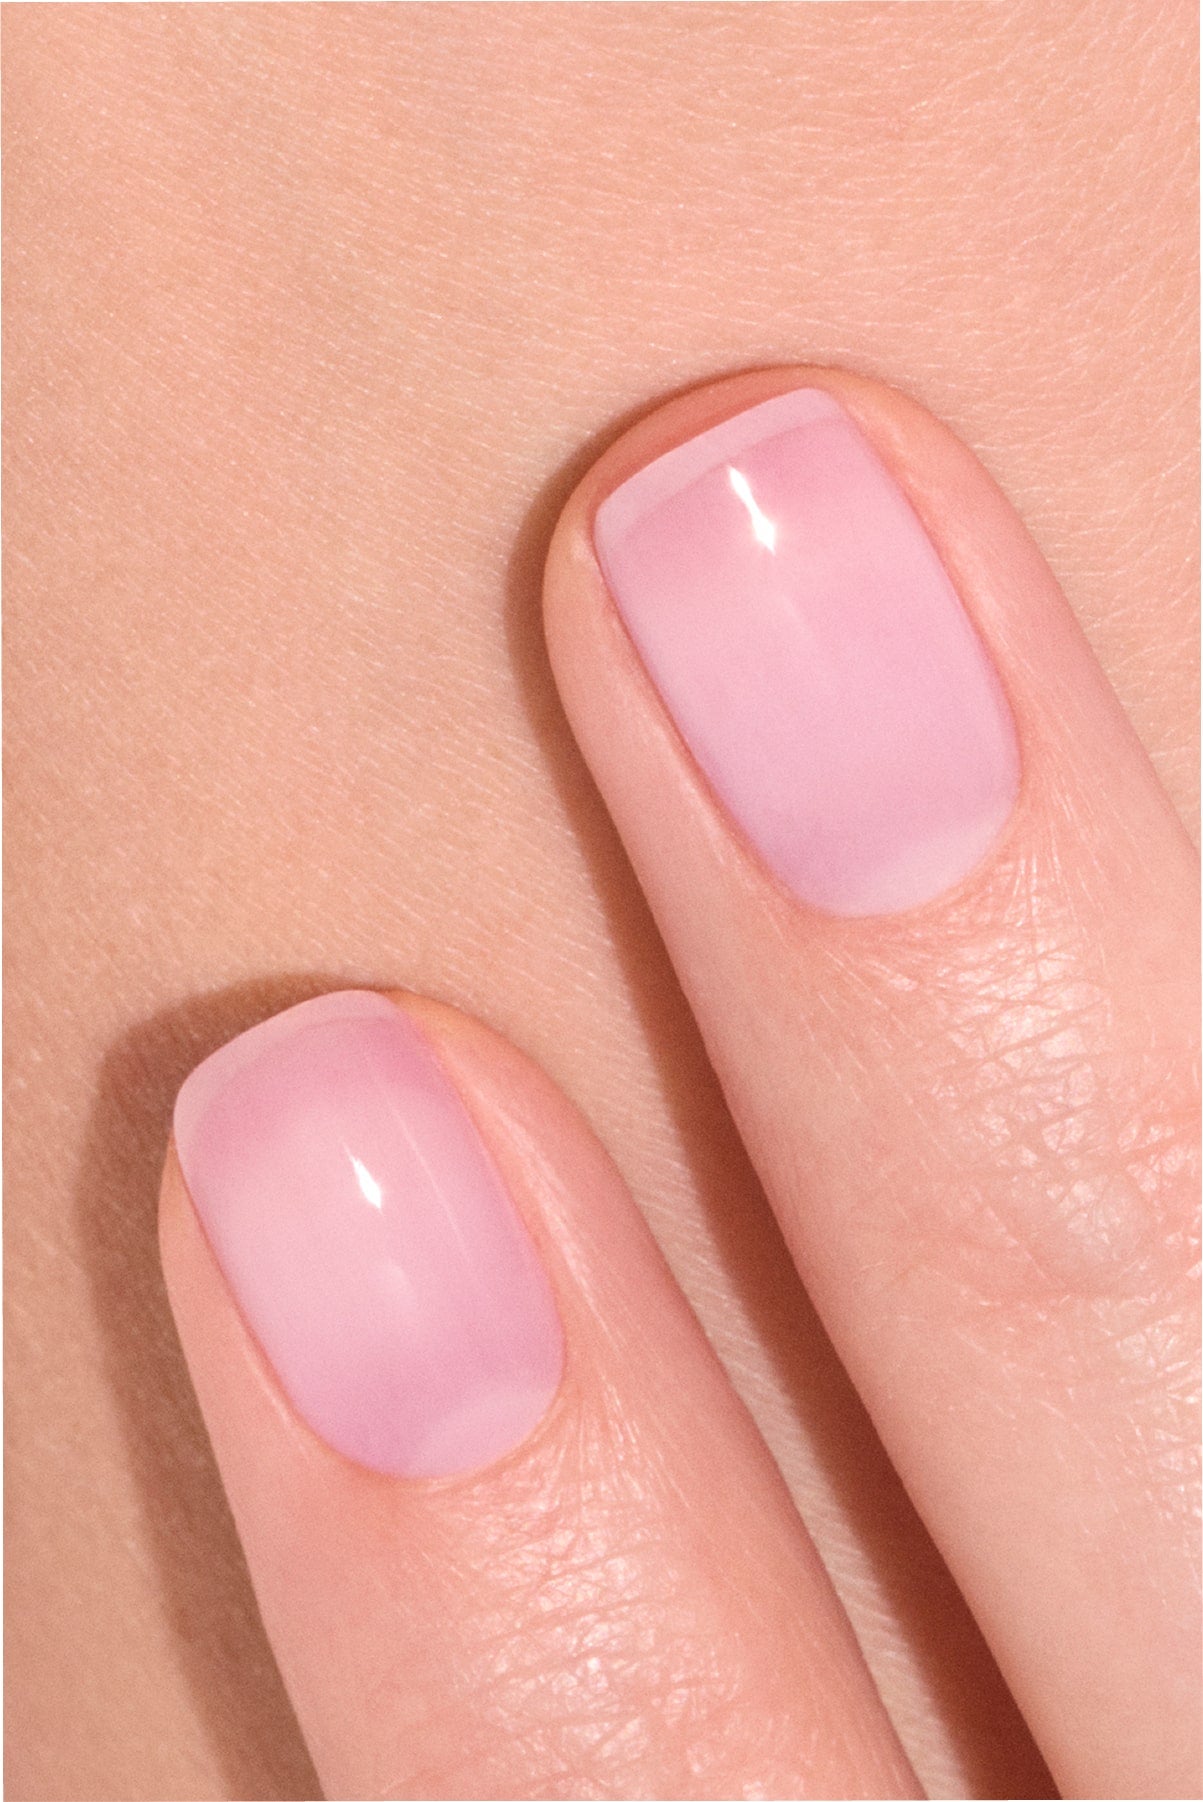
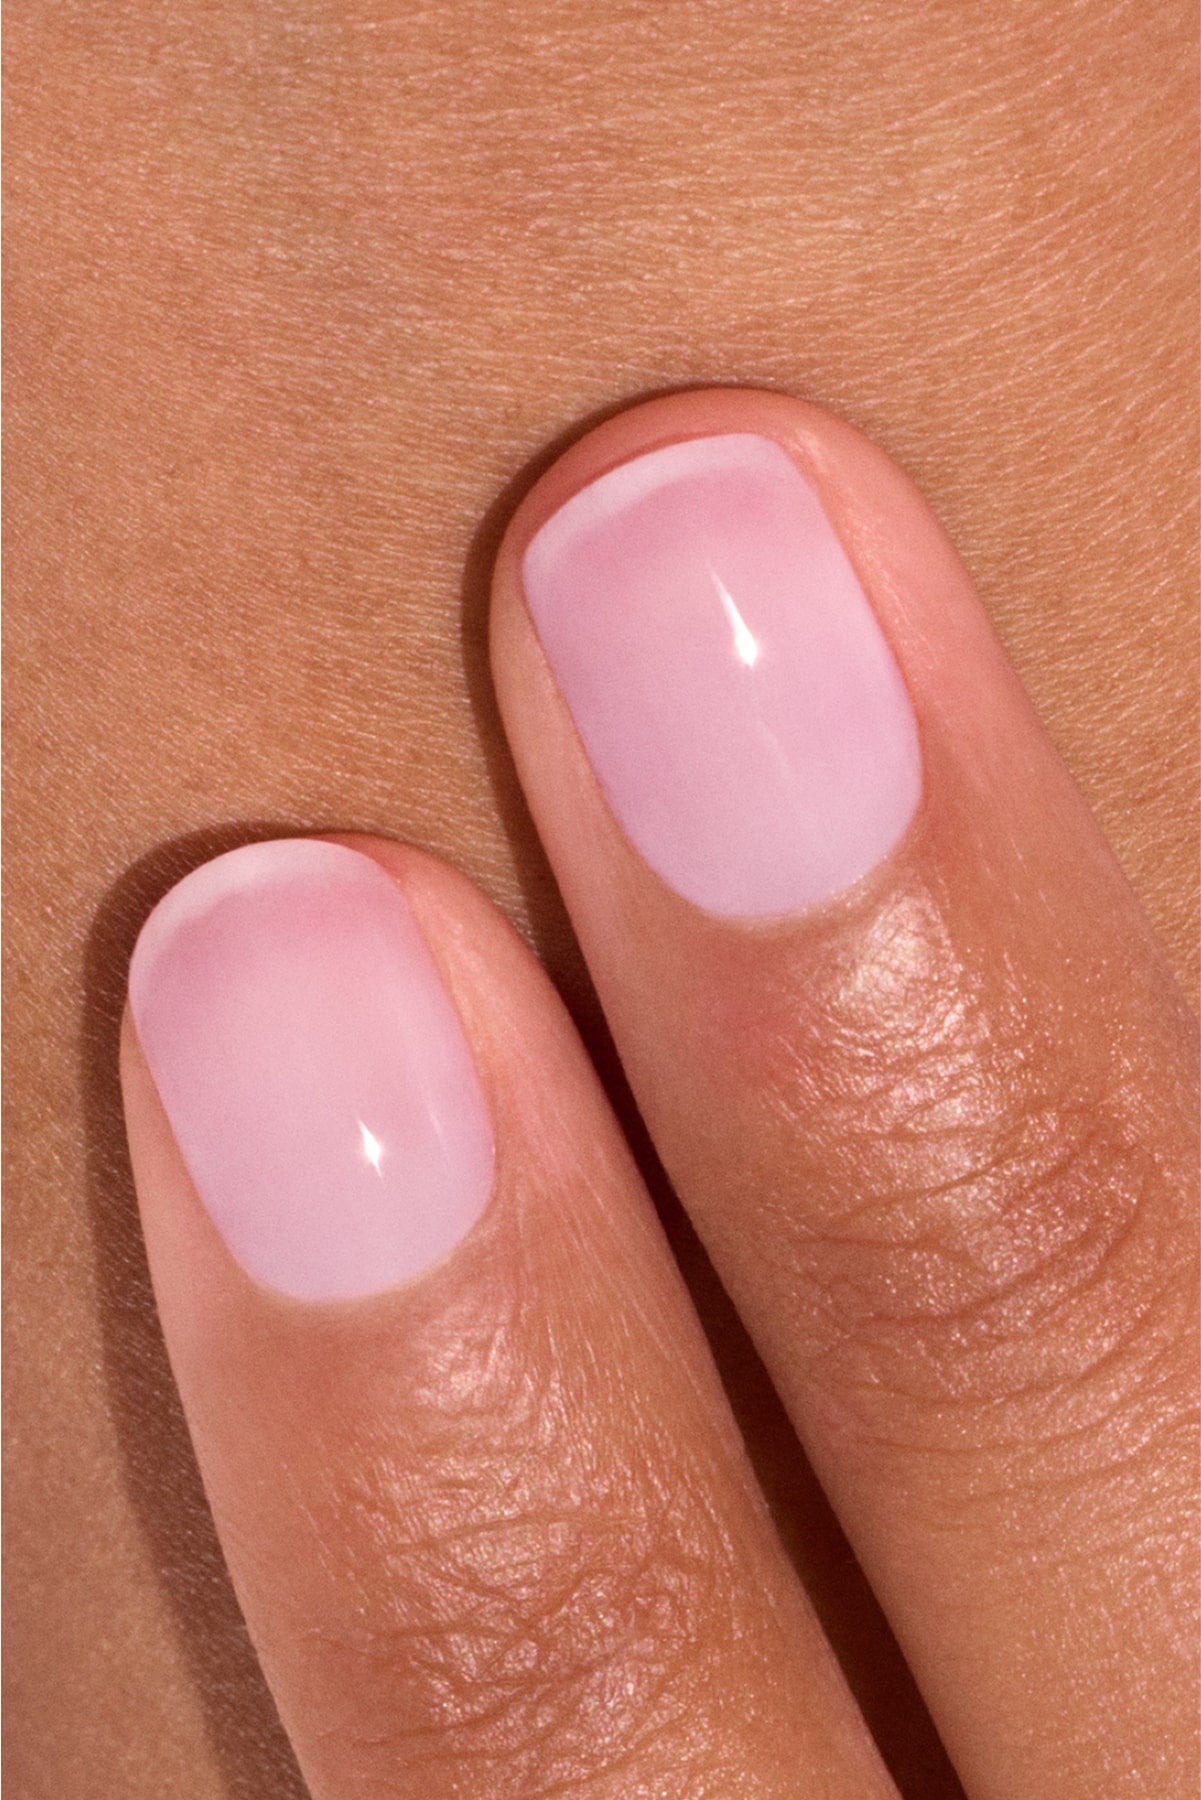
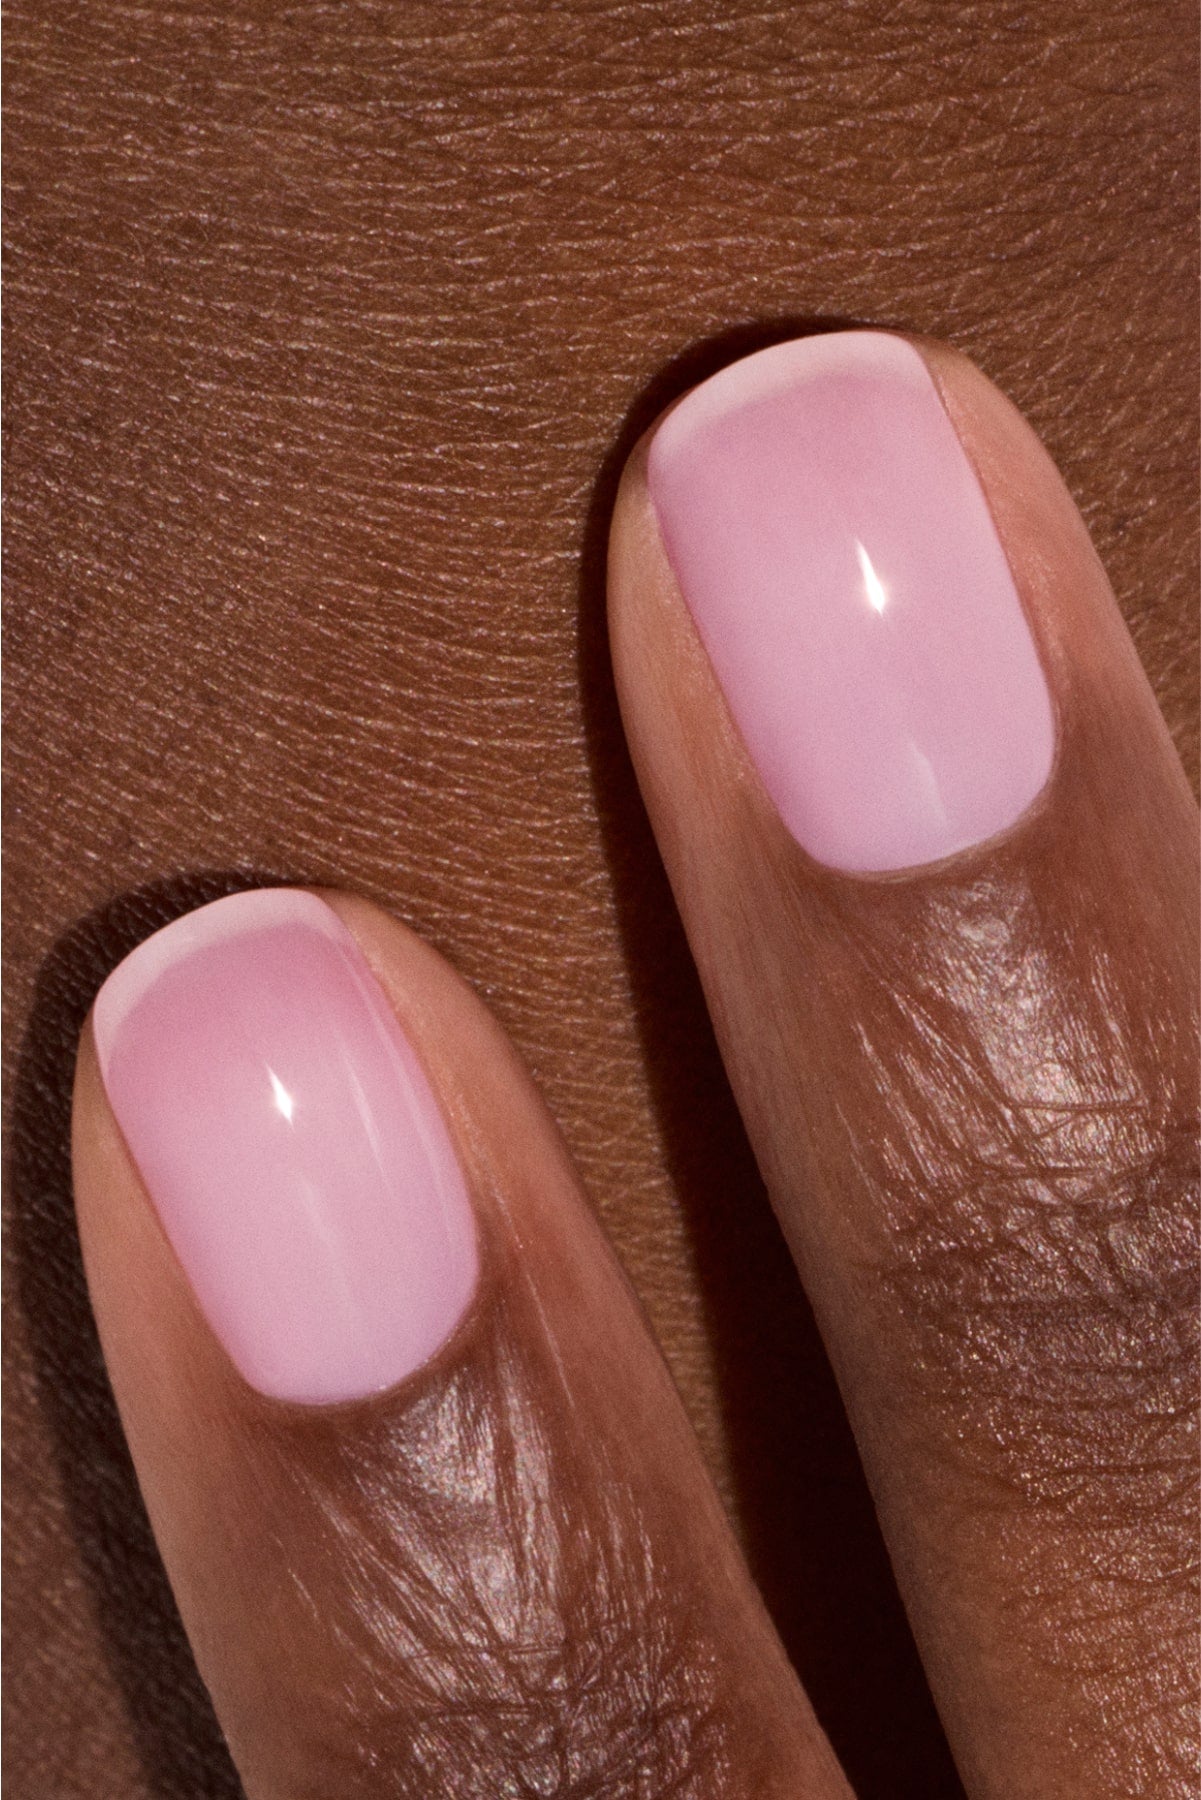
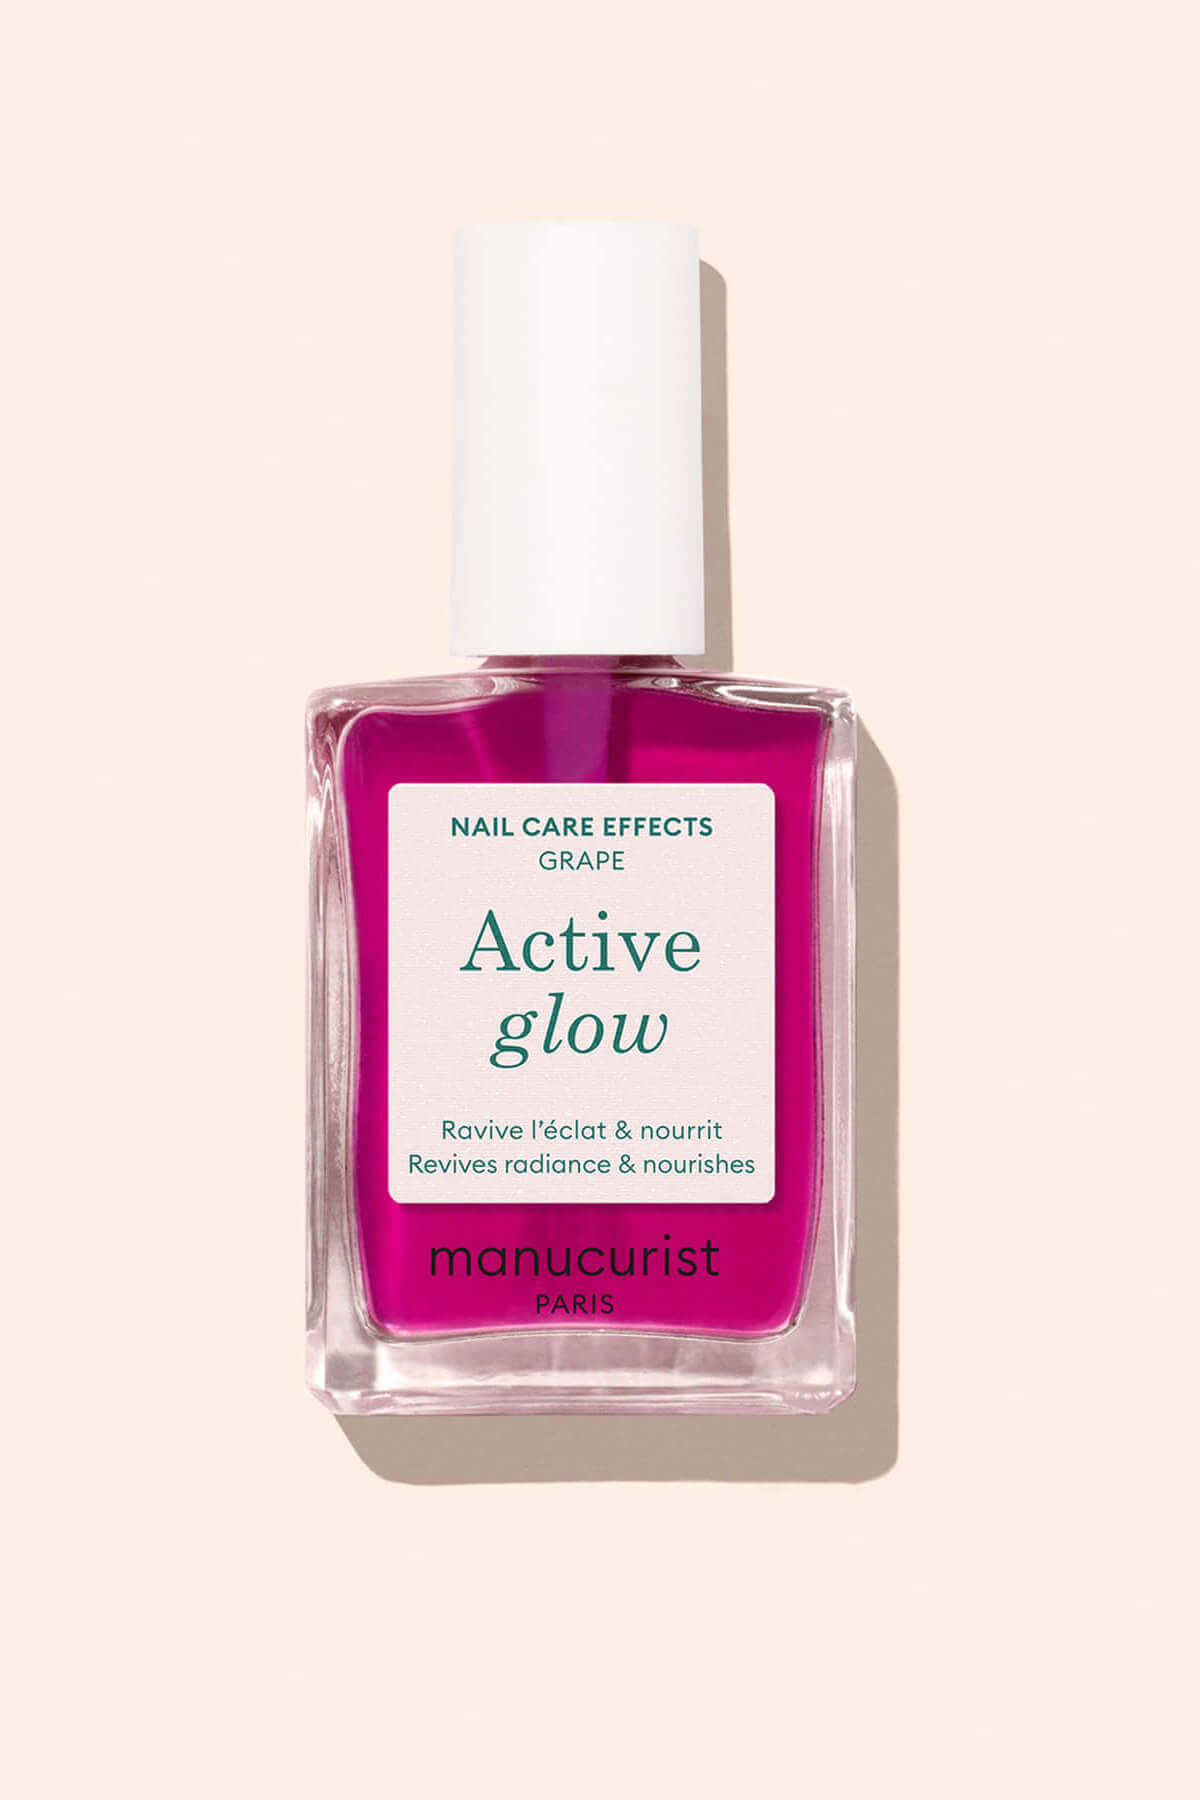
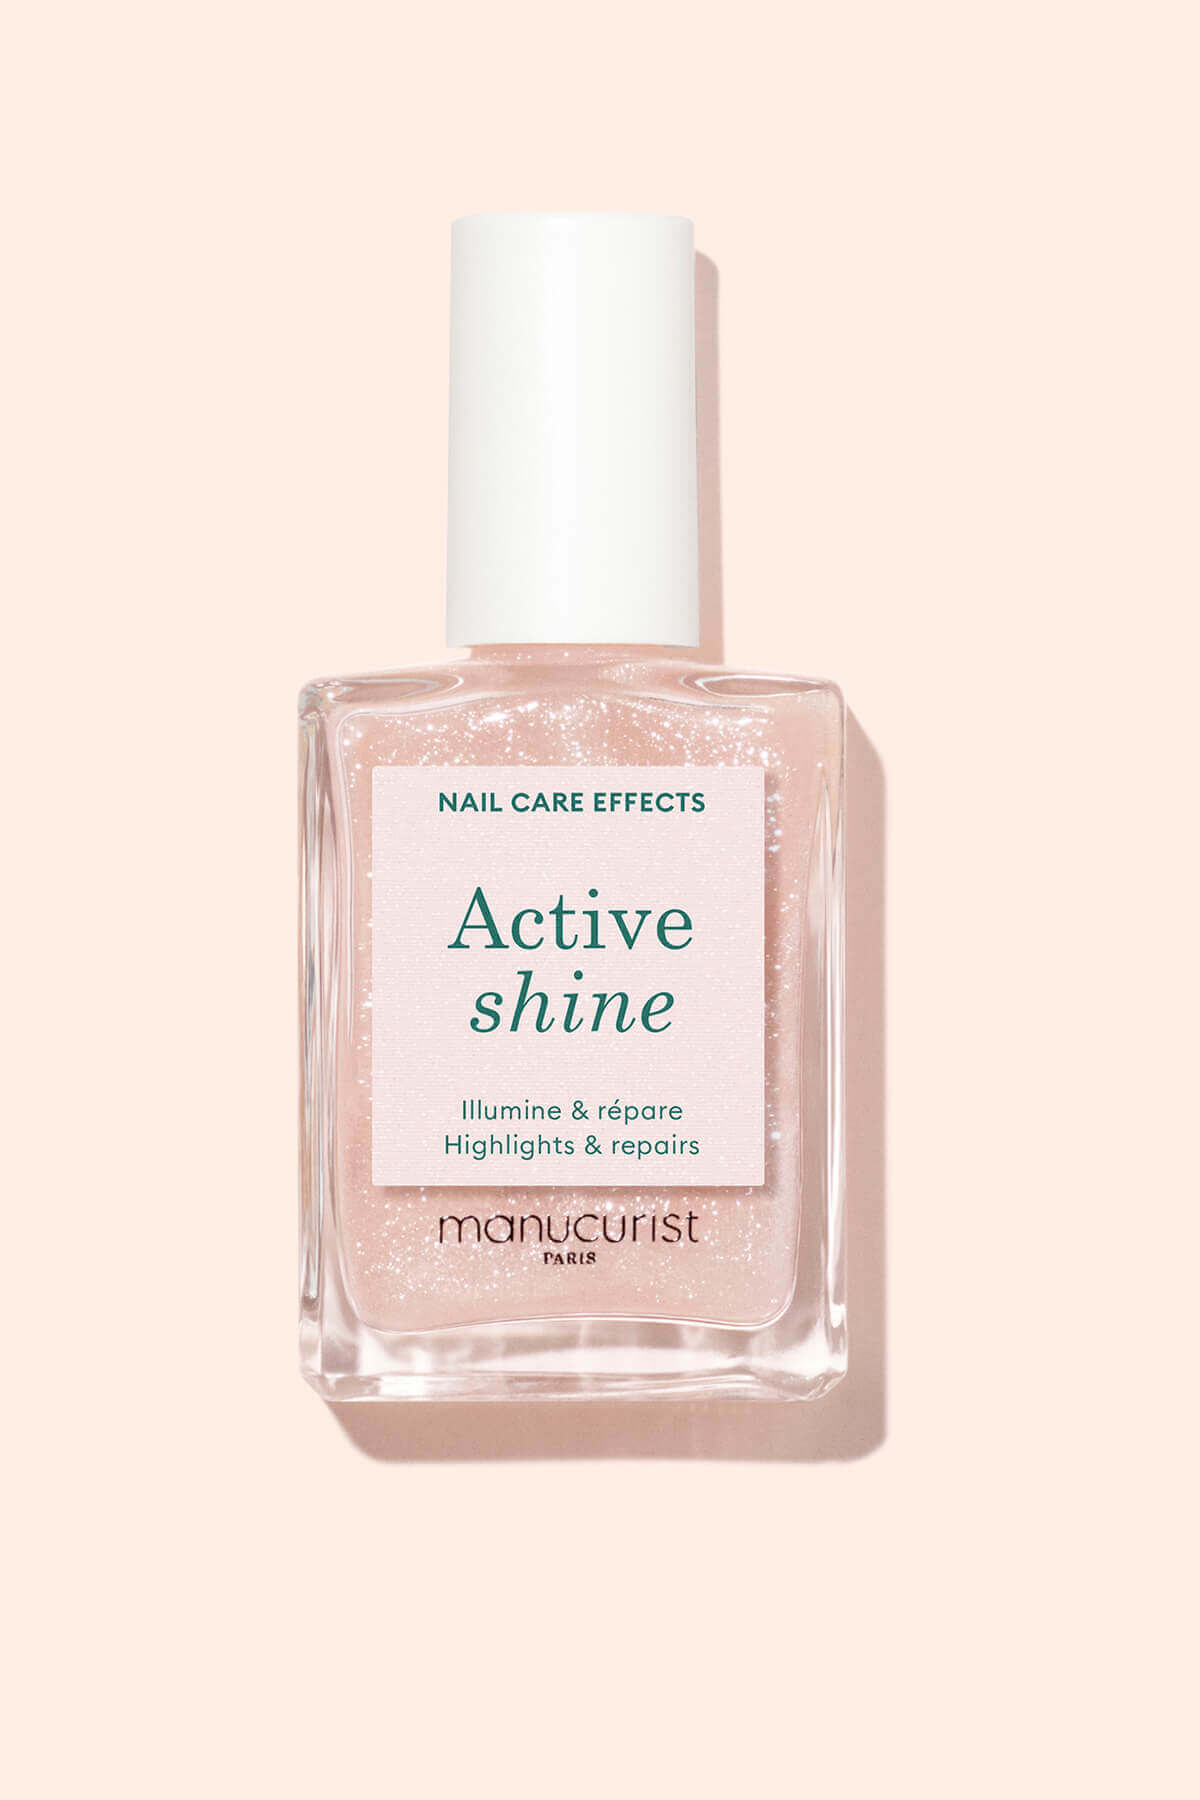
Green Flash™: a gentle, high performance Gel Polish routine
Looking for a Gel Polish that is long lasting, easy to apply at home and kind to your nails? Green Flash™ is a new generation Gel Polish designed to meet all these expectations. Thanks to its innovative formula and exclusive protocol, Green Flash™ is the first patented semi permanent polish that strengthens and protects the nail under color and can be removed in just minutes, without a drill or acetone. A true revolution for anyone learning how to do gel nails at home.
A non toxic Gel Polish
Since its launch in 2019, Green Flash™ has been formulated without controversial molecules that may pose risks to human health. The formula excludes HEMA, DI HEMA, TPO and other CMR substances that have gradually been banned under European regulations. If you are exploring gel nails steps but want a safer alternative, choosing a clean formula makes all the difference.
A vegan and plant based formula
Green Flash™ is vegan and up to 84% plant based. Traditional petrochemical solvents and plasticizers have been replaced wherever possible with ingredients derived from corn, sugar cane, cassava and cotton. The result: all the benefits of Gel Polish, intense shine, vibrant color and long wear, without the usual drawbacks.
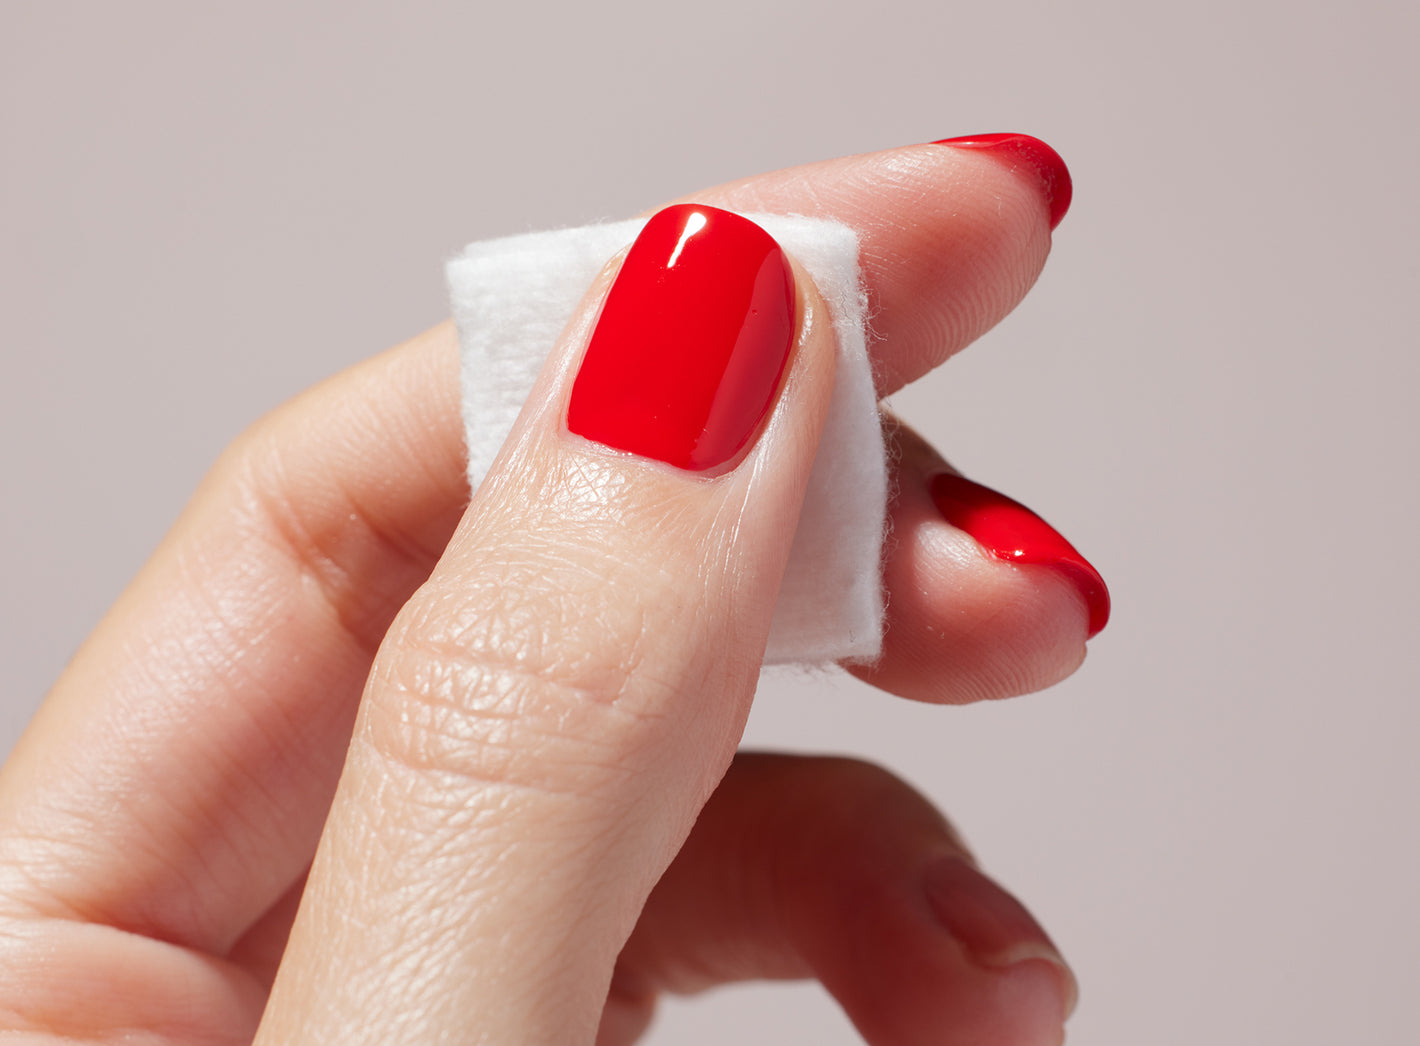
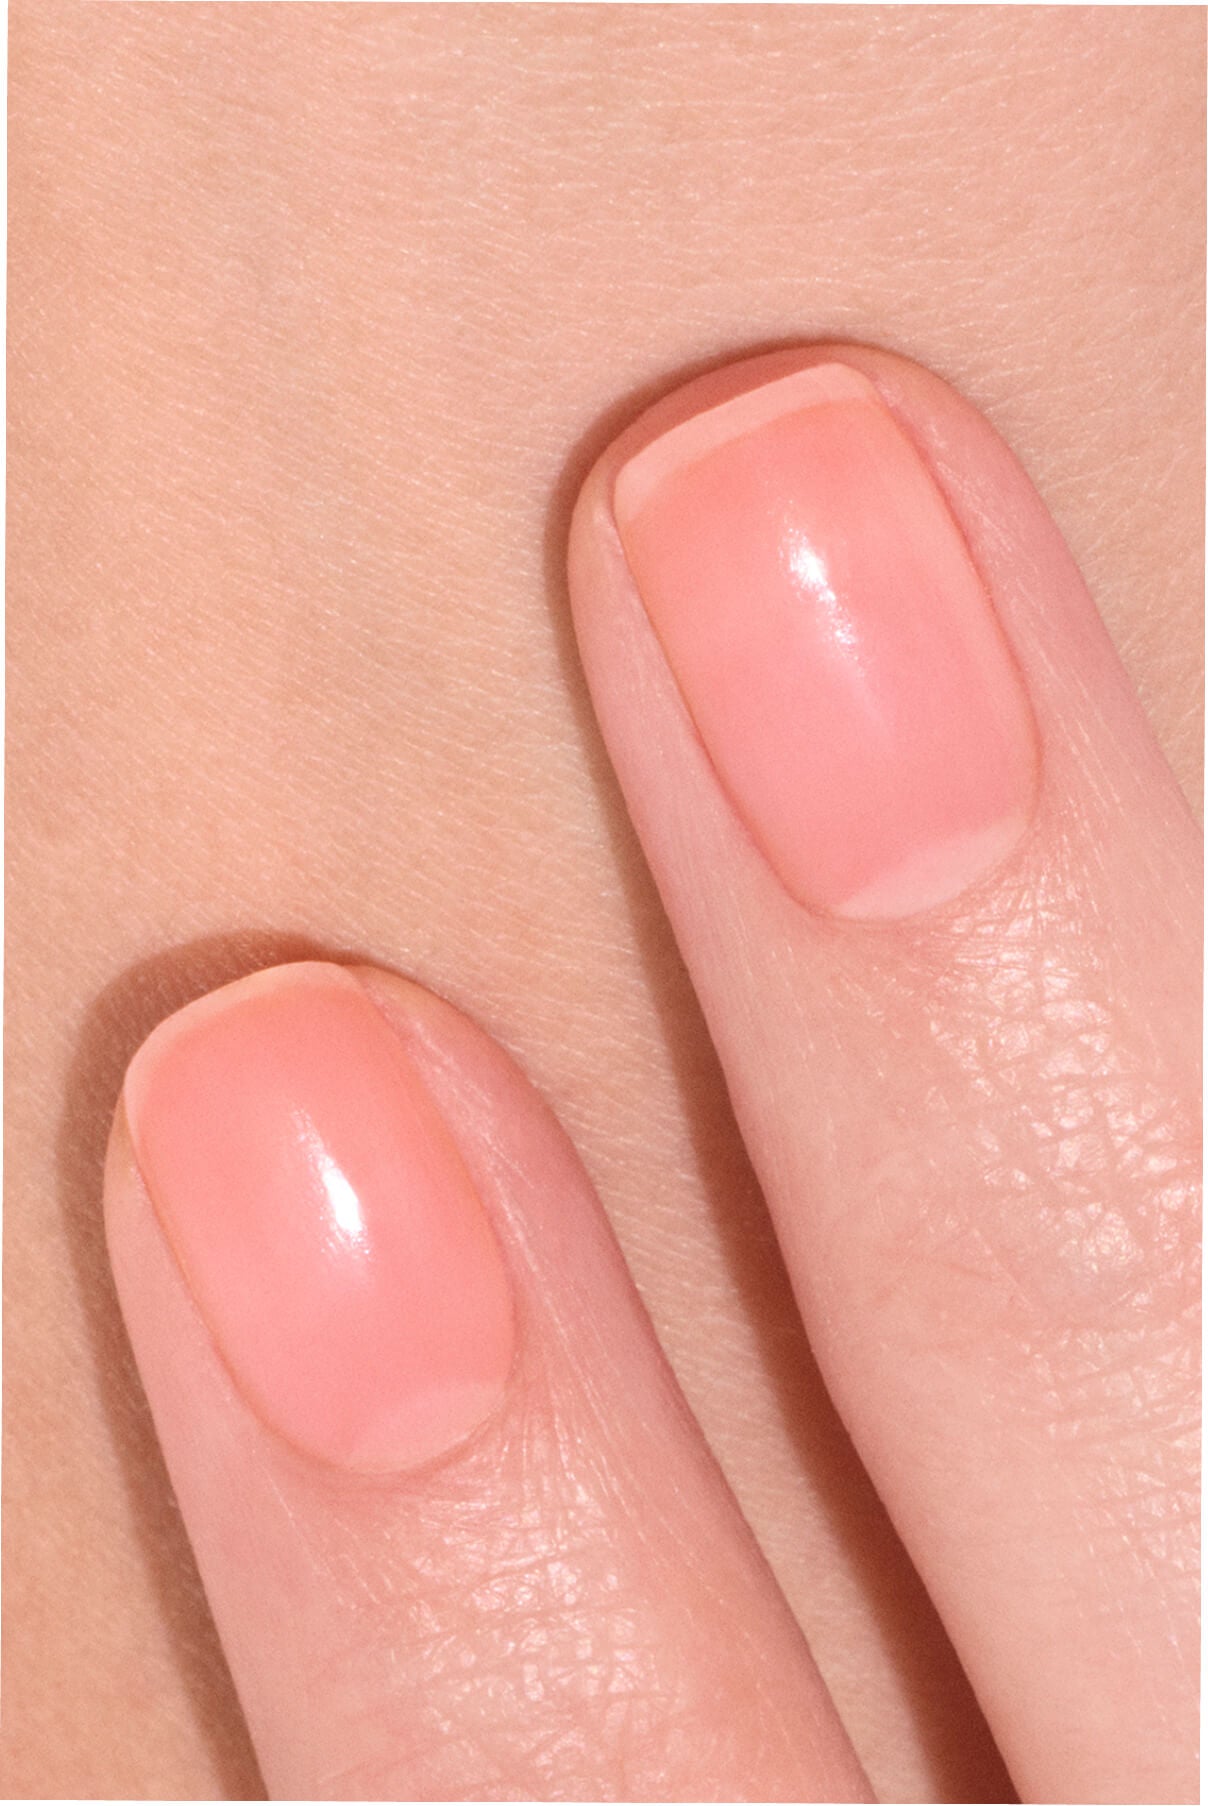
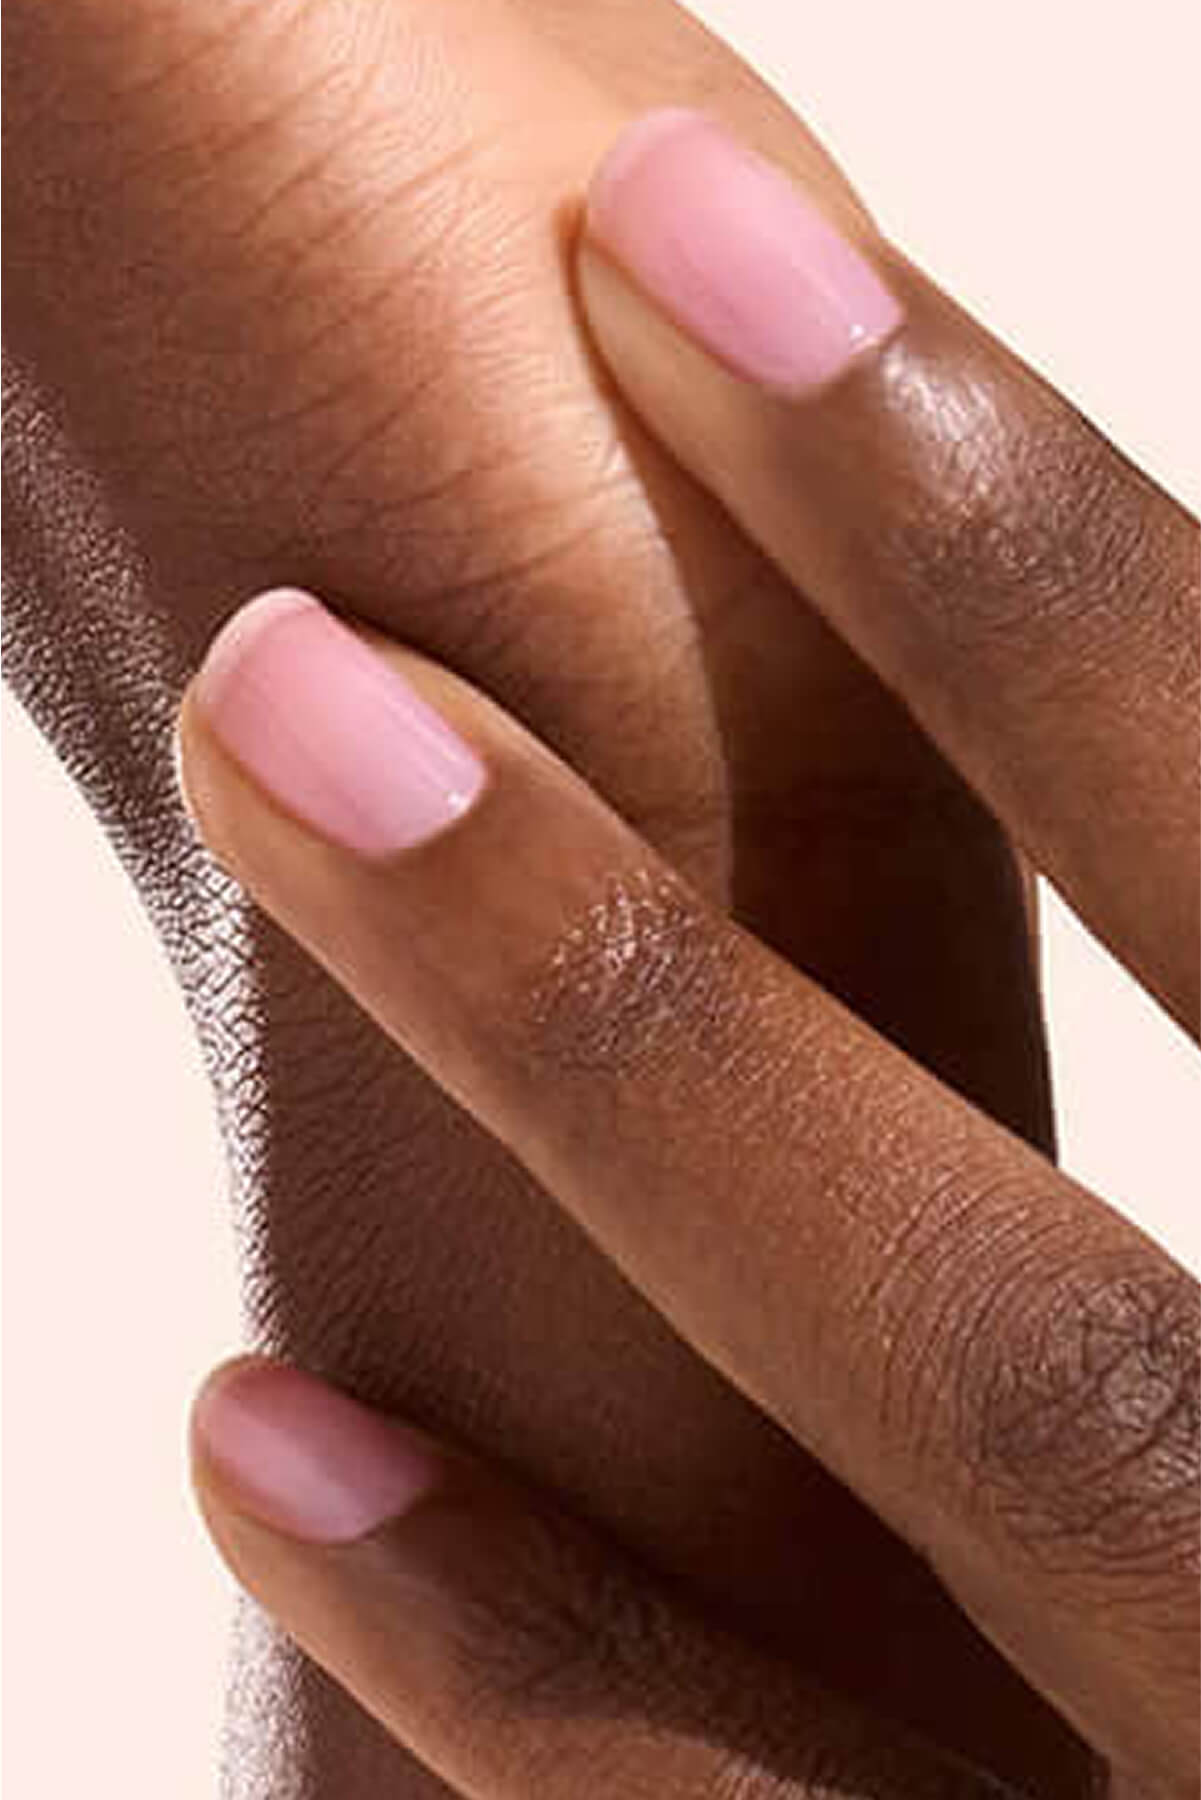
Removal is just as easy as application. No drill, no harsh acetone. Simply use a gentle remover and the layers lift away on their own using peel off technology. If you have been wondering how to do gel nails without damaging your natural nails, this is the game changer.

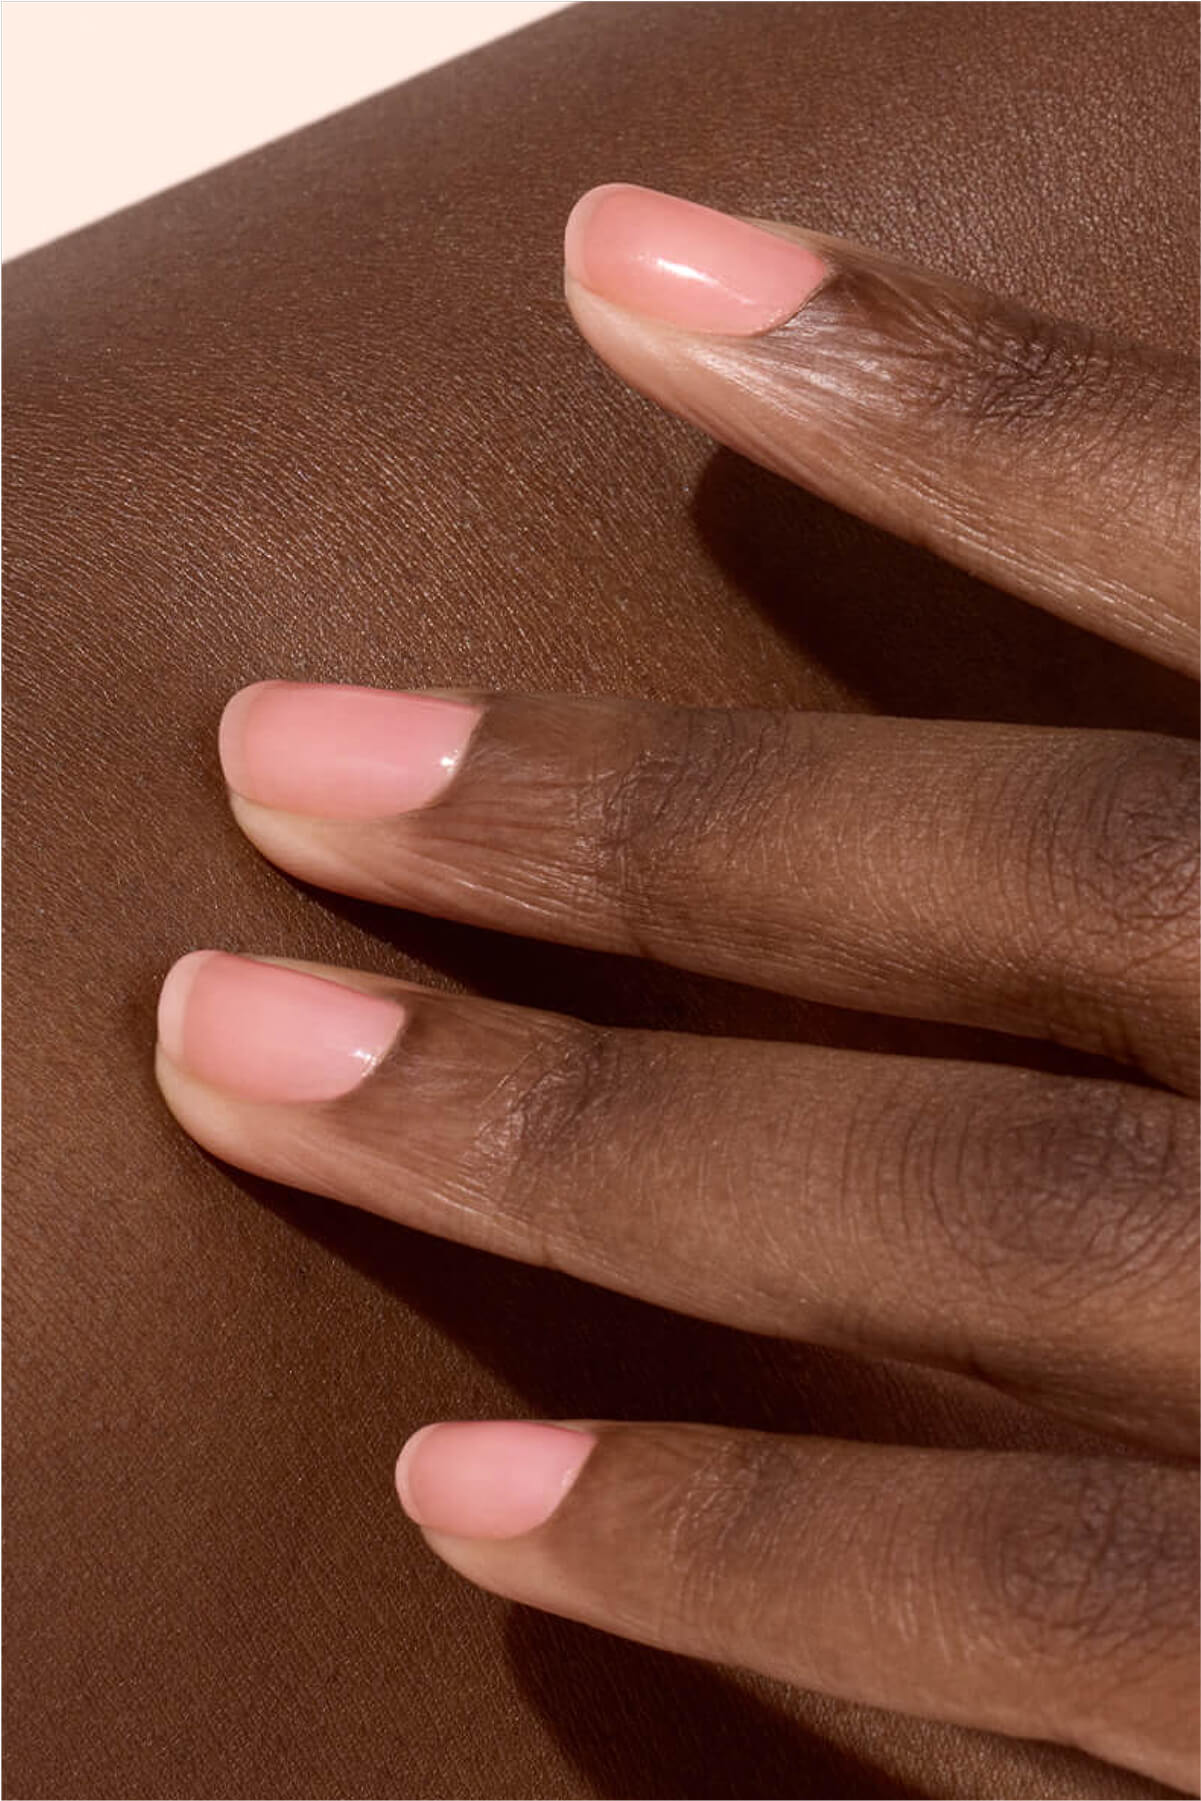
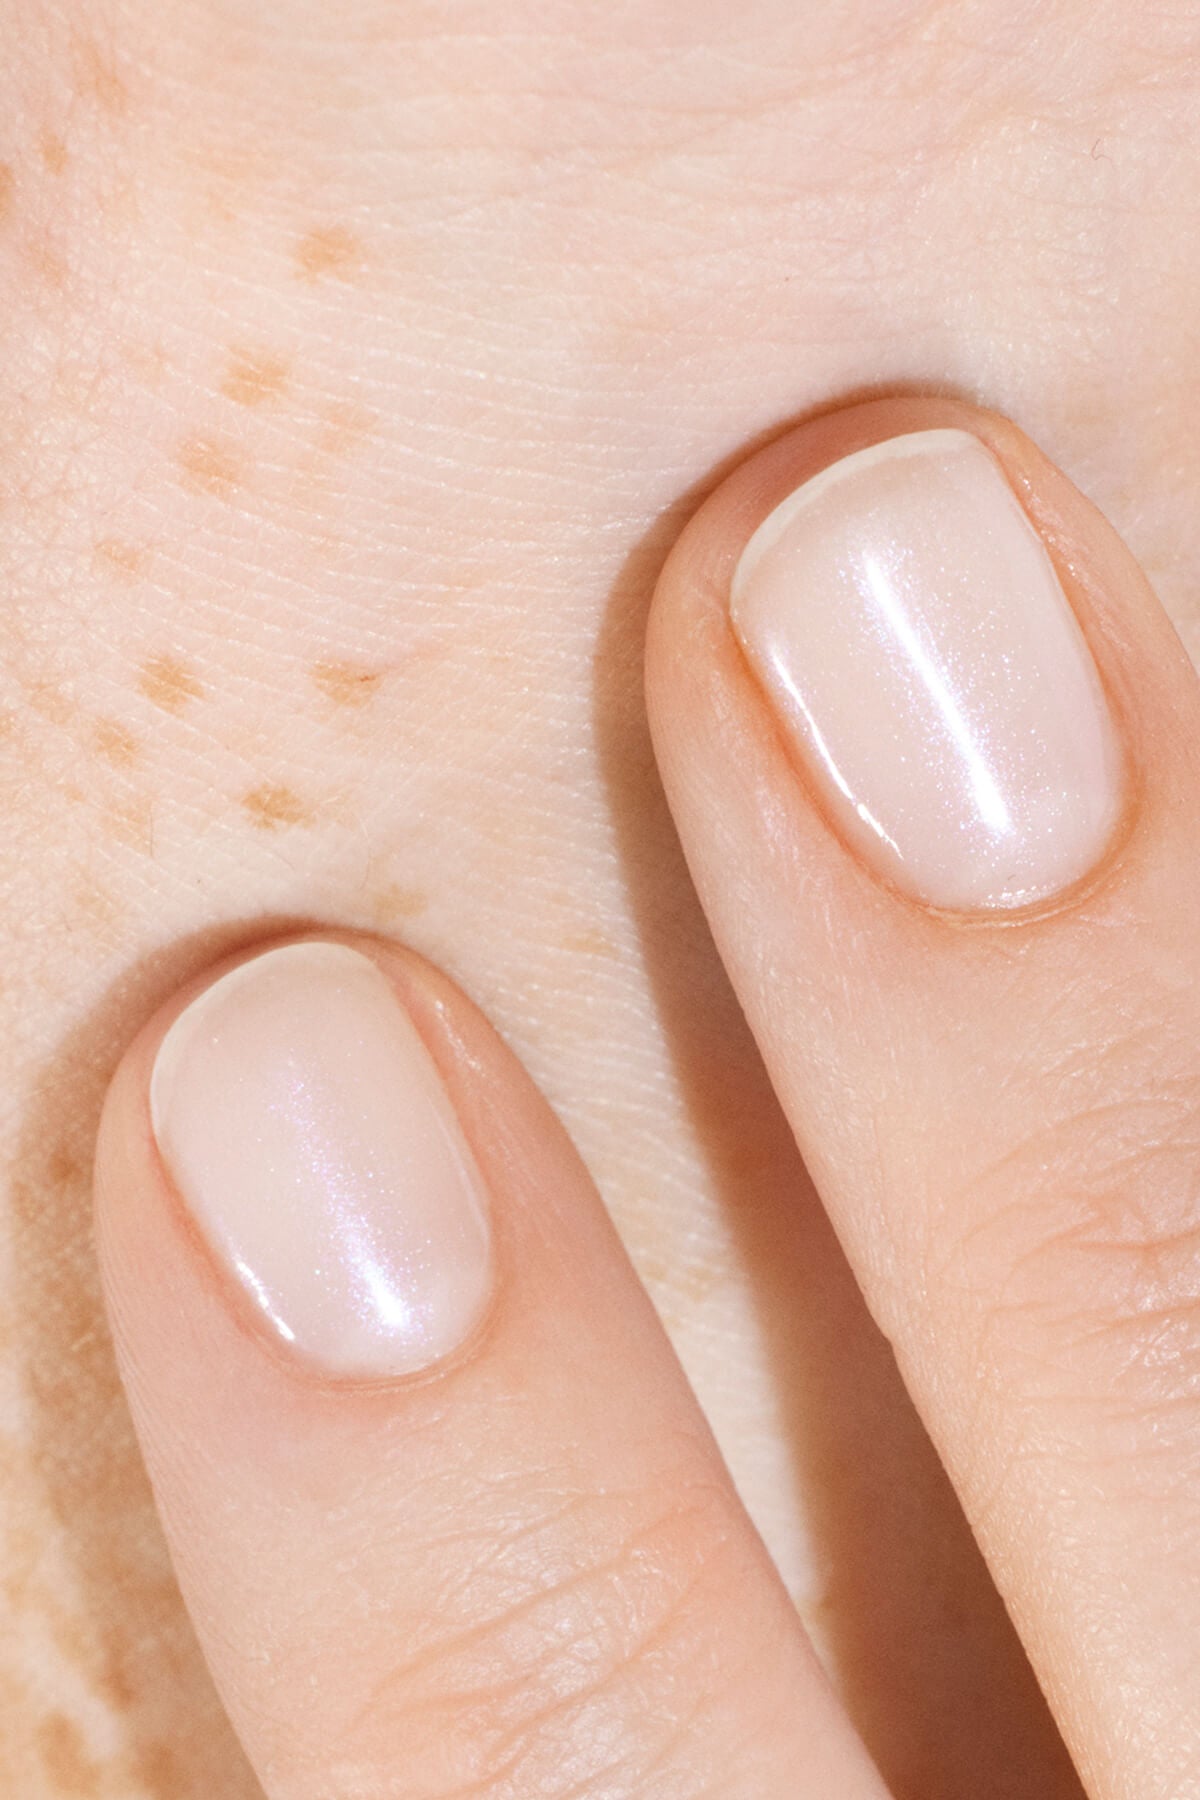
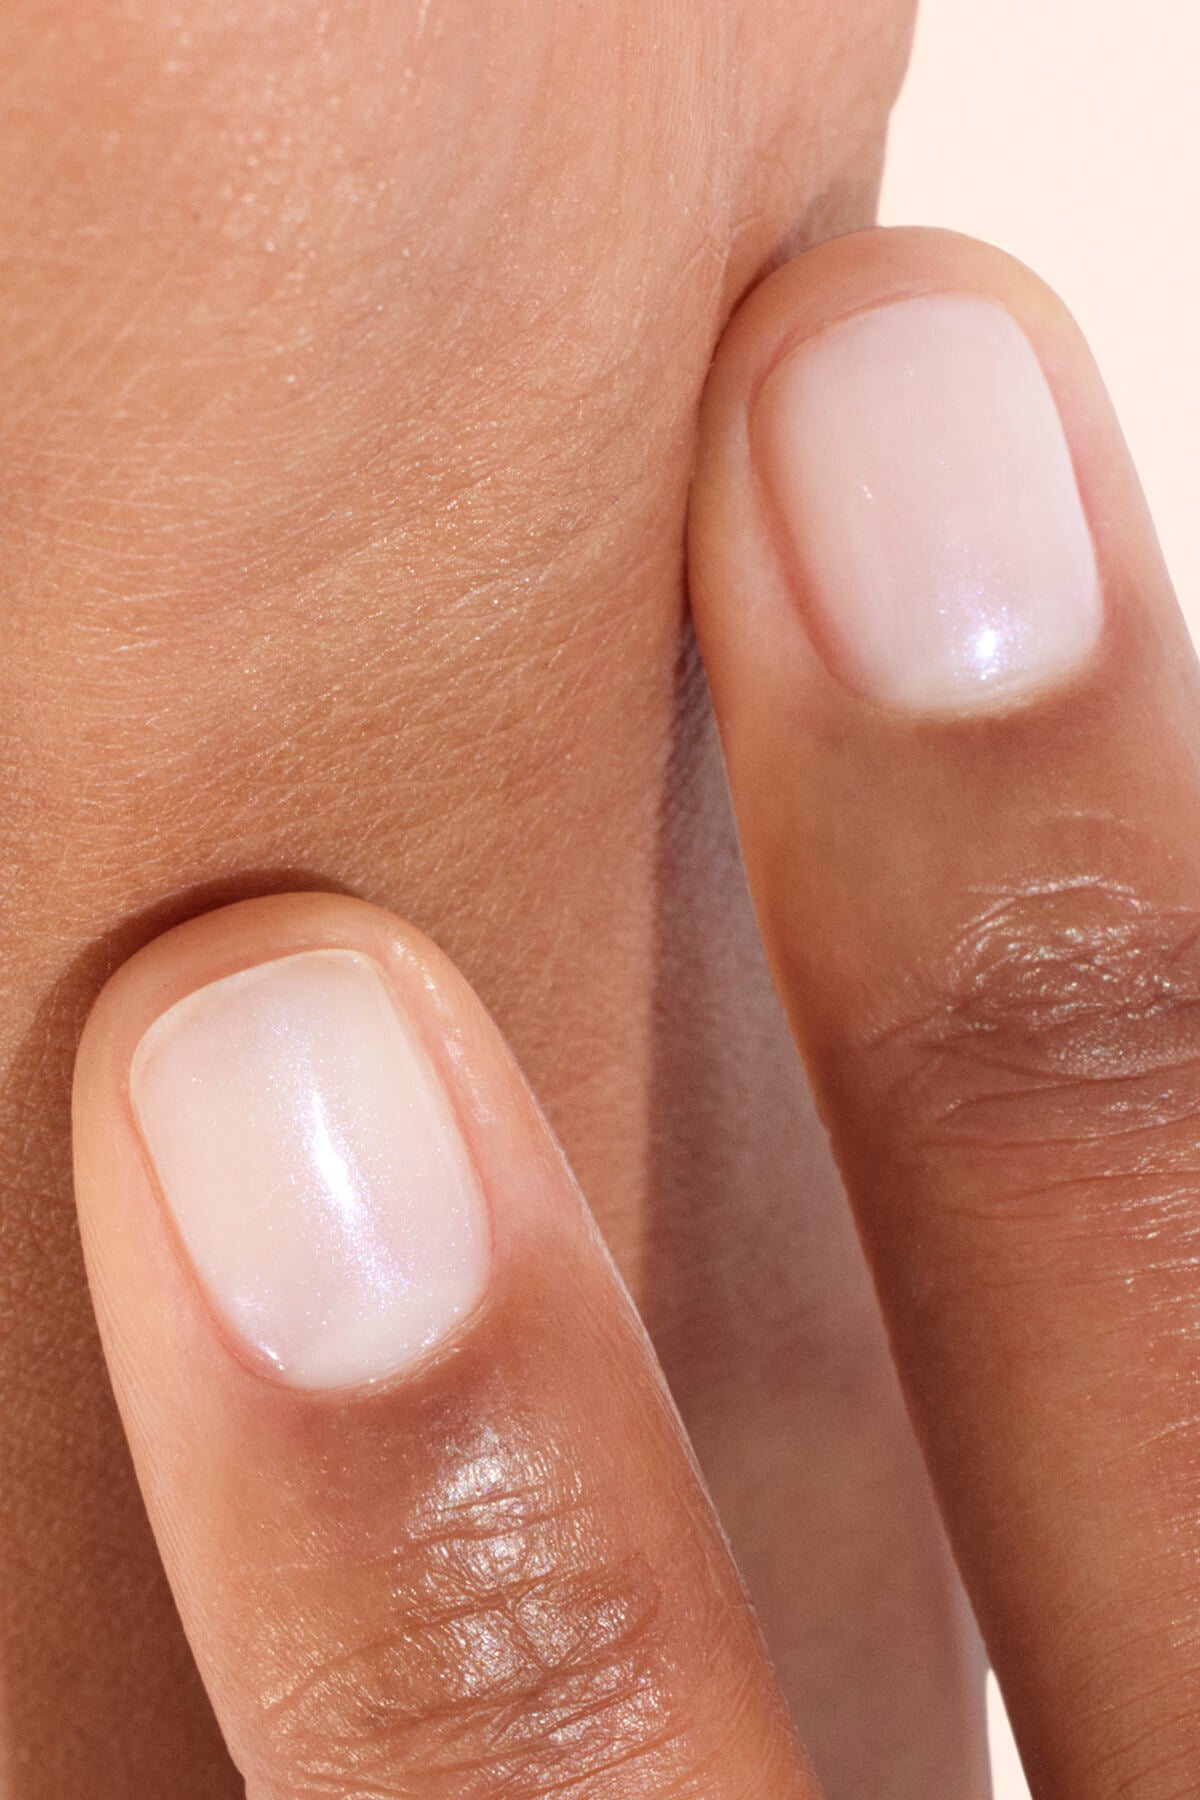
A plant based formula that allows gentle removal without damaging the nails.
(@nenapleasenails)
In summary:
- A safe, vegan formula that’s up to 84% bio-based, with removal that requires no filing or acetone.
- Green Flash™ Top Coat → natural shine for up to 12 days.
- Xtrem Flash™ Top Coat → extra-long wear for up to 21 days, with a curved finish.
- Complete kits: Starter Kit or Addict Kit for a professional-quality manicure at home.
- Easy and gentle removal: peel-off without damaging the nails.
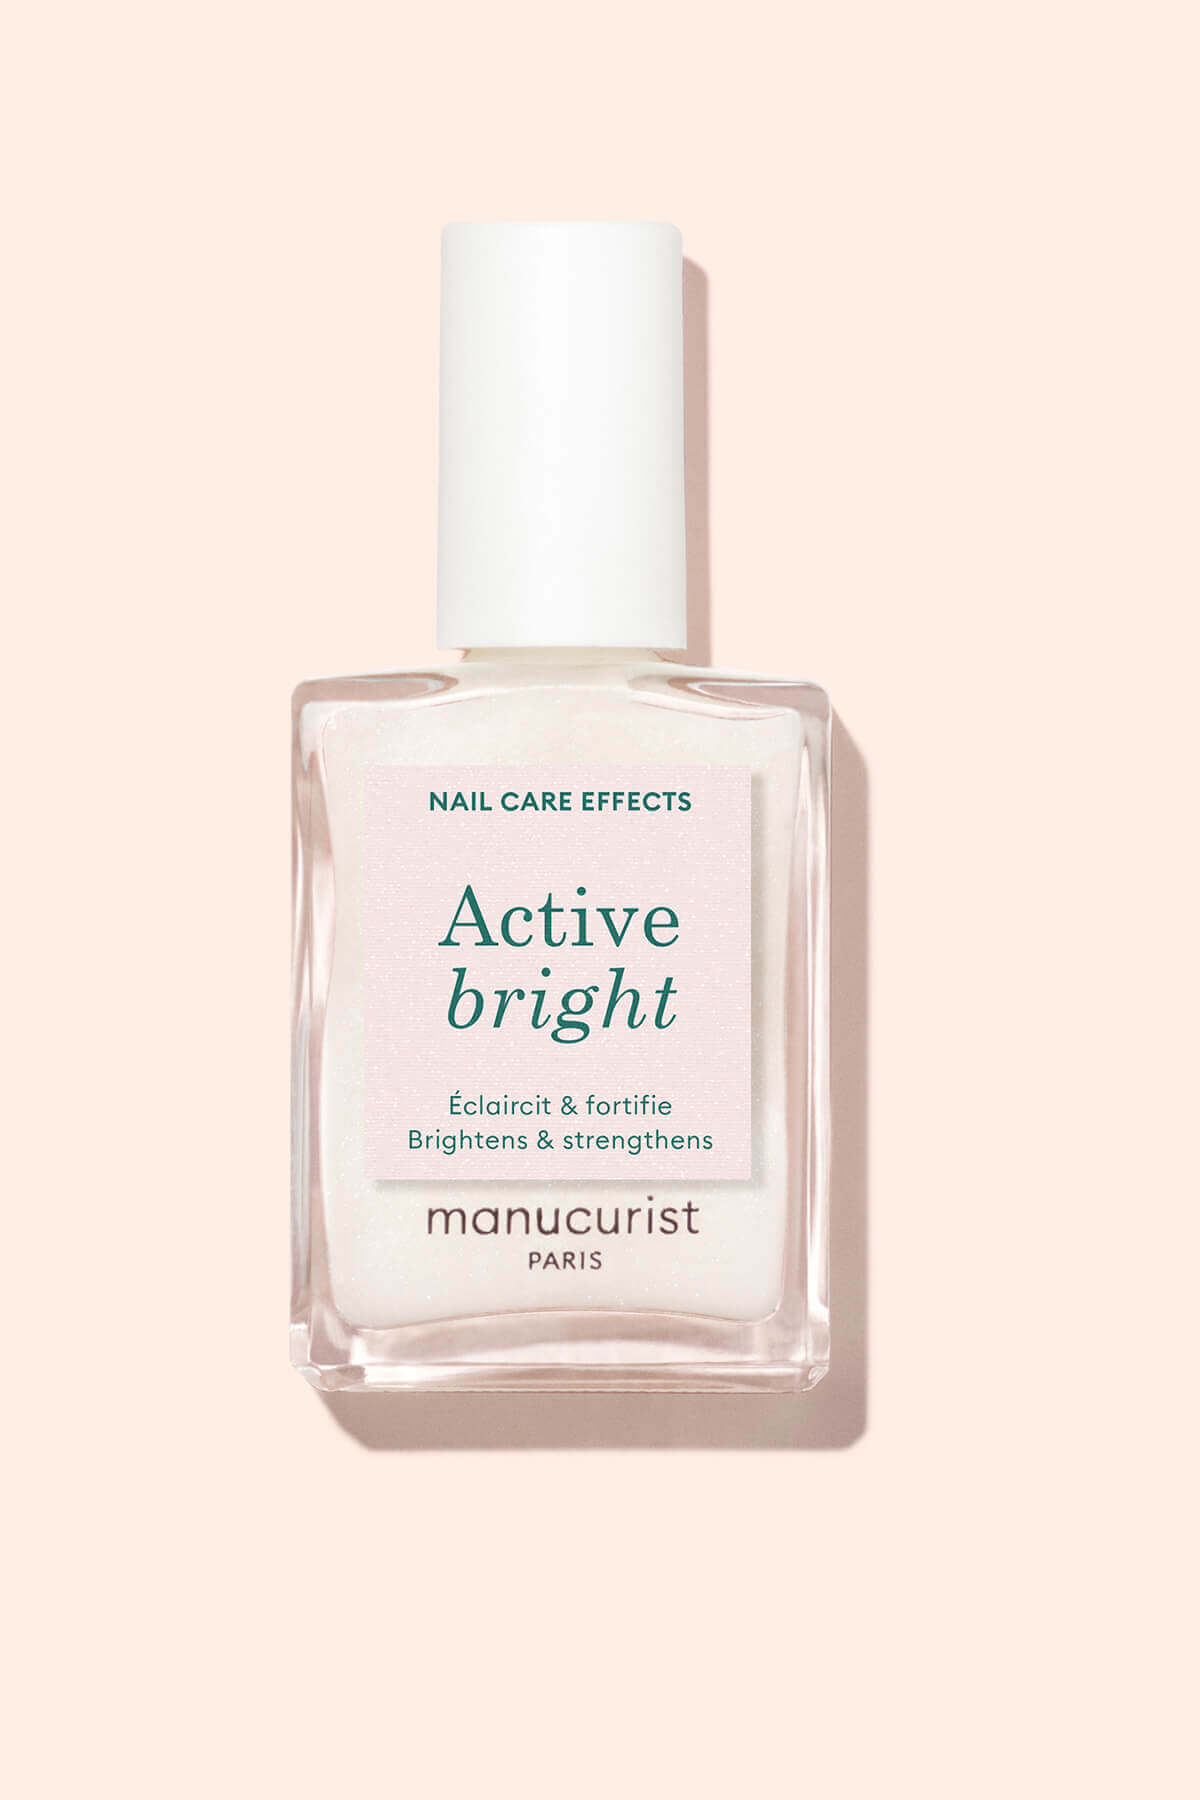
The Green Flash™ Vitamin Base Coat
Manucurist continues to improve the Green Flash™ routine. By reworking the Base Coat formula, the team developed KeraHCE+ technology, combining hexanal with vitamins C and E. The Green Flash™ Vitamin Base Coat strengthens nails with every application and creates an antioxidant shield that protects against dehydration.
The result: nails are continuously reinforced under color, adhesion is improved and your Gel Polish retains its intense shine and color for even longer. A key step if you are following gel polish steps carefully and want salon level results.
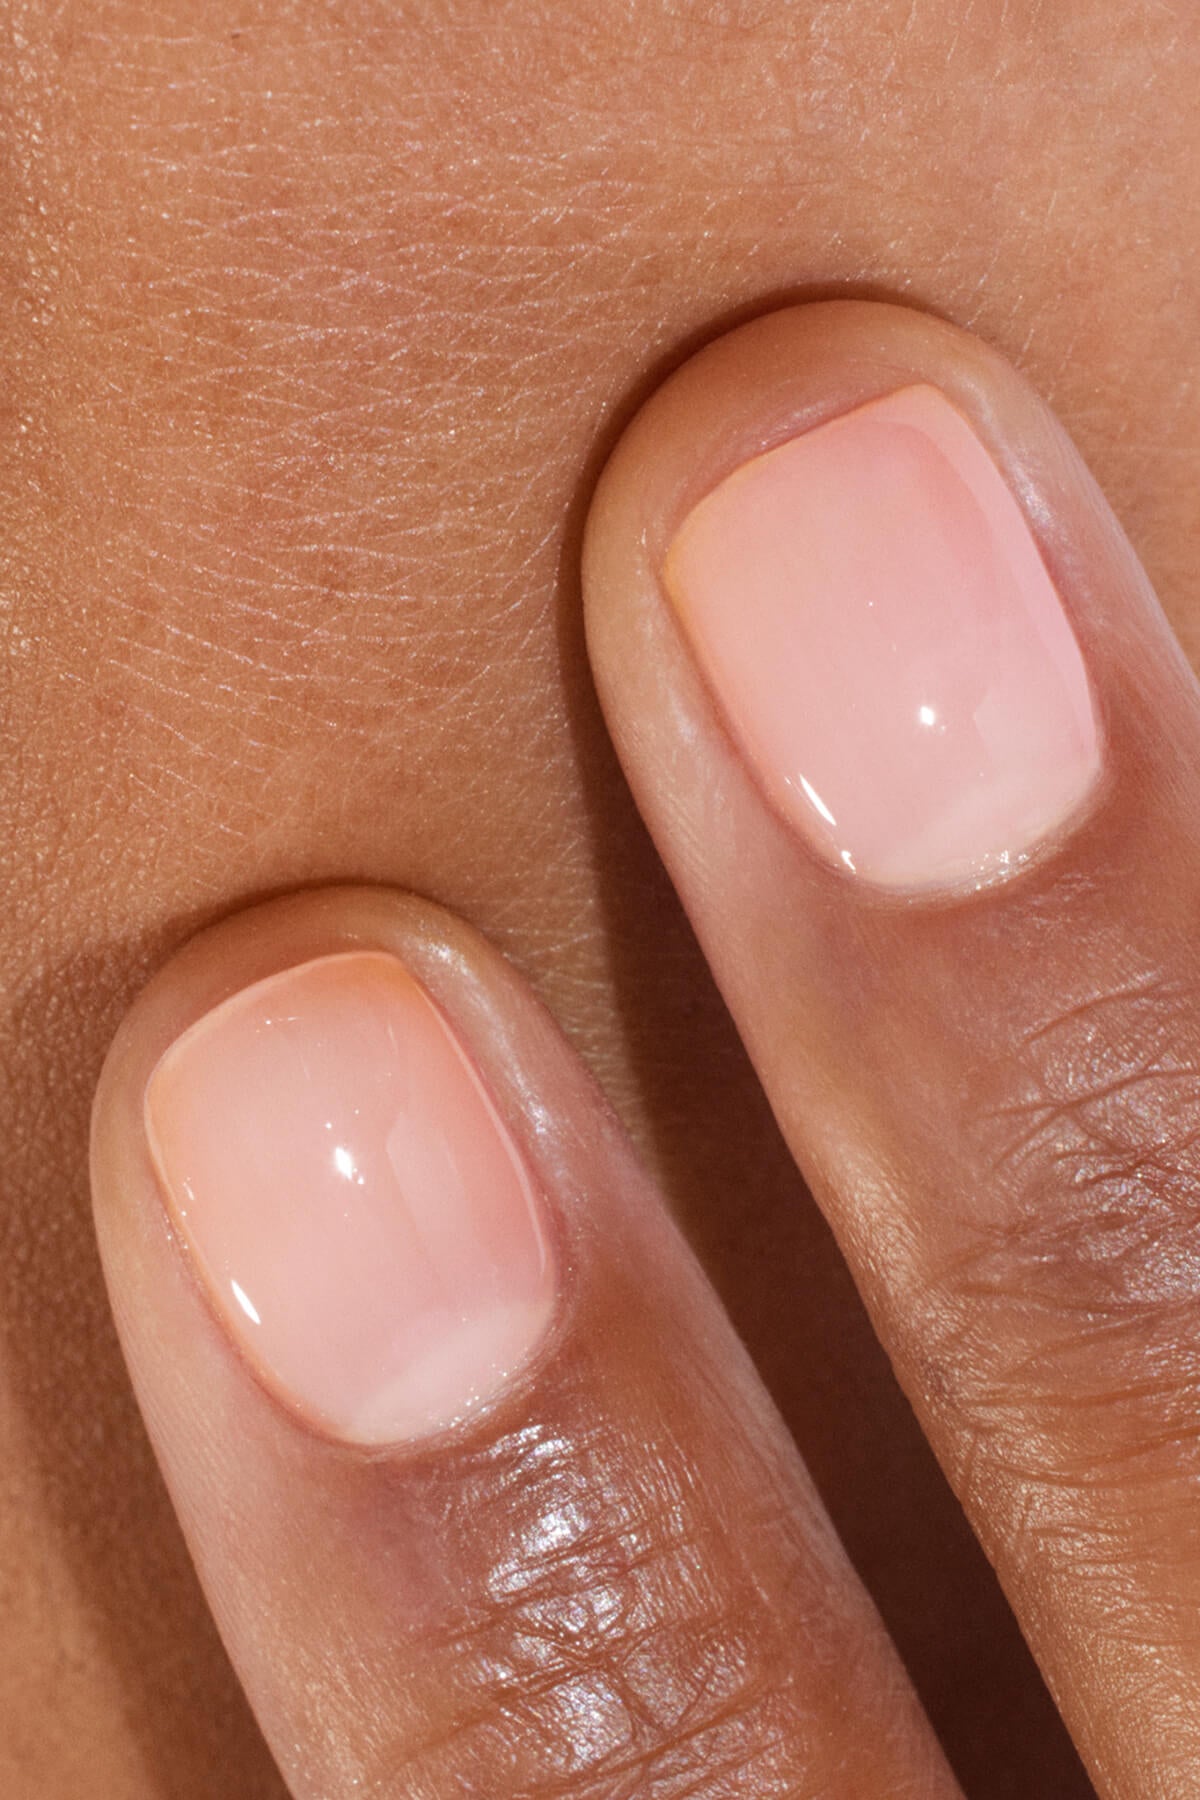
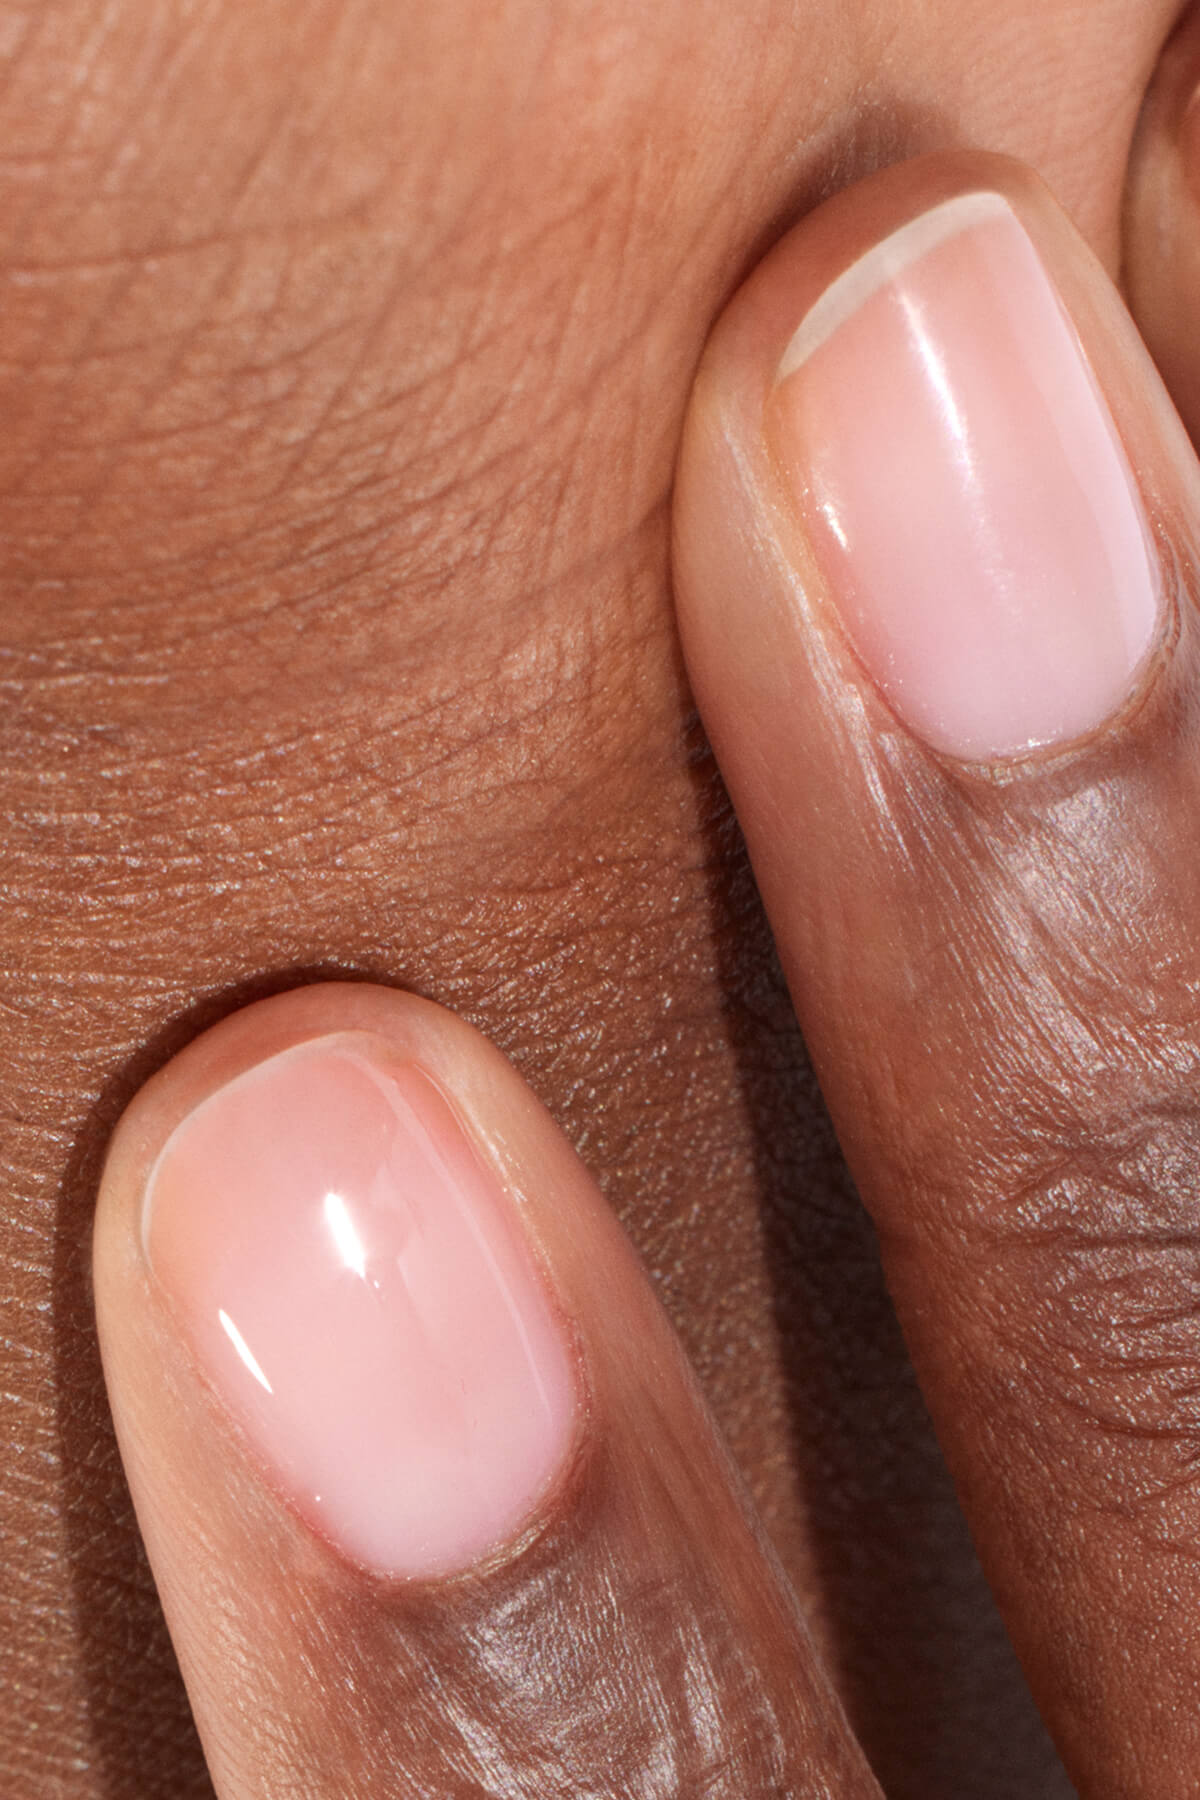
Green Flash™ Top Coat or Top Coat Xtrem Flash™: which should you choose?
With Green Flash™, you can tailor your manicure to your lifestyle. The same base coat, the same iconic Green Flash™ color palette, but two different finishes and wear times. Here is how to choose the right one for your gel nails instruction routine.
Green Flash™ Top Coat
Applied in a thin layer and cured under an LED lamp, it can be removed in just one minute using gentle remover and peel off technology.
With the Green Flash™ Top Coat, you get a glossy, natural finish that stays flawless for up to 12 days. Ideal if you enjoy changing colors regularly or want an easy, flexible Gel Polish routine.
Top Coat Xtrem Flash™
The Top Coat Xtrem Flash™ is also applied in a thin layer, but its slightly thicker texture requires a little extra care:
-
Wipe the brush carefully on the neck of the bottle to avoid excess product flooding the cuticles. If needed, remove any overflow with a wooden stick before curing.
-
Cure each hand flat under the LED lamp for one minute, without the thumb. Then cure the thumb separately for one minute, keeping it flat to prevent the polish from moving.
The result is an ultra glossy, plump effect similar to a classic gel manicure, with extra long wear of up to 21 days. Removal remains gentle and acetone free, after applying a cotton pad soaked in remover for around ten minutes. If you are mastering how to do gel nails step by step and want maximum shine with extended wear, this is your perfect match.
Follow the Xtrem Flash™ routine in video with @nenapleasenails.
Complete kits to master gel nails at home
Doing your own Gel Polish manicure is no longer a trend, it is a beauty essential. With Gel Polish starter kits, everything you need is at your fingertips.
The Green Flash™ Starter Kit includes all the tools required to complete your gel nails steps at home, plus your three favorite shades from the Green Flash™ color palette. Paired with Top Coat Xtrem Flash™, you can enjoy extended wear without the downsides of traditional gel.

The Green Flash™ Starter Kit, your go to set for mastering how to do gel nails at home.
With the right products, accessible techniques and a little practice, learning how to do gel nails step by step becomes second nature. Whether you choose the classic Green Flash™ finish or the ultra glossy Xtrem Flash™ effect, you can enjoy a beauty break that feels indulgent and empowering, with long lasting shine and gentle removal that keeps your natural nails healthy.